Build a Functional Arduino-Powered 3D‑Printed Robotic Arm – Step‑by‑Step Guide
Components and supplies
 | | × | 1 | |
 | | × | 4 | |
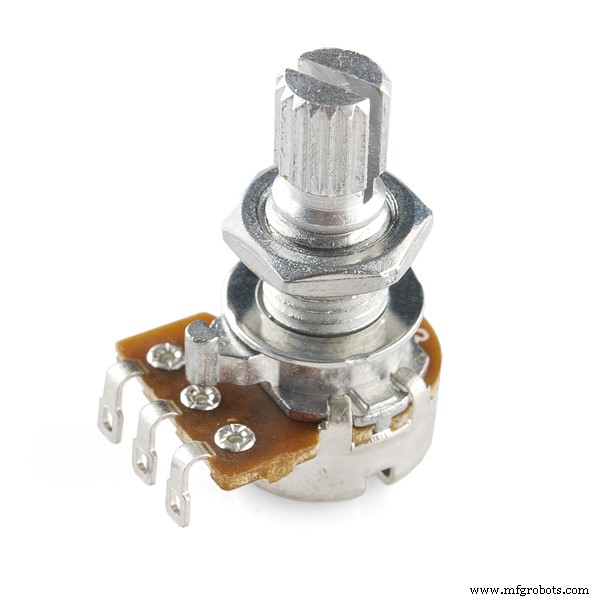 | | Rotary potentiometer (generic) |
| × | 1 | |
About this project
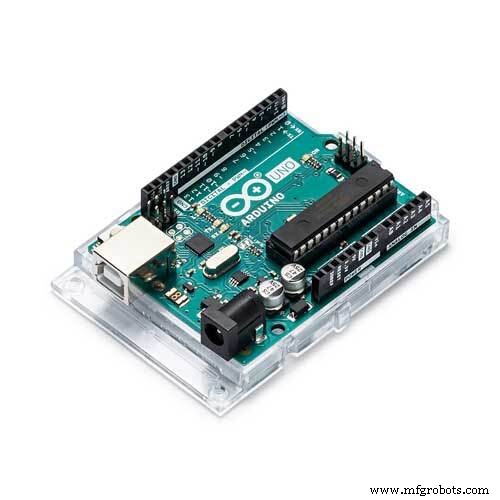
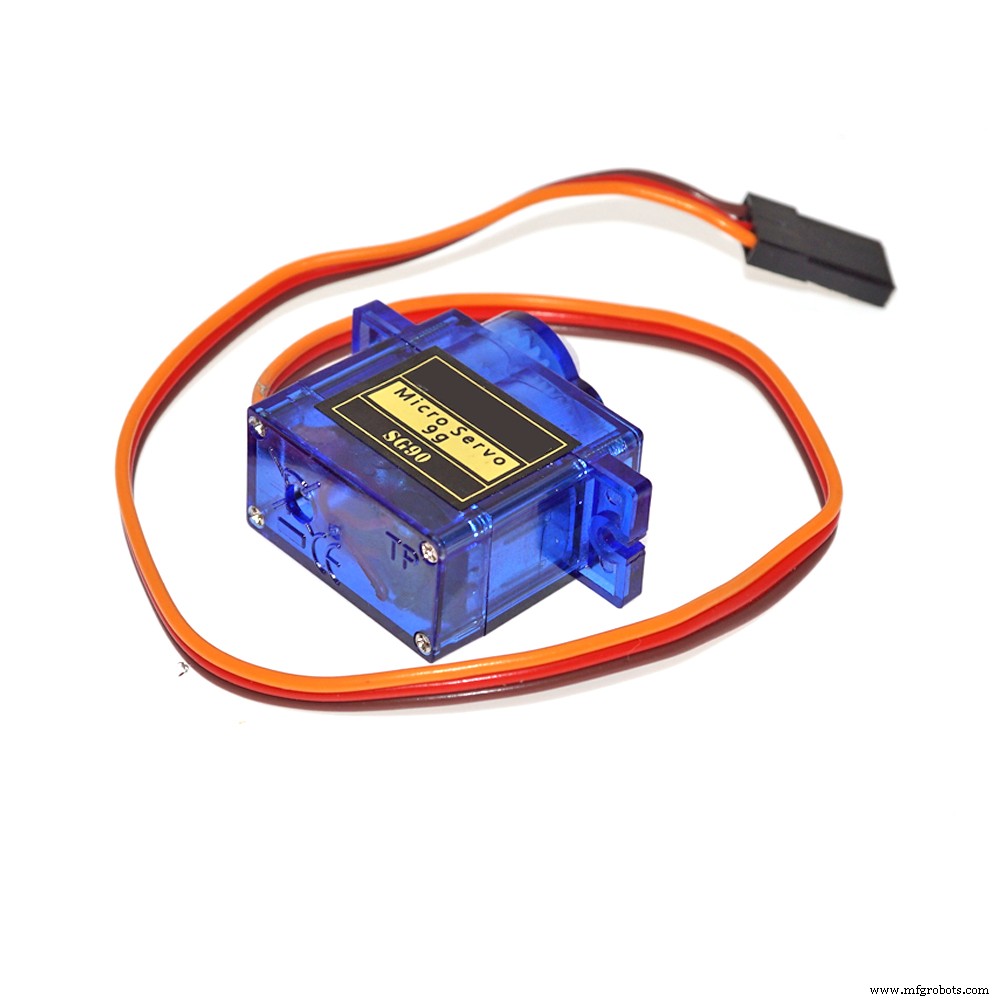
This project uses 4pcs. cheap SSG 90 servo motors that are powered by the Arduino board. You can download.stl files for 3D printing from the link given below, or directly to Thingiverse web,
https://www.thingiverse.com/thing:1015238
where you can find more detailed instructions for making of this robotic arm.
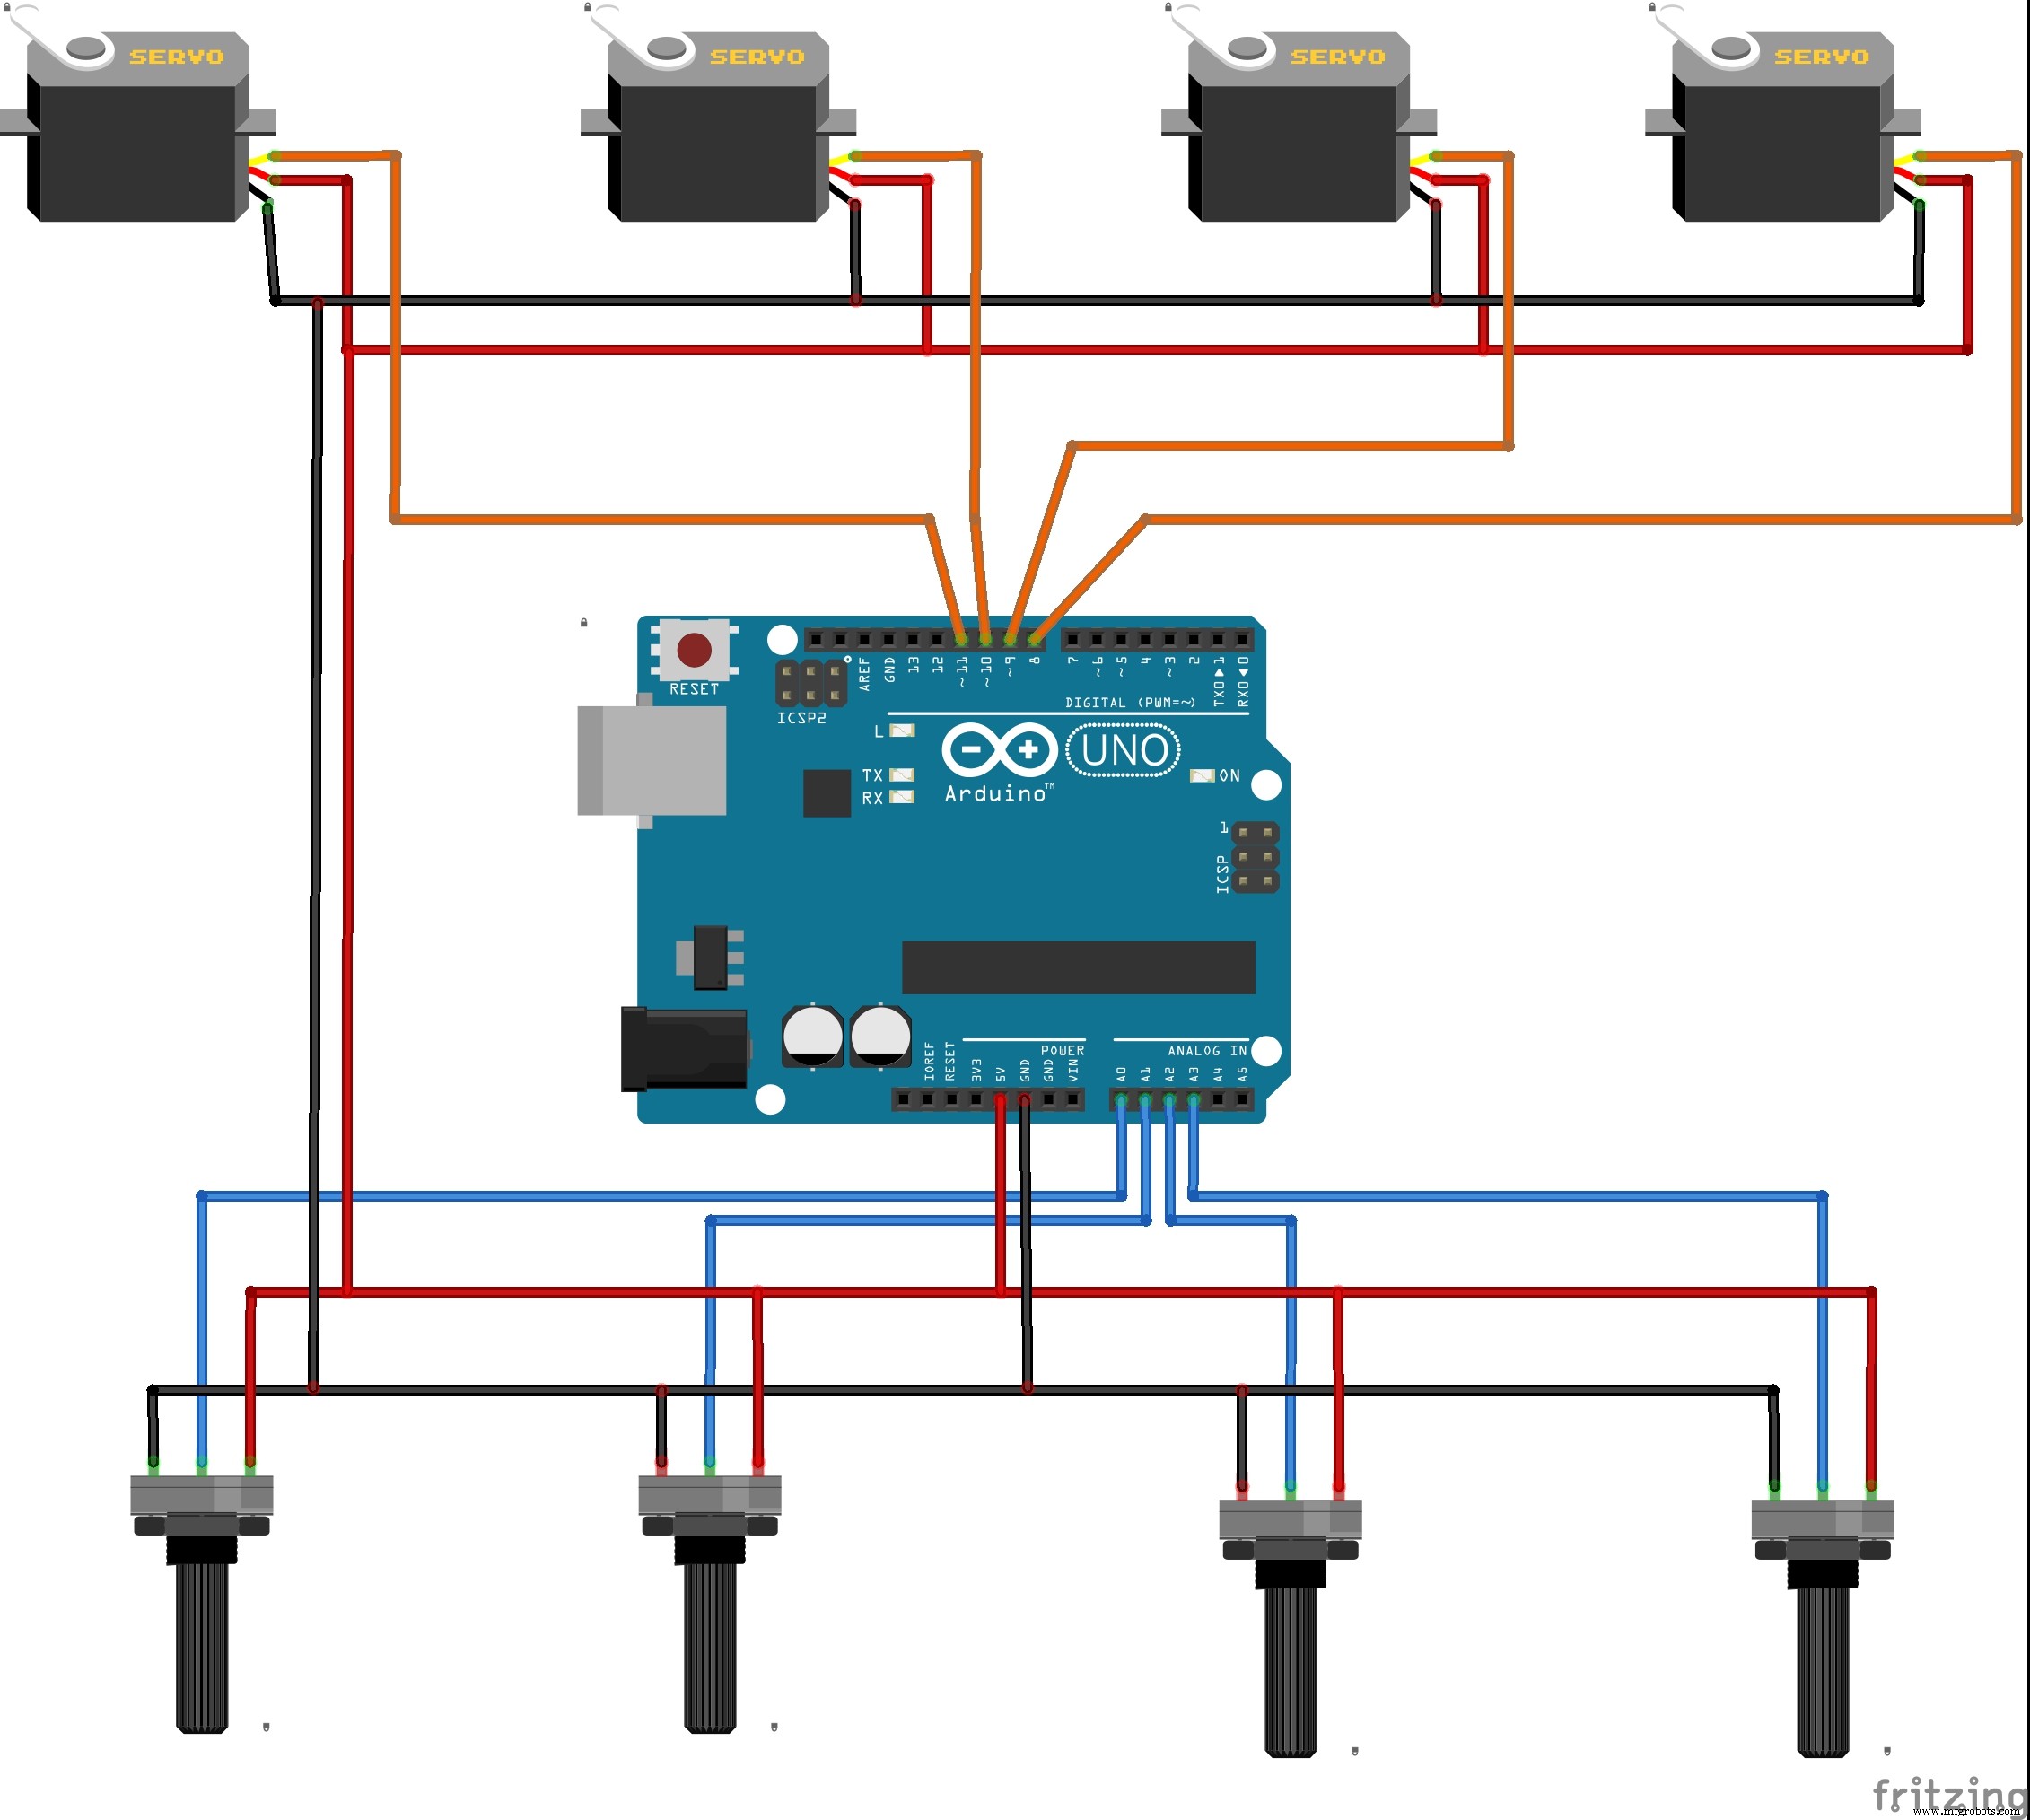
As mentioned earlier, the servo motors are driven from the Arduino board. For this purpose I also wrote a simple code so that each servo is controlled by a suitable potentiometer. After a small exercise, handling using potentiometers becomes very easy and interesting as can be seen on the video.
In the future, I will try to expand the code with the option to capture and automatically perform certain movements of servo motors which would get a complete industrial robot.
The schematics can be seen in the picture below.
Code
codeArduino
#include <Servo.h>

Servo myservo;  // create servo object to control a servo
Servo myservo1;
Servo myservo2;
Servo myservo3;

int potpin = 0;// analog pin used to connect the potentiometer
int potpin1 = 1;
int potpin2 = 2;
int potpin3 = 3;

int val;    // variable to read the value from the analog pin
int val1;
int val2;
int val3;

void setup() {
  myservo.attach(8);  // attaches the servo on pin 8 to the servo object
  myservo.attach(9);
  myservo.attach(10);
  myservo.attach(11);
}

void loop() {
  val = analogRead(potpin);            // reads the value of the potentiometer (value between 0 and 1023)
  val = map(val, 0, 1023, 0, 180);     // scale it to use it with the servo (value between 0 and 180)
  myservo.write(val);                  // sets the servo position according to the scaled value
  delay(15);                           // waits for the servo to get there

  val1 = analogRead(potpin1);
  val1 = map(val1, 0, 1023, 0, 180);
  myservo1.write(val1);
  delay(15);


  val2 = analogRead(potpin2);
  val2 = map(val2, 0, 1023, 0, 180);
  myservo2.write(val2);
  delay(15);


  val3 = analogRead(potpin3);
  val2 = map(val3, 0, 1023, 0, 180);
  myservo3.write(val3);
  delay(15);

}
Custom parts and enclosures
eezybotarm_uVD6bjbxQi.zipSchematics