


Build a Recordable Cardboard Robot Arm – Easy DIY with Arduino & Servos
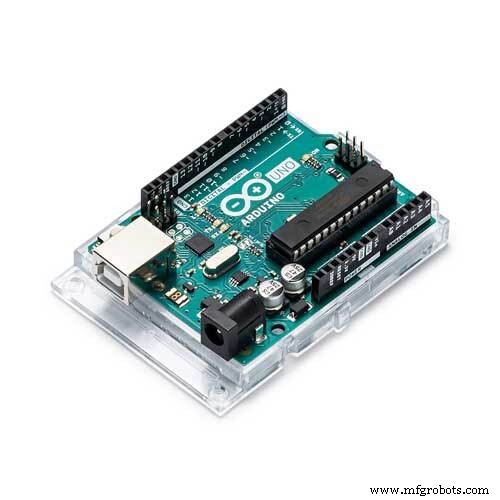
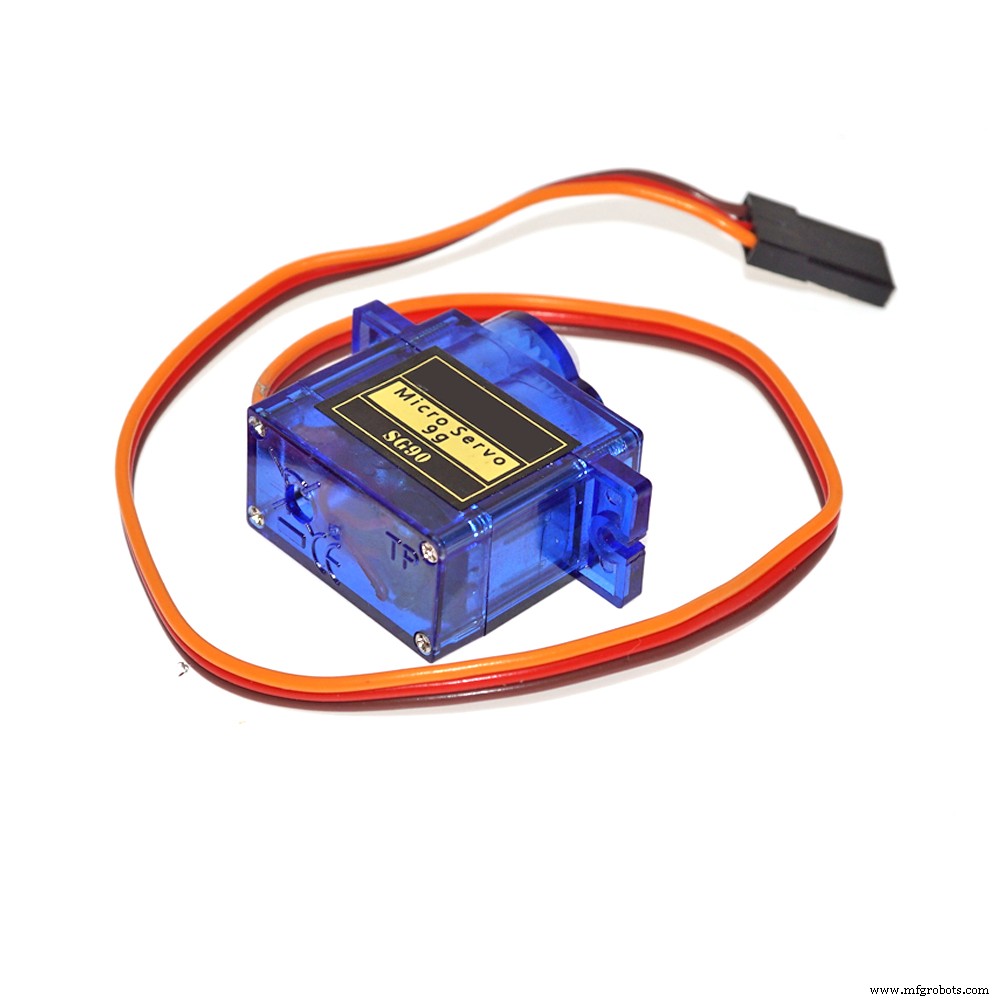
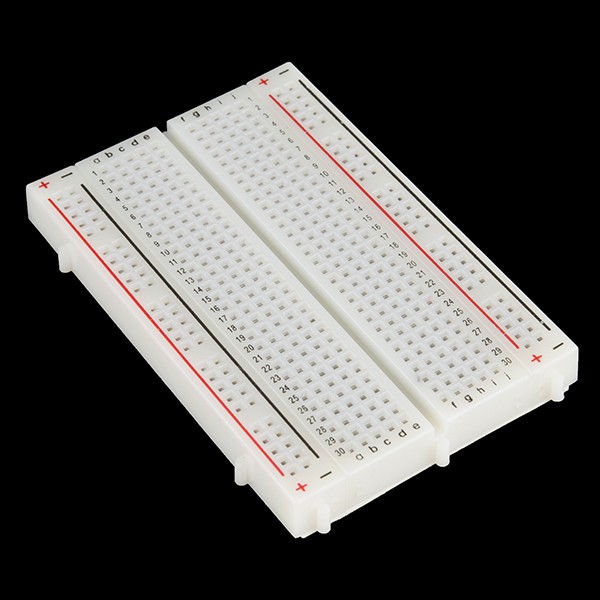
Components and supplies
 |
| × | 1 | |||
| × | 3 | ||||
 |
| × | 1 | |||
 |
| × | 1 | |||
| × | 1 |
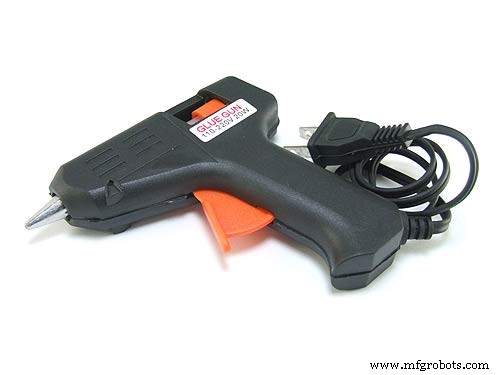
Necessary tools and machines
 |
|
Apps and online services
 |
| |||
|
About this project
AboutThis is a simple robotic arm that can record and replay positions. It is made from easily available materials, like cardboard and hot glue, which makes it easy to build.
You control the arm with a graphical interface on the computer that sends data to the Arduino that controls the arm. There are sliders to control each servo, and buttons to record positions and replay what you've recorded. You can also save and open past recordings.
Here's a demo of it in action:
Instructions1.) Download and print out the Cardboard Cutout Template in the Custom Parts and Enclosures section at the bottom of the page. Use that template to cut out the cardboard parts.
2.) Assemble the arm part using the video above as a guide. The build starts at 0:22 of the video.
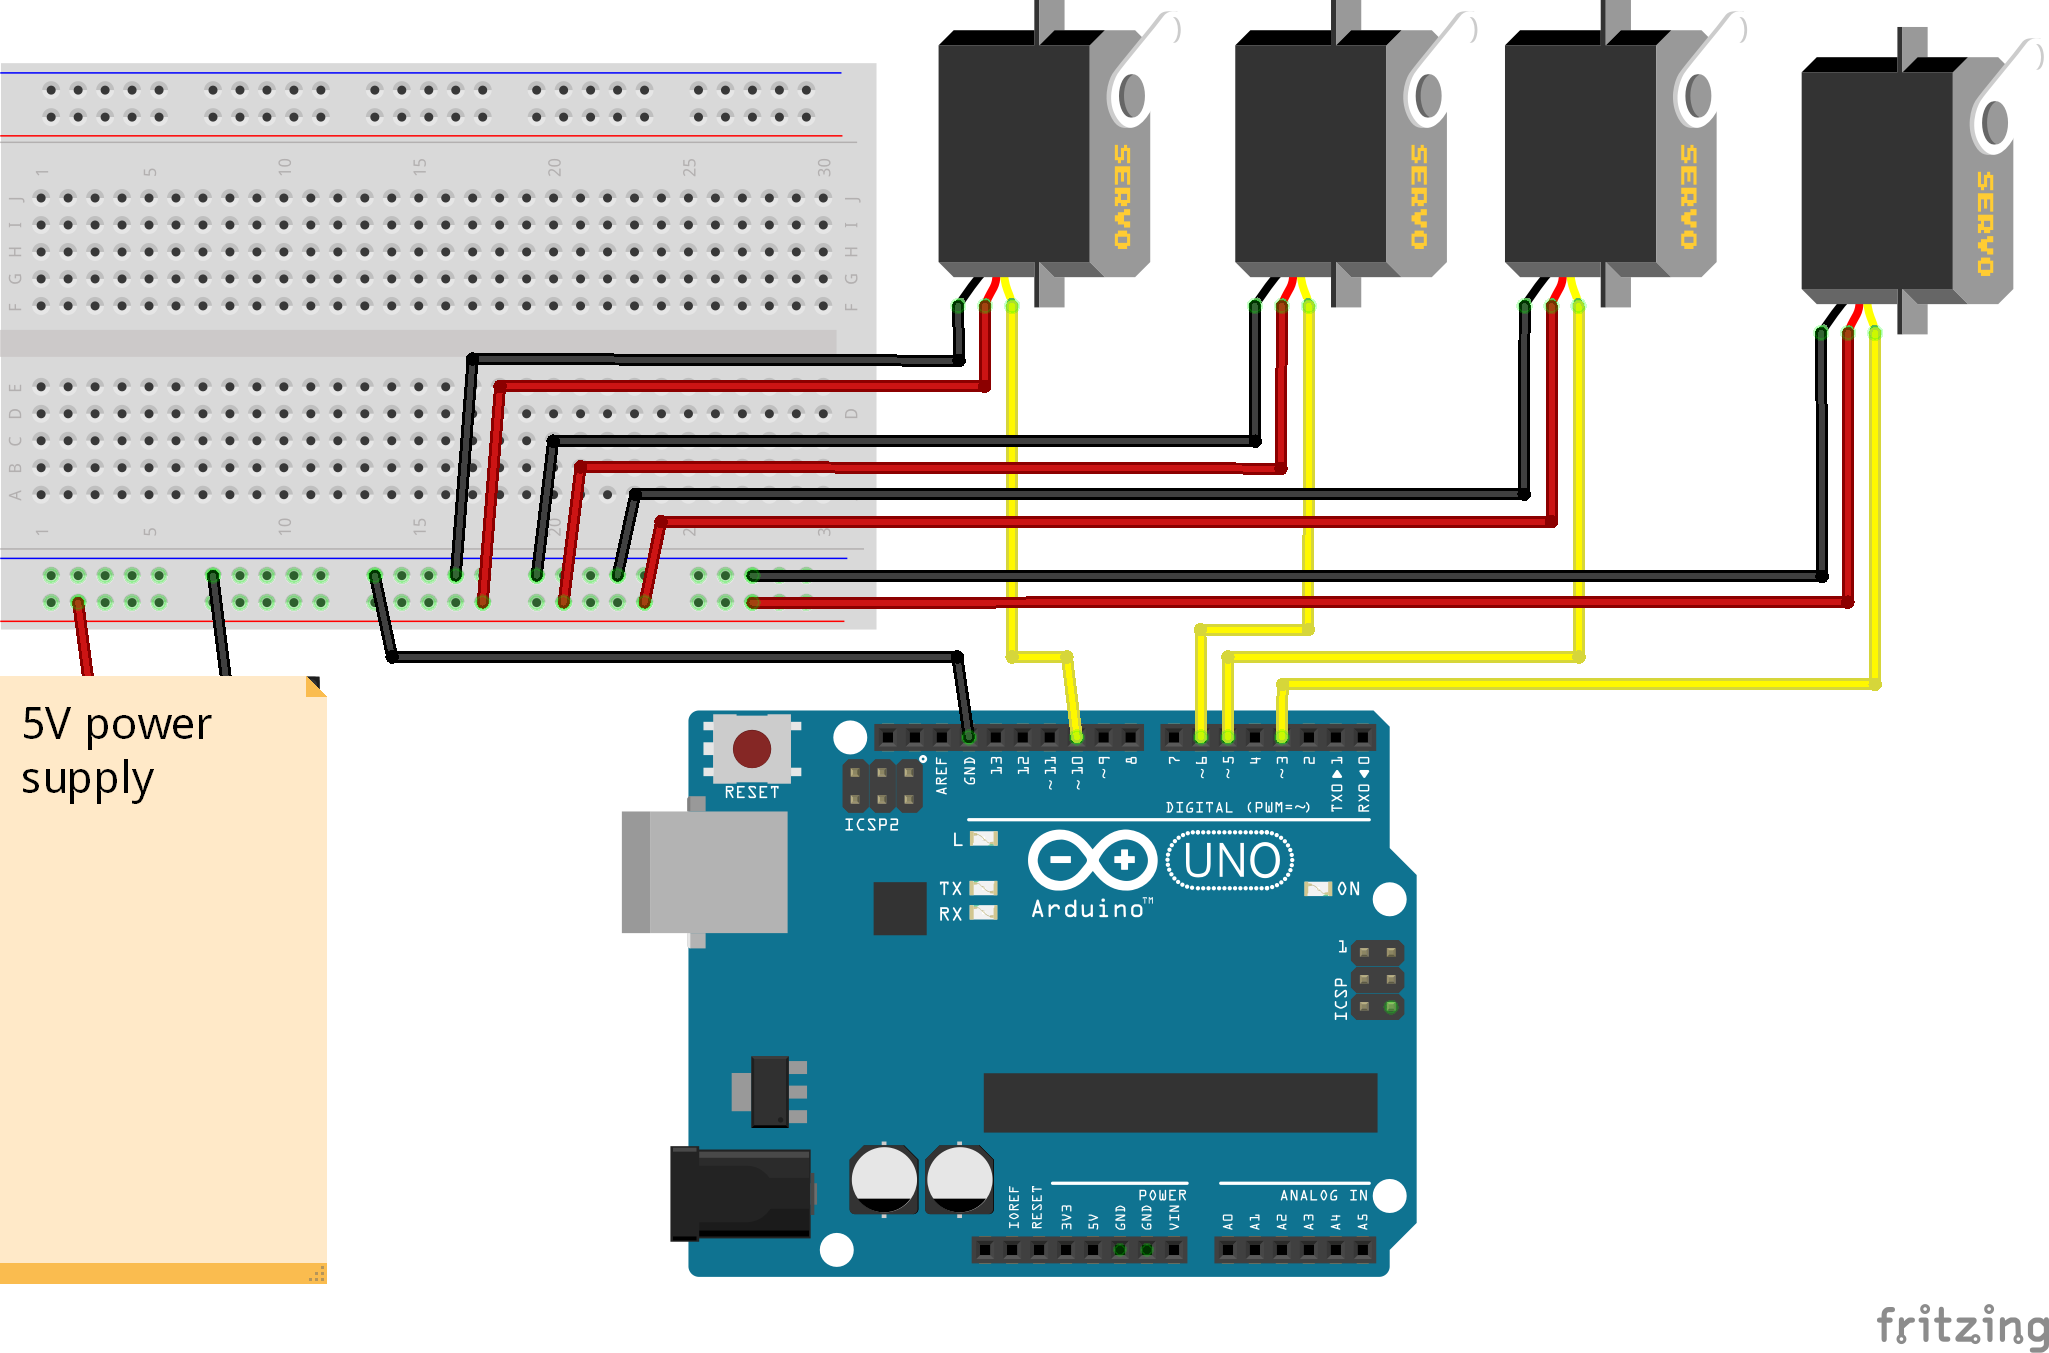
3.) Build the circuit based on the schematic at the bottom of the page.
4.) Download the "Robot Arm Arduino Code" at the bottom of the page in the Code Section in the second tab. Then upload that to the arm.
5.) Download the "Python User Interface" code at the bottom of the page in the Code Section in the first tab. Then, open it. You must have Python installed to run it, which can be downloaded from here: https://www.python.org/
You will also need the PySerial library for Python (https://pypi.org/project/pyserial/). You can install it by running "pip install pyserial".
6.) Plug in the arm, run the "Python User Interface" code, and type in the COM port of the Arduino (This can be found in Device Manager on Windows). Now you're ready to use it!
If it doesn't work, try to increase the time.sleep(0.15) on line 20 of the Python code to something higher, like 0.2 or 0.3
Code
- Python User Interface
- Robot Arm Arduino Code
Python User InterfacePython
from tkinter import *
from tkinter import filedialog
import serial
import time

port_opened=False

def set_port():
    global port_opened,arduino
    com_port= port_input.get()
    arduino=serial.Serial(com_port,9600)
    port_opened=True
    print ("COM port set to: "+com_port)

def send_positions(position):
    message = "{0:0=3d}".format(position[0])+"{0:0=3d}".format(position[1])+"{0:0=3d}".format(position[2])+"{0:0=3d}".format(position[3])+"{0:0=3d}".format(position[4])+"\n"
    arduino.write(str.encode(message))
    print(message, end='')
    time.sleep(0.2)

saved_positions = []

def save_positions():
    saved_positions.append([servo1_slider.get(), servo2_slider.get(), servo3_slider.get(), servo4_slider.get(), servo5_slider.get()]);
    print("saved positions: "+str(saved_positions))

def play_positions():
    for position in saved_positions:
        print("playing: "+str(position))
        send_positions(position);
        time.sleep(1)

def clear_all_positions():
    global saved_positions
    saved_positions = []
    print("cleared all positions")

def clear_last_positions():
    global saved_positions
    removed = saved_positions.pop()
    print("removed: "+str(removed))
    print("saved positions: "+str(saved_positions))

def open_file():
    global saved_positions
    filename = filedialog.askopenfilename(initialdir = "/", title = "Select a File", filetypes = (("Text files","*.txt*"),("all files","*.*")))
    file = open(filename, "r")
    data=file.read()
    saved_positions=eval(data)
    file.close()
    print("opened: "+filename)

def save_file():
    save_file = filedialog.asksaveasfile(mode='w', defaultextension=".txt")
    save_file.write(str(saved_positions))
    save_file.close()
    print("saved file")

def instructions():
    print("1.) Set the Arduino's COM port and click Enter. This can be found in Device Manager in Windows")
    print("2.) Move the arm's servos using the sliders")
    print("3.) To record a position, click on Record Position")
    print("4.) To replay the recorded positions, click on Replay Positions")
    print("\nTo save what you've recorded, got to File > Save File.")
    print("To open a previously saved file, got to File > Open File.")

window = Tk()
window.title("Robot Arm Controller 2")
window.minsize(355,300)

port_label=Label(window,text="Set Port:");
port_label.place(x=10,y=10);
port_input=Entry(window)
port_input.place(x=10,y=35)
port_button=Button(window, text="Enter", command=set_port)
port_button.place(x=135,y=32)

servo1_slider = Scale(window, from_=180, to=0)
servo1_slider.place(x=0, y=100)
servo1_label=Label(window,text="Servo 1")
servo1_label.place(x=10, y=80)

servo2_slider = Scale(window, from_=180, to=0)
servo2_slider.place(x=70, y=100)
servo2_label=Label(window,text="Servo 2")
servo2_label.place(x=80, y=80)

servo3_slider = Scale(window, from_=180, to=0)
servo3_slider.place(x=140, y=100)
servo3_label=Label(window,text="Servo 3")
servo3_label.place(x=150, y=80)

servo4_slider = Scale(window, from_=180, to=0)
servo4_slider.place(x=210, y=100)
servo4_label=Label(window,text="Servo 4")
servo4_label.place(x=220, y=80)

servo5_slider = Scale(window, from_=180, to=0)
servo5_slider.place(x=280, y=100)
servo5_label=Label(window,text="Servo 5")
servo5_label.place(x=290, y=80)

save_button=Button(window, text="Record Position", command=save_positions)
save_button.place(x=10,y=220)

clear_button=Button(window, text="Clear Last Position", command=clear_last_positions)
clear_button.place(x=120,y=220)

clear_button=Button(window, text="Clear All Positions", command=clear_all_positions)
clear_button.place(x=120,y=255)

play_button=Button(window, text="Replay Positions", command=play_positions, height=3)
play_button.place(x=250,y=220)

menubar = Menu(window)
filemenu = Menu(menubar, tearoff=0)
filemenu.add_command(label="Open File", command=open_file)
filemenu.add_command(label="Save File", command=save_file)
menubar.add_cascade(label="File", menu=filemenu)

editmenu = Menu(menubar, tearoff=0)
editmenu.add_command(label="Clear last position", command=clear_last_positions)
editmenu.add_command(label="Clear all positions", command=clear_all_positions)
menubar.add_cascade(label="Edit", menu=editmenu)

helpmenu = Menu(menubar, tearoff=0)
helpmenu.add_command(label="How to use (printed in console)", command=instructions)
menubar.add_cascade(label="Help", menu=helpmenu)

window.config(menu=menubar)

while True:
    window.update()
    if(port_opened):
        send_positions([servo1_slider.get(), servo2_slider.get(), servo3_slider.get(), servo4_slider.get(), servo5_slider.get()])
Robot Arm Arduino CodeArduino
#include <Servo.h>

Servo servo1;
Servo servo2;
Servo servo3;
Servo servo4;
Servo servo5;

int servoPositions[5];

void setup() {
  Serial.begin(9600);
  servo1.attach(3);
  servo2.attach(5);
  servo3.attach(6);
  servo4.attach(9);
  servo5.attach(10);
}

void loop() {
  while(Serial.available()){
    String input = Serial.readStringUntil('\n');
    servoPositions[0] = input.substring(0,3).toInt();
    servoPositions[1] = input.substring(3,6).toInt();
    servoPositions[2] = input.substring(6,9).toInt();
    servoPositions[3] = input.substring(9,12).toInt();
    servoPositions[4] = input.substring(12,15).toInt();
  }

  servo1.write(servoPositions[0]);
  servo2.write(servoPositions[1]);
  servo3.write(servoPositions[2]);
  servo4.write(servoPositions[3]);
  servo5.write(servoPositions[4]);

  delay(500);
}
Custom parts and enclosures
Schematics
Manufacturing process
- Find Me: Smart Item Locator with Arduino and Bluetooth
- Build a Functional Arduino-Powered 3D‑Printed Robotic Arm – Step‑by‑Step Guide
- PiBot: The Arduino‑Powered Piano Robot for Precision Music Performance
- LittleArm 2C: Build a Durable 3D‑Printed Arduino Robot Arm for STEM Education
- Build a Custom Arduino Joystick Steering Wheel for Gaming
- Control Your Arduino Robot Arm via a Dedicated Android App
- PhoneLocator: Securely Locate Your Phone Anywhere
- Build the Simplest Arduino Line‑Following Robot with SparkFun L298
- Remote Control of a 6‑DOF Arduino Robot Arm via Web Interface
- Build a Wire‑Free Arduino Robot Arm, Controlled from Your Smartphone