


Real‑Time Weather Monitoring with Arduino & ThingSpeak IoT
Components and supplies
 |
| × | 1 | |||
 |
| × | 1 | |||
 |
| × | 1 | |||
 |
| × | 1 | |||
 |
| × | 1 | |||
 |
| × | 1 |
Apps and online services
 |
| |||
 |
| |||
 |
|
About this project
THINGSPEAK ARDUINO WEATHER STATIONDipping your feet in IoT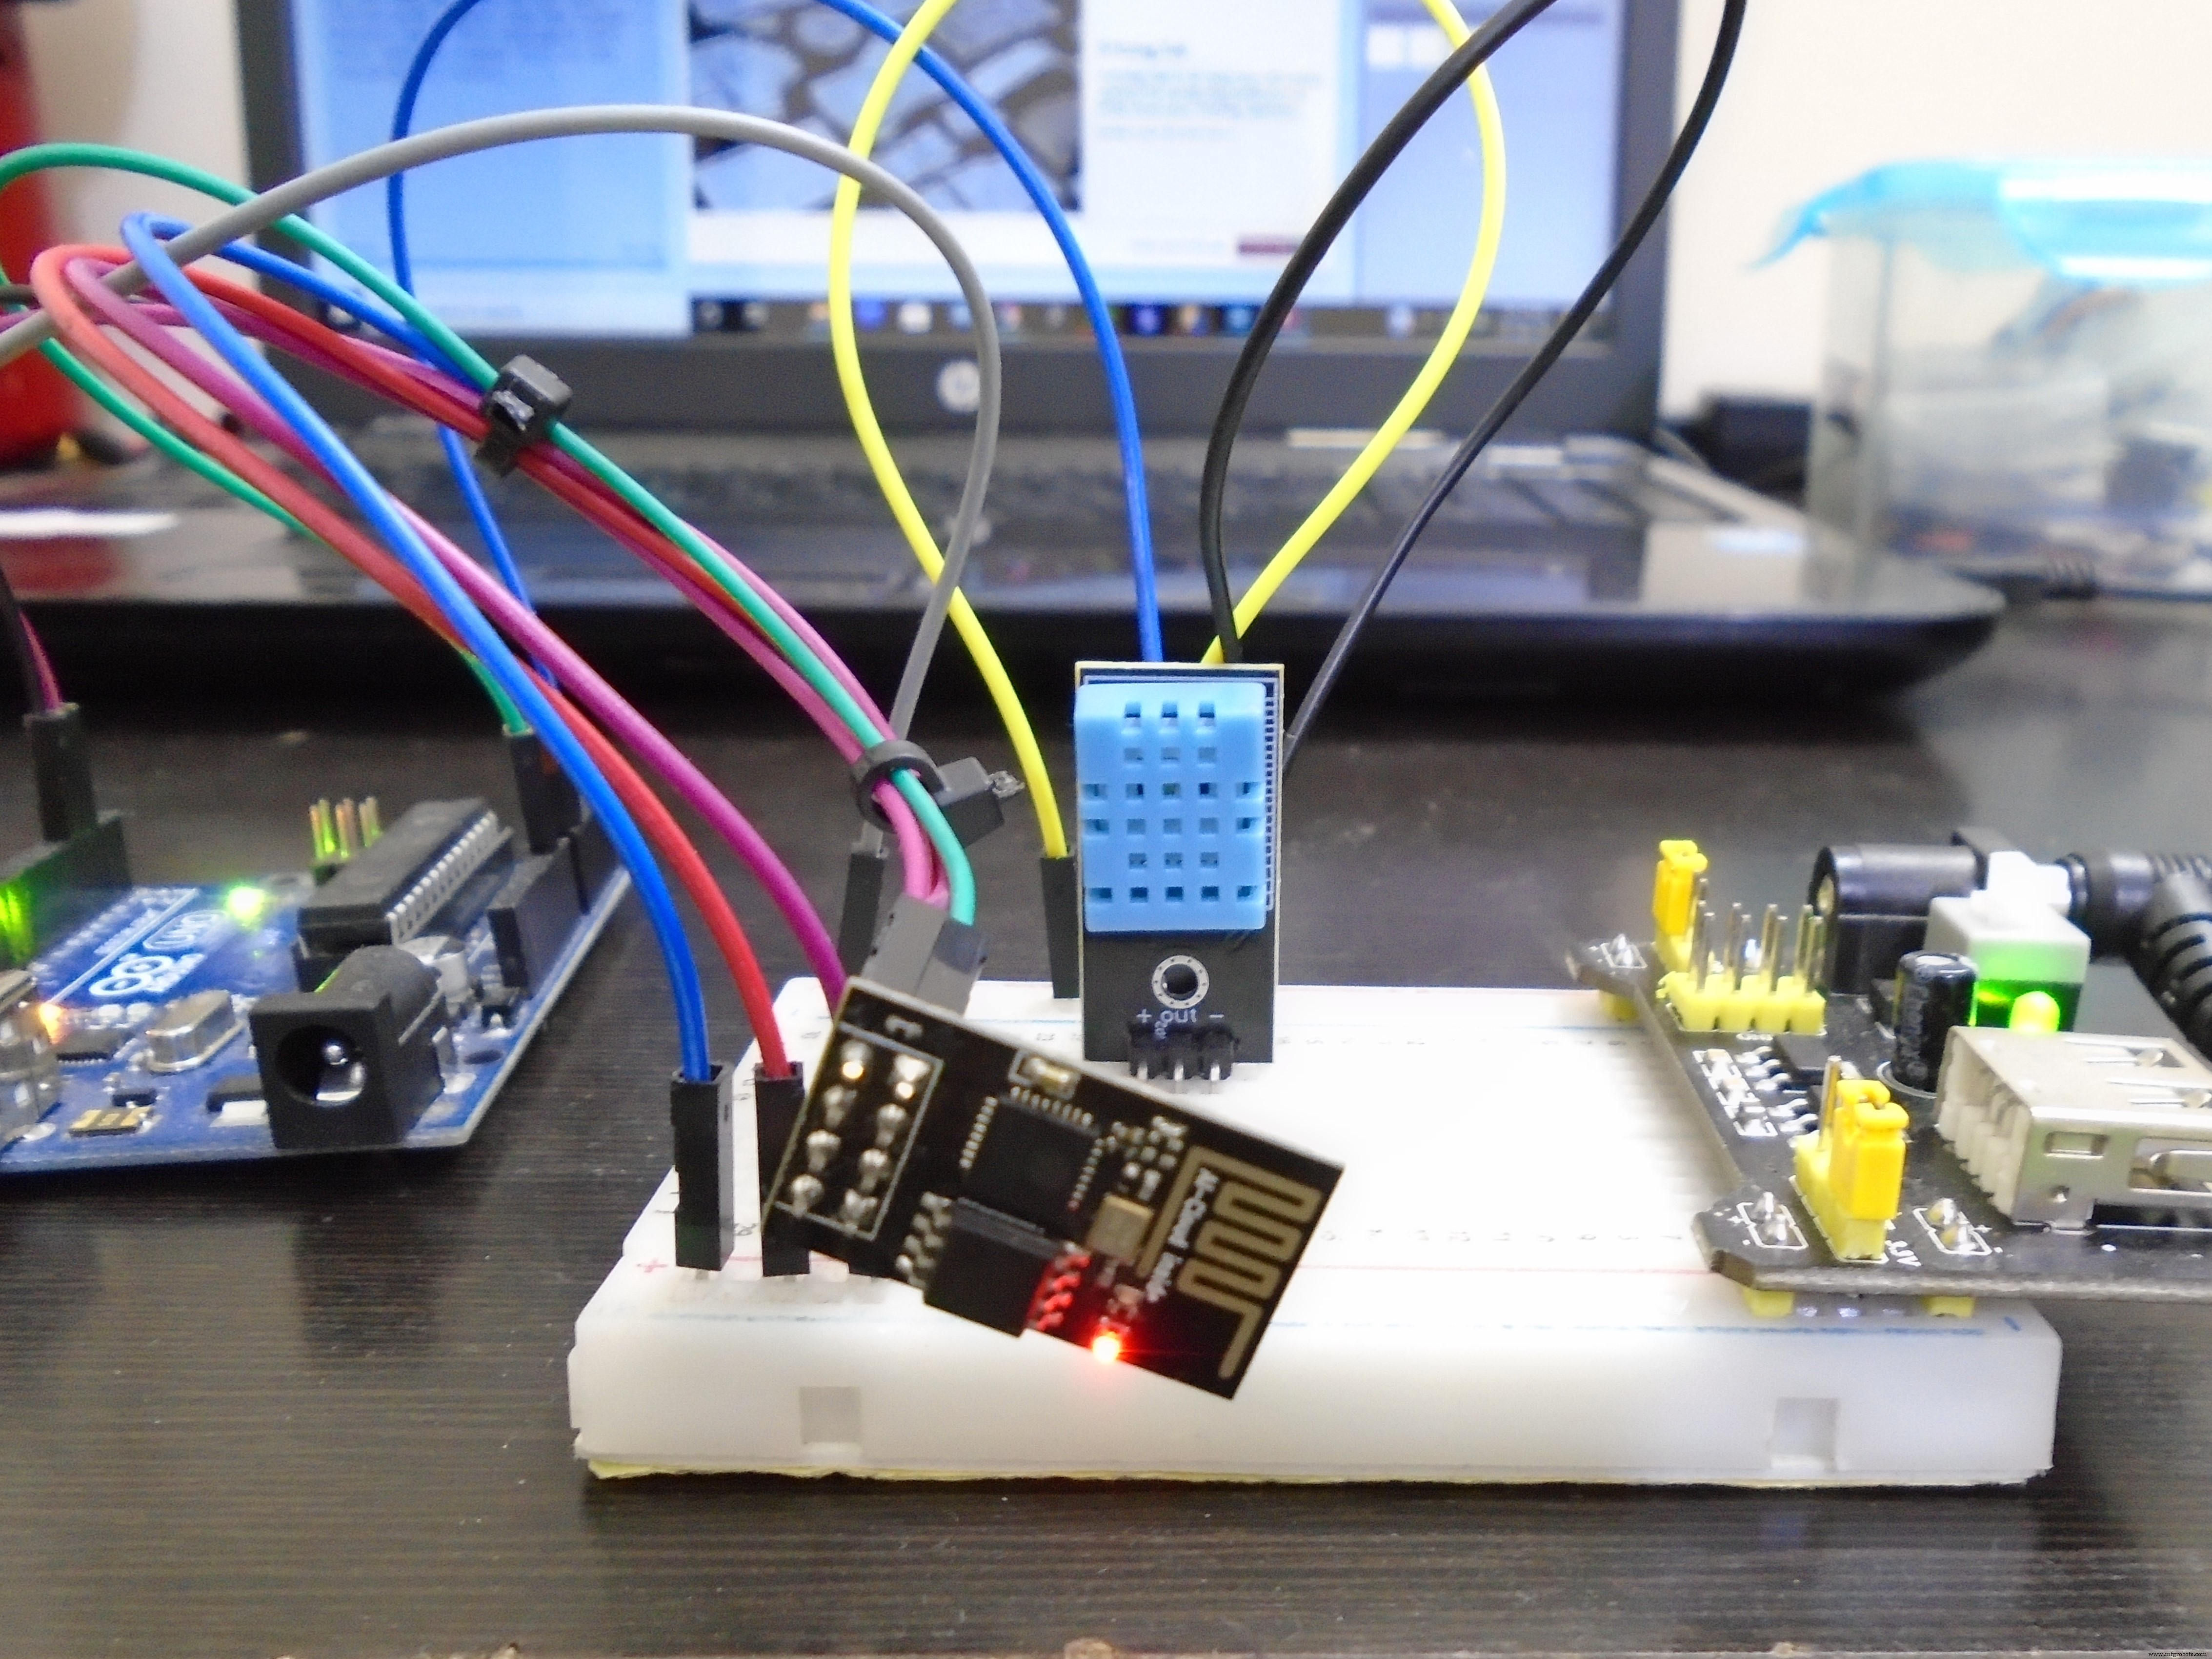
Dipping your feet in IoT can be challenging as a beginner, not knowing where to start from the vast options available. God Bless Thingspeak. This blog will walk you through your first Thingspeak IoT project which is :
a) Cheap and accessible
b) Easy to understand
c) RAD COOL.
The project - A temperature and humidity sensor beaming data to the Thingspeak Cloud using an Arduino and a ESP - 01 wifi module.
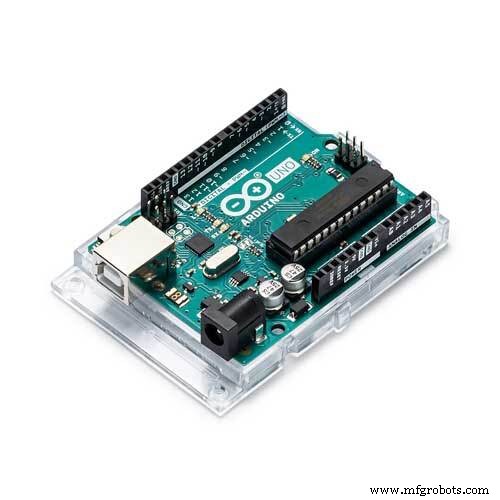
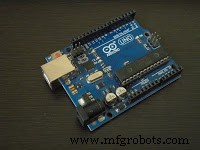
Things you'll need1. Arduino UNO
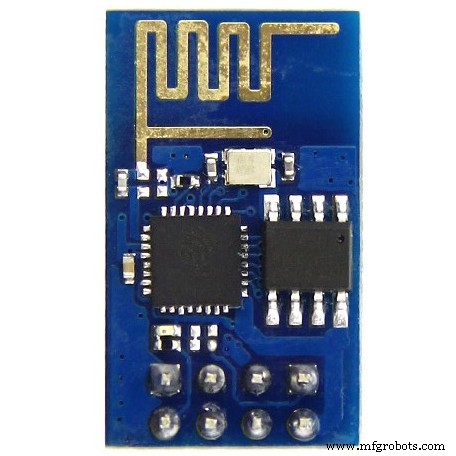
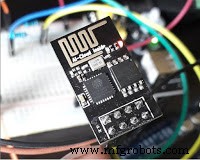
2. ESP - 01
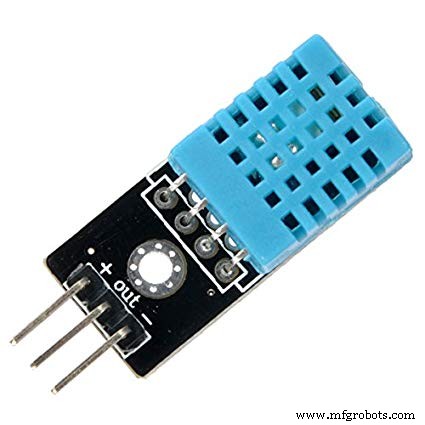
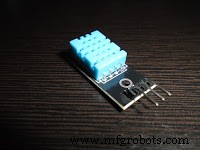
3.DHT-11 sensor
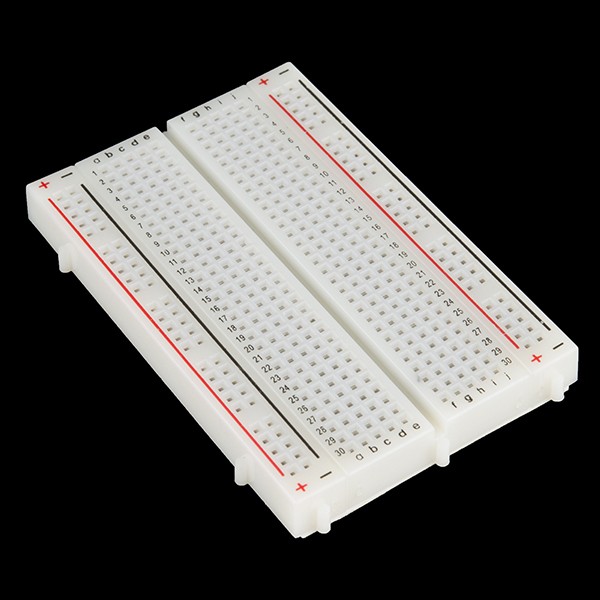
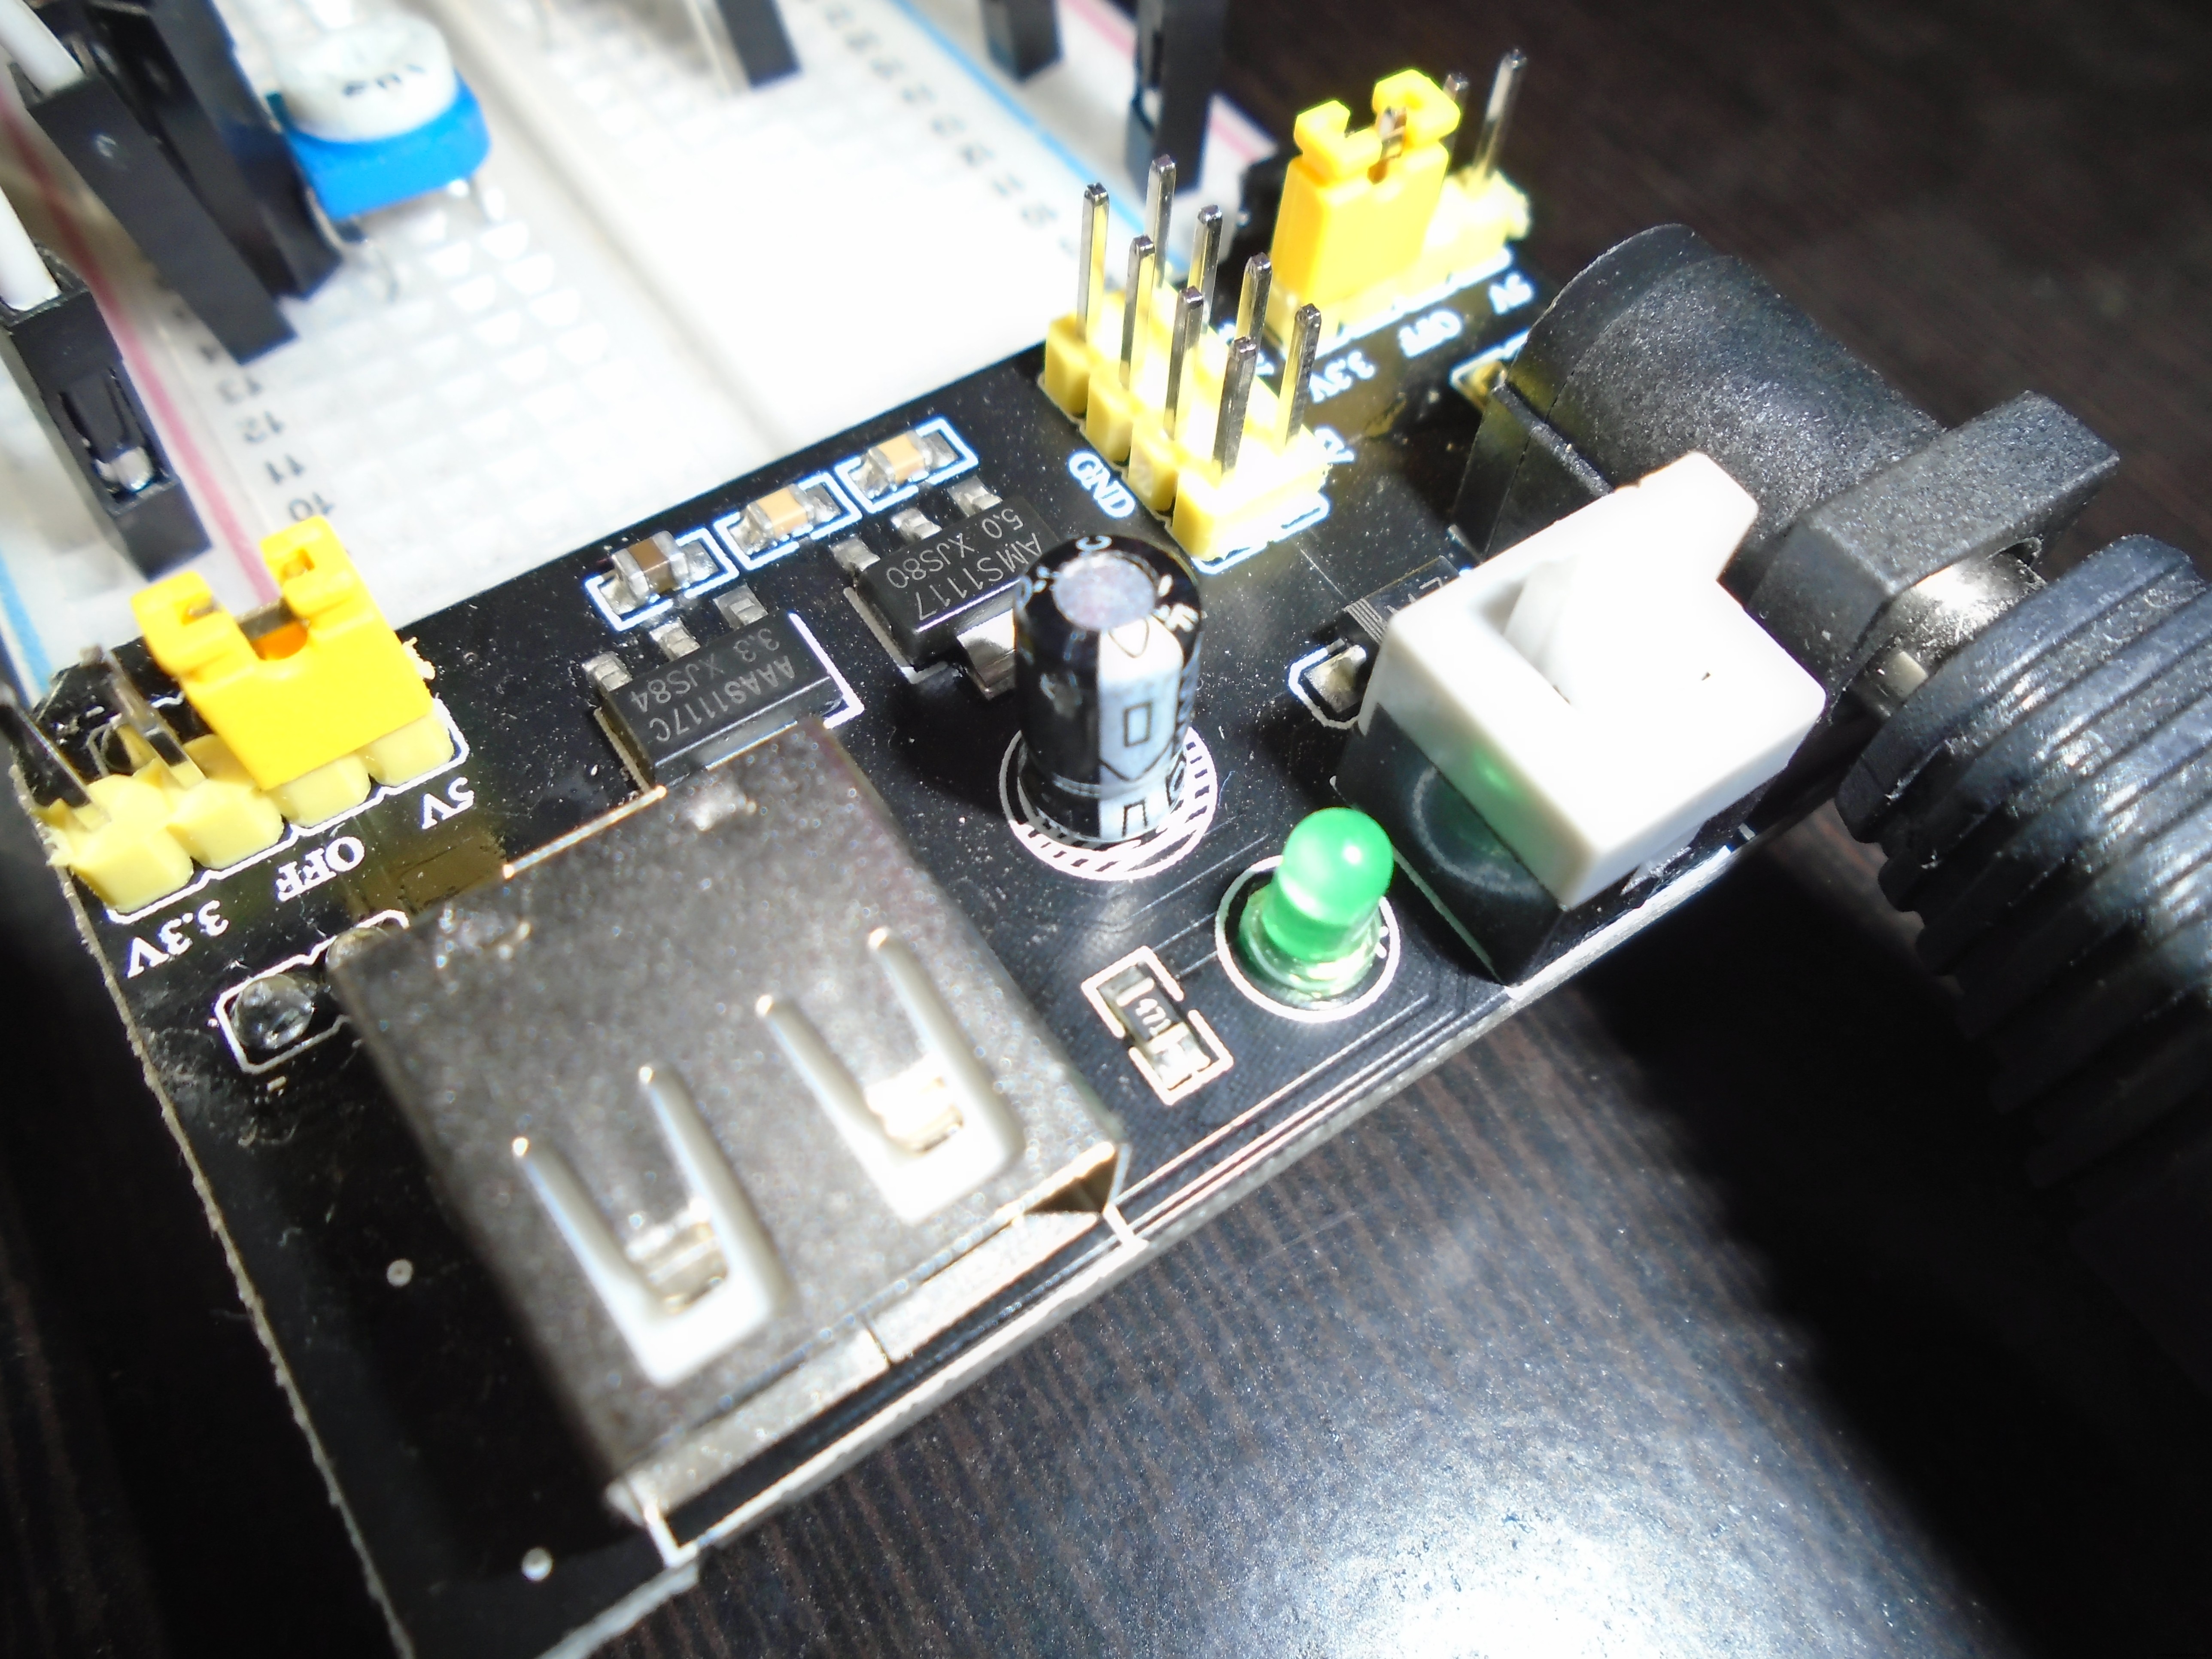
4.Breadboard
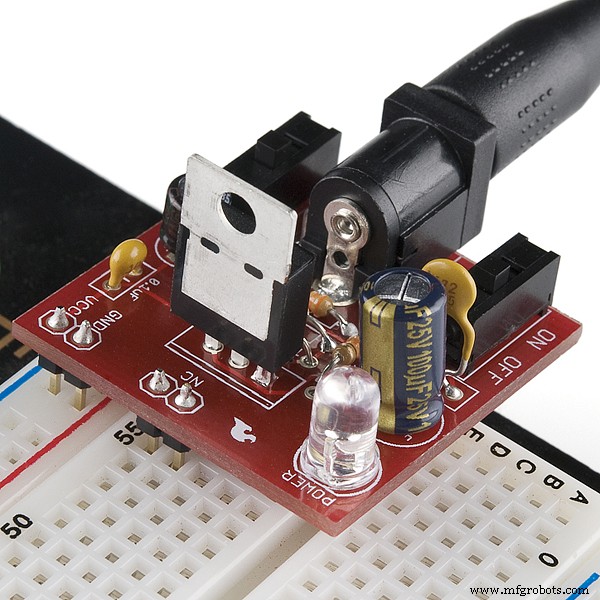
5.Breadboard Power Supply
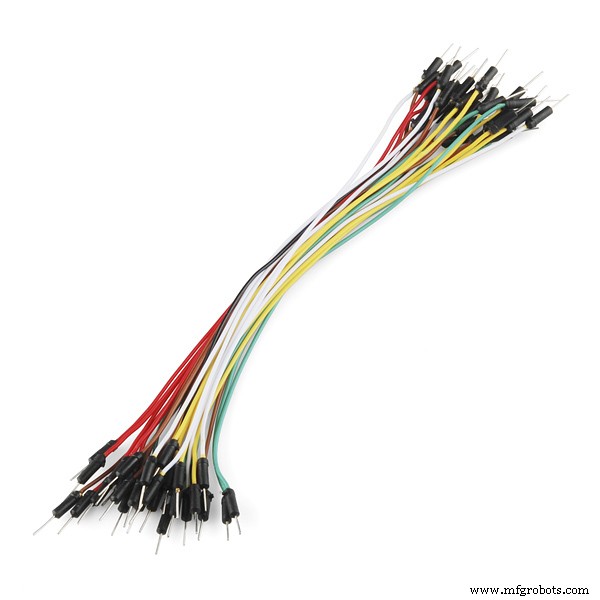
5. Connecting Wires.
NOTE - Now you could use your arduino to power the sensor and the wifi module but a external source like a Breadboard Power Supply module will be better because the peak current demands of the wifi module in operation cannot be met by the board. I've tried trust me
Alrighty let's dive right in.
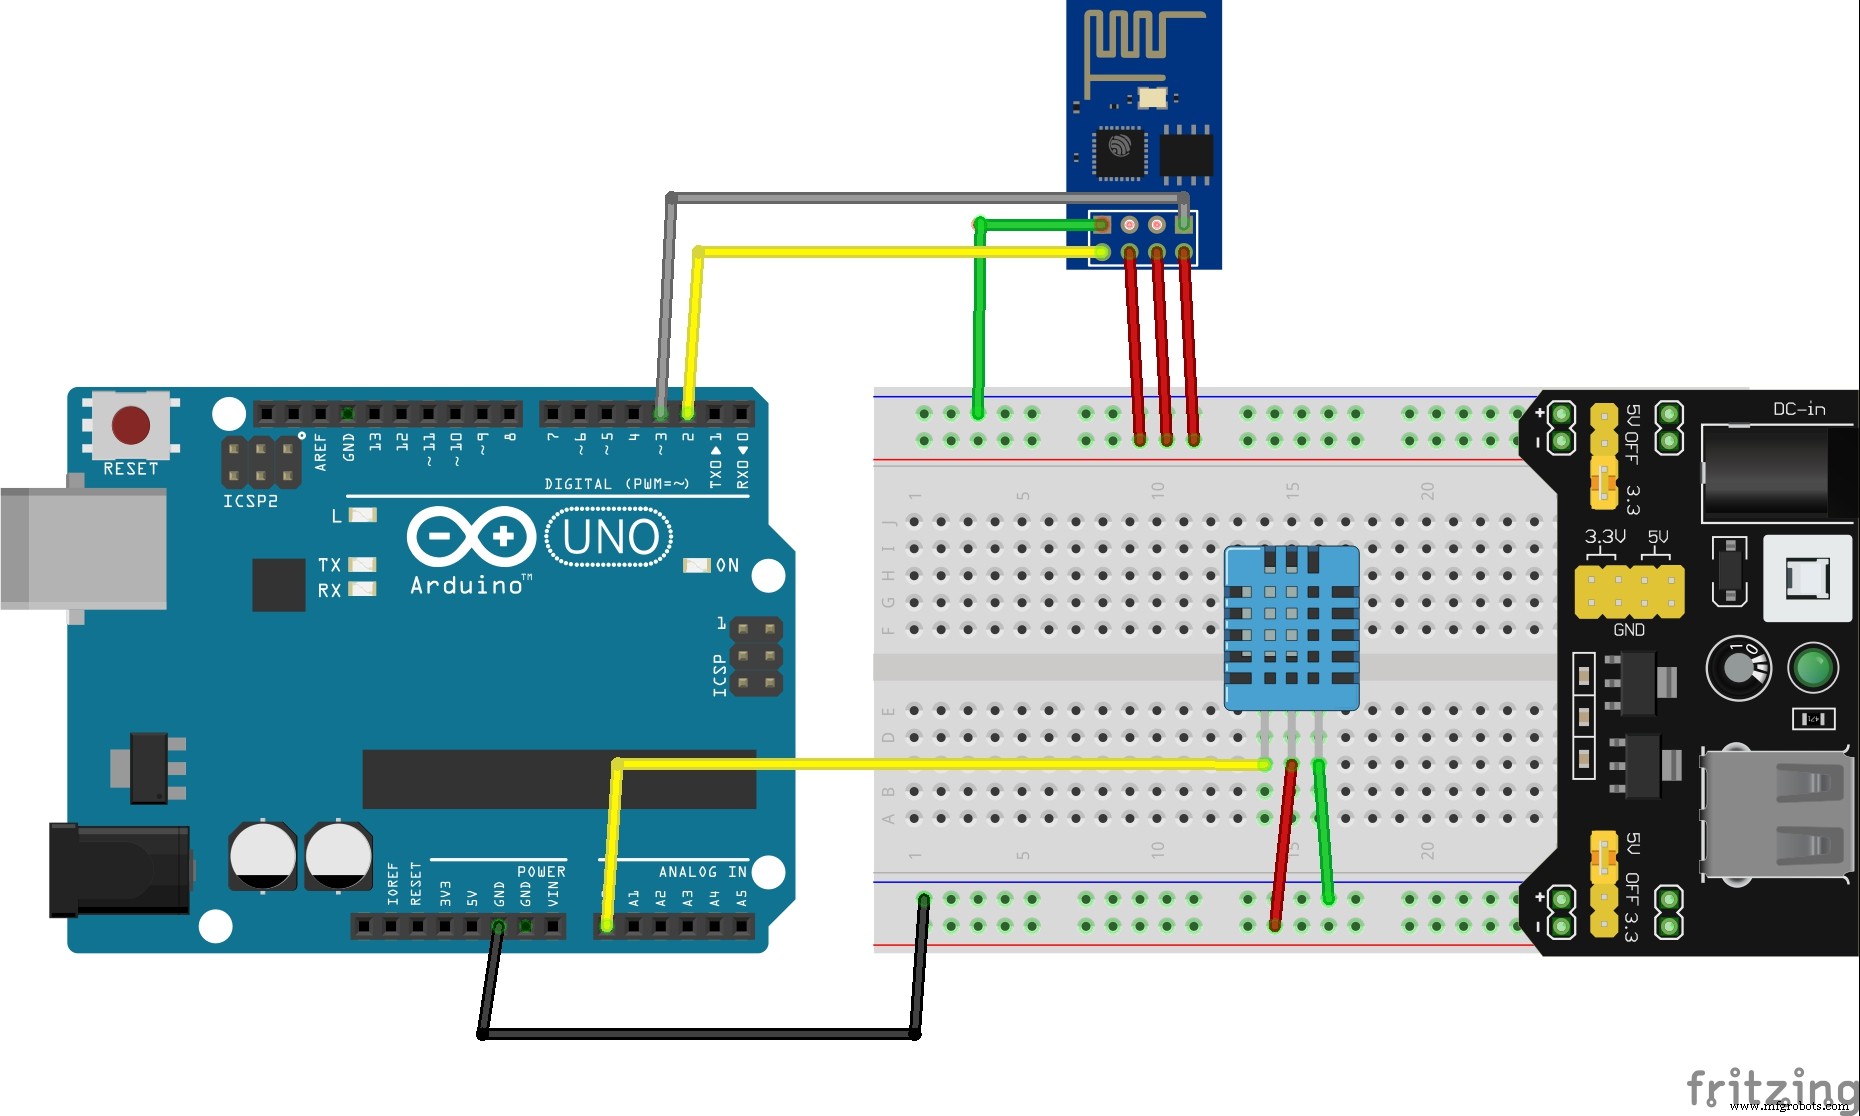
CONNECTIONS
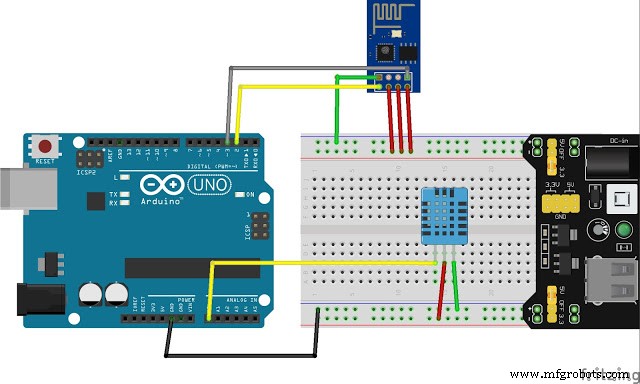
ESP -01
1. VCC - 3.3V
2. GND - GND
3. CH_PD - 3.3V
4. RESET - 3.3V
5. TX - 2 ( Arduino)
6. RX - 3 (Arduino)
DHT - 11
1. VCC - 5V
2. OUT - A0
3. GND - GND
Don't forget to set the jumper to 3.3V on the Breadboard Power Supply.
Now power on everything and if nothing burns or smokes out, so far so good.
SETTING UP THINGSPEAKGo to the thingspeak home page.

Sign up and create a New Channel with two fields Temperature and Humidity.
On creating a new channel, you'll get something called the API Keys.
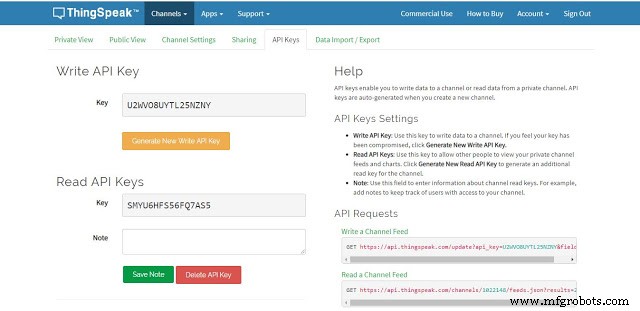
We'll use these later down the line.
SETTING UP THE ARDUINO IDENow this step is key to getting the code running. LIBRARIES.
You'll use two in the code and a third to use the ones in the code.
Highlighted in the red box.
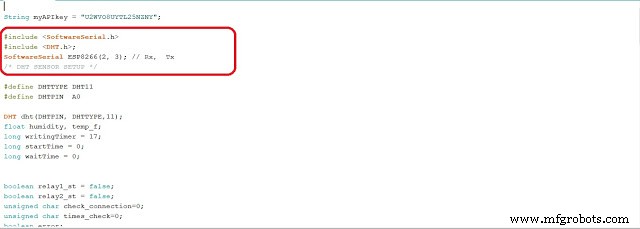
SoftwareSerial.h is an inbuilt library so no problems there.
1. The libraries you need to install on your own are the Adafruit Unified Sensor Library and the DHT sensor library. Download links
DHT Sensor by adafruit- https://github.com/adafruit/DHT-sensor-library
Adafruit Unified Sensor Library- https://github.com/adafruit/Adafruit_Sensor
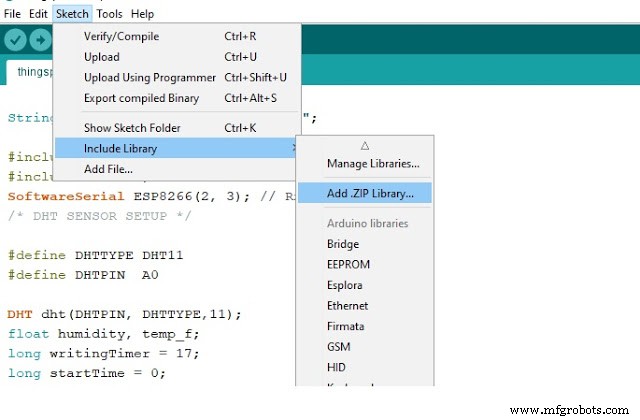
2. Download both and add them using the Add.ZIP Library feature in the IDE.
The code is here - https://github.com/imalwaysontheinternet/Weather-StasionOr just copy the code from here and paste it in your sketch.
There are a few things to do in the code before you upload it.
1. Paste your Write API key here

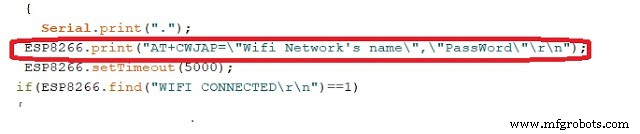
2. Enter your Wifi SSID and Password here.
Upload the code. If all was done correctly, your Thingspeak Channel should look like this.
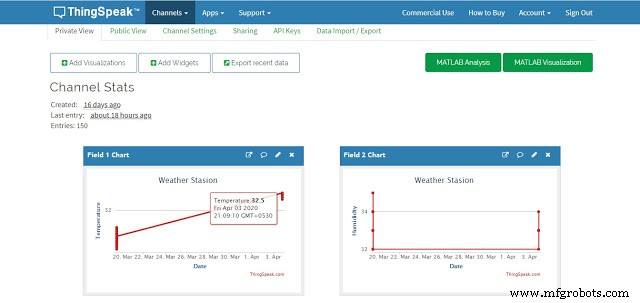
Note there's an interval of 15 seconds between updates to the graphs.
If it still doesn't work write your problems in the comments below we're always happy to help. Visit virginrobotics.blogspot.com for any queries and more projects like this.
Code
- CODE
CODEArduino
String myAPIkey = "Your Write API key here";

#include <SoftwareSerial.h>
#include <DHT.h>;
SoftwareSerial ESP8266(2, 3); // Rx,  Tx

#define DHTTYPE DHT11
#define DHTPIN  A0

DHT dht(DHTPIN, DHTTYPE,11);
float humidity, temp_f;
long writingTimer = 17;
long startTime = 0;
long waitTime = 0;


boolean relay1_st = false;
boolean relay2_st = false;
unsigned char check_connection=0;
unsigned char times_check=0;
boolean error;

void setup()
{
  Serial.begin(9600);
  ESP8266.begin(9600);
   dht.begin();
  startTime = millis();
  ESP8266.println("AT+RST");
  delay(2000);
  Serial.println("Connecting to Wifi");
   while(check_connection==0)
  {
    Serial.print(".");
  ESP8266.print("AT+CWJAP=\"Wifi Network's name\",\"PassWord\"\r\n");
  ESP8266.setTimeout(5000);
 if(ESP8266.find("WIFI CONNECTED\r\n")==1)
 {
 Serial.println("WIFI CONNECTED");
 break;
 }
 times_check++;
 if(times_check>3)
 {
  times_check=0;
   Serial.println("Trying to Reconnect..");
  }
  }
}

void loop()
{
  waitTime = millis()-startTime;
  if (waitTime > (writingTimer*1000))
  {
    readSensors();
    writeThingSpeak();
    startTime = millis();
  }
}


void readSensors(void)
{
  temp_f = dht.readTemperature();
  humidity = dht.readHumidity();
}


void writeThingSpeak(void)
{
  startThingSpeakCmd();
  // preparacao da string GET
  String getStr = "GET /update?api_key=";
  getStr += myAPIkey;
  getStr +="&field1=";
  getStr += String(temp_f);
  getStr +="&field2=";
  getStr += String(humidity);
  getStr += "\r\n\r\n";
  GetThingspeakcmd(getStr);
}

void startThingSpeakCmd(void)
{
  ESP8266.flush();
  String cmd = "AT+CIPSTART=\"TCP\",\"";
  cmd += "184.106.153.149"; // api.thingspeak.com IP address
  cmd += "\",80";
  ESP8266.println(cmd);
  Serial.print("Start Commands: ");
  Serial.println(cmd);

  if(ESP8266.find("Error"))
  {
    Serial.println("AT+CIPSTART error");
    return;
  }
}

String GetThingspeakcmd(String getStr)
{
  String cmd = "AT+CIPSEND=";
  cmd += String(getStr.length());
  ESP8266.println(cmd);
  Serial.println(cmd);

  if(ESP8266.find(">"))
  {
    ESP8266.print(getStr);
    Serial.println(getStr);
    delay(500);
    String messageBody = "";
    while (ESP8266.available())
    {
      String line = ESP8266.readStringUntil('\n');
      if (line.length() == 1)
      {
        messageBody = ESP8266.readStringUntil('\n');
      }
    }
    Serial.print("MessageBody received: ");
    Serial.println(messageBody);
    return messageBody;
  }
  else
  {
    ESP8266.println("AT+CIPCLOSE");
    Serial.println("AT+CIPCLOSE");
  }
}
Schematics
Code
https://github.com/imalwaysontheinternet/Weather-StasionManufacturing process
- Advanced Weather Station v2.0: Real‑Time Temperature, Pressure, Humidity & Altitude Monitoring
- Find Me: Smart Item Locator with Arduino and Bluetooth
- Build a $10 Portable Arduino Weather Station (AWS) – Easy DIY with Nano, DHT22, BMP180 & LCD
- Build a Reliable Arduino Weather Station with DHT Sensors
- Build a Compact Weather Station with Arduino Nano – Easy DIY Guide
- Build a Smart Weather Station with Arduino UNO and AWS Integration
- Build a Simple Weather Station with Arduino UNO, BMP280 Sensor & LCD
- Arduino Wireless Weather Station: DIY Portable Weather Monitoring Kit
- Build a Reliable Personal Weather Station with Arduino, ESP8266, and ThingSpeak
- Build a Reliable Arduino-Based Wireless Weather Station