


Build a Reliable Arduino Weather Station with DHT Sensors
Components and supplies
 |
| × | 1 | |||
 |
| × | 1 | |||
 |
| × | 1 | |||
 |
| × | 1 |
About this project
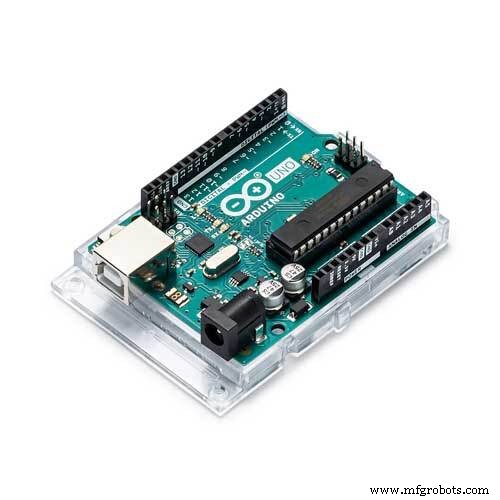
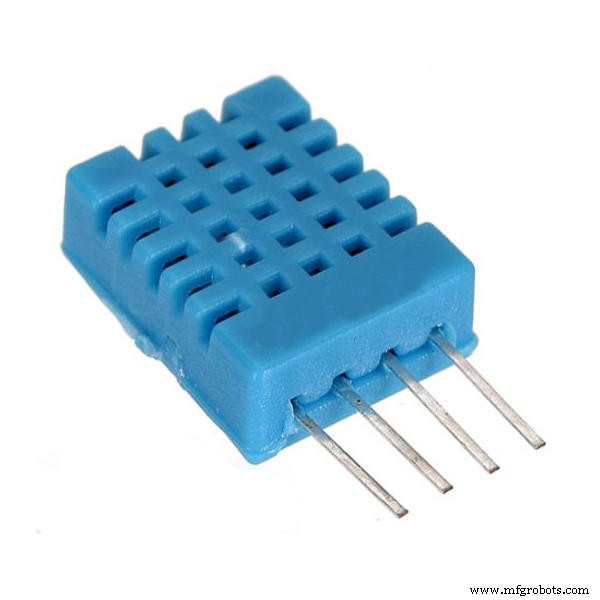
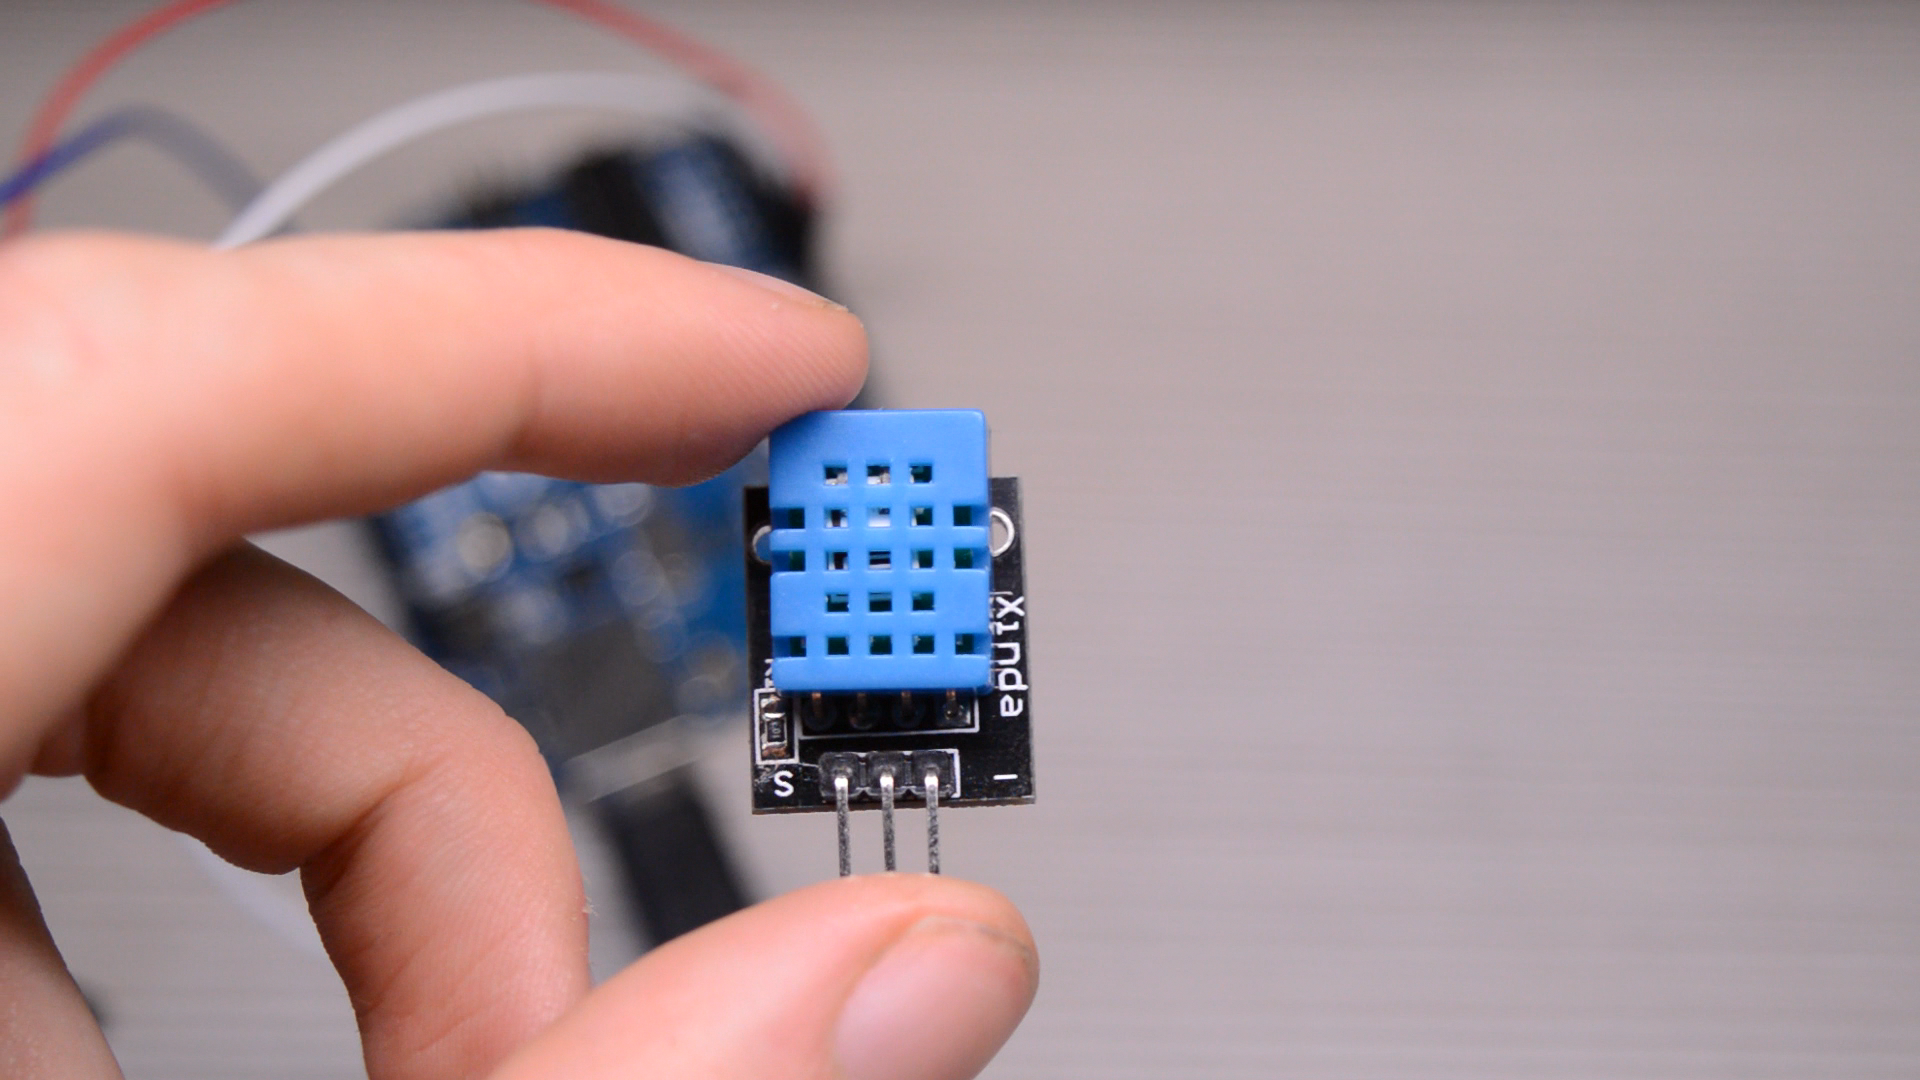
IntroI built an Arduino Weather Station. It uses a DHT 11 (it will also work with DHT21 DHT22).
I explain everything in this video. So it might be easier for you if you watch it!
First Sketch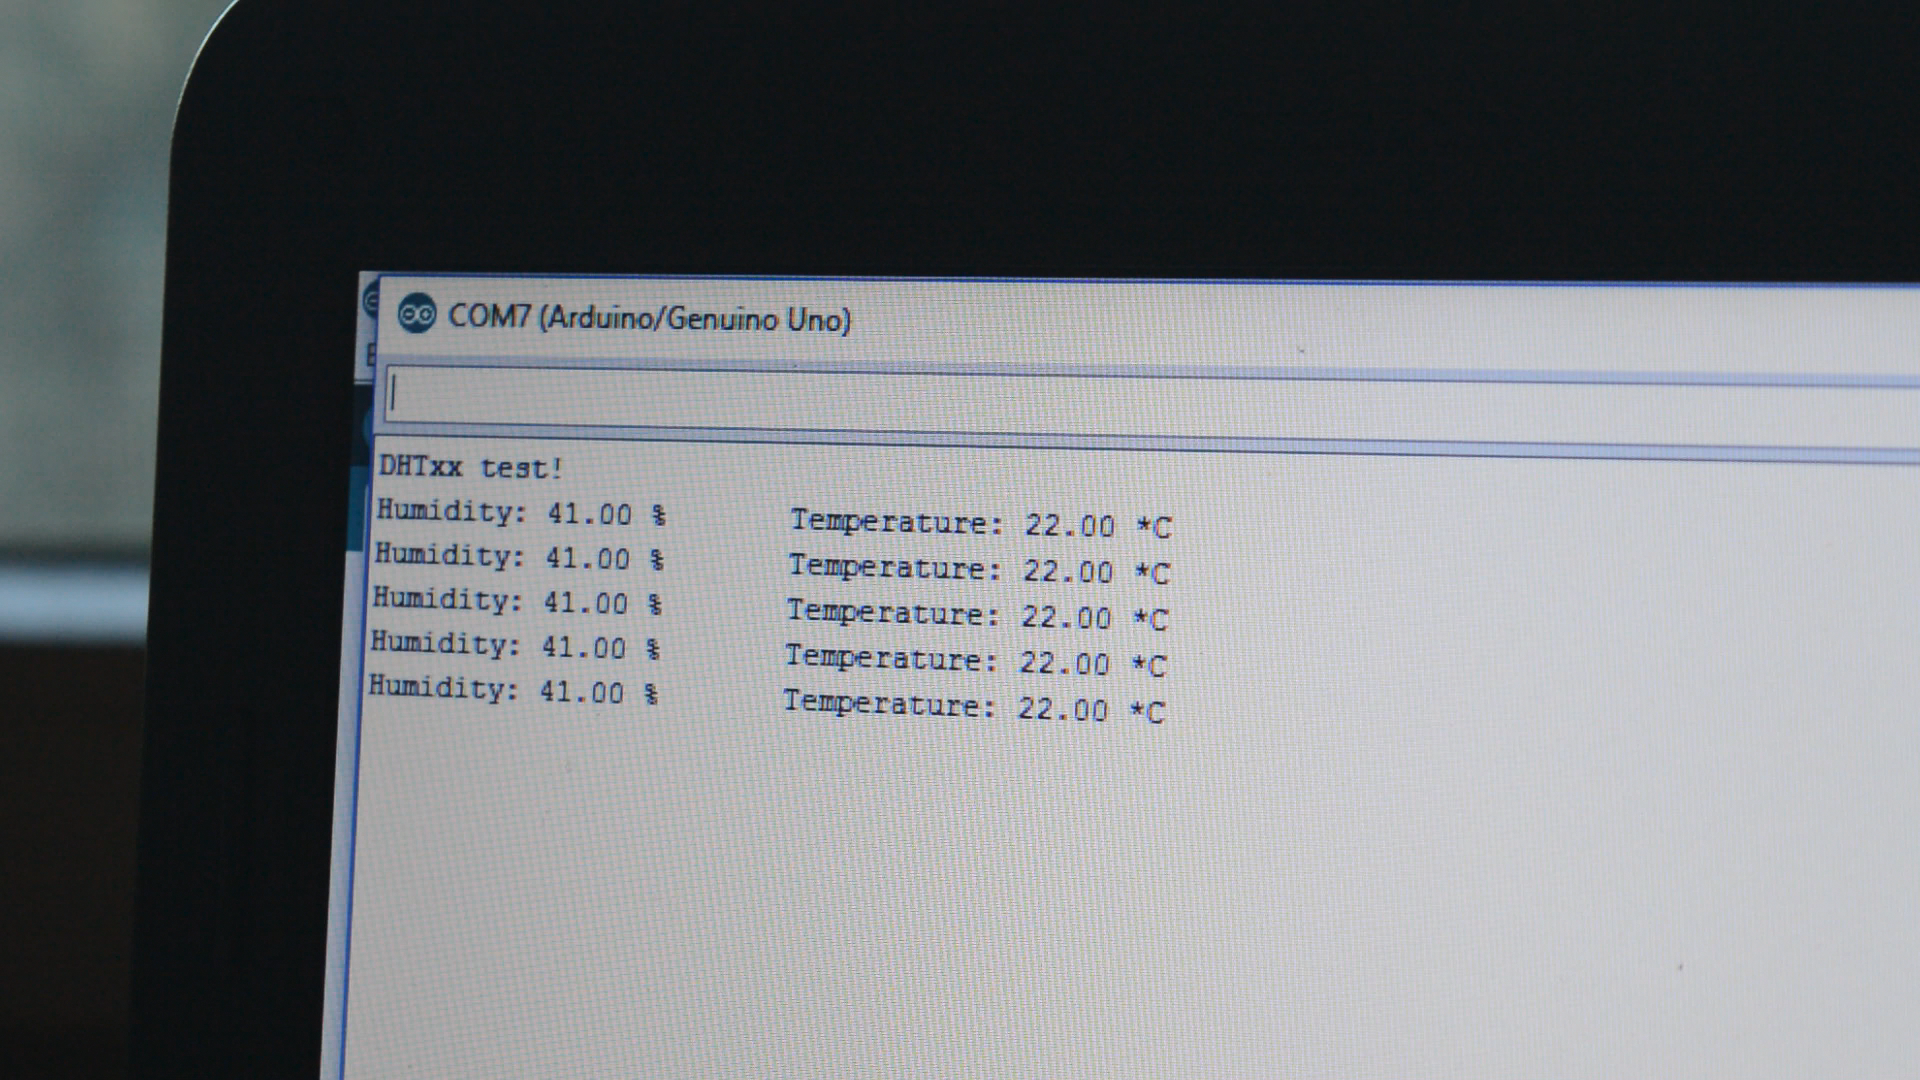
The first sketch displays the sensor values to the Serial Monitor.
Sensor:
- pin 1 - 5
- pin 2 - 5v
- pin 3 - GND
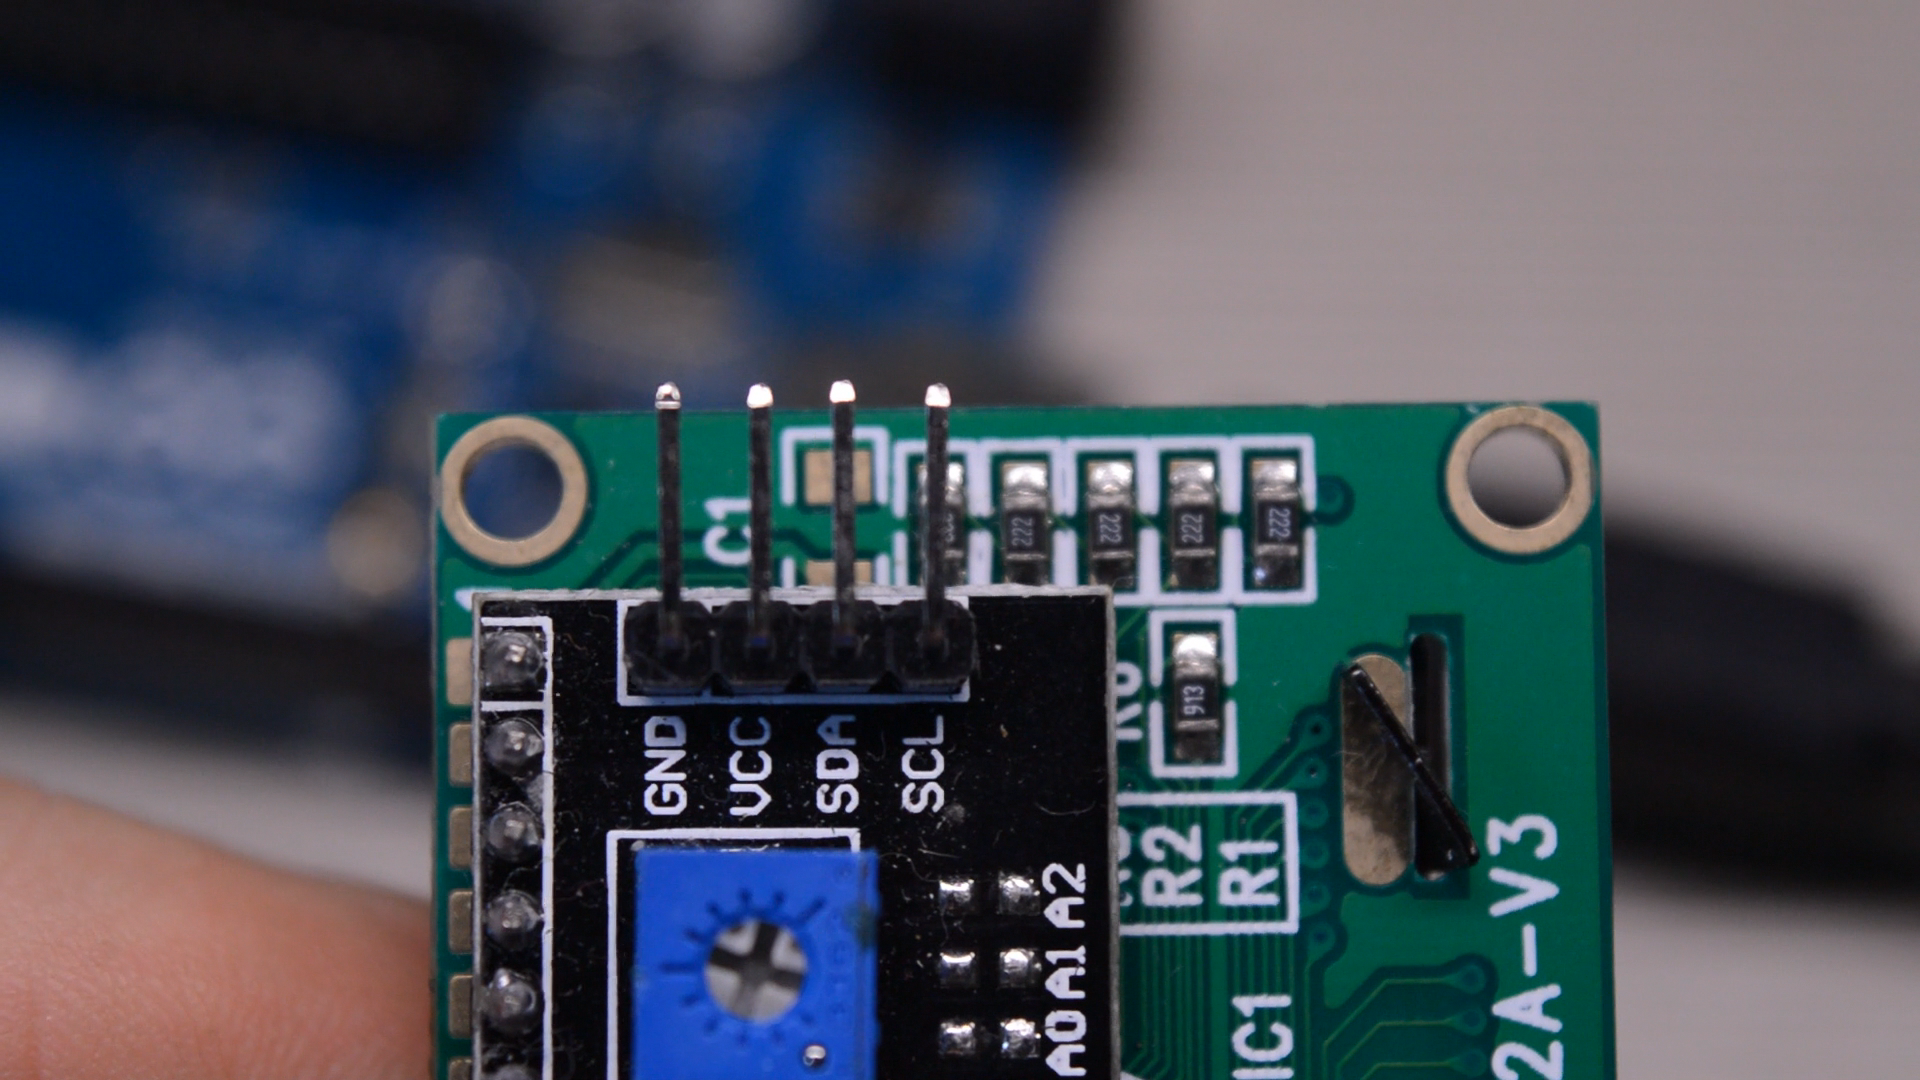
In this sketch we are going to display the values onto an LCD. I used an I²C LCD for this project.
Sensor:
- pin 1 - 5
- pin 2 - 5v
- pin 3 - GND
LCD:
- SDA - A4
- SCL - A5
- GND - GND
- VCC - 5V
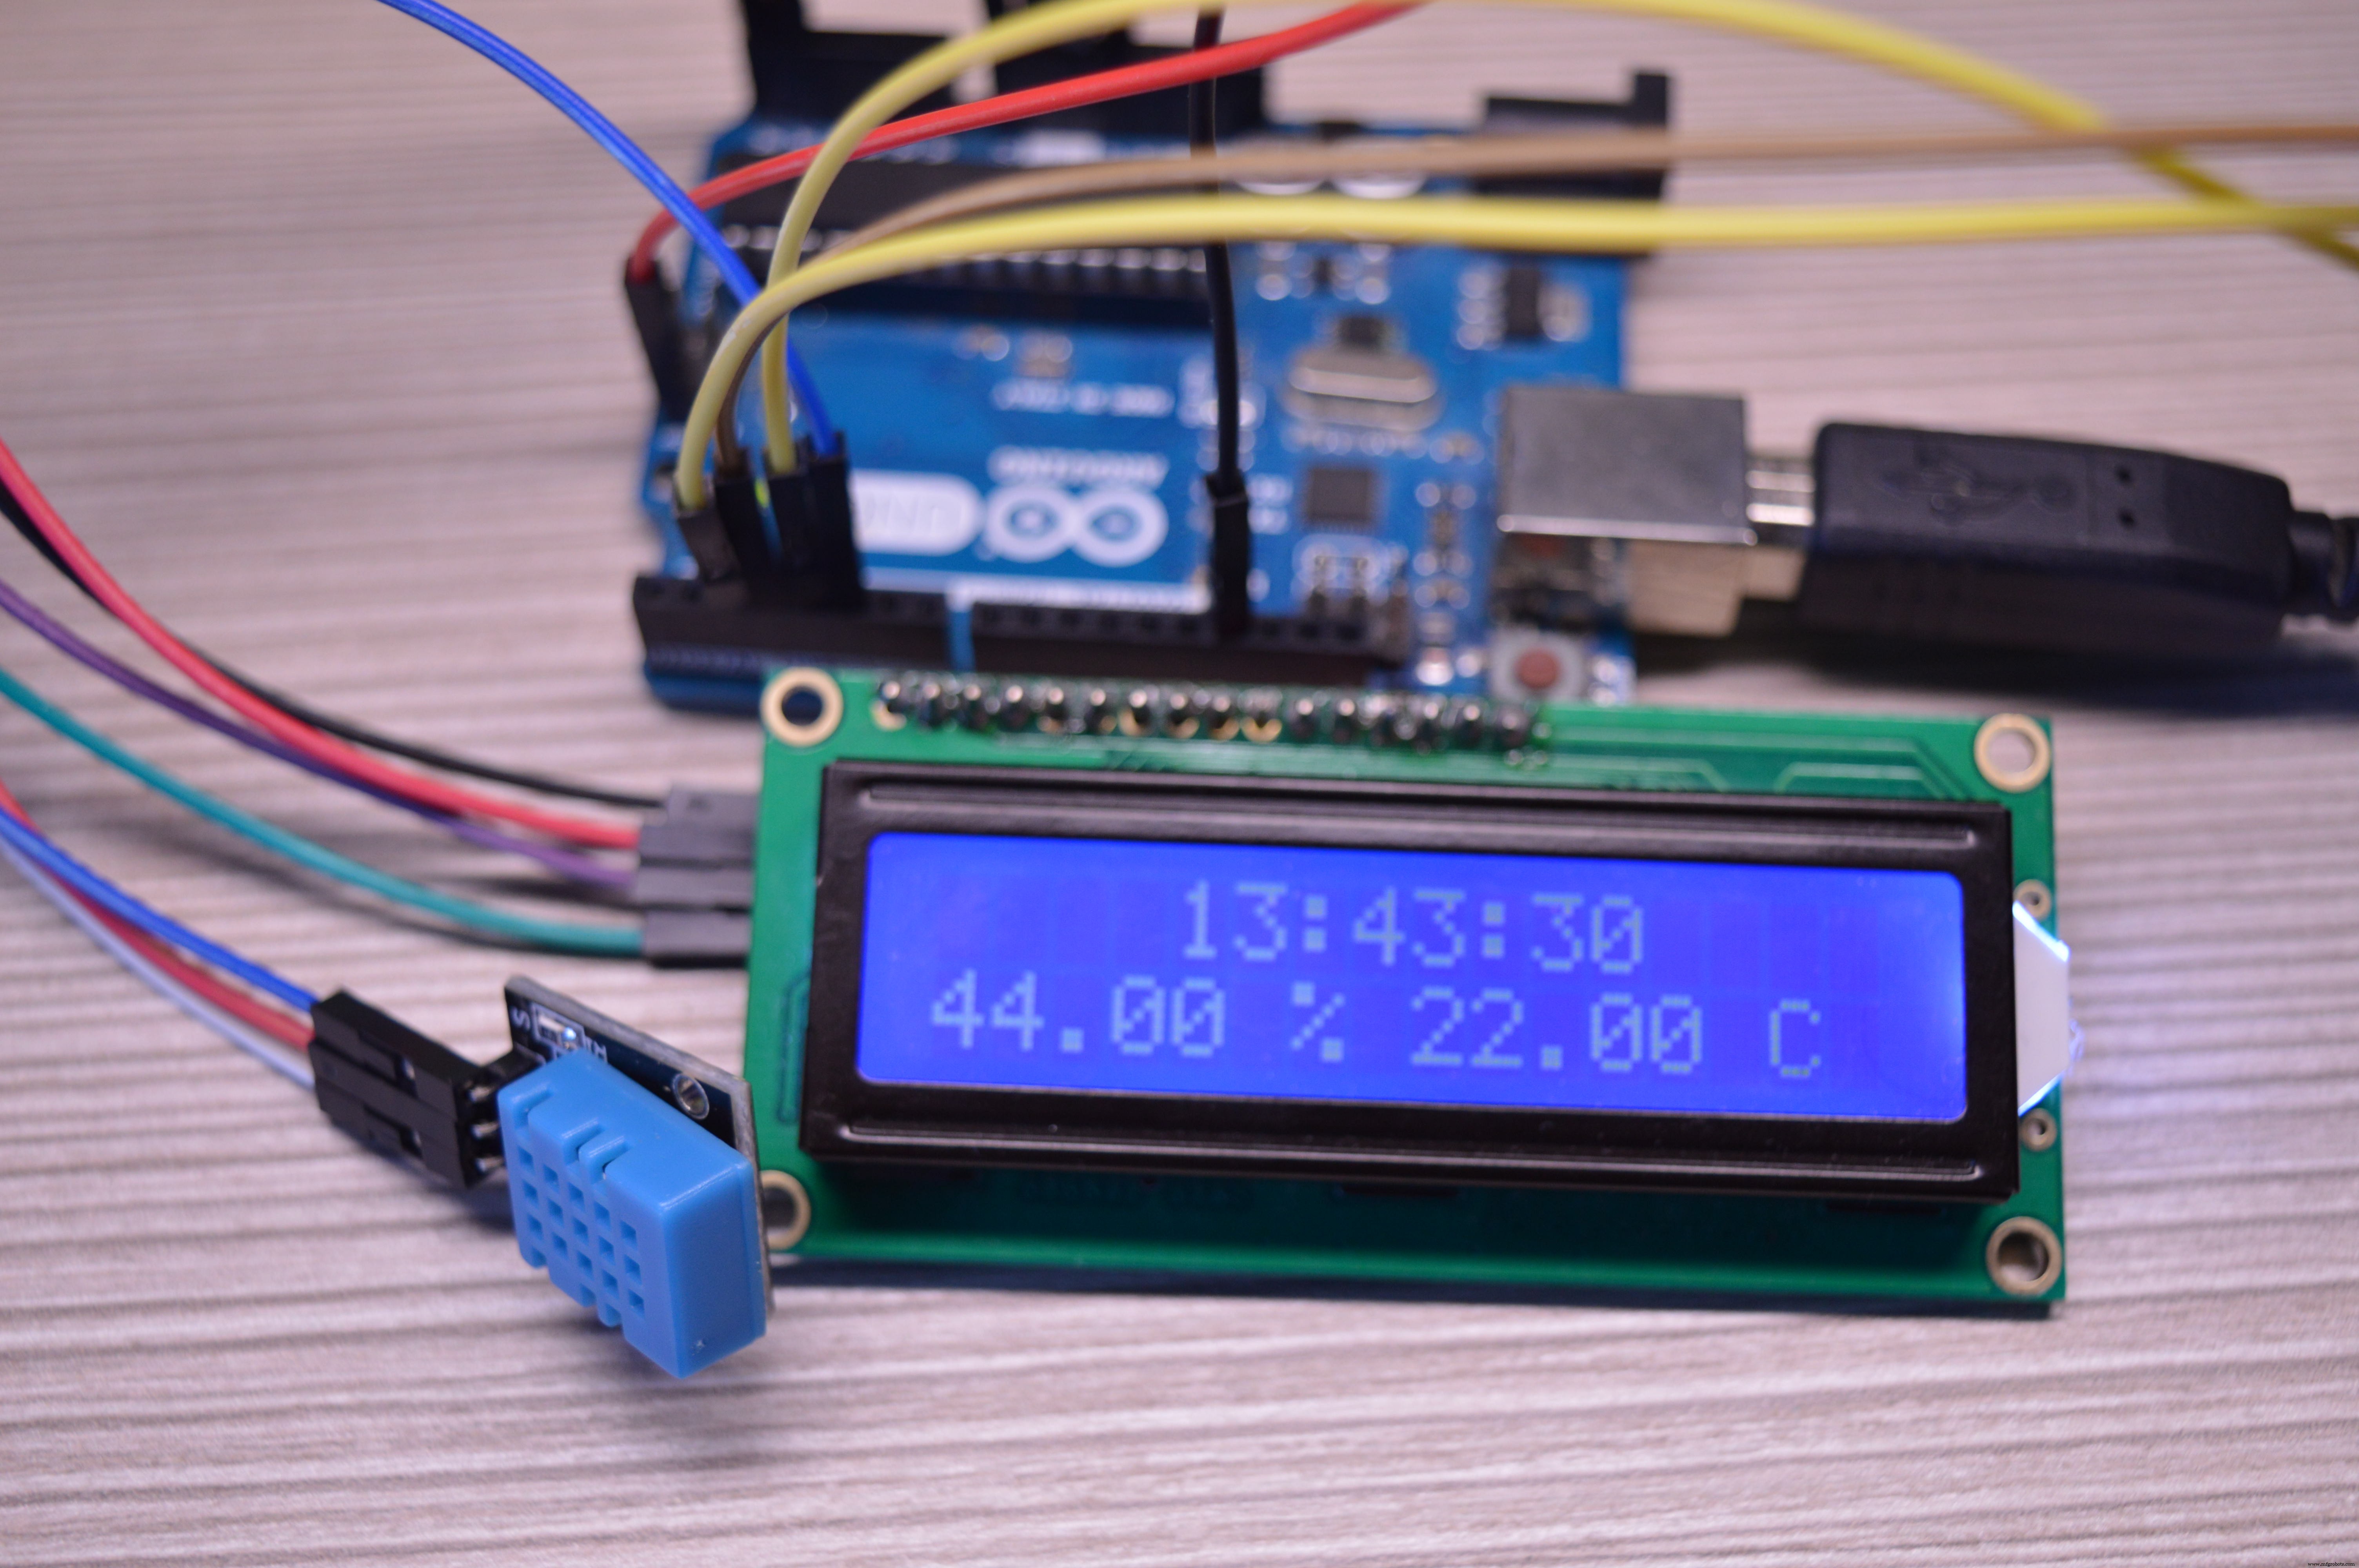
The final sketch also displays a realtime clock to the LCD. It uses a DS1302 module. For more information about this clock you can check out the Arduino clock I made in a previous project.
Sensor:
- pin 1 - 5
- pin 2 - 5v
- pin 3 - GND
DS1302:
- RST - 2
- DATA - 3
- CLK - 4
LCD:
- SDA - A4
- SCL - A5
- GND - GND
- VCC - 5V
The code can be found by the CODE part of this project. Libraries are in a map. You have to first unzip the map. Then install them.
First sketch
Upload the sketch: TEST. Libraries needed: Adafruit_Sensor-master, DHT-sensor-library-master .
Second sketch
Upload the sketch: LCD
Libraries needed: NewliquidCrystal, Adafruit_Sensor-master, DHT-sensor-library-master
Third sketch
Upload the sketch: LCDCLOCK
Libraries needed: DS1302, NewliquidCrystal, Adafruit_Sensor-master, DHT-sensor-library-master
SubscribeIf you like these kinds of videos you might also want to see all my upcoming work. Then you can subscribe to my channel right here: http://bit.ly/TechMakerYouTube
Code
Code Weather Station
Libraries are in a map. You have to first unzip the map. Then install them https://github.com/TechMakerOfficial/ArduinoWeatherStationManufacturing process
- Building an Outdoor Weather Station with Raspberry Pi 2 and ADS‑WS1
- Advanced Weather Station v2.0: Real‑Time Temperature, Pressure, Humidity & Altitude Monitoring
- Build a $10 Portable Arduino Weather Station (AWS) – Easy DIY with Nano, DHT22, BMP180 & LCD
- eDOT: Precision Arduino Clock & Weather Station with Built‑In IR Remote
- Real‑Time Weather Monitoring with Arduino & ThingSpeak IoT
- Build a Compact Weather Station with Arduino Nano – Easy DIY Guide
- Build a Smart Weather Station with Arduino UNO and AWS Integration
- Build a Simple Weather Station with Arduino UNO, BMP280 Sensor & LCD
- Arduino Wireless Weather Station: DIY Portable Weather Monitoring Kit
- Build a Reliable Arduino-Based Wireless Weather Station