


Arduino UNO Mini Weather Station – DIY Sensor Hub with ESP8266 IoT
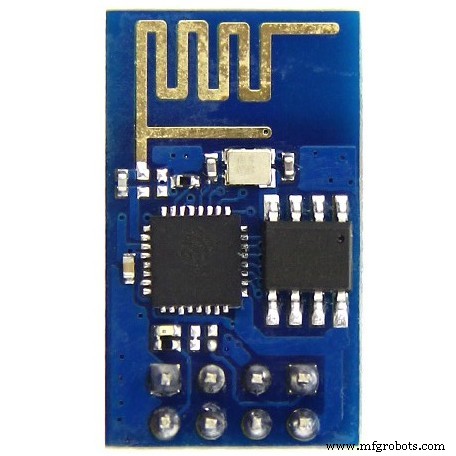
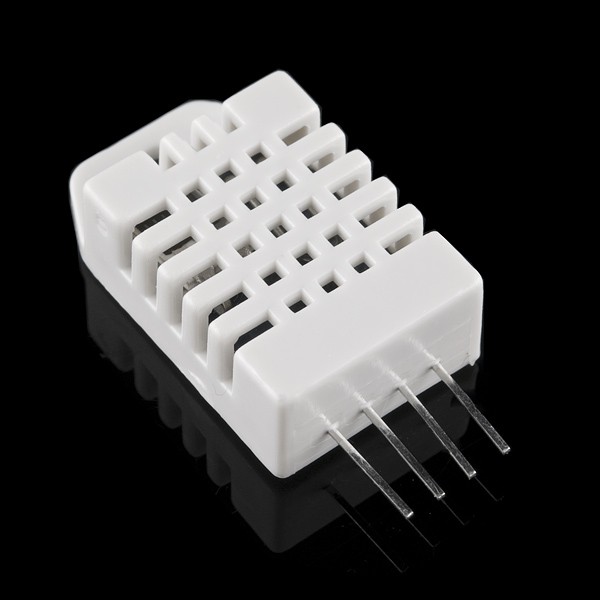
Components and supplies
 |
| × | 1 | |||
 |
| × | 1 | |||
|
| × | 1 | |||
 |
| × | 1 | |||
| × | 1 | ||||
| × | 1 | ||||
| × | 1 | ||||
| × | 1 | ||||
 |
| × | 2 | |||
 |
| × | 1 | |||
 |
| × | 1 | |||
 |
| × | 1 |
Apps and online services
 |
| |||
 |
|
About this project

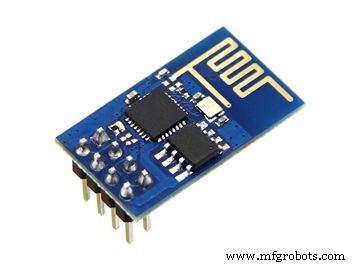
This is the first generation of my Arduino based mini-weather station with Wi-Fi connection, which is able to post data publicly online using the ThingSpeak platform.
The weather station collects the following data related to the weather and environment using different sensors:
- Temperature
- Humidity
- Atmospheric pressure
- Light intensity
- UV index
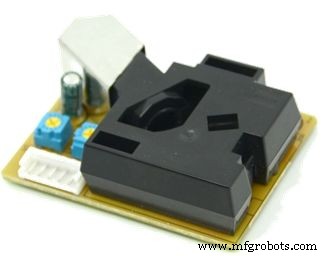
- Dust concentration
The aim is to make a small and simple weather station, using open hardware.
Let's get started and have fun!
Electronic components

You won't need specific tools for the assembly of this project. All the components can be found online on your favourite e-commerce store.
The circuit is powered by the USB port (connected to a computer or a ordinary phone charger), but you may also add an external DC power supply or a battery connected to the Arduino power jack.
A case for the weather station circuit is out of the scope of this project.
Connecting the Parts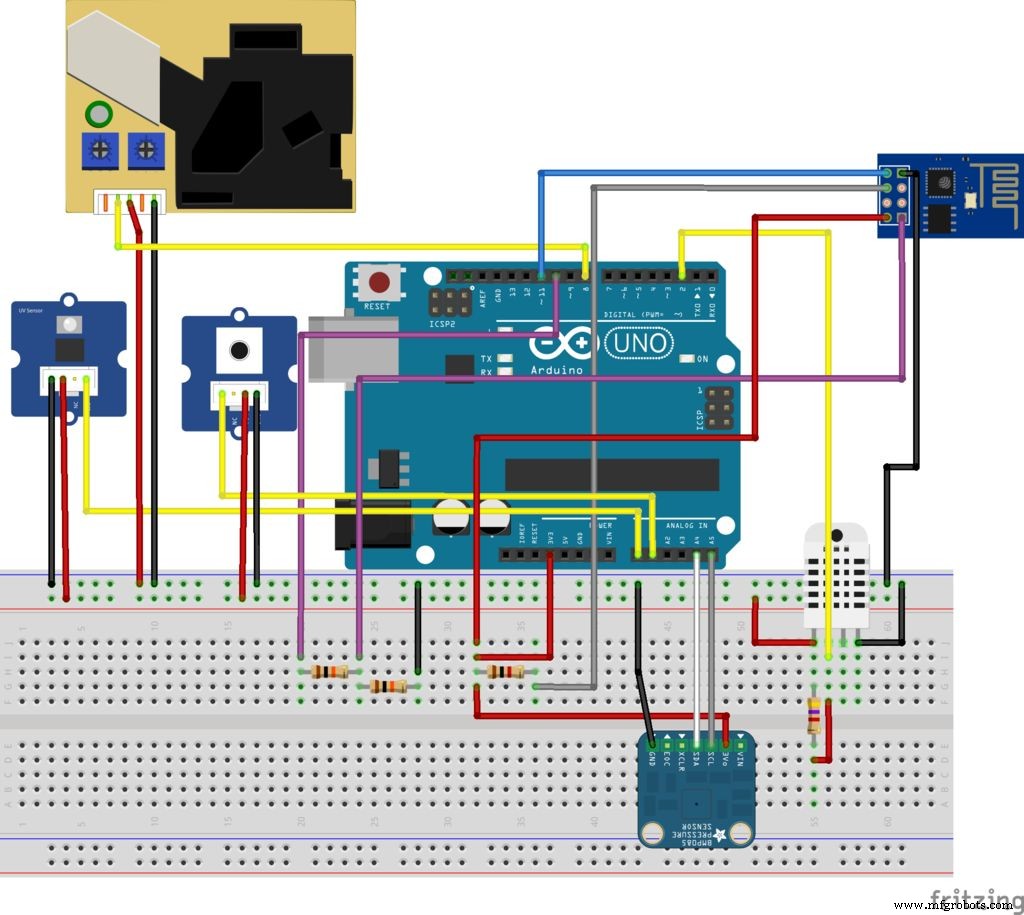
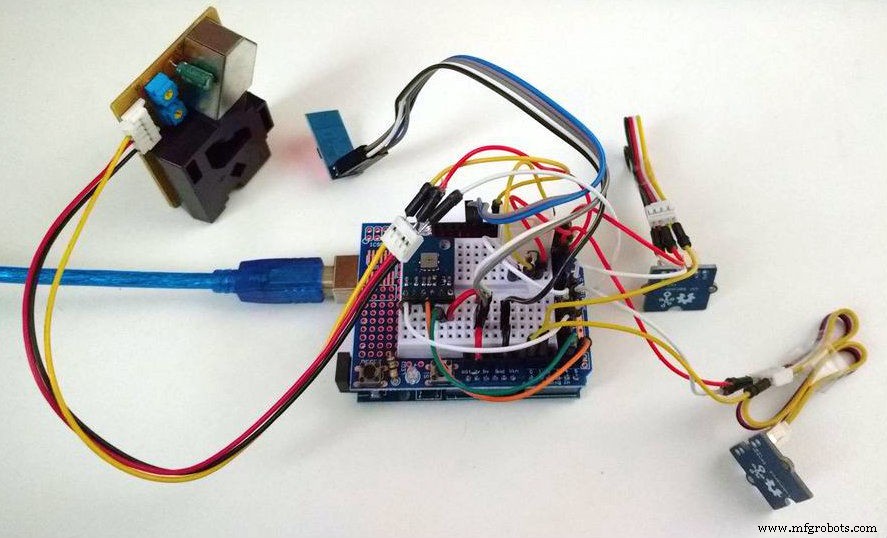
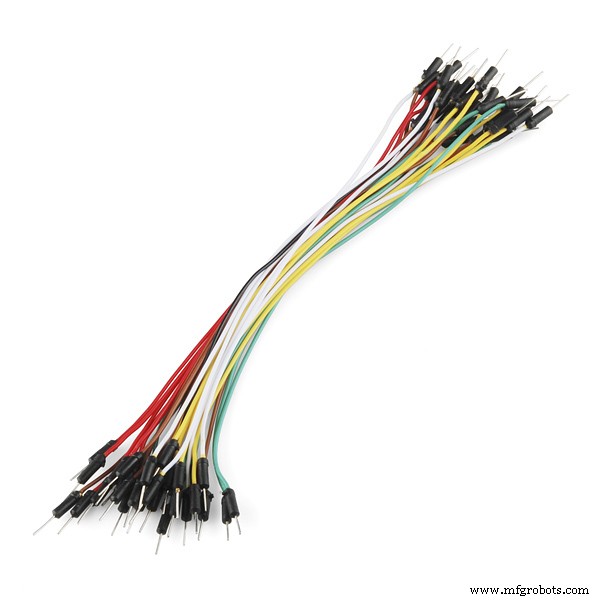
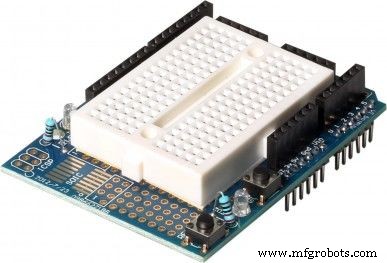
Connect all the components according to the schematic. You'll need some jumper wires to connect each sensor to the breadboard. You might use a protoshield (for a more compact circuit), an ordinary breadboard, or design you own Arduino shield.
Plug the USB cable to the Arduino Uno board and proceed to the next step.
Code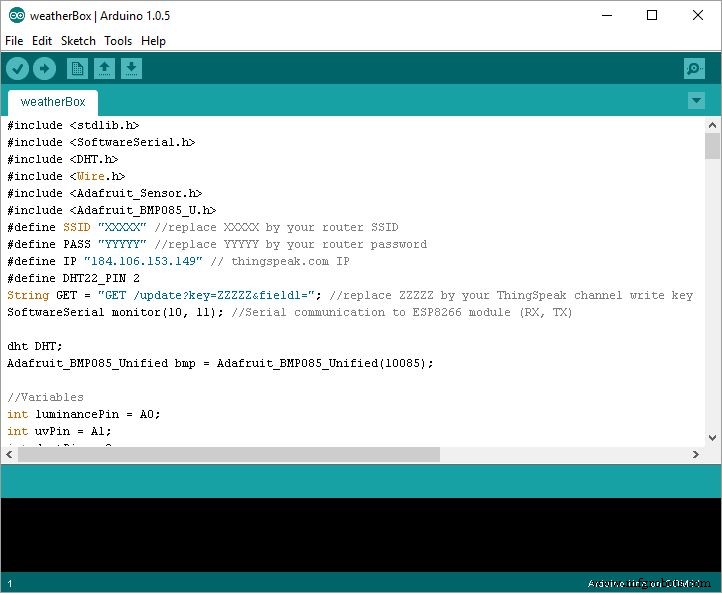
Assuming you have already installed the latest Arduino IDE, download and install the following libraries:
- DHT22 library
- Adafruit BMP085 library
For instructions on how to add the libraries to Arduino IDE, check the following Arduino guide.
Download Arduino code (weatherBox.ino) included in the code section. Replace XXXXX by your WiFi router SSID, YYYYY by router password, and ZZZZZ by your ThingSpeak channel write API key (see how to obtain it on next step).
Connect the Arduino board to your computer USB port and upload the code.
ThingSpeak configuration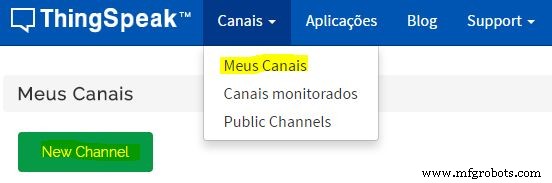


- Create a ThingSpeak account
- Create a new Channel
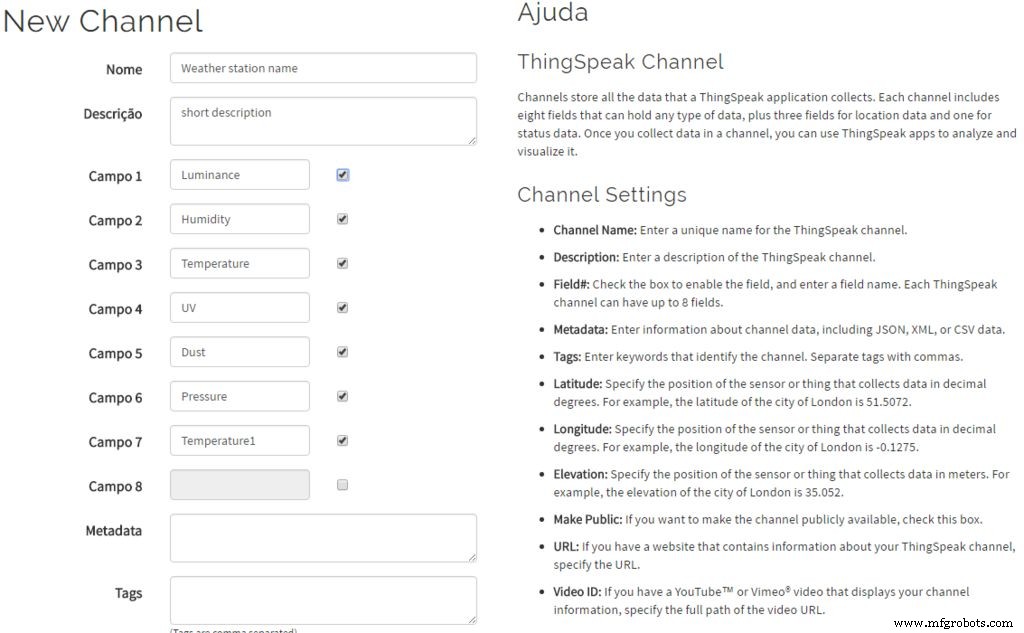
Specify the name and description of your weather station. Assign the following channels and save the channel:
- channel 1 = light
- channel 2 = humidity
- channel 3 = temperature (from DHT22)
- channel 4 = UV index
- channel 5 = dust concentration
- channel 6 = pressure
- channel 7 = temperature (from BMP085)
Copy API write key. It is used in the previous step in Arduino code. When the station is turned on, sensor values will be uploaded to the channel periodically. You may configure public and private visualizations of each variable.
Example of a public channel: https://thingspeak.com/channels/35540
Using Android AppYou'll be able to visualize weather station data in any browser. But you might also check it on you Android based smart phone and visualize it whenever you want.
- Download and install ThingsView app from Google Play store on your Android device
- On the app, insert your channel ID number and click add. You'll find the ID on your ThingSpeak channel configuration
- The current values of each variable will be displayed in a graph
Have fun!
Code
- weatherBox.ino
weatherBox.inoArduino
#include <stdlib.h>
#include <SoftwareSerial.h>
#include <DHT.h>
#include <Wire.h>
#include <Adafruit_Sensor.h>
#include <Adafruit_BMP085_U.h>
#define SSID "XXXXX" //replace XXXXX by your router SSID
#define PASS "YYYYY" //replace YYYYY by your router password
#define IP "184.106.153.149" // thingspeak.com IP
#define DHT22_PIN 2
String GET = "GET /update?key=ZZZZZ&field1="; //replace ZZZZZ by your ThingSpeak channel write key
SoftwareSerial monitor(10, 11); //Serial communication to ESP8266 module (RX, TX)

dht DHT;
Adafruit_BMP085_Unified bmp = Adafruit_BMP085_Unified(10085);

//Variables
int luminancePin = A0;
int uvPin = A1;
int dustPin = 8;
unsigned long duration;
unsigned long starttime;
unsigned long sampletime_ms = 30000;
unsigned long delay_time = 60000;
unsigned long lowpulseoccupancy = 0;
float ratio = 0;
float concentration = 0;

//setup
void setup()
{
  //start serial communications
  Serial.begin(9600);
  monitor.begin(9600);
  Serial.println("Initializing...");

  //configure Arduino pins
  pinMode(dustPin, INPUT);

  //initialize pressure sensor
  Serial.println("Detecting BMP085 pressure sensor...");
  if(!bmp.begin())
  {
    Serial.println("BMP085 sensor wasn't detected. Verify your connections or I2C ADDR!");
    while(1);
   }
   Serial.println("BMP085 detected!");

    //communication with wifi module
    monitor.flush();
    monitor.println("AT");
    delay(2000);

    if(monitor.find("OK")){
      Serial.println("Communication with ESP8266 module: OK");
    }
    else {
      Serial.println("ESP8266 module ERROR");
    }

  //connect wifi router
  connectWiFi();

  Serial.print("Sampling (");
  Serial.print(sampletime_ms/1000);
  Serial.println("s)...");

  //initialize timer
  starttime = millis();

}

void loop(){

  //measuring dust particles
  duration = pulseIn(dustPin, LOW);
  lowpulseoccupancy = lowpulseoccupancy + duration;

  //30 seconds cicle
  if ((millis() - starttime) >= sampletime_ms)
  {
    ratio = lowpulseoccupancy/(sampletime_ms*10.0);  // percentage (de 0 a 100%)
    concentration = 1.1*pow(ratio,3)-3.8*pow(ratio,2)+520*ratio+0.62; // from datsheet
    lowpulseoccupancy = 0;

    //read other sensors
    char buffer[10];
    //light sensor
    float luminance = analogRead(luminancePin);
    //UV sensor
    float uv = analogRead(uvPin);
    uv = uv * 0.0049; //convert values to volts
    uv = uv * 307; //convert to mW/m²
    uv = uv/200; //calculate UV index
    //temperature and humidity
    int chk = DHT.read22(DHT22_PIN);
    float humidity = DHT.humidity;
    float temperature = DHT.temperature;
    //pressure and temperature1
    sensors_event_t event;
    bmp.getEvent(&event);
    float pressure = 0;
    float temperature1 = 0;
    if (event.pressure)
    {
      pressure = event.pressure;
      bmp.getTemperature(&temperature1);
    }

    //convert sensor values to strings
    String luminanceStr = dtostrf(luminance, 4, 1, buffer);
    luminanceStr.replace(" ","");
    String uvStr = dtostrf(uv, 4, 1, buffer);
    uvStr.replace(" ","");
    String humidityStr = dtostrf(humidity, 4, 1, buffer);
    humidityStr.replace(" ","");
    String temperatureStr = dtostrf(temperature, 4, 1, buffer);
    temperatureStr.replace(" ","");
    String dustStr = dtostrf(concentration, 4, 1, buffer);
    dustStr.replace(" ","");
    String pressureStr = dtostrf(pressure, 4, 1, buffer);
    pressureStr.replace(" ","");
    String temperature1Str = dtostrf(temperature1, 4, 1, buffer);
    temperature1Str.replace(" ","");

    //send data to ThingSpeak
    updateSensors(luminanceStr, humidityStr, temperatureStr, uvStr, dustStr, pressureStr, temperature1Str);

    //wait next sampling cycle
    Serial.print("Wait ");
    Serial.print(delay_time/1000);
    Serial.println("s for next sampling");
    Serial.println();
    delay(delay_time);

    //initialize new cycle
    Serial.println();
    Serial.print("Sampling (");
    Serial.print(sampletime_ms/1000);
    Serial.println("s)...");
    starttime = millis();
  }
}

//Send data to ThingSpeak
void updateSensors(String luminanceStr, String humidityStr, String temperatureStr, String uvStr, String dustStr, String pressureStr, String temperature1Str) {

  String cmd = "AT+CIPSTART=\"TCP\",\"";
  cmd += IP;
  cmd += "\",80";
  monitor.println(cmd);
  delay(2000);

  cmd = GET;
  cmd += luminanceStr;
  cmd += "&field2=";
  cmd += humidityStr;
  cmd += "&field3=";
  cmd += temperatureStr;
  cmd += "&field4=";
  cmd += uvStr;
  cmd += "&field5=";
  cmd += dustStr;
  cmd += "&field6=";
  cmd += pressureStr;
  cmd += "&field7=";
  cmd += temperature1Str;
  cmd += "\r\n";
  delay(1000);
  int strsize = cmd.length();
  monitor.println("AT+CIPSEND=" + String(strsize));
  delay(2000);

  monitor.print(cmd);
  if(monitor.find("OK")){
    Serial.println("Transmission completed with success");
  }else{
    Serial.println("Transmission failed!");
  }
}

void sendDebug(String cmd){
  Serial.print("SEND: ");
  Serial.println(cmd);
  monitor.println(cmd);
}

boolean connectWiFi(){
  Serial.println("Connecting wi-fi...");
  String cmd ="AT+CWMODE=1";
  monitor.println(cmd);
  delay(2000);
  monitor.flush(); //clear buffer
  cmd="AT+CWJAP=\"";
  cmd+=SSID;
  cmd+="\",\"";
  cmd+=PASS;
  cmd+="\"";
  monitor.println(cmd);
  delay(5000);

  if(monitor.find("OK")){
    Serial.println("Connection succeeded!");
    return true;
  }else{
    Serial.println("Connection failed!");
    return false;
  }
  Serial.println();
}
Github
https://github.com/adafruit/DHT-sensor-libraryhttps://github.com/adafruit/DHT-sensor-libraryGithub
https://github.com/adafruit/Adafruit-BMP085-Libraryhttps://github.com/adafruit/Adafruit-BMP085-LibraryManufacturing process
- Arduino Uno-Based Human Detection Robot: Step‑by‑Step Sensor Integration
- Build a Sensor Tower with Arduino Cloud: Temperature, Motion & Gas Monitoring
- Build a Portable Persistence of Vision Display with Arduino UNO and ATtiny85
- Build a Reliable Arduino Weather Station with DHT Sensors
- Arduino Nano Fingerprint Sensor Project – Step‑by‑Step Tutorial
- Arduino Laser Tripwire Project: Build a Simple Intrusion Detector
- Build an IR Sensor Project with Arduino UNO – Simple Guide
- SmartAgro: Advanced IoT Solutions for Precision Farming
- Arduino UNO Guitar Pedal: DIY, Open‑Source, Beginner‑Friendly
- DHT11 Temperature & Humidity Sensor for Arduino Projects