


Smart Motion-Activated Water Gun Built with Arduino Nano
Components and supplies
 |
| × | 1 | |||
 |
| × | 1 | |||
 |
| × | 1 | |||
 |
| × | 1 | |||
 |
| × | 1 |
Necessary tools and machines
 |
|
About this project
OverviewThis project was inspired by Tinkernut's Arduino Motion Detecting Squirt Gun:
I wanted to replicate Tinkernut's project but the problem was that I could not get my hands on a Raid Auto Trigger because it is not available in China where I was living. However, a quick search on Taobao.com led me to discover this interesting product:
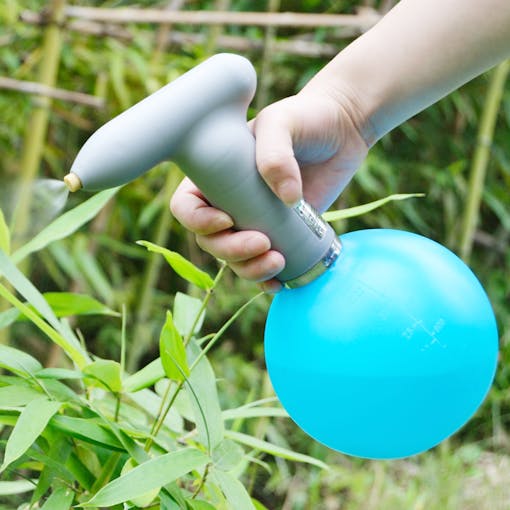
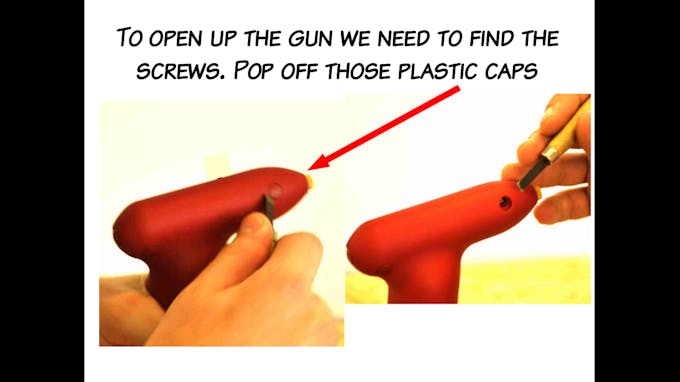
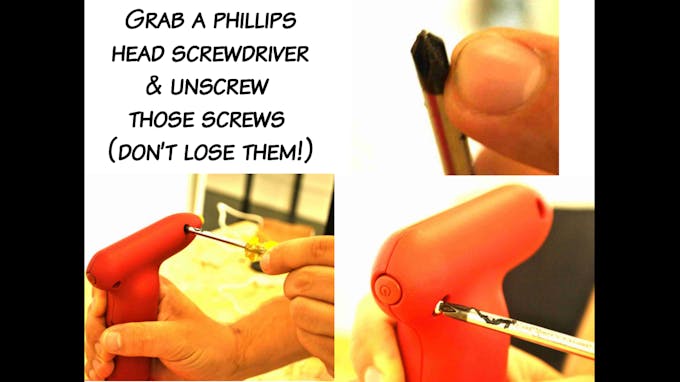
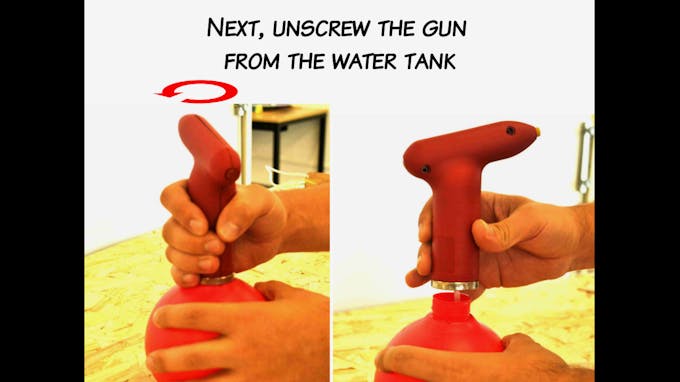
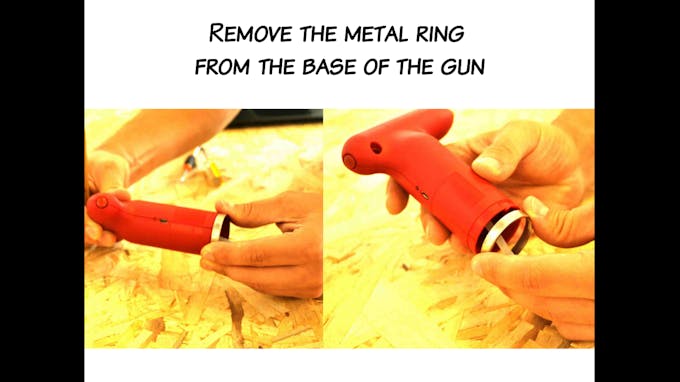
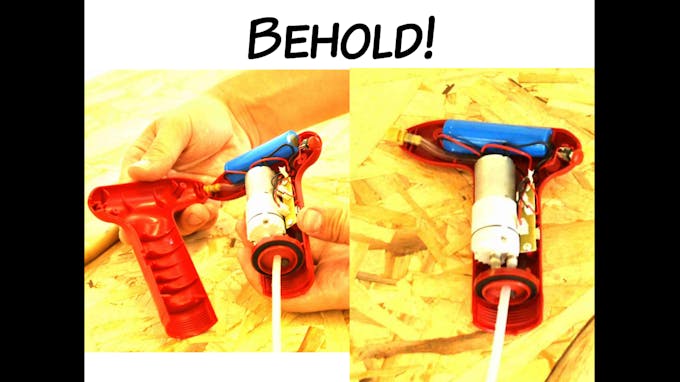
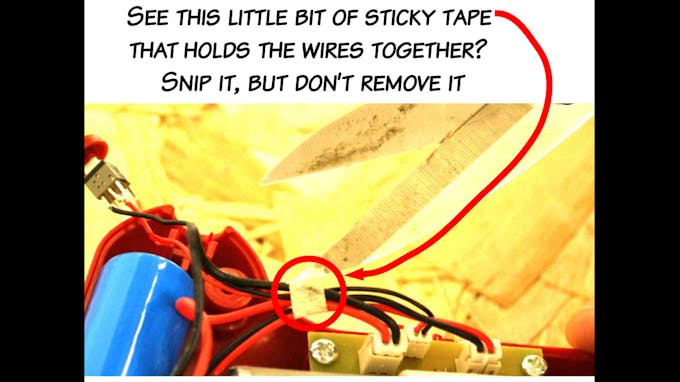
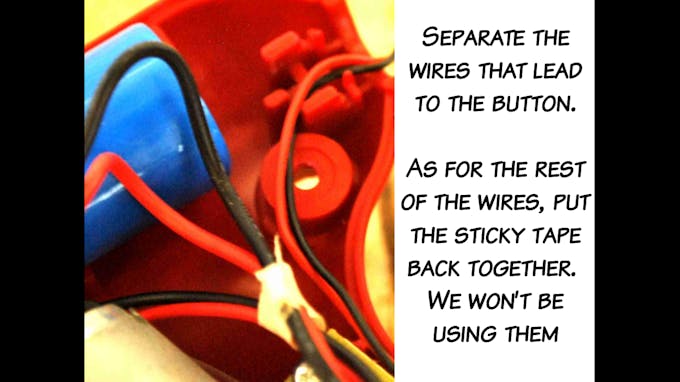
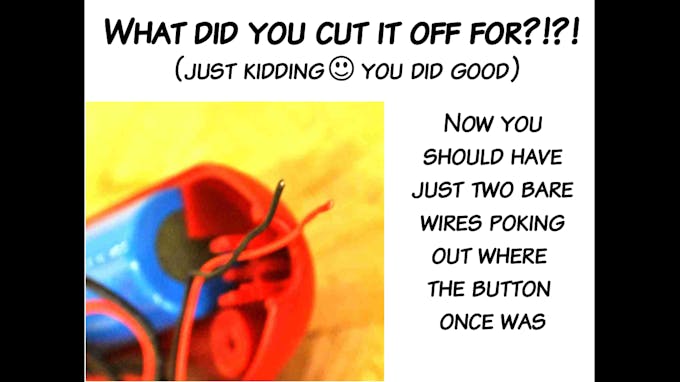
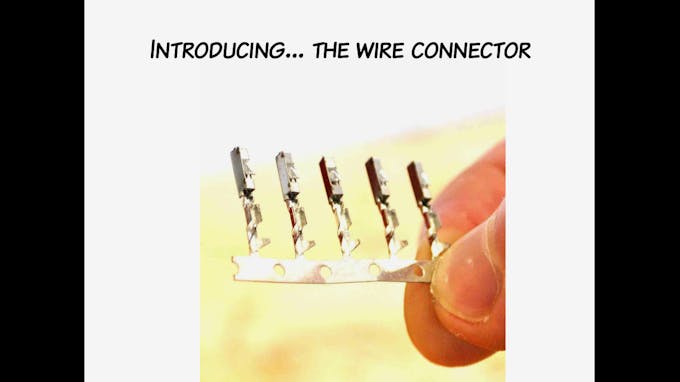
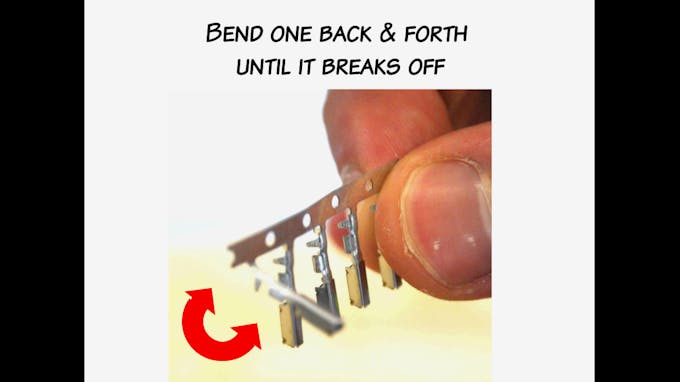
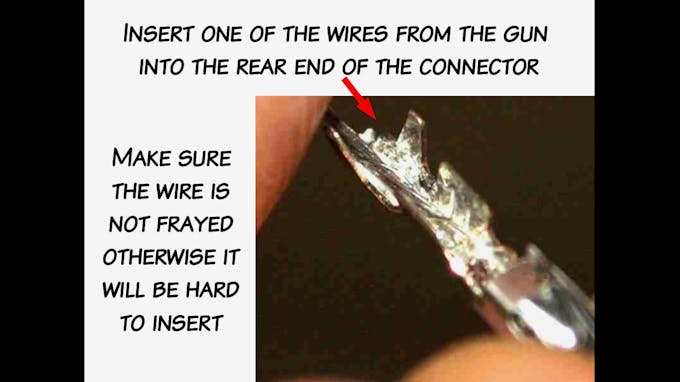
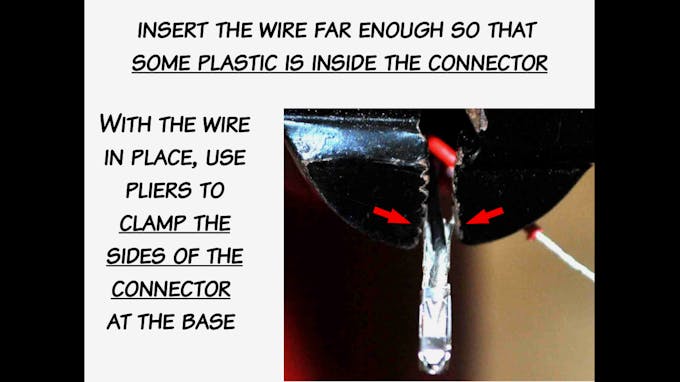
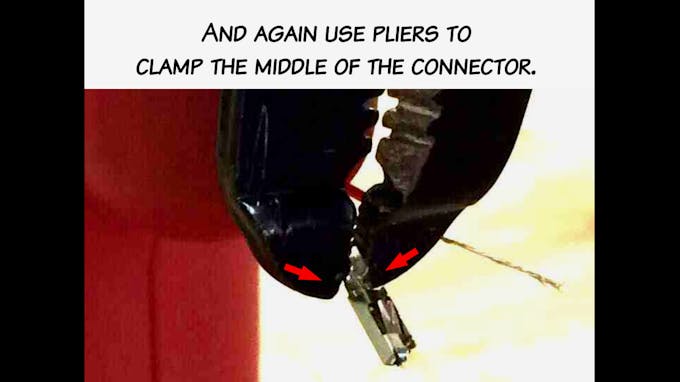
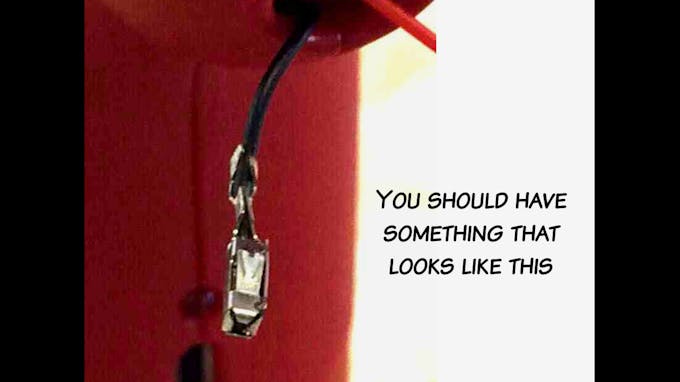
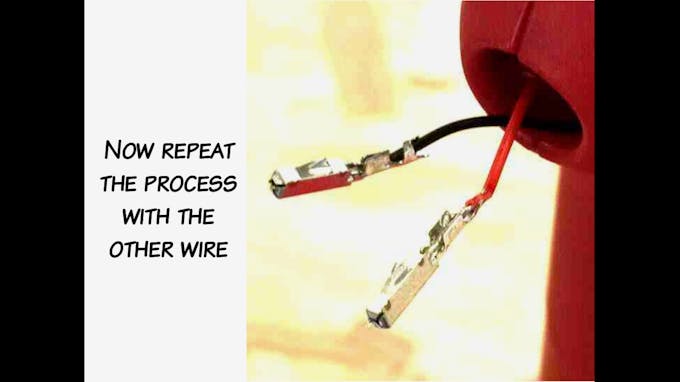
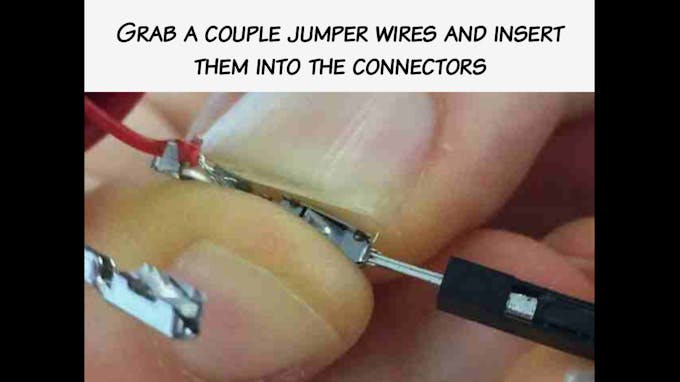
Very similar to the Raid Auto Trigger and at the reasonable price of ¥78.80 I decided to purchase one. It turned out to be considerably easier to hack since you did not need to tamper with any of the internal components. You only needed to modify the push button so that it was breadboard/Arduino compatible. If you happen to live in China (or if Taobao ships to your country) you can purchase the squirt gun here.
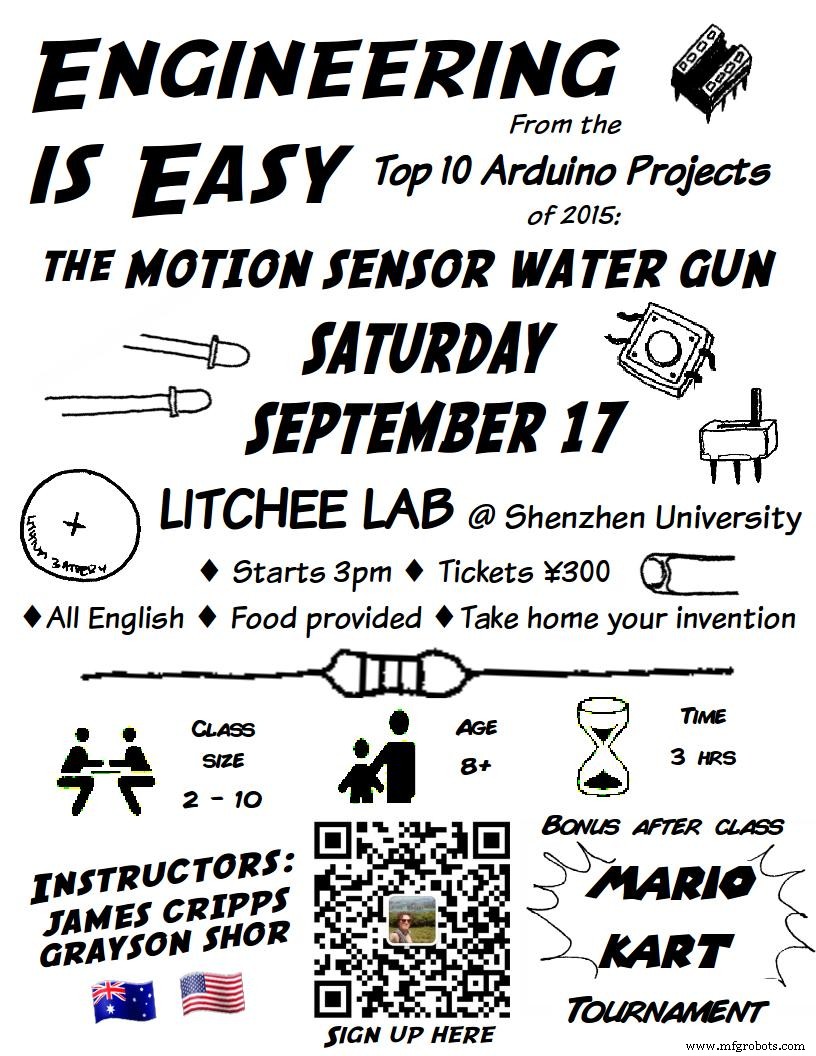
We turned this into a workshop, hence all the powerpoint slides and big text.


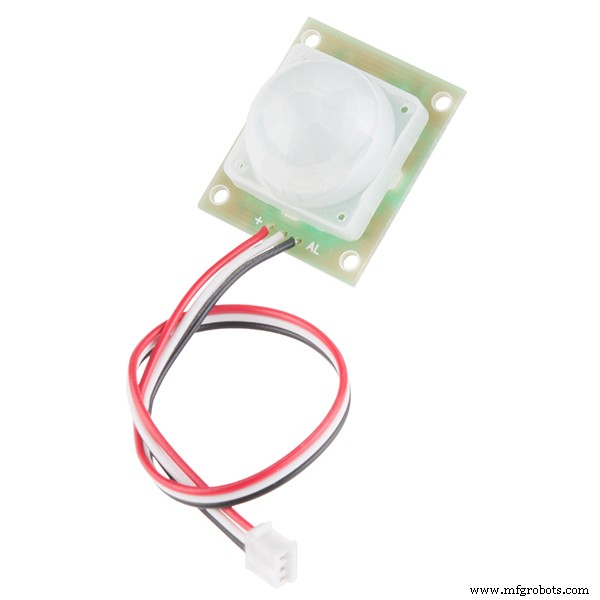
Set up and test the PIR motion sensor with the Arduino Nano.

/*
* PIR sensor
*/
int calibrationTime = 10;    //the time we give the sensor to calibrate (10-60 secs according to the datasheet)
int outputPin = 2;                // choose the pin for the LED
int inputPin = 4;               // choose the input pin (for PIR sensor)
int pirState = LOW;             // we start, assuming no motion detected
int val = 0;                    // variable for reading the pin status
void setup() {
 pinMode(outputPin, OUTPUT);      // declare LED as output
 pinMode(inputPin, INPUT);     // declare sensor as input
 digitalWrite(outputPin, LOW); //prevents gun firing at powerup
 Serial.begin(9600);
 //give the sensor some time to calibrate
 Serial.print("calibrating sensor ");
   for(int i = 0; i < calibrationTime; i++){
     Serial.print(".");
     delay(1000);
     }
   Serial.println(" done");
   Serial.println("SENSOR ACTIVE");
   delay(50);
}
void loop(){
 val = digitalRead(inputPin);  // read input value
 if (val == HIGH) {            // check if the input is HIGH
   digitalWrite(outputPin, HIGH);  // turn LED ON
   if (pirState == LOW) {
     // we have just turned on
     Serial.println("Motion detected!");
     // We only want to print on the output change, not state
     pirState = HIGH;
   }
 } else {
   digitalWrite(outputPin, LOW); // turn LED OFF
   if (pirState == HIGH){
     // we have just turned of
     Serial.println("Motion ended!");
     // We only want to print on the output change, not state
     pirState = LOW;
   }
 }
}
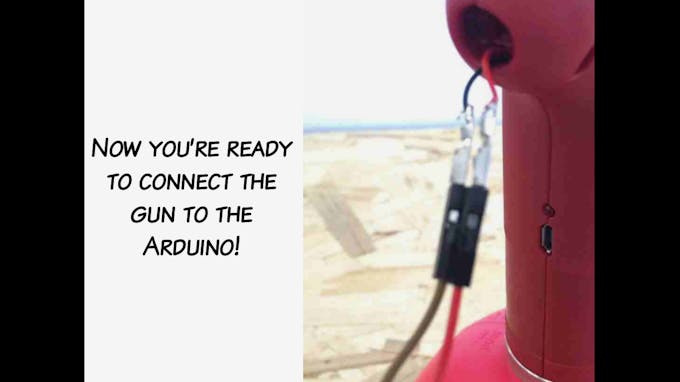
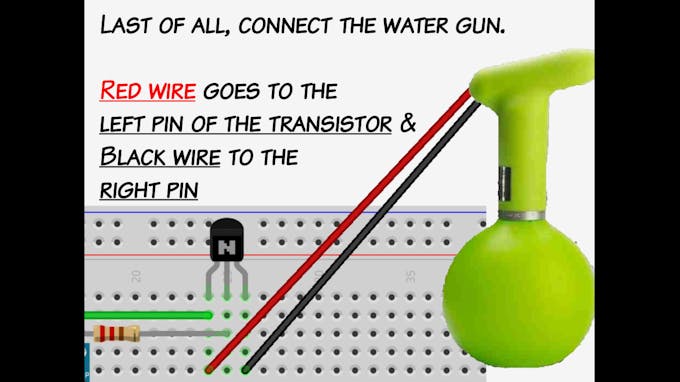
Use the serial monitor to check that it's working, and then it's time to connect the water gun.
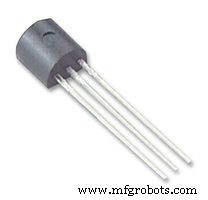
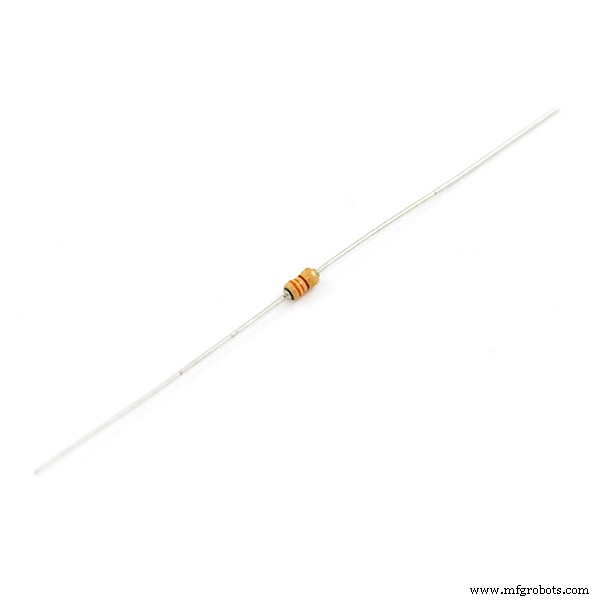
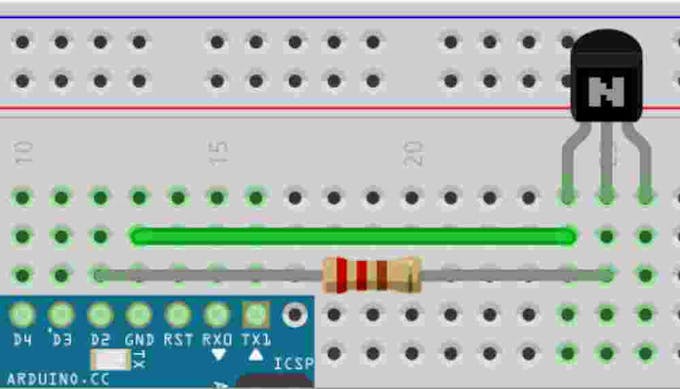
Set up the transistor and resistor like so:
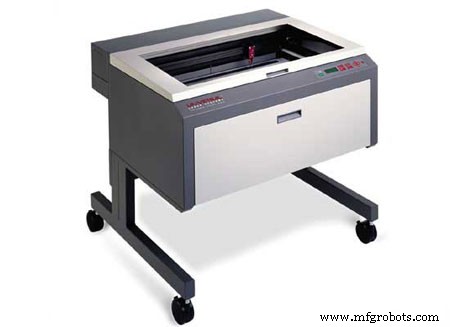
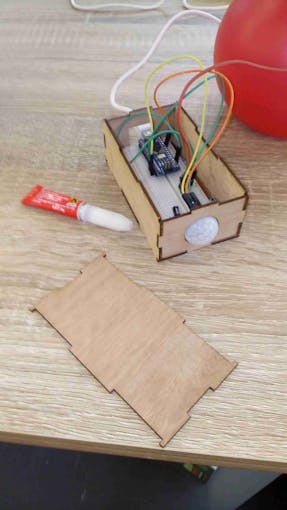
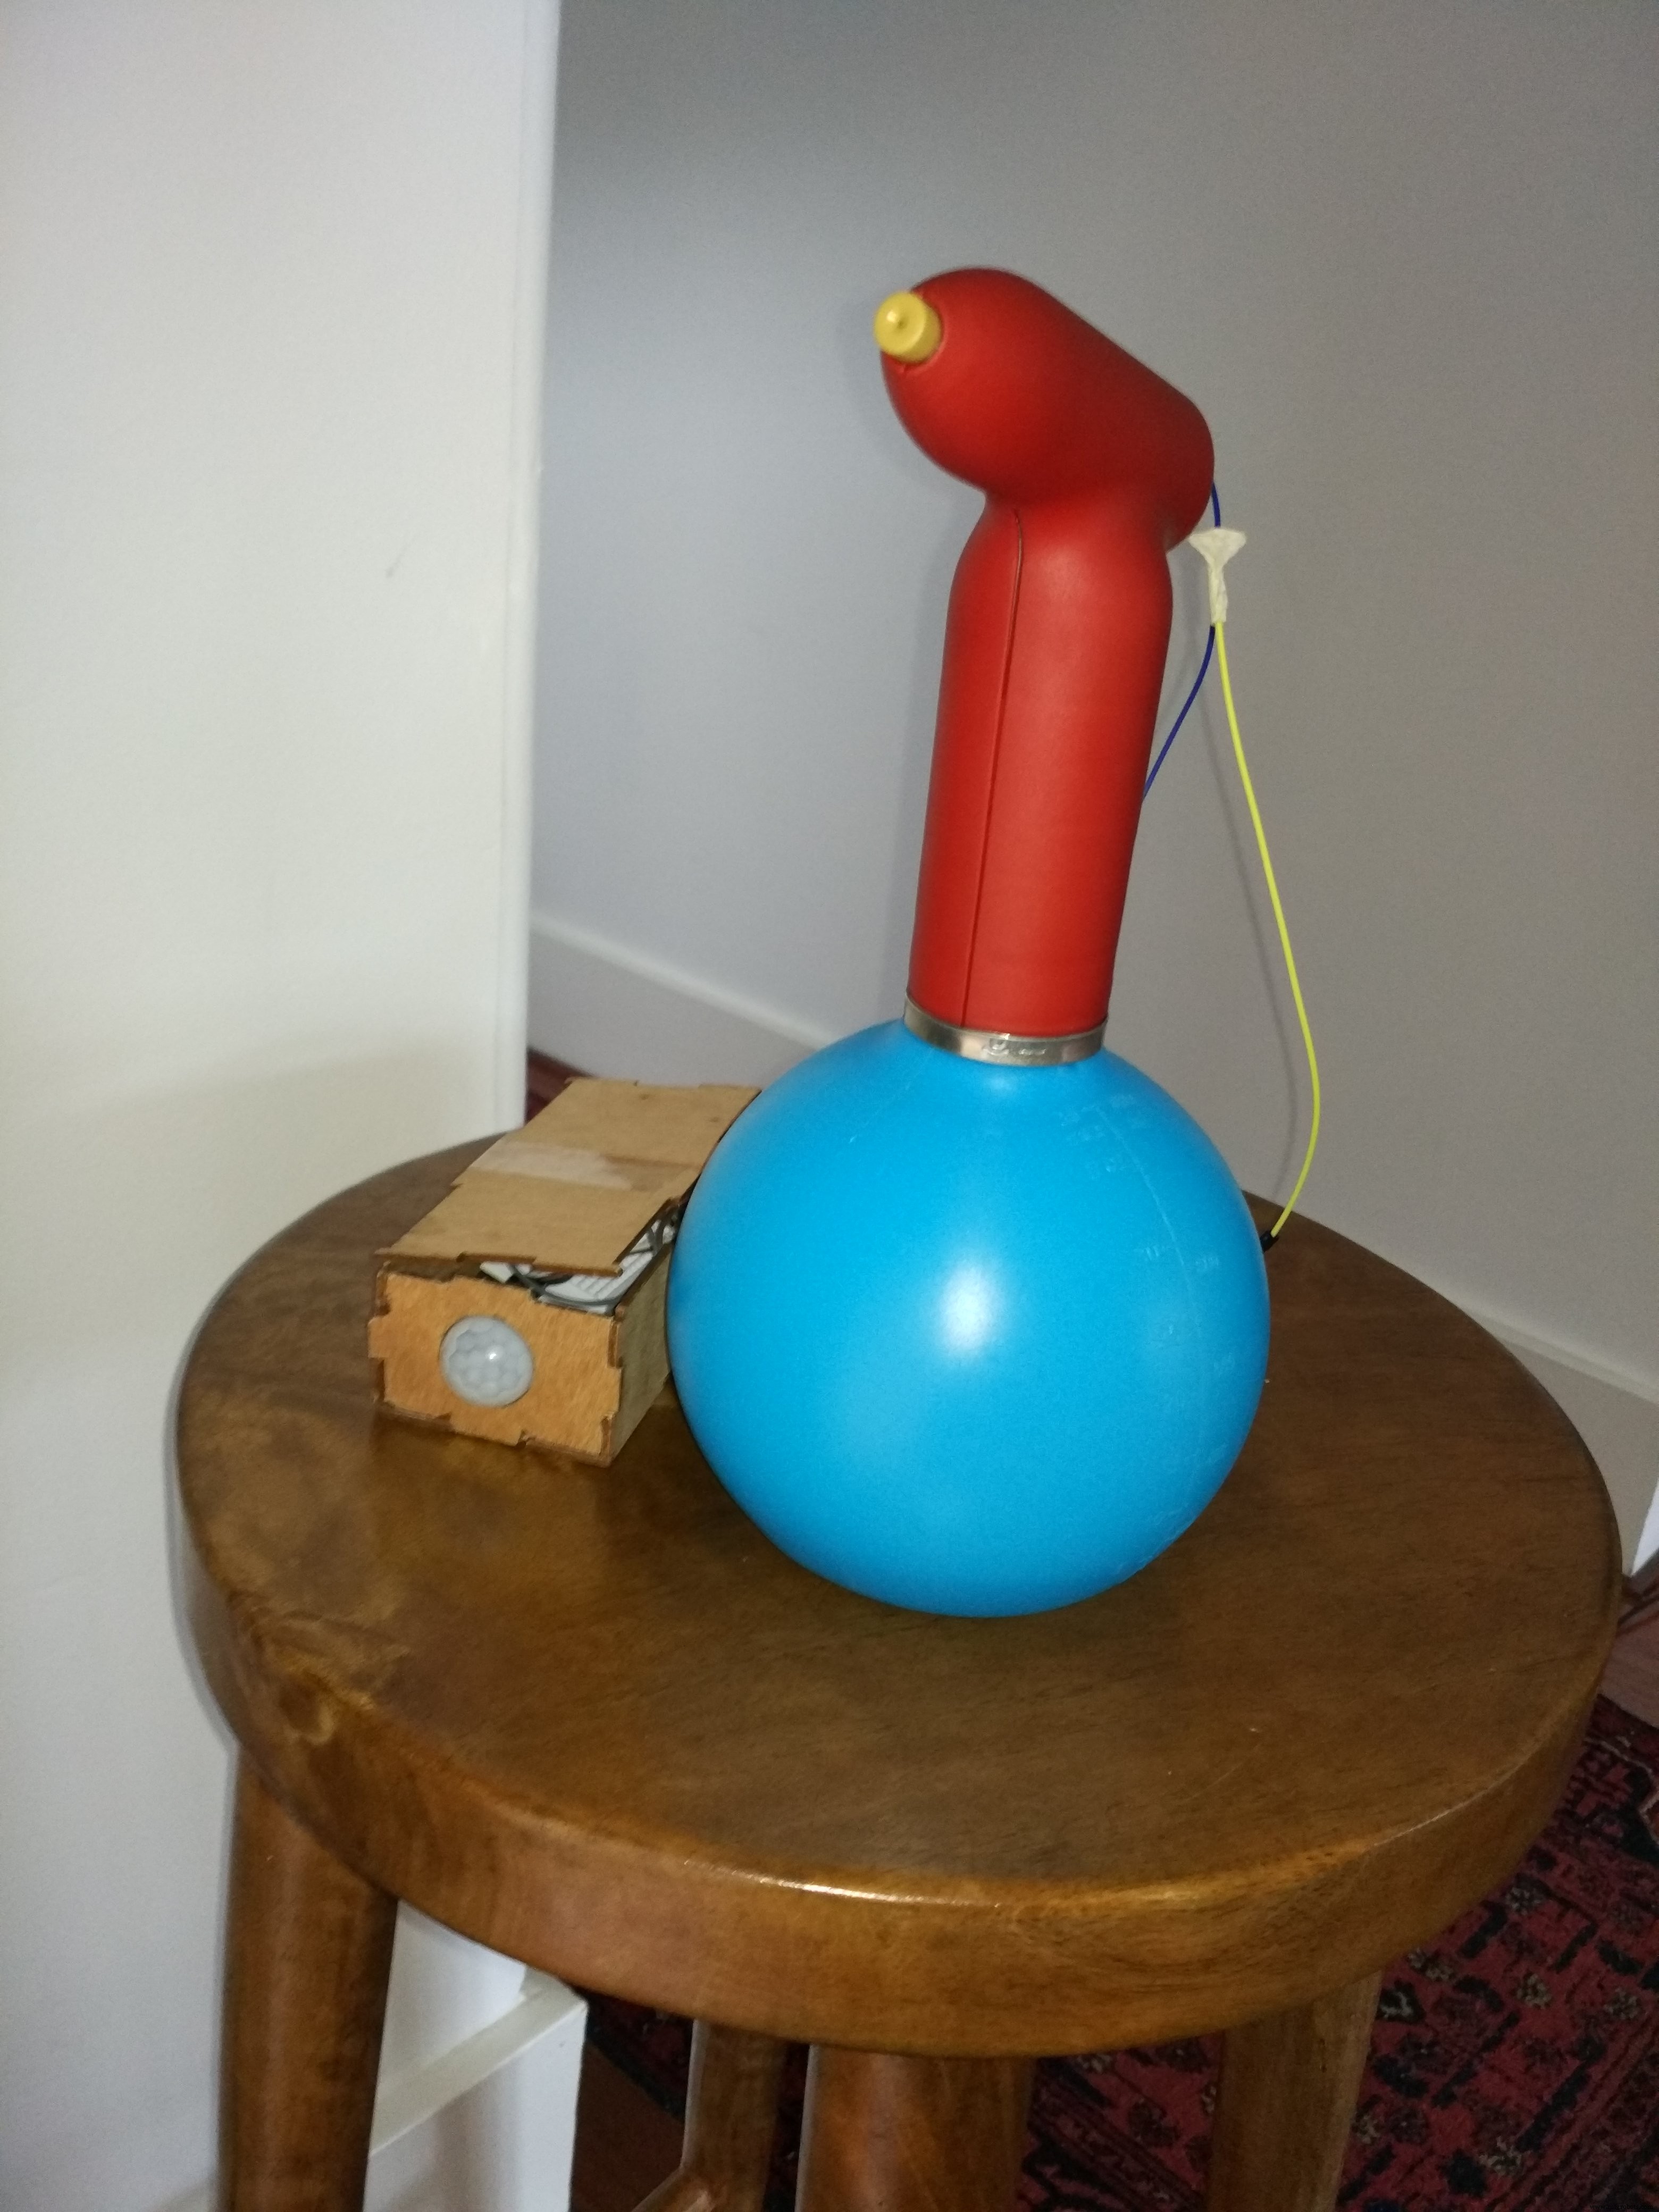
And with that you should be have a working motion-soaker! We used a laser cutter to make a wooden enclosure (since it's very fast and we needed a bunch of them for the workshop), but you could use a 3D printer as well.
Keep in mind, I have put in a 10-second delay in the code so as to allow the motion sensor to calibrate.
Manufacturing process
- The Evolution of Pump‑Action Water Guns: From Invention to Global Market Leader
- Control an LED with a PIR Motion Sensor on Raspberry Pi
- Arduino Tic Tac Toe with MAX7219 LED Matrix and Cardboard Enclosure
- Build a Sensor Tower with Arduino Cloud: Temperature, Motion & Gas Monitoring
- Build a Reliable Arduino Countdown Timer with SparkFun 7‑Segment Display
- Build Your Own RC Porsche Car with Arduino: A Step‑by‑Step Guide
- Arduino Nano Fingerprint Sensor Project – Step‑by‑Step Tutorial
- Build a Gesture & Motion Detector with PIR Sensor & Arduino Nano
- Build an IR Sensor Project with Arduino UNO – Simple Guide
- SmartAgro: Advanced IoT Solutions for Precision Farming