


Build an IoT Thermometer with Python: A Complete Guide
Components and supplies
| × | 1 | ||||
 |
| × | 1 | |||
 |
| × | 1 | |||
 |
| × | 1 | |||
 |
| × | 1 | |||
| × | 1 | ||||
| × | 1 | ||||
 |
| × | 1 | |||
 |
| × | 1 |
Apps and online services
 |
|
About this project
Zerynth App is a mobile application for Android and iOS that allows fast prototyping of graphical interfaces for your IoT projects.
With Zerynth App you can turn any mobile into the controller and display for smart objects and IoT systems! In particular, you can manage and control the connected devices programmed with Zerynth, enabling a bidirectional communication channel between them and your mobile.
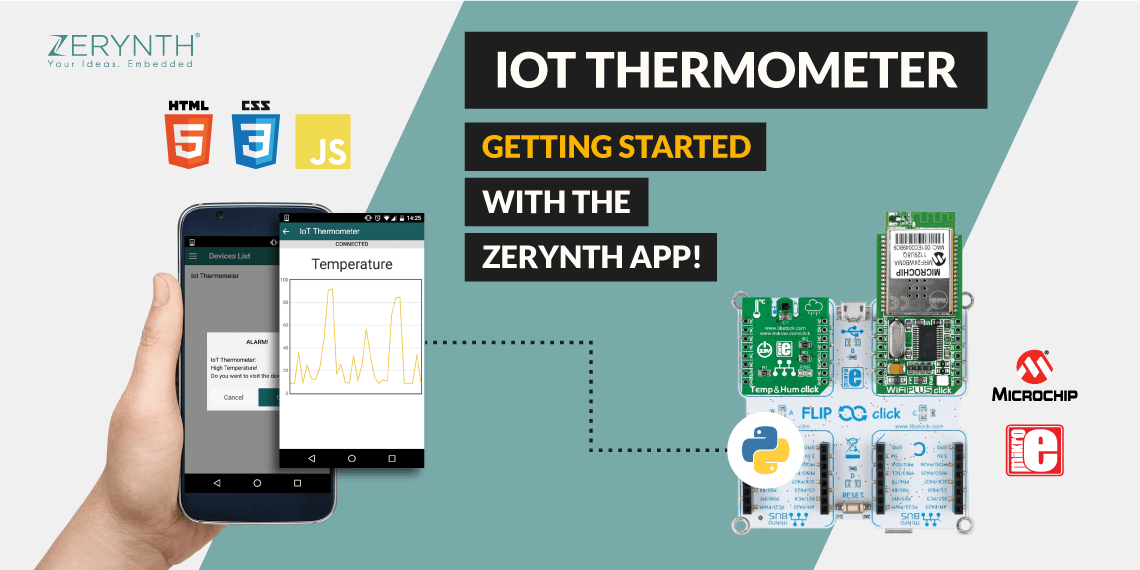
In this tutorial, we’re going to see how to develop a simple but powerful IoT thermometer, using a Zerynth-powered single-board microcontroller and Zerynth App as the remote display.
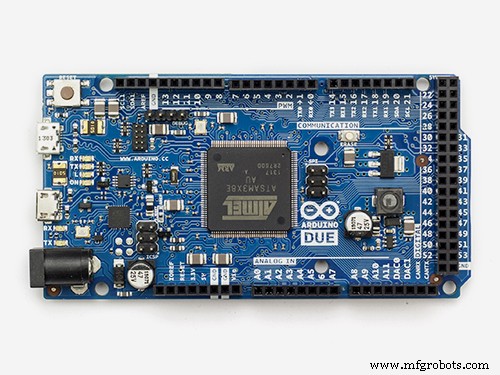
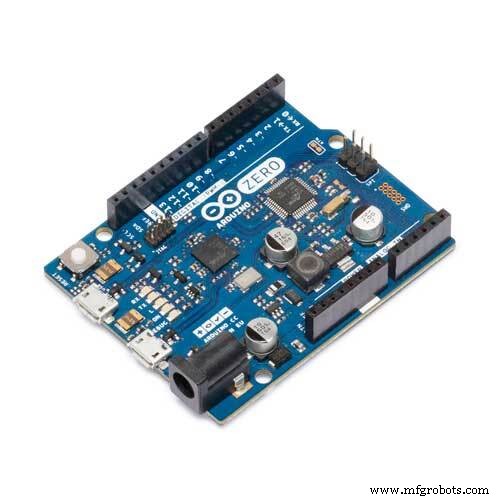
Required materialsFirst of all, you need a board. You can select one of the 32-bit microcontroller devices supported by Zerynth. We’ve chosen the Flip&Click by Mikroelektronika, that shares many of the same attributes as the popular Arduino platforms, including the 32-bit AT91SAM3X8E by Microchip, the core of Arduino Due.
To measure the temperature we’ve picked the Temp&Hum Click, that carries an HTS221 temperature and relative humidity sensor.
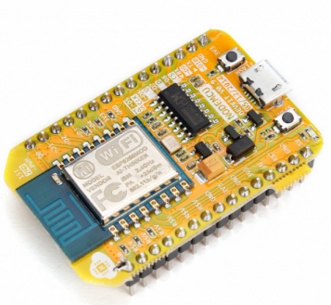
To connect the board to internet we’ve chosen the WiFi PLUS Click, that features MRF24WB0MA – 2.4GHz, IEEE std. 802.11 – compliant module from Microchip, as well as MCW1001 companion controller with on-board TCP/IP stack and 802.11 connection manager.
Last but not least, you need:
- Zerynth Studio, our powerful IDE for embedded programming in Python that enables the IoT. You can download it here.
- Zerynth App. You can download it here.
Flip&Click is Arduino’s two-sided cousin. On one side it’s an Arduino. But on the other side, you’ll find four open mikroBUS sockets for what the company calls “click boards.” Essentially, these are add-on modules that resemble Arduino shields, but shrunken down so that you can fit a few at the same time on the Flip & click without any trouble. Just add the Temp&Hum and the Wifi Plus clicks to the board, respectively at the slot A and B.
How to program the IoT Thermometer using PythonClone the exampleOnce you have installed Zerynth Studio and created a Zerynth user, you can clone the example “Zerynth App Oscilloscope“. Take a look here to learn how to clone an example.
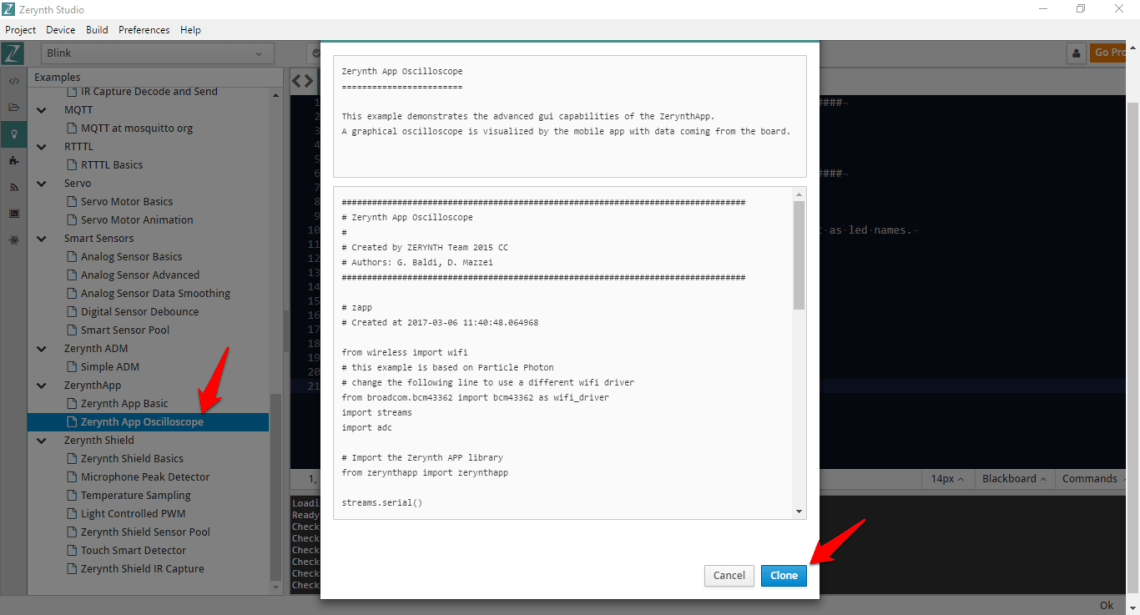
Let’s take a look at the original code in the “main.py” file: here is where you develop the logic of your Python script. We’ll start from the original code and then we’ll edit the script to develop our specific project.
################################################################################
# IoT Thermometer
################################################################################
from wireless import wifi
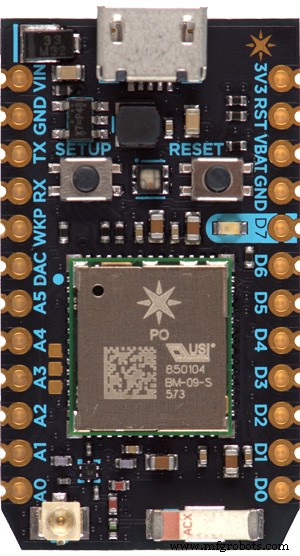
# this example is based on Particle Photon
# change the following line to use a different wifi driver
from broadcom.bcm43362 import bcm43362 as wifi_driver
import streams
import adc
# Import the Zerynth APP library
from zerynthapp import zerynthapp
streams.serial()
sleep(1000)
print("STARTING...")
try:
# Device UID and TOKEN can be created in the ADM panel
zapp = zerynthapp.ZerynthApp("DEVICE UID", "DEVICE TOKEN", log=True)
# connect to the wifi network (Set your SSID and password below)
wifi_driver.auto_init()
for i in range(0,5):
try:
wifi.link("SSID",wifi.WIFI_WPA2,"PASSWORD")
break
except Exception as e:
print("Can't link",e)
else:
print("Impossible to link!")
while True:
sleep(1000)
# Start the Zerynth app instance!
# Remember to create a template with the files under the "template" folder you just cloned
# upload it to the ADM and associate it with the connected device
zapp.run()
# Read ADC and send values to the ADM
while True:
sleep(1000)
x = (adc.read(A4)*100)//4096
zapp.event({"data":x})
if x>95:
# send mobile notification
# (there is a limit of one notification per minute per device on the ADM sandbox)
zapp.notify("ALARM!","The value is greater than 95!")
except Exception as e:
print(e)
In this simple example, a graphical oscilloscope is visualized by the Zerynth App with data coming from the connected board. Data are acquired from an analog sensor by the “analog” pin A4.
Import the right wifi driver and sensor librariesAs you can see in the comments, this example is based on the Particle Photon board and its wifi driver. Since we want to use the WiFi Plus Click, we have to change the following lines:
from broadcom.bcm43362 import bcm43362 as wifi_driver
in
from microchip.mcw1001a import mcw1001a as wifi_driver
and
wifi_driver.auto_init()
in
wifi_driver.init(SERIAL2,D24) # slot B
Then, we want to use the temperature sensor of the Temp&Hum Click. So, we have to add the following lines to import the library and set up the sensor, as you can read in the documentation:
# Import the HTS221 library
from stm.hts221 import hts221

temp_hum = hts221.HTS221(I2C0, D21) # slot A
To read the sensor, just write the following line, where it’s necessary:
tmp, hum = temp_hum.get_temp_humidity() # Read tmp and hum
Of course, you have also to edit the SSID name and the PASSWORD of the wifi network you want to connect the board, editing this line:
wifi.link("SSID",wifi.WIFI_WPA2,"PASSWORD")
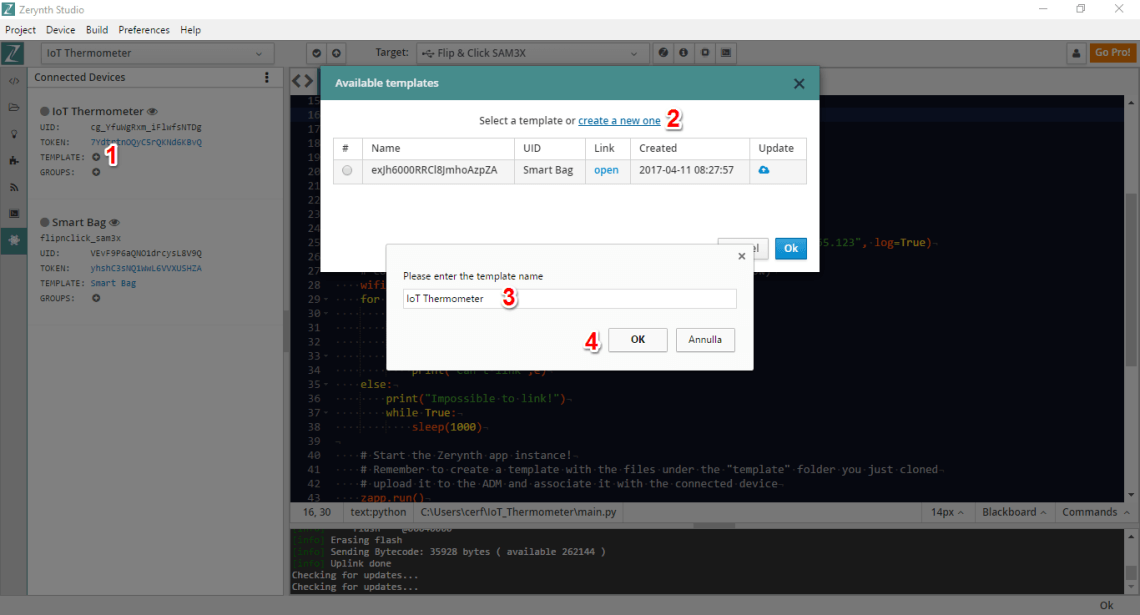
Now we have to create a “connected device” and link the “zerynthapp” instance to it. Below you can see some screenshots with the necessary steps. Take a look at this doc for more technical details.
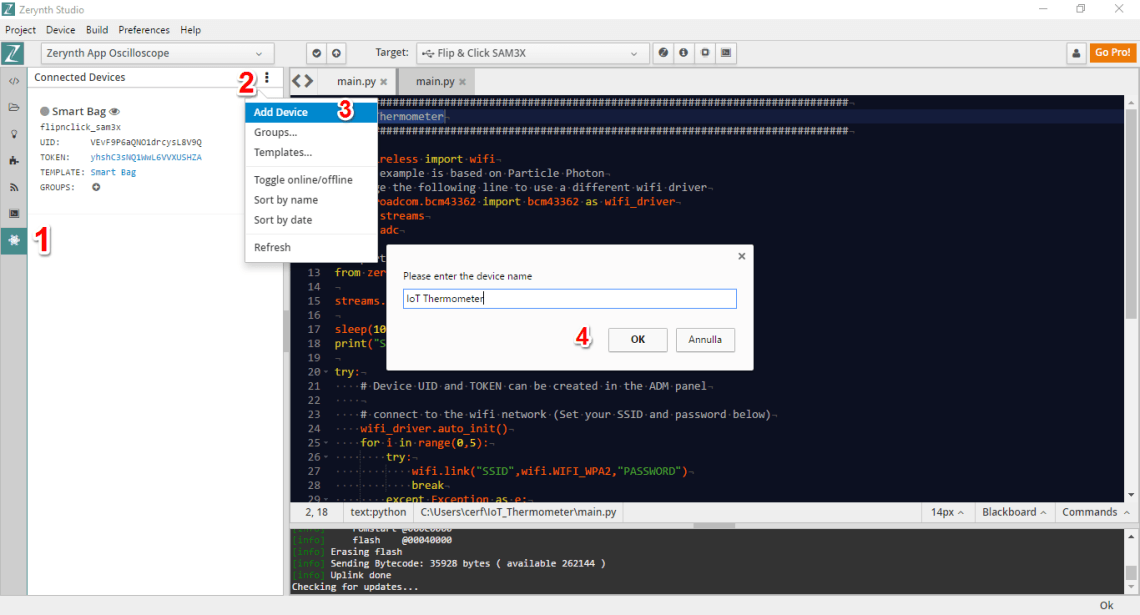
The device credentials (UID and TOKEN) can be copied and pasted directly from Zerynth Studio (ADM panel). “IP” is the ip address of the Zerynth ADM. This argument is used when the network driver does not support hostname resolution, as in this case.

Through the Zerynth App you can run beautiful responsive Graphical User Interfaces using HTML, CSS and JavaScript. No need for Android or iOS code!
The graphical interface of each device is hosted on the Zerynth ADM sandbox and consists of a set of HTML5, Javascript, CSS and image files that are loaded and displayed in the app. Adding to the template the ADM Javascript Library allows the app to interact with the connected device both receiving and sending messages.
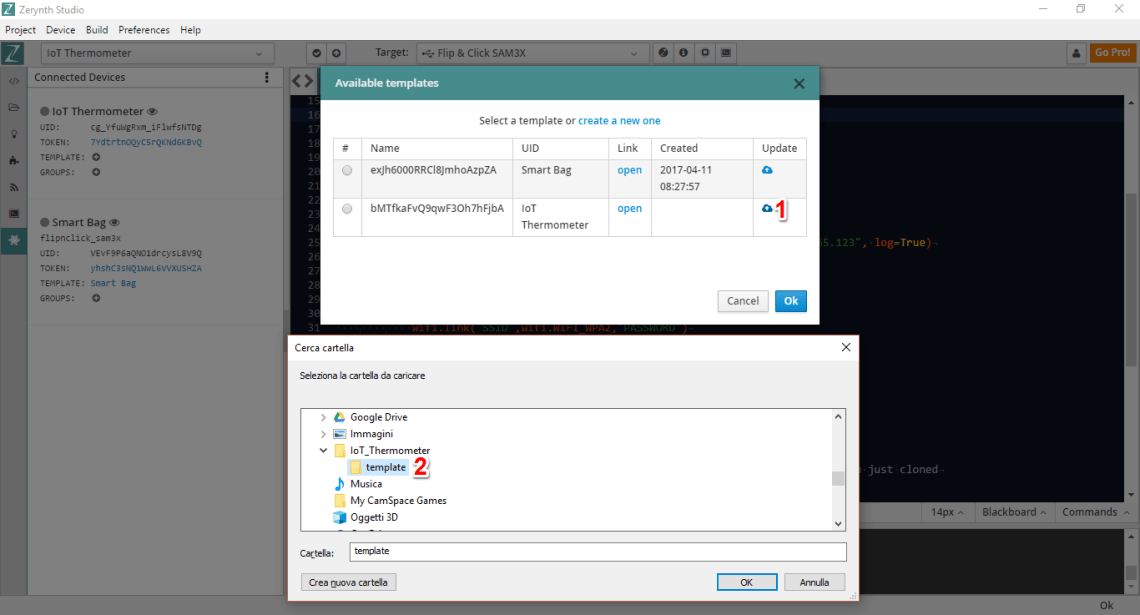
Templates can be added by clicking the respective “plus” icon.
Then upload the template from the dedicated folder. Note that the file where the template is defined is called “index.html” and you can edit it how you want. In this case, you can leave it as it is.
After a few edits, the code should look like this:
################################################################################
# IoT Thermometer
################################################################################

from wireless import wifi
from microchip.mcw1001a import mcw1001a as wifi_driver
import streams
import adc

streams.serial()

# Import the Zerynth APP library
from zerynthapp import zerynthapp

# Import the HTS221 library
from stm.hts221 import hts221

temp_hum = hts221.HTS221(I2C0, D21) # slot A

sleep(1000)
print("STARTING...")

try:
    # Device UID and TOKEN can be created in the ADM panel
    zapp = zerynthapp.ZerynthApp("DEVICE UID", "DEVICE TOKEN",ip = "178.22.65.123", log=True)

    # connect to the wifi network (Set your SSID and password below)
    wifi_driver.init(SERIAL2,D24) # slot B
    for i in range(0,5):
        try:
            wifi.link("SSID",wifi.WIFI_WPA2,"PASSWORD")
            break
        except Exception as e:
            print("Can't link",e)
    else:
        print("Impossible to link!")
        while True:
            sleep(1000)

    # Start the Zerynth app instance!
    # Remember to create a template with the files under the "template" folder you just cloned
    # upload it to the ADM and associate it with the connected device
    zapp.run()

    # Read the sensor and send values to the ADM
    while True:
        sleep(1000)
        tmp, hum = temp_hum.get_temp_humidity() # Read tmp and hum
        print("Temp is:", tmp, "Humidity is:", hum)
        try:
            zapp.event({"data":tmp})
        except Exception as e:
            print(e)
        if tmp>30:
            # send mobile notification
            # (there is a limit of one notification per minute per device on the ADM sandbox)
            try:
                zapp.notify("ALARM!","High Temperature!")
            except Exception as e:
                print(e)

except Exception as e:
    print(e)
Remember that “DEVICE UID”, “DEVICE TOKEN”, “SSID” and “PASSWORD” have to be edited to fit with your own parameters.
At this point, you can uplink the script into your device.
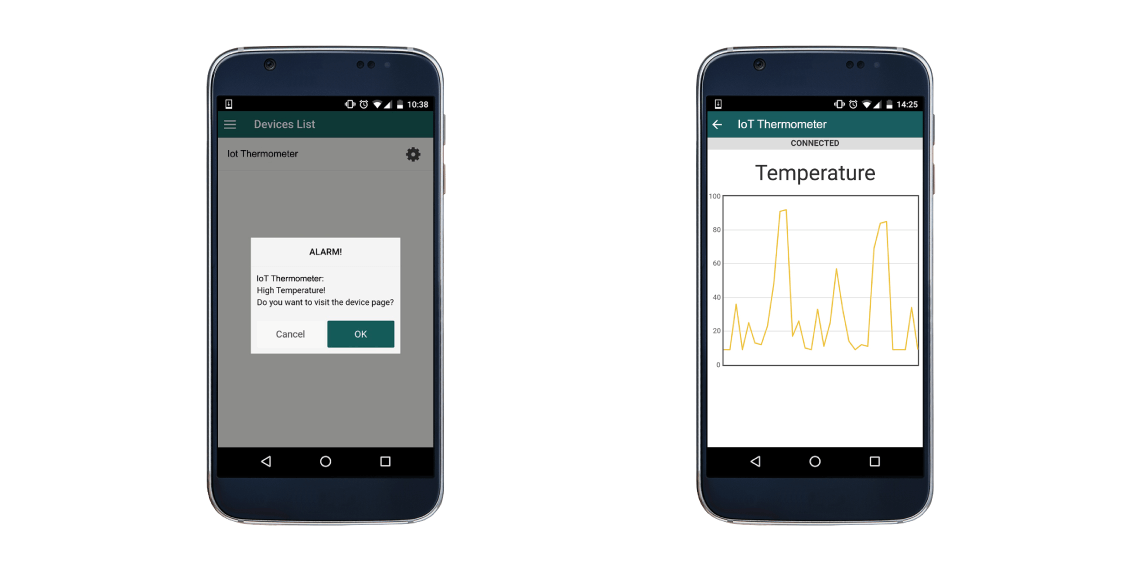
How to see the IoT Thermometer dashboard on the Zerynth AppAs you can read in this very brief tutorial, you have just to open the Zerynth App, log-in and select the specific device to see your IoT Thermometer dashboard. Last, Zerynth App can also receive push notifications from the connected devices. In this case, a notification will appear when the temperature will be greater than the threshold!
If you have any questions don’t hesitate to open a discussion in the Zerynth community forum.
Enjoy!
Code
- IoT Thermometer
IoT ThermometerPython
################################################################################
# Zerynth App Oscilloscope
################################################################################

from wireless import wifi
from microchip.mcw1001a import mcw1001a as wifi_driver
import streams
import adc

streams.serial()

# Import the Zerynth APP library
from zerynthapp import zerynthapp

# Import the HTS221 library
from stm.hts221 import hts221

temp_hum = hts221.HTS221(I2C0, D21) # slot A

sleep(1000)
print("STARTING...")

try:
    # Device UID and TOKEN can be created in the ADM panel
    zapp = zerynthapp.ZerynthApp("DEVICE UID", "DEVICE TOKEN",ip = "178.22.65.123", log=True)

    # connect to the wifi network (Set your SSID and password below)
    wifi_driver.init(SERIAL2,D24) # slot B
    for i in range(0,5):
        try:
            wifi.link("SSID",wifi.WIFI_WPA2,"PASSWORD")
            break
        except Exception as e:
            print("Can't link",e)
    else:
        print("Impossible to link!")
        while True:
            sleep(1000)

    # Start the Zerynth app instance!
    # Remember to create a template with the files under the "template" folder you just cloned
    # upload it to the ADM and associate it with the connected device
    zapp.run()

    # Read the sensor and send values to the ADM
    while True:
        sleep(1000)
        tmp, hum = temp_hum.get_temp_humidity() # Read tmp and hum
        print("Temp is:", tmp, "Humidity is:", hum)
        try:
            zapp.event({"data":tmp})
        except Exception as e:
            print(e)
        if tmp>30:
            # send mobile notification
            # (there is a limit of one notification per minute per device on the ADM sandbox)
            try:
                zapp.notify("ALARM!","High Temperature!")
            except Exception as e:
                print(e)

except Exception as e:
    print(e)
Schematics

Manufacturing process
- TMP006 Infrared Temperature Sensor with Raspberry Pi: Python Library & Setup Guide
- Build a Remote Temperature Sensor with Raspberry Pi and Python – Step‑by‑Step Guide
- How to Rename Files and Directories in Python with os.rename() – Step-by-Step Guide
- Calculating Averages in Python: A Practical Guide
- Real‑Time IoT Heart Rate Monitor with Arduino & MAX30100
- Remote IoT Control of a Custom Robotic Arm
- Smart Plant Monitoring System Powered by AWS IoT
- Build a Real-Time Face-Tracking System with Arduino & OpenCV
- Industrial IoT Monitoring: Essential Hardware Components and Setup Guide
- Building an IoT Device with ESP8266‑01 and Arduino Nano: A Complete Guide