


Arduino PowerPoint Pointer – Seamless Wireless Presentation Control
Components and supplies
 |
| × | 1 | |||
| × | 1 | ||||
| × | 1 |
About this project
The last time that I had to do an PowerPoint presentation it was very frustrating to be all the time with my mouse in my hand, it was not simple design for this function.
With a new presentation coming up titled "Introduction to Arduino," I thought, what best way to show some of the capabilities of the Arduino board then to build a quick power point presenter tool with it.
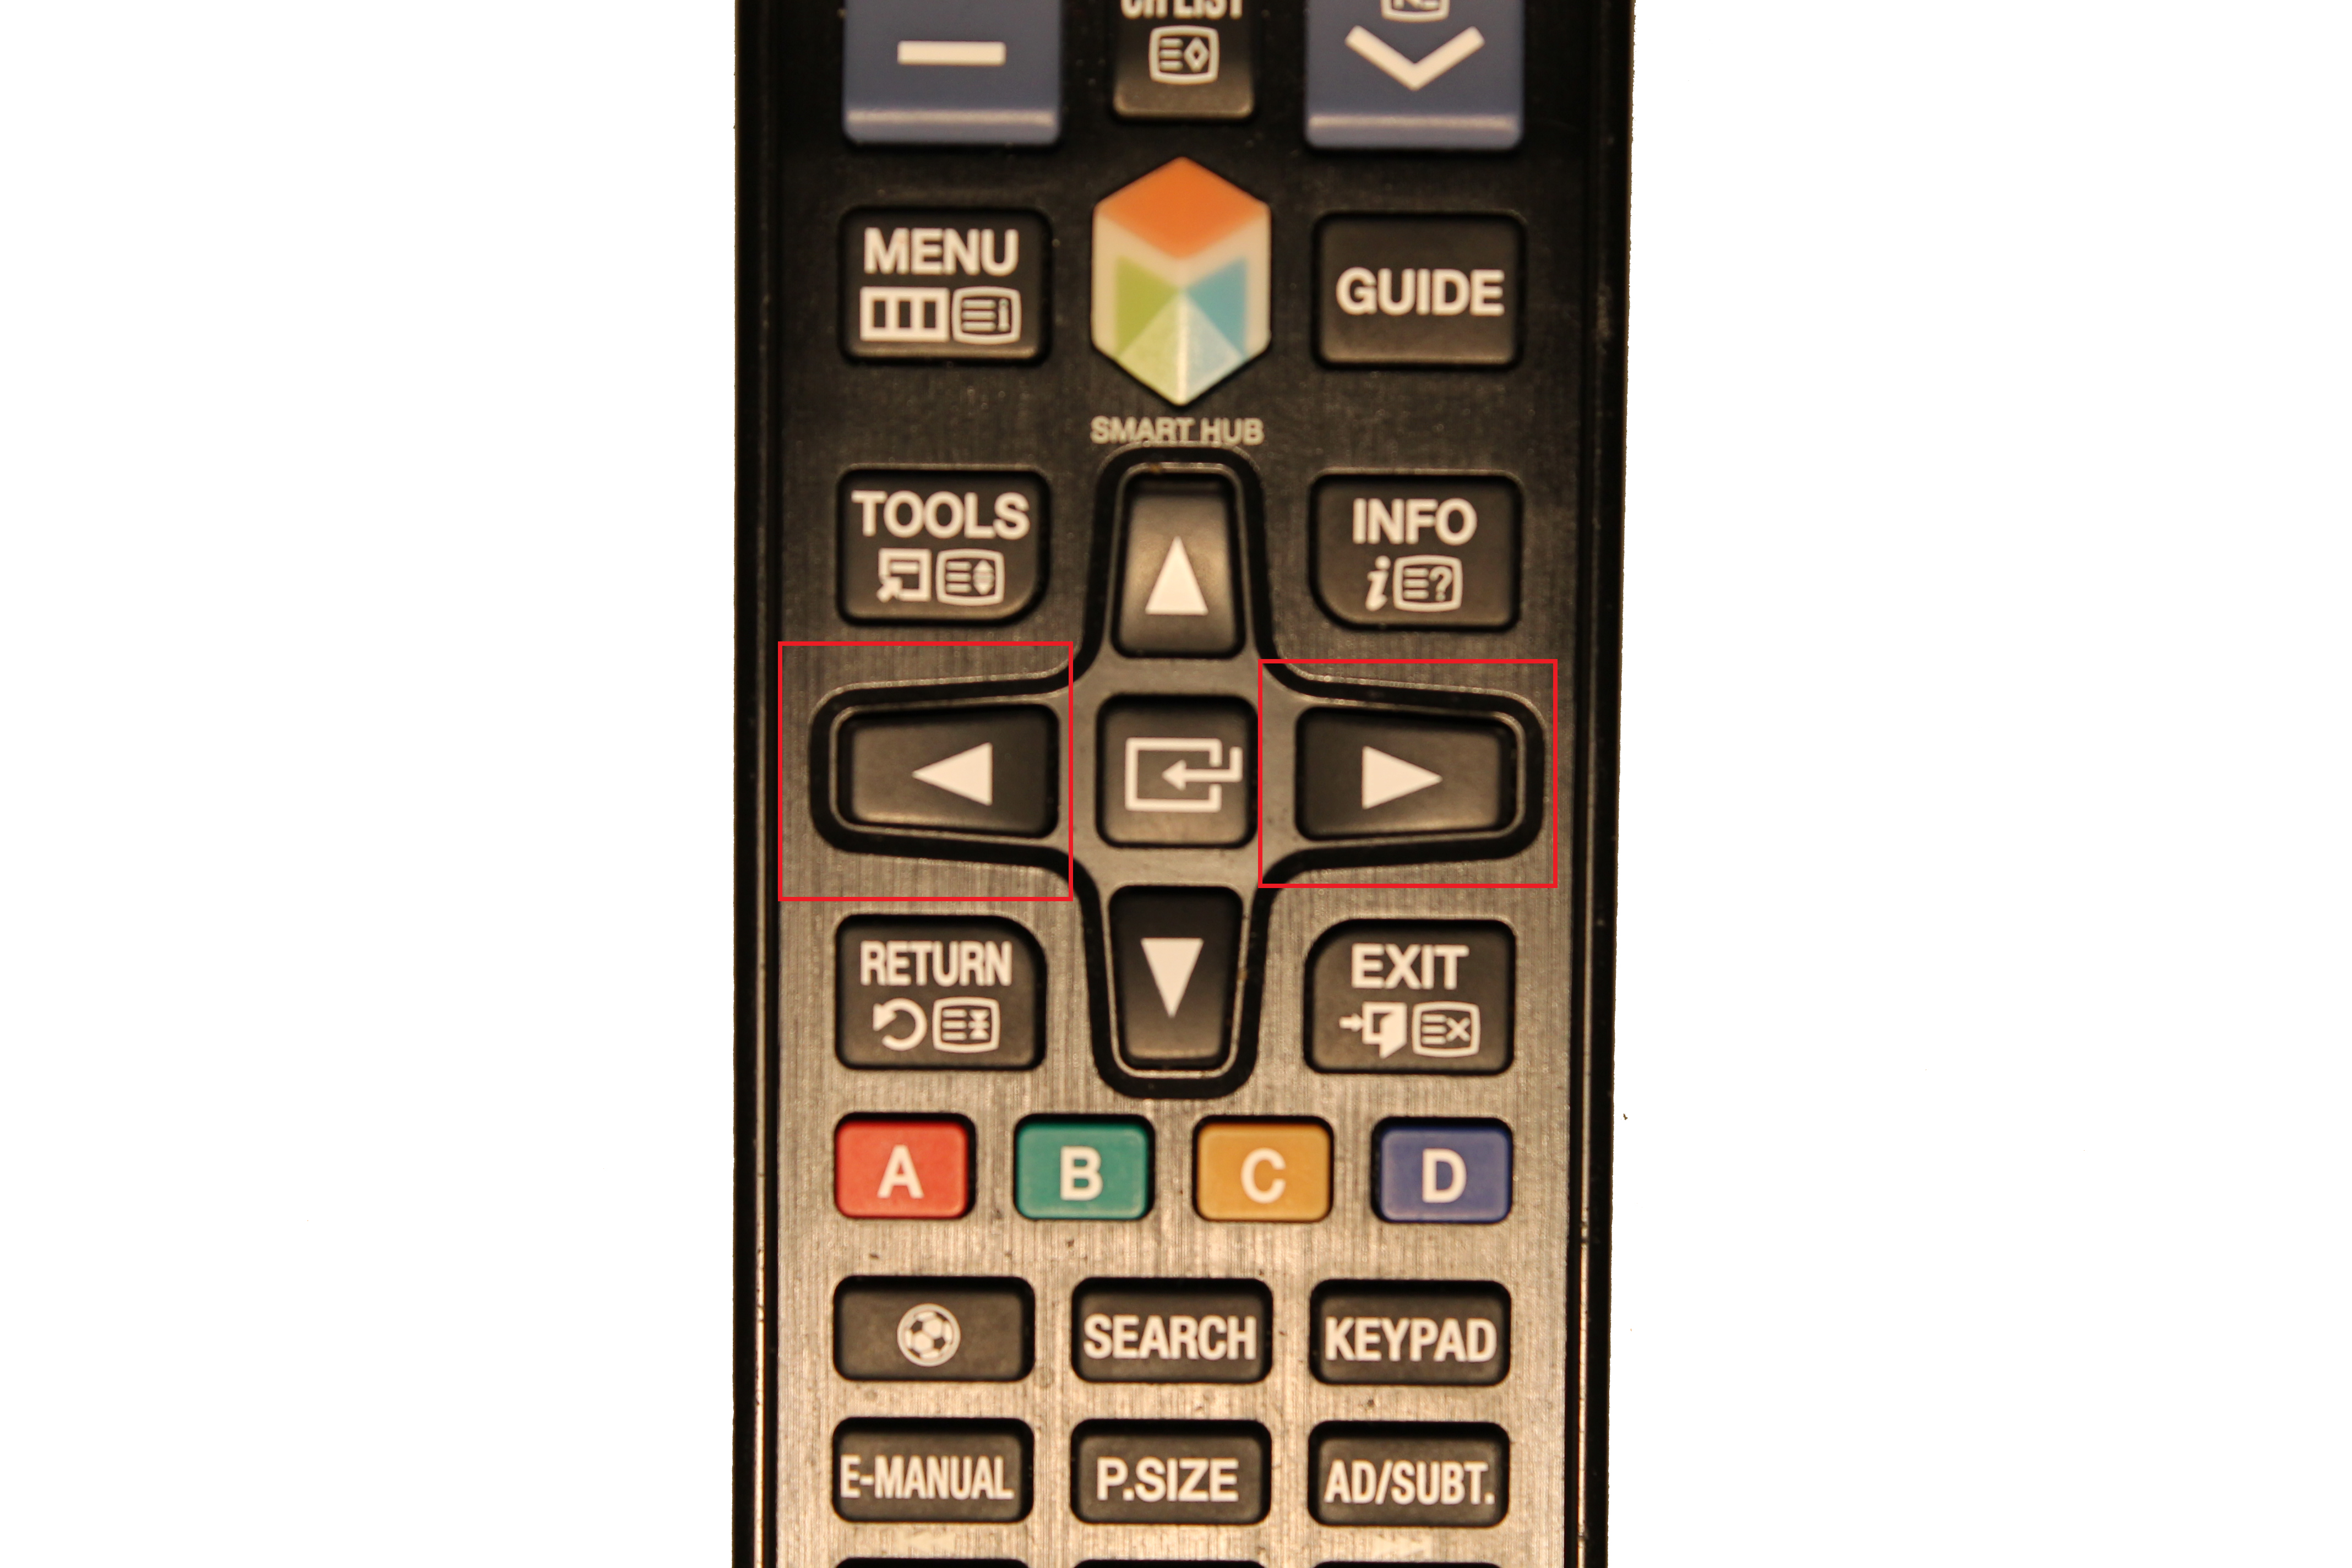
The first idea that pops has, "Why not use the TV Remote?" Design to be hold in a more ergonomic position that the mouse (for this case).
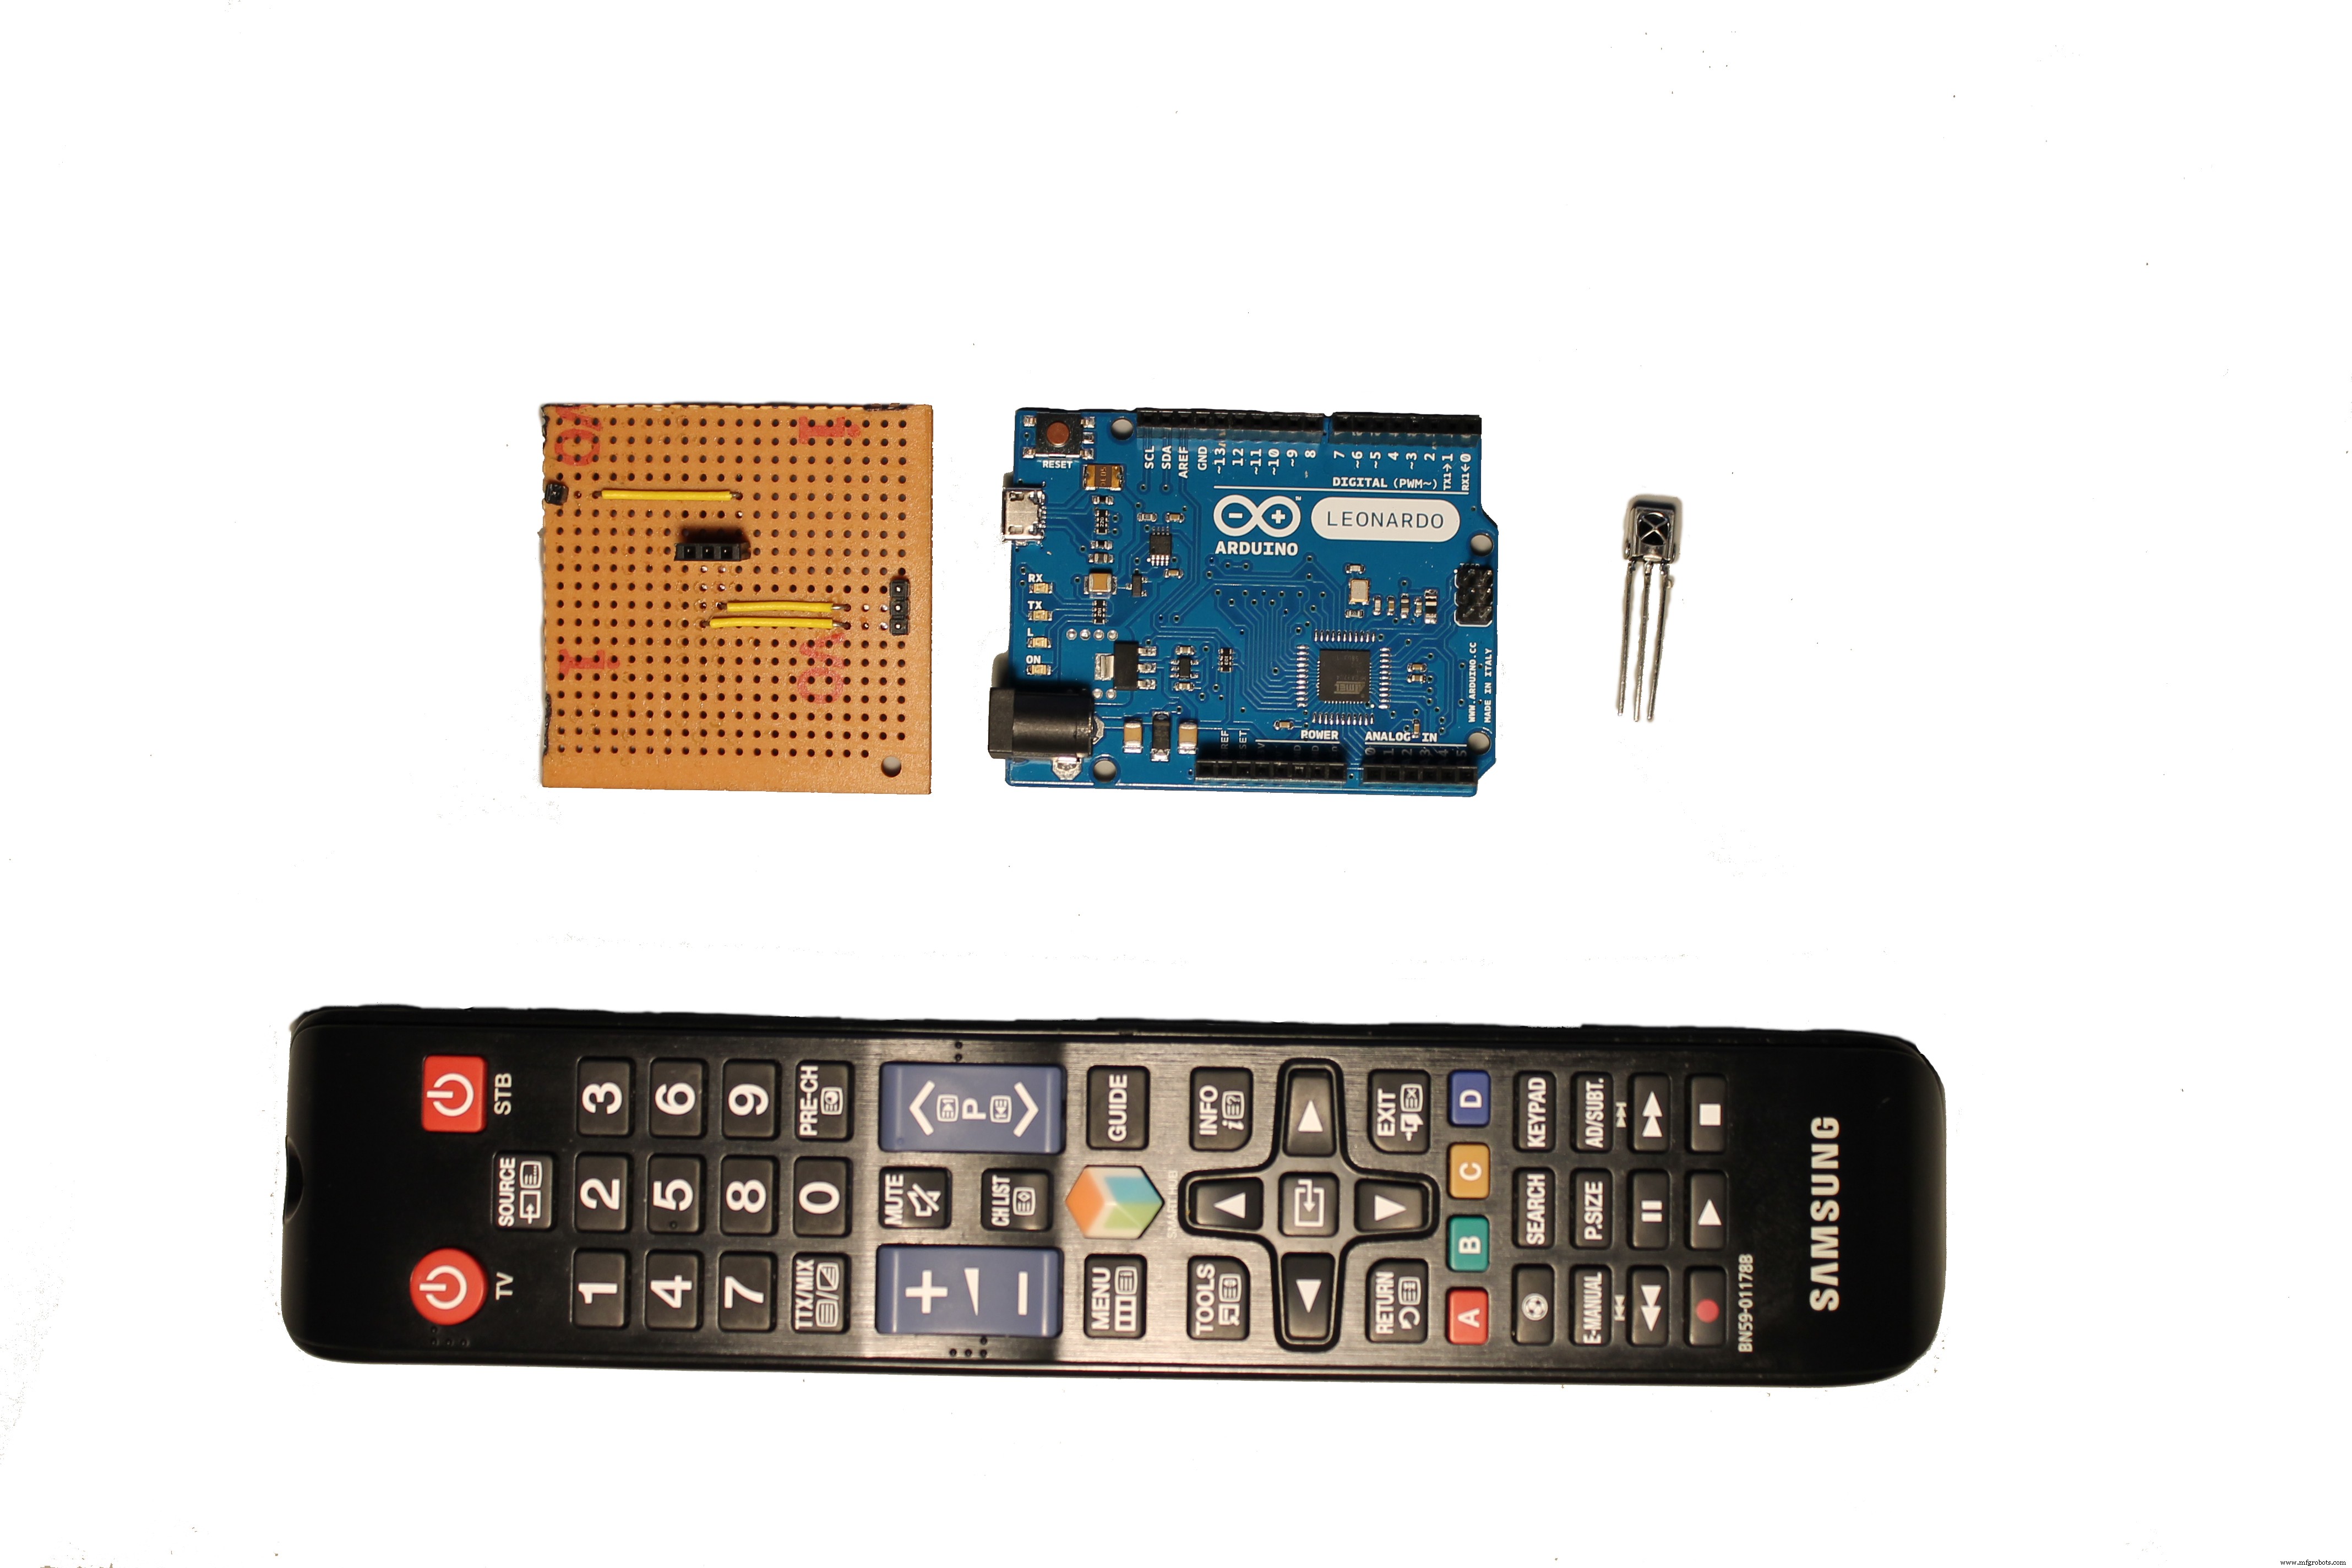
For this project you will need:
1x TV Remote
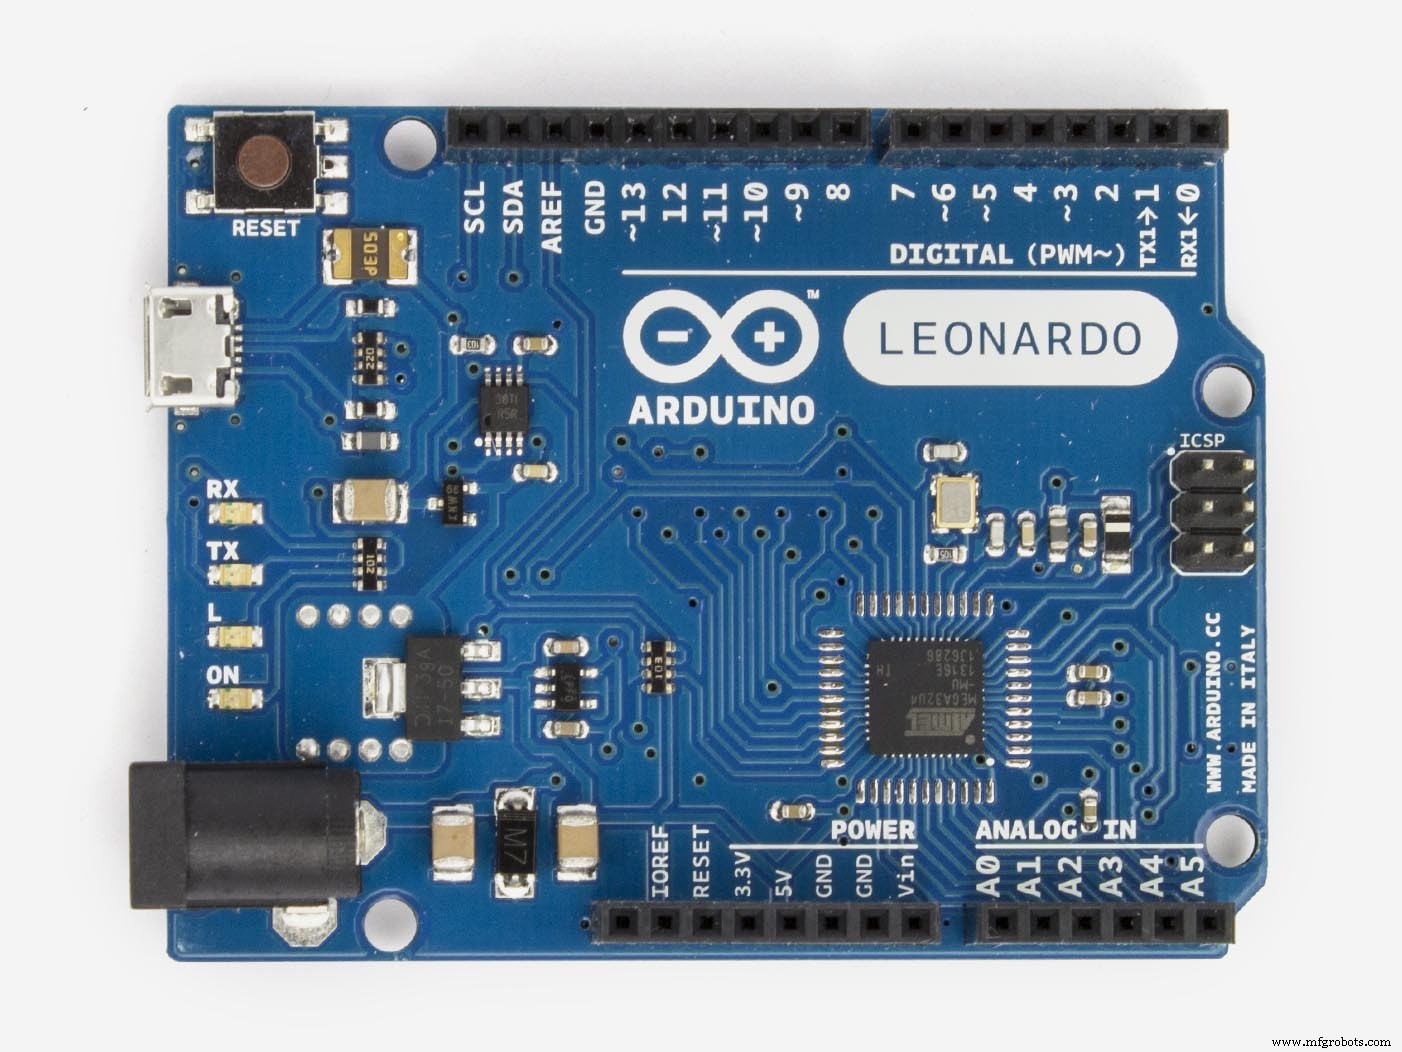
1x Arduino Leonardo (also possible with UNO but some modifications are needed)
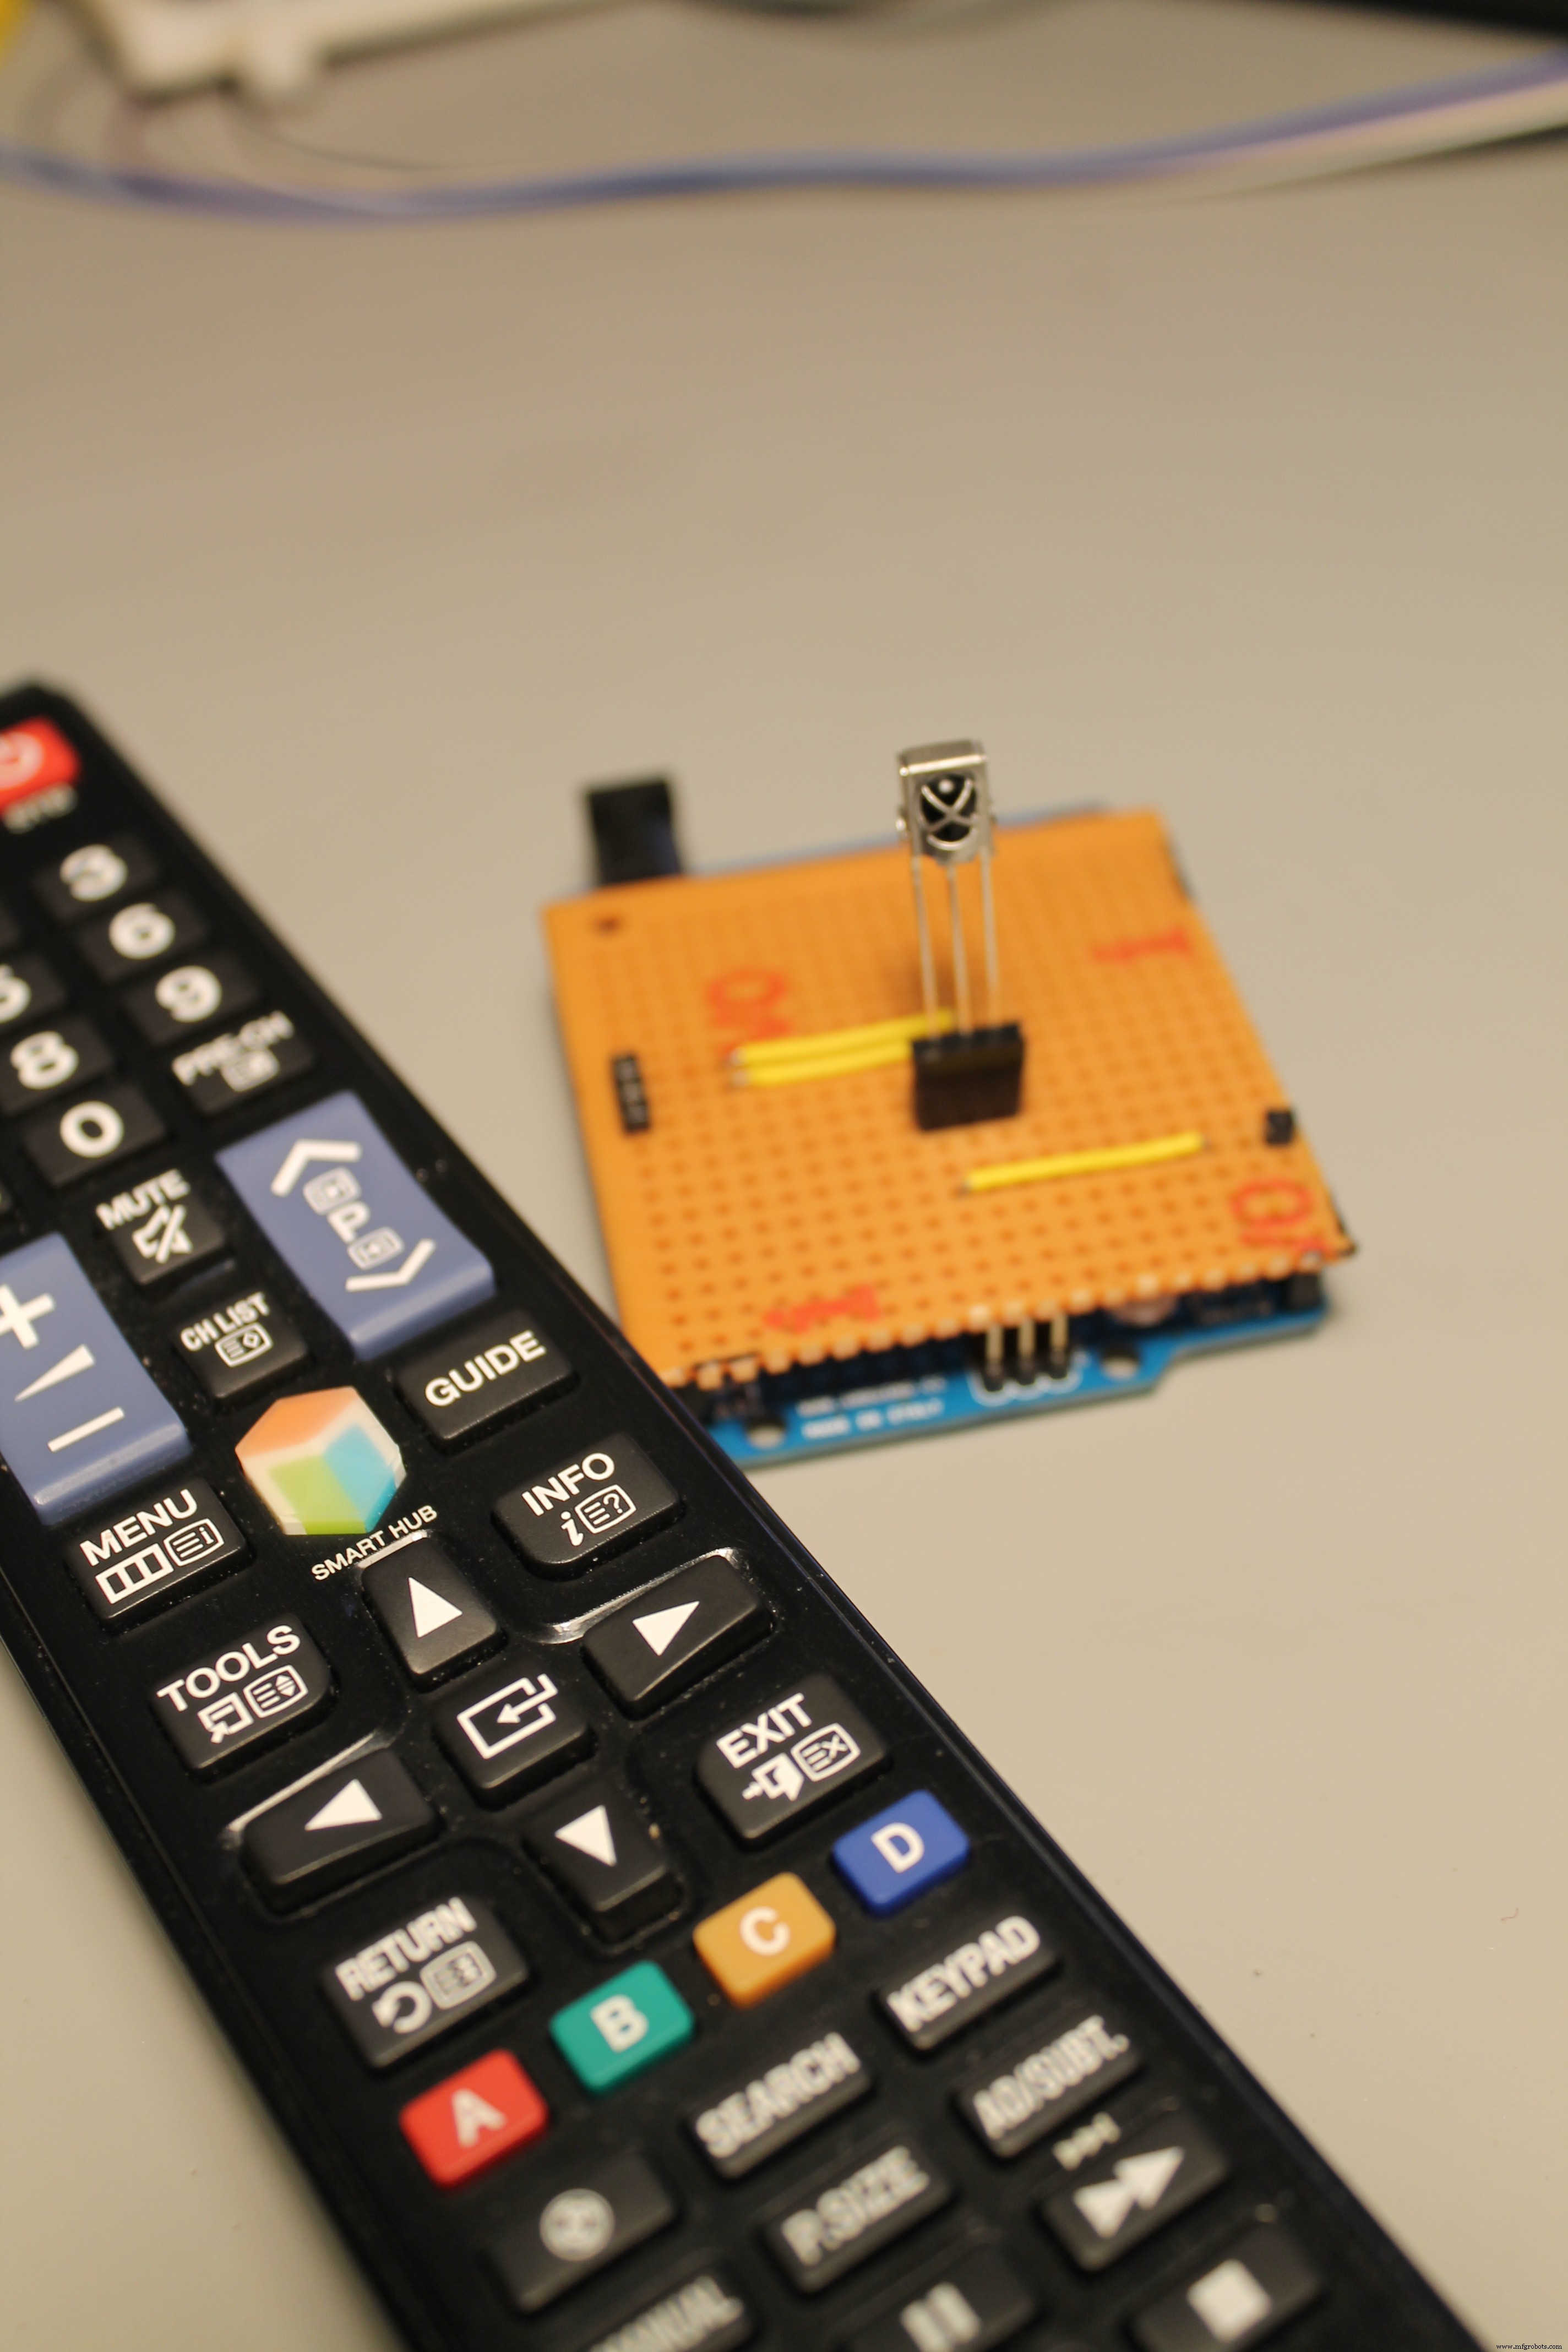
1x IR sensor (my is a VS1838B)
Optional - I build a very easy shield using perfboard
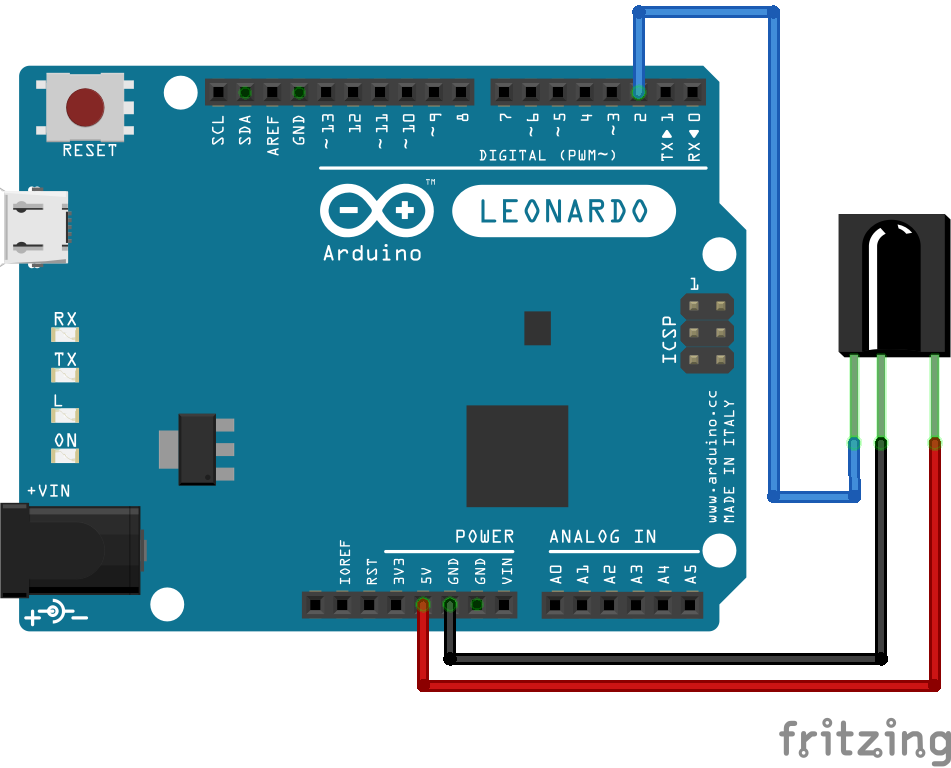
Connect the Components
The connection diagram is very easy, simple connect the GND from the sensor to Arduino GND pin, 5V from the sensor to the 5V pin in the Arduino and the Data pin from the sensor to Digital Pin 2 of the Arduino.
The code part is divided in two steps. In the fist one, you will need to read the keys that you want to use from your TV Remote. For this you will be able to decode the IR signal send out from the remote.
The second part, we will use the information from step one, and assign the keys to there new functions as PowerPointer pointers.
Start by downloading the IRremote Arduino Library and install it in the correct folder. You can downloaded from there.
Do not forget to follow installation procedure recommend in the github page.
For step one, upload the Code 1 to your Arduino. Open a Serial Monitor window, if everything is ok, you should start to different numbers every time you press on key in the TV remote.
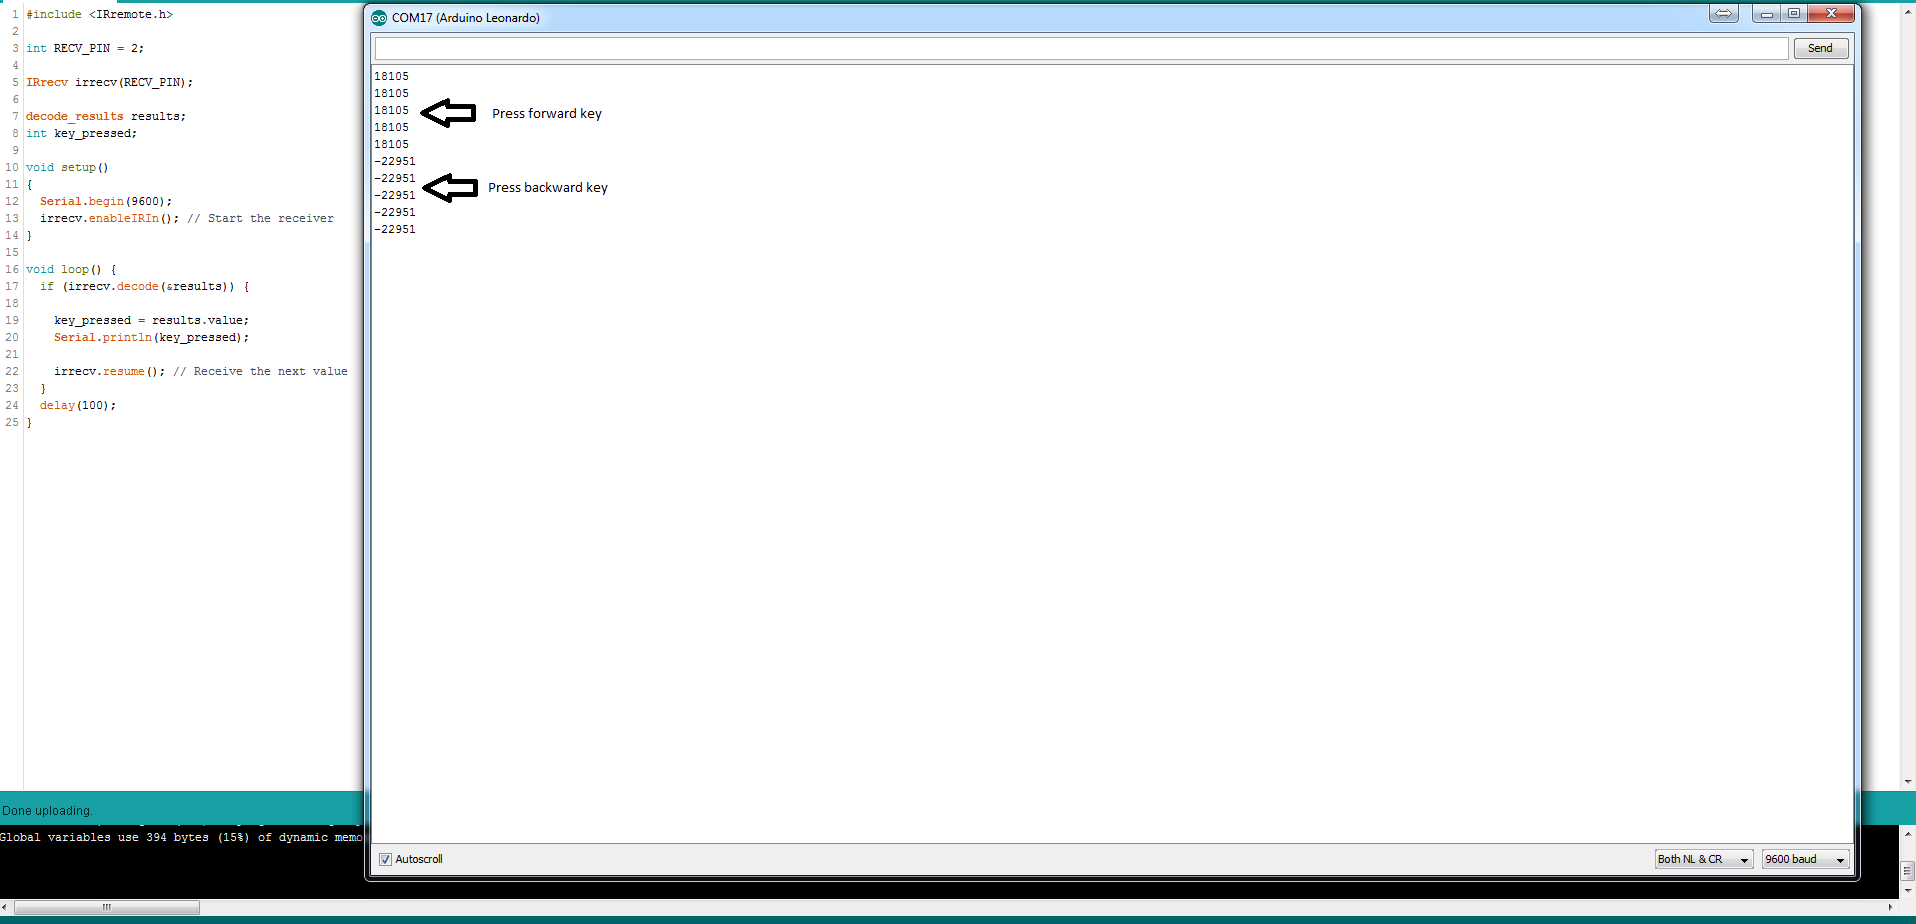
Store the numbers corresponding to the keys that you want to use. In my case, I used the central forward and backward key in my TV remote.
Replace my numbers in the "If" structures in the Code 2 and upload.
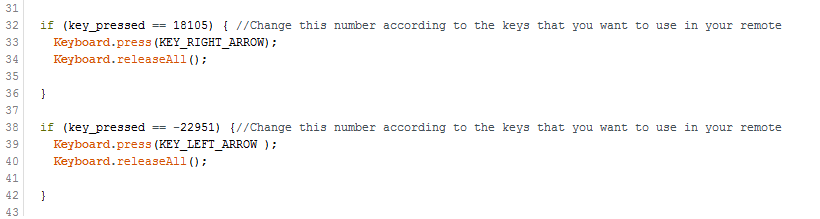
If you are using the Arduino Leonardo, after the upload, every time that you press the selected TV remote keys, they will act as the forward and backward arrows from your keyboard.
Now open your presentation and if you are in "Slide Mode", the slides will change back and forward every time that you press previous selected keys from your TV remote.
Other Arduino boardIf you are using other Arduino boards, I think that is also possible to build this project however some changes need to be done.
The big difference is that the Atmega8U2 or equivalent chip, responsible for the communication between the ATmega328 and the computer, needs to be flashed. I did not had the need to do this, because with the Arduino Leonardo, Zero and DUE appear as native keyboard or mouses when defined and connected to your computer.
There are some support regarding this subject in the forum.arduino.cc.
If you do this change please tell me or post this information in this project page in order for other users to be informed also :)
As normal, please write me if you found any mistake or if you have any suggestion/improvement or questions.
Thanks for reading.
Code
- PPT_Pointer_Code_2.ino
- PPT_Pointer_Code_1.ino
PPT_Pointer_Code_2.inoArduino
#include <IRremote.h>
#include "Keyboard.h"

int RECV_PIN = 2;

IRrecv irrecv(RECV_PIN);

decode_results results;
int key_pressed;
int last_key_pressed;

void setup()
{

  Serial.begin(9600);
  irrecv.enableIRIn(); // Start the receiver
  Keyboard.begin();

}

void loop() {

//Stuff to read the TV remote
  if (irrecv.decode(&results)) {
    key_pressed = results.value;
    Serial.println(key_pressed);
    irrecv.resume(); // Receive the next value
  }

  if (key_pressed == last_key_pressed) key_pressed = 0; //I only want to check one time, what key was pressed

  if (key_pressed == 18105) { //Change this number according to the keys that you want to use in your remote
    Keyboard.press(KEY_RIGHT_ARROW);
    Keyboard.releaseAll();

  }

  if (key_pressed == -22951) {//Change this number according to the keys that you want to use in your remote
    Keyboard.press(KEY_LEFT_ARROW );
    Keyboard.releaseAll();

  }

  last_key_pressed = key_pressed;

}
PPT_Pointer_Code_1.inoArduino
#include <IRremote.h>

int RECV_PIN = 2;

IRrecv irrecv(RECV_PIN);

decode_results results;
int key_pressed;

void setup()
{
  Serial.begin(9600);
  irrecv.enableIRIn(); // Start the receiver
}

void loop() {
  if (irrecv.decode(&results)) {

    key_pressed = results.value;
    Serial.println(key_pressed);

    irrecv.resume(); // Receive the next value
  }
  delay(100);
}
Schematics


Manufacturing process
- Laser Pointer: Design, Manufacturing, and Safety Overview
- Build a Professional Raspberry Pi Universal Remote with LIRC
- Build a Bluetooth‑controlled Arduino Spybot
- FlickMote: Gesture‑Controlled IR Remote for Smart Home
- Build a Universal Android Remote with Arduino, 1Sheeld & IR Control
- Portable Remote Surveillance Camera System
- Programmable 3‑Axis Robotic Arm Kit – Local & Remote Control with Arduino and Bluetooth
- IoT Integration: Remote Arduino Control via Windows 10 UWP Apps
- SomfyDuino: USB‑to‑Somfy IO Adapter for Arduino Nano
- Control Any Device with Your TV Remote Using Arduino IR – Step-by-Step Tutorial