


FlickMote: Gesture‑Controlled IR Remote for Smart Home
Components and supplies
| × | 1 | ||||
| × | 1 | ||||
 |
| × | 1 | |||
 |
| × | 1 |
Apps and online services
 |
|
About this project

INTRODUCTION
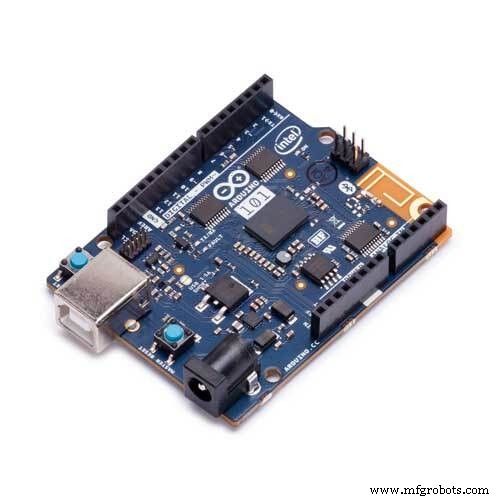
Controlling the home appliance and electronic gadgets through an infrared remote control is now general. But the same controlling task can be done more easily. Primary motive of purposing the new system of hand gesture remote control is to remove the need to look in to the hand held remote and to search for a specific key for specific function mainly for older ones. This project presents a novel system to control home appliance through hand gesture as a remote control device. The project will be referred to as flickremote in this report. It uses an ultrasonic rangefinder to determine the user's gesture and outputs an IR signal, Microcontroller Developer Board Arduino 101
HARDWARE COMPONENTS
1. An Arduino 101 or uno
2. An HC-SR04 ultrasonic module
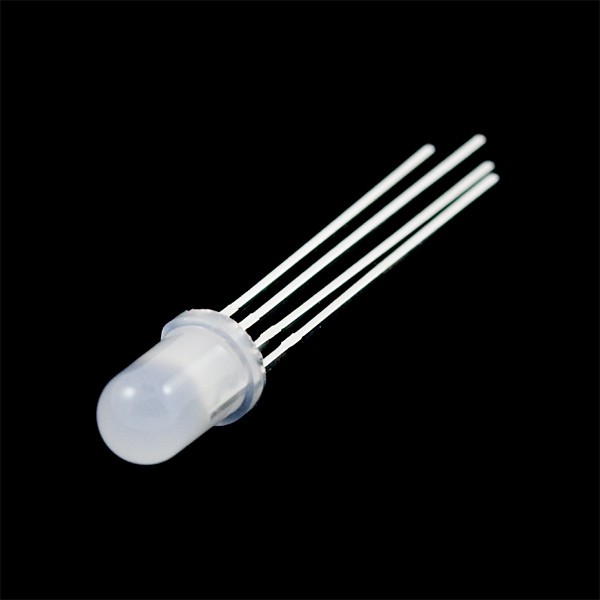
3. An Infra-red LED
4. An appropriate resistor for your Infra-red LED (220R)
5. An RGB LED
6. A breadboard and wires
HOW IT WORKS :
This Project uses an ultrasonic rangefinder to determine the user's gesture and outputs an IR signal to a TV on the command given..The distance or inches can be edited in the code which matches your convenience
- High swipe (> 10in) = Channel Up
- Low swipe = Channel Down
- High hold (> 10in) = Volume Up
- Low hold = Volume Down
- Cover sensor (< 3in) = Turn On / Off
Circuit Diagram Using Fritzing :
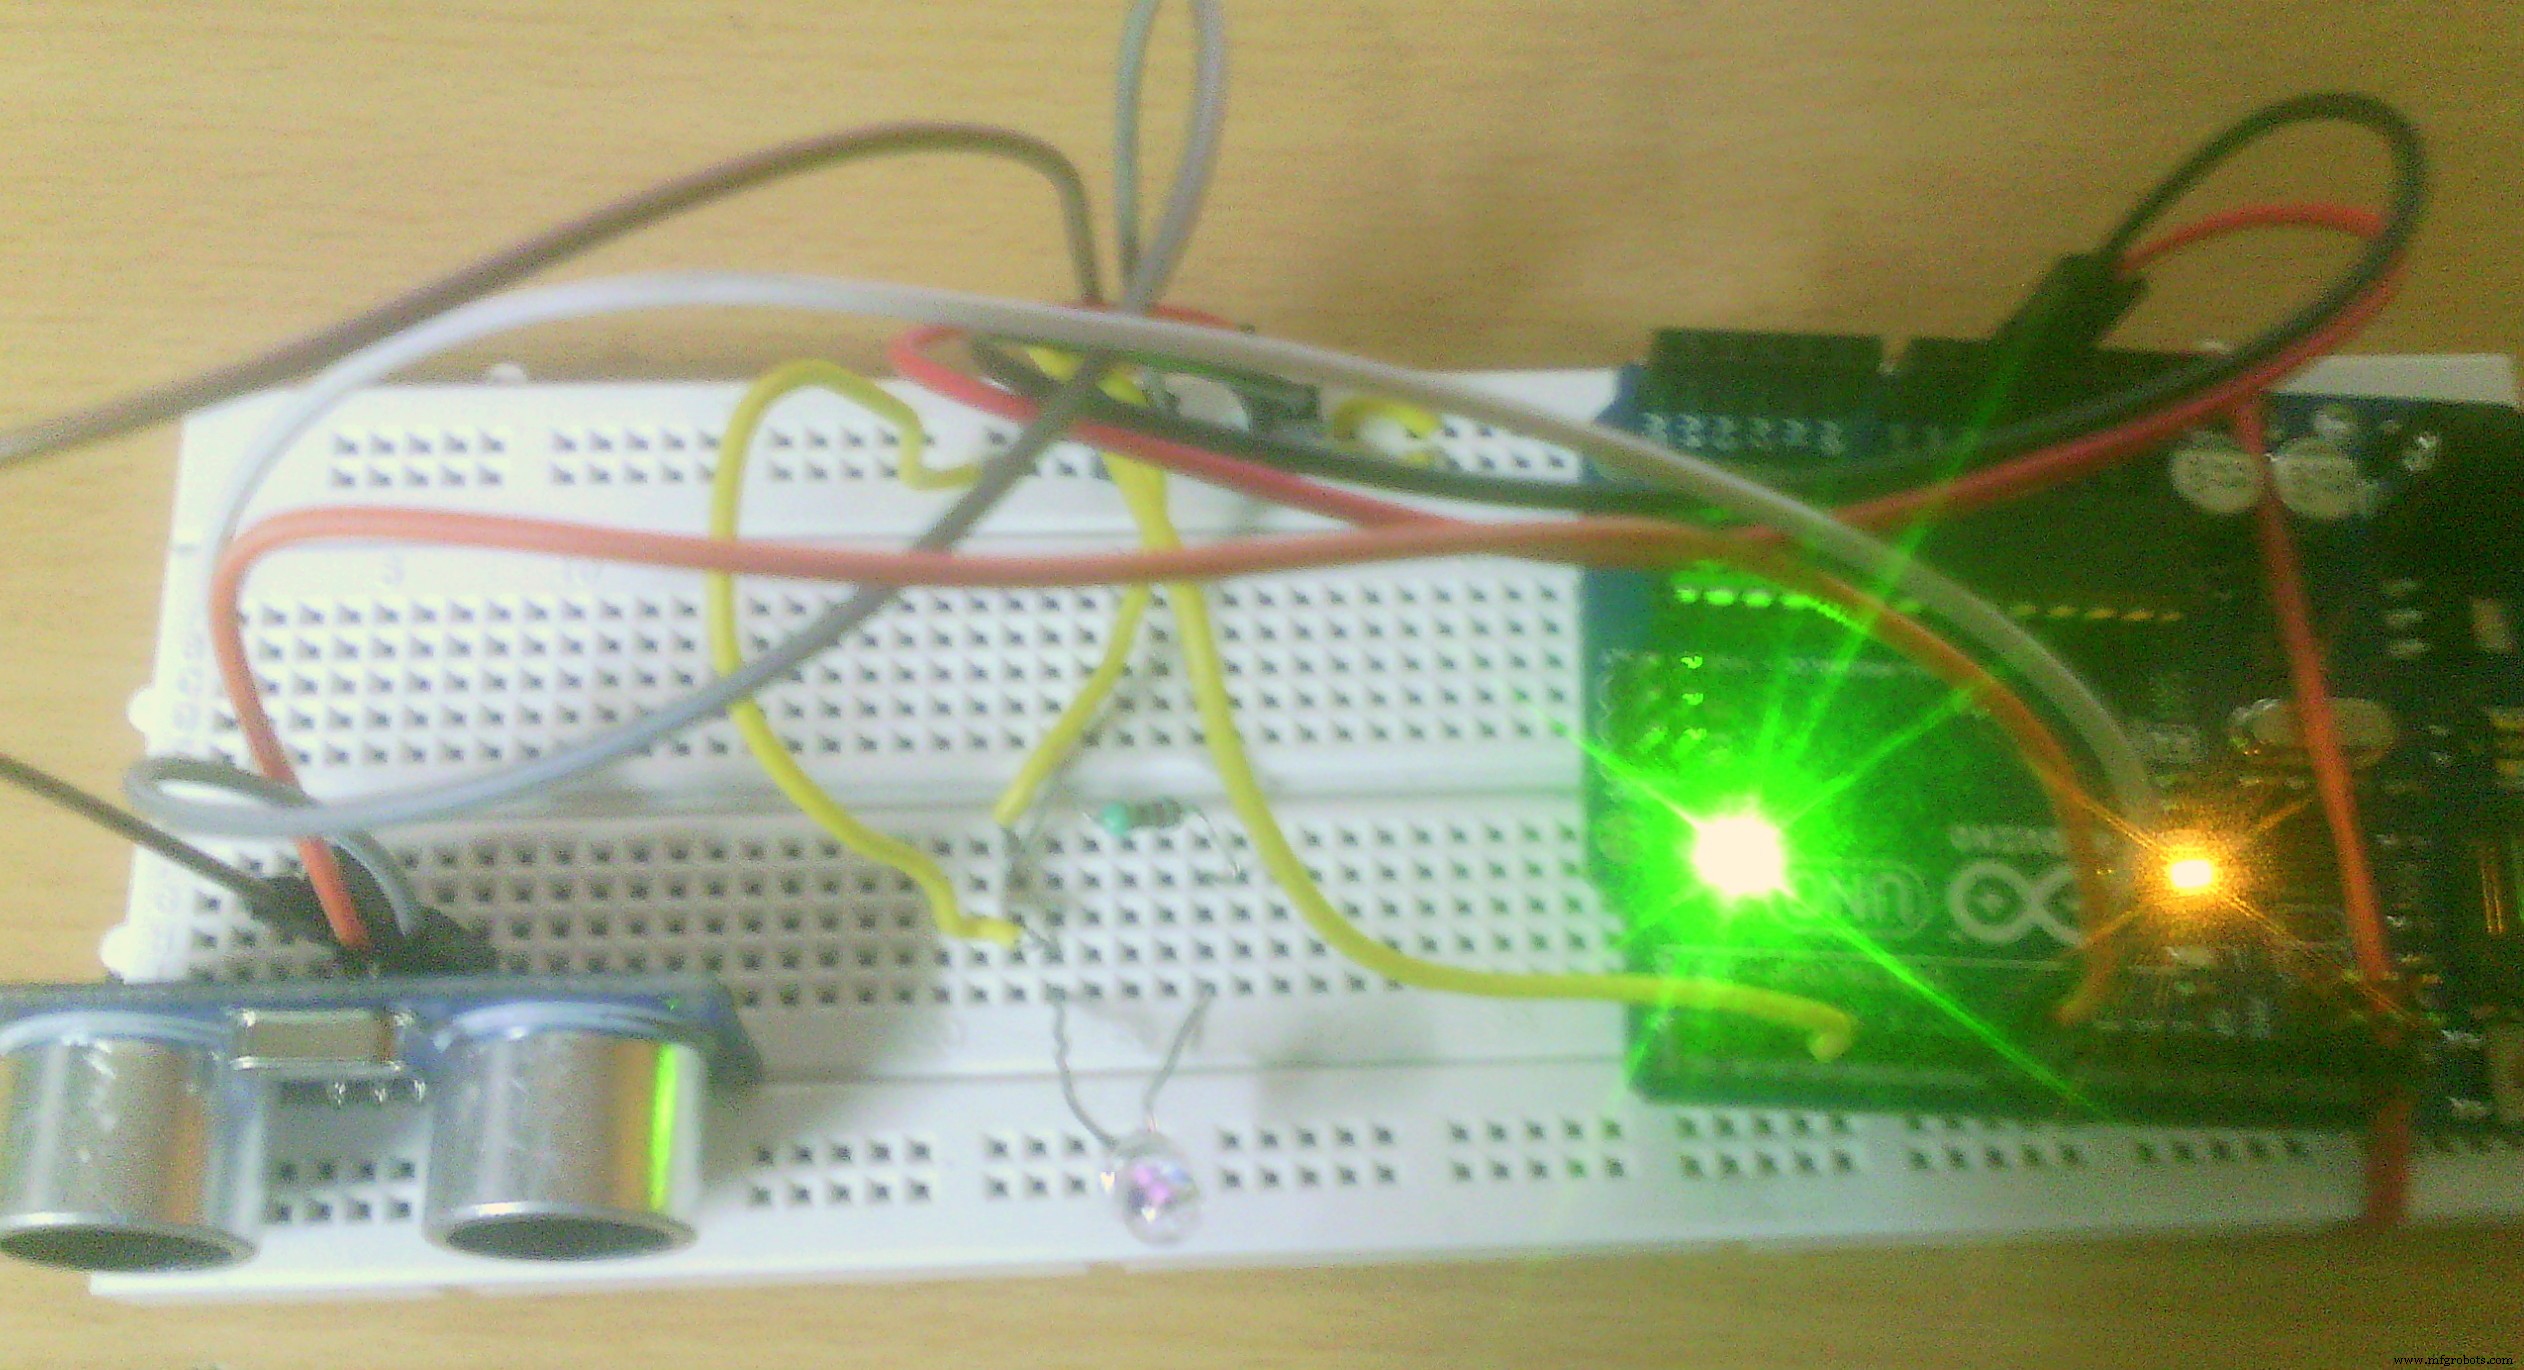
CONSTRUCTION :
1. Connect the IR LED to pin 3 via an appropriate resistor, and then connect the cathode to GND.
2. Connect the ultrasonic sensor to 5v and GND where the pins specify. Connect the trigger pin to pin 8 and the echo pin to 7. You can configure these pins in the program
3. Connect the RGB LED to GND and pins 11 (red), 10 (green), 9 (blue). These pins are also configurable.
CONTROLS
Power
Swiping over the sensor within 3 inches will cause the LED to flash purple. This is the confirmation that a 'turn on / off' signal is ready to be sent. To prevent it accidentally turning the TV off I have made the sketch wait for a second swipe within 5 seconds of the first to confirm. At this point the signal is sent to the TV to turn on or off.
Channel
Swiping within 10 inches of the sensor (but not within 3) will cause the channel to change down. Swiping between 10 and 20 inches will cause the channel to change up.
Volume
Holding your hand within 10 inches of the sensor (but not within 3) will cause the volume to change down. Holding between 10 and 20 inches will cause the volume to change up. The volume will continue to change (up or down) until your hand is removed
ADVANTAGES AND IMPROVEMENT :
Will Remove the need to look in to the hand held remote and to search for a specific key for specific function
A Solution to control the gadget (TV) for blinds and physically challenged persons
The Project can be improved by adding more functionality to control all home appliance using same method
THANK YOU
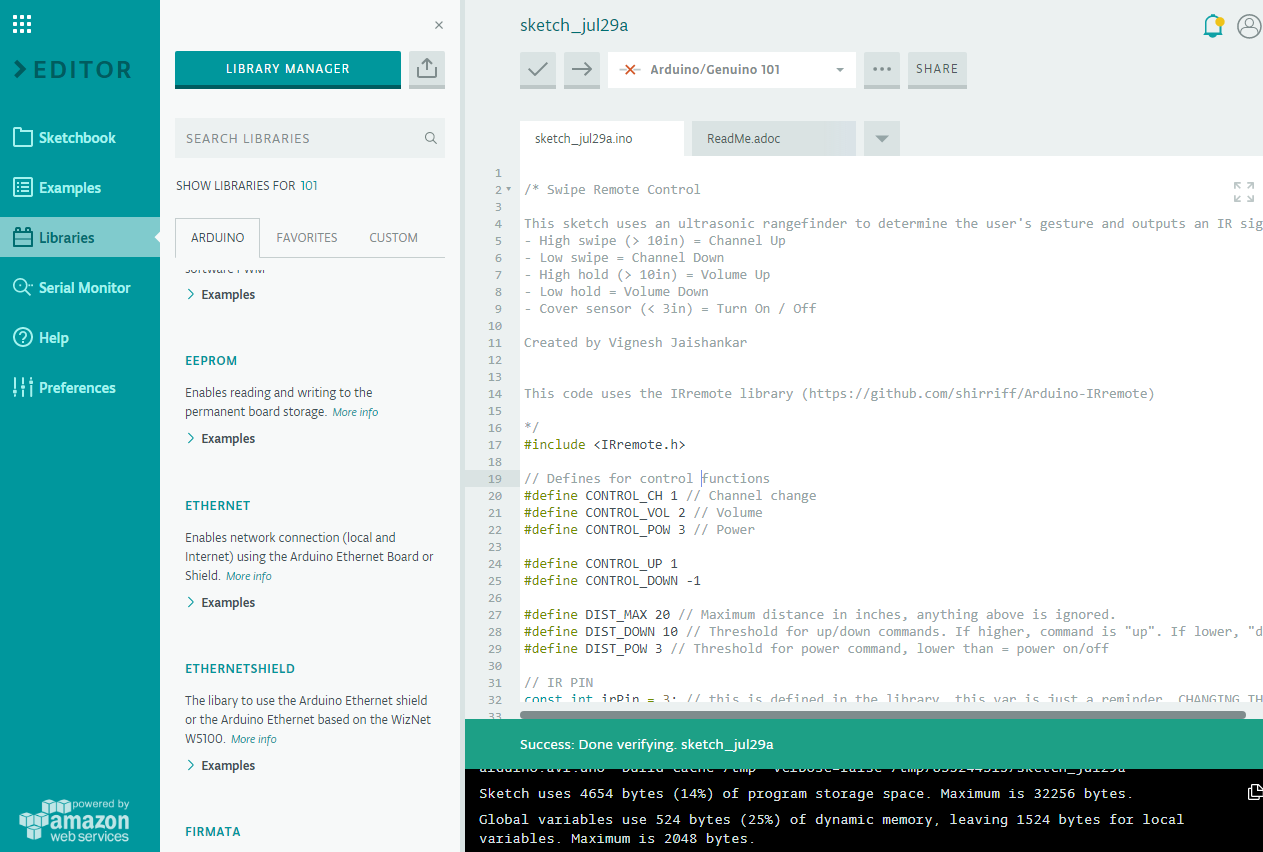
Code
- Code
CodeC/C++
/* Swipe Remote Control

This sketch uses an ultrasonic rangefinder to determine the user's gesture and outputs an IR signal to a sony TV based on the command given.
- High swipe (> 10in) = Channel Up
- Low swipe = Channel Down
- High hold (> 10in) = Volume Up
- Low hold = Volume Down
- Cover sensor (< 3in) = Turn On / Off

Created by Vignesh Jaishankar


This code uses the IRremote library (https://github.com/shirriff/Arduino-IRremote)

*/
#include <IRremote.h>

// Defines for control functions
#define CONTROL_CH 1 // Channel change
#define CONTROL_VOL 2 // Volume
#define CONTROL_POW 3 // Power

#define CONTROL_UP 1
#define CONTROL_DOWN -1

#define DIST_MAX 20 // Maximum distance in inches, anything above is ignored.
#define DIST_DOWN 10 // Threshold for up/down commands. If higher, command is "up". If lower, "down".
#define DIST_POW 3 // Threshold for power command, lower than = power on/off

// IR PIN
const int irPin = 3; // this is defined in the library, this var is just a reminder. CHANGING THIS WILL NOT CHANGE PIN IN LIBRARY
// 2 Pin Ping Sensor
const int pingPin = 8;
const int echoPin = 7;
// Confirmation LED Pins
const int led = 13; //internal LED for up/down debugging
const int ledR = 11;
const int ledG = 10;
const int ledB = 9;
// LED on timer
unsigned long timer;
// IR transmitter object
IRsend irsend;
// Power confirmation flag (needs two swipes to send signal)
boolean powerConfirmed = false;

void setup() {
  // initialize serial communication and set pins
  Serial.begin(9600);
  pinMode(led, OUTPUT);
  pinMode(ledR, OUTPUT);
  pinMode(ledG, OUTPUT);
  pinMode(ledB, OUTPUT);
  pinMode(pingPin, OUTPUT);
  pinMode(echoPin, INPUT);
  timer = millis();
}

void loop()
{

//  Serial.println(millis());
  long duration, inches;
  int value;

  // Check for a reading
  duration = doPing();

  // Timer to confirm actions (currently only power)
  if (timer && timer < (millis() - 5000) && (millis() > 5000))
  {
    Serial.println("timer reset");
    timer = false;
  }

   digitalWrite(led, LOW);
   setColor(0, 0, 0); // off


  // convert the time into a distance
  inches = microsecondsToInches(duration);

  // If less than max inches away, act
  if (inches < DIST_MAX)
  {
    // Debug output
    Serial.print(inches);
    Serial.println("in");

    // If very close, it is a "power" signal
    if (inches < DIST_POW)
    {
      Serial.println(timer);
      // on or off
      if (timer)
      {
        doIR(CONTROL_POW, 0);
        timer = false;
        delay(2000); // don't want to be sending this more than once. 2 second delay
      }
      else
      {
        Serial.println("power flag set");
        timer = millis();
        setColor(255,50,50);
        delay(500);
      }
    }
    else // is volume or channel
    {
      // Distance determines control direction
      value = handleDist(inches);
      // wait half a second
      delay(300);
      // check again, has hand disappeared?
      if (microsecondsToInches(doPing()) > DIST_MAX)
      {
        doIR(CONTROL_CH, value); // swipe
      }
      else
      {
        // volume
        int d = 500; // first delay is longer for single volume change
        // repeat until hand is removed
        while (inches < DIST_MAX)
        {
          value = handleDist(inches); // is up or down?
          doIR(CONTROL_VOL, value); // fire off IR signal
          delay(d); // wait
          inches = microsecondsToInches(doPing()); // check for hand again
          d = 100; // delays are shorter for quick multiple volume adjustment
        }
        delay(500); // this stops accidental channel change after volume adjustment
      }
    }
  }
  delay(50); // Short enough to detect all swipes.
}
/*
* If distance is within threshold, mark as 'up' and turn on corresponding LED.
*/
int handleDist(int inches)
{
  if (inches > DIST_DOWN)
  {
    digitalWrite(led, HIGH);
    return CONTROL_UP;
  }
  else
  {
    digitalWrite(led, LOW);
    return CONTROL_DOWN;
  }
}

/*
* Fire off correct IR code
*/
void doIR(int control, int val)
{
  switch(control)
  {
  case CONTROL_POW:
    // power
    Serial.println("power on / off 0xa90");
    for (int i = 0; i < 3; i++)
    {
      setColor(255, 0, 0);
      irsend.sendSony(0xa90, 12); // Sony TV power code
      delay(40);
    }
    break;
  case CONTROL_CH:
    setColor(0, 255, 0);
    // output 'channel up / down' depending on val
    if (val == CONTROL_UP)
    {
      digitalWrite(led, HIGH);
      for (int i = 0; i < 3; i++)
      {
        irsend.sendSony(0x90, 12);
        delay(40);
      }
      Serial.println("channel up 0xD00A");
    }
    else // down
    {
      for (int i = 0; i < 3; i++)
      {
        irsend.sendSony(0x890, 12);
        delay(40);
      }
      Serial.println("channel down 0x3002");
    }
    break;
  case CONTROL_VOL:
    setColor(0, 0, 255);
    // output 'volume up / down' depending on val
    if (val == CONTROL_UP)
    {
      digitalWrite(led, HIGH);
      for (int i = 0; i < 3; i++)
      {
        irsend.sendSony(0x490, 12);
        delay(40);
      }
      Serial.println("volume up 0x490");
    }
    else //down
    {
      for (int i = 0; i < 3; i++)
      {
        irsend.sendSony(0xC90, 12);
        delay(40);
      }
      Serial.println("volume down 0xC90");
    }
    break;
  }
}
void setColor(int red, int green, int blue)
{
  analogWrite(ledR, red);
  analogWrite(ledG, green);
  analogWrite(ledB, blue);
}

long doPing()
{
  digitalWrite(pingPin, LOW);
  delayMicroseconds(2);
  digitalWrite(pingPin, HIGH);
  delayMicroseconds(5);
  digitalWrite(pingPin, LOW);
  return pulseIn(echoPin, HIGH);
}

long microsecondsToInches(long microseconds)
{

  return microseconds / 74 / 2;
}

long microsecondsToCentimeters(long microseconds)
{

  return microseconds / 29 / 2;
}
Schematics
 flickmote_9Gx3XNFHEp.fzz
Manufacturing process
- Build an Ultrasonic Levitation Device with Arduino – Step‑by‑Step Guide
- Build a Bluetooth‑controlled Arduino Spybot
- DIY Arduino TV B-Gone: Universal Remote for All TVs
- Build a Custom LED Master Clock with Alarm – Viewable from 12 Meters
- Compact Arduino Radar System with HC‑SR04 Ultrasonic Sensor & 1.8" Display
- Build an Ultrasonic Range Detector Using Arduino UNO and SR04 Sensor
- Arduino Ultrasonic Distance Sensor Project: HC‑SR04 Range Finder
- Ultrasonic Smart Glasses: Enhancing Mobility for the Visually Impaired
- Build an Ultrasonic Map-Maker with Arduino Yun – A Step-by-Step Guide
- Mastering the HC‑SR04 Ultrasonic Sensor with Arduino: A Complete Tutorial