


Zerynth Lamp: Smart IoT Ambient Light Control with NeoPixel LEDs
Components and supplies
| × | 1 | ||||
 |
| × | 1 | |||
| × | 1 | ||||
 |
| × | 1 | |||
 |
| × | 1 | |||
| × | 1 |
Apps and online services
 |
| |||
|
About this project
Low power wireless standards combined with low cost, ultra-miniature LEDs, sensors and communications devices has made smart lighting a catalyst for the Internet of Things and home automation.
In this tutorial we'll see how to control a NeoPixel LED strip via mobile using the Zerytnh App, that shows a color picker and a menu for the selection of various pre-configured animations.
Step 1: Required Material

The project requires few elements:
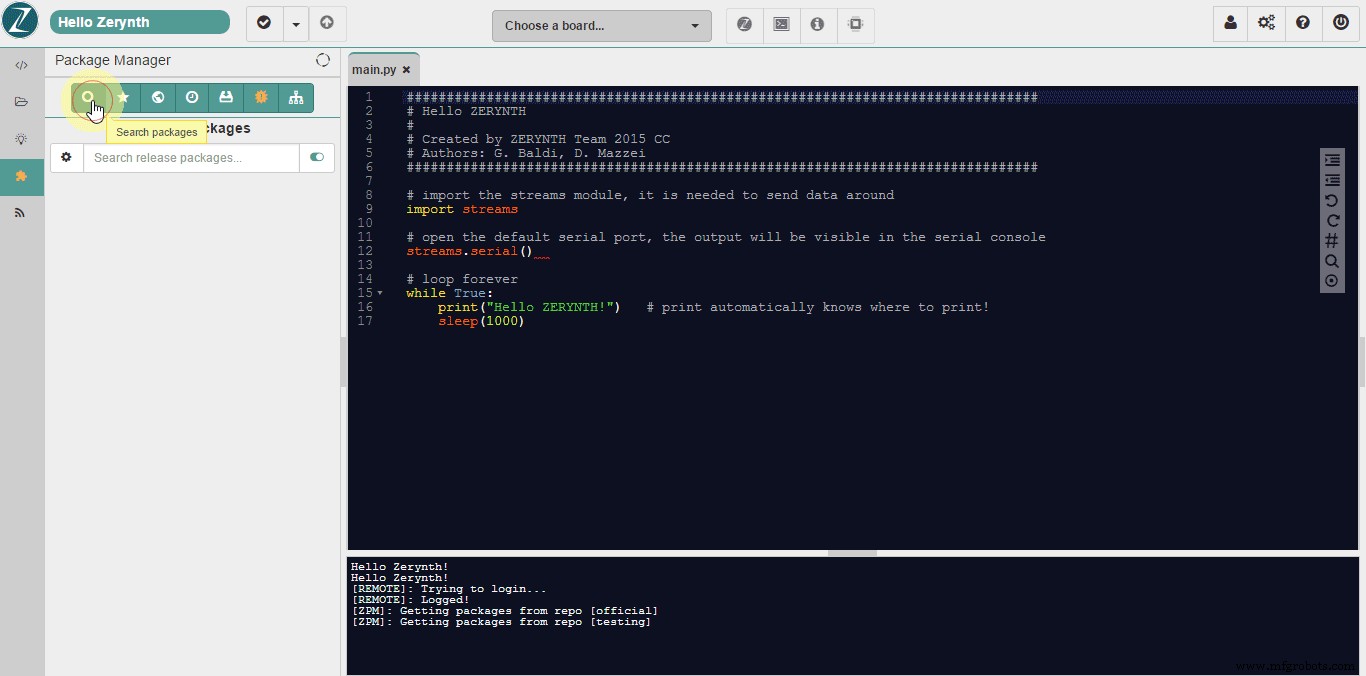
- Zerynth Studio: a multi-platform and browser-based Python development environment with cloud sync and board management features. No matter which OS you use, Zerynth runs! Just download Zerynth and install it (http://www.zerynth.com/zerynth-studio/).
- Zerynth App: the Zerynth mobile interface for smart objects and IoT systems. Any mobile will become the objects display and remote controller. Download: http://www.zerynth.com/zerynth-app/
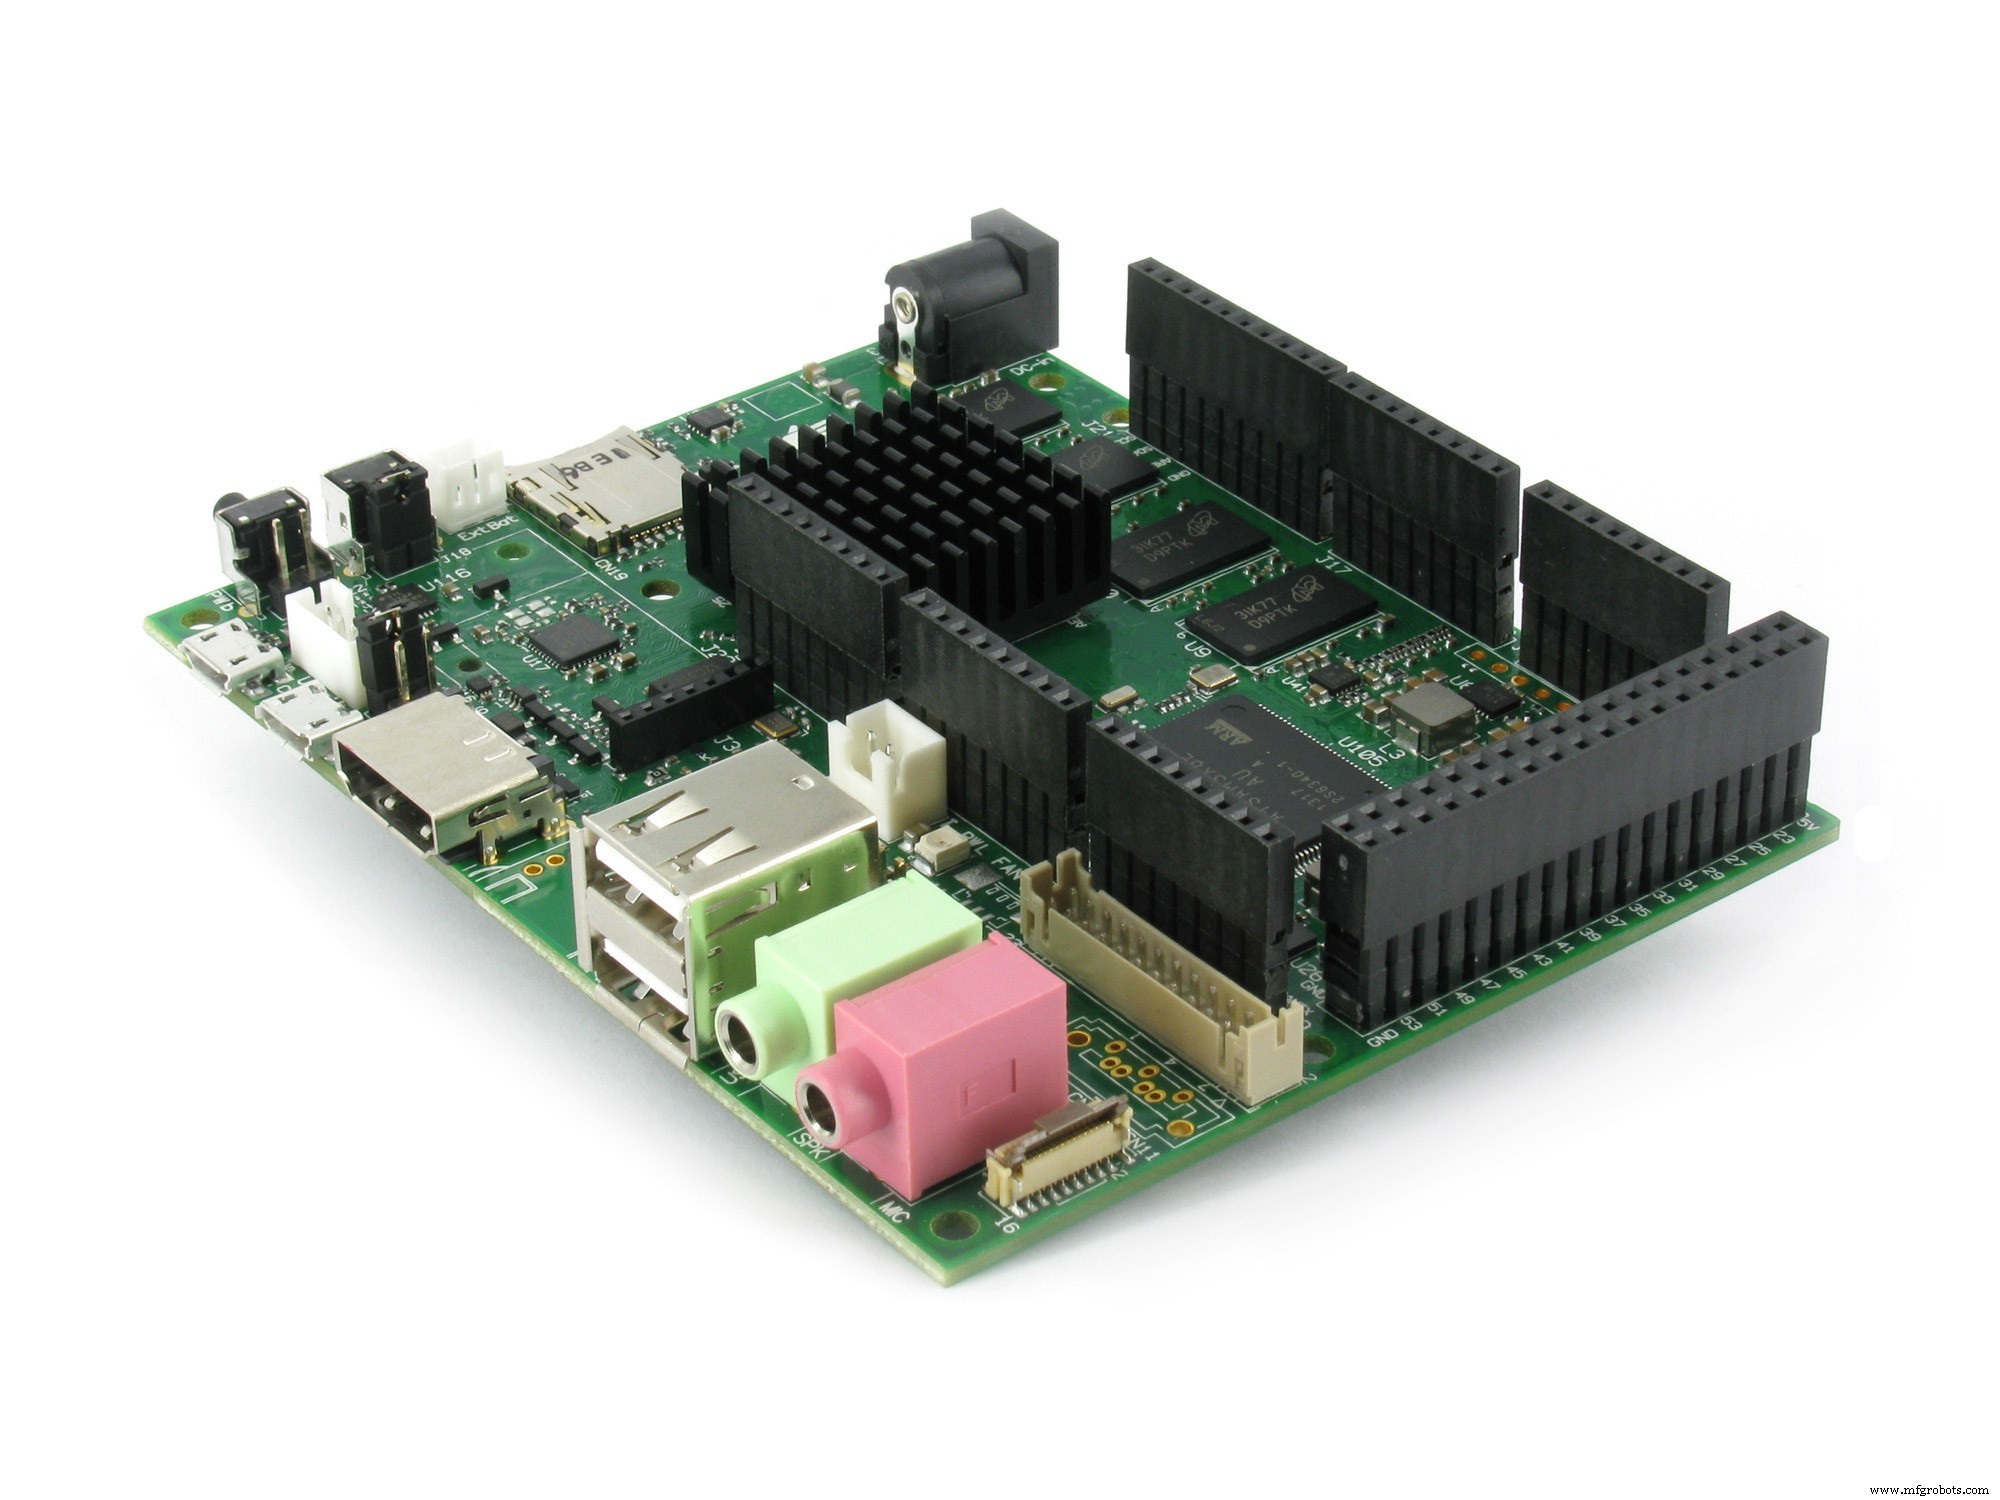
- Zerynth Shield (available here: https://store.open-electronics.org/index.php?_route_=Shield_ZERYNTH&search=toi ). A ready to use multi-sensors board that adds smart functions to your everyday life objects
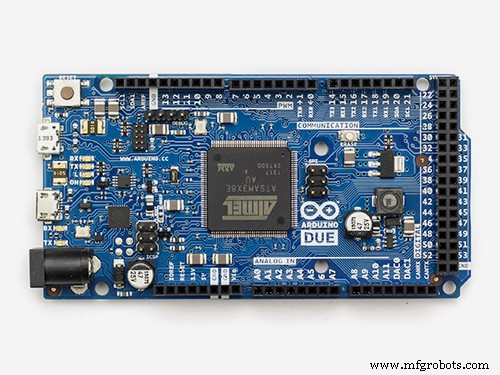
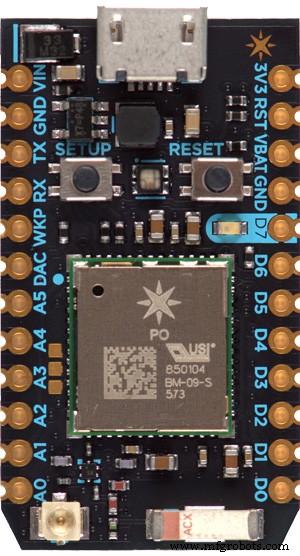
- Arduino DUE or ST Nucleo F401RE or ParticlePhoton. or UDOO or Flip&Clip by Mikroelektronika. No matter which board you use, Zerynth is multi-board compatible! You can find all the supported boards details here: http://www.zerynth.com/zerynth-studio/
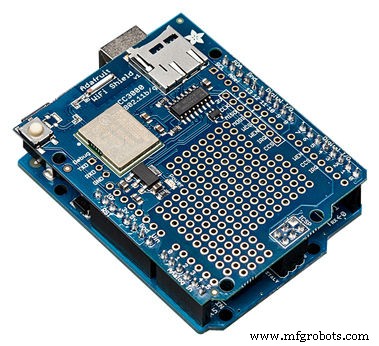
- If you not use Particle Photon (which has a wifi module onboard), you need an element that connects the board to the web, such as the wi-fi shield of Adafruit. However you can use any other adapter that mounts the wifi chip CC3000 Texas Instruments (http://www.ti.com/product/cc3000).
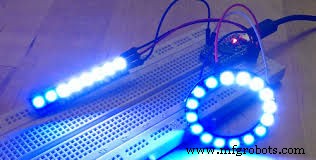
- a strip (or a ring) of NeoPixel LEDs from Adafruit (available here https://www.adafruit.com/products/1426)
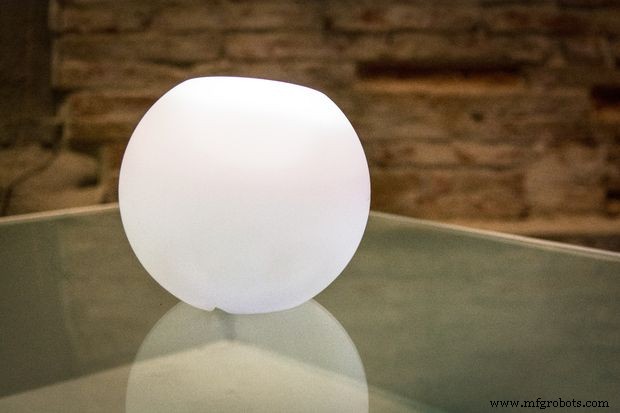
- a glass or 3D printed lamp. The choice is yours.

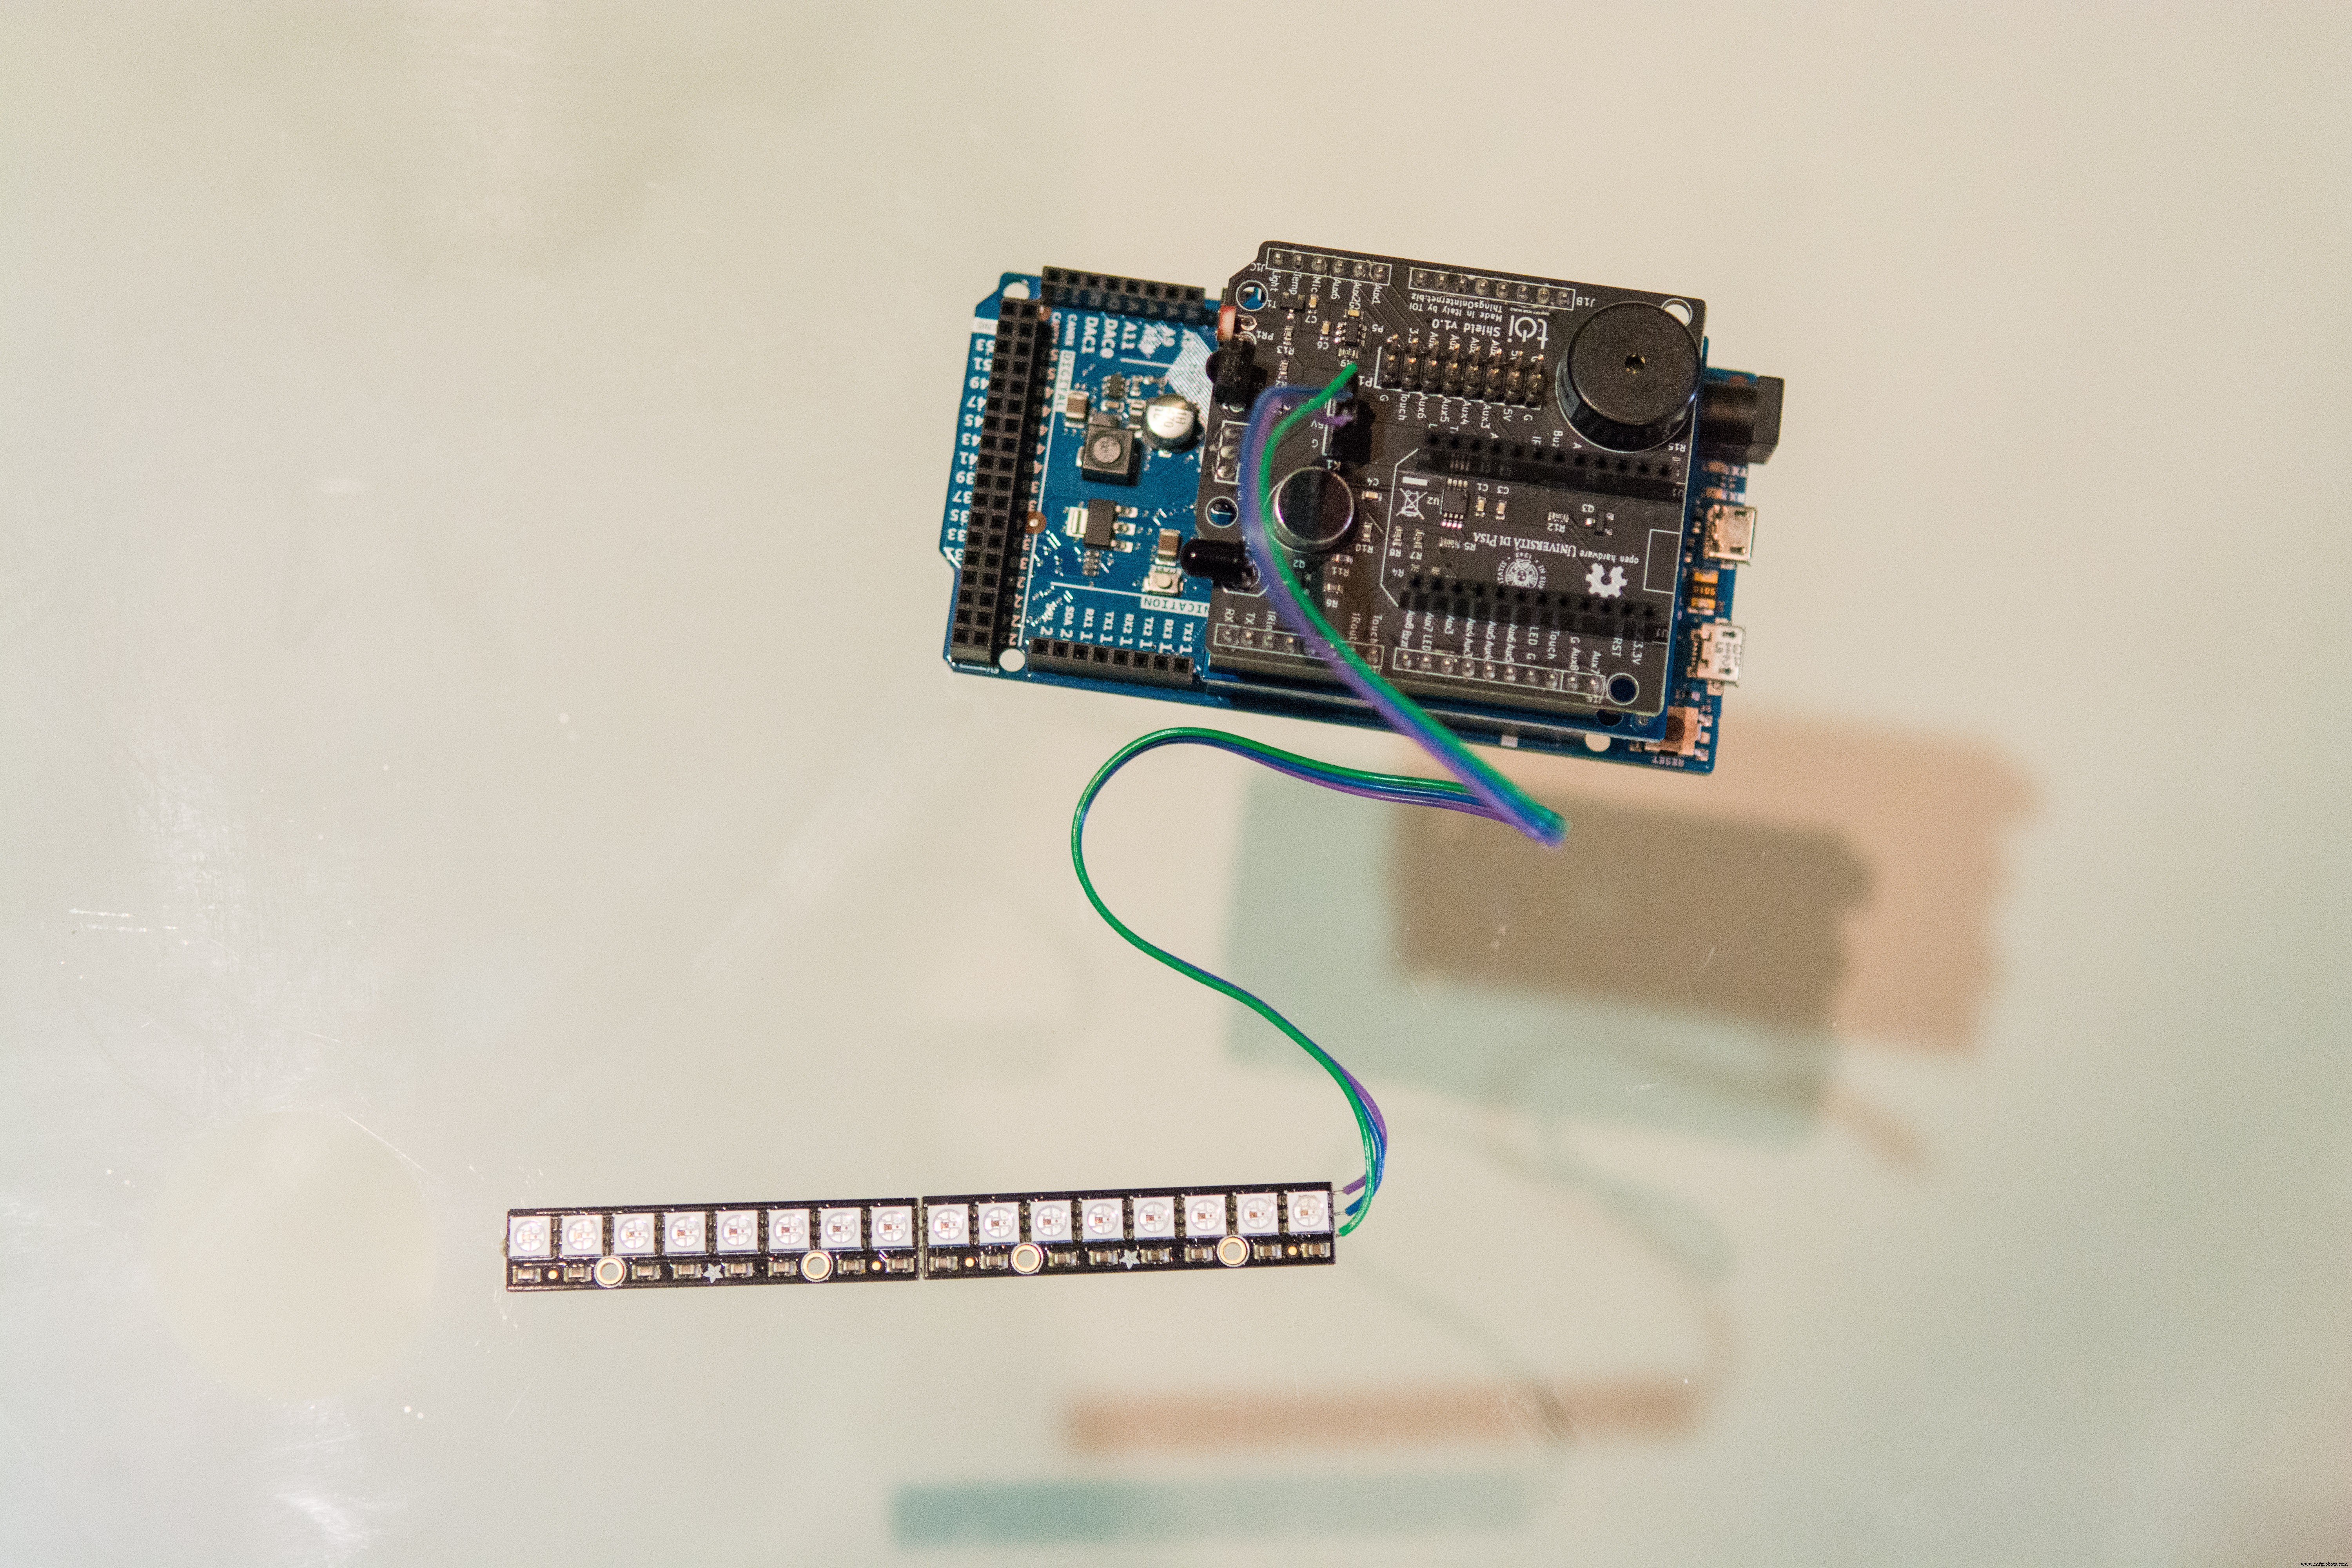
- Just piggyback the wifi Shield and the Zerynth Shield onto your Arduino (or ST Nucleo or UDOO). If you use Particle Photon just piggyback it onto the dedicated connectors on the Zerynth Shield.
- Connect the NeoPixel LEDs to the related port on the Zerynth Shield.
- Put all the boards and the LEDs into the Lamp.
Using Zerynth is very easy!
- connect and "virtualize" your board (already explained here http://bit.ly/Hackster-VIPER-Theremin)
- create a new project in Zerynth (already explained here http://bit.ly/Hackster-IoT-Notes-Printer). Attention: you need to create 3 (+1) files: main.py, animation.py, template.html (and project.md)
- copy the code posted
- uplink the code on your board and you're done!
After turning on the lamp, this will automatically connect to the preset network.
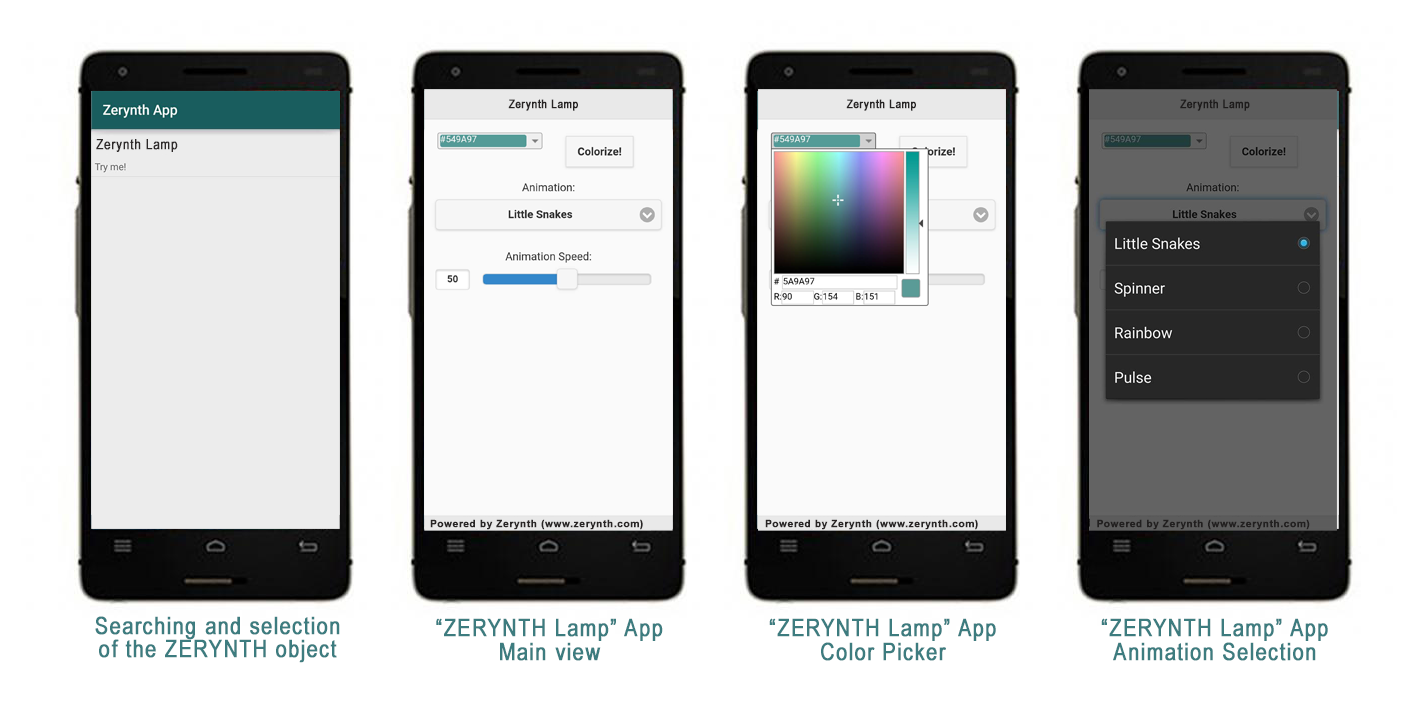
Then just open the Zerynth App, which will go in search of Zerynth objects connected to the network, select the object of interest, in this case the "Zerytnh Lamp", and you can interact with it! In this case the Zerynth App shows a color picker and a menu for the selection of various pre-configured animations.
The code is very simple and has a lot of comments. For any questions or suggestions please feel free to post on the Zerynth community forums: http://community.zerynth.com/
Step 4: Make IoT brighter!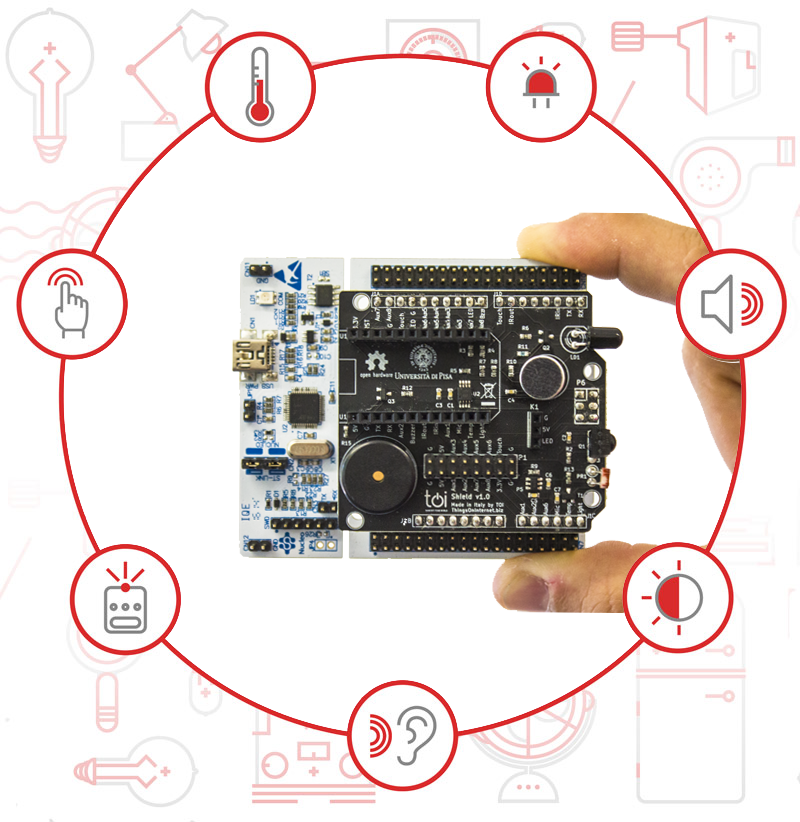
Did you like it? Let’s get hardcore!
The Zerynth Shield presents a set of sensors and actuators, including sensors for touch detection, infrared LED, microphone, light sensor and temperature sensor. You can start from this very simple example code to develop the behavior you prefer. Use the Zerynth Shield to extend the functionalities of the Lamp!
Luigi F. Cerfeda (@L_F_Cerfeda) - Zerynth team
Code
- main.py
- template.html
- animation.py
main.pyPython
################################################################################
# Zerynth Lamp
#
# Created by Zerynth Team 2015 CC
# Authors: G. Baldi, D. Mazzei
################################################################################


# import needed modules
import streams
from bcm43362 import bcm43362 as wifi_driver
from wireless import wifi
import animation
from toishield  import toishield

# and import the zerynthapp module
from zerynthapp import zerynthapp

streams.serial()

# connect to a wifi network
try:
    wifi_driver.auto_init()

    print("Establishing Link...")
    wifi.link("SSID",wifi.WIFI_WPA2,"password")

    print("Ok!")

except Exception as e:
    print(e)


# save the template.html in the board flash with new_resource
new_resource("template.html")

#### ZerynthApp Setup

# :: Javascript to Python ::
# the following functions will be called when buttons are pressed
def change_color(r, g, b):
    animation.setup_color(r, g, b)

def change_animation(n):
    animation.setup_anim(n)

def change_speed(n):
    animation.setup_anim_speed(n)

# configure the Zerynth app with a name, a descripton and the template url
vp = zerynthapp.ZerynthApp("Zerynth Lamp", "Try me!", "resource://template.html")

# everytime Javascript generates events the corresponding functions are called
vp.on("change_color", change_color)
vp.on("change_animation", change_animation)
vp.on("change_speed", change_speed)

# run the ZerynthApp!
vp.run()

# since vp.run starts a new thread, you can do whatever else you want down here!
# let's control leds

animation.start(D6, 24)
template.htmlHTML
<html>
    <head>
        <zerynth/>
        <zerynth-jquery/>
        <zerynth-jquery-mobile/>
        <zerynth-jqwidgets/>
        <meta name="viewport" content="width=device-width, initial-scale=1">
    </head>
    <body>
        <div data-role="page">
            <div data-role="header"><h1>Zerynth Lamp</h1></div>
            <div role="main" class="ui-content" style="text-align:center">
                <div style="margin: 3px; float: left;" id="dropDownButton">
                <div style="padding: 3px;">
                    <div id="colorPicker"></div>
                </div>
                </div>
                <button class="ui-btn ui-btn-inline ui-shadow" onclick="ZerynthApp.call('change_color',cur_color.r,cur_color.g,cur_color.b)">Colorize!</button>
                <form>
                    <div data-role="fieldcontain">
                    <label for="animselect">Animation:</label>
                    <select name="animselect" id="animselect">
                        <option value="0">Little Snakes</option>
                        <option value="1">Spinner</option>
                        <option value="2">Rainbow</option>
                        <option value="3">Pulse</option>
                    </select>
                    </div>
                </form>
                <form>
                    <label for="speedslider">Animation Speed:</label>
                    <input type="range" name="speedslider" id="speedslider" data-highlight="true" min="0" max="100" value="50">
                </form>
            </div>
            <div data-role="footer">Powered by Zerynth (www.zerynth.com)</div>
        </div>
        <script>
            var cur_color = {r: 0x54, g: 0x9a, b:0x97};
            function getTextElementByColor(color) {
                if (color == 'transparent' || color.hex == "") {
                    return $("<div style='text-shadow: none; position: relative; padding-bottom: 2px; margin-top: 2px;'>transparent</div>");
                }
                var element = $("<div style='text-shadow: none; position: relative; padding-bottom: 2px; margin-top: 2px;'>#" + color.hex + "</div>");
                var nThreshold = 105;
                var bgDelta = (color.r * 0.299) + (color.g * 0.587) + (color.b * 0.114);
                cur_color.r = color.r;
                cur_color.g = color.g;
                cur_color.b = color.b;
                var foreColor = (255 - bgDelta < nThreshold) ? 'Black' : 'White';
                element.css('color', foreColor);
                element.css('background', "#" + color.hex);
                element.addClass('jqx-rc-all');
                return element;
            }
            $(document).ready(function () {
                console.log("ready!")
                $("#colorPicker").on('colorchange', function (event) {
                    $("#dropDownButton").jqxDropDownButton('setContent', getTextElementByColor(event.args.color));
                });
                $("#colorPicker").jqxColorPicker({ color: "5a9a97", colorMode: 'saturation', width: 220, height: 220});
                $("#dropDownButton").jqxDropDownButton({ width: 150, height: 22});
                $("#dropDownButton").jqxDropDownButton('setContent', getTextElementByColor(new $.jqx.color({ hex: "549a97" })));
                ZerynthApp.jquerymobile_scalecontent();
                $("#animselect").change(function() {
                    ZerynthApp.call('change_animation',parseInt($('#animselect').val()));
                });
                $("#speedslider").on('slidestop',function() {
                    ZerynthApp.call('change_speed',parseInt($('#speedslider').val()));
                });
            });

        </script>
    </body>
</html>
animation.pyPython
################################################################################
# Zerynth Lamp
#
# Created by Zerynth Team 2015 CC
# Authors: G. Baldi, D. Mazzei
################################################################################

#Lamp animation functions

from neopixel import ledstrips as neo
import threading

lock = threading.Lock()

# the Zerynth color :)
color = [0x54,0x9a,0x97]
anim = 0
anim_speed = 50
leds = None
layer0 = None
layer1 = None
layer2 = None
npins =0
stopped=False
stopcolor = [0xff,0xff,0xff]

# create all the needed layers

# let's define some coefficients for smooth animation (half a sinus wave)
animation_coefficients = [
    0,
    0.2588190451,
    0.5,
    0.7071067812,
    0.8660254038,
    0.9659258263,
    1,
    0.9659258263,
    0.8660254038,
    0.7071067812,
    0.5,
    0.2588190451]

rainbow = [
    (0xff,0x00,0x00),
    (0xff,0x7f,0x00),
    (0xff,0xff,0x00),
    (0x00,0xff,0x00),
    (0x00,0x00,0xff),
    (0x4b,0x00,0x82),
    (0x8f,0x00,0xff)
]

def setup_anim(n):
    global layer0,layer1,layer2,anim

    # fill layers with their initial values
    lock.acquire()
    leds.clear()
    layer2.clear()
    layer0.clear()
    layer1.clear()
    n=n%4
    if n==0:
        layer0[0]=(100,0,0)
        layer0[1]=(100,0,0)
        layer0[2]=(100,0,0)
        layer1[0]=(0,100,0)
        layer1[1]=(0,100,0)
        layer1[2]=(0,100,0)
    elif n==1:
        for x in range(npins//2):
            layer0[x]=(100//(2*x+1),0,0)
            layer1[npins-x-1]=(0,100//(2*x+1),0)
        layer2.clear()
    elif n==2:
        layer1.clear()
        pstep=0
        for x in range(npins):
            step = x*len(rainbow)/npins
            rx = (rainbow[int(step)][0]+rainbow[int(pstep)][0])//4
            gx = (rainbow[int(step)][1]+rainbow[int(pstep)][1])//4
            bx = (rainbow[int(step)][2]+rainbow[int(pstep)][2])//4
            layer0[x]=(rx,gx,bx)
            pstep=step
    elif n==3:
        layer0.clear()
        layer1.clear()
    anim=n
    lock.release()

def setup_anim_speed(n):
    global anim_speed
    anim_speed=n

def setup_color(r,g,b):
    global color
    #print("Color:",r,g,b)
    color[0]=r
    color[1]=g
    color[2]=b

# Create a function to handle background animation
def animate_background(delay):
    global color
    step=0
    while True:
        if (anim==3 or anim==0) and not stopped:
            lock.acquire()
            layer2.setall(int(color[0]*animation_coefficients[step]/2),int(color[1]*animation_coefficients[step]/2),int(color[2]*animation_coefficients[step]/2))
            lock.release()
            step += 1
            if step >= len(animation_coefficients):
                step=0
        else:
            lock.acquire()
            layer2.clear();
            layer2.setall(stopcolor[0],stopcolor[1],stopcolor[2])
            lock.release()
        sleep(delay+500-5*anim_speed)

def animate_foreground(delay):
    while True:
        if not stopped:
            lock.acquire()
            if anim == 0:
                layer0.lshift()
                layer1.rshift()
            elif anim == 1:
                layer0.rshift()
                layer1.rshift()
            elif anim == 2:
                layer0.rshift()
                layer1.rshift()
            elif anim == 3:
                layer0.lshift()
                layer1.lshift()
            lock.release()
        else:
            lock.acquire()
            layer0.clear()
            layer1.clear()
            lock.release()
        sleep(delay+100-anim_speed)

def start(pin,numpins):
    global leds,layer0,layer1,layer2,npins
    npins=numpins
    leds = neo.LedStrip(pin,numpins)
    layer0 = neo.LedStrip(pin,numpins)
    layer1 = neo.LedStrip(pin,numpins)
    layer2 = neo.LedStrip(pin,numpins)
    setup_anim(0)
    setup_anim_speed(50)

    # start the background animation thread
    thread(animate_background,500)

    # start the foreground animation thread
    thread(animate_foreground,50)
    while True:
        # clear leds
        leds.clear()
        # now, acquire the lock
        lock.acquire()
        # merge the first and second layer
        leds.merge(layer0)
        leds.merge(layer1)
        # merge the background layer only where leds is transparent (0,0,0)
        leds.merge(layer2,neo.first_color)
        # release the lock
        lock.release()
        # and light it up!
        leds.on()
        sleep(50)

def stop(r,g,b):
    global stopped
    global stopcolor
    stopcolor[0]=r
    stopcolor[1]=g
    stopcolor[2]=b
    stopped=True

def resume():
    global stopped
    stopped = False
    setup_anim(anim)
Schematics
Manufacturing process
- Electrical Signal Propagation at Light Speed: A 186,000‑Mile Thought Experiment
- Gas Lanterns: Evolution, Design, and Modern Manufacturing
- The Kaleidoscope: From Brewster’s Science to Modern Design
- Lava Lamp: History, Design, and Manufacturing Secrets
- OPT3007 Ultra‑Thin Ambient Light Sensor – Precision Light Measurement for Smart Devices
- Ambient Light Sensors: Functionality, Design, and Key Applications
- How an AC‑Coupled Transimpedance Amplifier Eliminates Ambient‑Light Noise in Green‑LED Heart‑Rate Sensors
- Smart Traffic Light: Adaptive Street Lighting Powered by IoT
- Build an Ambient Light Sensor with Photoresistor and LED: Step‑by‑Step Guide
- DIY LED Lamp Kit: Build an Energy‑Efficient, Eco‑Friendly Light