


St. Patrick’s Day Chug Meter – Build Your Own Beer-Tracking Device with Circuito.io
Components and supplies
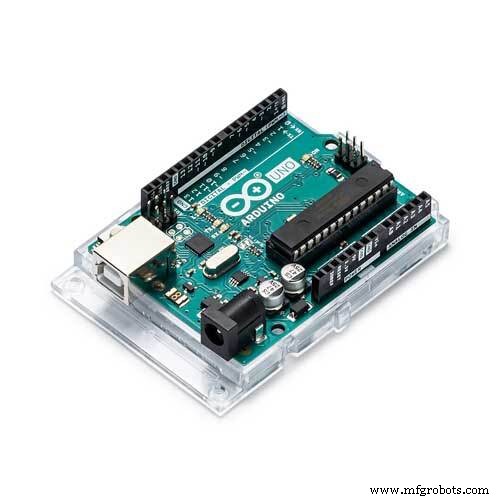
| × | 1 | ||||
| × | 1 | ||||
 |
| × | 1 | |||
 |
| × | 1 | |||
| × | 1 |
Apps and online services
 |
| |||
 |
|
About this project
IdeationLet’s settle once and for all - who is the fastest chugger of ‘em all?
St. Patrick’s Day is here and it’s given us a good excuse to drink beer at work! For this festive occasion we give you: The Chug Meter. Now we can settle once and for all - who is the fastest chugger of ‘em all?
*Drink desponsibly*
First of all, we recommend you start drinking after you make the counter. It may seem obvious, but we’re just making sure here.
How to assemble the circuitWe went easy on you here. The circuit is pretty simple:
- FSR (Force sensing Resistor)
- Pushbutton
- Piezo speaker
- 7segment display
The magic link will redirect you to circuito.io, where you will find the pre-selected components.
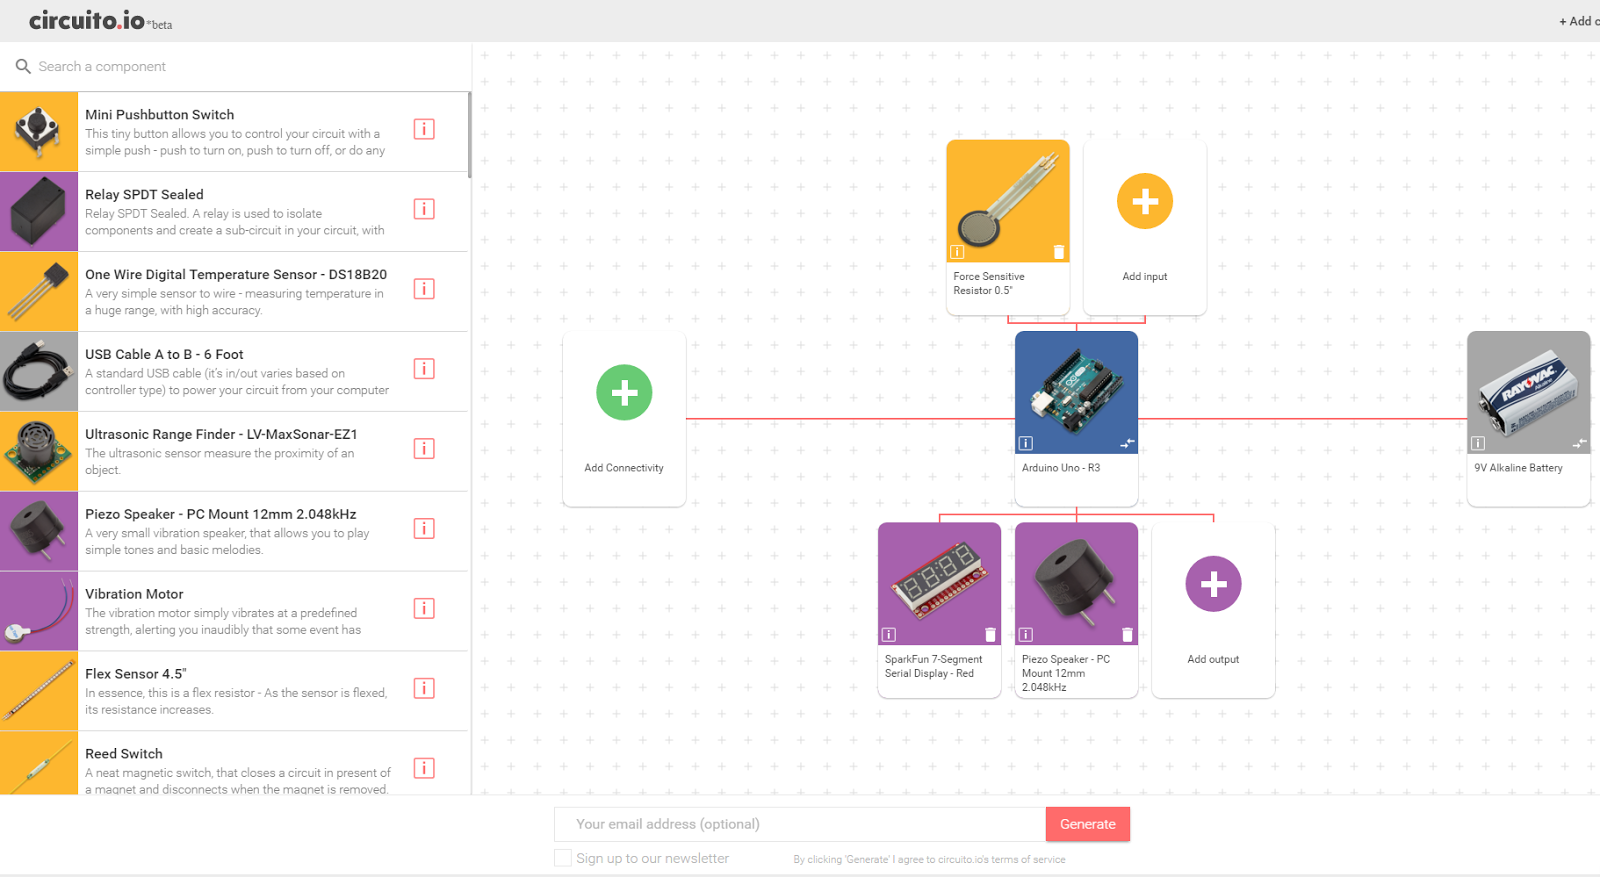
As is always, you can change the electronics. Here are just a few examples:
- Replace the 7 segment with an LCD screen
- Replace the FSR with an IR diode
- Add an RGB LED to the circuit
And basically go wild - it's St. Patrick's Day!
After you click Generate go through the 3 parts of the reply: BoM, Step-by-step wiring guide and Code. Follow the instructions carefully and let us know if you need any help by commenting below.
Next StepsOnce everything is up and running, you’ll need to:
- Replace the sample code you got in the circuito.io reply with the code attached in this tutorial. Copy the code and paste it into the Firmware tab of the sample code from circuito.io. This way, all the component libraries will remain as they are, and only the main function will change.
- Tape the FSR (Force Sensitive Resistor) under the beer coaster. Once the force is released (=the pint is lifted) the counter starts running. When the pint is put back on the coaster - the timer stops and you can reset it with the button.
- 3D print the 7-segment case.
- Start drinking.
Happy St. Patrick’s Day! Drink responsibly!
Code
- Code for Chug Meter
Code for Chug MeterArduino
Replace the setup and loop functions from the code you got from circuito.io, with the code belowint start_flag = 0;
bool glassState = 0;
long finalTime, time0;
int timer;
/* This code sets up the essentials for your circuit to work. It runs first every time your circuit is powered with electricity. */
void setup() {
// Setup Serial which is useful for debugging
// Use the Serial Monitor to view printed messages
Serial.begin(9600);
Serial.println("start");
pushButton.init();
s7s.clearDisplay(); // Clears display, resets cursor
s7s.setBrightness(255); // High brightness
s7s.setDecimals(0b00010000); // Sets colon and apostrophe, see .cpp file for reference
s7s.writeInt(0);
}
/* This code is the main logic of your circuit. It defines the interaction between the components you selected. After setup, it runs over and over again, in an eternal loop. */
void loop() {
// Read FSR resistance value. try also fsr.getResistance()
// For more information see Sparkfun website - www.sparkfun.com/products/9375
// Note, the default Vcc and external resistor values for FSR calculations are 5V ang 3300Okm, if you are not
// using these default valuse in your circuit go to FSR.cpp and change default values in FSR constructor
float fsrForce = fsr.getForce();
//Serial.print(F(" Force: ")); Serial.print(fsrForce); Serial.println(F(" [g]"));
//Read pushbutton state.
//if button is not pushed function will return LOW (0). if it is pushed function will return HIGH (1).
//if debounce is not working properly try changing 'debounceDelay' variable in Button.h
//try also pushButton.onPress(), .onRelease() and .onChange() for debounce.
bool pushButtonVal = pushButton.onPress();
//Serial.print(F("Val: ")); Serial.println(pushButtonVal);
//Reset the time using the push-button
if (pushButtonVal == 1) {
start_flag = 0;
glassState = 0;
//Start timer
s7s.writeInt(0);
time0 = millis();
}
//set time state
if (start_flag == 0) {
//If the galss is placed
if (fsrForce > 50)
{
glassState = 1;
//Start timer
s7s.writeInt(0);
time0 = millis();
}
//If the glass was picked up
else if (fsrForce < 50 && glassState)
{
finalTime = millis() - time0;
start_flag = 1;
}
}
//the glass was picked, run the timer
else if (start_flag == 1)
{
//while you are drinking, display the time on the 7-Seg display
if (fsrForce < 100)
{
finalTime = (millis() - time0) / 10;
s7s.writeInt(finalTime);
}
//Finish drinking, stop timer, print final time, and play hooray sound
else
{
start_flag = 2;
finalTime = (millis() - time0) / 10;
s7s.writeInt(finalTime);
piezoSpeaker.playMelody(piezoSpeakerHoorayLength, piezoSpeakerHoorayMelody, piezoSpeakerHoorayNoteDurations);
delay(500);
}
}
//always print final time until reset button is pushed
else
{
s7s.writeInt(finalTime);
}
}
Manufacturing process
- Isabellenhütte Introduces IEM‑DCC: A Calibrated DC Meter for Accurate Fast‑Charging Billing
- Get Ready for Manufacturing Day 2018: Celebrate Innovation and Career Opportunities
- Honoring Those Who Gave Their Lives for Our Freedom
- MFG Day 2021: Your Invitation to Explore Manufacturing’s Premier Event
- DIY Cloud Costume: LED Strip, Arduino Nano & SparkFun Parts
- Industrial Line‑Following Robot for Material Transport
- IoT4Car: Capture & Analyze Vehicle Telemetry with Arduino MKR1000
- Ultimate DIY Kegerator: Complete Components & Build Guide
- Valentine's Sunflower: Build a Smart Arduino Project
- Real-Time Motorbike Telemetry System with Arduino, GPS, and Sensors