


Build a 4WD IR Remote‑Controlled Arduino Robot Car Kit
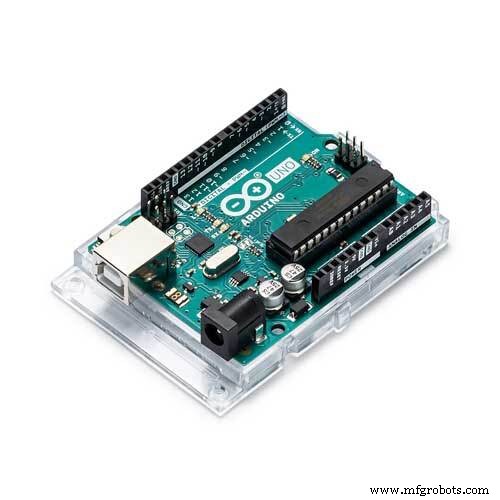
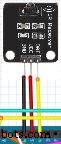
Components and supplies
| × | 1 | ||||
| × | 1 | ||||
| × | 1 | ||||
 |
| × | 1 |
Necessary tools and machines
 |
|
About this project
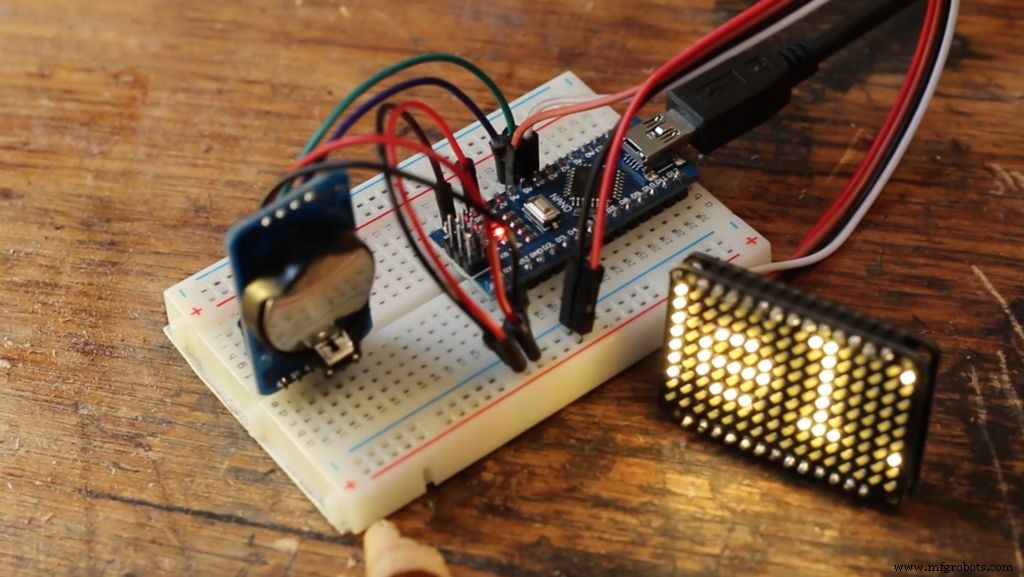
I found the original design on Instructables and built a version of it. The original was a track Vehicle and this one is 4WD. The adjustment to the original design comes in the setup of the IR. The original design suffered from feed back when the motors were running that interfered with the IR receiver. The motors acted as generators where the ground wires met. I changed the pins and assignments for the IR
Assemble the car base using instructions provided if using the SAINSMART rover kit. Found Here
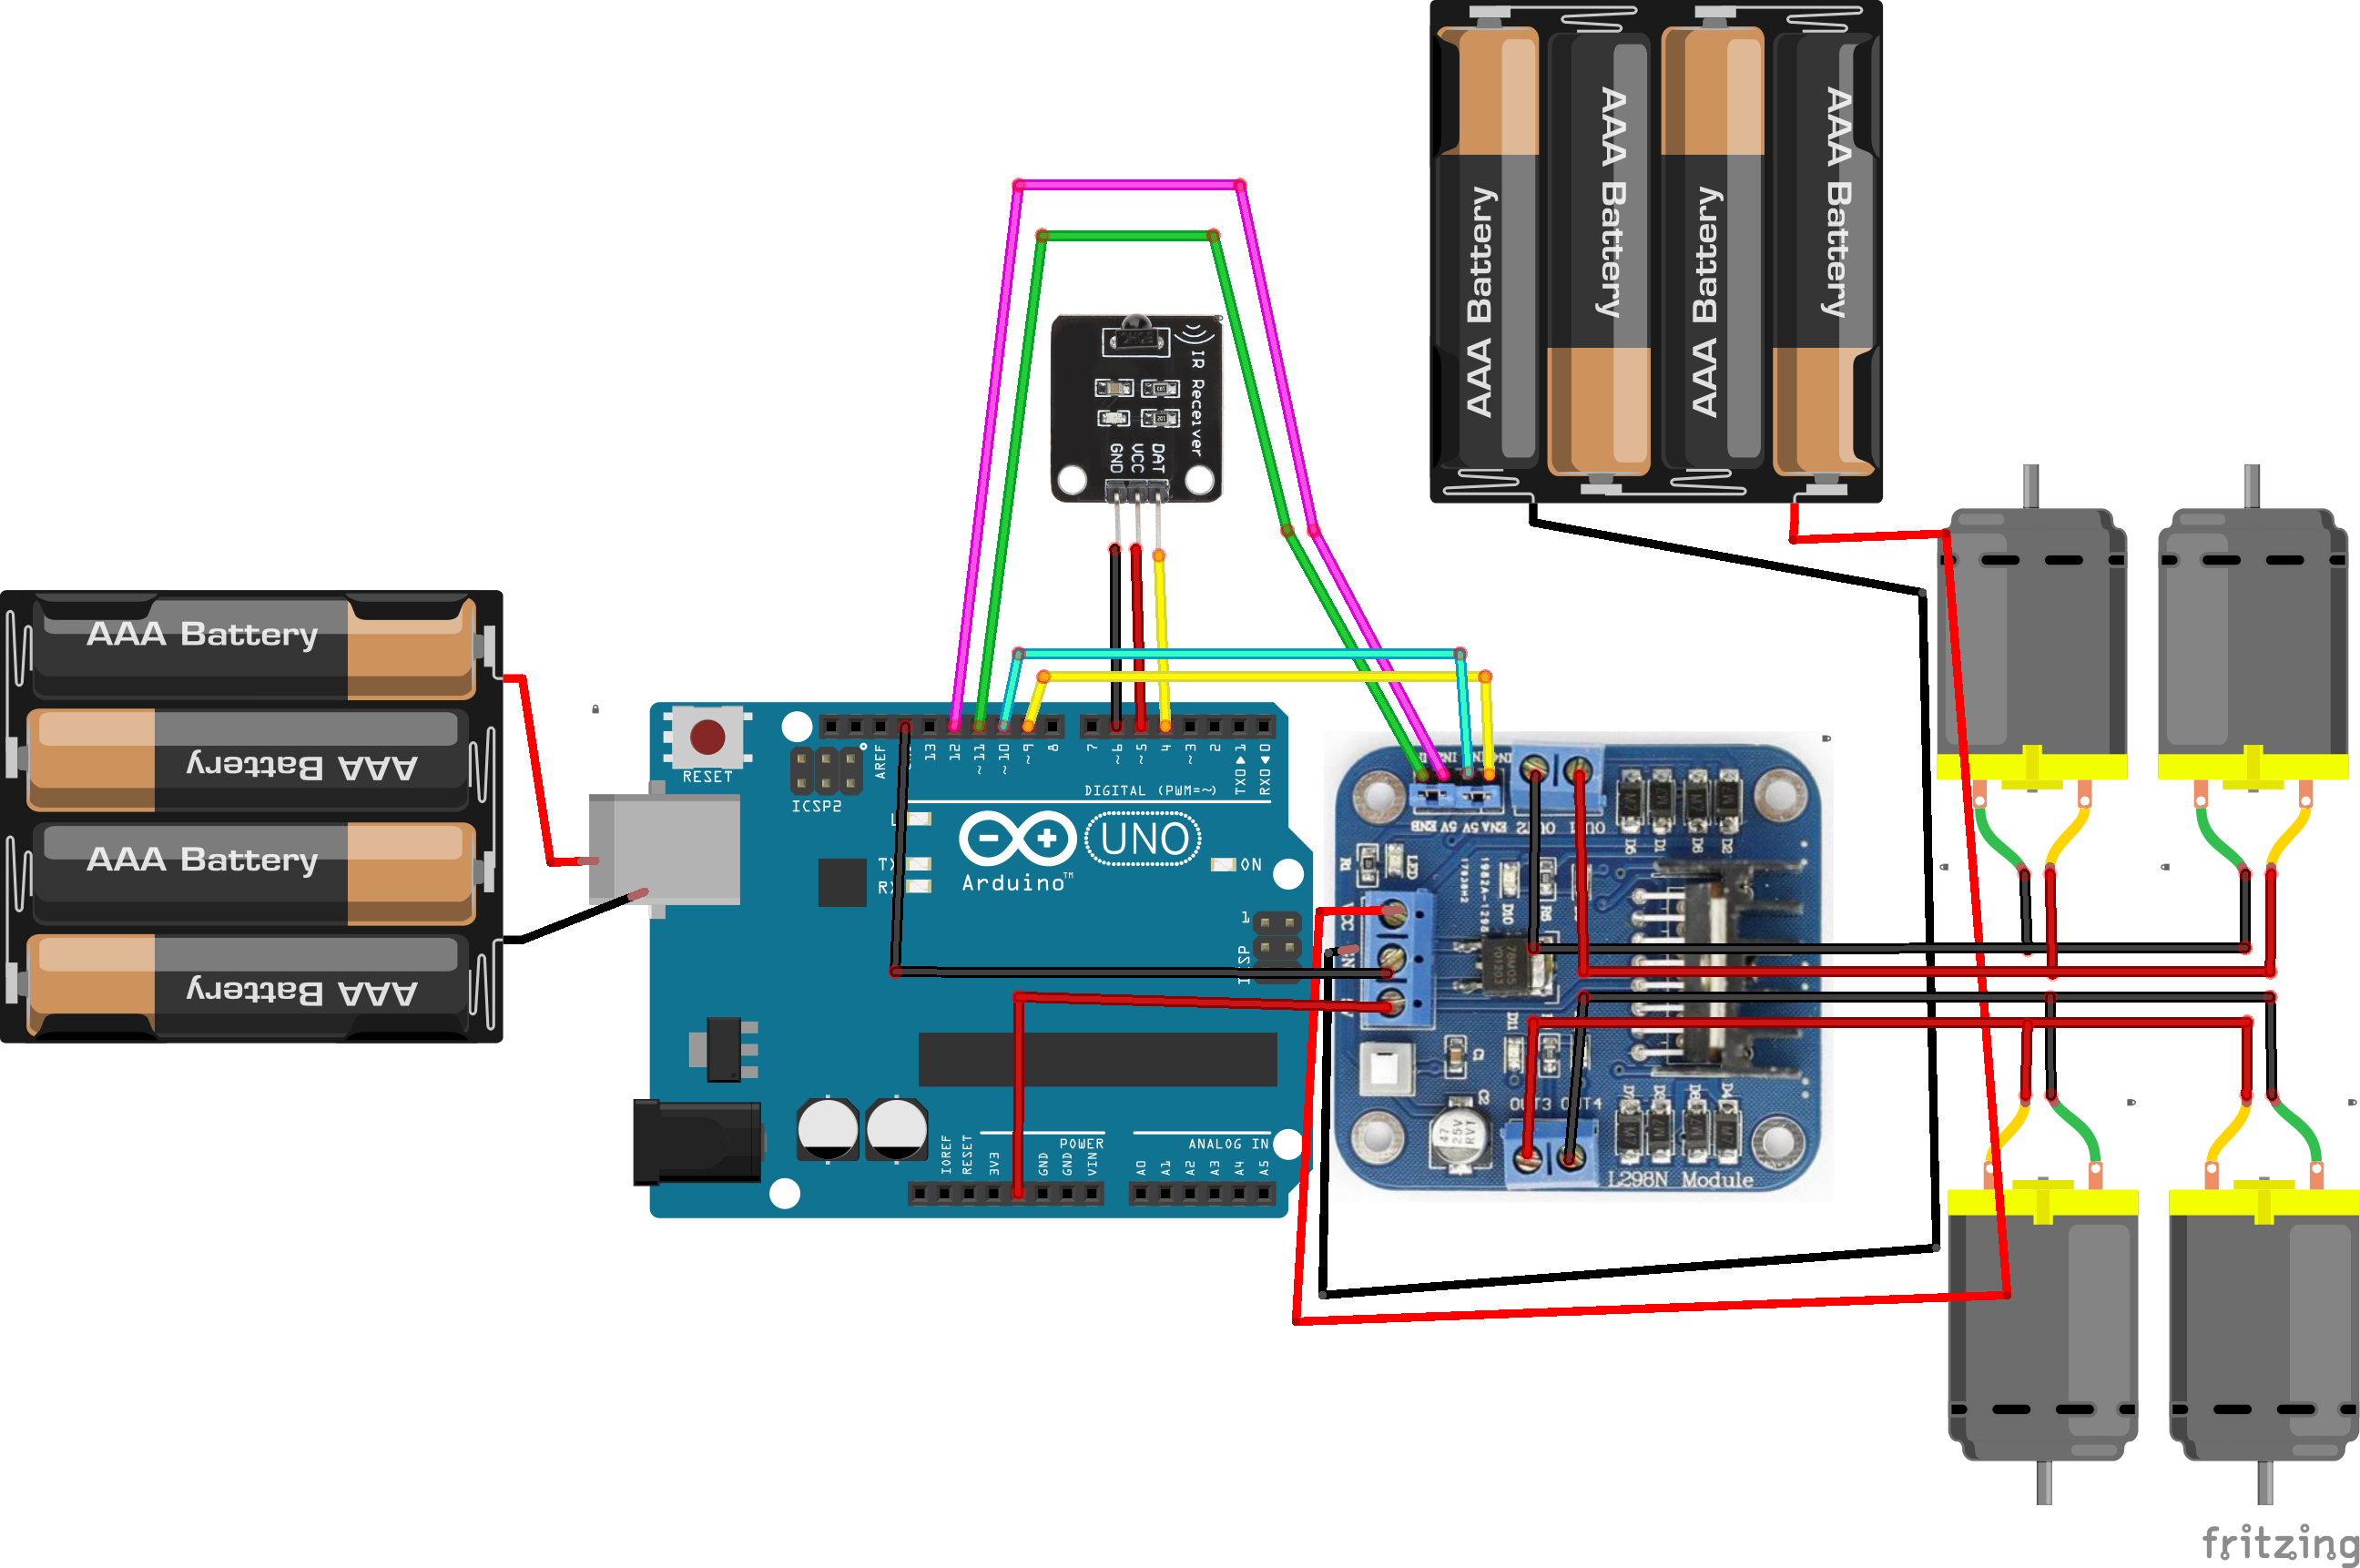
int receiver_pin = 4; //Connect the output pin 4 on controller to IR receiver Y
int vcc = 5; //Connect the output pin 5 on controller to IR receiver V
int gnd = 6; //Connect the output pin 4 on controller to IR receiver G
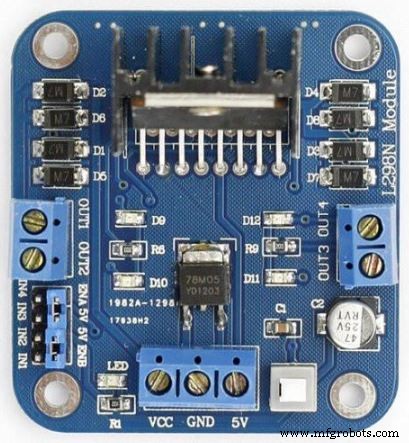
int enA = 8;
int in1 = 12;
int in2 = 11;
// motor Bint enB = 7;
int in3 = 10;
int in4 = 9;
L298N motor drive module GND to controller GND
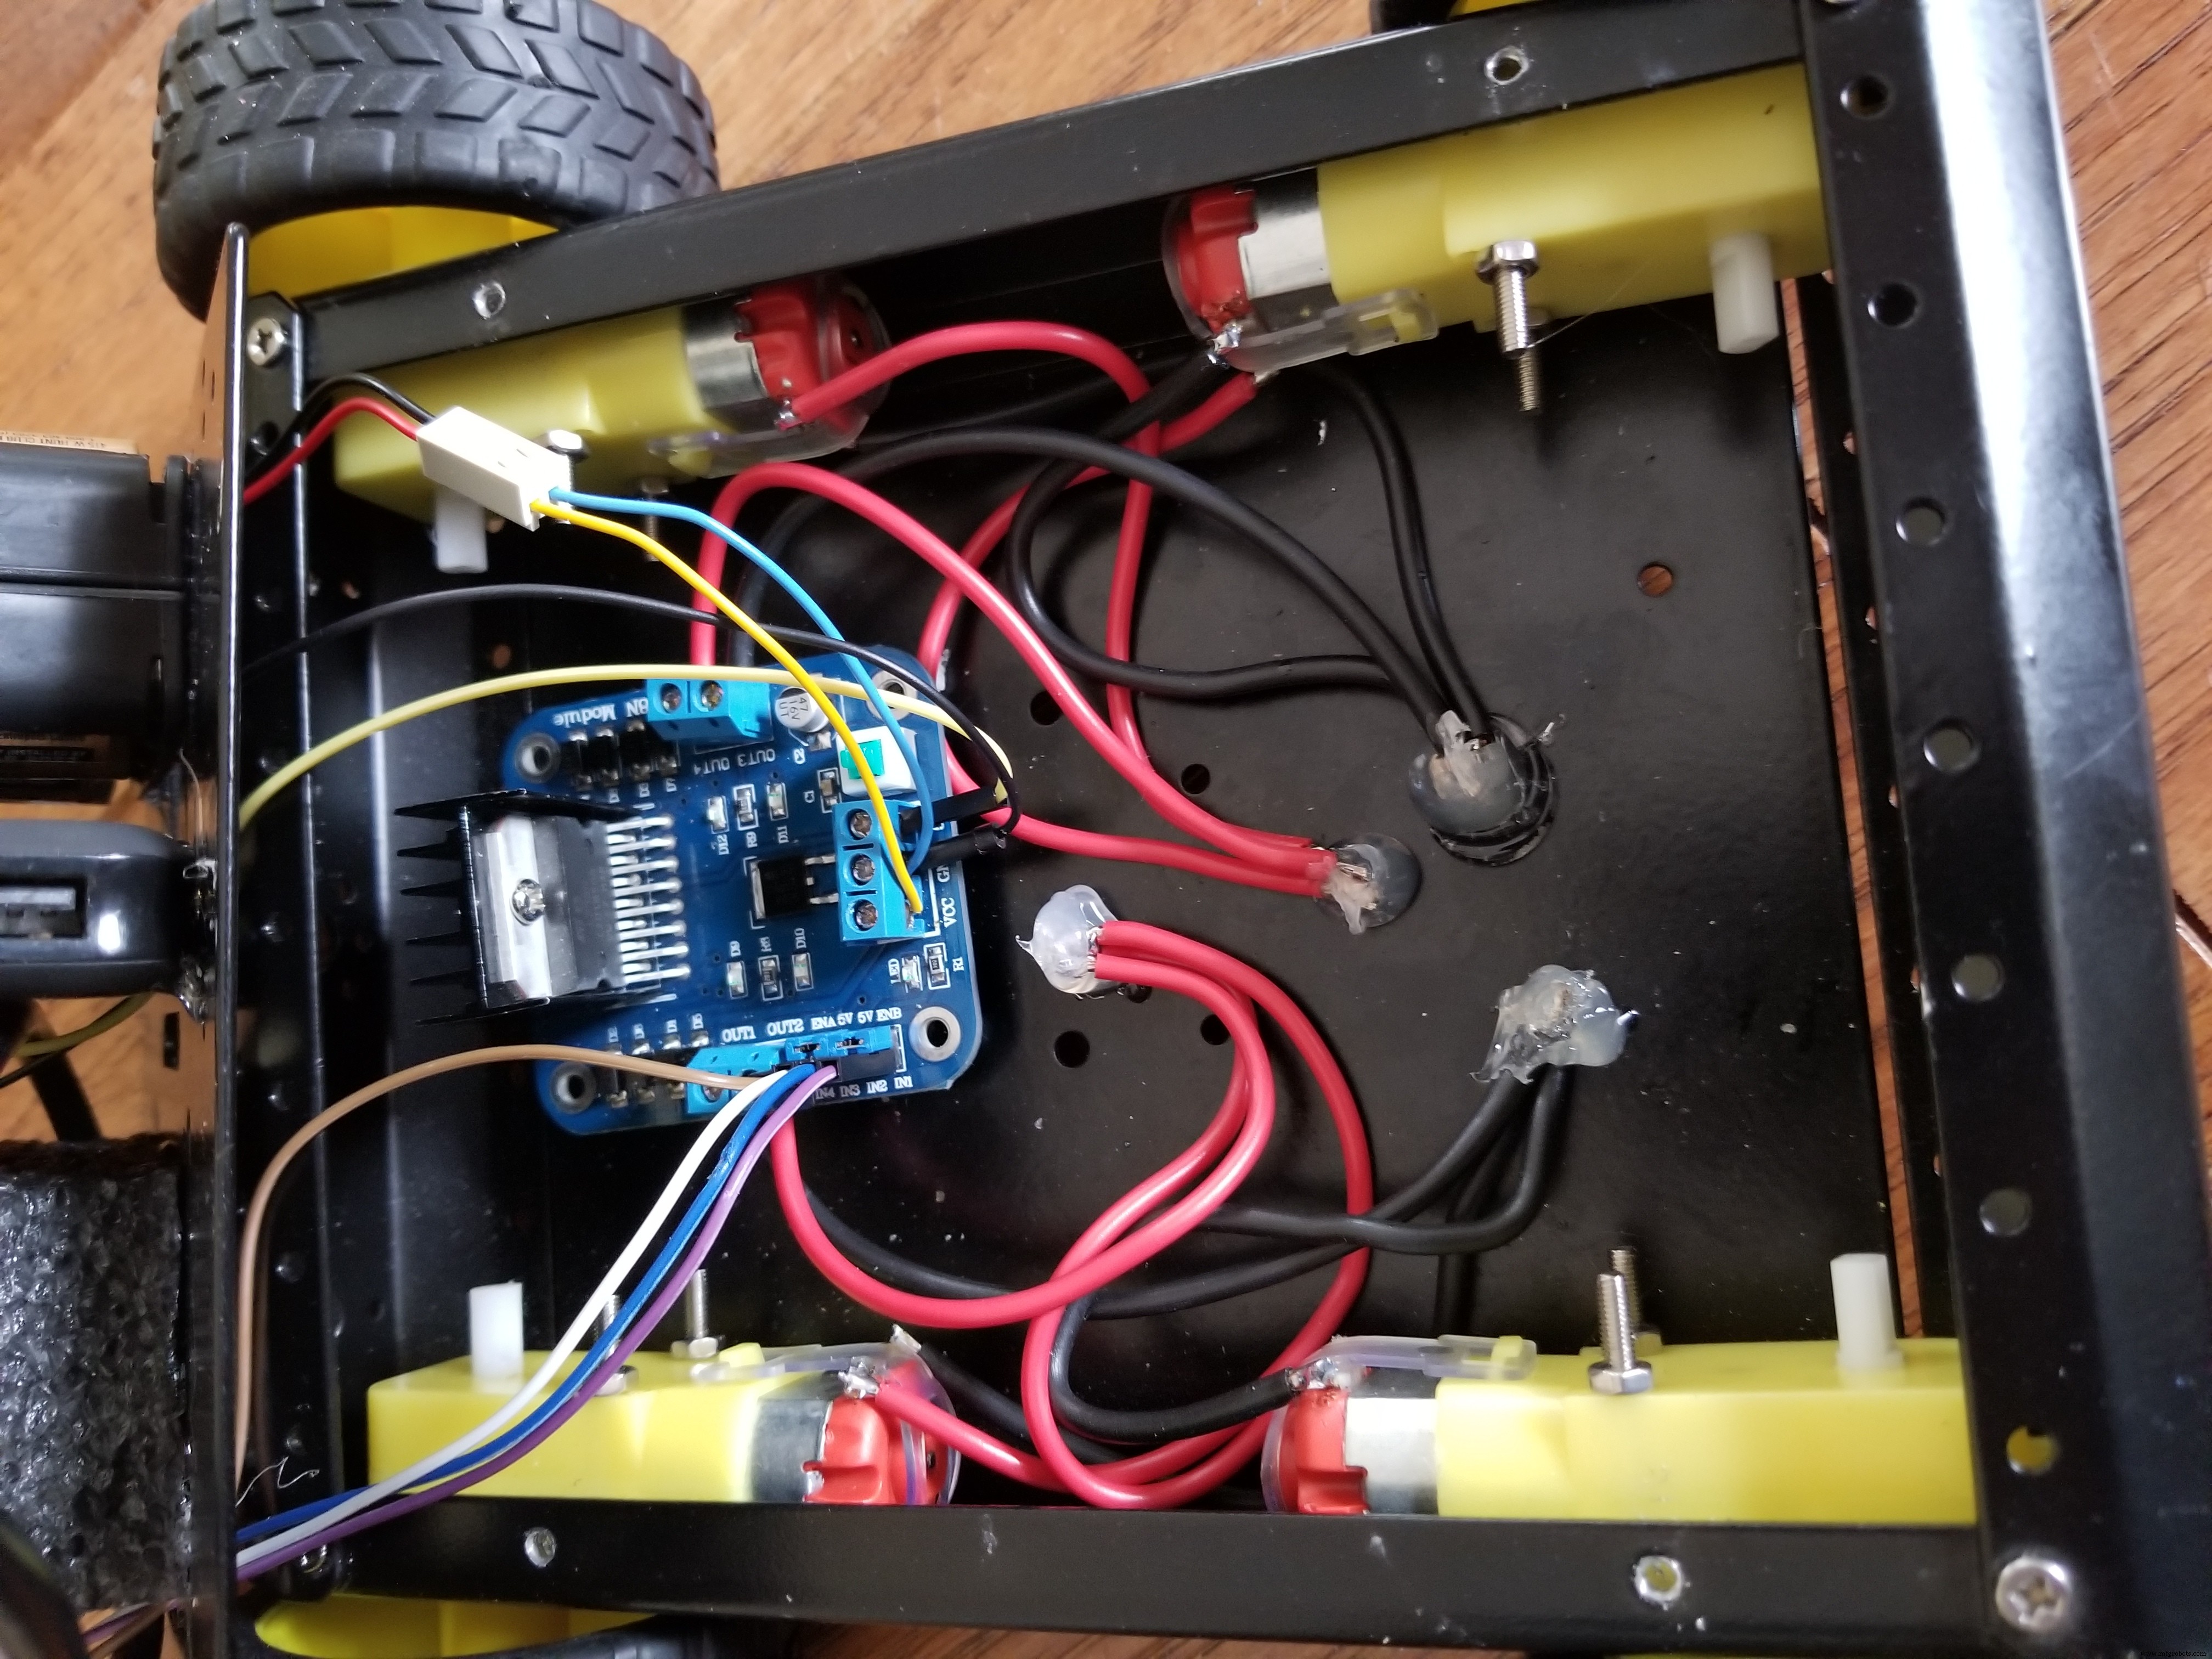
//Motor set A right side
Connect the "+" (Red) side of the motors to Out 4
Connect the "-" (Black) side of the motors to Out 3
// Motor set B left sideConnect the "+" (Red) side of the motors to Out 2
Connect the "-" (Black) side of the motors to Out 1
Connect battery to L298N drive module "+" (Red) to VCC and "-" (Black) to GND
Complete Diagram

Code
- IR Remote control car
IR Remote control carC#
#include <IRremote.h>

char command;
int receiver_pin = 4;   //Connect the output pin of IR receiver at pin 4
int vcc = 5;            //VCC for IR sensor
int gnd = 6;            //GND for IR sensor

int statusled = 13;

IRrecv irrecv(receiver_pin);

decode_results results;


// connect motor controller pins to Arduino digital pins
// motor A
int enA = 8;
int in1 = 12;
int in2 = 11;
// motor B
int enB = 7;
int in3 = 10;
int in4 = 9;


void setup()

{
Serial.begin(9600);

irrecv.enableIRIn();

pinMode(statusled,OUTPUT);

digitalWrite(statusled,LOW);

// set all the motor control pins to outputs
  pinMode(enA, OUTPUT);
  pinMode(enB, OUTPUT);
  pinMode(in1, OUTPUT);
  pinMode(in2, OUTPUT);
  pinMode(in3, OUTPUT);
  pinMode(in4, OUTPUT);
  pinMode(vcc, OUTPUT);
  pinMode(gnd, OUTPUT);

// Initializing vcc pin high
  digitalWrite(vcc, HIGH);


}

void loop() {

if (irrecv.decode(&results)) {

digitalWrite(statusled,LOW);

irrecv.resume();

if (results.value == 0xFF18E7){ // type button 2 forward robot control

 // this function will run the motors in both directions at a fixed speed
 Serial.println("Button 2");
  // turn on motor A
  digitalWrite(in1, HIGH);
  digitalWrite(in2, LOW);
  // set speed to 200 out of possible range 0~255
  analogWrite(enA, 100);
  // turn on motor B
  digitalWrite(in3, HIGH);
  digitalWrite(in4, LOW);
  // set speed to 200 out of possible range 0~255
  analogWrite(enB, 100);


}else if(results.value == 0xFF10EF){ // type button 4 turn left robot control

 // this function will run motor A in forward directions  motor B stop
  Serial.println("Button 4");
  // turn on motor A
  digitalWrite(in1, HIGH);
  digitalWrite(in2, LOW);
  // set speed to 200 out of possible range 0~255
  analogWrite(enA, 100);
  // turn on motor B
  digitalWrite(in3, LOW);
  digitalWrite(in4, LOW);
  // set speed to 200 out of possible range 0~255
  analogWrite(enB, 100);


}else if(results.value == 0xFF30CF){ // type button 1 rotate left robot control

 // this function will run motor A in forward directions  motor B in backward directions
  Serial.println("Button Turn Right");
  // turn on motor A
  digitalWrite(in1, HIGH);
  digitalWrite(in2, LOW);
  // set speed to 200 out of possible range 0~255
  analogWrite(enA, 100);
  // turn on motor B
  digitalWrite(in3, LOW);
  digitalWrite(in4, HIGH);
  // set speed to 200 out of possible range 0~255
  analogWrite(enB, 100);


}else if(results.value == 0xFF5AA5){ // type button 6 turn right robot control

// this function will  stop motor A  run motor B in forward directions
 Serial.println("Button Turn Left");
  // turn on motor A
  digitalWrite(in1, LOW);
  digitalWrite(in2, LOW);
  // set speed to 200 out of possible range 0~255
  analogWrite(enA, 100);
  // turn on motor B
  digitalWrite(in3, HIGH);
  digitalWrite(in4, LOW);
  // set speed to 200 out of possible range 0~255
  analogWrite(enB, 100);

}else if(results.value == 0xFF7A85){ // type button 3 rotate right robot control

// this function will run motor A  in backward directions  motor B in forward directions
  // turn on motor A
  digitalWrite(in1, LOW);
  digitalWrite(in2, HIGH);
  // set speed to 200 out of possible range 0~255
  analogWrite(enA, 100);
  // turn on motor B
  digitalWrite(in3, HIGH);
  digitalWrite(in4, LOW);
  // set speed to 200 out of possible range 0~255
  analogWrite(enB, 100);

} else if(results.value == 0xFF4AB5){ // type button 8 backward robot control

// this function will run motor A and motor B in backward directions
  // turn on motor A
  digitalWrite(in1, LOW);
  digitalWrite(in2, HIGH);
  // set speed to 200 out of possible range 0~255
  analogWrite(enA, 100);
  // turn on motor B
  digitalWrite(in3, LOW);
  digitalWrite(in4, HIGH);
  // set speed to 200 out of possible range 0~255
  analogWrite(enB, 100);


}else if(results.value == 0xFF38C7){ // type button 5 stop robot control


// this function will stop both motor A and motor B
  // turn on motor A
  digitalWrite(in1, LOW);
  digitalWrite(in2, LOW);
  // set speed to 200 out of possible range 0~255
  analogWrite(enA, 100);
  // turn on motor B
  digitalWrite(in3, LOW);
  digitalWrite(in4, LOW);
  // set speed to 200 out of possible range 0~255
  analogWrite(enB, 100);


}

}

}
Schematics
Manufacturing process
- Secure Remote Access & Control for Mitsubishi Industrial Robots
- Build a Universal Android Remote with Arduino, 1Sheeld & IR Control
- Custom Arduino TV Remote – Battery‑Powered, 3D‑Printed Case
- Advanced Remote‑Controlled Gripper Robot for Precision Handling
- SomfyDuino: USB‑to‑Somfy IO Adapter for Arduino Nano
- Control Any Device with Your TV Remote Using Arduino IR – Step-by-Step Tutorial
- Mastering Quality Control: Strategies for Consistent Excellence
- Cloud Monitoring: Remote Control System for Real-Time Asset Management
- 5 Key Benefits of Remote Production Control for Modern Industry
- The Ultimate Guide to Remote Control Car Circuits: Build, Troubleshoot, and Master Your RC Vehicle