


Arduino‑Powered Robot Arm with Custom Controller – Servo & Potentiometer Build
Components and supplies
 |
| × | 1 | |||
| × | 1 | ||||
| × | 1 | ||||
 |
| × | 1 |
Apps and online services
 |
|
About this project
I made obot arm and its controller.
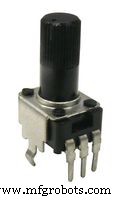
ConstitutionThe robot arm uses three conventional PWM servos, and each angle is controlled by a variable resistor. The rotary potentiometer used B curve 10k ohm.
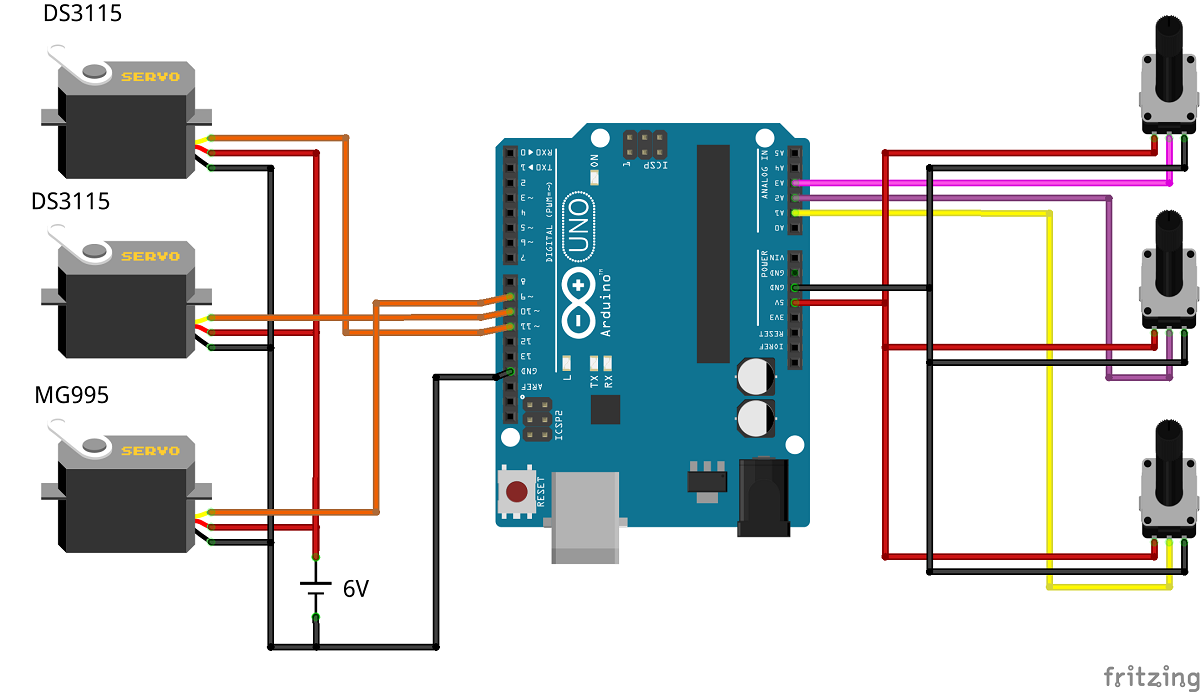
Two DS3115 servo motors were used in the vertical direction, and MG995 servo motor was used in the swing direction.

I made a controller case with a 3D printer.

A hole and a positioning hole for screwing through the knob of the rotary potentiometer, and a dent for inserting the knob are provided.
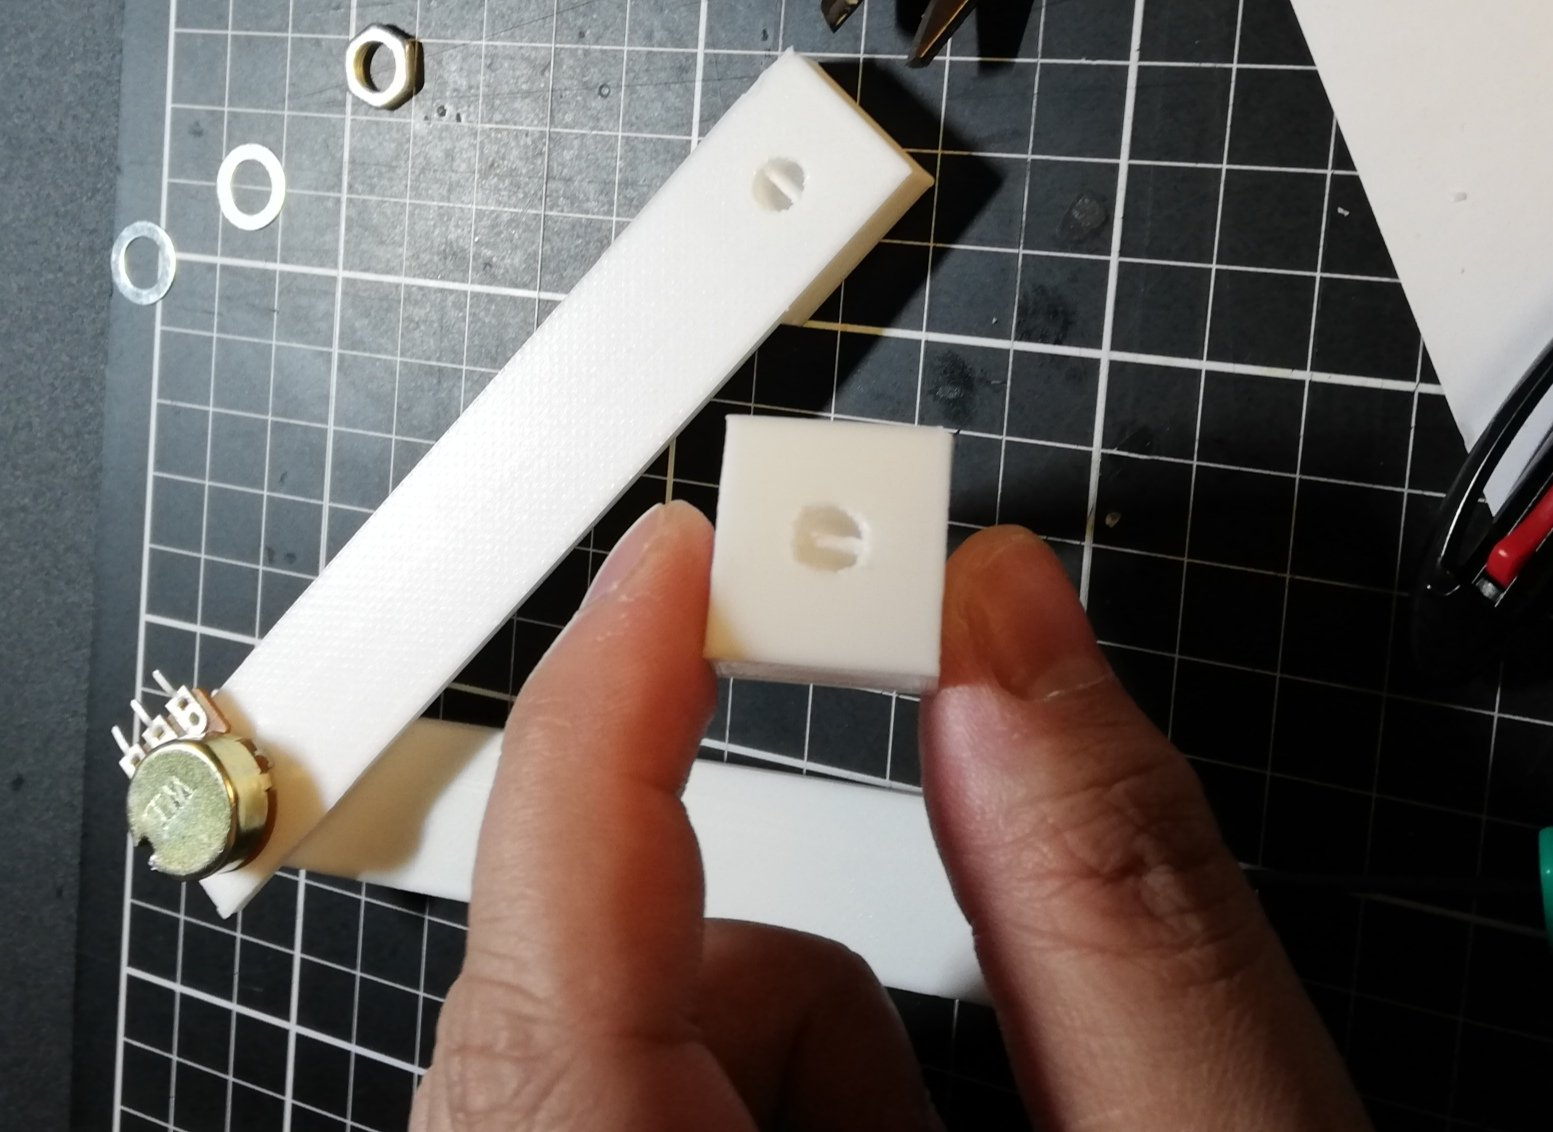
Assemble the fabricated parts and three rotary potentiometers to complete!
The rotary potentiometer has now been placed in the same direction as the rotation axis of the servomotor of the robot arm!
Arduino CodeThis simple code simply reads the value of the rotary potentiometer with an analog pin, converts it to an angle, and inputs it to the corresponding servo.
#include <Servo.h>

Servo myservo1, myservo2, myservo3;

float th1=90.0,th2=90.0,th3=90.0;
float val1, val2, val3;

void setup() {
    Serial.begin(9600);
    myservo1.attach(9, 500, 2420);  //MG995
    myservo2.attach(10, 820, 2140); //DS3115
    myservo3.attach(11, 820, 2140); //DS3115
    set_servo();
}

void loop() {
    val1 = analogRead(A1);
    val2 = analogRead(A2);
    val3 = analogRead(A3);

    th1 = map(val1, 170.0, 880.0, 0.0, 180.0);
    if(th1 >= 180.0){
        th1 = 180.0;
    }else if(th1 <= 0.0){
        th1 = 0.0;
    }

    th2 = map(val2, 150.0, 860.0, 0.0, 180.0);
    if(th2 >= 180.0){
        th2 = 180.0;
    }else if(th2 <= 0.0){
        th2 = 0.0;
    }

    th3 = map(val3, 860.0, 160.0, 0.0, 180.0);
    if(th3 >= 180.0){
        th3 = 180.0;
    }else if(th3 <= 45.0){
        th3 = 45.0;
    }

    set_servo();
}

void set_servo(){
    myservo1.write(th1);
    myservo2.write(th2);
    myservo3.write(th3);
}Complete by wiring the rotary potentiometer and connecting it to Arduino!
Custom parts and enclosures
Manufacturing process
- Simple Pi Robot – Build a 2‑WD Autonomous Rover with Raspberry Pi
- Servo‑Driven Obstacle‑Avoiding Robot: Build with Arduino & HC‑SR04
- Build Your Own MK2 Plus Robot Arm Controller
- Control Your Arduino Robot Arm via a Dedicated Android App
- Arduino Robot Tank Controlled by a PS2 Wireless Joystick
- Build a Wire‑Free Arduino Robot Arm, Controlled from Your Smartphone
- Seamless Control of Arduino Robot Arm with Mecanum Wheel Platform
- Yama Seiki GA-2000CR: Compact Turning Center with Advanced Robot Arm & Pallet System
- KUKA KMR iiwa: Mobile Collaborative Robot Arm for Industry 4.0
- Mastering Controller Boards: Essential Guide to Plugging In Robots