


Mini Vintage Internet Radio – Compact Retro‑Style Streaming Device
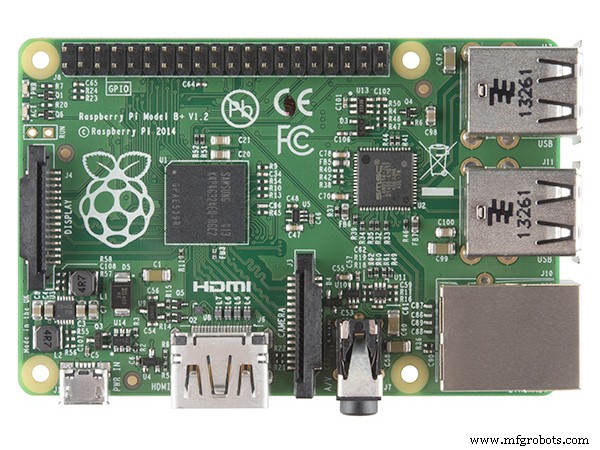
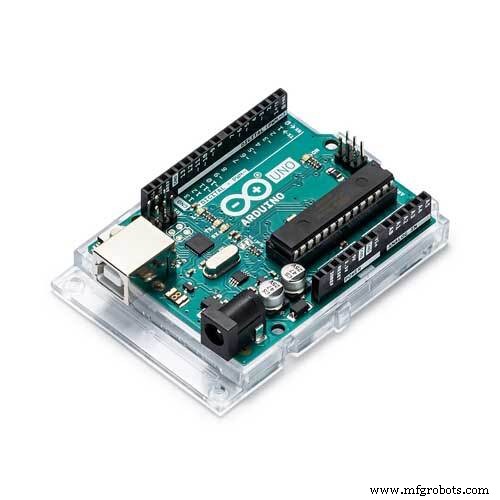
Components and supplies
 |
| × | 1 | |||
 |
| × | 1 | |||
| × | 1 | ||||
| × | 1 | ||||
| × | 1 | ||||
| × | 1 | ||||
| × | 1 | ||||
| × | 1 | ||||
| × | 1 | ||||
| × | 4 | ||||
| × | 4 | ||||
| × | 4 | ||||
| × | 4 |
Necessary tools and machines
 |
| |||
 |
|
Apps and online services
 |
|
About this project
MotivationThis project was based on the Raspberry-Pi / Arduino Internet Radio from Anthony Kelly.
ForewordI had no previous experience in 3D design, but it was a chance to work some new skills. I also don't have access to a 3D printer yet. So this will be a real challenge.
InspirationMy main goal is to develop an enclosure to be printed.
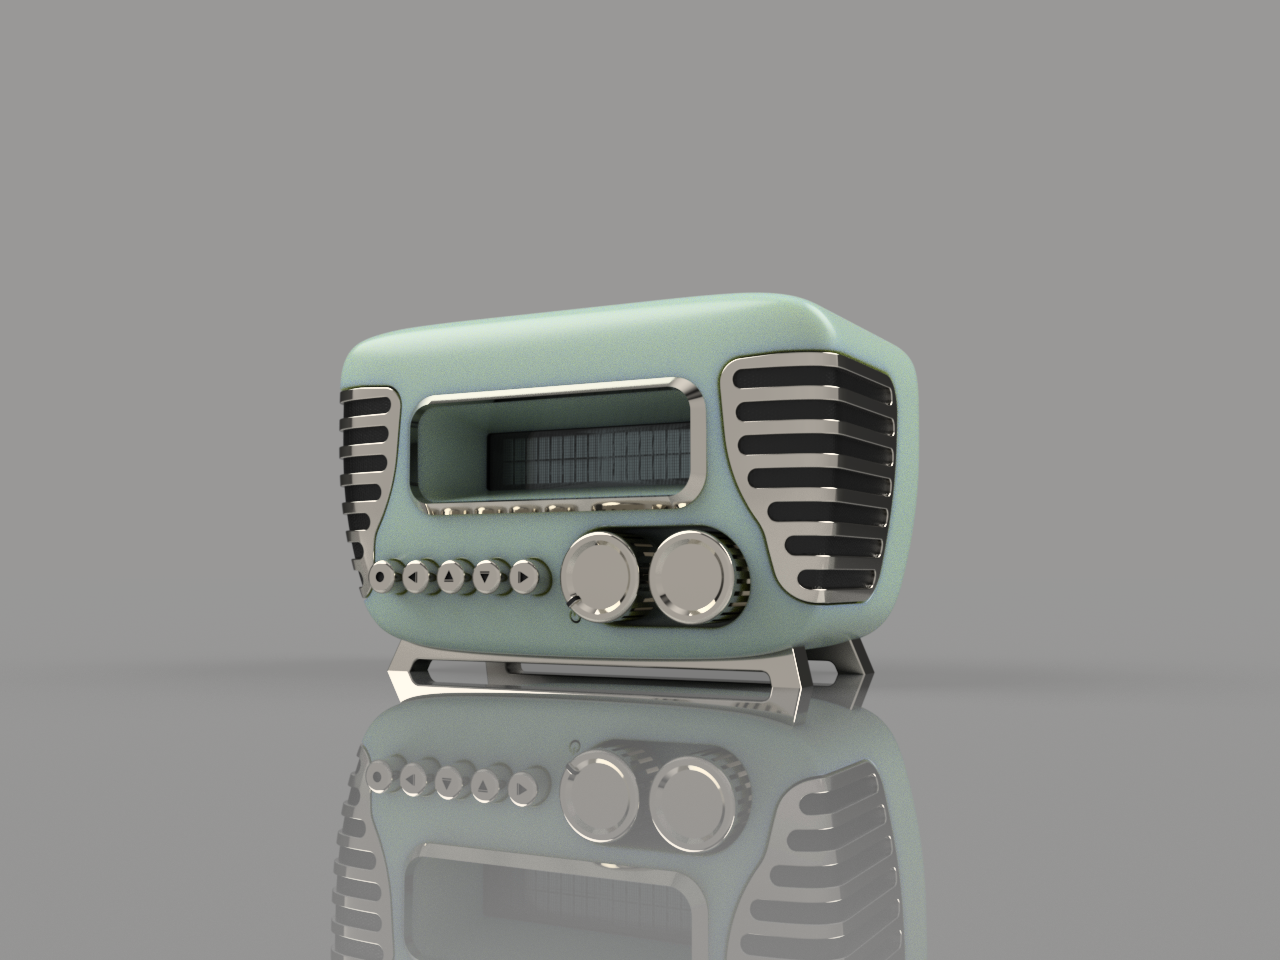
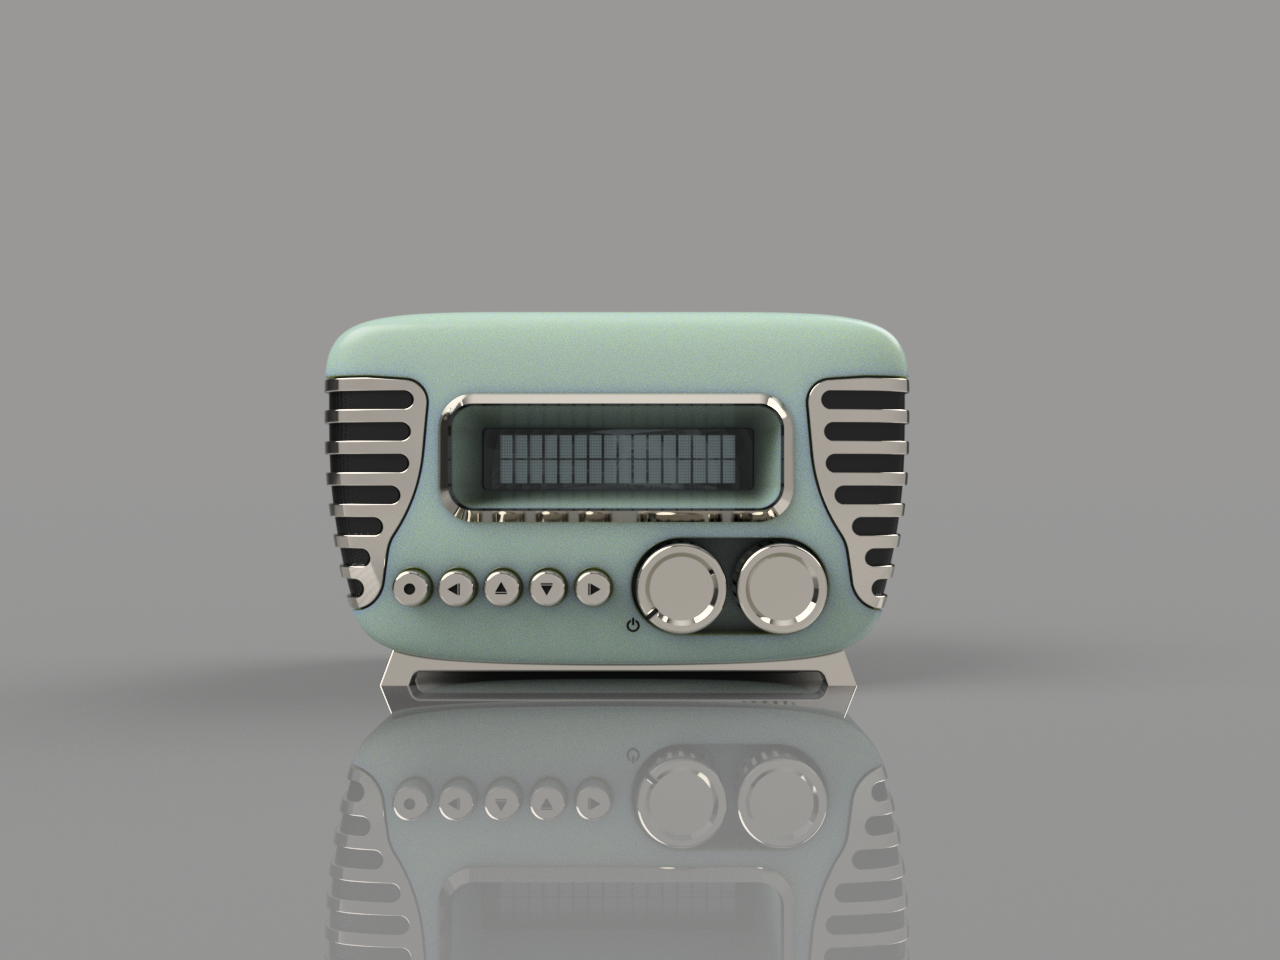
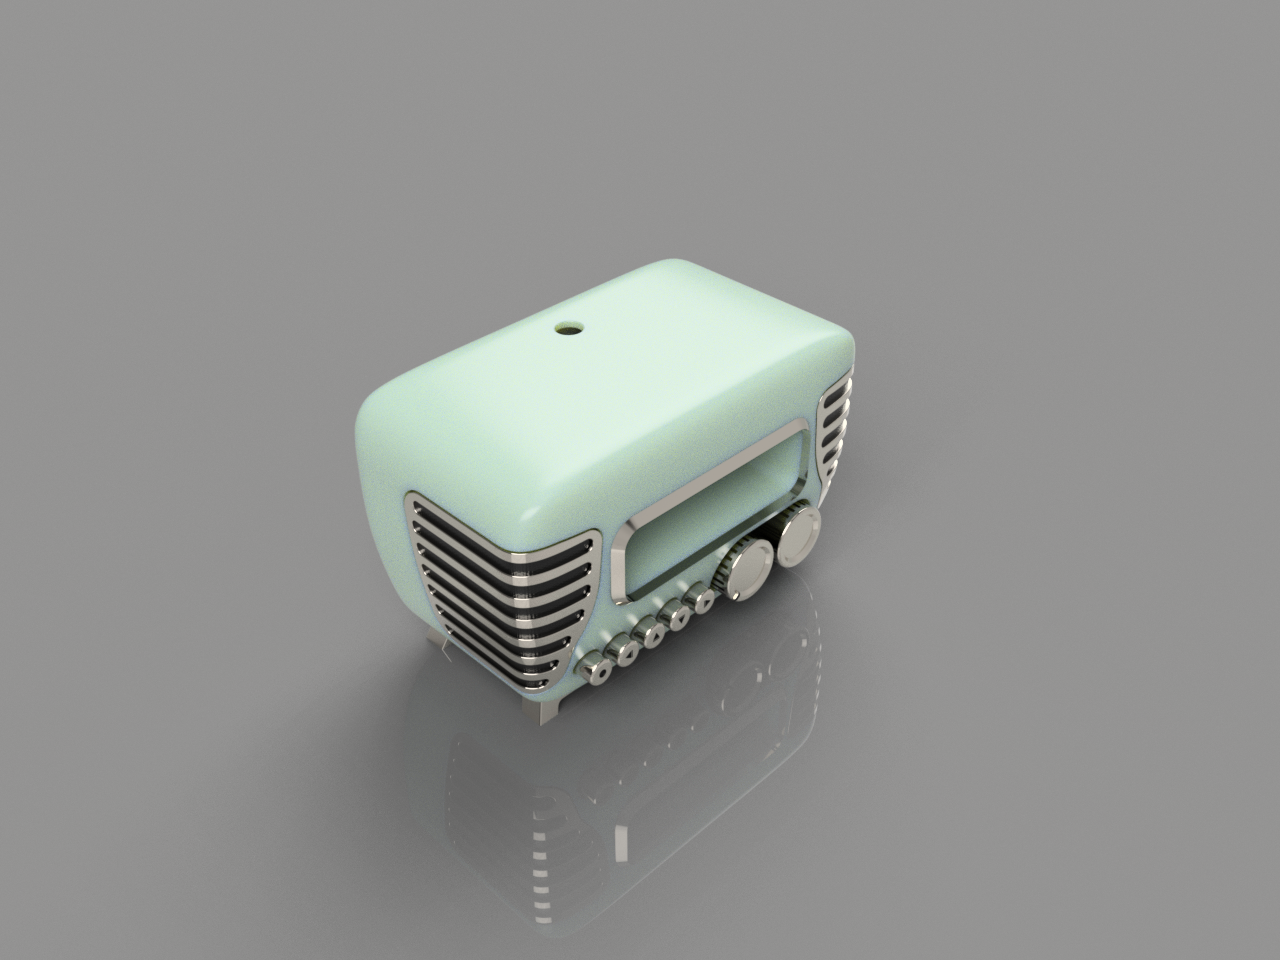
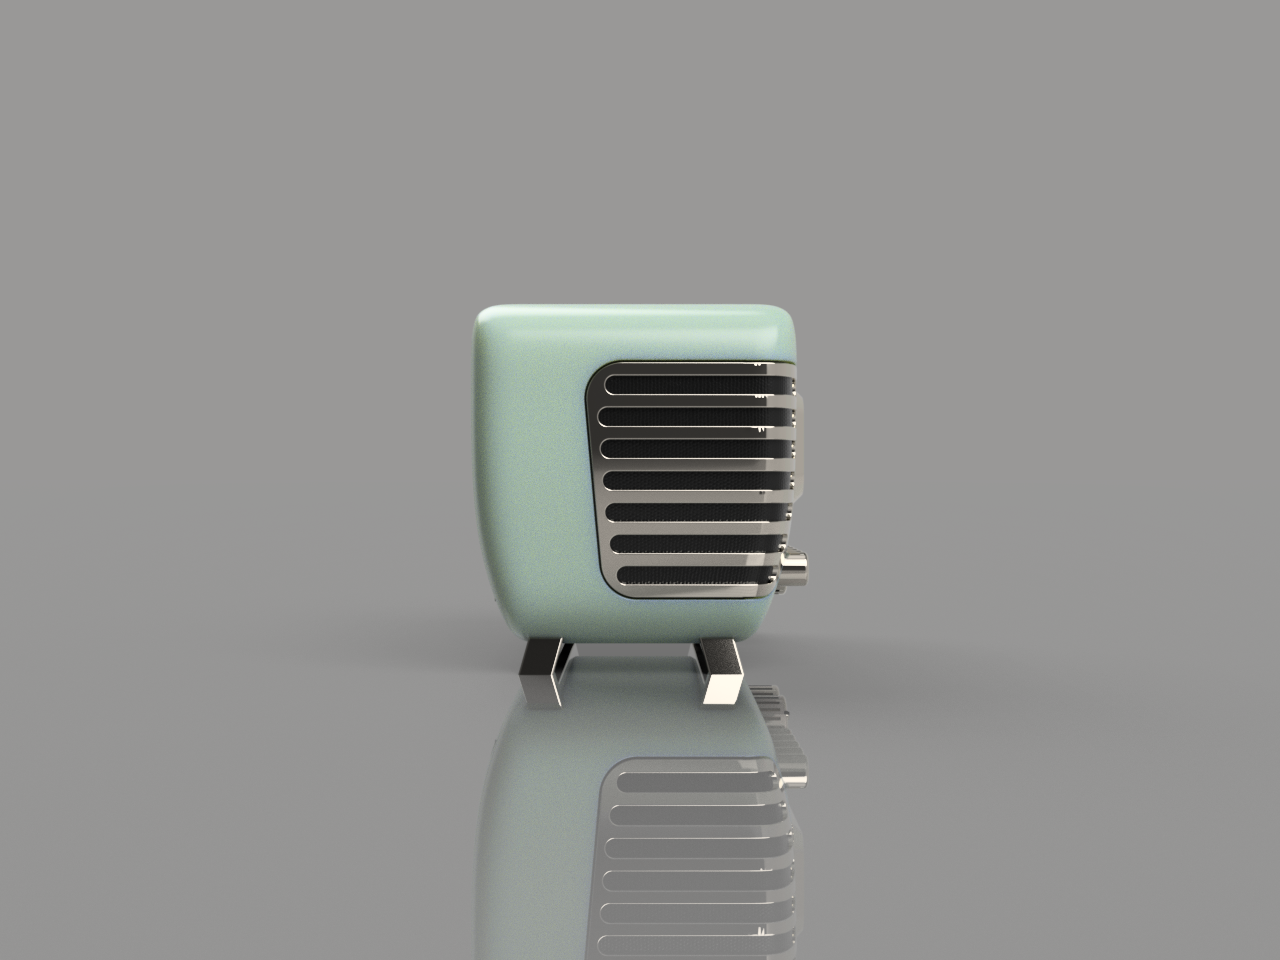
The purpose is to mix new technology with a vintage look and feel. But I also want to make the enclosure the smallest possible and without unnecessary cutouts. The only cutouts available are the power chord and the audio out (but it can be eliminated with a Bluetooth USB setup).
It took me endless nights to figure out how to use the software to model the ideas I had, but it made me really excited with the end result. I really want to build one for myself. Hope you all like this project.
Edit. 10.05.2017
If you enjoyed this project, please click on "Respect project" button!! It'll help me on creating other awesome projects!
This enclosure was intended to have the minimal amount of wires and cutouts going outside so some upgrades were suggested:
- Replace the Ethernet cable with a mini USB Wi-Fi dongle.
- Use a Rotary Pot w/ switch to turn on/off and adjust the volume (optional)
- Use a 360° Rotary Encoder to change between stations (optional)
- Use the same power supply to power the Arduino & R-Pi
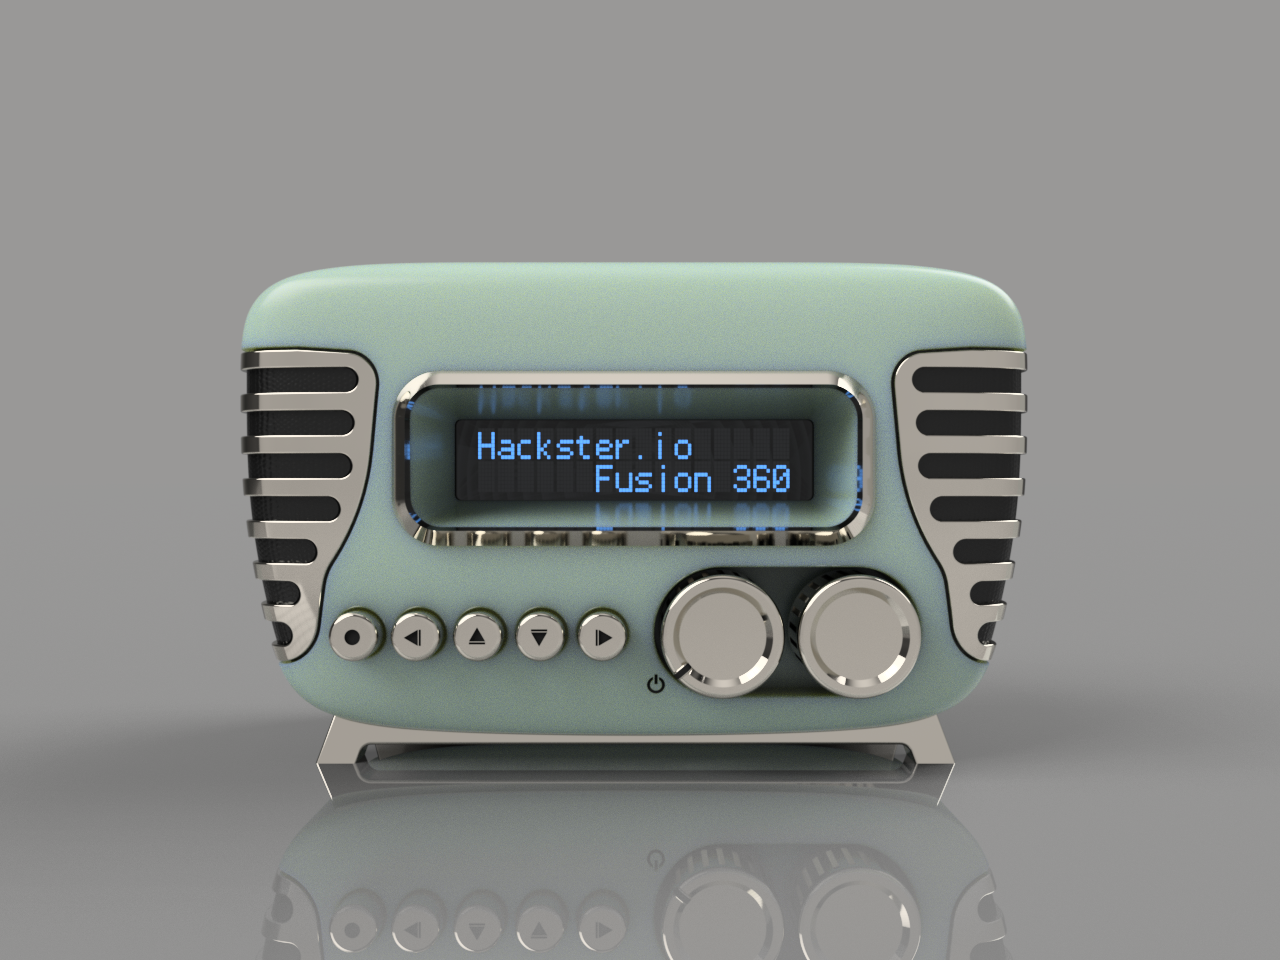
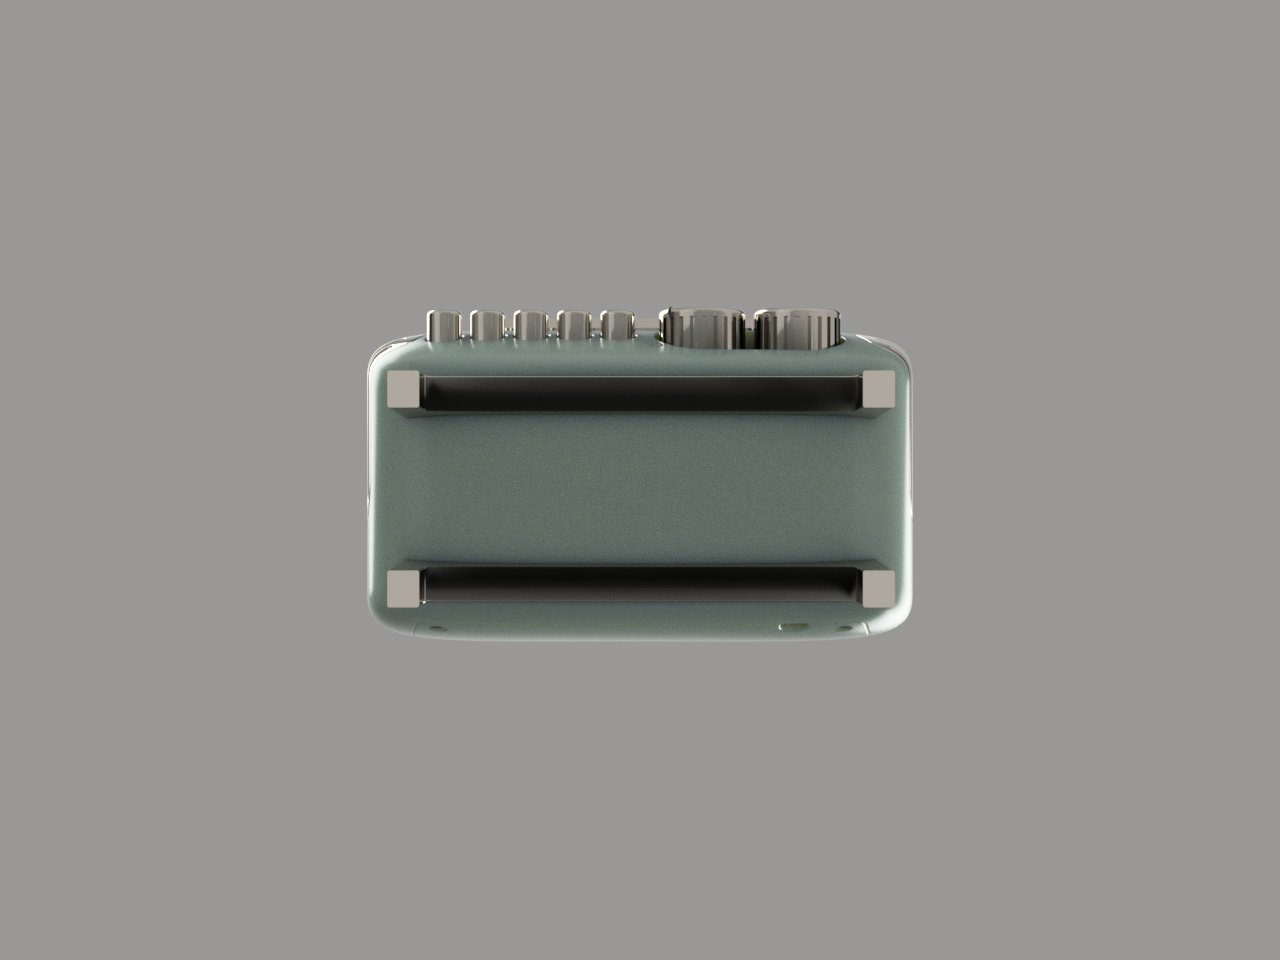
The LCD buttons were placed in a horizontal line to maintain the vintage look'n feel. To accomplish this some mechanical arrangement was needed.
The rotary controls in the front are optional, you can avoid them and just glue the round knobs in place to compose the visual. They were modeled from the datasheets, so if you want to replace them with other similar parts, be careful to check if you will need to tweak the design. Note: I searched Digikey for the cheapest components available with the desired functions, so buying them will not hurt any pocket.
Rotary Potentiometer:The pot is dual function: a switch to power the radio on and a volume control. The initial position is turned off, then when you start to turn it "clicks", closing the circuit and powering the boards. As you keep turning, the analog value of the pot can be read to adjust the volume from 0% (0V) to 100% (5V).
Rotary Encoder:The encoder works as a tuner. It spins freely in any direction to simulate old style radio tuners. The idea here is to cycle between the stored stations (forward or backward if you turn clockwise or anti-clockwise, respectively). The component also have a switch action that can be used to select the desired station. As a bonus you can play a radio static/station search sound (example) while the new station is not selected.
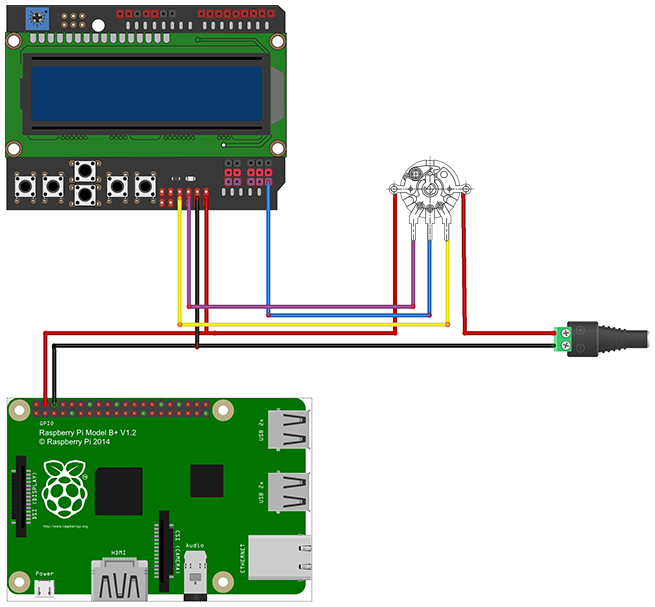
WARNING: Powering the Raspberry-Pi directly in the I/O lines is DANGEROUS, you will be bypassing the protection fuse. So you MUST use a GOOD and STABLE 5V power supply. Buy the one recommended bellow, but do it at your own risk.
AssemblySome pieces are intended to be glued in place:
- Front LCD bezel
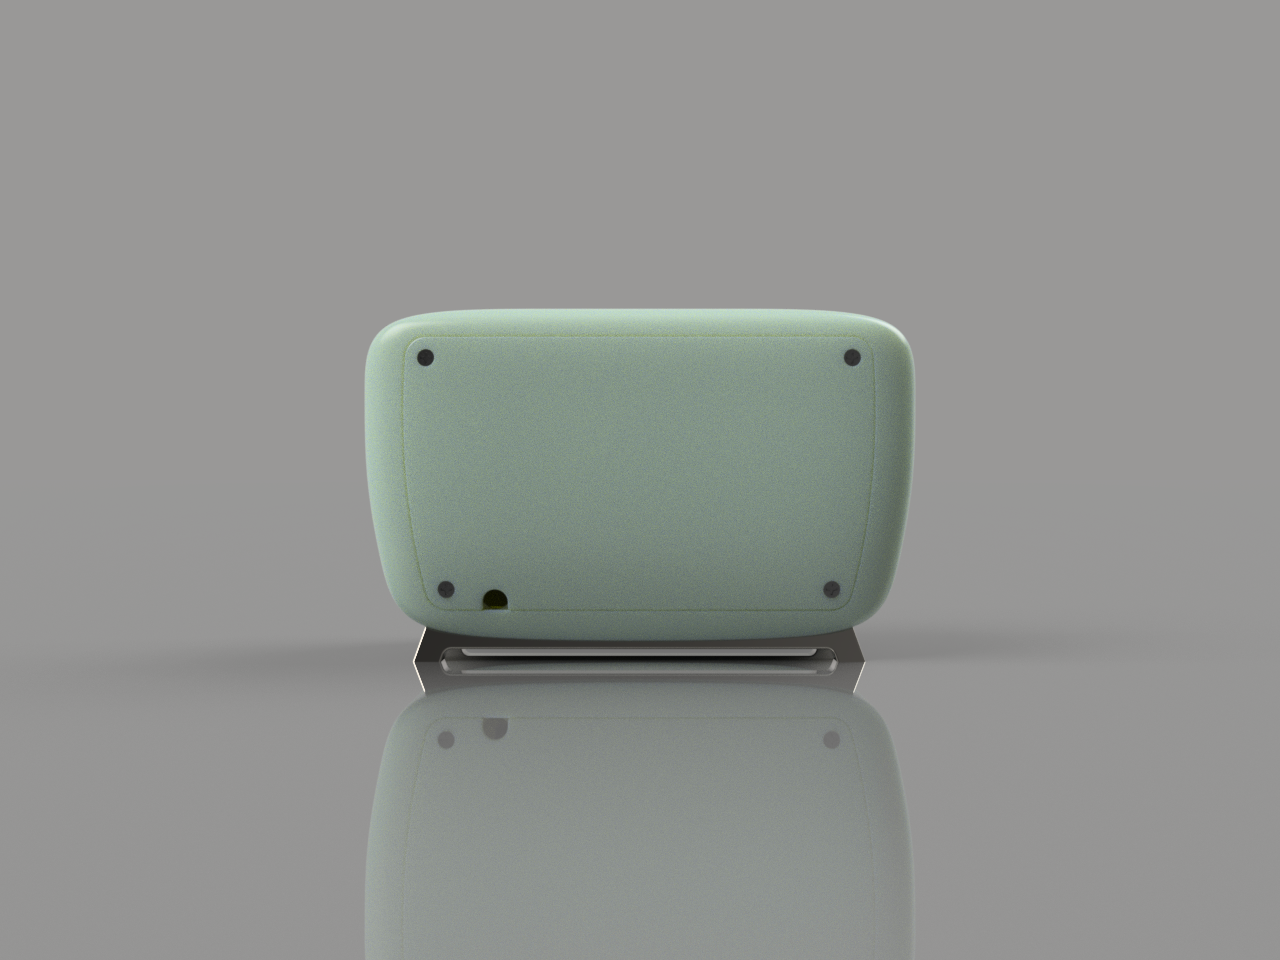
- Feet
- Left and right grill
How to assemble the pieces:
- insert the push buttons in the correct order (right, down, up, left, select). They have some detents to prevent them to fall from the front.
- Glue the left and right grill supports from the inside
- Insert the rotary components and screw them from the front panel
- Connect the rotary components to the analog pins in the LCD shield (needs soldering and proper code)
- Insert the LCD shield and screw it in place with 4 thread forming screws (2-28 x 3/8"). The LCD will hold back the pushbuttons in place.
- Fix the Arduino and R-Pi together with the spacer using 4 screws and nuts (M2.5 x 8mm )
- Place all USB dongles to the R-Pi
- Insert the power connection to the Arduino, R-Pi and connect the power supply.
- Insert the Arduino + Rpi assembly into the case and attach them to the LCD shield
- Close the rear panel and screw it in place with 4 flat head screws (#2 x 3/8"). Route the power chord through the cutout.
- Insert the front knobs for the power/volume and rotary tuner.
- Glue the final pieces: LCD bezel, feet and front grill pieces.
- Enjoy
To get the final vintage look, it is suggested to sand, prime and paint some parts. The main body have a "Metallic Pistachio" color and the details are all to be Nickel painted. All tolerances were made without extra spaces, so you must test everything before paint to give some space to fit after paint. But it's really up to you. It can be just 3D printed in any color you want.
As I don't have previous 3D printing experience, this project probably need tweaks. You will have to work tolerances and create support structures to be able to print some parts.
What's next?To take this project to the next level I would suggest some changes:
- Use a pair of loudspeakers
- Use an amplifier
- Enlarge the design and re-position all electronics
- Use a 40x4 LCD module
Then we can have the hardware to produce sound!!
Fusion 360 LinkThe upload link is not working well for me, so there is the direct link to the project.
Link to project
Custom parts and enclosures
Mini_Vintage_Internet_Radio.f3dOnline 3D design
Manufacturing process
- Build a Wi‑Fi Internet Radio with Raspberry Pi and Arduino: Stream Global Stations
- Optimized Power Solutions for Arduino Projects
- IoT-Enabled Solar Tracker: Smart Energy Management with Arduino
- Build a Compact FM Radio with Arduino Nano and RDA8057M
- Build a Powerful FM Radio Receiver with Arduino and TEA5767 Module
- DIY All‑Band Arduino Radio with Si4730 (LW, MW, SW, FM) – Low‑Cost, Step‑by‑Step Build
- Compact Programmable Pocket Power Supply with OLED Display – Arduino Compatible
- Reliable Arduino-Based Device Tester for Power Blough-R Products
- Automate Home Power Outlets with Windows 10 IoT Core, Raspberry Pi, and Arduino
- Arduino-Based MPPT Solar Charger for Optimal PV Power Harvesting