



How to Create Precision Wood Signs with CNC Routing – A Complete Expert Guide
Introduction: Why Wood Signs Are a Stand‑Out Project
Wooden signs combine timeless aesthetics with personal expression, making them a popular choice for homes, businesses, and events. Crafting a sign yourself not only gives you creative control but can also serve as a profitable niche venture. The key to achieving a flawless, professional look lies in the right equipment – a CNC router. Unlike manual carving, a CNC machine delivers consistent, precise cuts, saving time and effort while ensuring repeatable quality.
In this guide, we walk you through every step of the process: from initial concept to the final polish, so you can produce high‑quality signs that impress clients and stand the test of time.
Step 1: Choosing and Designing Your Wood Sign
Great signage starts with a solid vision and thoughtful material selection.
1. Finding the Perfect Design and Font
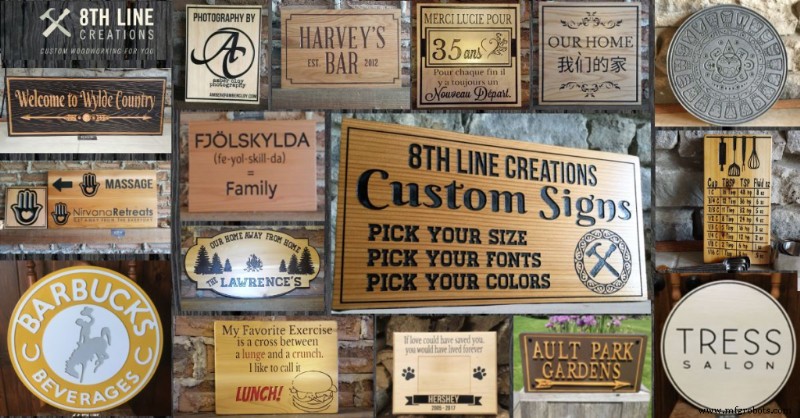
- Define the sign’s purpose. Whether you’re aiming for rustic charm, sleek modernity, or playful whimsy, the design should align with the intended setting.
- Pick a legible font. Bold, blocky typefaces carve cleanly with a CNC router. Avoid overly delicate scripts that risk being lost during the cutting process.
2. Selecting the Best Wood for Your Project
The right grain can make or break your final product. Choose wood that is flat, dry, and stable to prevent warping after carving.
Wood TypeBest ForCNC Carving NotesPineBudget‑friendly, rustic signsSoft, carves quickly. Can splinter easily.OakHigh‑end, durable signsHard, very strong. Requires slower carving speeds.MapleDetailed, fine‑line signsHard, very smooth grain. Excellent for precision.MDF (Medium Density Fiberboard)Indoor signs, paintingSmooth, no grain. Great for sharp, clean edges.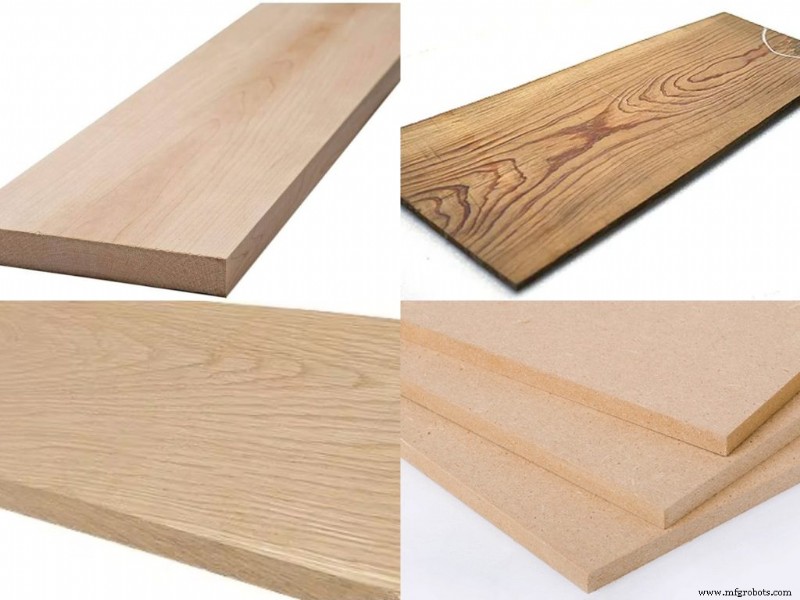
Step 2: Preparing Your Design for the CNC Router
Converting your artwork into machine‑readable instructions is known as CAM (Computer‑Aided Manufacturing). Below is a concise workflow.
1. Understanding CAD and CAM Software
Start with a CAD program such as Vectric Aspire or Adobe Illustrator to create a vector representation of your sign. This visual file becomes the blueprint for the router.

Next, feed the CAD file into a CAM application that generates toolpaths – the exact movements the CNC spindle will follow.
2. Setting Up Your Toolpaths
Define the machining strategy with the following parameters:
- Tool: Choose a router bit suited to the wood and design detail.
- Depth of Cut: Set incremental depths to avoid over‑cutting.
- Feed Rate: Balance speed with precision to protect the bit and material.
- Spindle Speed (RPM): Adjust according to wood density and bit type.
Once configured, the CAM software outputs a G‑code file – the CNC’s native language.
Step 3: Setting Up the CNC Machine and Material
Proper setup minimizes errors and maximizes safety.
1. Securing Your Material to the Bed
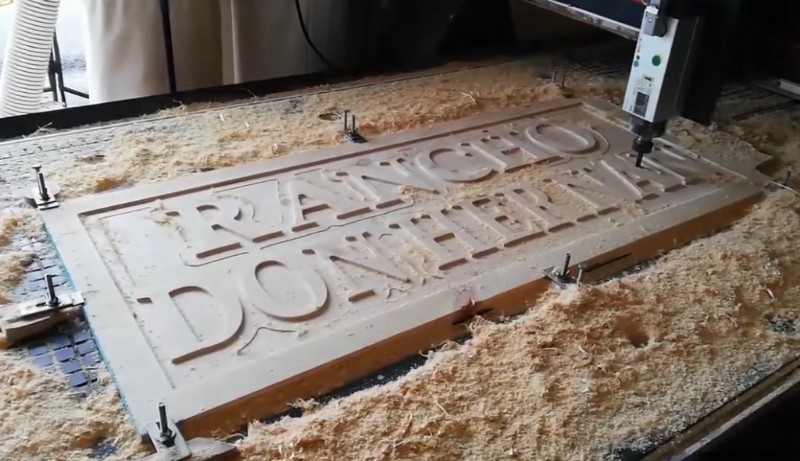
Stability is crucial. Common methods include:
- Clamps – Keep them out of the carving path.
- Vacuum Table – Suction holds larger pieces securely for rapid production.
- Double‑Sided Tape – Suitable for lightweight items.
Confirm the board is level before proceeding.
2. Setting the Z‑Zero Point
Accurate depth control starts with a precise Z‑zero. Use a touch plate that contacts the bit and automatically sets the reference height, ensuring consistent carving depth.
For a visual walkthrough, see the video on using clamps and vacuum tables for sign production.
Step 4: Carving Your Wood Sign with the CNC Router
With everything in place, the carving can begin.
1. Running the G‑Code Program
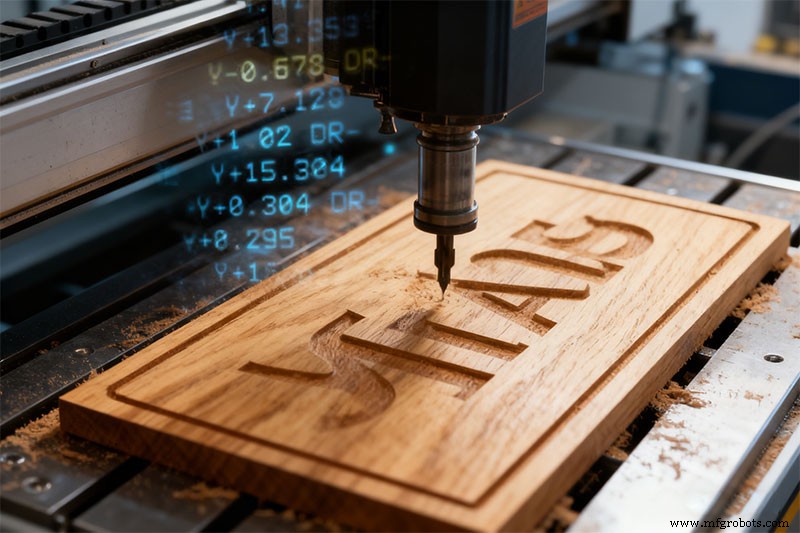
Upload the G‑code to the CNC controller, double‑check settings, and activate the spindle. Monitor the machine for unusual noises, smoke, or vibrations – early warning signs of incorrect parameters.
2. Managing Dust and Chips
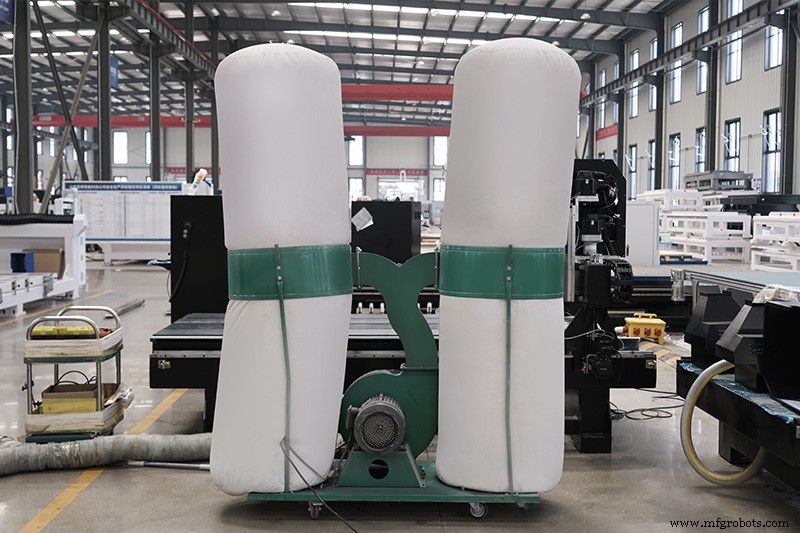
Wood machining generates fine dust that can obscure details and degrade the router’s performance. A dedicated dust collector pulls debris away from the cutting area, keeping the workspace clean and the bit cool.
Step 5: Finishing and Detailing Your Wood Sign
Post‑processing transforms a raw carving into a polished product.
1. Cleaning and Sanding the Wood
Remove the sign from the bed and blow off dust with an air compressor. Hand‑sand the untouched surfaces using medium‑grit paper (around 150 grit), finishing with fine grit (220). Take care not to over‑sand carved areas.
2. Painting or Staining Your Carving
Choose a finish that complements the design:
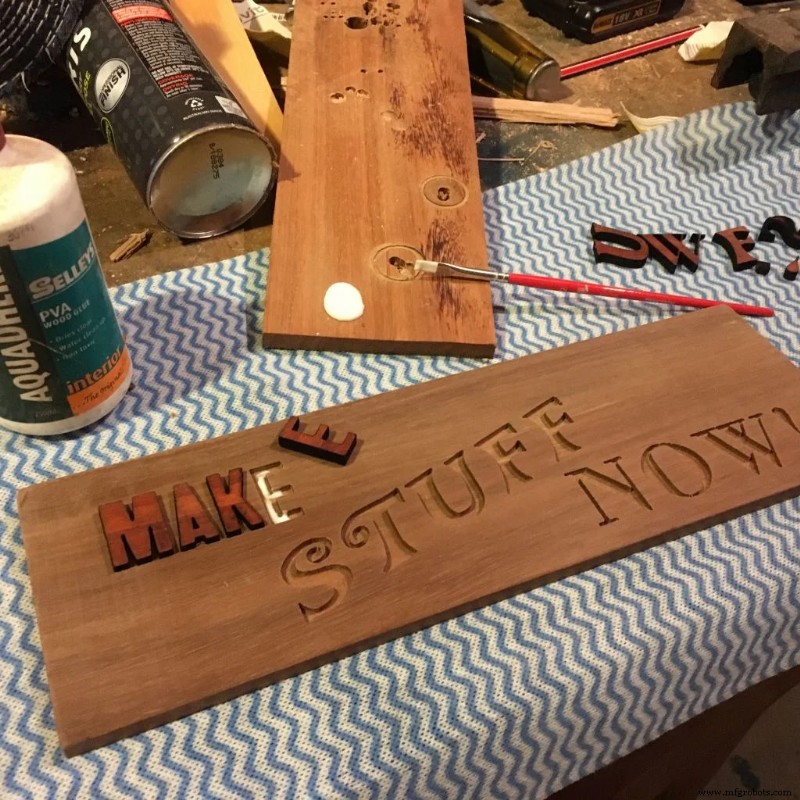
- Letter‑Paint Flood Coat – Apply paint over the entire carved area, let dry, then sand off the top layer. The paint remains only in the recessed pockets, giving a crisp, high‑contrast look.
- Stain – Apply evenly with a cloth, wipe excess after a few minutes, and allow to dry completely before any further coating.
Recommended CNC Routers for Wood Sign Making
Blue Elephant CNC routers are engineered for sign makers who demand speed, precision, and reliability. Below are our top picks for different production needs.
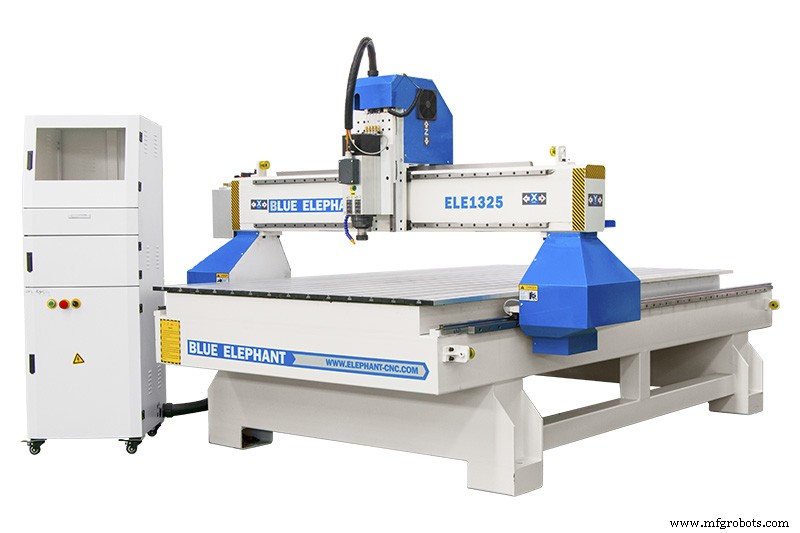
1. 1325 3‑Axis CNC Router with Italian Spindle
Ideal for high‑volume sign production, this router offers a robust frame that minimizes vibration and delivers clean cuts on both soft and hardwoods.
- Cutting Area: 1300 mm × 2500 mm (extendable to 1500 × 3000 mm, 2100 × 3000 mm, 2100 × 4000 mm)
- High‑Speed Spindle: Smooth cuts without chipping or burning
- Heavy‑Duty Construction: Reduced vibration for intricate detail work
- User‑Friendly Software: Intuitive setup and operation for new users
2. 1530 3‑Axis CNC Router Machine
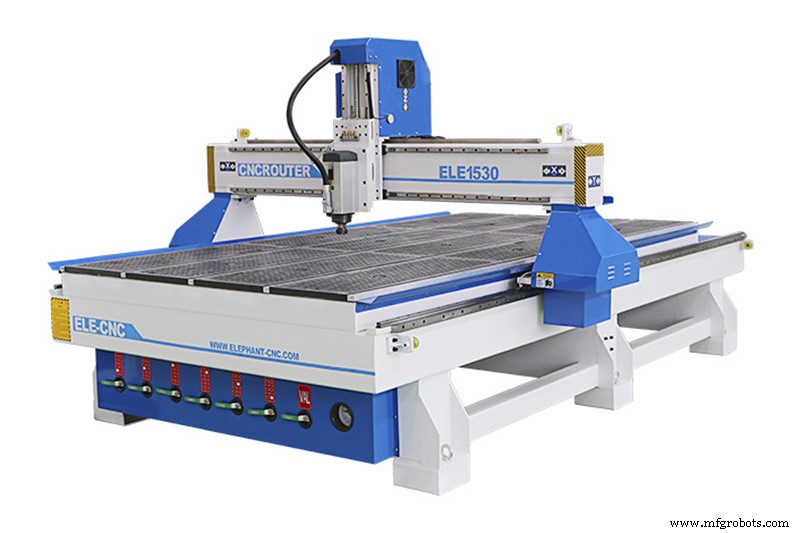
Designed for larger projects and batch production, this model supports a 1500 mm × 3000 mm cutting area and optional vacuum table for rapid loading.
- Vacuum Table Option: Speeds up material handling
- Advanced Control System: Smooth operation, reduced cycle time
- High‑Precision Spindle: Consistent cuts across diverse wood types
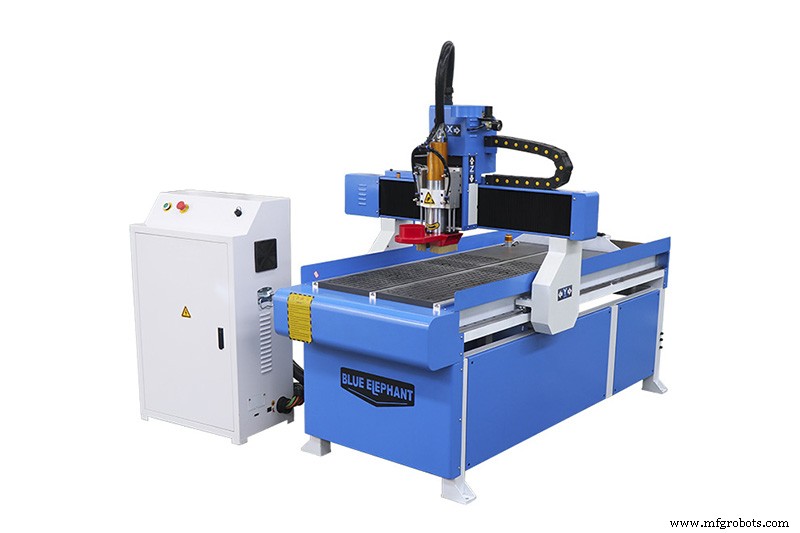
3. 6090 Linear ATC Hobby CNC Router
Perfect for small workshops or hobbyists, this compact router delivers precision without compromising cutting power.
- Compact Design: Fits limited spaces
- Affordable: Great entry‑level choice
- Precise Cutting: Ideal for fine lettering and custom engravings
- Portable: Easy relocation between workspaces
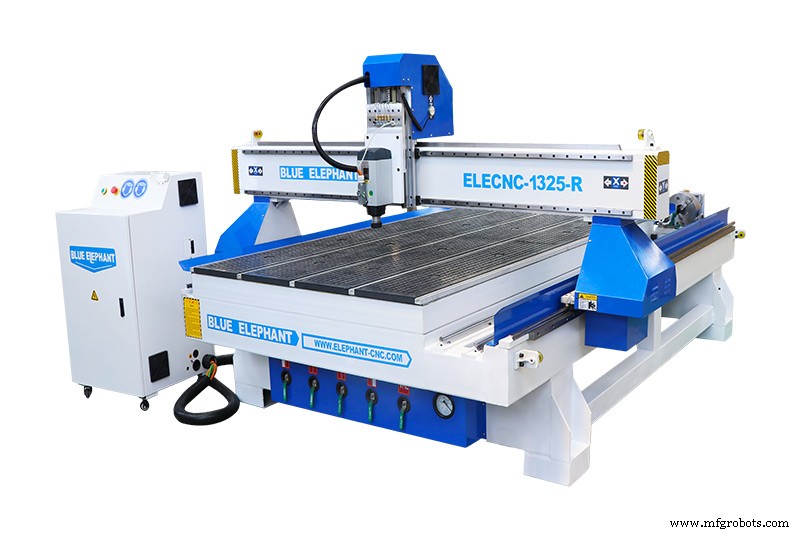
4. 1325 Rotary Axis CNC Router
For complex, multi‑dimensional signage, the 4‑axis router adds a rotary axis for 3‑D carving and cylindrical engraving.
- Rotary Attachment: Enables 3‑D designs on round or cylindrical material
- Heavy‑Duty Frame: Ensures stability for precision work
- High‑Speed Spindle: Powerful cuts on wood, acrylic, and more
- Advanced Software: Full control over intricate 3‑D designs
Why Blue Elephant CNC Is the Right Choice for Sign Makers
When precision and speed are non‑negotiable, Blue Elephant CNC routers deliver unmatched performance. Their heavy‑duty steel frames reduce vibration, while high‑speed spindles maintain a stable RPM for crisp edges. The inclusion of vacuum tables, user‑friendly software, and optional rotary axes gives you the flexibility to scale from small projects to large‑scale production.
1. Precision and Stability for Perfect Carvings
The rigid construction eliminates unwanted movement, ensuring every letter and detail stays true to the design. High‑speed spindles prevent burning and chipping, extending bit life and delivering consistent quality.
2. Increased Processing Efficiency and Output
Fast, accurate machining translates to shorter cycle times and higher daily throughput. The intuitive interface reduces setup time, allowing you to focus on creative work rather than troubleshooting.
| Feature | Blue Elephant Advantage | Benefit to You |
|---|---|---|
| Heavy‑Duty Frame | Minimal vibration | Higher carving precision on fine details |
| High‑Quality Spindle | Consistent, powerful RPM | Clean cuts, no burning, longer bit life |
| Vacuum Table Option | Fast material loading/unloading | Maximizes production time and profit |
| User‑Friendly Software | Easy setup and operation | Reduced learning curve, faster project starts |
Blue Elephant’s commitment to quality components means less downtime and a smoother operation for your business.
Conclusion: Start Creating Wood Signs Today
Whether you’re a seasoned craftsman or just starting, the right CNC router is the cornerstone of successful sign production. By mastering design, machining, and finishing, you can create high‑quality, custom signs that resonate with clients and generate revenue.
Ready to elevate your sign‑making? Explore Blue Elephant’s lineup of high‑end CNC routers and find the model that fits your workshop. Invest in reliability, precision, and speed – your future customers will thank you.
Click here to view our professional CNC router lineup and place your order today.
Related Articles:
- What Size CNC Router Do I Need?
- What CNC Routers Can Do?
- What Is the Best CNC Router for a Small Shop?
CNC Machine
- 1830 ATC CNC Router with Auto Loading & Unloading – Premium Quality, Delivered to Puerto Quetzal, Guatemala
- Haas Mill G107 Cylindrical Mapping Program Example – Step‑by‑Step CNC Code Guide
- 1821 4‑Axis Multi‑Spindle CNC Router – New High‑Efficiency Woodworking Machine with Rotary Attachment
- Deep-Hole Peck Drilling with Siemens Sinumerik CYCLE83 – Simple CNC Program
- Elevate Your Machining Career: 8 Proven Tips from Industry Experts
- X-Axis Groove Creation in CNC Lathe: Program Demo
- Mastering Vacuum Chucks: 9 Essential Insights
- CNC Lathe Taper Turning Program: Easy Step-by-Step Example
- Reducing CNC Machining Complexity: Key Challenges and Proven Optimization Strategies
- Spanish Customer Review: 1325 4‑Axis Wood Engraving Machine with Rotary Device for Precision Furniture Production