


Professional Finishing Techniques for FDM 3D Prints
Achieving a flawless finish is the final step that transforms a solid FDM print into a polished, professional component. Below are proven, time‑tested techniques to elevate the appearance and performance of your prints.
1. Remove Support Structures First
Supports are essential to keep layers from sagging, but they must be removed before any other post‑processing. Use a hobby knife or a dedicated support‑removal tool. If you printed with dissolvable support material, a gentle soak in the recommended solvent will leave no residue.
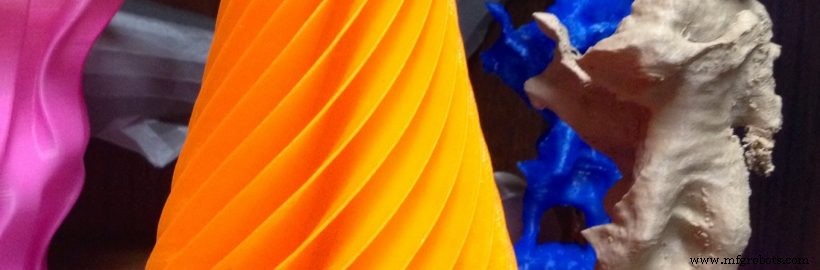
2. Smooth the Surface
Start with a coarse grit (e.g., 150–200) to eliminate the stair‑step effect, then progressively move to finer grits (400, 600, 800) until the surface feels even. For ultra‑fine layers, you can begin directly with 400 grit. Handle the print lightly to preserve fine details and dimensional accuracy.
When sanding is impractical, consider these alternatives:
- Vapor Smoothing – Ideal for parts that will be painted or electroplated. It dissolves the outermost polymer layers, producing a glossy, non‑porous finish, though it can slightly reduce strength.
- Beadblasting – Provides a consistent matte coat and can be combined with vapor smoothing for a refined look. Selecting the correct media size is critical; consult a specialist if unsure.
- Tumbling – Efficient for high‑volume runs of durable filaments. While it offers rapid surface leveling, it may alter dimensions slightly, so use with caution on precision parts.
3. Fill Imperfections
Support residue or incomplete layers can leave tiny voids. Fill these with a high‑strength plastic filler such as Bondo or a dedicated auto‑body filler. For ABS prints, a mixture of ABS filament and acetone works well, matching the color and texture. Sand the cured filler to a smooth finish before proceeding.
4. Clean Before Coating
Remove dust, oils, and sanding debris with a microfiber cloth or a light wash using isopropyl alcohol. A clean substrate is essential for adhesion and a consistent finish.
5. Apply the Final Finish
- Metal Plating – Adds mechanical strength and a premium appearance. Options include electroplating, electroless nickel, or spray‑on aluminum. In‑house plating is possible for small batches; larger projects often require a specialist.
- Epoxy Coating – A versatile sealant that protects against liquids and gases. Apply by brush or dip; for a truly watertight seal, immerse the part in epoxy and use a vacuum chamber to eliminate bubbles.
- Painting – Prime the surface with a suitable spray primer, then apply color coats. Acrylic or enamel paints give vibrant, durable results. For ultra‑fine detail, airbrushing offers precise control.
Choosing the right finishing method depends on the part’s function, required detail level, and production volume. By aligning your finishing strategy with these factors, you’ll achieve consistent, high‑quality results that showcase the true potential of your FDM prints.
3D printing
- Mastering the Final Finish for High‑Quality SLS Prints
- How to Achieve Vivid, Long-Lasting Colors in SLS 3D Printing
- Effortless Post‑Processing for FDM 3D Prints
- Should You Finish 3D‑Printed Parts In‑House or Outsource? A Practical Guide
- 4 Expert Techniques for a Flawless Finish on FDM 3D Prints
- Mastering Post‑Processing for SLA Prints: From Cleaning to a Professional Finish
- Top Bare‑Metal Finishes for Sheet Metal Parts & Enclosures – Expert Guide
- Master ABS Filament Temperature Settings for Superior 3D Prints
- Select the Ideal Surface Finish for Your CNC-Machined Components
- Bead Blasting: The Ideal Surface Finish for CNC Machined Parts?