


Mastering the Final Finish for High‑Quality SLS Prints
Achieving a successful print is only the first milestone in an SLS project. Once the part emerges from the printer, the post‑processing phase determines whether the final product looks professional and meets performance expectations. In this tutorial, we outline the key steps and best practices to ensure a flawless finish.
Removing the leftover powder
All SLS parts require thorough powder removal before any further finishing. Typically, a blast of compressed air is sufficient, provided the design includes properly sized escape holes. Inspect each hole for clogs before starting. While manual cleaning remains common, automated solutions like Dyemansion’s Powershot C drum can clean a part in about ten minutes, offering speed and consistency.
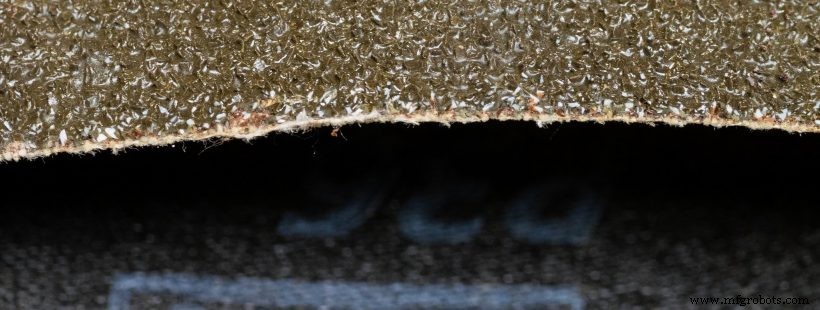
Achieving the right surface feel for your part
Newly printed SLS parts often feel grainy, and visible layer lines may appear depending on the chosen layer thickness. The desired finish—smooth, matte, or textured—depends on the part’s application. One approach is to apply a filler; any standard filler that meets your material’s specifications can be used, but dedicated 3D‑printing fillers such as XTC‑3D are specifically formulated for this purpose.
After filler application, sand the part using a progression of grit papers—from coarse to fine—to achieve a uniform surface. SLS materials are softer than wood, so use light pressure and focus on consistency. Avoid hand‑grinders to prevent scratches. Always wear goggles, a mask, and work in a well‑ventilated area, as SLS dust can irritate the eyes and be toxic if inhaled.
Alternatives to sanding
Fine glass bead blasting offers a quick, hand‑operated method that yields a matte finish in 5–10 minutes. For larger batches, vibro‑finishing (tumbling) can smooth multiple parts simultaneously, though it takes several hours and may blur fine details or soften sharp edges.
Solvent finishing—using acetone, butanone, or tetrahydrofuran—can dissolve certain SLS polymers, providing a smooth surface and enabling part welding. Verify your material’s compatibility and choose the appropriate solvent before proceeding.
The final touches
Once the surface is to your satisfaction, apply a sealant if waterproofing, chemical resistance, or UV protection is required. Silicone sealants are a popular choice. For a durable, glossy finish, lacquer works well; apply 4–5 thin coats to avoid drips and ensure a strong coating.
If painting is desired, prime first with several thin layers to create a smooth base. After the paint dries, a protective sealant will lock in color and extend the life of the finish. Refer to last week’s tutorial for detailed painting or dyeing instructions.
Advanced finishing options include metal plating. SLS parts can be plated with titanium, gold, and other metals, significantly enhancing mechanical strength and achieving a look indistinguishable from a true metal component. We will explore metal plating possibilities in an upcoming post.
3D printing
- Five Key Considerations for Safely Cleaning SLS 3D Prints
- How to Achieve Vivid, Long-Lasting Colors in SLS 3D Printing
- Professional Finishing Techniques for FDM 3D Prints
- 4 Expert Techniques for a Flawless Finish on FDM 3D Prints
- Top 6 SLS 3D Printers of 2018: A Comprehensive Comparison
- 10 Key Factors for Selecting the Perfect Switch for Your Application
- SLS vs SLA 3D Printing: Key Differences and How to Choose
- Master 3D Printing: Enhance Quality with Simple Annealing Techniques
- Bead Blasting: The Ideal Surface Finish for CNC Machined Parts?
- How Selective Laser Sintering (SLS) Converts 3D CAD Designs into Solid Parts