


Choosing the Right Voltage for Your 3D Printer: 12 V vs. 24 V
Many 3D printer components come in two options: 12 V and 24 V, and so do 3D printers themselves. This characteristic has to be kept in mind when any upgrades are made to the 3D printer, such as replacing the extruders, hotends or any components for these. But what does all that imply for the user?
12 V and 24 V are voltages, and they are most common in these two options. More specifically, they are output voltages and they have to do with the 3D printer’s power supply (PSU). A power supply is a device whose task is to supply electric power to an electrical load, a device that takes electrical current and transforms it into other forms of energy like heat or light. In 3D printers, the PSU delivers power to all the essential components such as fans, the heatbed or the hotend. Without the minimum required power supply or with an excessive power supply, those elements of the 3D printer may not function properly.
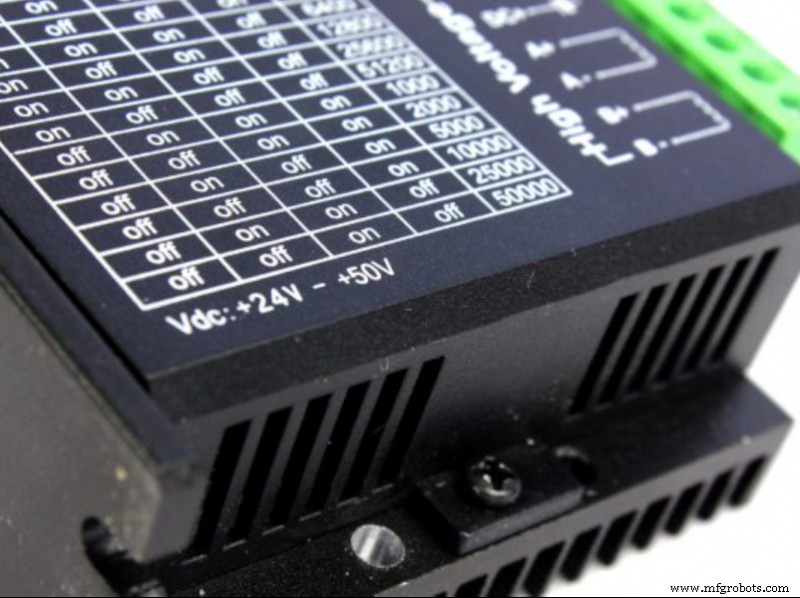
Image 1: The output voltage specification on a stepper driver. Source: Dyze Design.
A PSU receives 110 to 240 V from the socket and, with the help of a transformer, converts it down to 12 to 24 V, a voltage more suitable for devices. Moreover, the PSU also has a rectifier circuit, an element responsible for converting the AC current from the socket to the DC current a 3D printer needs.
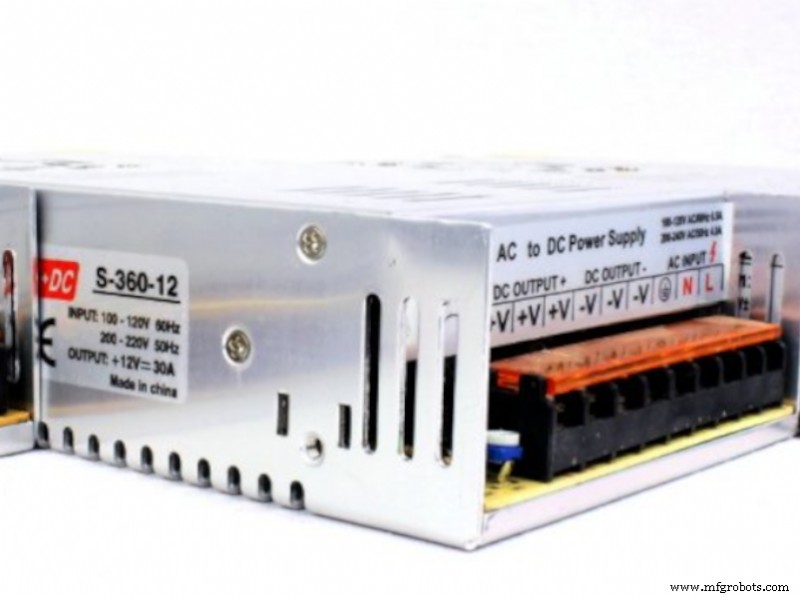
Image 2: AC input and DC output wire ports on a PSU. Source: Dyze Design.
A 3D printer power supply usually has the following specifications:
- The rated voltage(s): these values indicate which AC input voltage the PSU takes from the socket - 110 V @ 60 Hz or 240 V @ 50 Hz (as seen in the picture above). Normally, this can be changed by flipping a switch on the side of the PSU.
- The output voltage: this value specifies the voltage of the DC current that the PSU can provide after converting the AC current. This value varies between PSUs but one PSU can only support one specific voltage: either 12 V or 24 V. This is crucial, as the components of a 3D printer are also rated for a specific voltage and should match the PSU’s output voltage. Using a 12 V component with a 24 V device will make the component work at twice the speed it was designed for, which can result in overheating, smoking, burning of the motherboard, even causing an explosion or fire. Another problem arises in case of a short circuit event. The PSU could discharge all that excess power into the component, causing damage. That can happen with any PSU but with a lower power one (12 V) less energy would be discharged into the connected component than with a 24 V PSU. It is advisable to use a DC-DC converter to drop the voltage from 24 V to 12 V in order to prevent that. Inversely, using 24 V components with a 12 V 3D printer will result in a failed performance since the components won’t be getting enough voltage to operate on. In this case, the user should resort to a voltage booster that will convert the 12 V provided by the PSU into the required 24 V.
- The output current (amperage): this is the highest number of amperes that the PSU can provide. In the case of the PSU in the picture above, this value is 30 A. The output current specification affects how many heaters a 3D printer can have and how hot a heatbed can get.
- The total wattage: this value indicates how much power per second the PSU can provide. It is calculated by multiplying the output voltage and the output current (amperage). So a 12 V supply with a 30 A maximum current will be able to provide 360 W of power.
The purpose of the PSU is mainly to receive, convert and supply power, but it also has some other tasks to perform. The PSU is also responsible for limiting the received current to safe levels, with the help of the electrical load, as well as shutting off the current in case of an electrical fault.
Another of PSU’s tasks is limiting electronic noise or voltage surges from reaching the electrical load, and storing energy so that in the event of a temporary interruption in the power supply, the PSU can continue to power the electrical load.
Which voltage is better?
When it comes to choosing the voltage of a component for a 3D printer, such as a heater cartridge, a hotend, an extruder or a fan, the voltage of those components should always match the output voltage of the 3D printer, or a DC-DC converter or a voltage booster should be used.
As far as choosing a new PSU for a 3D printer, there are some factors to be taken into account. A 24 V PSU needs only approximately half the amount of wiring less than a 12 V PSU. The reason for this is that the higher the voltage, the less current flows through the PSU (to get the same power, only half the current is needed), which allows for a reduction of the size of wires. This, in turn, means a reduction in the cost of the wire and in the amount of copper that has to be mined to produce it.
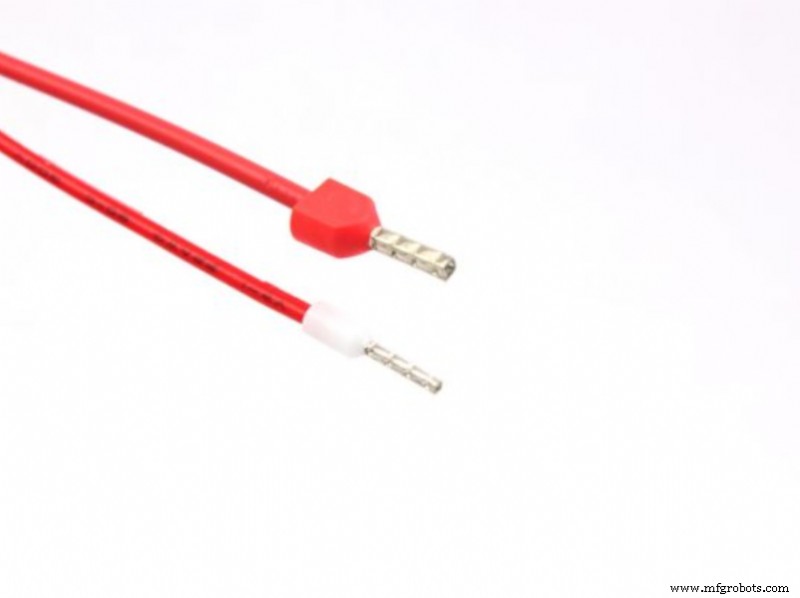
Image 3: A 12 V (top) and a 24 V (bottom) wire. Source: Dyze Design.
Some noticeable advantages of using a 24 V PSU in 3D printing are that:
- The heatbed and hot end need less time to warm up.
- There is more torque from steppers, which is very apparent on the extruder.
- The steppers produce less noise.
When it comes to 12 V PSUs, they are useful for running appliances directly from batteries. The disadvantage of a 12 V PSU is that it needs a voltage booster to operate 24 V devices, and its wiring is more costly since it needs more copper.
How to check the 3D printer’s PSU
When buying a 3D printer, whether new or secondhand, the user should make sure to find out the actual power supply voltage of the 3D printer. Sometimes inspecting the technical datasheet is not enough, as the PSU may have been modified by the manufacturer and the technical sheet wasn’t updated. As far as secondhand 3D printers, the previous owner may have modified the PSU without making it clear. Therefore, it is best to always check the 3D printer’s PSU directly on the printer before buying or installing any upgrade components. If a new PSU is bought, it should also be made sure that it works properly before installing it in the 3D printer.
The PSU is usually a large silver rectangular box. Some power supplies are separate standalone pieces of equipment, like in the Creality CR-10 V3 3D printer, while others printers have them built into the main structure, like the Anycubic Vyper 3D printer or the Artillery Genius 3D printer.
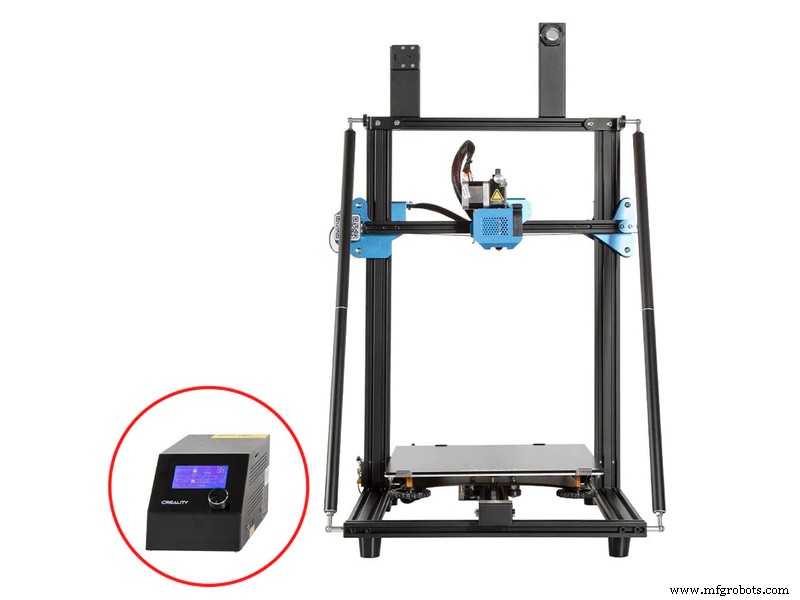
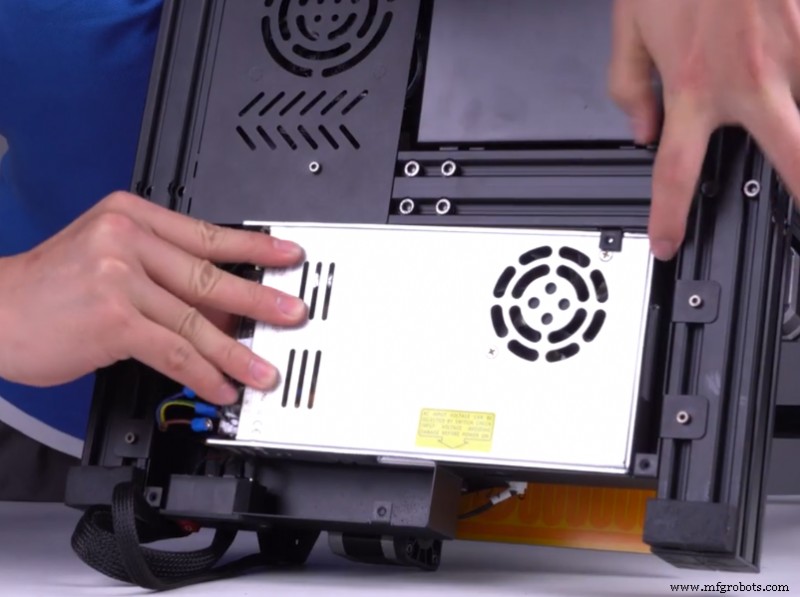
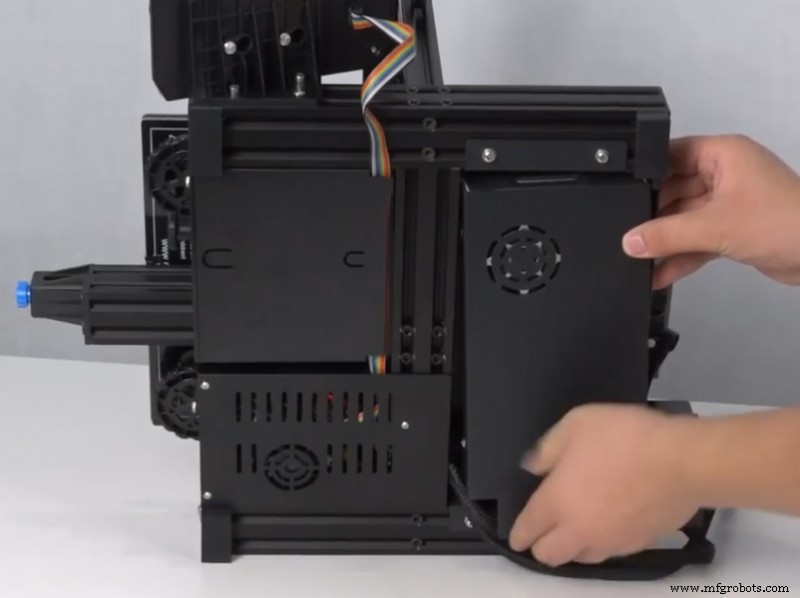
Image 4: From left to right, the PSU on a Creality CR-10 V3, Anycubic Vyper and Artillery Genius 3D printers. Source: Creality, Anycubic and Artillery.
First, the output voltage of the PSU should be verified by looking at the label on the PSU, like demonstrated in the picture below.
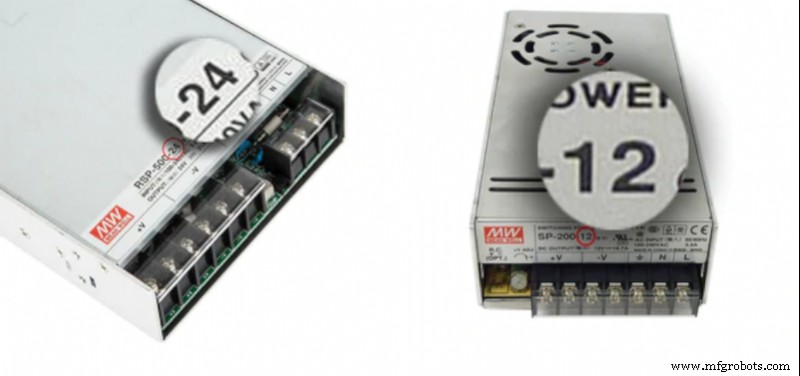
Image 5: The output voltage specification on a PSU. Source: E3D.
If the PSU does not have any information on the output voltage, it can be checked with the help of a voltmeter or multimeter. It should be kept in mind that electronic equipment should always be handled with utmost care and safety measures. The correct detecting of the output voltage of a 3D printer is demonstrated in a tutorial video by Anycubic
Video 1: A tutorial on how to detect and replace a PSU. Source: Anycubic.
This process can be resumed in the following 3 steps:
- Before touching the PSU or disconnecting any wires, the printer should be disconnected from the outlet. If there are no ESD safety measures in place, such as a grounding mat, grounding can be done by touching anything that is metal, for example a radiator. The accumulated current will go into the metal because the metal is a better conductor of electricity.
- Then, after 30 seconds, the PSU of the 3D printer can be touched safely. It’s crucial to make sure to avoid ESD events near the 3D printer. Even if the discharage goes unnoticed, is felt upon discharge, it can still damage the printer’s electronic components. The 30 second period is crucial as some cheaper boards/PSUs are not equipped with bleed resistors to quickly discharge capacitors.
- The third step is to check the voltage in all the output terminals, being very careful not to touch or short the input AC power terminals. The reading on the voltmeter should be nearly the same as the indicated output voltage. A slightly higher voltage will help with an underpowered heatbed, other components may be overpowered.
Knowing the output voltage of the PSU and the 3D printer is crucial to correctly choosing the printer’s components and avoiding dangerous consequences of underpowering or overpowering the components and the 3D printer. While 3D printers can operate on both 12 V and 24 V PSUs, or even have the option to switch between voltages, the more advantageous option is a 24 V PSU, as it requires less power to produce the same amount of current, its wiring is smaller, and it offers some benefits to the performance of the 3D printer.
3D printing
- AWS vs Azure DevOps Certifications: Which Path Boosts Your Career?
- Top 10 Cloud Databases of 2020: Expert Guide to Choosing the Right One
- Tachogenerators: Precision Speed Measurement for Industrial Motors and Equipment
- Understanding AC Waveforms: Sine Waves, Frequency, and Oscilloscope Basics
- ABS vs Polyurethane: Which Material Is Best for Your Project?
- Choosing Between Used and New Electric Motors: A Practical Guide
- SLS vs FDM 3D Printing: Which Technology Should You Choose?
- IPFire vs pfSense: Which Firewall Is Right for Your Network
- Injection Moulding vs 3D Printing: Choosing the Right Technology for Your Project
- Choosing the Right Taulman 3D Filament for Your Projects