


Preventing Warping in 3D‑Printed Parts: Expert Design Tips
Designing for 3D Printing (DF3DP) is a blog series that shares proven tips and techniques for every FFF printer. Our goal is to help you cut costs, reduce print time, and get the exact part you want on the first try.
If you’ve ever printed with a FFF machine, you’ve probably seen large or oddly shaped parts warp. Warping forces you to post‑process, trim, or accept an uneven base that should have been flat.
Warping isn’t a defect of a particular printer; it’s a consequence of thermal deformation. Thermoplastics expand when heated and contract when cooled. Because FFF layers are deposited hot and then cooled, each new layer pulls the material that has already hardened. The accumulated stress causes the part to curl or lift from the build plate.
Two practical counter‑measures on the machine side keep the part warm and prevent warping: a heated build plate and a heated enclosure. These solutions keep the entire print at a stable temperature, eliminating the cooling shrinkage that drives warping. Adhesives (like the ones we use) and a gradual cool‑down also help, as the part remains glued to the plate while it shrinks.
However, the most effective strategy starts at the design stage. 3D printers have limitations just like any other manufacturing method. For example, the smallest feature a FFF machine can produce is set by nozzle size and gantry precision. When a design pushes these limits, warping is almost inevitable. The following five guidelines help you design parts that stay flat during printing.
1. Use Fillets and Rounded Shapes
Sharp corners concentrate stress. When a long, thin section contracts, the corners peel up, producing the classic “curl” seen in many warping examples. By replacing sharp edges with fillets, you spread the stress over a larger area, reducing the pull on any single point.
In our test piece, adding fillets to every corner cut the warping almost in half. The rounded bottom also gives a small lip that makes removal from the build plate easier.
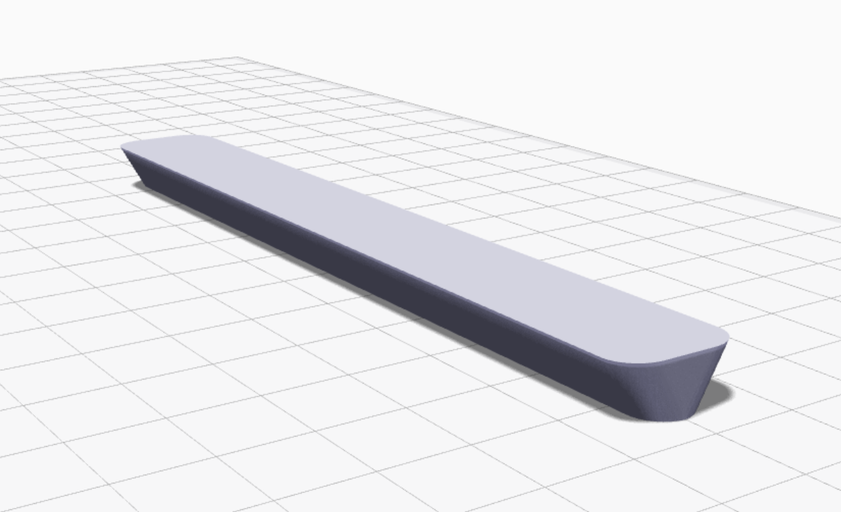
After the modification, the part stayed flat and only required minimal post‑processing.
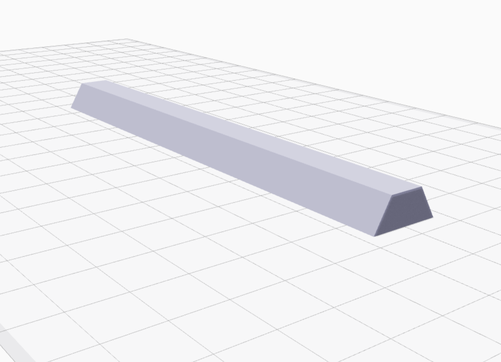
2. Orient the Part with Its Largest Face Down
Each layer adds more material that wants to shrink. If the cross‑section increases as you go up, the lower layers experience a greater pull from the layers above, magnifying the warping force. Printing with the largest face on the bottom distributes the load more evenly and increases the contact area with the build plate, which improves adhesion.
We printed the same truncated prism upside‑down, and the result was a perfectly flat bottom—no warping at all.
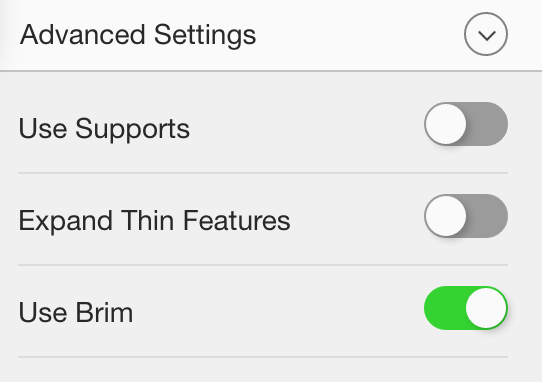
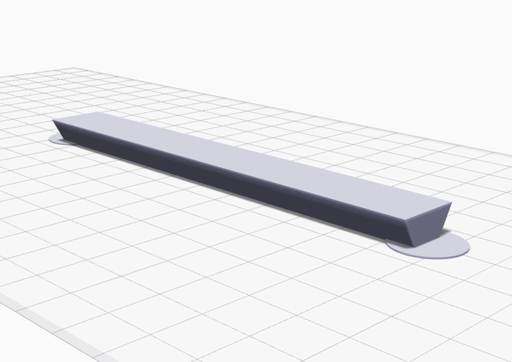
3. Add a Brim
A brim is an extra layer of material that surrounds the base of your part. It enlarges the effective bottom area and acts as a “buffer” that absorbs the stresses that would otherwise lift the part.
Brims also provide a solid surface for support structures, keeping them from curling as they contract. The brim absorbs most of the warping, keeping the main part flat.
4. Design a Custom Brim When Needed
Standard brim settings sometimes fall short, especially on complex shapes with irregular contact points. In such cases, create a custom brim by adding small, rounded “dots” at key corners of the part. These dots increase the surface area in critical areas, anchoring the print more securely.
Our custom brims perform as well as the built‑in option and are ideal for intricate designs.
5. Reinforce the Bottom Layers with Composite Fiber
Markforged’s Mark Two can lay continuous fiber within a print, dramatically increasing stiffness and dimensional stability. Adding fiber to the first few layers locks the base in place, making it virtually impossible for the part to warp.
For maximum benefit, place fiber at both the bottom and top surfaces—this sandwich construction optimizes torsional strength, as described in our composite‑design guide.
The reinforced test piece remained flat, even without any design changes.
Extra Tip: Print in Onyx for Dimensional Stability
Onyx is a micro‑carbon‑reinforced nylon that resists thermal deformation more than standard nylon. Parts printed in Onyx warp significantly less, providing a more dimensionally stable result without the need for fiber reinforcement.

Try these techniques on the STL and MFP files we provide and share your results. If you have questions or suggestions for future posts, email us at printstronger@markforged.com.
3D printing
- Why CT Scanning Is Revolutionizing Quality Assurance in 3D Printing
- How 3D Printing and Software Drive Digital Transformation in Manufacturing
- Why Origin One Is a Game‑Changer for Production‑Ready 3D Printed Parts
- Mastering 3‑D Print Orientation: Tips for Surface Finish, Strength, and Support Efficiency
- Professional Guide to Finishing and Painting 3D Printed Parts
- Master 3D Printing: Part 1 – Unit Tests & Tolerances for Accurate, Cost‑Efficient Builds
- 10 Proven Water-Resistant Solutions for 3D Printed Parts: Materials & Post-Processing
- Enhancing the Strength of 3D Printed Parts: Proven Techniques
- Advanced Inspection Strategies for 3D Printed Engine Parts – Part 3
- Understanding 3D Print Warping: Causes, Fixes, and Prevention Tips