


Mastering DXF Import in Fusion 360: Step‑by‑Step Guide
A detailed look at DXF Import Utility, a free add-in for Fusion 360 that further supports the wide variety of workflows across the industry.
Fusion 360 has a wealth of built-in translators to help you collaborate effectively, regardless of other software used. But not every design comes from a 3D model, especially when working with legacy data or customer files where their process includes 2D design. To better support the wide variety of workflows across the industry, we built the DXF Import Utility. This is a free add-in available on the Fusion 360 App Store. Once installed, run the DXF Importer from the Add-In list, and check “Run on Startup” so it launches every time you use Fusion 360. Check out this link for more detailed help installing add-ins.
How to Import DXF Files
The DXF Import Utility appears in the Tools section of the toolbar in the Design workspace. Click on the icon and follow the prompt to select the DXFs you’d like to import from your hard drive. Next, a dialog box appears where you can customize the import settings. Some highlights include arrangement into rows, closing sketch gaps, automatic extrusion, and text import.
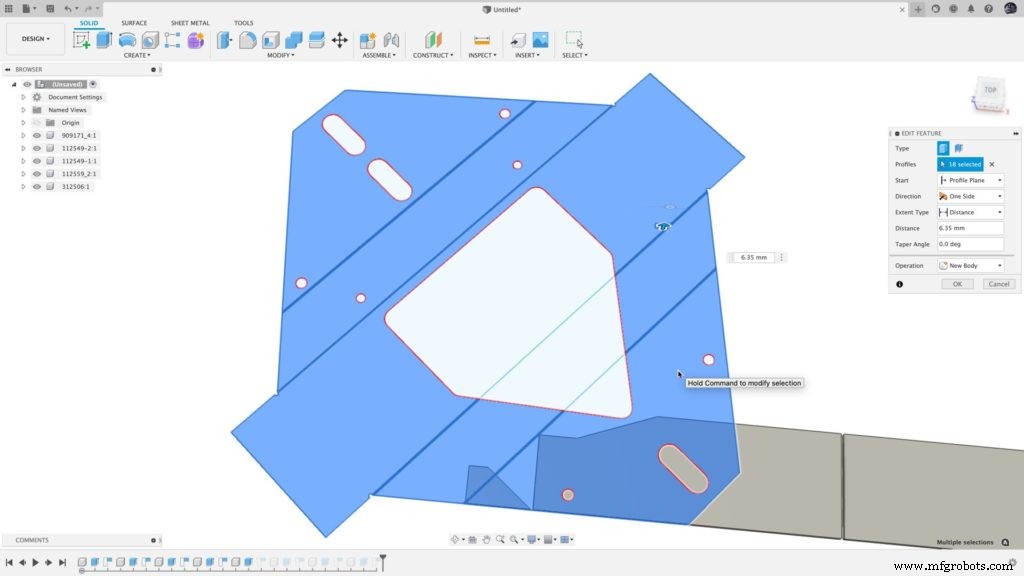
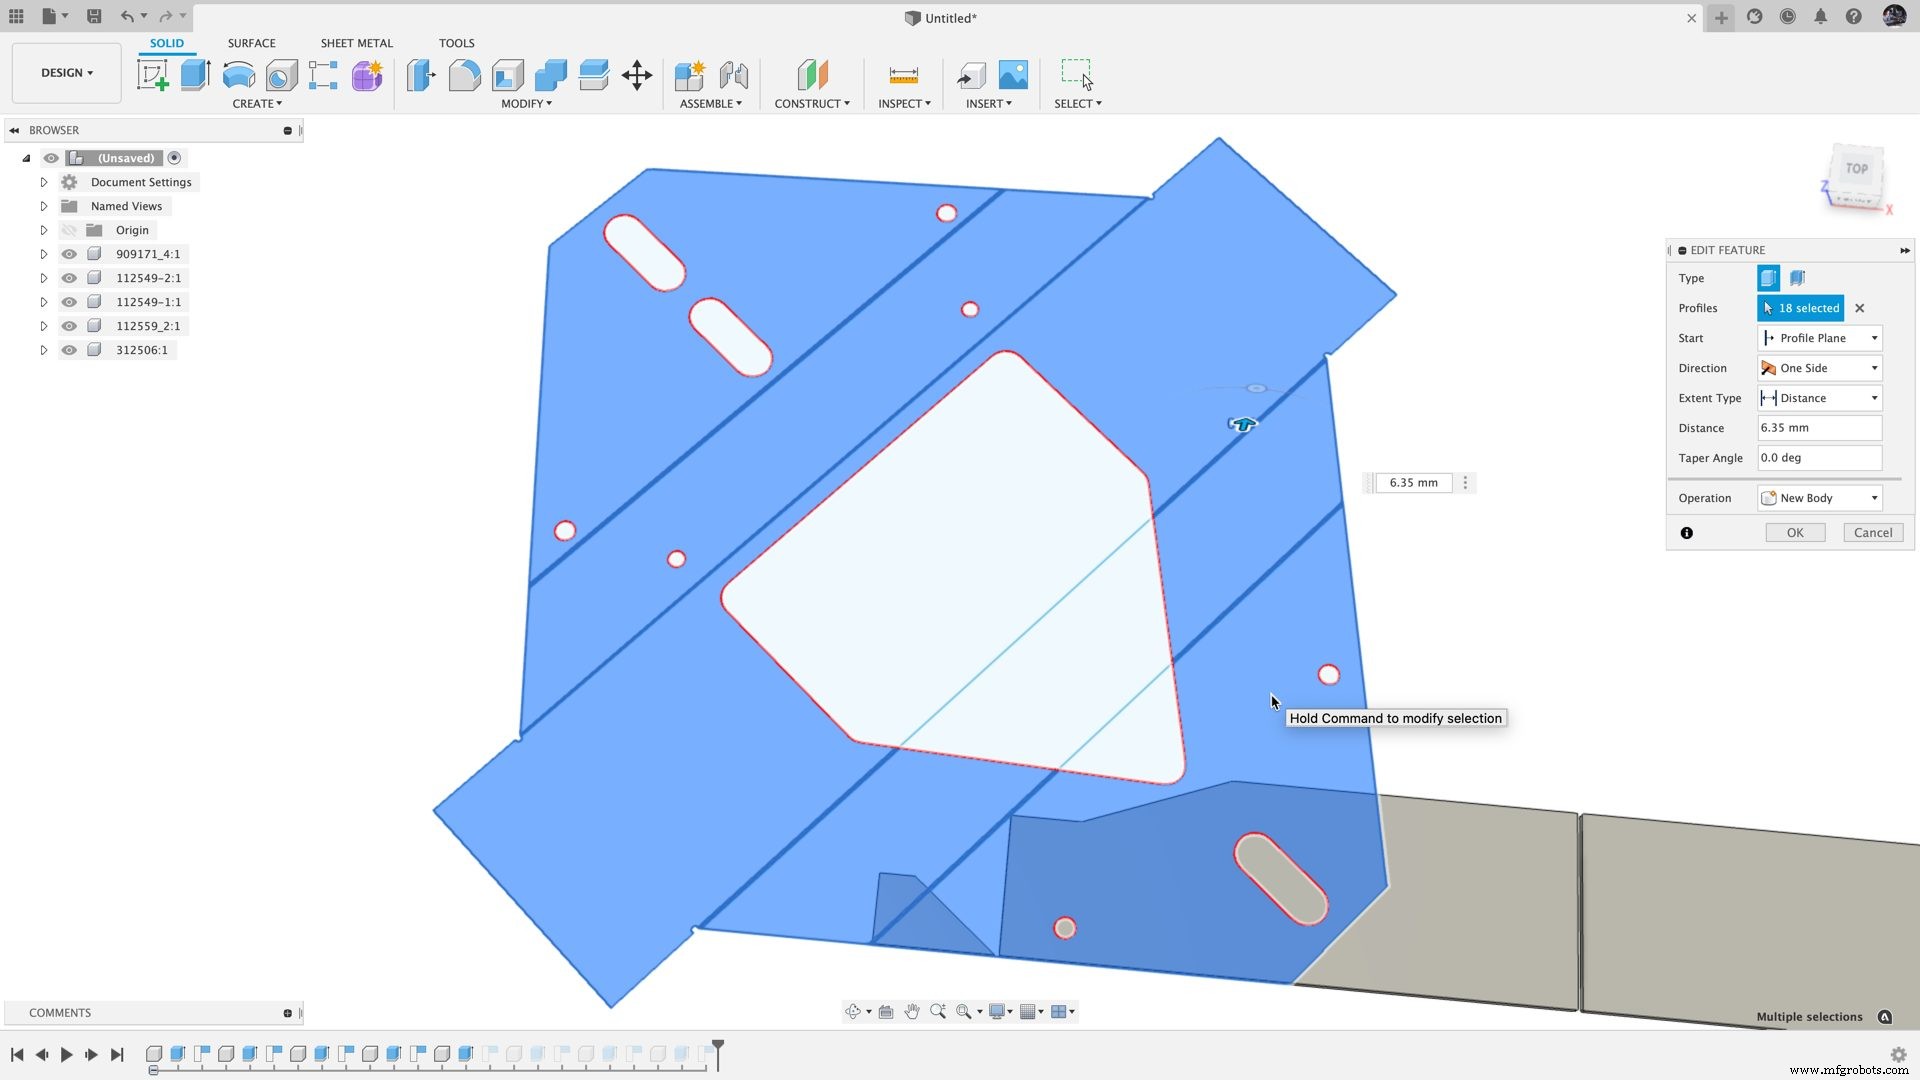
Once you click OK, the DXFs will start appearing in the Fusion 360 canvas. They will automatically place themselves based on the part spacing and the number of rows. If you opted for extrusion, Fusion 360 will attempt to extrude each sketch to the specified thickness. DXFs with multiple layers might extrude more successfully if you select Combine to Single Sketch. But, this could also cause problems on solid parts with bend lines. Based on the source of your DXFs, export settings, and the variety of standards across the industry, you may need to play around with the settings to find what works best. Once the DXF Import Utility is done, you should see your resultant sketches, sketch, or bodies all inside of Fusion 360. The timeline also populates with any imports and extrudes. If something went awry with how a part was extruded, you can simply edit the timeline feature.
This workflow is especially well paired with Arrange or the Nesting and Fabrication Extension. Each sketch or body is organized into its own component, just what is needed for Arrange or Nest. This reduces what used to be several commands per DXF into one single command for batch imports. Further, for nesting, assigning a material will ensure the algorithm sorts onto the appropriate sheet.
Close Existing Sketch Gaps
The other slightly hidden feature of the DXF Import Utility is that it can close gaps in existing sketches. In the dropdown menu, select Close Sketch Gaps. Then, all you need to do is select the sketch with gaps to close, set the sketch gap tolerance, and click OK. So, if you are importing other formats or have an older model with some sketch gaps, you can easily create closed profiles.
Now you’re ready to design, Arrange, nest, machine, and more! Don’t forget to refer a friend so they can enjoy DXF Import Utility too.

Industrial Technology
- How Autodesk Fusion 360 Enables Efficient Concurrent Engineering
- Machine Parts with Fusion 360 Using a Generatively Designed 3D-Printed Fixture
- Step‑by‑Step Guide to Machining a Steering Wheel with Fusion 360
- Mastering Spider Plate Machining with Fusion 360: A Detailed Tutorial
- Mastering Wheel Hub Machining in Fusion 360: A Practical Guide
- Mill a Hemisphere in Fusion 360: A Complete, Professional Guide
- Fusion 360 CNC Guide: How to Machine a Chess Piece
- Master Fusion 360’s Machine Builder: Build Custom Machines for Simulation
- Effortlessly Integrate Haas Tooling into Fusion 360: A Step‑by‑Step Guide
- Master Toolpath Entry Control in Fusion 360 for Precision & Efficiency