


Navigating the Additive Manufacturing Process: Expectations & Best Practices
Published on March 29, 2022
While 3D printing a CAD file for a non‑functional prototype is relatively straightforward, launching a full product development cycle—from concept to production—can be complex, especially when adopting unfamiliar additive manufacturing (AM) technologies.
Understanding the 3D Printing Process
Unlike subtractive methods such as CNC machining or the mold‑based workflow of injection molding, AM builds parts layer by layer, adding material rather than removing it. This fundamental difference introduces new procedural challenges:
- Limited build volumes may require parts to be split across multiple prints and assembled afterward.
- Heat generated during extrusion can warp parts.
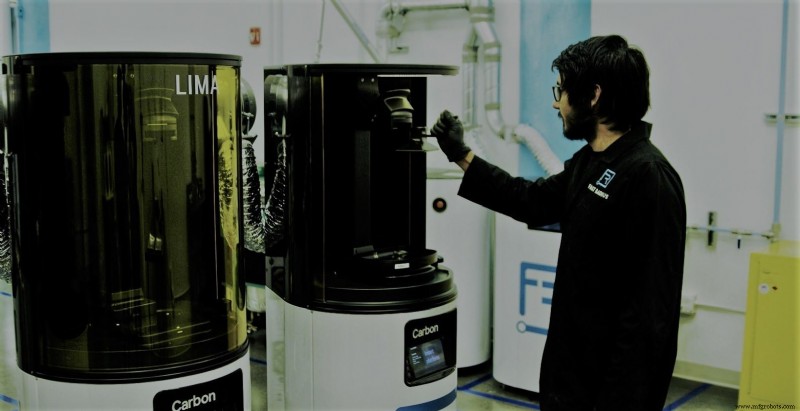
- Process‑specific nuances exist—for example, Fused Deposition Modeling (FDM) often leaves visible layer lines, while HP Multi‑Jet Fusion (MJF) demands a dedicated cooling and cleaning step.
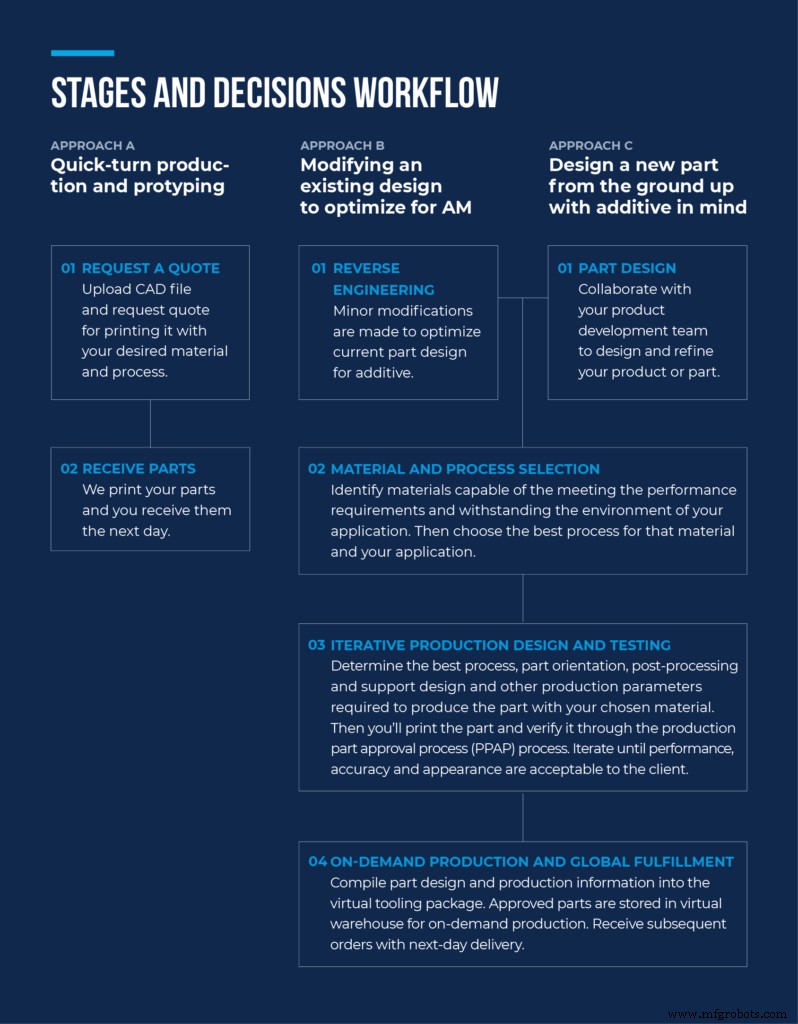
Awareness of these factors helps you steer your AM project toward smooth, efficient production. Below is a step‑by‑step guide, complete with design approach comparisons and a workflow diagram that highlights key decisions.
Three Approaches to the Additive Manufacturing Process
Additive projects generally fall into three categories:
- Approach A: Quick‑Turnaround Production & Prototyping – You already have a validated CAD file and need the part within 30 hours.
- Approach B: Optimizing an Existing Design for AM – You currently use injection molding but seek to cut supply‑chain costs by producing the part on demand.
- Approach C: Designing a New Part from Scratch for AM – The part cannot be made with legacy methods, or AM offers cost advantages at low‑to‑mid volumes.
Which Additive Manufacturing Approach is Right for Me?
Designing from a blank canvas (Approach C) delivers the greatest potential for performance and cost gains, thanks to full exploitation of design‑for‑additive‑manufacturing (DFAM) principles. However, most of SyBridge’s projects align with Approach B, where an existing part is re‑engineered for AM to unlock on‑demand production and reduce inventory overhead.
For both Approaches B and C, the initial CAD file undergoes rigorous validation—often through a comprehensive Production Part Approval Process (PPAP)—before proceeding to full‑scale production. Once approved, subsequent orders become a streamlined, rapid‑turnaround operation. With a partner like SyBridge, you can receive parts as early as the next day.
The Additive Manufacturing Process: Steps and Decisions
Below is a concise workflow that maps the critical steps and decision points for each approach. Regardless of the path chosen, end‑to‑end support from a trusted AM partner ensures your parts meet the highest standards of quality, reliability, and performance.
Modifying an Existing Part for Additive Manufacturing
Step 1: Identify Parts with a Strong Business Case
Start by confirming a solid business rationale for shifting to AM. High‑turnover spare parts are prime candidates: they can be manufactured to identical performance standards while eliminating warehousing costs and enabling just‑in‑time inventory.
Step 2: Design Your Part
When reworking an existing part, the focus is on fine‑tuning geometry for AM rather than redesigning the entire shape. Minor modifications—such as adjusting draft angles, adding fillets, or optimizing wall thickness—ensure the part fits seamlessly into its assembly while meeting critical dimensional tolerances.
Step 3: Material and Process Selection
Define the part’s performance requirements (modulus, tensile strength, compressive strength, etc.) and environmental exposure. Compile a shortlist of compatible AM materials, then evaluate the available technologies—FDM, SLS, MJF, etc.—that can deliver those properties. If multiple options exist, test each with prototype prints to determine the best fit for full‑scale production.
Step 4: Iterative Production Design and Testing
Lock in printing parameters—support structure, removal tools, surface finish, cure time, and fixture instructions—once the part meets dimensional and performance targets. Compile all data into a “build package” that serves as a definitive reference for consistent, high‑quality production worldwide.
Step 5: On‑Demand Production and Global Fulfillment
Approved parts are now ready for on‑demand manufacturing and worldwide delivery. Digital inventory eliminates physical warehousing, enabling real‑time production whenever demand spikes.
Start the Process Today
No matter where you are in your additive manufacturing journey, SyBridge offers comprehensive support and DFAM expertise to bring your concept to market. Contact our team now to begin the transformation.
Industrial Technology
- Why Powder Coating Is the Superior Choice for Metal Fabrication Projects
- Full-Wave Bridge Rectifier: Design, Benefits, and Practical Implementation
- Optimizing Java 9 Apps on PLCnext Control Using Jlink
- AI Reveals Smoking Accelerates Biological Aging: Men 1.5×, Women 2× Chronological Age
- Scientists Develop Light‑Based Method to Levitate and Propel Objects
- High‑Performance LED PCBs: Revolutionizing Lighting Solutions
- Navigating the Additive Manufacturing Process: Expectations & Best Practices
- Conformal Cooling: Quantified Impact & Performance Gains
- PIC18 Microcontrollers: Features, Performance, and How to Use Them
- Digital Ramp (Counter) ADC: Operation, Benefits, and Limitations