


Automated Tinder & Bumble Swiper Using Arduino UNO Stepper Motor
Components and supplies
 |
| × | 1 | |||
| × | 1 | ||||
| × | 1 | ||||
| × | 1 |
Apps and online services
 |
|
About this project
BackstoryMy friends made me a Tinder and like most people on the app, I was quickly disappointing by how monotonous it was. Then I realized I was a way better engineer then I was a potential mate so I pieced this together out of a cheap stepper motor that I had laying around. So now you can also get over 800 swipes an hour with this on either Bumble or Tinder!
Quick Overview:There are three quick steps to this build: printing the parts, wiring + testing the stepper motor, and putting everything together.
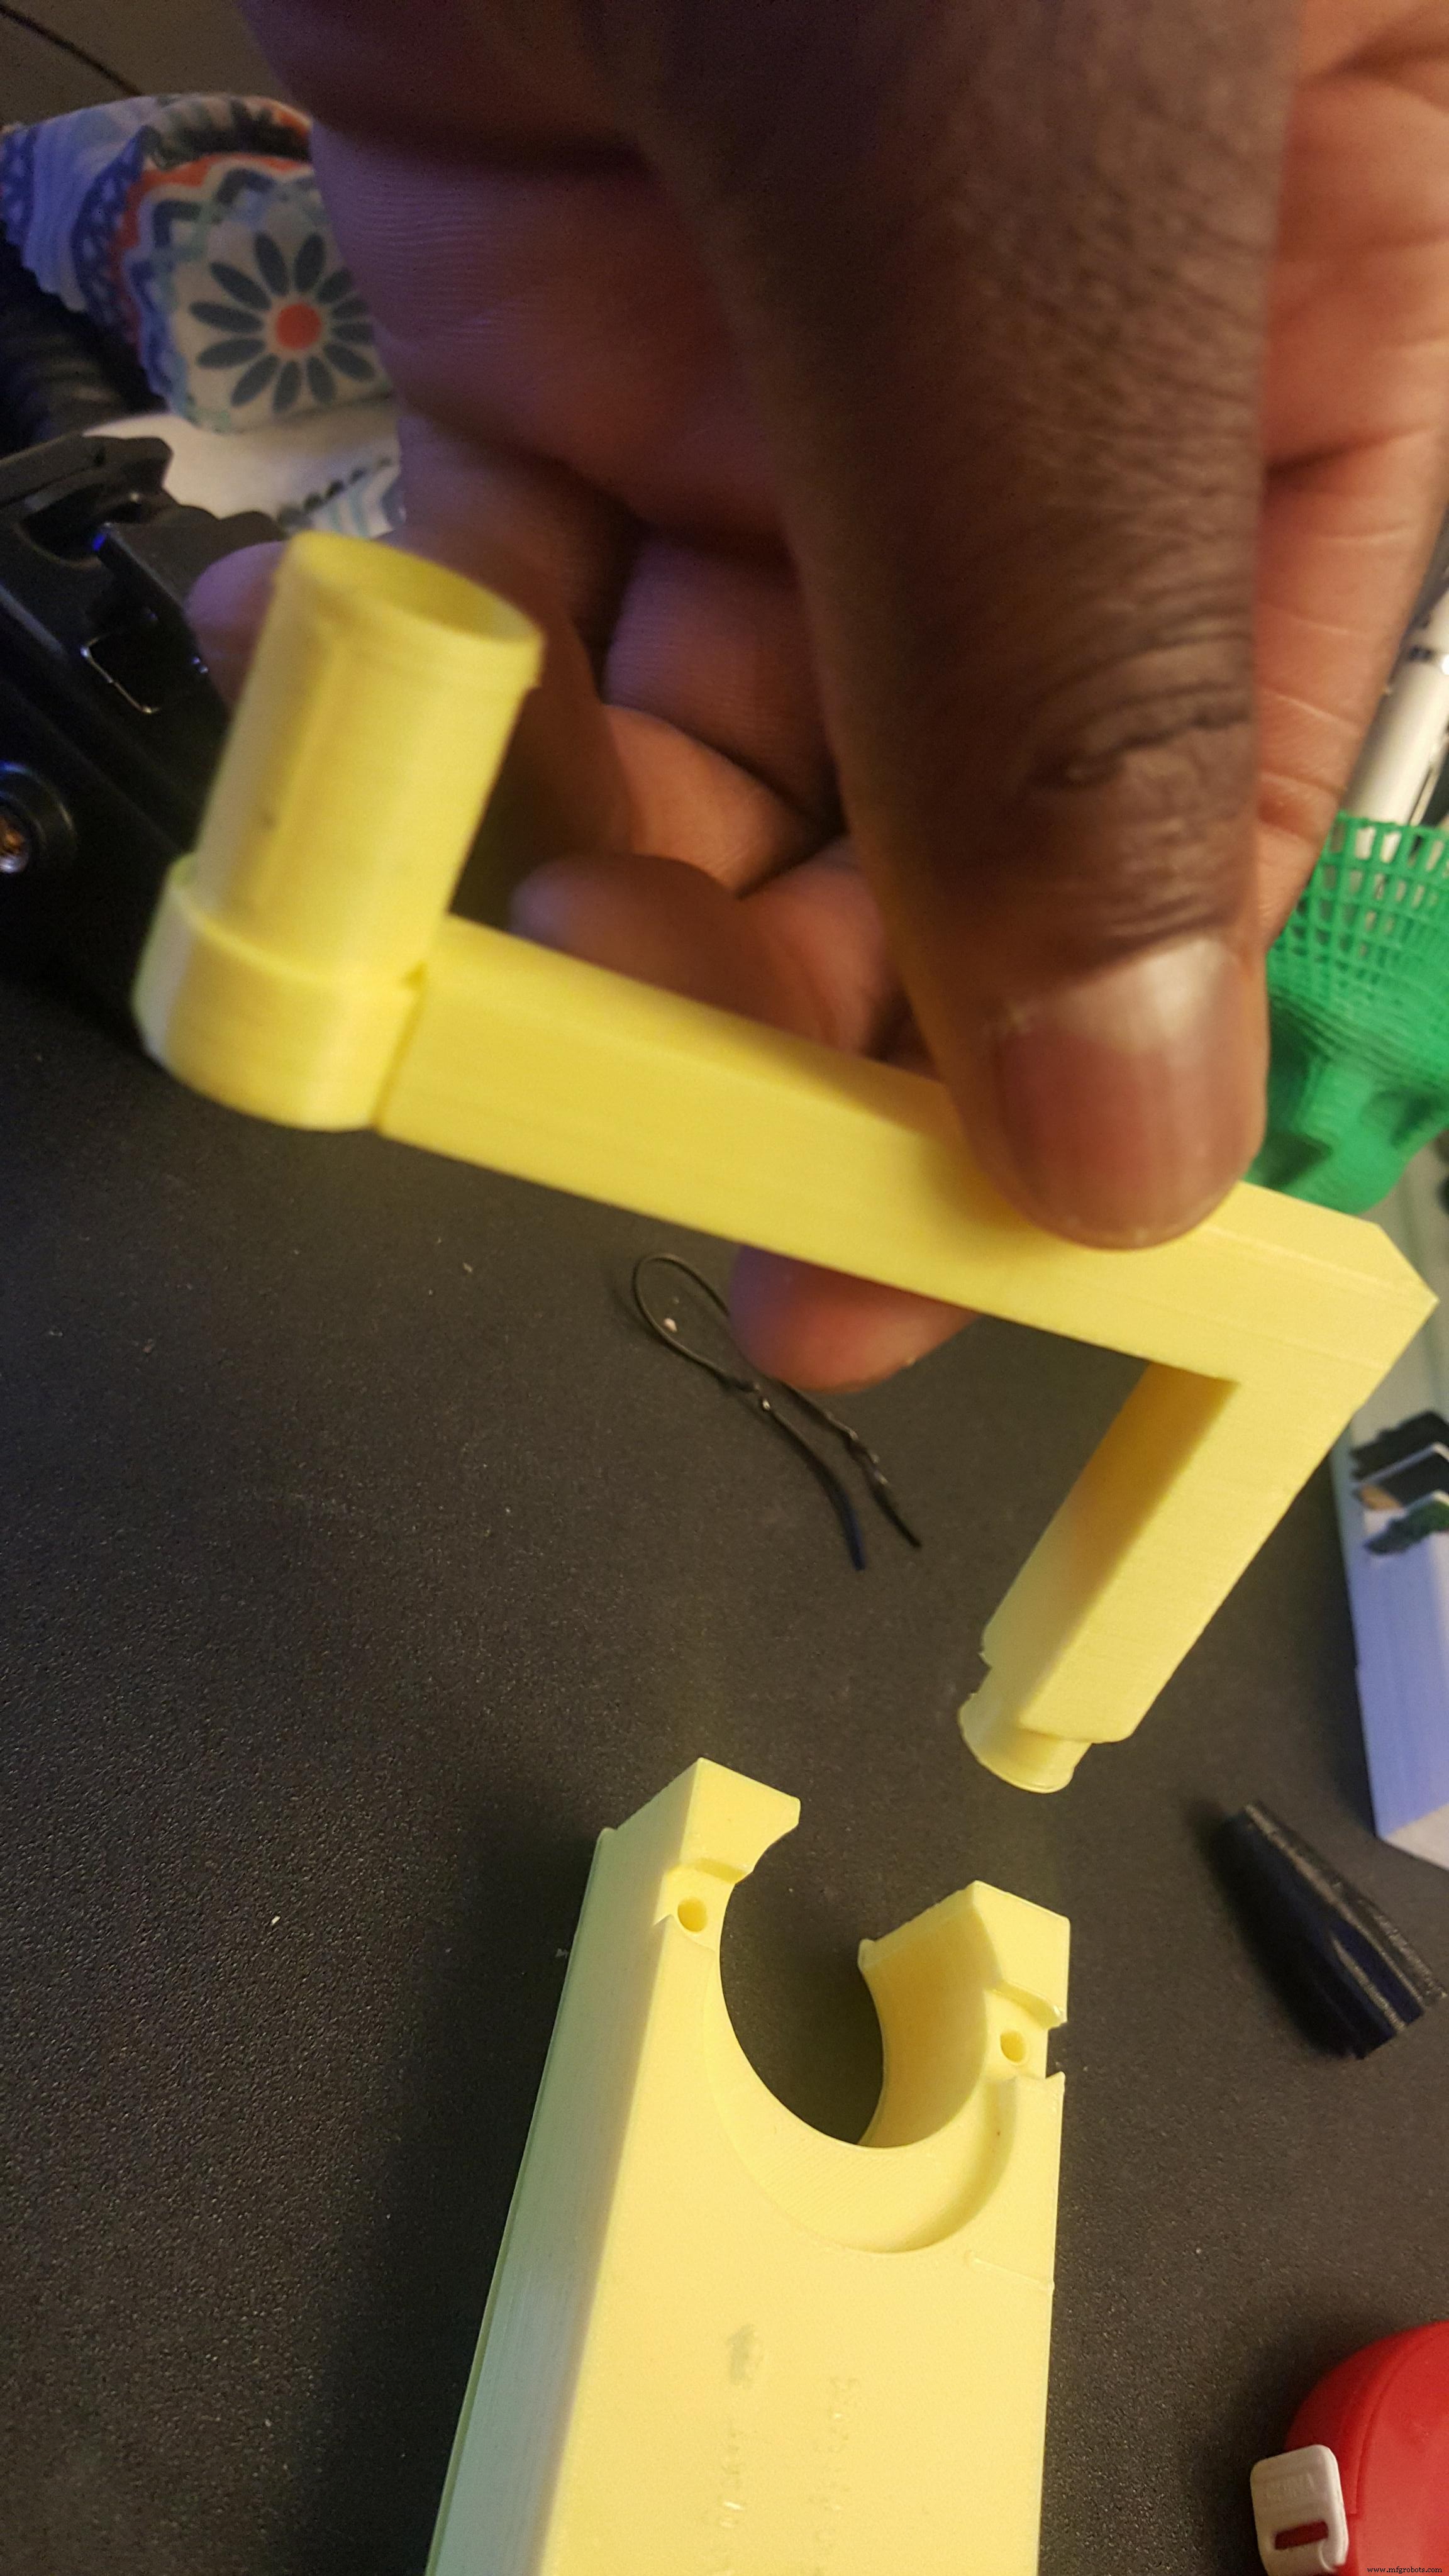
Step 1: Printing the PartsCheck out https://www.thingiverse.com/thing:2849598 for the 3D printable files. The main thing to note about these files is that I used 50% infill to create the base, this is in order to weigh down the base so it doesn't move around as it swipes.
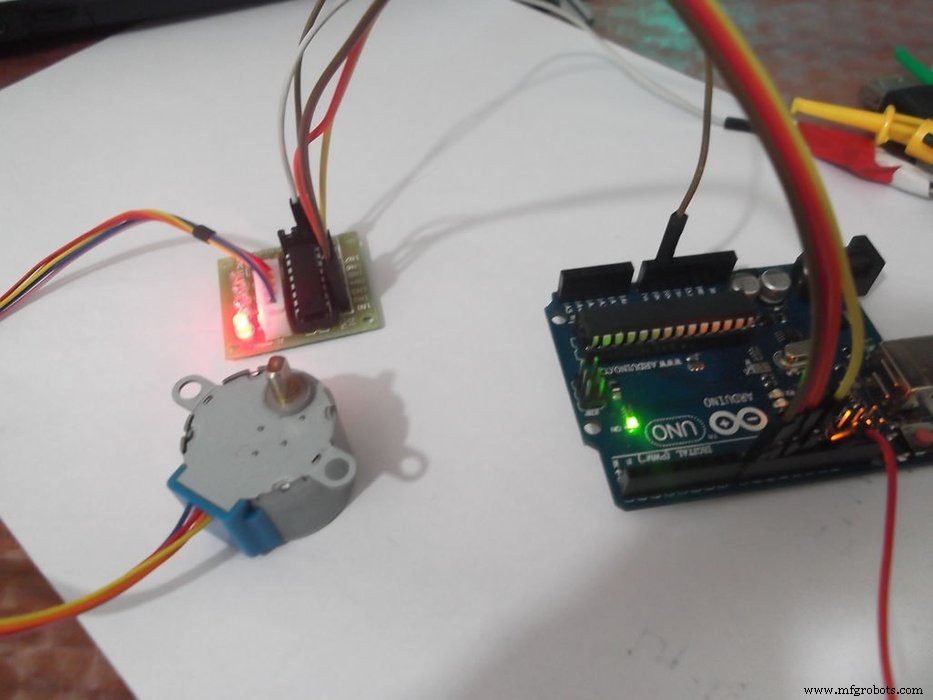
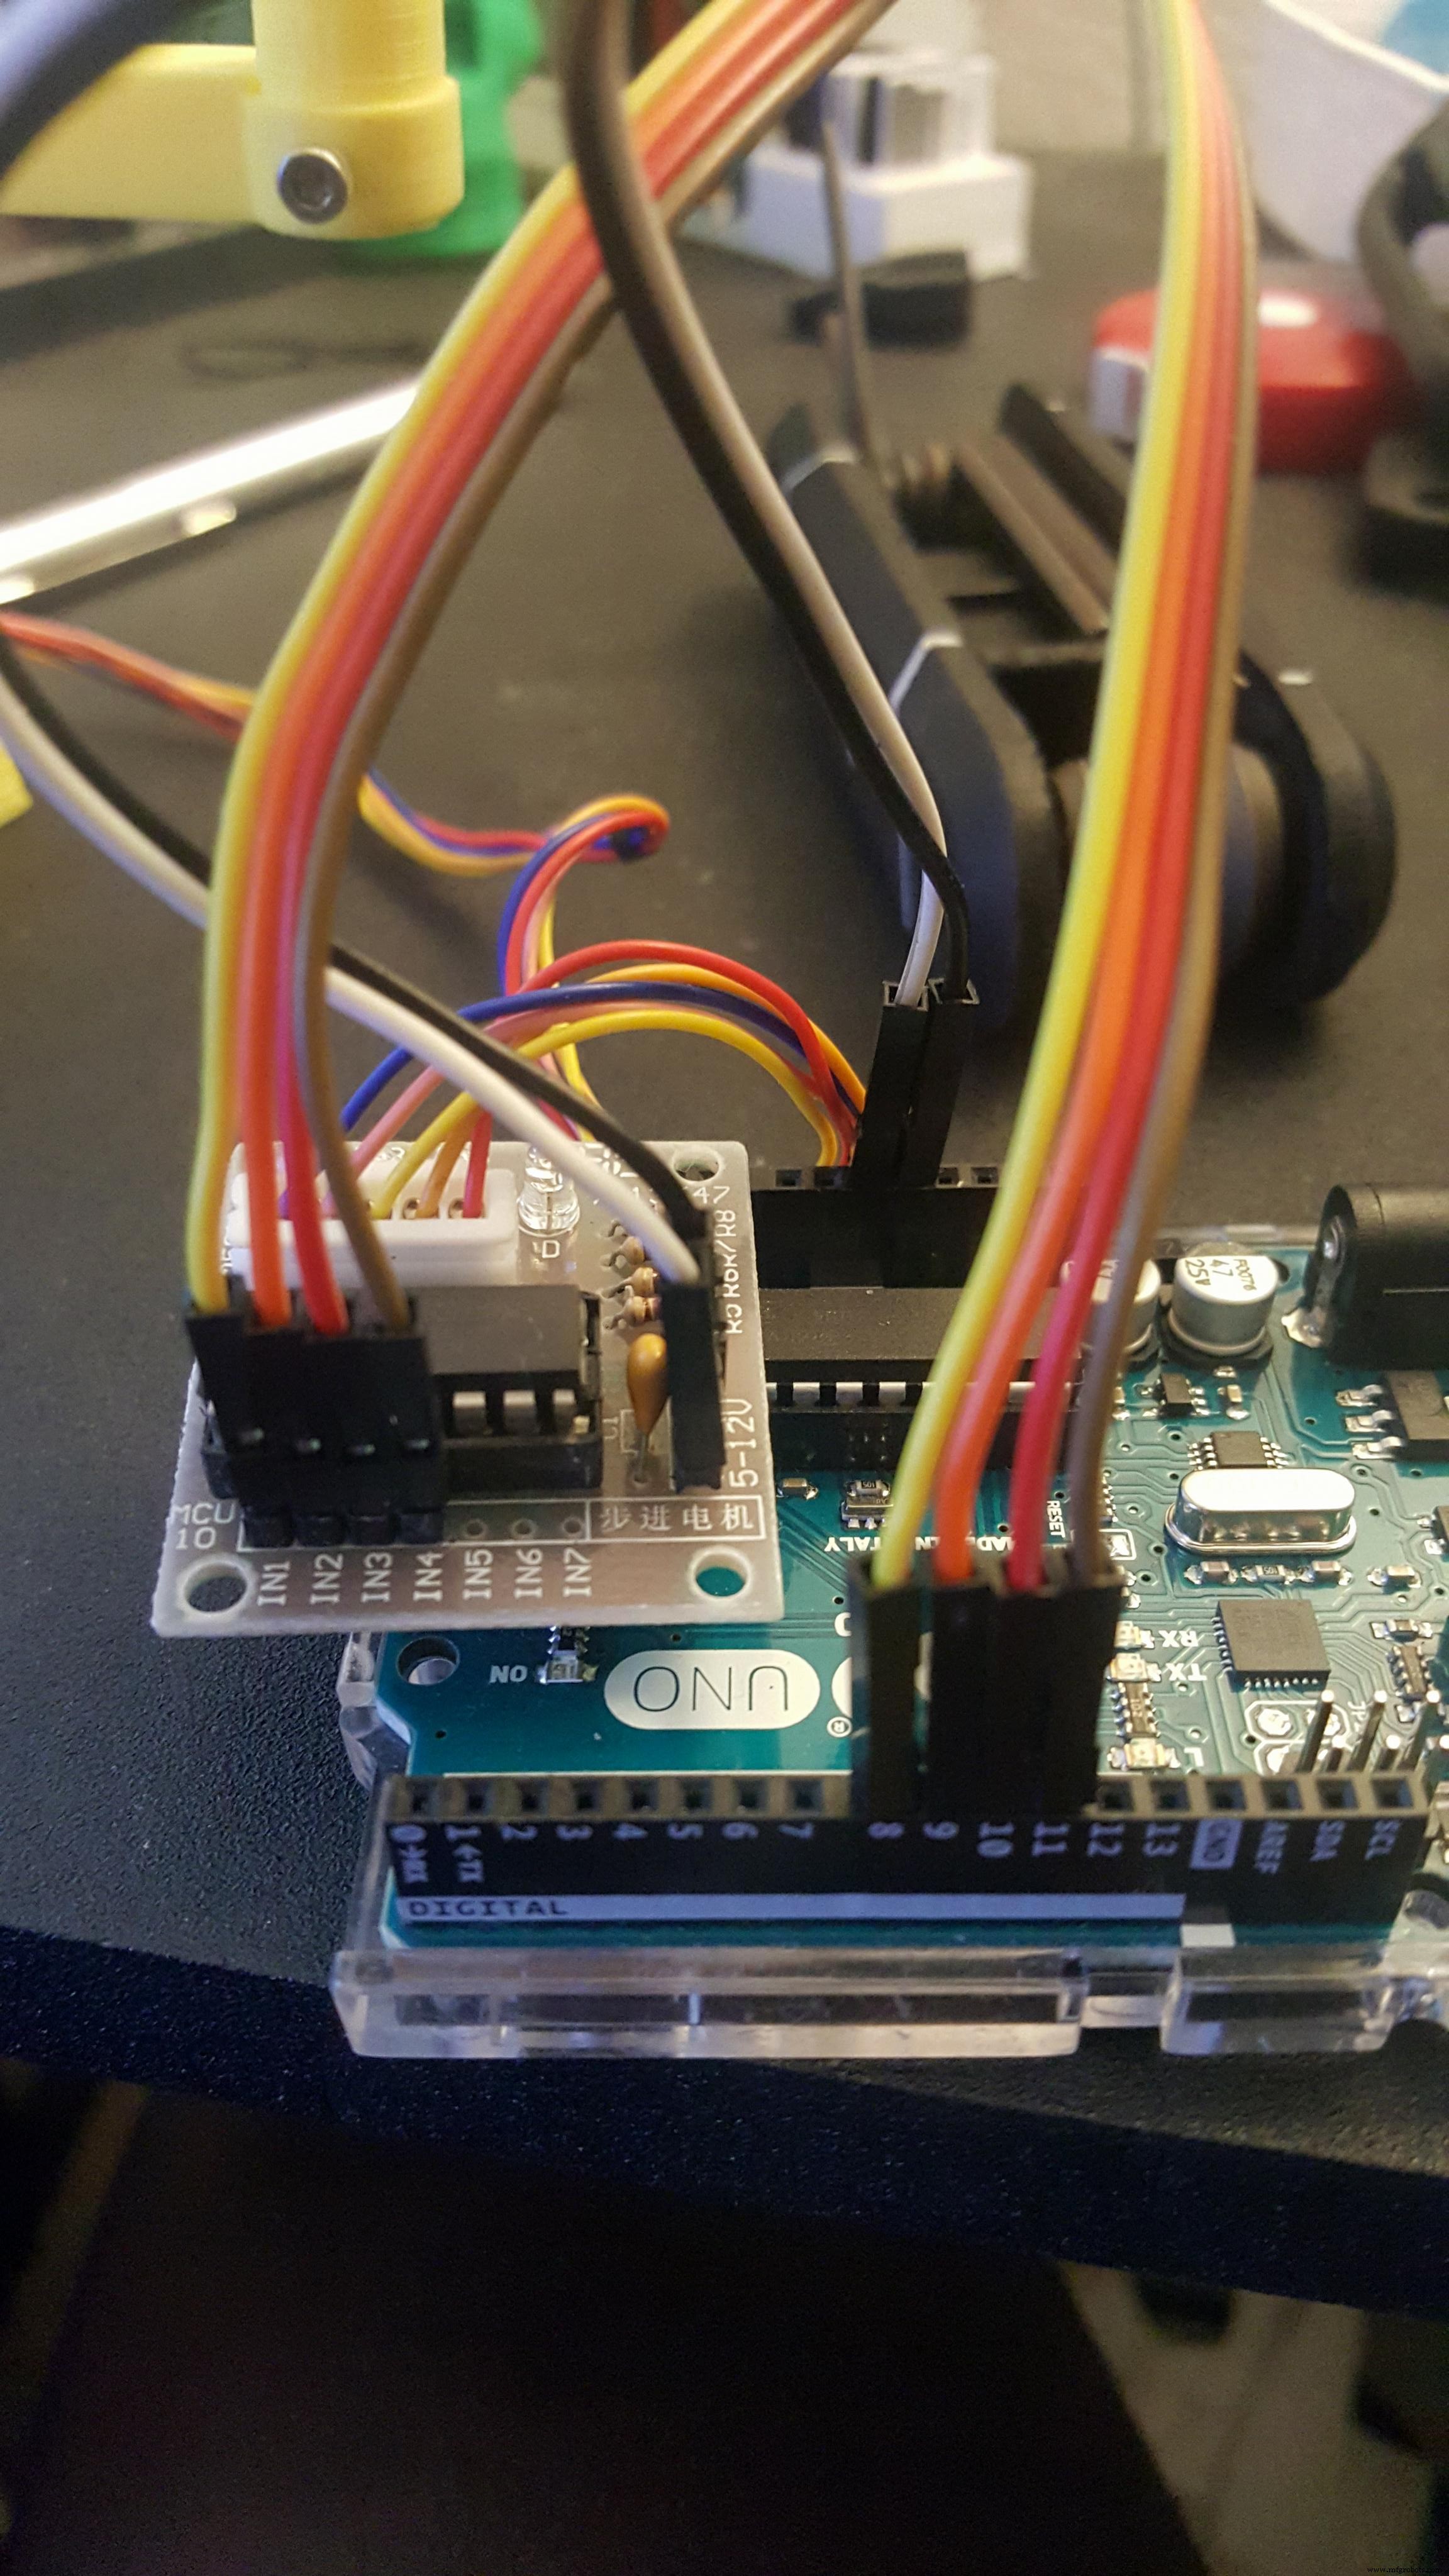
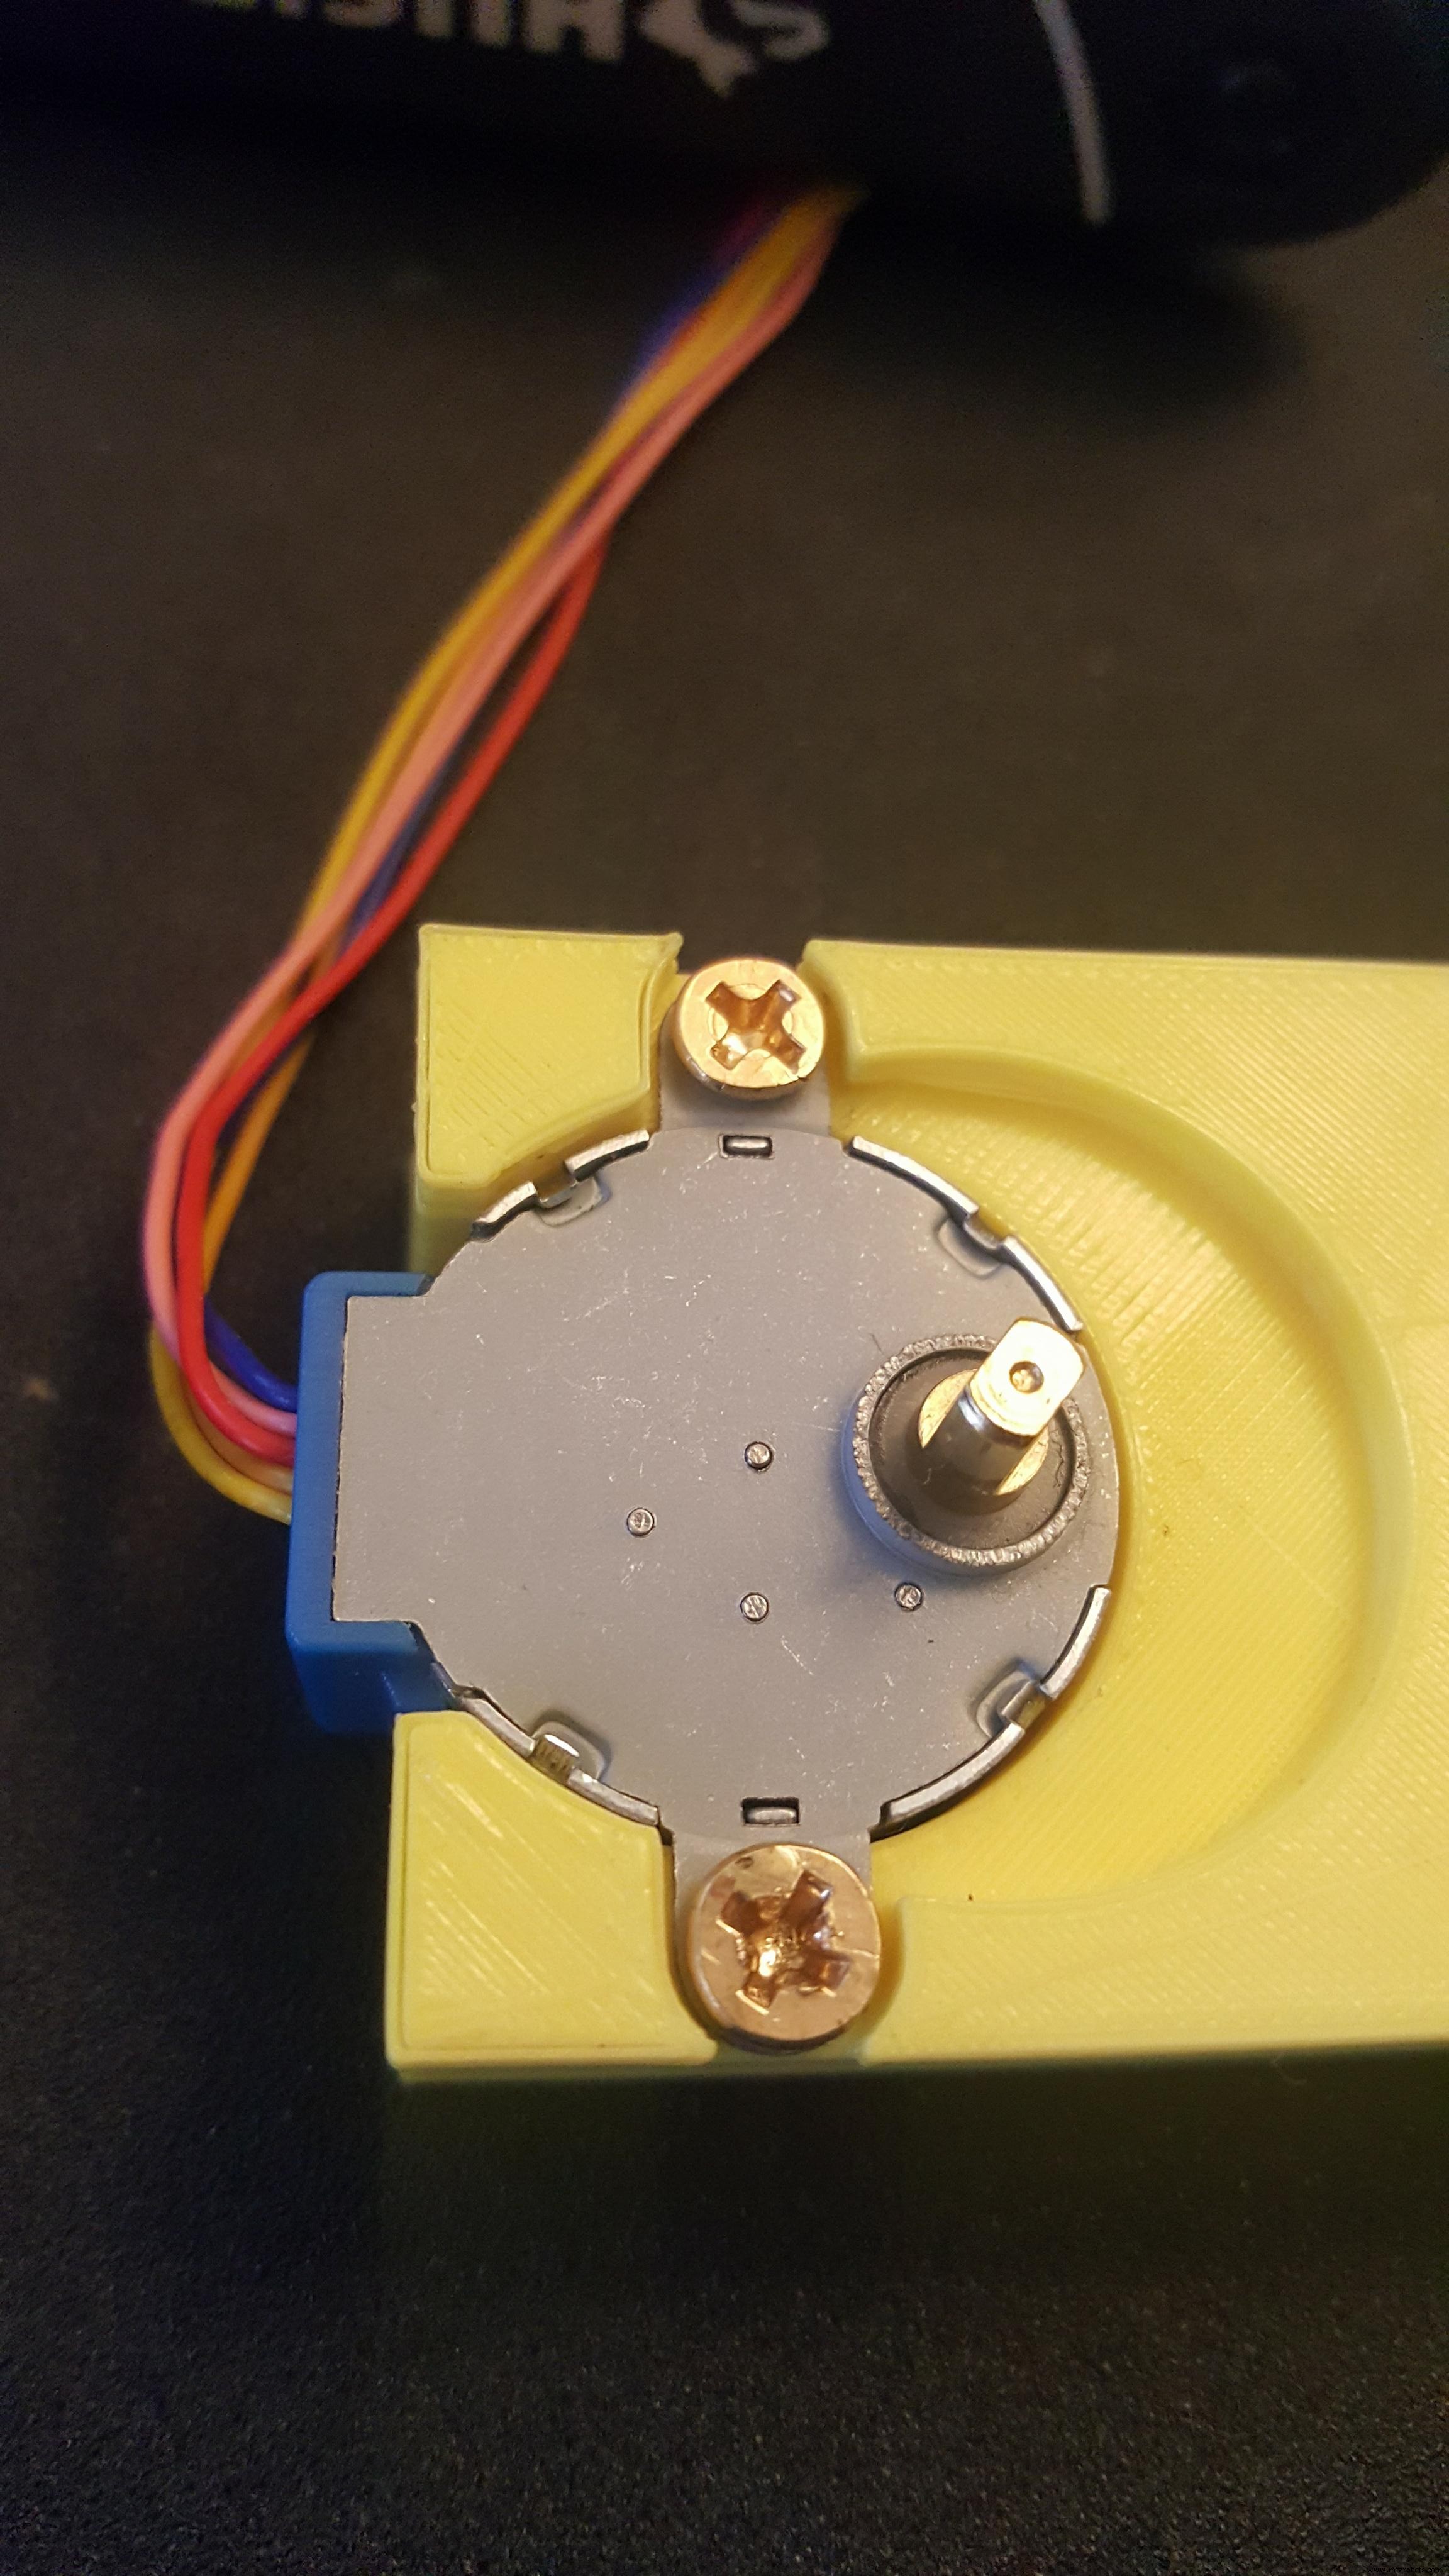
I used a unipolar 28-BYJ48 stepper motor and a SBT0811 stepper motor driver. Any stepper motor driver that works with the 28-BYJ48 should be fine, just make sure to wire it to your Arduino Uno according to the following setup, or change the code in order to reflect your changes:
- IN1 >> D8
- IN2 >> D9
- IN3 >> D10
- IN4 >> D11
- VCC >> 5V
- Gnd >> Ground
The code for the Arduino Uno is at the bottom of the page. At this point you should be able to just upload the code onto your Arduino and have a clockwise rotating stepper motor! If you want to change the direction to spin counterclockwise just switch the Direction variable to false
At this point you have all the separate parts ready and we just have to combine them! Go ahead and first place your stepper motor inside the swiper-base. I used two small wood screws to secure it into the 3D Print.
Then afterwards go ahead and place the swiper handle onto the stepper motor.
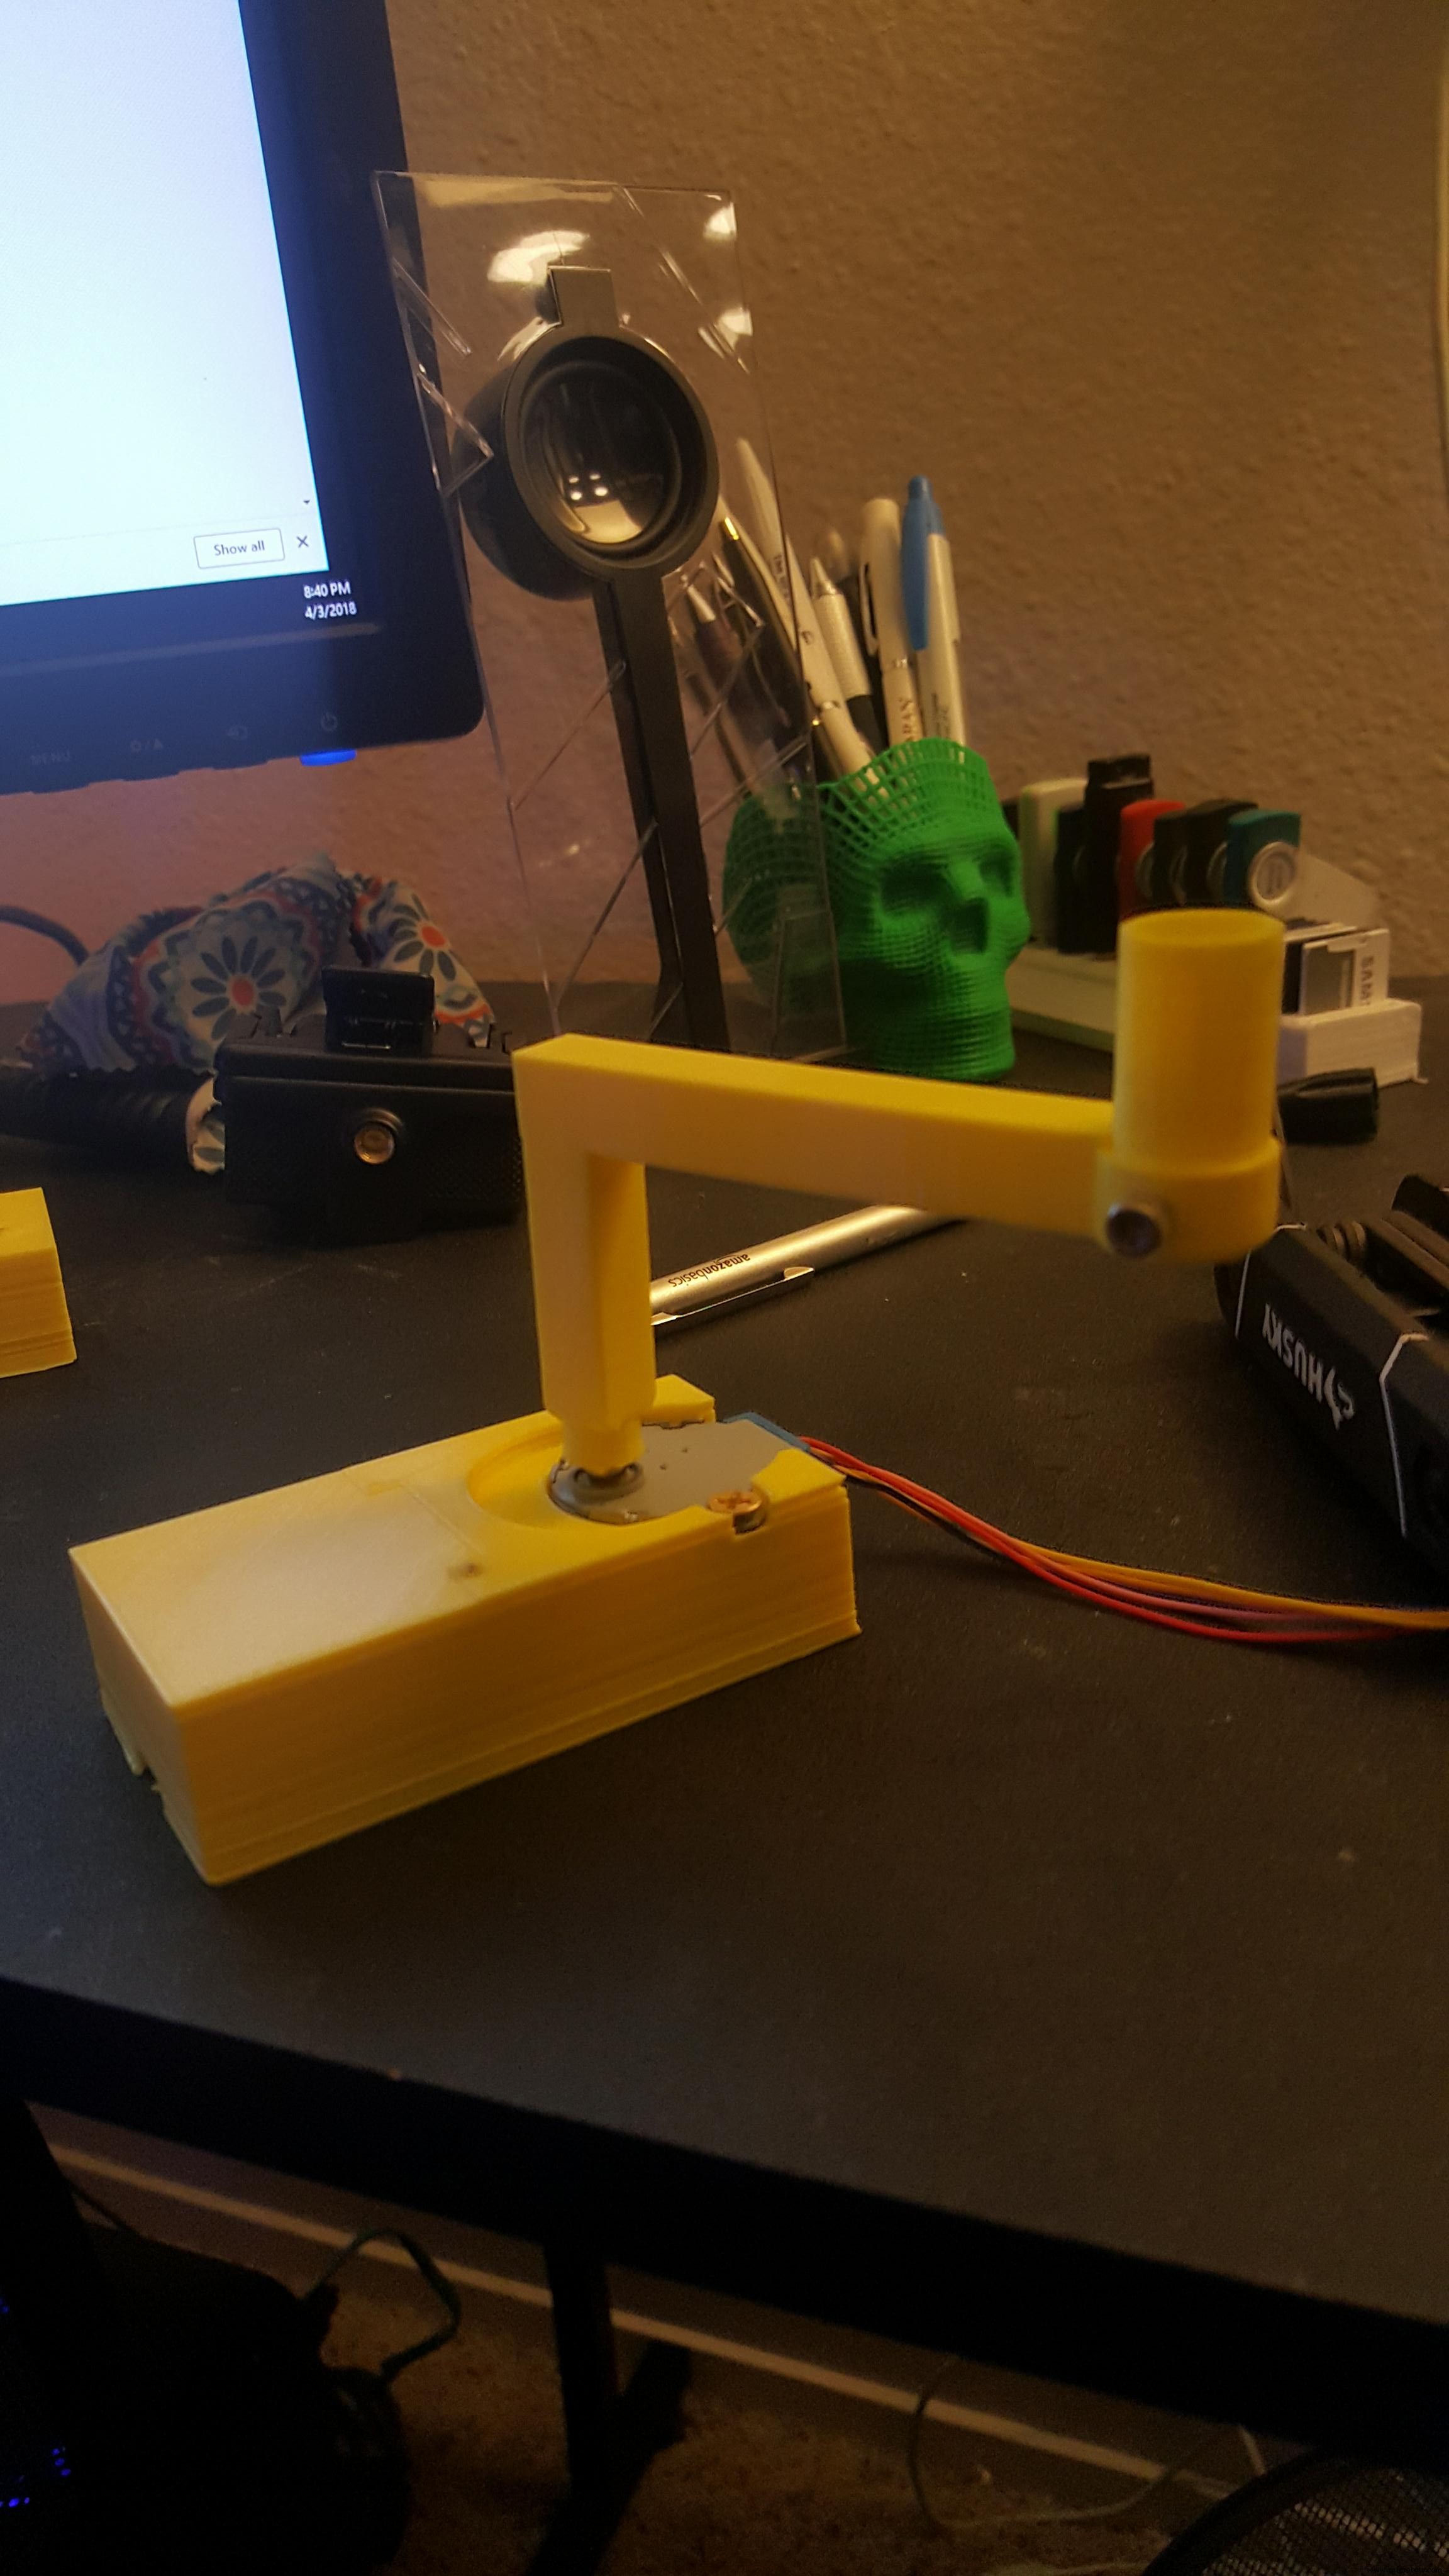
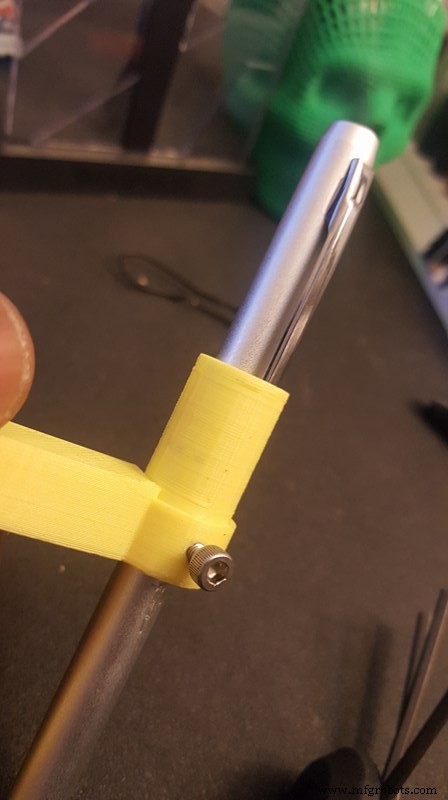
In order to calibrate the height; place the entire structure above a phone and place the touchscreen pen into the swiper handle until the touchscreen pen touches the screen.
At this point go ahead and take a short M3 screw and secure your touchscreen pen so it doesn't move as it swipes.
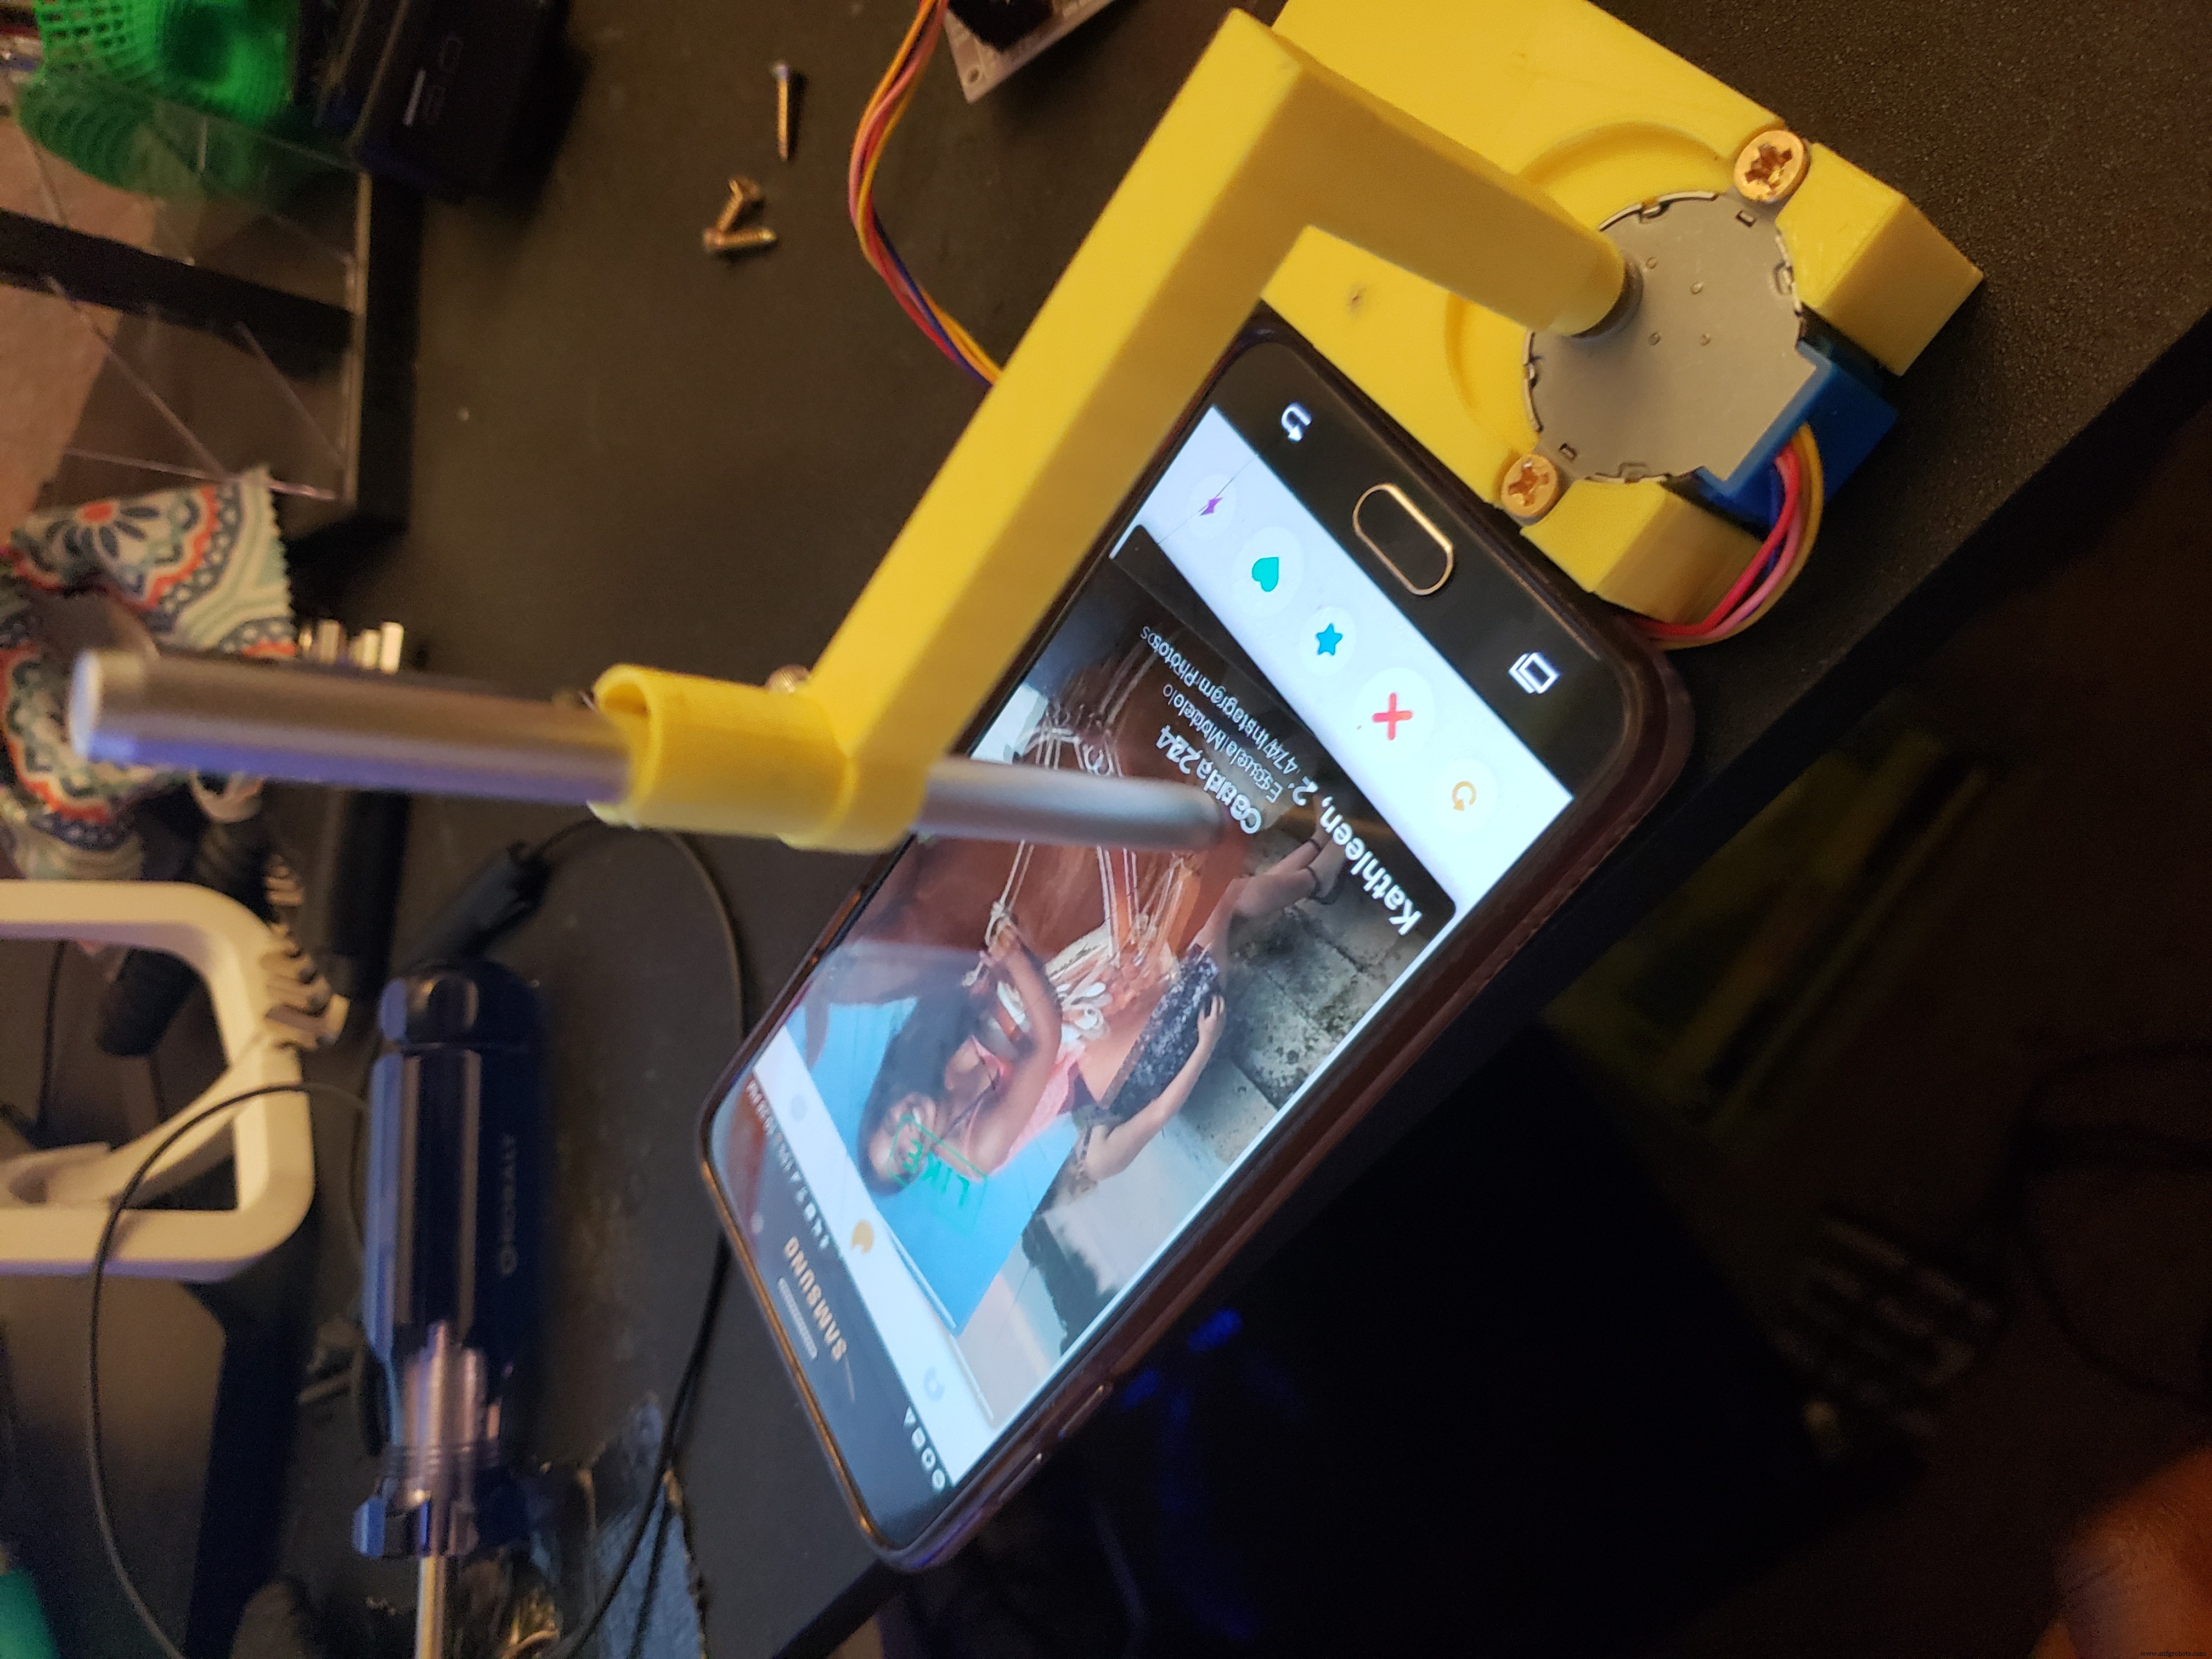
Place the entire structure adjacent to the phone, open up the desired dating app, turn the Arduino app and sit back!

I've tested this on 4 different phones and one of the phones was having trouble correctly registering the swipes and would go to the previous screen. This is because the edge of the last phone tested was pretty sensitive, you can fix this by placing your phone in a case with a raised edge, that way the touchscreen pen won't register at the edge of the screen.
Code
- Swiper
SwiperArduino
Change Direction = false to true if you want to change the swiping direction!/*
BYJ48 Stepper motor code
Connect :
IN1 >> D8
IN2 >> D9
IN3 >> D10
IN4 >> D11
VCC >> 5V
Gnd
written By :Mohannad Rawashdeh
https://www.instructables.com/member/Mohannad+Rawashdeh/
28/9/2013
*/
#define IN1 8
#define IN2 9
#define IN3 10
#define IN4 11
int Steps = 0;
boolean Direction = false; //change to true for right swipe
unsigned long last_time;
unsigned long currentMillis ;
int steps_left=4095;
long time;
void setup()
{
Serial.begin(115200);
pinMode(IN1, OUTPUT);
pinMode(IN2, OUTPUT);
pinMode(IN3, OUTPUT);
pinMode(IN4, OUTPUT);
// delay(1000);
}
void loop()
{
while(steps_left>0){
currentMillis = micros();
if(currentMillis-last_time>=1000){
stepper(1);
time=time+micros()-last_time;
last_time=micros();
steps_left--;
}
}
steps_left=4095;
}
void stepper(int xw){
for (int x=0;x<xw;x++){
switch(Steps){
case 0:
digitalWrite(IN1, LOW);
digitalWrite(IN2, LOW);
digitalWrite(IN3, LOW);
digitalWrite(IN4, HIGH);
break;
case 1:
digitalWrite(IN1, LOW);
digitalWrite(IN2, LOW);
digitalWrite(IN3, HIGH);
digitalWrite(IN4, HIGH);
break;
case 2:
digitalWrite(IN1, LOW);
digitalWrite(IN2, LOW);
digitalWrite(IN3, HIGH);
digitalWrite(IN4, LOW);
break;
case 3:
digitalWrite(IN1, LOW);
digitalWrite(IN2, HIGH);
digitalWrite(IN3, HIGH);
digitalWrite(IN4, LOW);
break;
case 4:
digitalWrite(IN1, LOW);
digitalWrite(IN2, HIGH);
digitalWrite(IN3, LOW);
digitalWrite(IN4, LOW);
break;
case 5:
digitalWrite(IN1, HIGH);
digitalWrite(IN2, HIGH);
digitalWrite(IN3, LOW);
digitalWrite(IN4, LOW);
break;
case 6:
digitalWrite(IN1, HIGH);
digitalWrite(IN2, LOW);
digitalWrite(IN3, LOW);
digitalWrite(IN4, LOW);
break;
case 7:
digitalWrite(IN1, HIGH);
digitalWrite(IN2, LOW);
digitalWrite(IN3, LOW);
digitalWrite(IN4, HIGH);
break;
default:
digitalWrite(IN1, LOW);
digitalWrite(IN2, LOW);
digitalWrite(IN3, LOW);
digitalWrite(IN4, LOW);
break;
}
SetDirection();
}
}
void SetDirection(){
if(Direction==1){ Steps++;}
if(Direction==0){ Steps--; }
if(Steps>7){Steps=0;}
if(Steps<0){Steps=7; }
}
Manufacturing process
- Stepper Motors: Types, Characteristics, and Practical Applications
- Integrated Drivers Simplify High‑Power Stepper Motor Design
- DIY Autonomous Nerf Sentry Turret – Build a Smart Nerf Gun with Stepper Motors, Camera, and Arduino
- Comprehensive Bipolar Stepper Motor Library for Arduino
- Arduino-Powered Serial-Controlled Stepper Motor Rotating Stand
- Precise Stepper Motor Control: 28BYJ-48 with Arduino UNO & Joystick
- Custom 3D‑Printed Stepper Motor: Build Your Own Precision Drive
- Master Stepper Motor Control with Arduino & A4988 Driver – Step-by-Step Guide
- Comprehensive Guide to 3D Printer Stepper Motors for Superior Print Quality
- 4 Simple Ways to Keep Your 3D Printer Stepper Motors Cool