


Build a Stunning NeoPixel LED Matrix with Arduino Nano: Step-by-Step Guide
Components and supplies
 |
| × | 1 | |||
 |
| × | 1 | |||
 |
| × | 1 |
Necessary tools and machines
 |
|
Apps and online services
 |
|
About this project
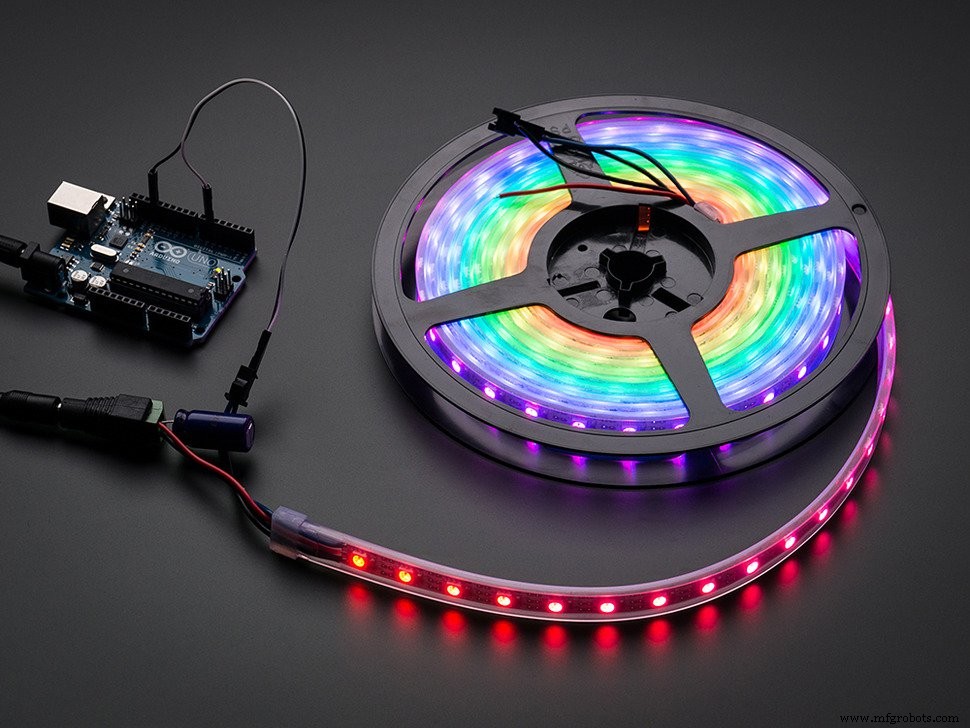
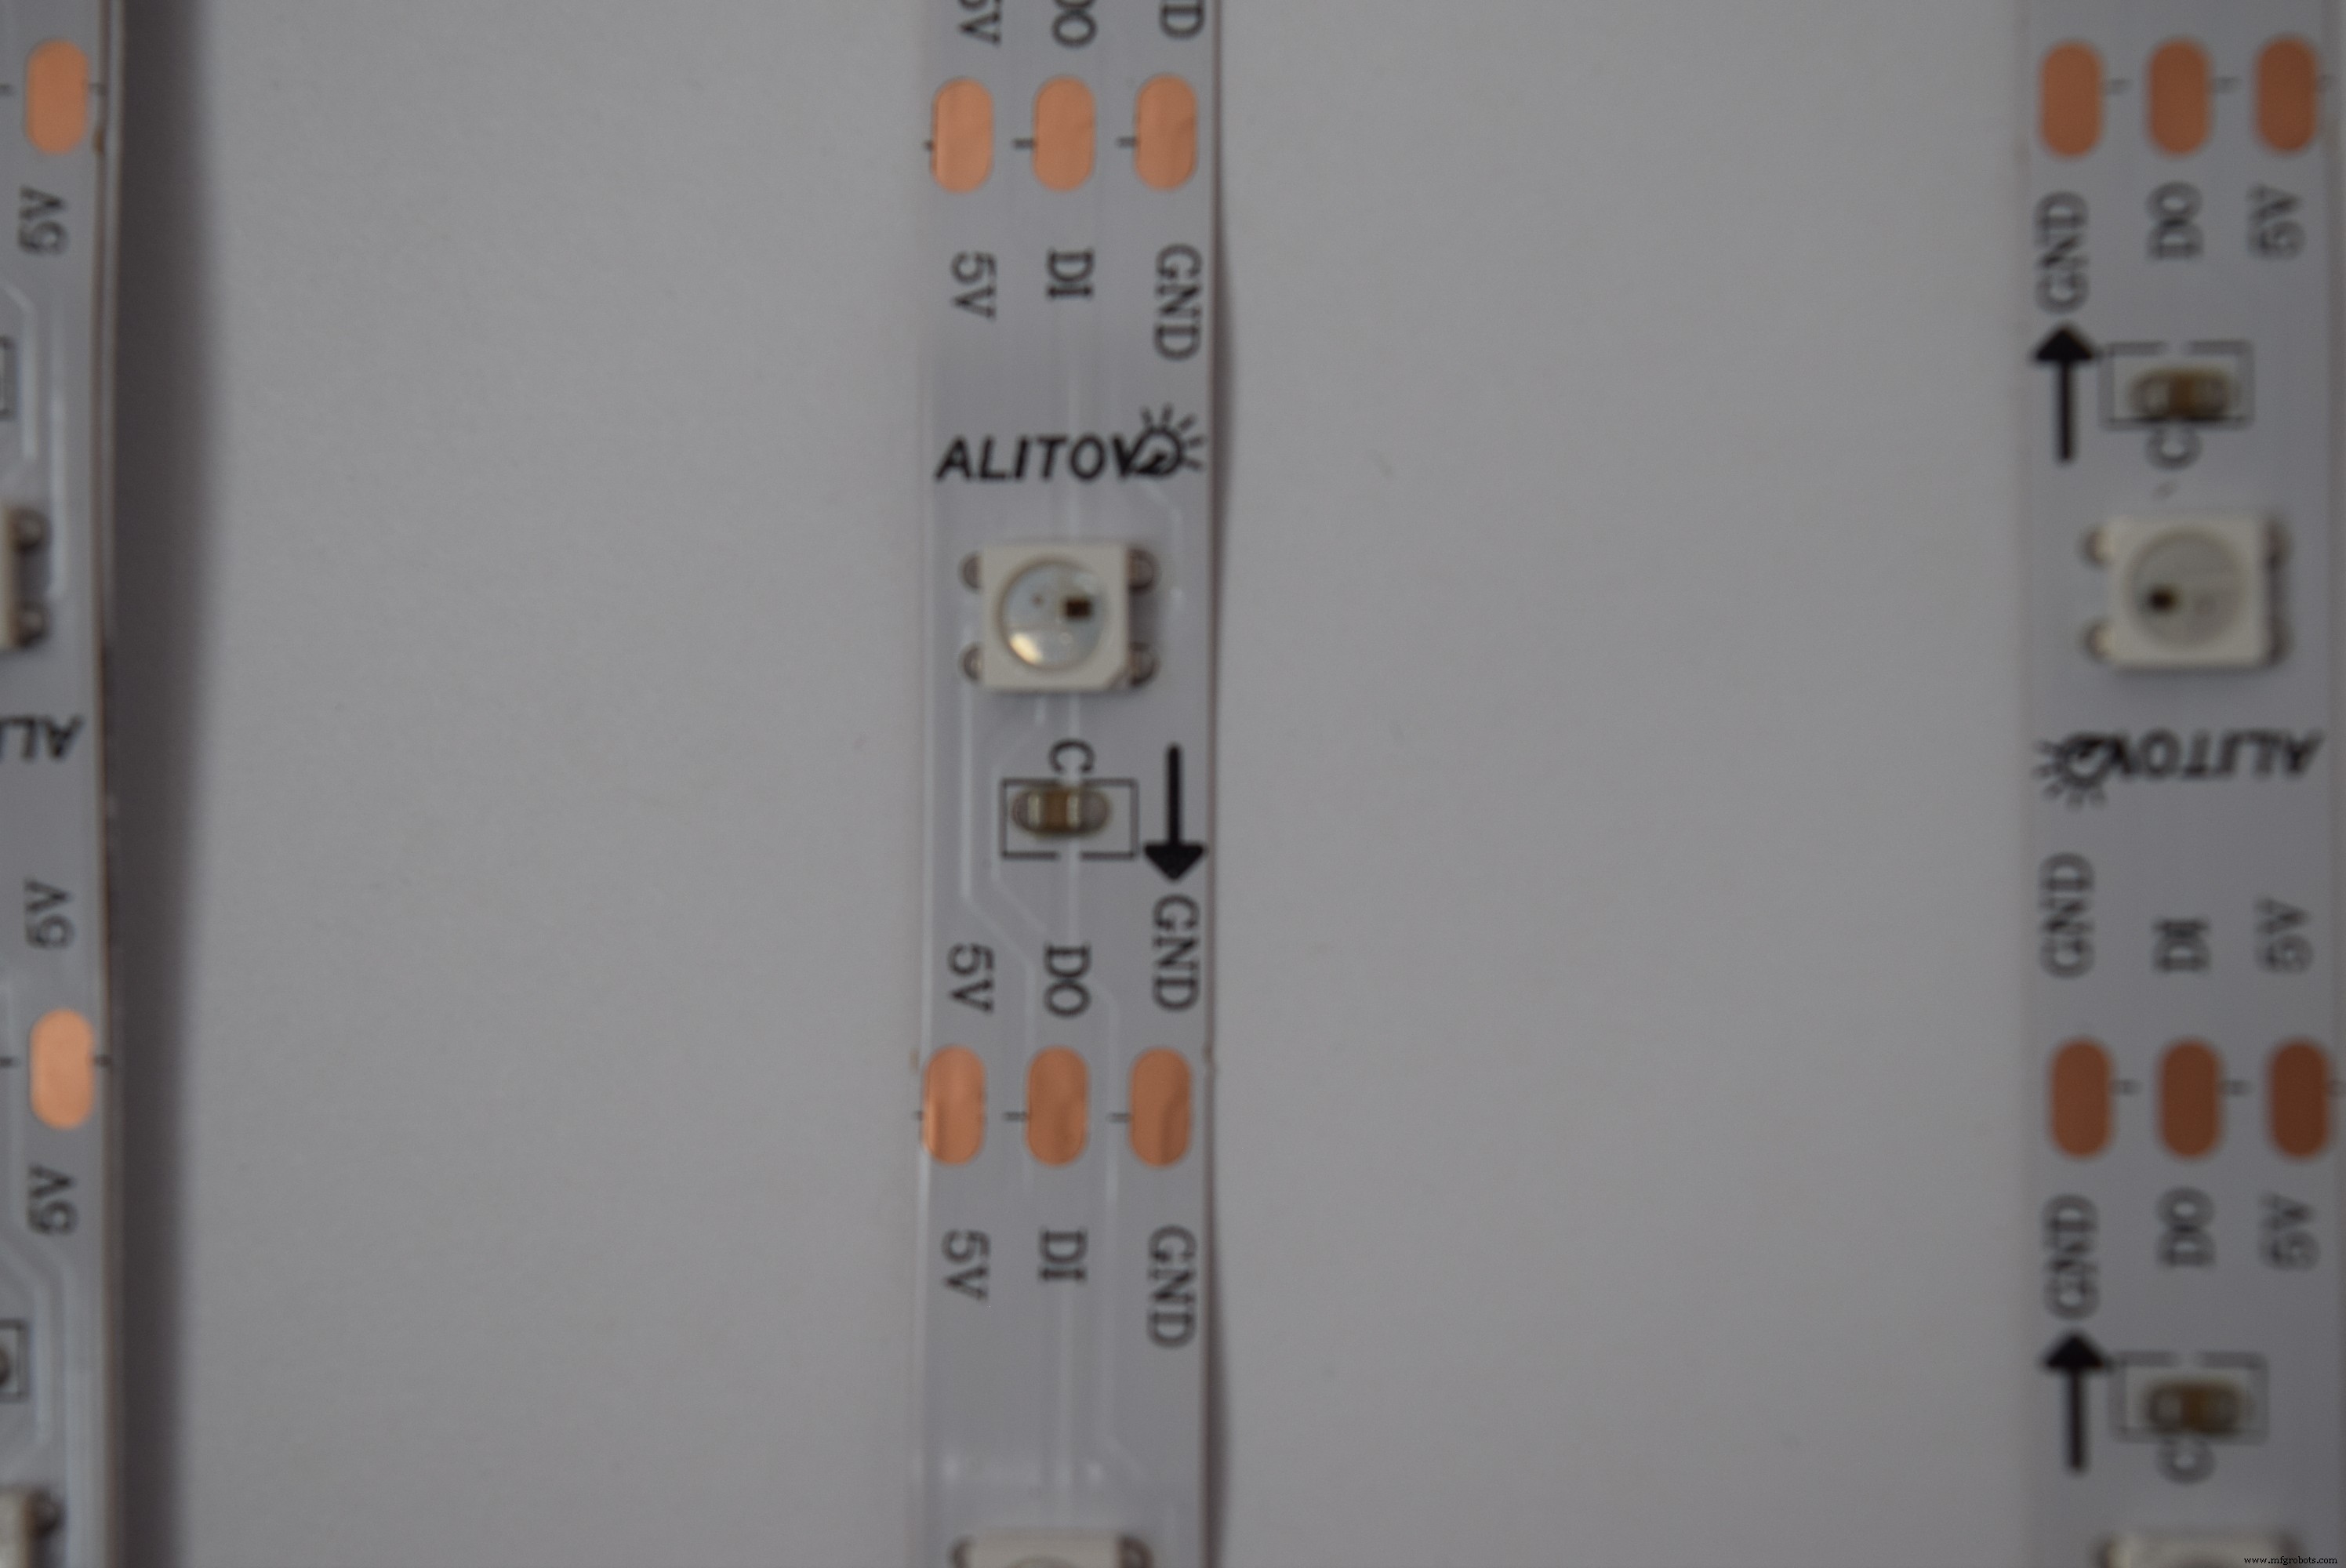
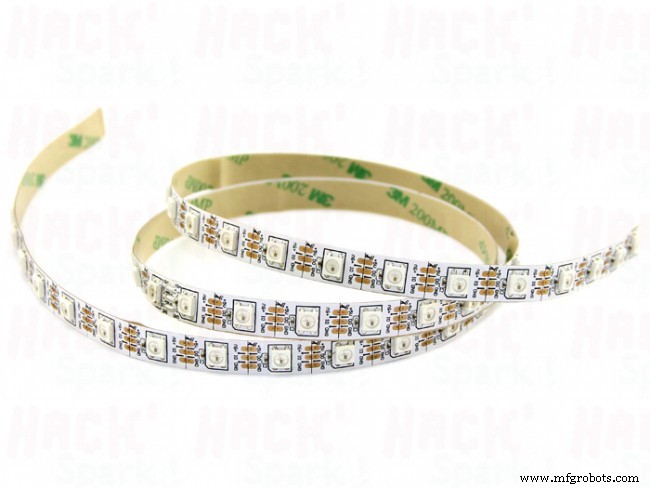
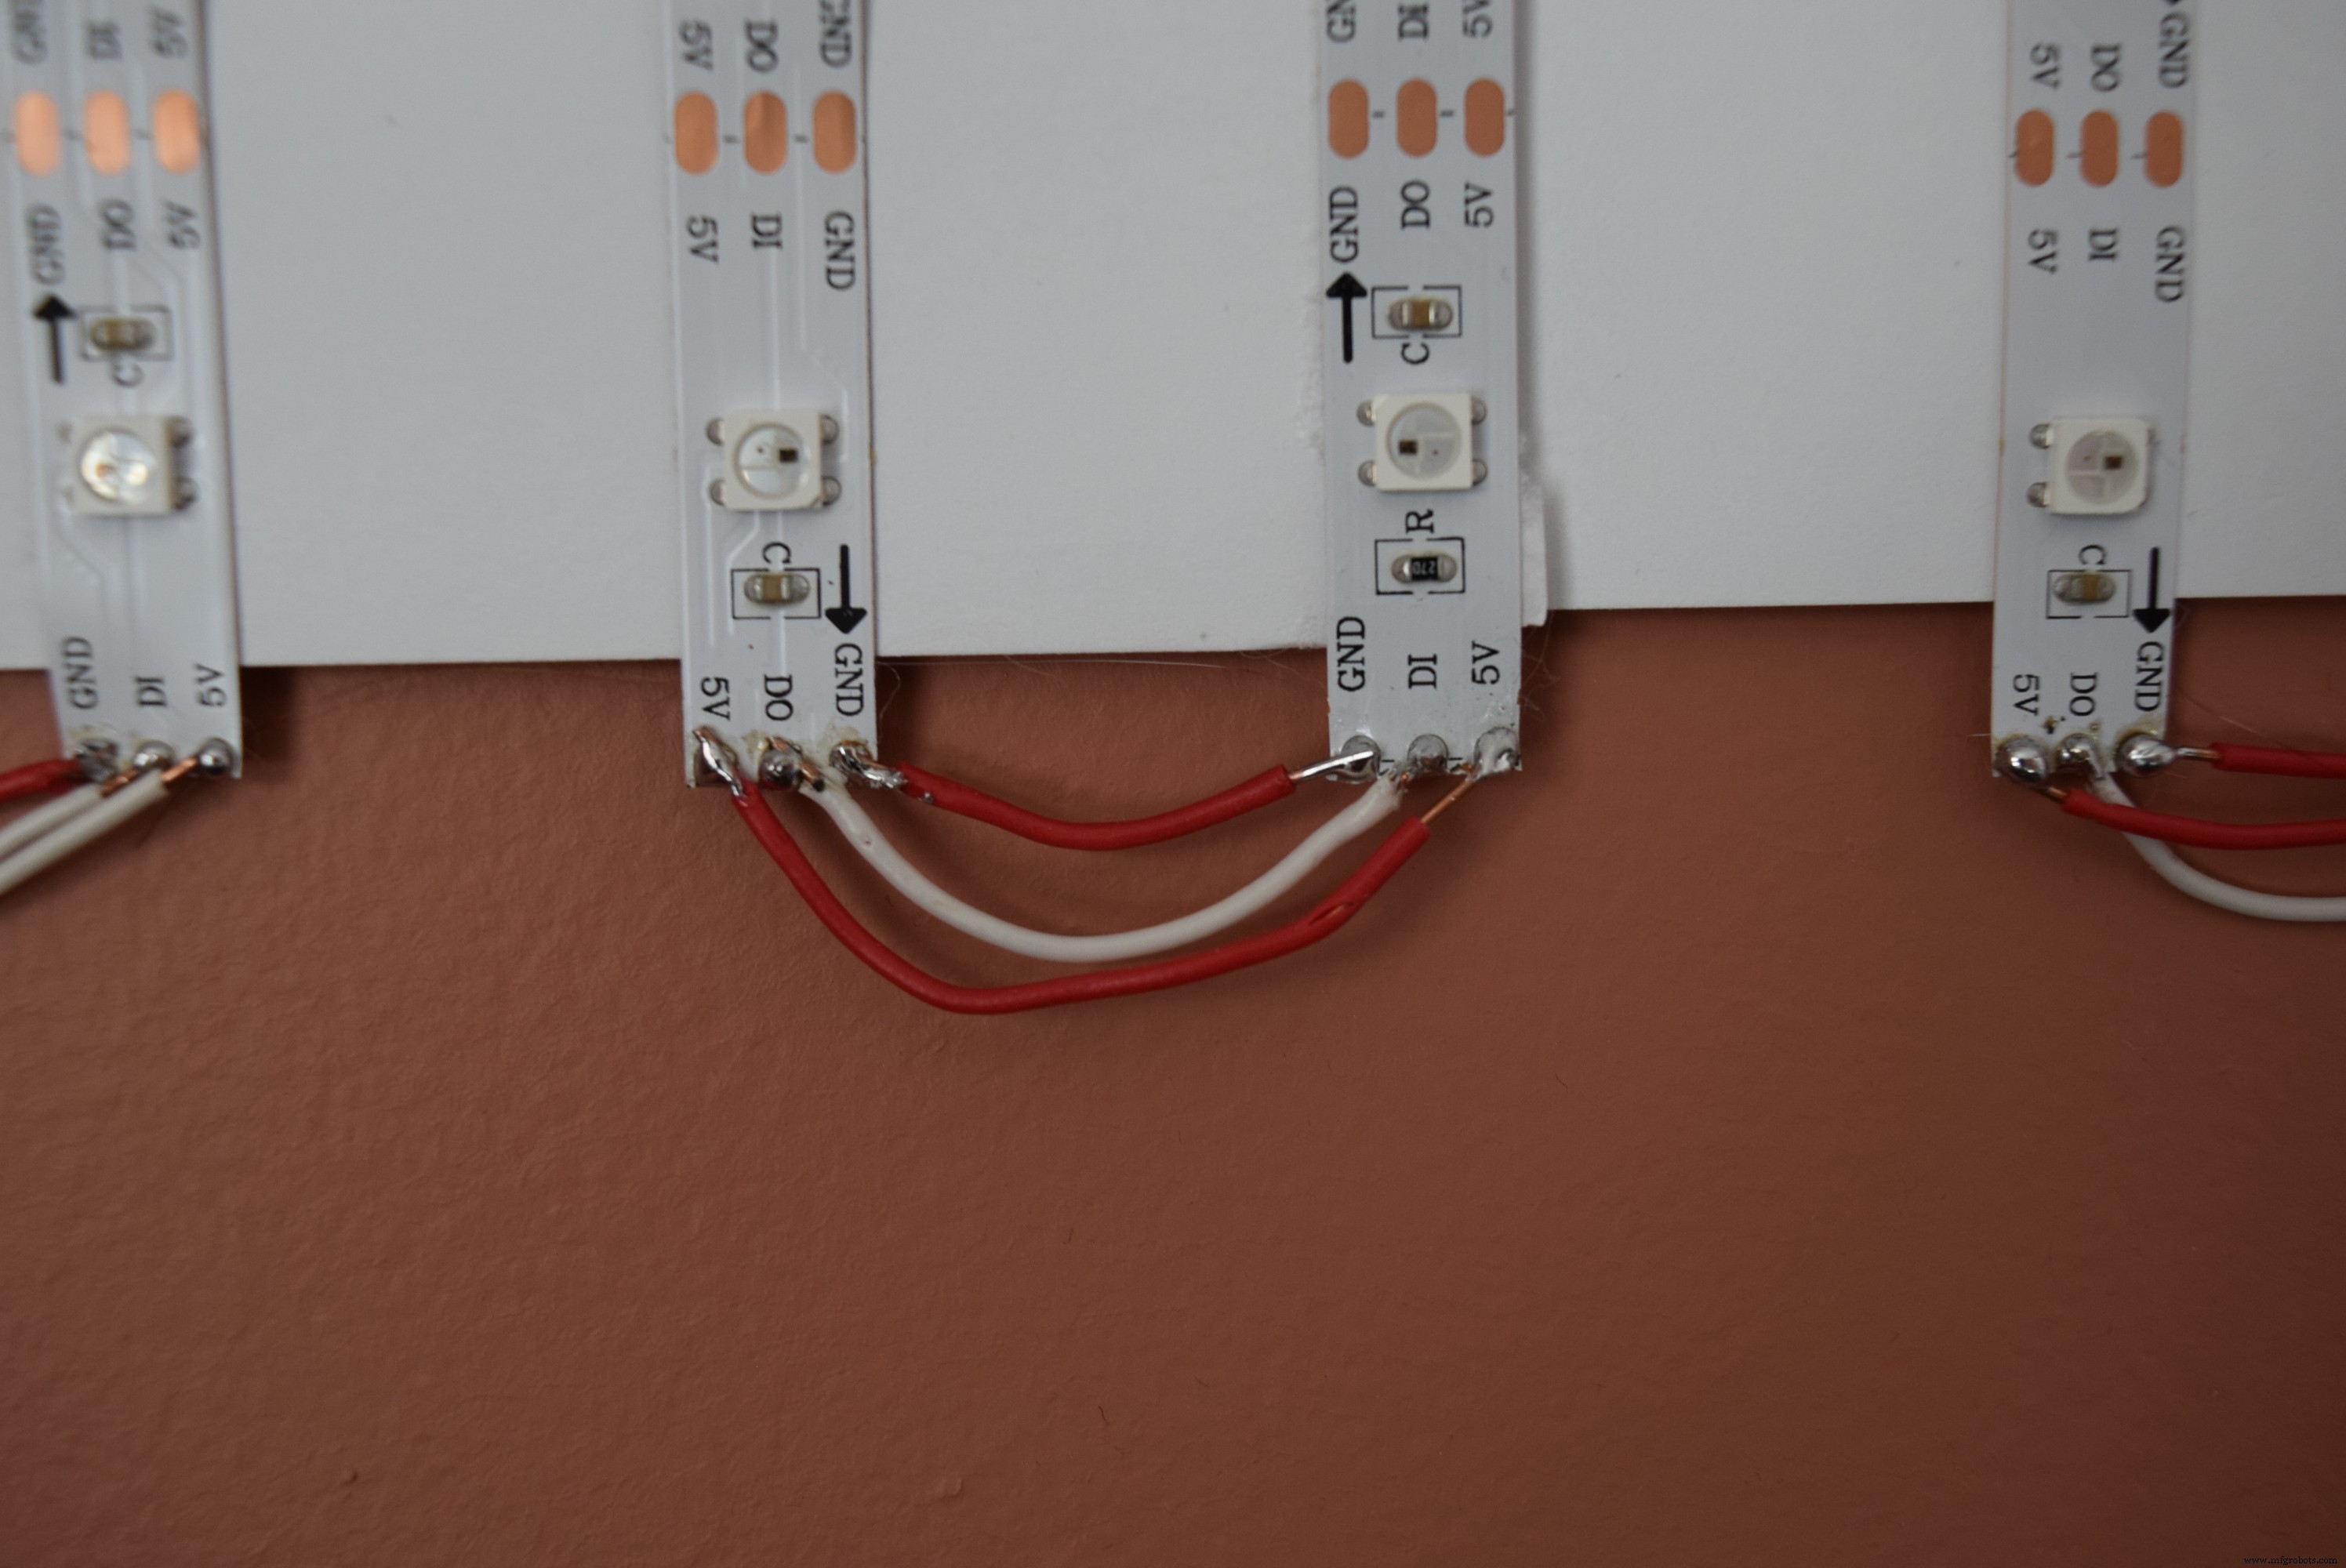
The MatrixNo, not the movie, the NeoPixel matrix! To make a matrix, just buy one strip of individually addressable NeoPixel LEDs. Uncoil the strip, and take note of the arrows on it. You can only attach them in ONE DIRECTION, you could ruin them if the orientation is wrong.
I used a 30 LED/m 5m strip and cut them into strips of ten LEDs each.
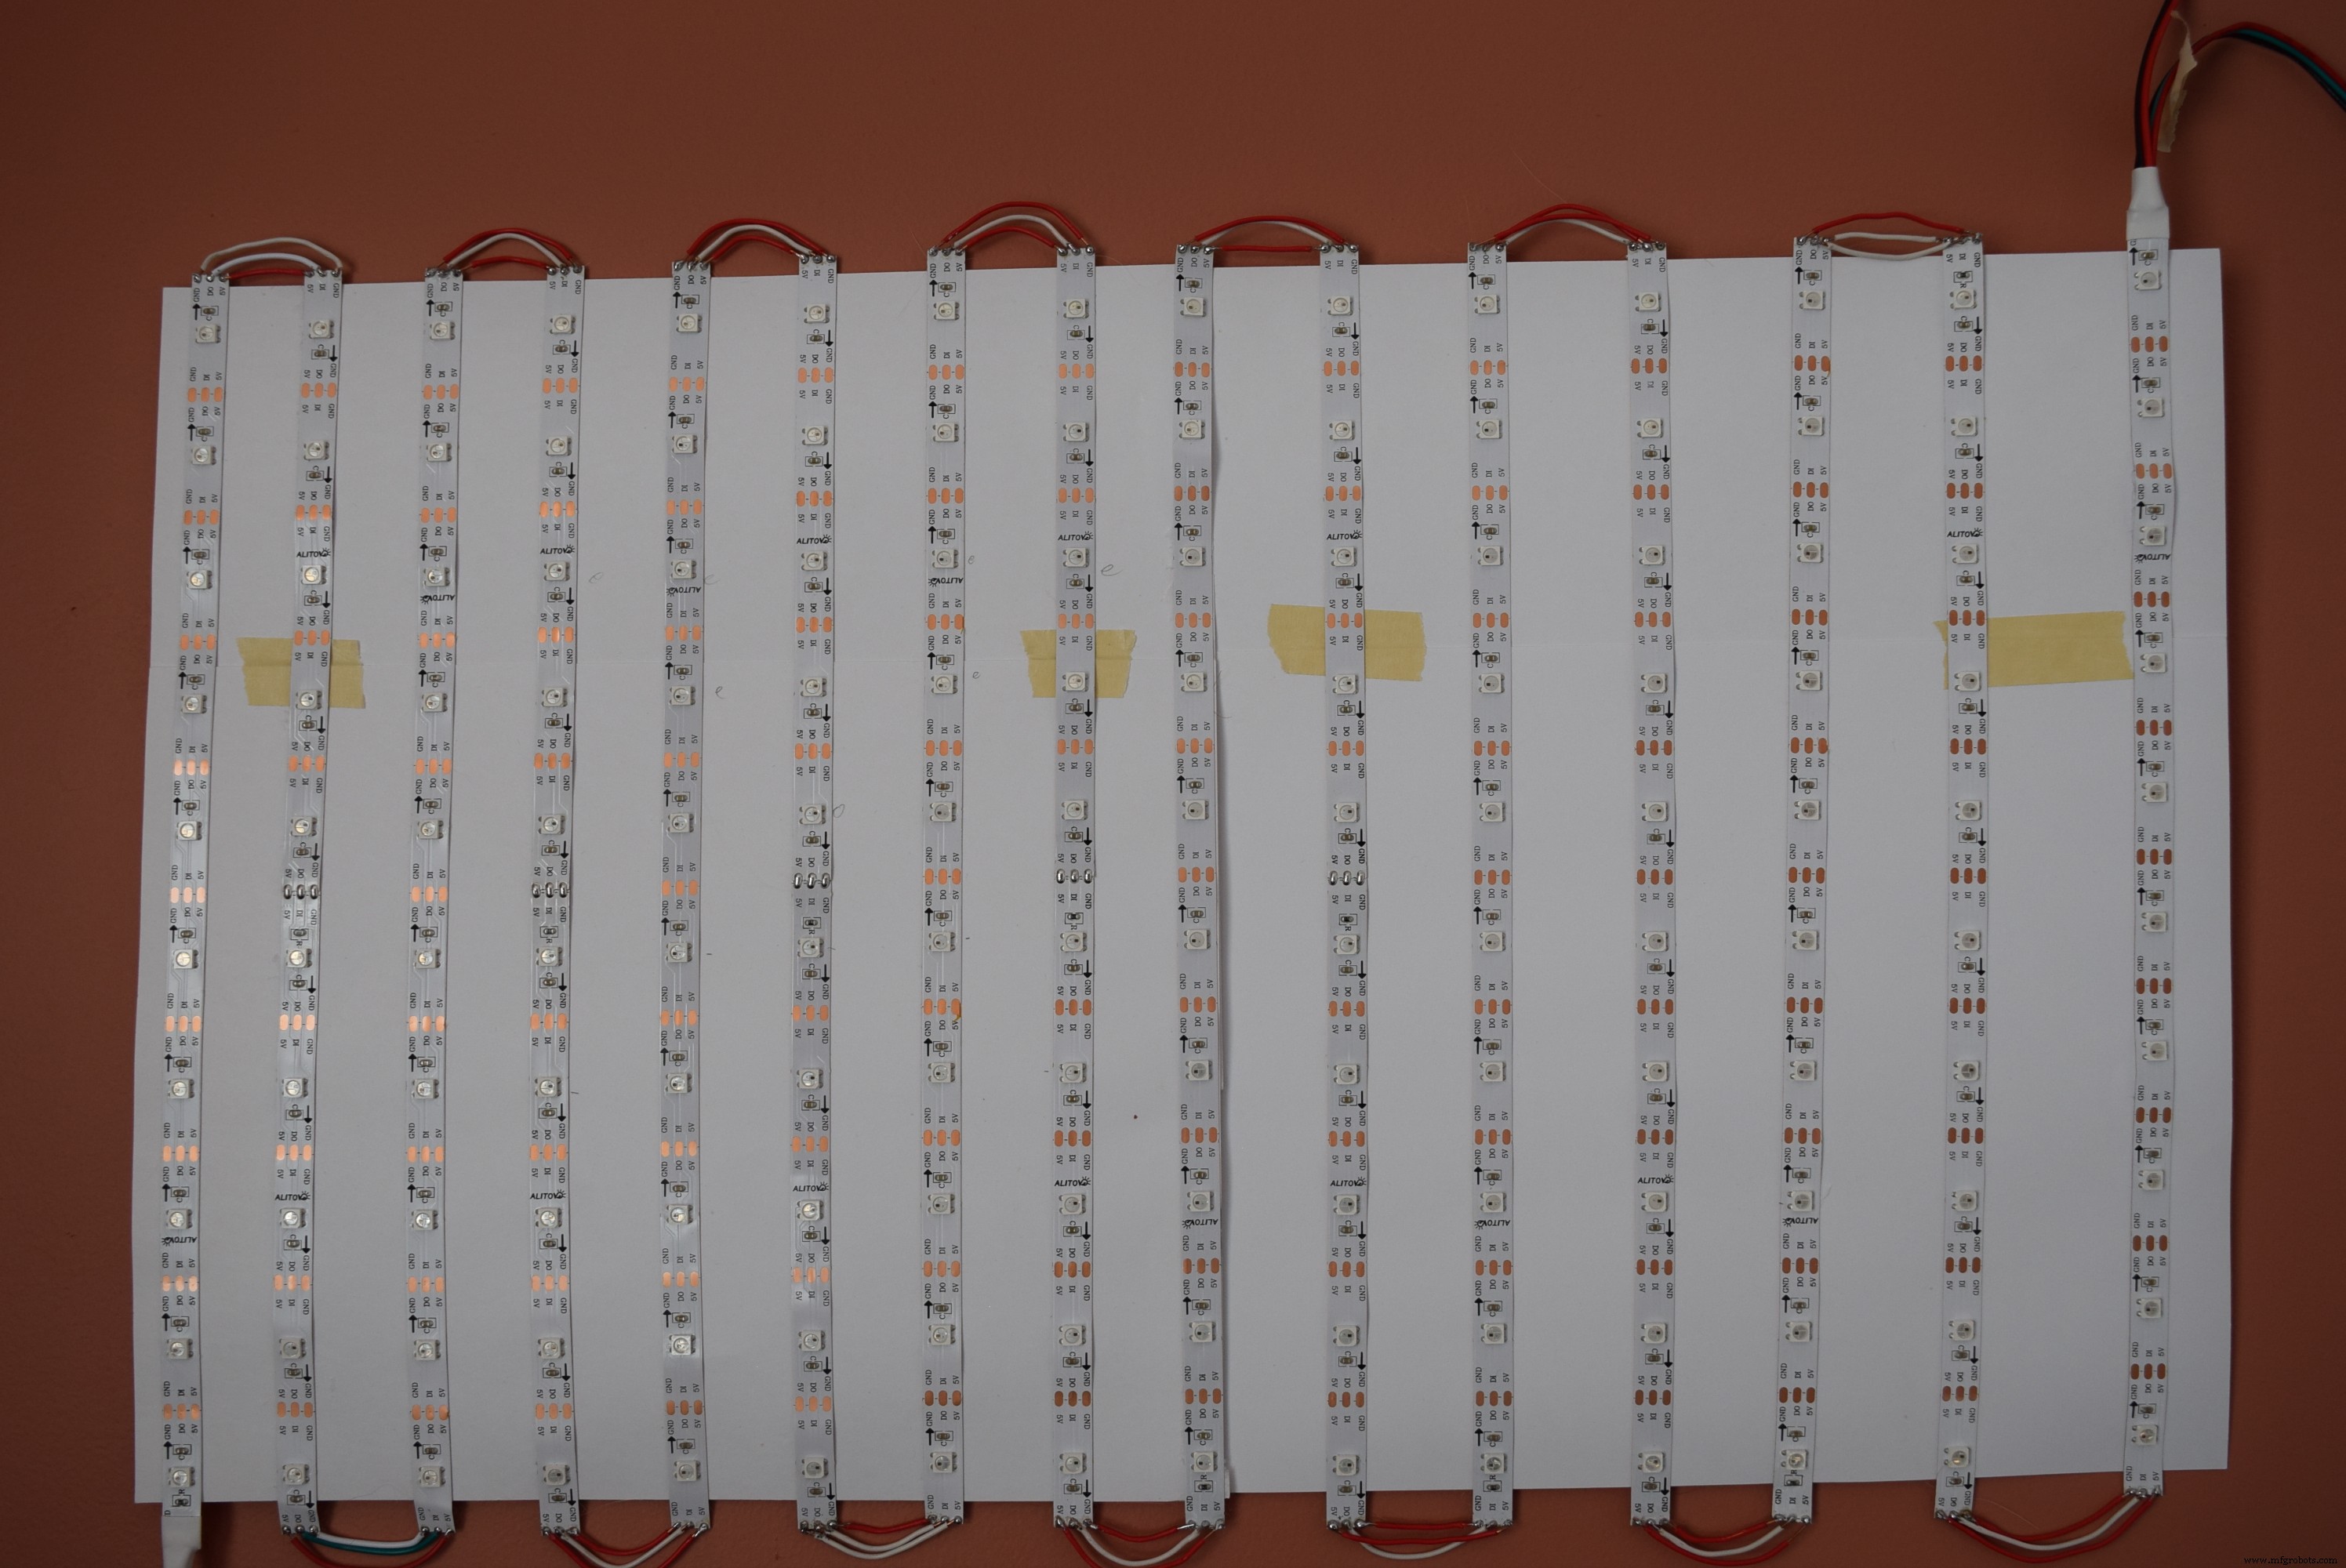
I then started laying down the strips on a piece of cardstock, alternating orientations.
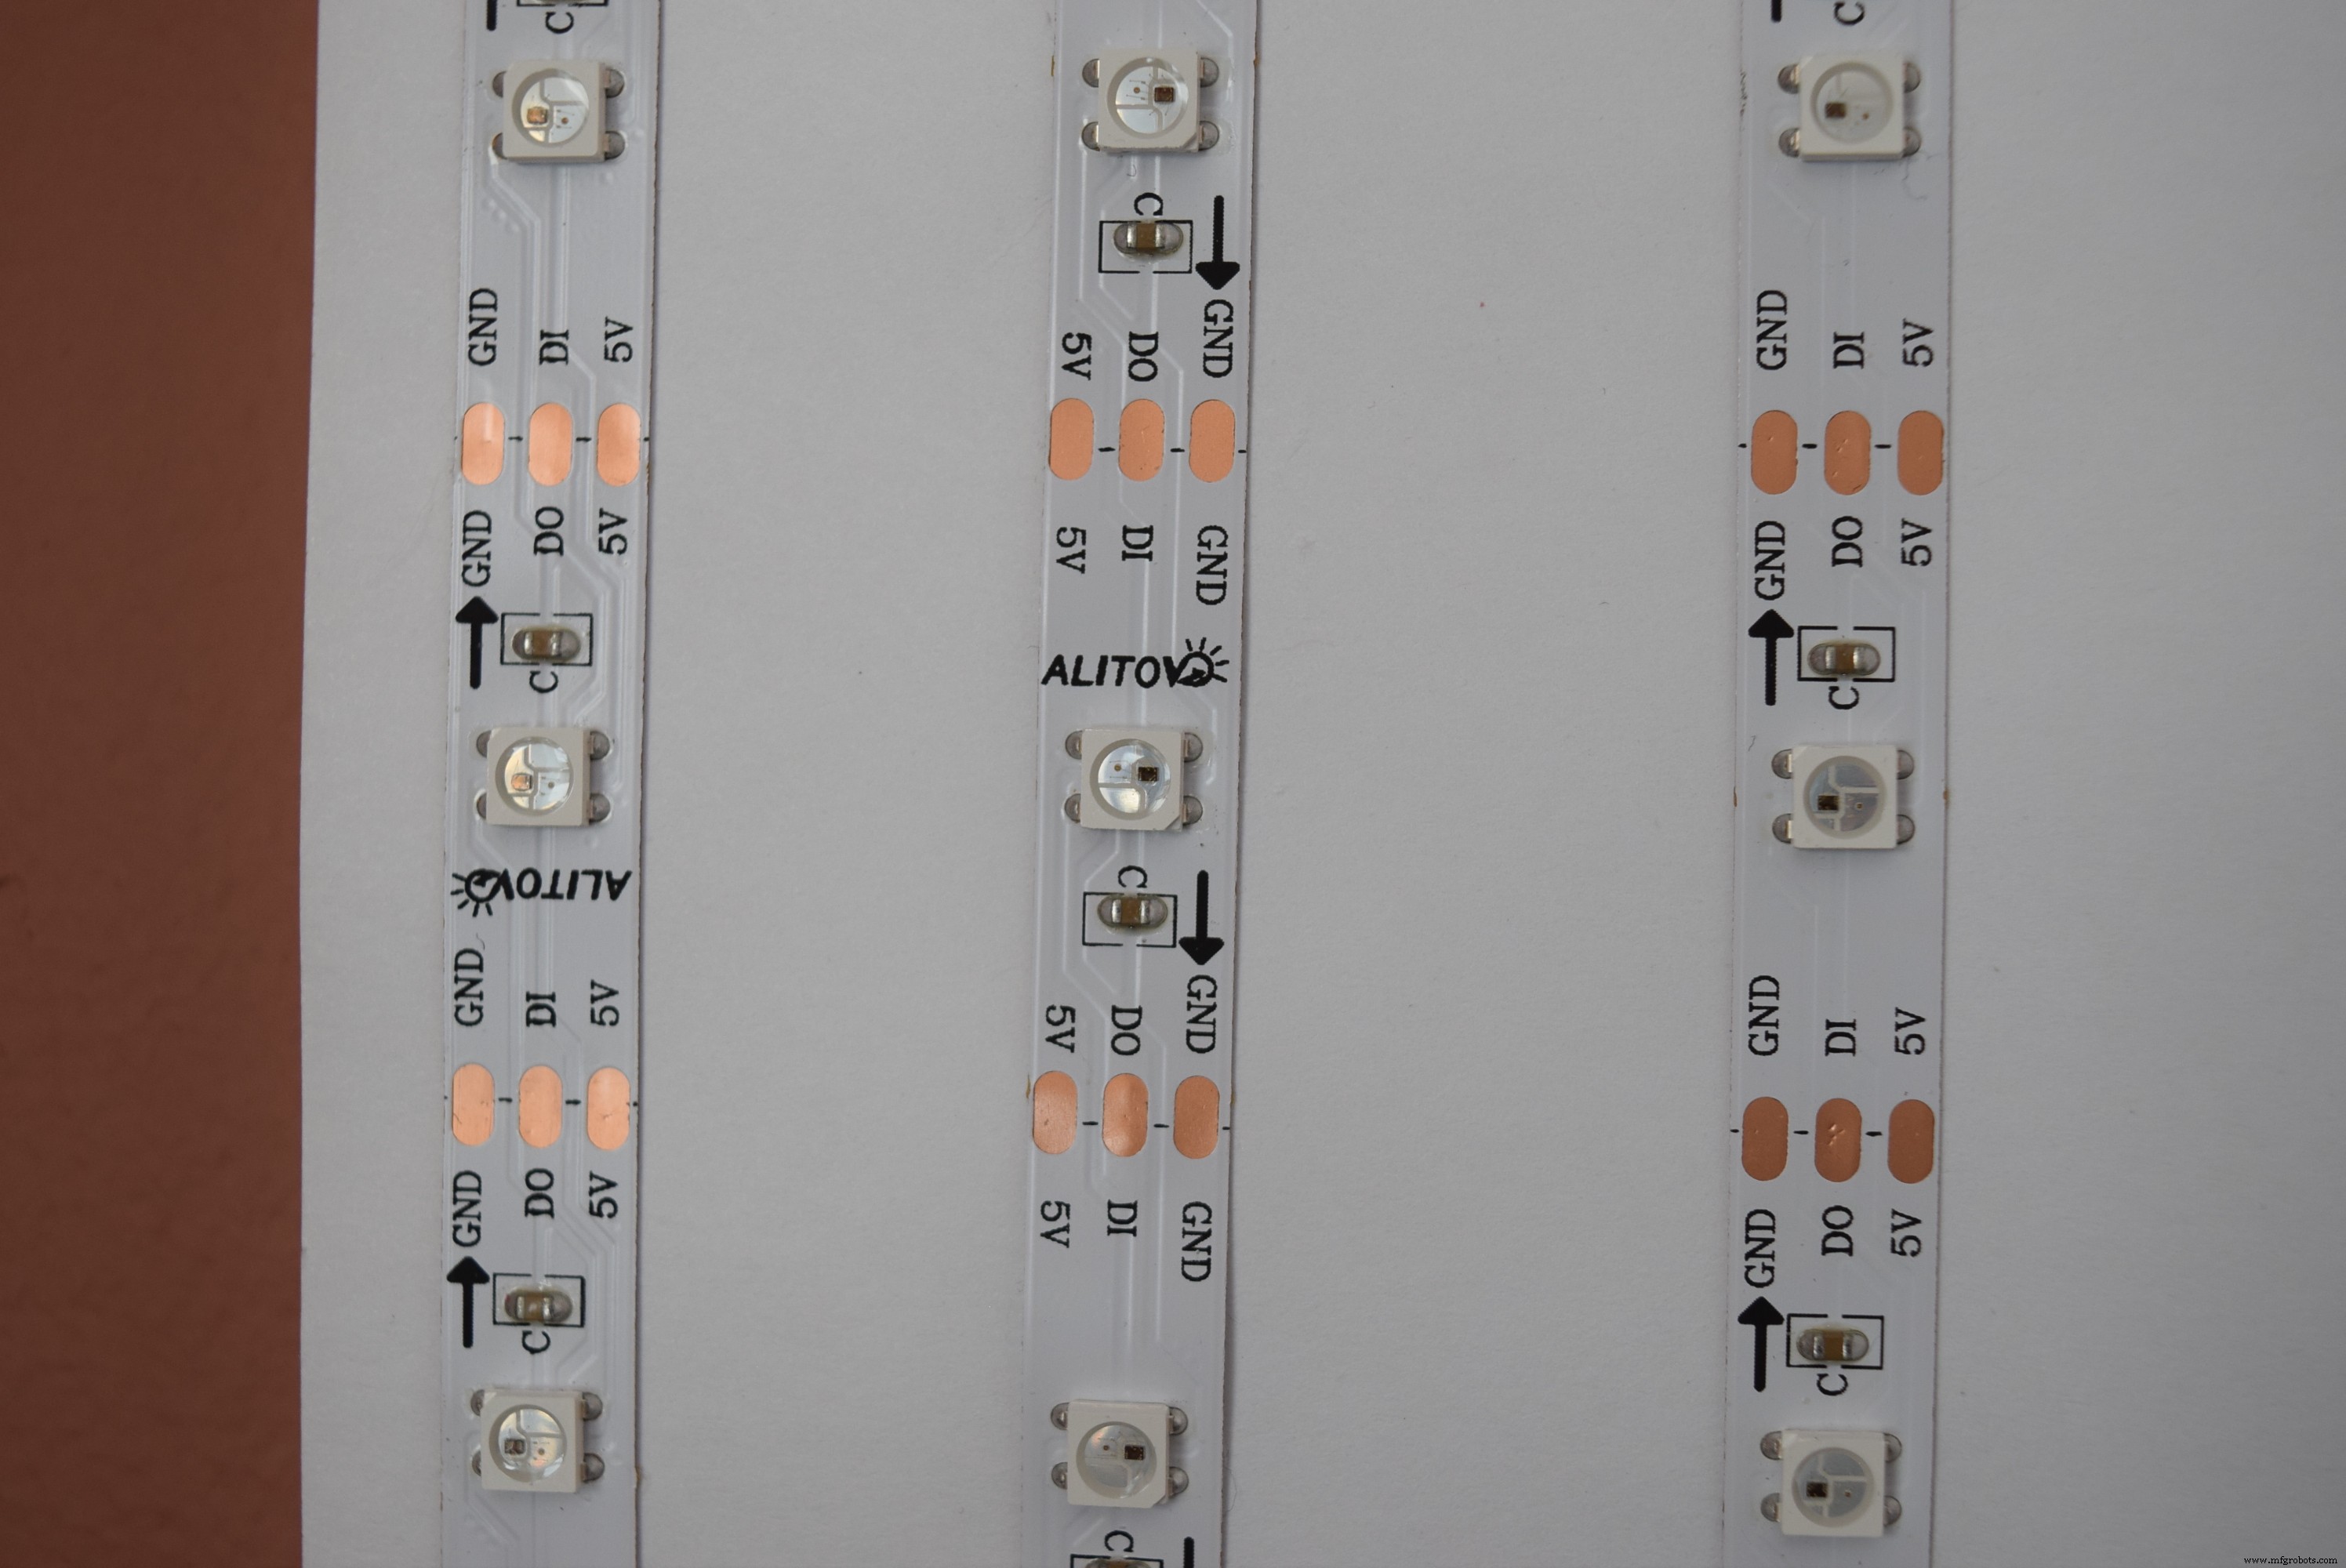
I then cut wires to the correct lengths and soldered them to the NeoPixel terminals.
After doing that 14 times, my matrix was finally done! Next, I checked with a multimeter to ensure that there were no short-circuits, as a short-circuit will fry the Nano, the matrix, and maybe your USB port (I know from experience). Upload the neomatrix test sketch with the "NEO_BOTTOM + NEO_LEFT + NEO_COLUMNS + NEO_ZIGZAG" parameters. If it scrolls "howdy" across the display, you're done!
Check out my other projects for more NeoPixel matrix ideas!
Code
- Arduino Code
Arduino CodeC/C++
Copy and paste// Adafruit_NeoMatrix example for single NeoPixel Shield.
// Scrolls 'Howdy' across the matrix in a portrait (vertical) orientation.
#include <Adafruit_GFX.h>
#include <Adafruit_NeoMatrix.h>
#include <Adafruit_NeoPixel.h>
#ifndef PSTR
#define PSTR // Make Arduino Due happy
#endif
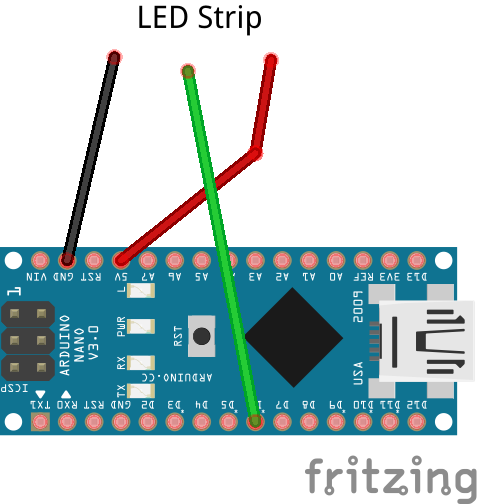
#define PIN 6
// MATRIX DECLARATION:
// Parameter 1 = width of NeoPixel matrix
// Parameter 2 = height of matrix
// Parameter 3 = pin number (most are valid)
// Parameter 4 = matrix layout flags, add together as needed:
// NEO_MATRIX_TOP, NEO_MATRIX_BOTTOM, NEO_MATRIX_LEFT, NEO_MATRIX_RIGHT:
// Position of the FIRST LED in the matrix; pick two, e.g.
// NEO_MATRIX_TOP + NEO_MATRIX_LEFT for the top-left corner.
// NEO_MATRIX_ROWS, NEO_MATRIX_COLUMNS: LEDs are arranged in horizontal
// rows or in vertical columns, respectively; pick one or the other.
// NEO_MATRIX_PROGRESSIVE, NEO_MATRIX_ZIGZAG: all rows/columns proceed
// in the same order, or alternate lines reverse direction; pick one.
// See example below for these values in action.
// Parameter 5 = pixel type flags, add together as needed:
// NEO_KHZ800 800 KHz bitstream (most NeoPixel products w/WS2812 LEDs)
// NEO_KHZ400 400 KHz (classic 'v1' (not v2) FLORA pixels, WS2811 drivers)
// NEO_GRB Pixels are wired for GRB bitstream (most NeoPixel products)
// NEO_RGB Pixels are wired for RGB bitstream (v1 FLORA pixels, not v2)
// Example for NeoPixel Shield. In this application we'd like to use it
// as a 5x8 tall matrix, with the USB port positioned at the top of the
// Arduino. When held that way, the first pixel is at the top right, and
// lines are arranged in columns, progressive order. The shield uses
// 800 KHz (v2) pixels that expect GRB color data.
Adafruit_NeoMatrix matrix = Adafruit_NeoMatrix(5, 8, PIN,
NEO_MATRIX_BOTTOM + NEO_MATRIX_LEFT +
NEO_MATRIX_COLUMNS + NEO_MATRIX_ZIGZAG,
NEO_GRB + NEO_KHZ800);
const uint16_t colors[] = {
matrix.Color(255, 0, 0), matrix.Color(0, 255, 0), matrix.Color(0, 0, 255) };
void setup() {
matrix.begin();
matrix.setTextWrap(false);
matrix.setBrightness(40);
matrix.setTextColor(colors[0]);
}
int x = matrix.width();
int pass = 0;
void loop() {
matrix.fillScreen(0);
matrix.setCursor(x, 0);
matrix.print(F("Howdy"));
if(--x < -36) {
x = matrix.width();
if(++pass >= 3) pass = 0;
matrix.setTextColor(colors[pass]);
}
matrix.show();
delay(100);
}
Schematics
Manufacturing process
- Building an Arduino‑Powered Robot with Raspberry Pi: A Step‑by‑Step Guide
- The Complete Guide to Fiberglass Production
- Expert Guide to Designing and Manufacturing Injection Molds
- Create Musical Tones with Arduino: A Step‑by‑Step Guide
- Create a Progressive Cutaway Animation in SolidWorks – Step‑by‑Step Tutorial
- Step-by-Step Guide to Crafting Durable Silicone Molds at Home
- Build a Winning Prototype: Step‑by‑Step Guide for Rapid Product Development
- DIY Guide: Build Your Own DC Motor Controller
- Build Your Own LED Lights: A Complete DIY Step-by-Step Guide
- Master CNC Programming: A Beginner’s Guide to Fanuc Controls