


Assessing Plant Health with TinyML: A Practical Guide
Components and supplies
 |
| × | 1 | |||
 |
| × | 1 | |||
 |
| × | 1 |
Necessary tools and machines
 |
| |||
 |
|
Apps and online services
 |
| |||
 |
| |||
 |
|
About this project
The PremiseJust like humans, plants can become diseased too. And just like how you might develop a rash from a skin infection, a plant's leaves might become yellowed and/or blotchy from a fungus or other pathogen. So, by leveraging the power of machine learning, colors can be scanned and then used to train a model that can detect when a leaf's color is off.
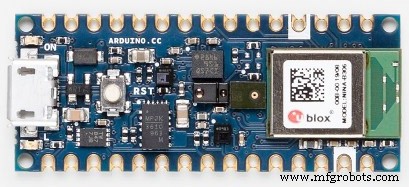
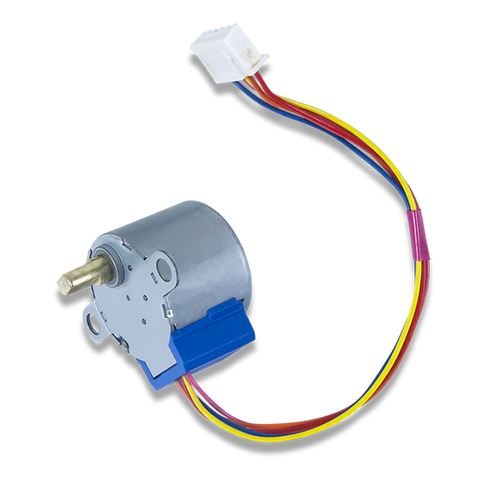
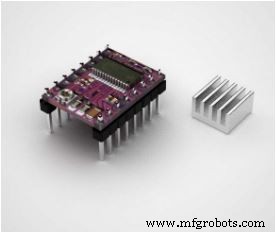
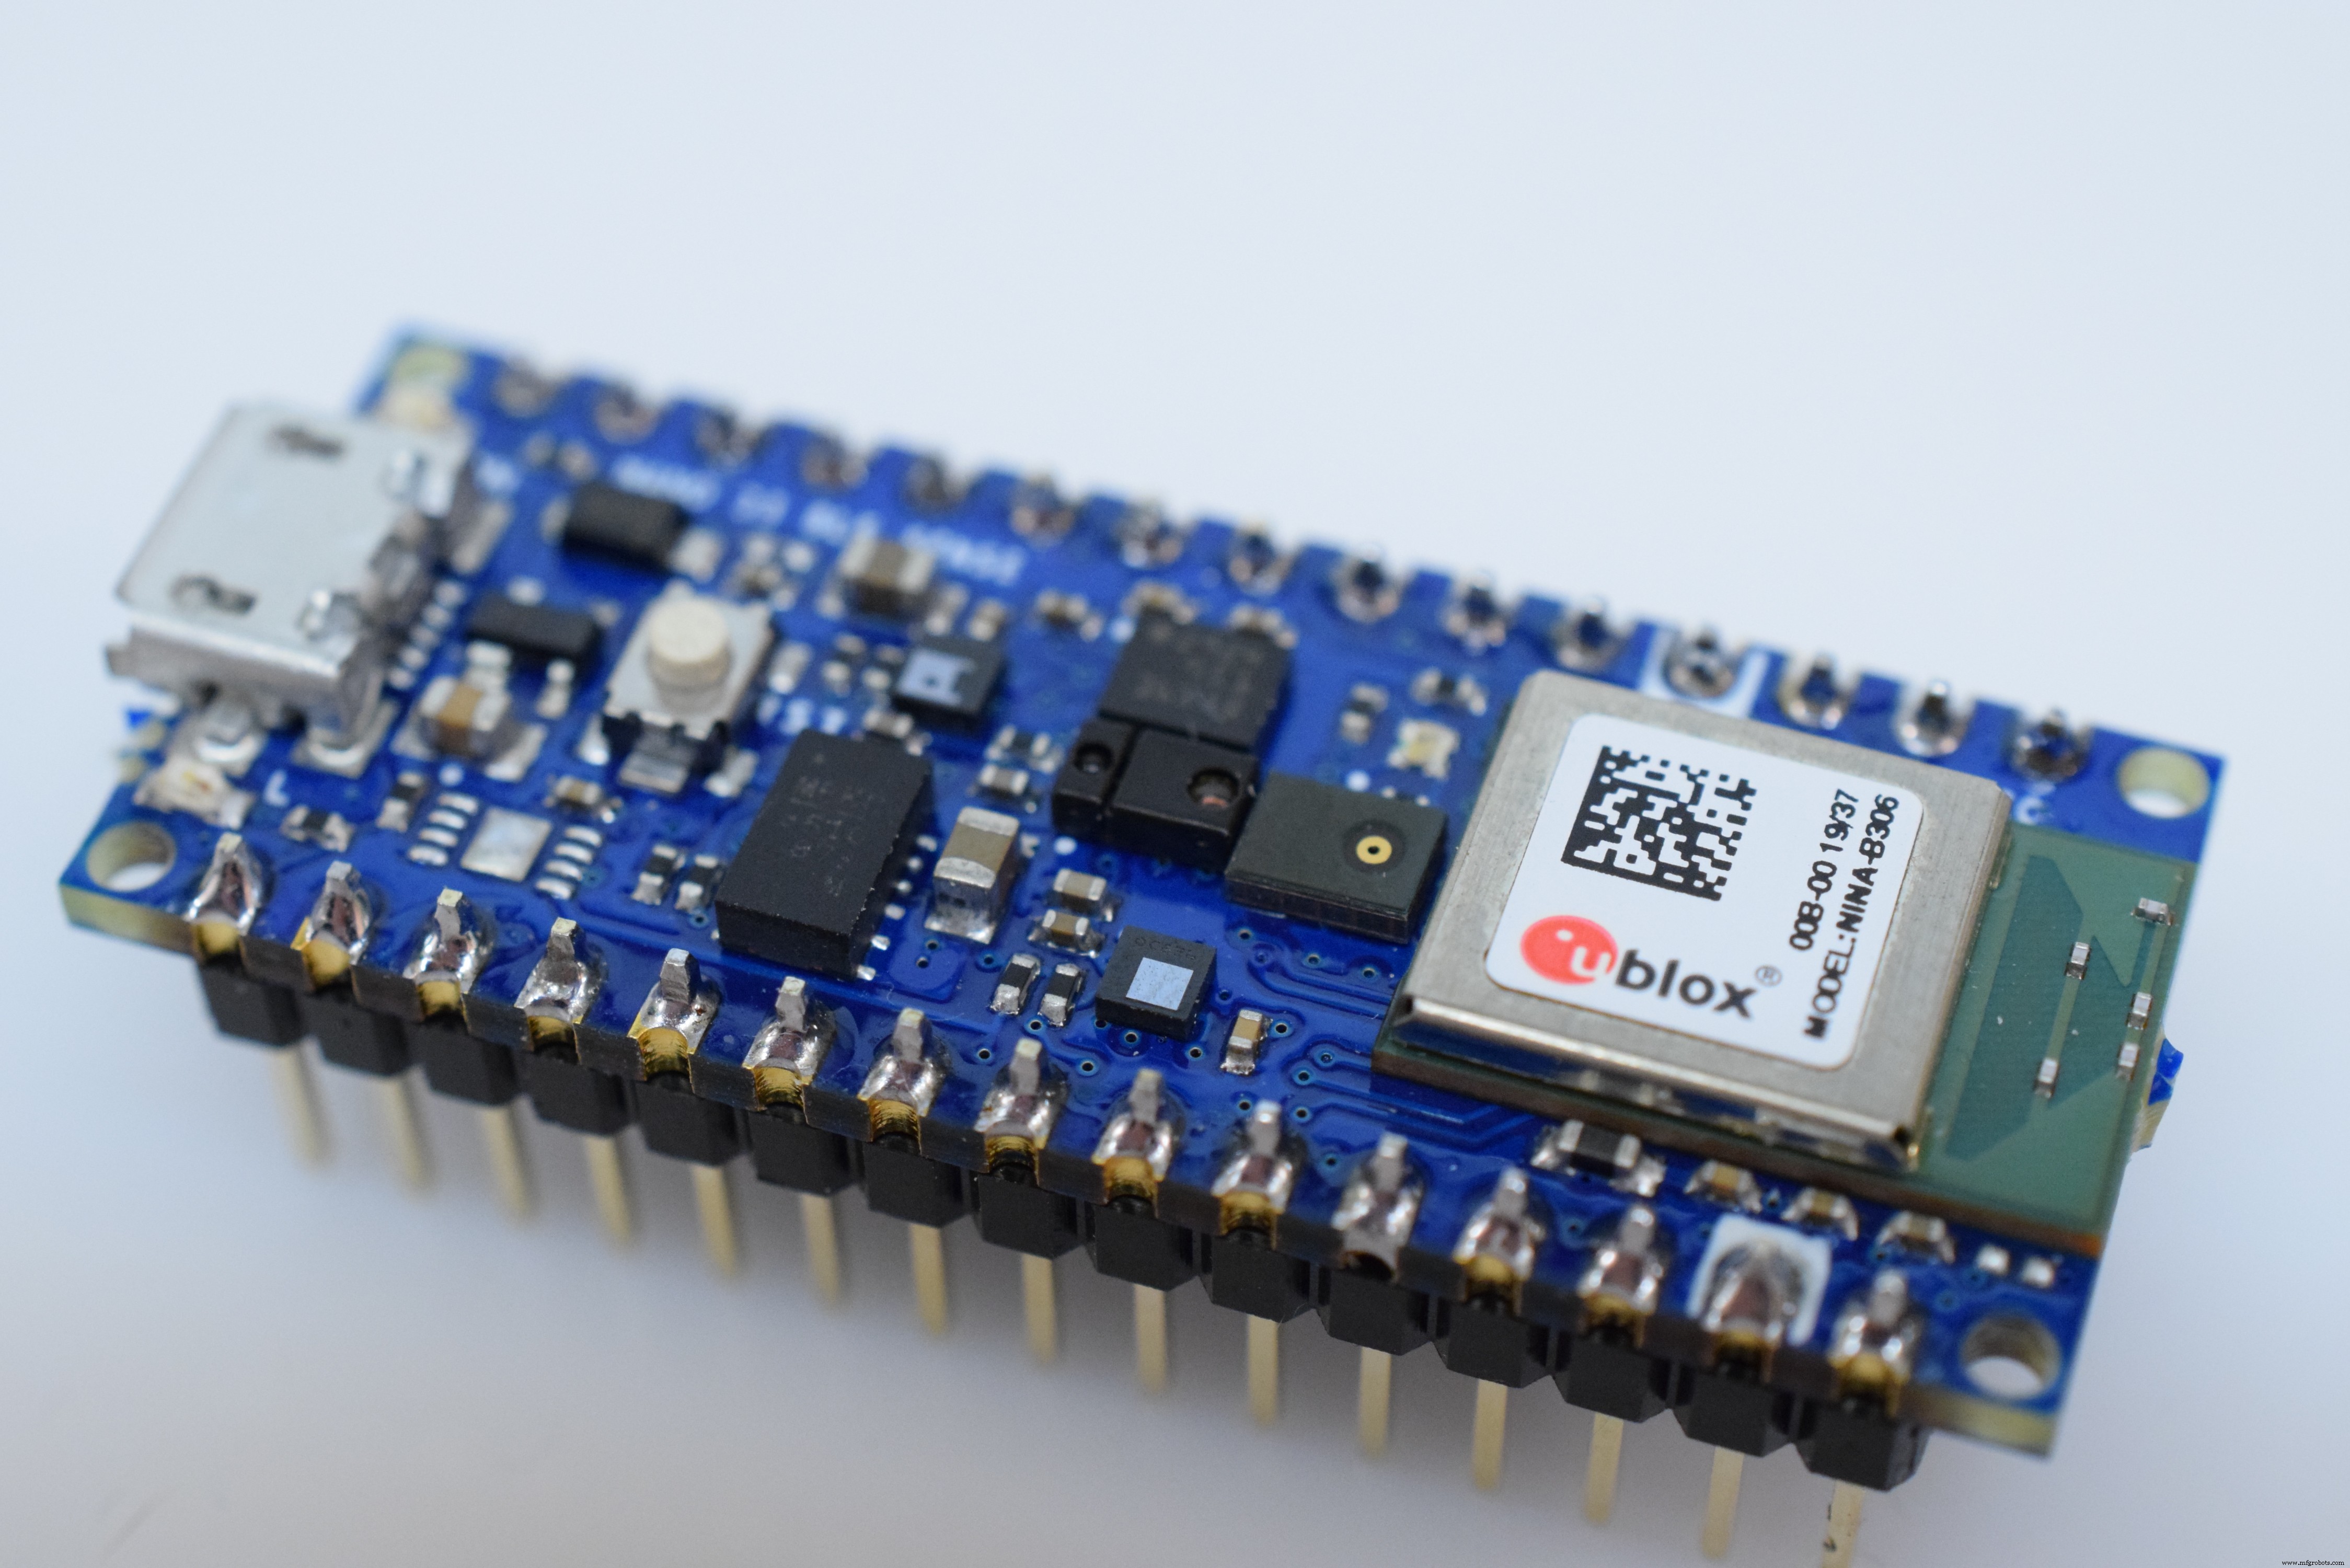
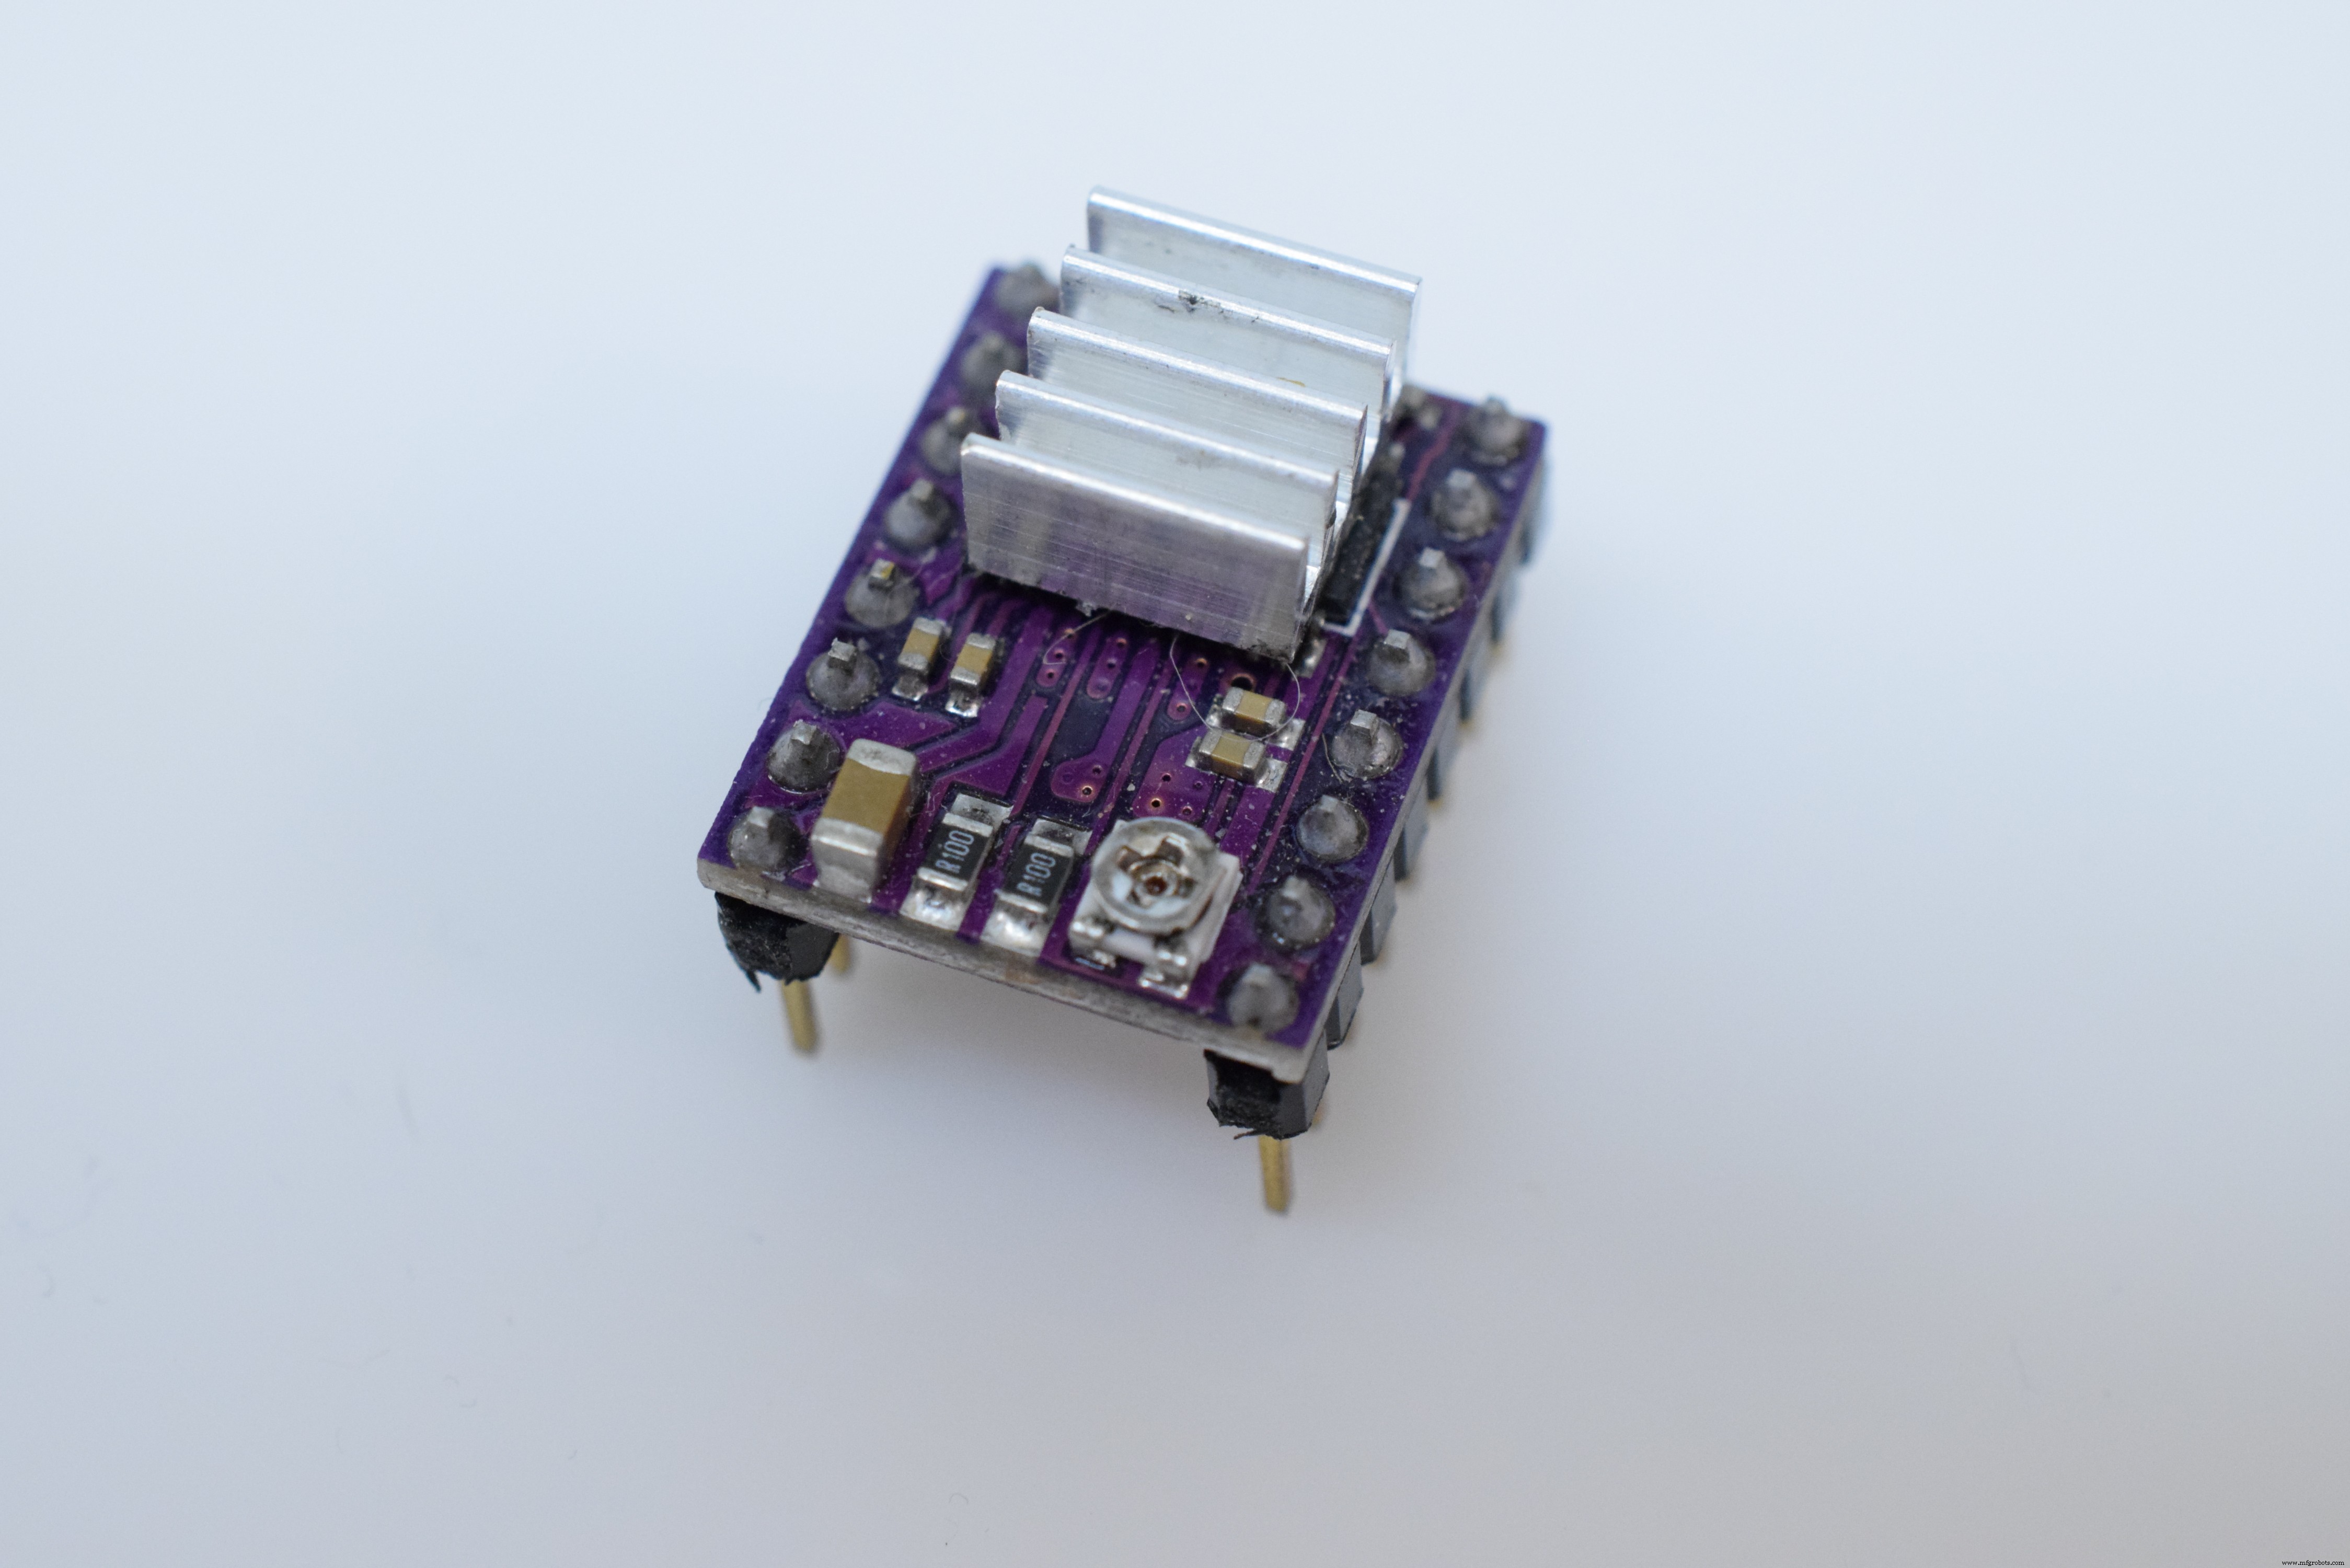
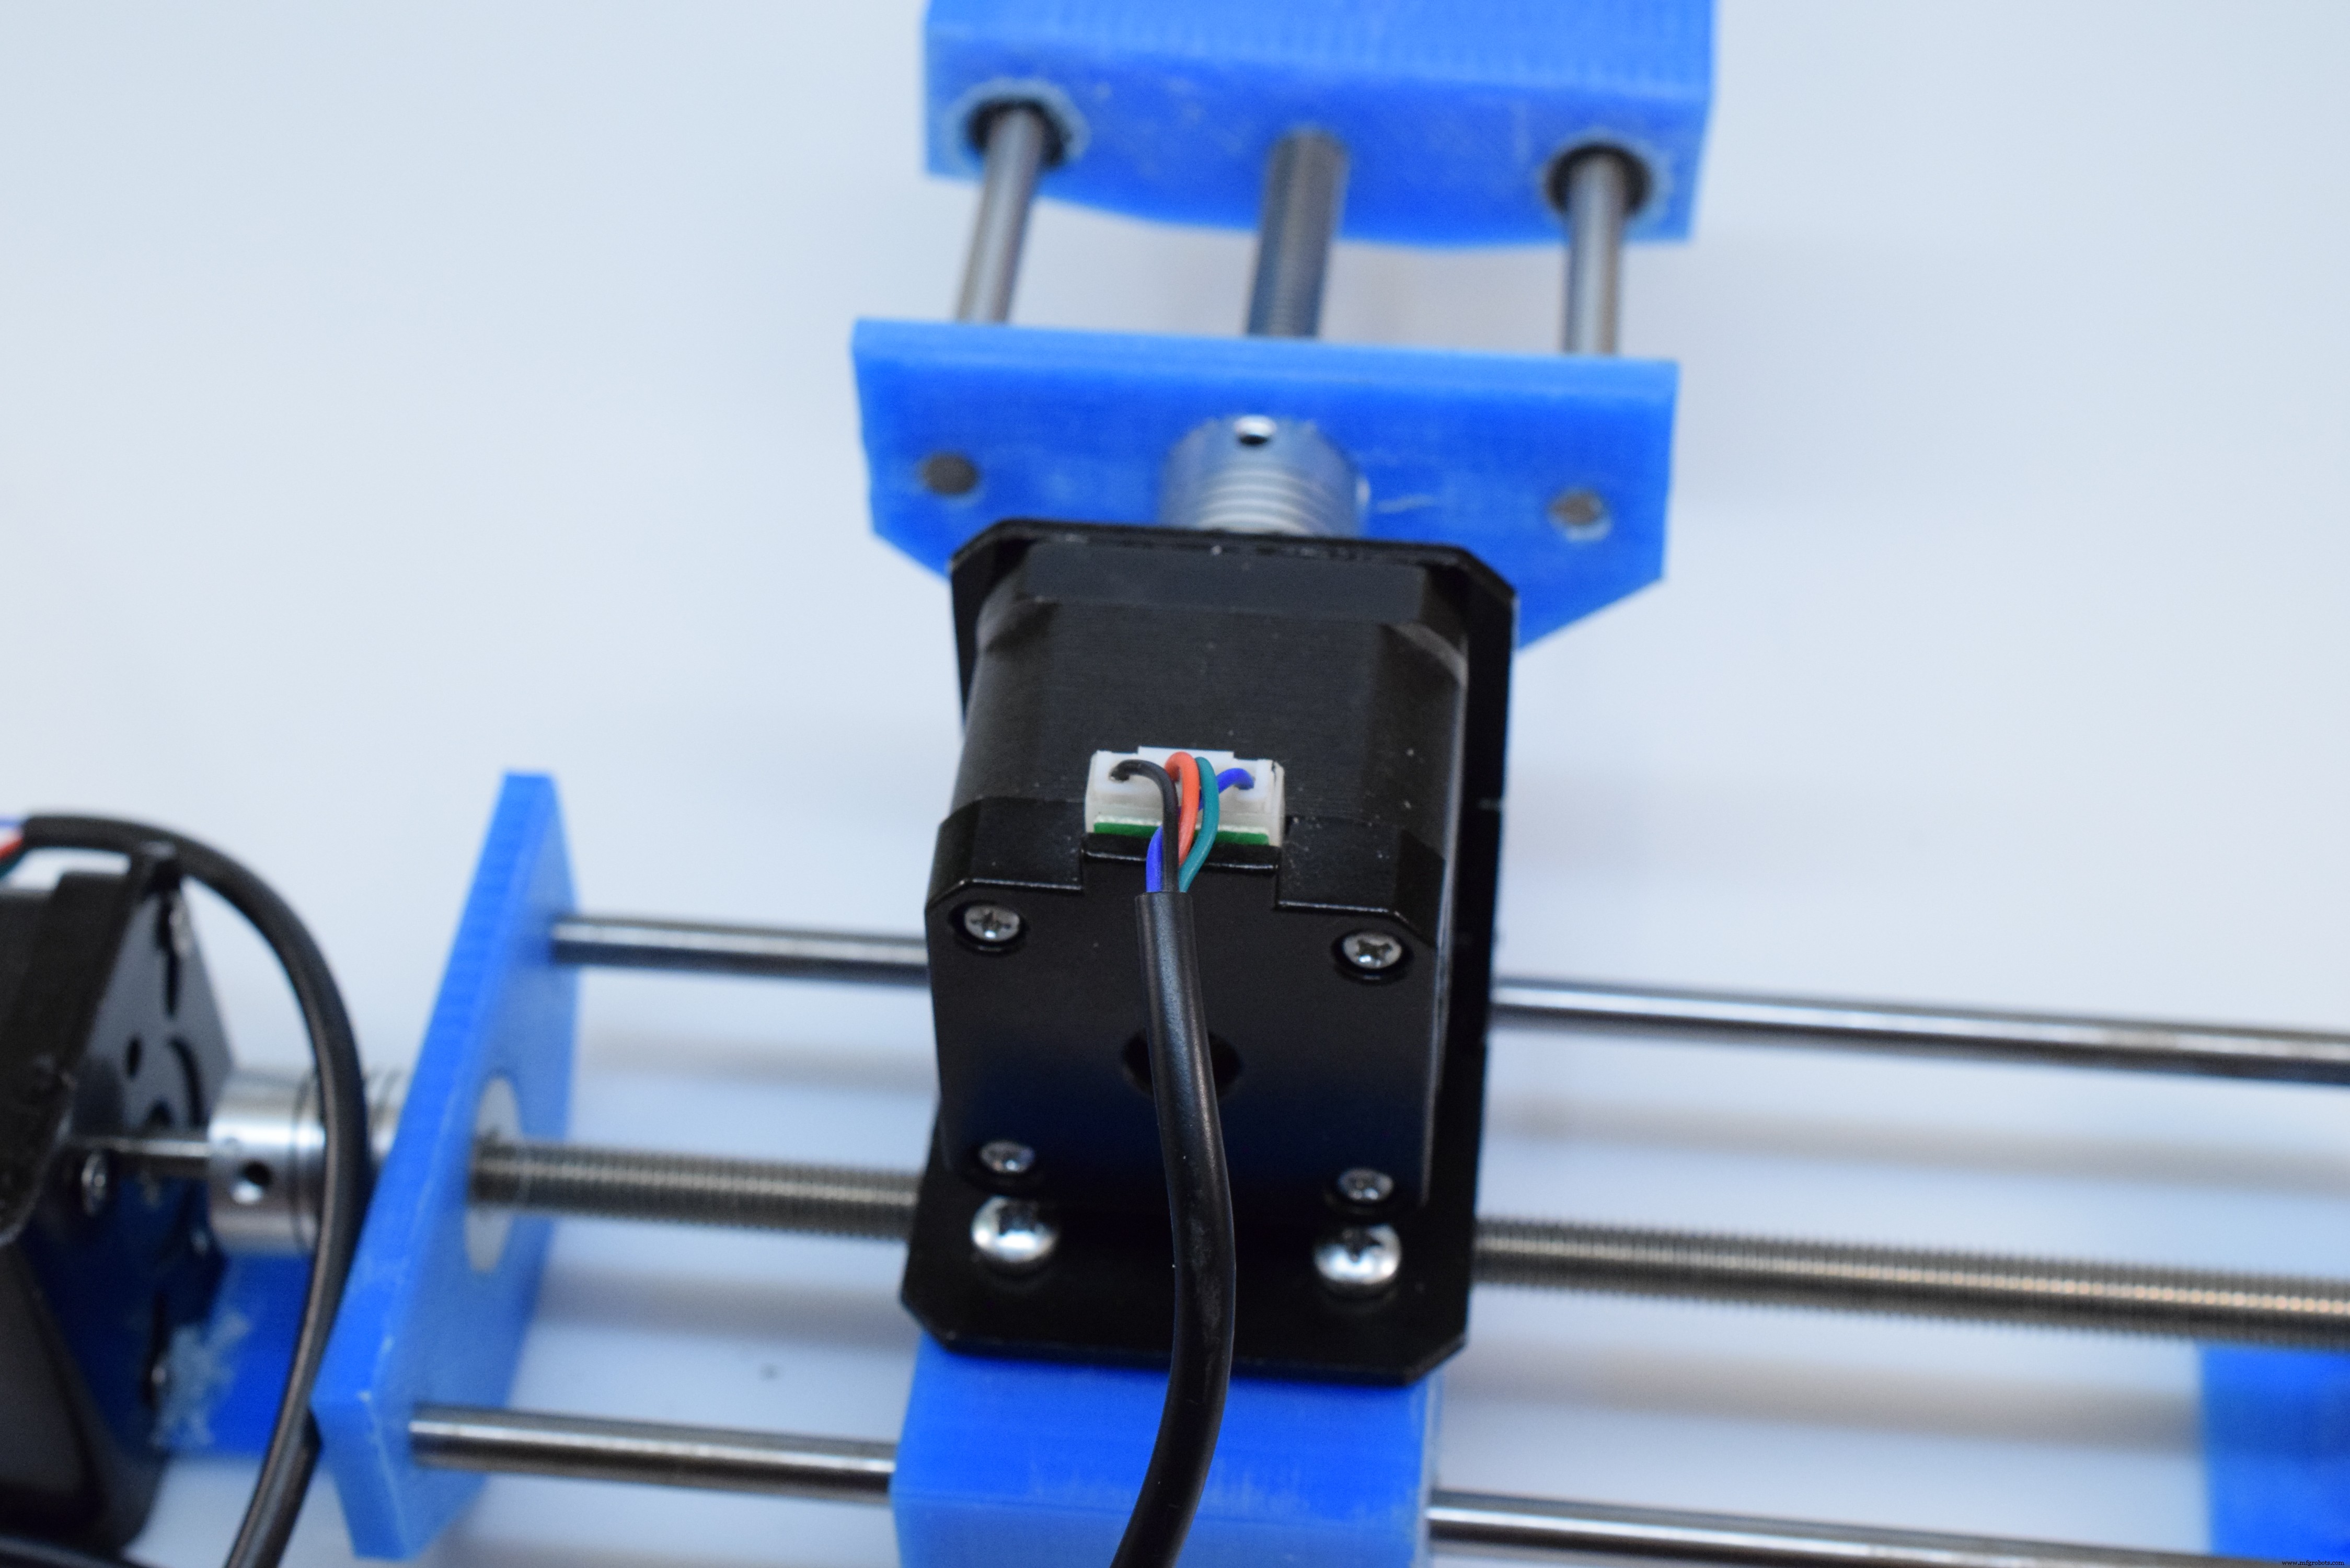
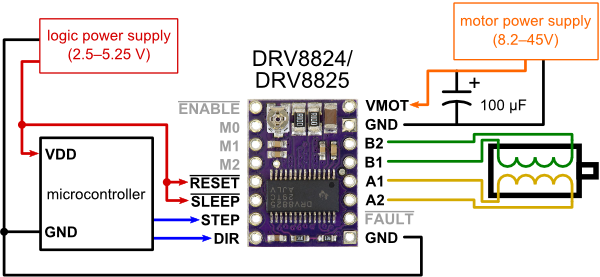
The HardwareThe brain of this project is the Arduino Nano 33 BLE Sense, and it was chosen for several reasons. First, it has a rich set of powerful sensors, including a 9DoF IMU, APDS-9960 (color, gesture, proximity, and brightness), microphone, and a temperature/humidity/pressure sensor combo. In order to move the board around the plant's leaf and take measurements, a pair of stepper motors are used in conjunction with a pair of DRV8825 driver boards.
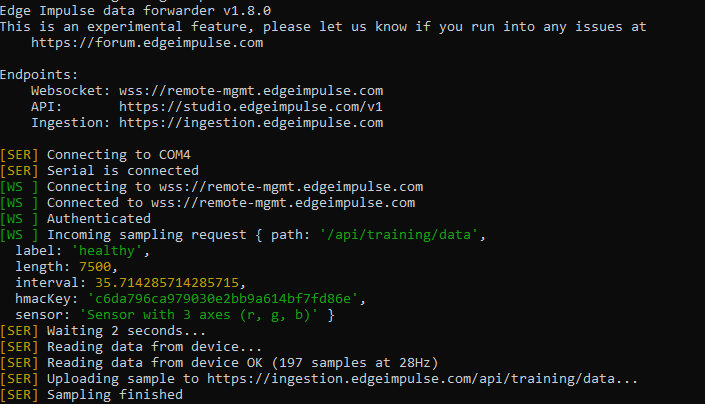
For this project, the builtin sensors listed for the Arduino Nano 33 BLE Sense on Edge Impulse won't work, since only the accelerator and microphone are listed. This means the data forwarder will have to be used instead of the serial daemon. To begin, I created a new project and named it. Next, I installed the Edge Impulse CLI by installing Node.js and NPM, and then running npm install -g edge-impulse-cli. You might need to add its install path to your PATH environment variable if it can't be found. Next, run edge-impulse-data-forwarder and make sure it works, then use Ctrl+C to exit.
The APDS-9960 reads color by bouncing infrared light off of the surface and reading the wavelengths that aren't absorbed by the material. To communicate with the sensor, it's best to install the Arduino APDS9960 library, which gives access to several useful functions. In the code, the APDS-9960 is first initialized and then the programs enters the loop function. In there, it waits until there is color data. If a reading is available, the color is read with APDS.readColor() along with the proximity to the surface. Each RGB component is converted from a 0-2^16-1 number into a ratio of its value over the sum.
Scanning the color of a leaf is accomplished by moving a rig in two axes to pass various locations of the leaf underneath the onboard APDS-9960. Each axis is moved by rotating a lead screw in either a clockwise or counterclockwise motion to translate a block in either direction. The whole system was designed in Fusion 360, and here are some renders of the design below:
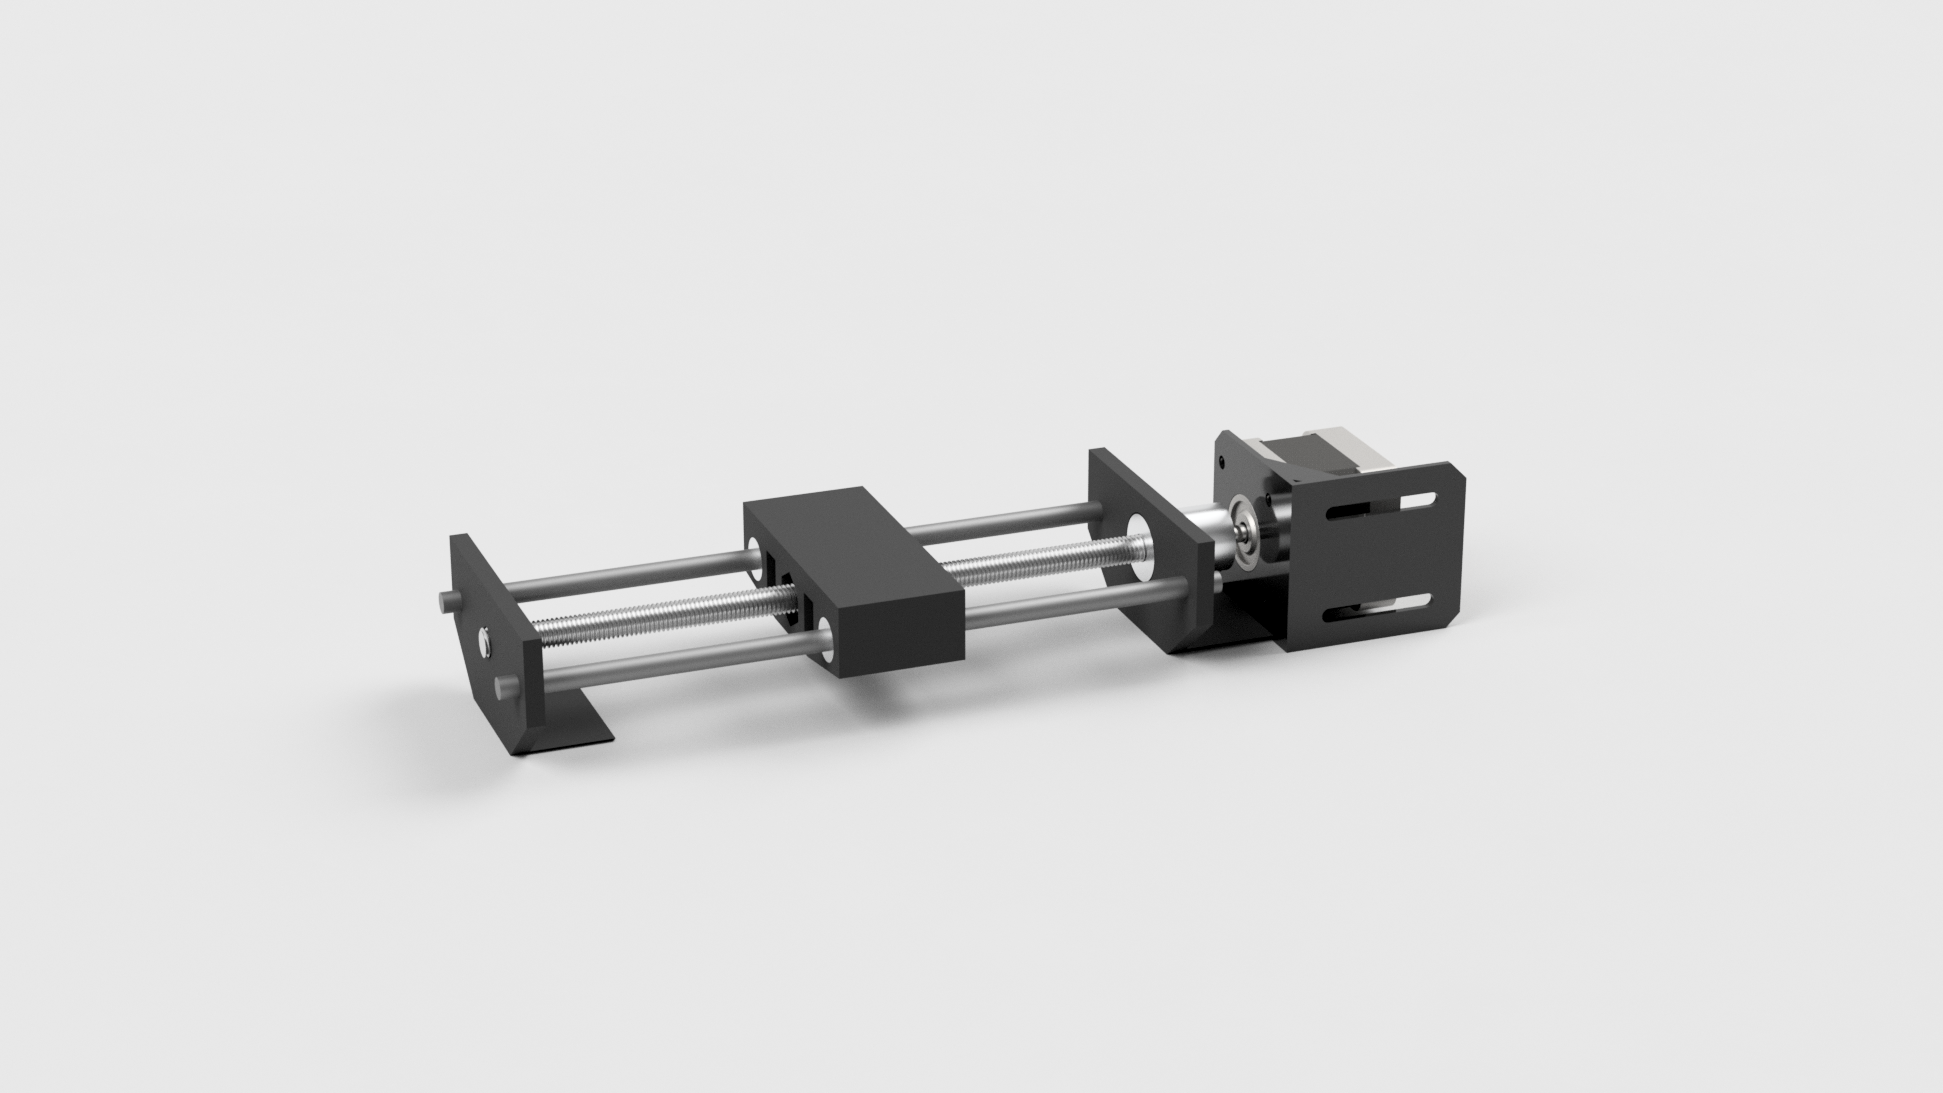
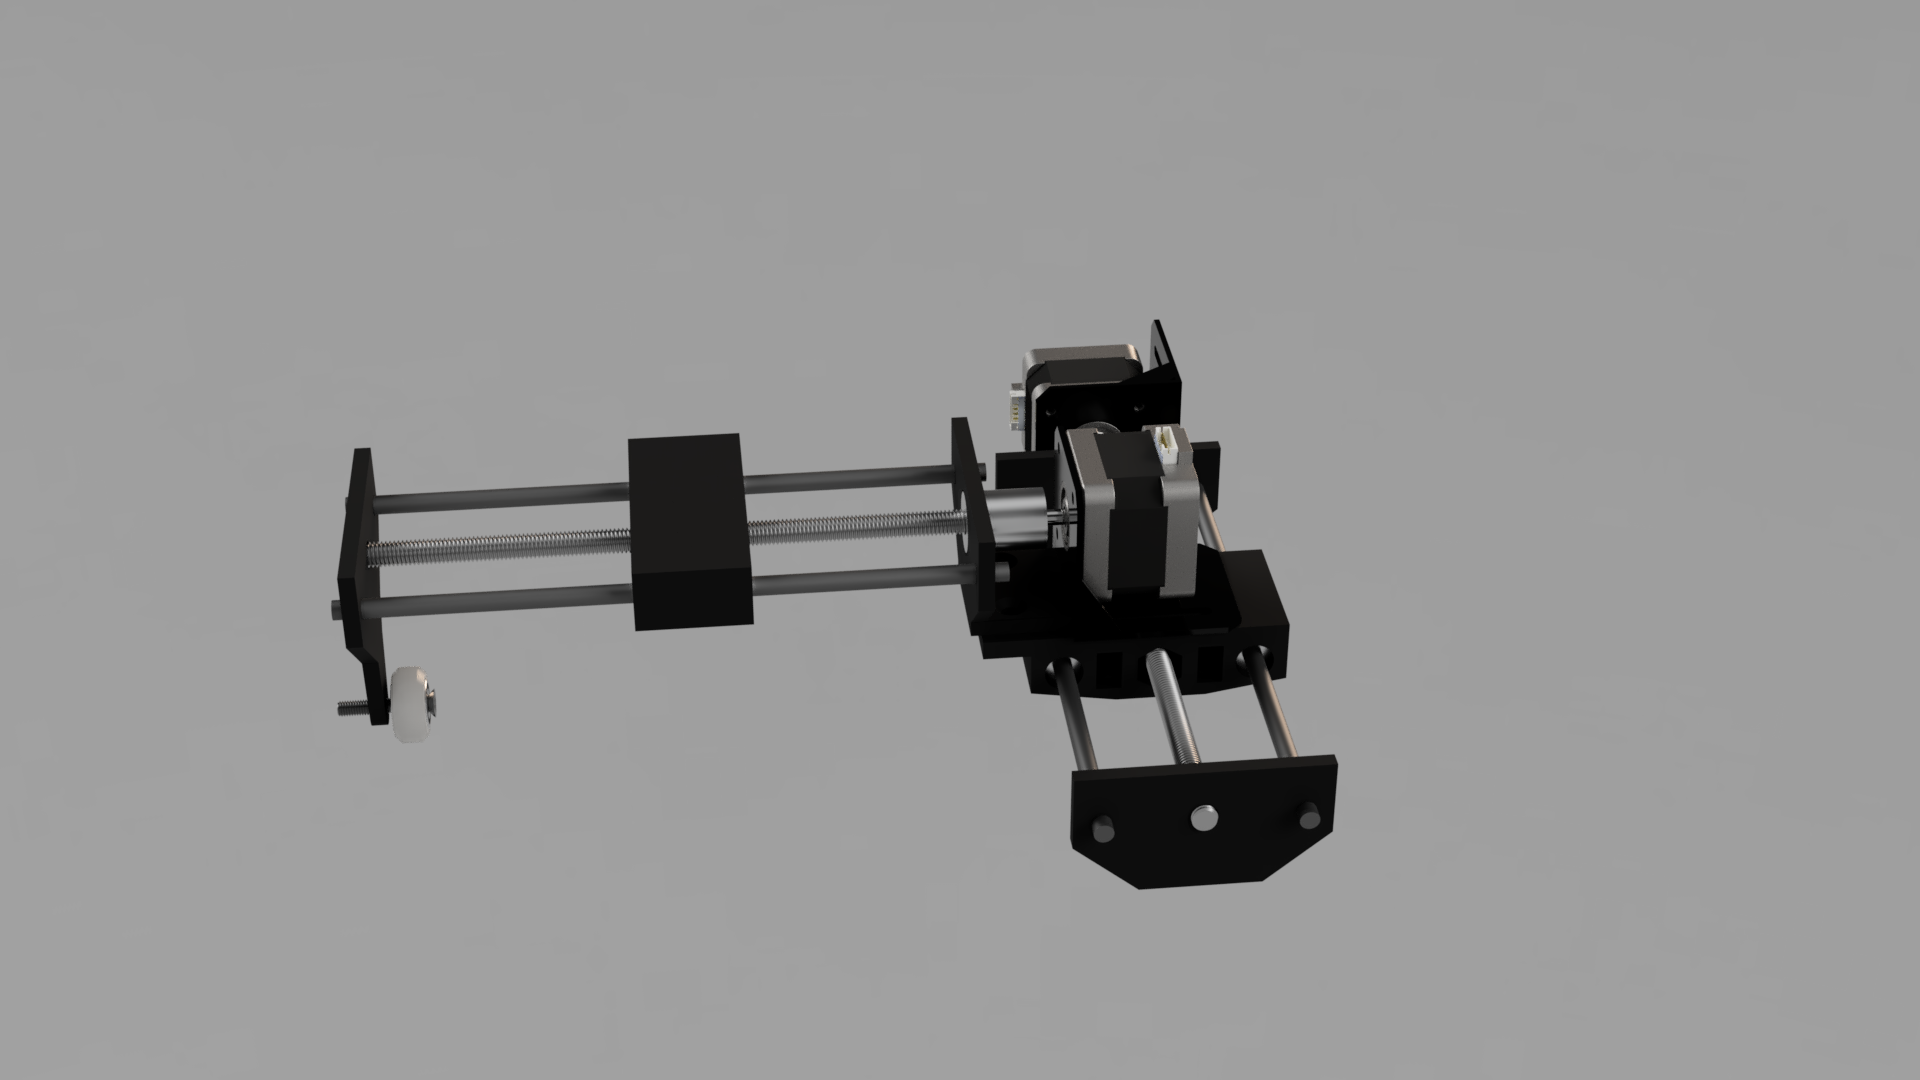
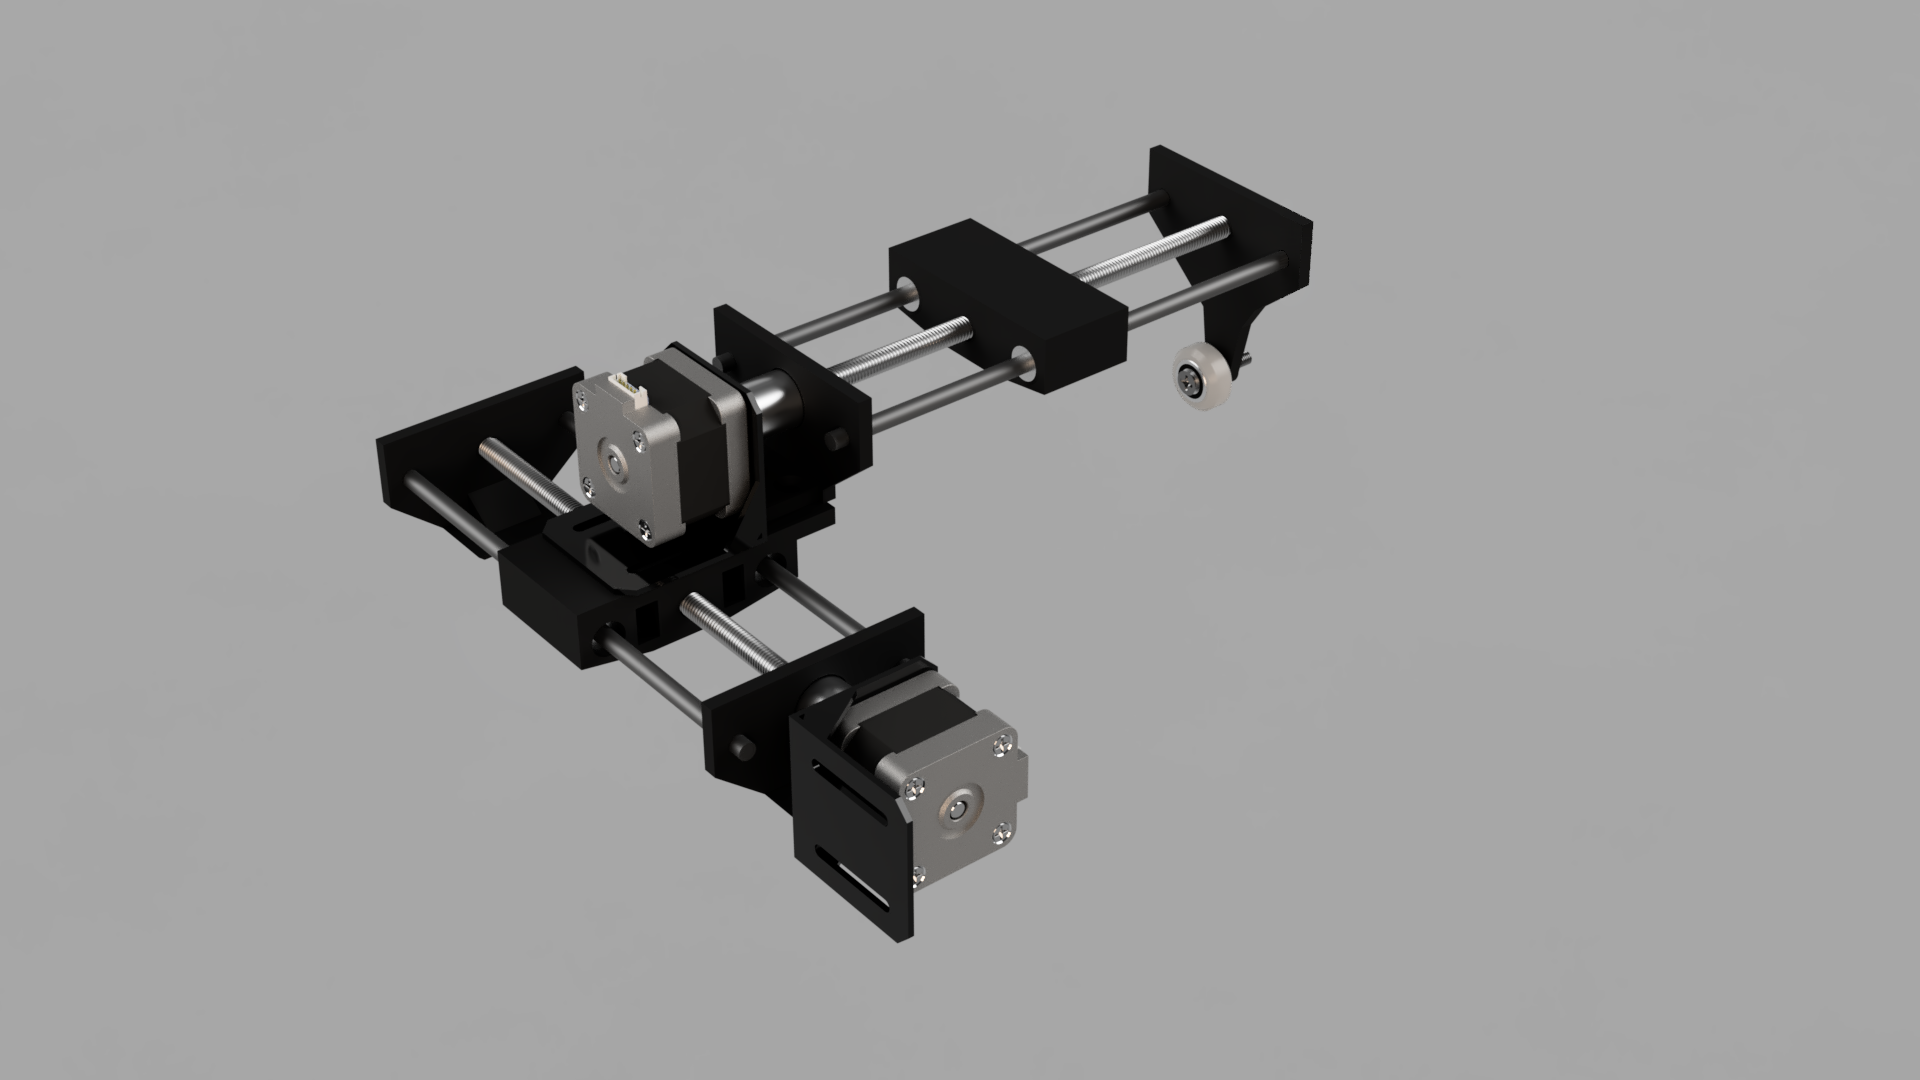
The X axis rests on top of the Y axis, letting the top block move in both axes. There is an additional V-wheel on the Y axis to support the weight of the stepper motor. Parts were printed using PLA plastic with around 45% infill.
When the system first starts up, the stepper motors don't know where they are, so the two axes home by moving to the origin step-by-step until they hit the limit switch. Next, the APDS-9960 is initialized. There is a bounding box that is defined as two two-element arrays that contain opposite corners of a box. A random point is chosen between these two locations, and then the steppers are run to that position while reading the colors in between.
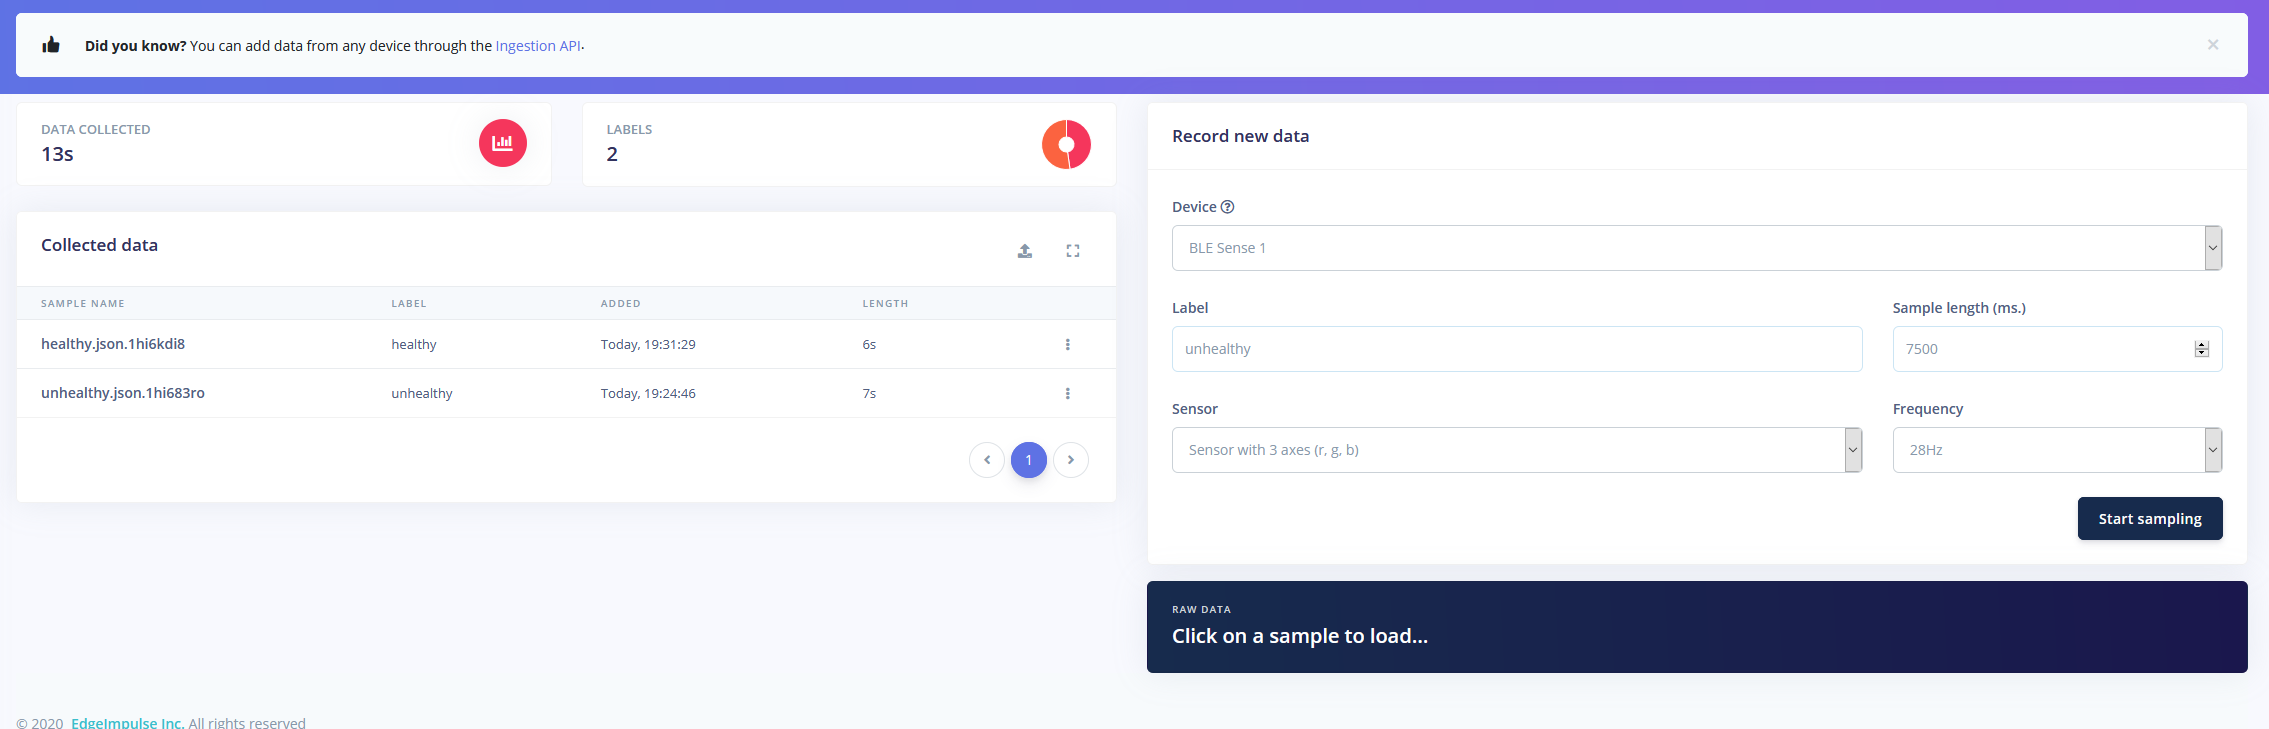
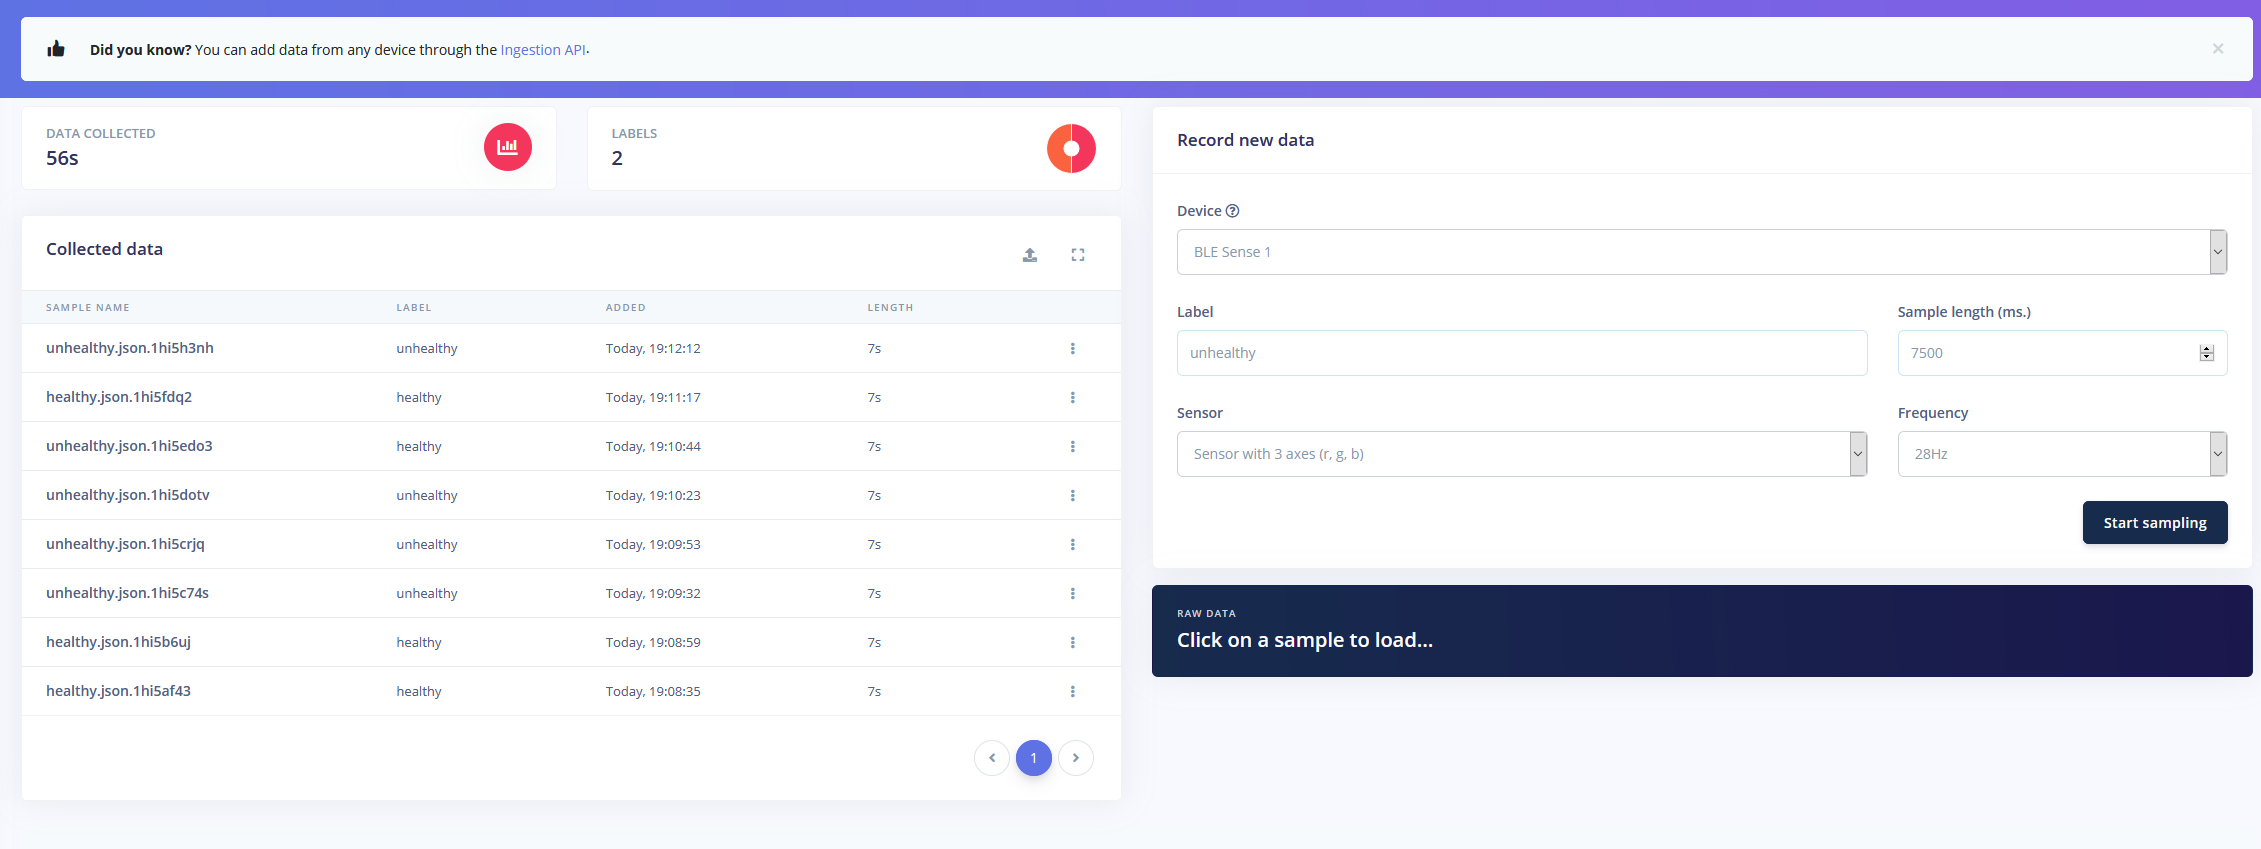
Processing and Sending the Color InformationColors are read with APDS.readColor(), as previously mentioned. After the sum is calculated, a percentage is calculated and then sent via USB by calling the Serial.printf() method. Values are separated by commas, and each reading is separated by a newline character. When the data is received by the data forwarder program, it is sent to the Edge Impulse cloud project as training data with the given label (as either healthy or unhealthy).
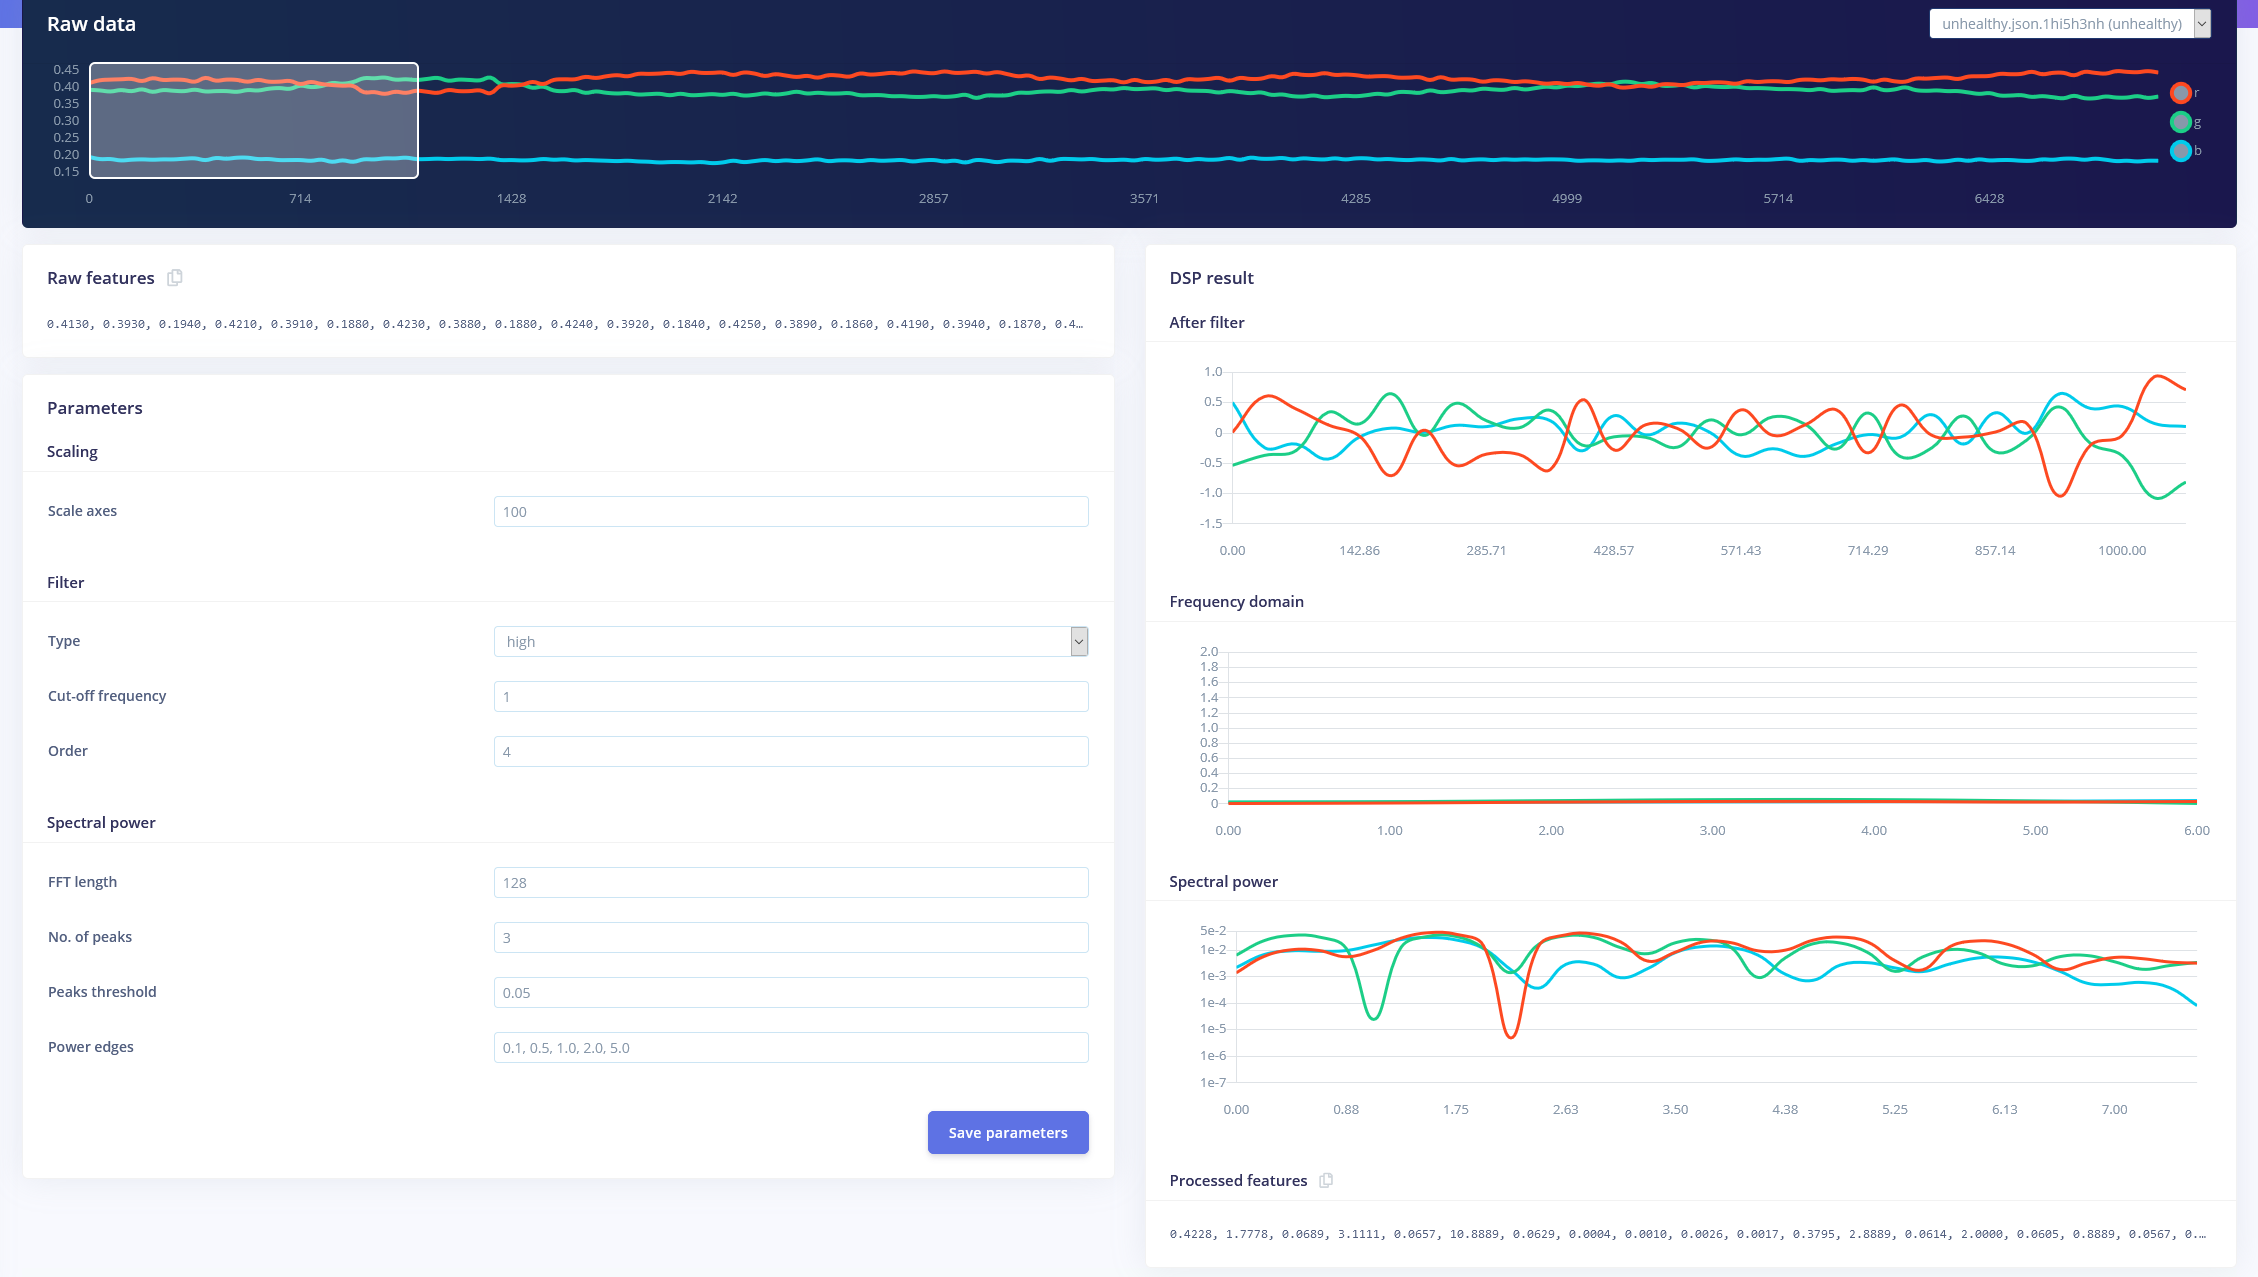
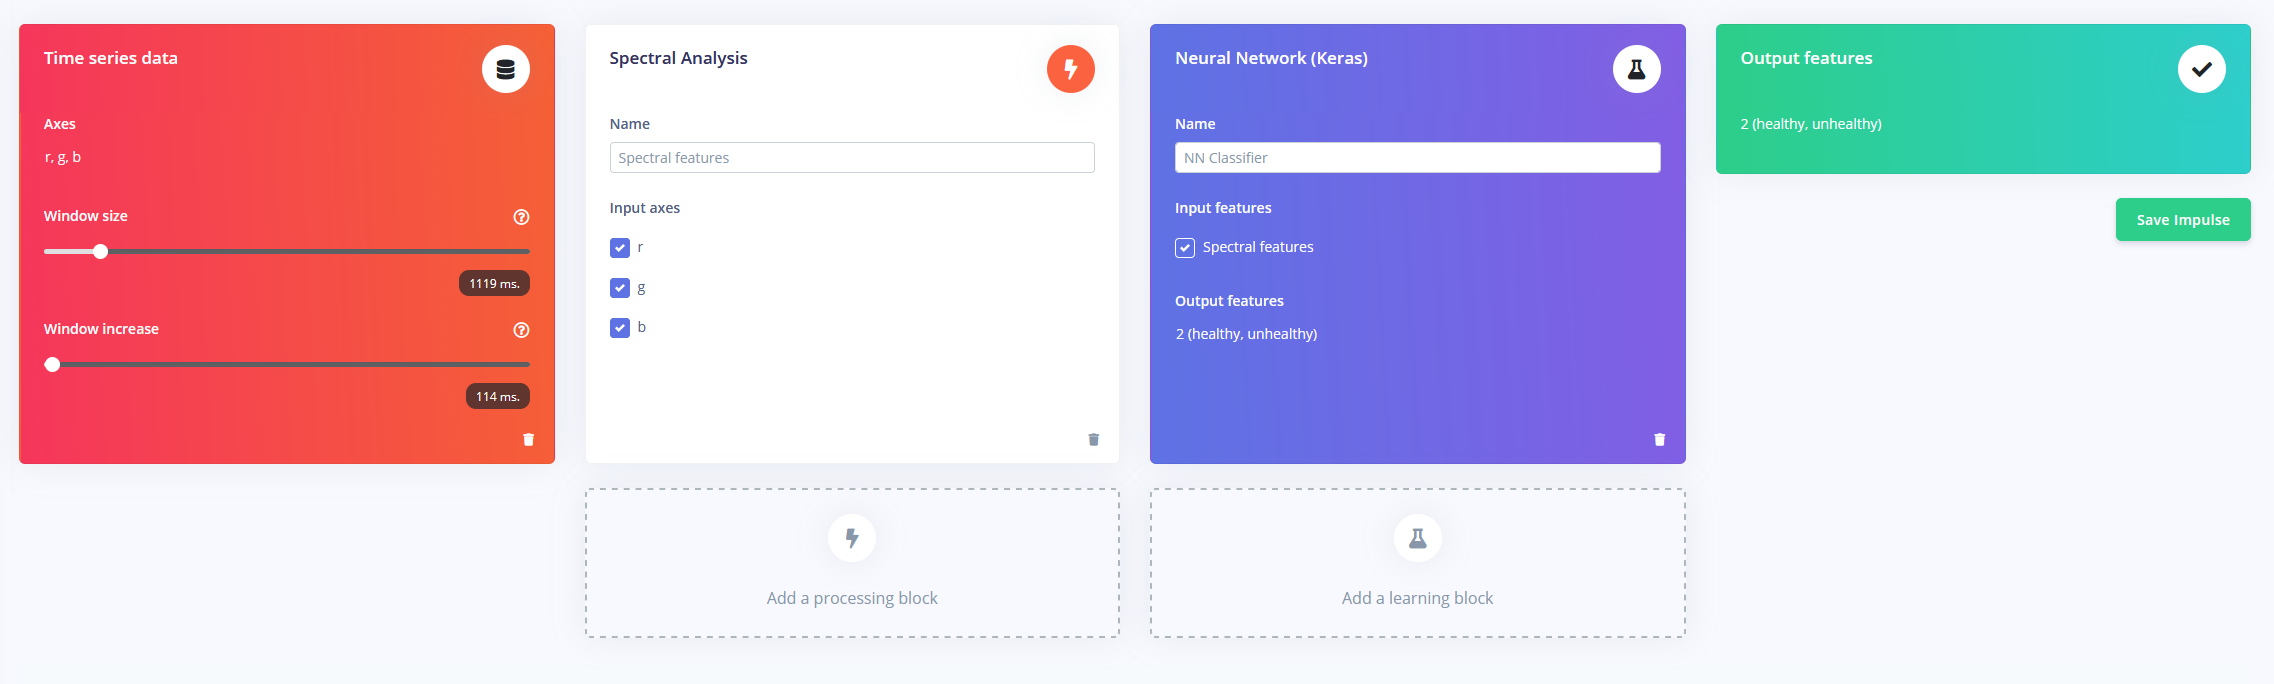
After all of the training data has been collected, it's time to make a model that can differentiate between healthy and unhealthy leaves. I used an impulse comprised of the three-axis time series, a spectral analysis block, and a Keras block. You can see the screenshot below for how I generated the features from the data:
To test my new model, I gathered some new test data, this time of an unhealthy leaf. The accuracy of the model was around 63%, and after sending through some testing features, it was able to correctly classify the leaf most of the time.
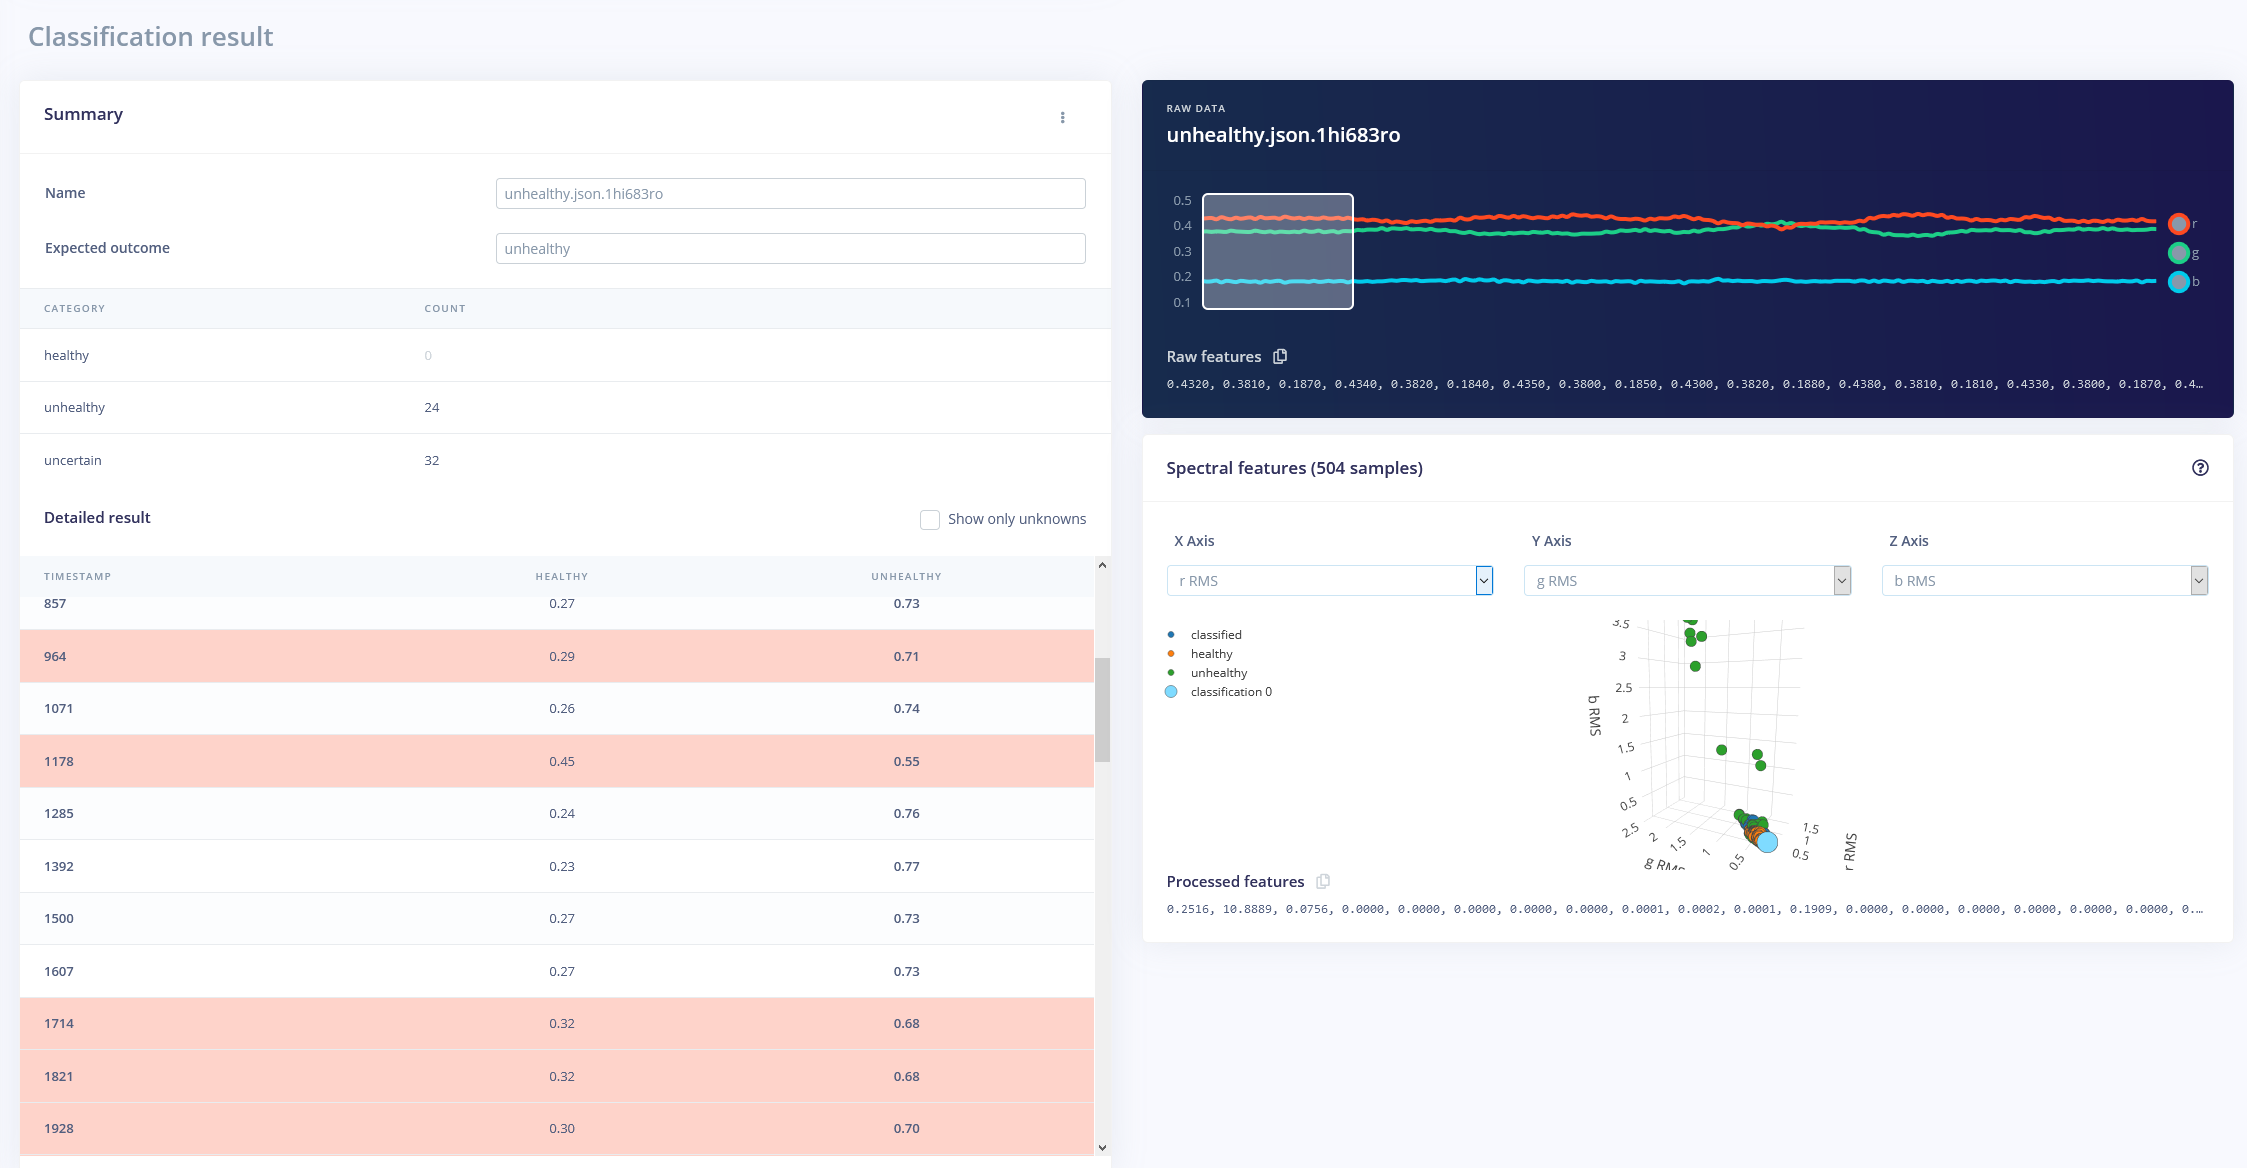
This accuracy can be improved by adding more training data and slowing down the training speed.
Code
- leafReader.ino
- pinDefs.h
leafReader.inoC/C++
#include <Arduino_APDS9960.h>
#include <AccelStepper.h>
#include <MultiStepper.h>
#include "pinDefs.h"

int r, g, b, c, p;
float sum;

AccelStepper xStepper(AccelStepper::DRIVER, STEPPER_1_STEP, STEPPER_1_DIR);
AccelStepper yStepper(AccelStepper::DRIVER, STEPPER_2_STEP, STEPPER_2_DIR);

MultiStepper steppers;

// a random location will be chosen within the bounding box
const long boundingBox[2][2] =
{
    {0, 0},
    {40, 40}
};

void setup()
{
    Serial.begin(115200);
    while(!Serial);

    if(!APDS.begin()) {
        Serial.println("Could not init APDS9960");
        while(1);
    }

    pinMode(X_AXIS_HOMING_SW, INPUT_PULLUP);
    pinMode(Y_AXIS_HOMING_SW, INPUT_PULLUP);
    //Serial.println(digitalRead(X_AXIS_HOMING_SW) + digitalRead(Y_AXIS_HOMING_SW));

    xStepper.setPinsInverted(X_AXIS_DIR);
    yStepper.setPinsInverted(Y_AXIS_DIR);

    xStepper.setMaxSpeed(150);
    yStepper.setMaxSpeed(150);

    steppers.addStepper(xStepper);
    steppers.addStepper(yStepper);
    homeMotors();
}

void loop()
{
    long randomPos[2];
    randomPos[0] = random(boundingBox[0][0], boundingBox[1][0]) * STEPS_PER_MM;
    randomPos[1] = random(boundingBox[0][1], boundingBox[1][1]) * STEPS_PER_MM;

    steppers.moveTo(randomPos);
    while(steppers.run())
    {
        if(!APDS.colorAvailable() || !APDS.proximityAvailable()){}
        else {
            APDS.readColor(r, g, b, c);
            sum = r + g + b;
            p = APDS.readProximity();

            if(!p && c > 10 && sum >= 0)
            {
                float rr = r / sum, gr = g / sum, br = b / sum;
                Serial.printf("%1.3f,%1.3f,%1.3f\n", rr, gr, br);
            }
        }
    }
}

void homeMotors()
{
    // home x
    //Serial.println("Now homing x");
    while(digitalRead(X_AXIS_HOMING_SW))
        xStepper.move(-1);
    // home y
    //Serial.println("Now homing y");
    while(digitalRead(Y_AXIS_HOMING_SW))
        yStepper.move(-1);
    xStepper.setCurrentPosition(0);
    yStepper.setCurrentPosition(0);
}
pinDefs.hC/C++
#define STEPPER_1_STEP 2
#define STEPPER_1_DIR 3
#define STEPPER_2_STEP 4
#define STEPPER_2_DIR 5
#define X_AXIS_HOMING_SW 6
#define Y_AXIS_HOMING_SW 7

// true if inverted
#define X_AXIS_DIR false
#define Y_AXIS_DIR false

#define MICROSTEPS 1

#define STEPS_PER_MM 160 * MICROSTEPS
Custom parts and enclosures
Parts to 3D Print
CAD file on thingiverse.comSchematics
Manufacturing process
- Build a Smart Piggy Bank: Control a Coin Acceptor with Arduino Nano
- Control an LED via Bluetooth with Arduino – Simple DIY Guide
- Control Two Stepper Motors with Arduino Nano & Joystick – Simple Tutorial
- Accurate Solar Radiation Measurement Using Arduino UNO and Ethernet Shield
- Detect Coughs with TinyML on Arduino Nano for Early Flu Detection
- Arduino‑Powered HID UPS: Upgrade Your Dummy Power Supply to USB‑Compatible Backup
- Build an IR Sensor Project with Arduino UNO – Simple Guide
- Wi‑Fi Controlled FPV Rover Robot with Arduino & ESP8266 – DIY Guide
- Master Stepper Motor Control with Arduino & A4988 Driver – Step-by-Step Guide
- Master the 28BYJ-48 Stepper Motor: A Complete Arduino Integration Guide