


Accurate Solar Radiation Measurement Using Arduino UNO and Ethernet Shield
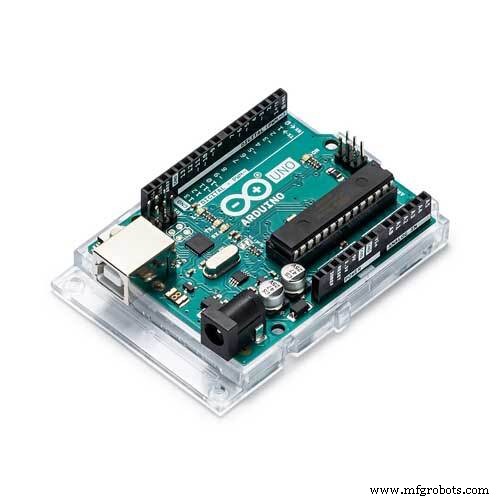
Components and supplies
 |
| × | 1 | |||
 |
| × | 1 | |||
| × | 1 | ||||
 |
| × | 1 |
Necessary tools and machines
|
About this project
AboutThere are a lot of sensors available for measuring all sorts of weather conditions like temperature, humidity, light intensity etc., but there are no easily available sensors for measuring amounts of solar radiation. This is because solar radiation can be difficult to measure, even though we feel it every day on our skin.
Solar irradiance is the power per unit area received from the Sun in the form of electromagnetic radiation in the wavelength range of the measuring instrument. The wide range of the Sun's wavelength is another factor that makes it difficult to measure.
The instrument for measuring solar radiation is called a Pyranometer. Pyranometers can cost anywhere from $200 -$800, even from Chinese suppliers, making them inaccessible for the average hobbyist. You can read more about them here: https://en.wikipedia.org/wiki/Pyranometer
I was recently looking into buying a solar panel for my home and wanted to know if it would be worthwhile and so wanted to estimate the amount of solar energy available where I live.
I wasn't interested in buying a Pyranometer so I thought I could save some money and have some fun at the same time by making my own.
This is how I came to make my own cool gadget that is a lot cheaper and it can help estimate the amount of Solar Radiation. It uses some easily accessible components and the Arduino for the calculations. I got most of my component from Chinavasion but there are plenty of other places you can source the tools and equipment as all are commonly available.
Setup1. Your solar cell should have 2 wires, one ground (black) and the other live (red). If you have different color codes or you cannot differentiate them, check with your multimeter. Connect the probes of your multimeter to both wires, if the voltage displayed is positive , then the wire to which your black multimeter probe is connected is the ground, while the red one is live, if the voltage is negative, It is the other way around.
2. Connect the ground wire of your solar cell to the Arduino ground and the VCC wire to any analog pin through the resistor we have chosen. For this project we will use analog pin A0. The resistor is very important for our calculations as we expect it to be many times greater than the internal resistance of the cell.
That is all we need for now. Moving over to the coding part. Solar cells generate energy by converting solar energy from the Sun into electrical energy, the higher the energy (radiation and light energy) from the Sun. The higher the voltage produced will be. We will use this directly proportional relationship to estimate the solar Radiation.
The following parameters will be needed:
- Arduino Analog Reference voltage = 5V (Maybe different on your Board)
- Maximum Voltage output of your solar cell ( This will vary depending on the solar panel you are using, you have to check to confirm this as it is very essential to our calculation, for the average calculator solar cell it is around 5V).
- Dimension of solar cell. You can measure this using a ruler (length and with or any parameters you need to find the area).
So we will estimate our solar radiation by calculating power from the solar cell and dividing by its area.
- Power = pow (analogRead(A0), 2) / Resistance
- Area = length * width ( assuming we have a rectangle )
- solar radiation = power / area
Here is the sample code below:
/*------------------------------------------------------------------------------------------------------------------------*/
#define ANALOG_PIN A0 // Analog pin
#define RESISTANCE 10 // Resistance in thousands of ohms
#define PANEL_LENGTH 60 // Length of solar cell in mm
#define PANEL_WIDTH 20 // Width of solar cell in mm
volatile float Area;
volatile float Power;
volatile float Radiation;
/*
* Main Setup function
*/
void setup() {
// Begin serial communication
Serial.begin(9600);
while(!Serial);
delay(100);
}
/*
* Main Setup function
*/
void loop() {
Area = PANEL_LENGTH * PANEL_WIDTH / (100*100); // we are dividing by 10000 get the area in square meters
Power = pow(analogRead( ANALOG_PIN ), 2) / RESISTANCE ; // Calculating power
Radiation = Power / Area;
char *msg;
sprintf(msg, " The Solar Radiation is %f W/M2 ", Radiation); // Generating message to be printed
Serial.println(msg);
delay(1000);
}
/*----------------------------------------------------------------------------------------------------------------------------*/
Average Irradiance values for a normal day can range from 150 to 300 W/M2. But this will vary widely depending on your location. It can get as high as 900 on a sunny day or in areas around the equator.
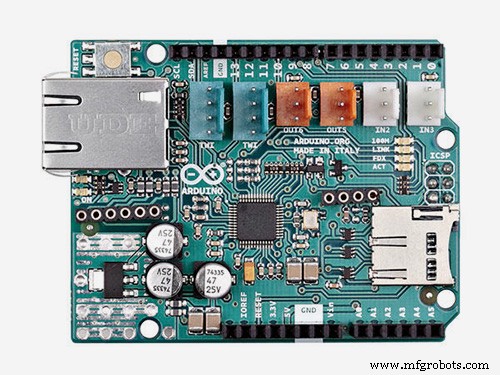
To add internet functionality, we can use the Ethernet shield. We do not have to make any other new connections, just mount the shield on the Arduino and place the pins in their corresponding positions on the shield (i.e. pin 1 on the Arduino remains pin 1 on the shield)
Code
- sample code for Pyranometer
- Ethernet function code
sample code for PyranometerArduino
#define ANALOG_PIN A0 // Analog pin#define RESISTANCE 10 // Resistance in thousands of ohms
#define PANEL_LENGTH 60 // Length of solar cell in mm
#define PANEL_WIDTH 20 // Width of solar cell in mm
volatile float Area;
volatile float Power;
volatile float Radiation;
/*
* Main Setup function
*/
void setup() {
// Begin serial communication
Serial.begin(9600);
while(!Serial);
delay(100);
}
/*
* Main Setup function
*/
void loop() {
Area = PANEL_LENGTH * PANEL_WIDTH / (100*100); // we are dividing by 10000 get the area in square meters
Power = pow(analogRead( ANALOG_PIN ), 2) / RESISTANCE ; // Calculating power
Radiation = Power / Area;
char *msg;
sprintf(msg, " The Solar Radiation is %f W/M2 ", Radiation); // Generating message to be printed
Serial.println(msg);
delay(1000);
}
No preview (download only).
Ethernet function codeArduino
#include <SPI.h>#include <Ethernet.h>
#define ANALOG_PIN A0 // Analog pin
#define RESISTANCE 10 // Resistance in thousands of ohms
#define PANEL_LENGTH 60 // Length of solar cell in mm
#define PANEL_WIDTH 20 // Width of solar cell in mm
volatile float Area;
volatile float Power;
volatile float Radiation;
// Enter a MAC address and IP address for your controller below.
// The IP address will be dependent on your local network:
byte mac[] = {
0xDE, 0x0D, 0x8E, 0xEF, 0xFE, 0xED
};
IPAddress ip(192, 168, 1, 177);
// Initialize the Ethernet server library
// with the IP address and port you want to use
// (port 80 is default for HTTP):
EthernetServer server(80);
void setup() {
// Open serial communications and wait for port to open:
Serial.begin(9600);
while (!Serial) {
; // wait for serial port to connect. Needed for native USB port only
}
// start the Ethernet connection and the server:
Ethernet.begin(mac, ip);
server.begin();
Serial.print("server is at ");
Serial.println(Ethernet.localIP());
}
void loop() {
Area = PANEL_LENGTH * PANEL_WIDTH / (100*100); // we are dividing by 10000 get the area in square meters
Power = pow(analogRead( ANALOG_PIN ), 2) / RESISTANCE ; // Calculating power
Radiation = Power / Area;
char *msg;
sprintf(msg, " The Solar Radiation is %f W/M2 ", Radiation); // Generating message to be printed
// listen for incoming clients
EthernetClient client = server.available();
if (client) {
Serial.println("new client");
// an http request ends with a blank line
boolean currentLineIsBlank = true;
while (client.connected()) {
if (client.available()) {
char c = client.read();
Serial.write(c);
// if you've gotten to the end of the line (received a newline
// character) and the line is blank, the http request has ended,
// so you can send a reply
if (c == '\n' && currentLineIsBlank) {
// send a standard http response header
client.println("HTTP/1.1 200 OK");
client.println("Content-Type: text/html");
client.println("Connection: close"); // the connection will be closed after completion of the response
client.println("Refresh: 5"); // refresh the page automatically every 5 sec
client.println();
client.println("<!DOCTYPE HTML>");
client.println("<html>");
/*
* Send message to client
*/
client.print(msg);
client.println("<br />");
client.println("</html>");
break;
}
if (c == '\n') {
// you're starting a new line
currentLineIsBlank = true;
} else if (c != '\r') {
// you've gotten a character on the current line
currentLineIsBlank = false;
}
}
}
// give the web browser time to receive the data
delay(1);
// close the connection:
client.stop();
Serial.println("client disconnected");
}
}
No preview (download only).
Schematics
Schematic of solar panel, resistor and connections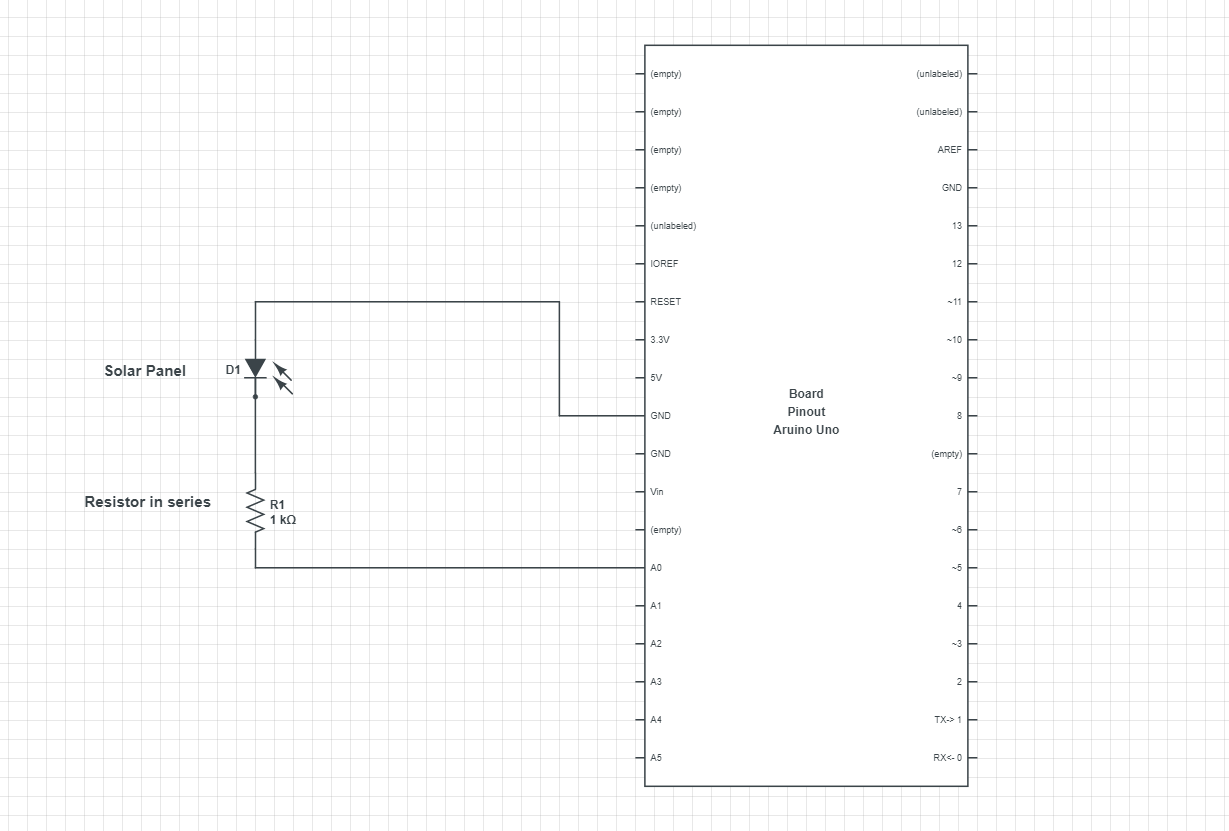
Manufacturing process
- Measuring Temperature on Raspberry Pi with Maxim 1‑Wire Sensors and DS2482 I2C Bridge
- Build a Smart Piggy Bank: Control a Coin Acceptor with Arduino Nano
- Control an LED via Bluetooth with Arduino – Simple DIY Guide
- Solar Tracker V2.0 – Advanced DIY Solar Panel Tracking System
- Build a Precise DIY Measuring Wheel with Arduino Nano & Rotary Encoder
- Arduino‑Powered HID UPS: Upgrade Your Dummy Power Supply to USB‑Compatible Backup
- Build a Portable RFID Door Lock with Arduino – Step-by-Step Guide
- DIY Arduino Height Measurement Device – Accurate & Easy to Build
- Arduino-Based MPPT Solar Charger for Optimal PV Power Harvesting
- Build an IR Sensor Project with Arduino UNO – Simple Guide