


Automated Office Plant Watering System with Arduino, WiFi & IFTTT
Components and supplies
 |
| × | 1 | |||
 |
| × | 1 | |||
 |
| × | 1 | |||
| × | 1 |
Apps and online services
 |
| |||
| ||||
|
About this project
MotivationHere at Andium, we're super excited to have finally moved into our new office space. We've been decking it out with walls covered in whiteboards, new shiny tech, and all the comforts of home. It especially started to feel like home when we placed a handful of these green leafy friends throughout the space!
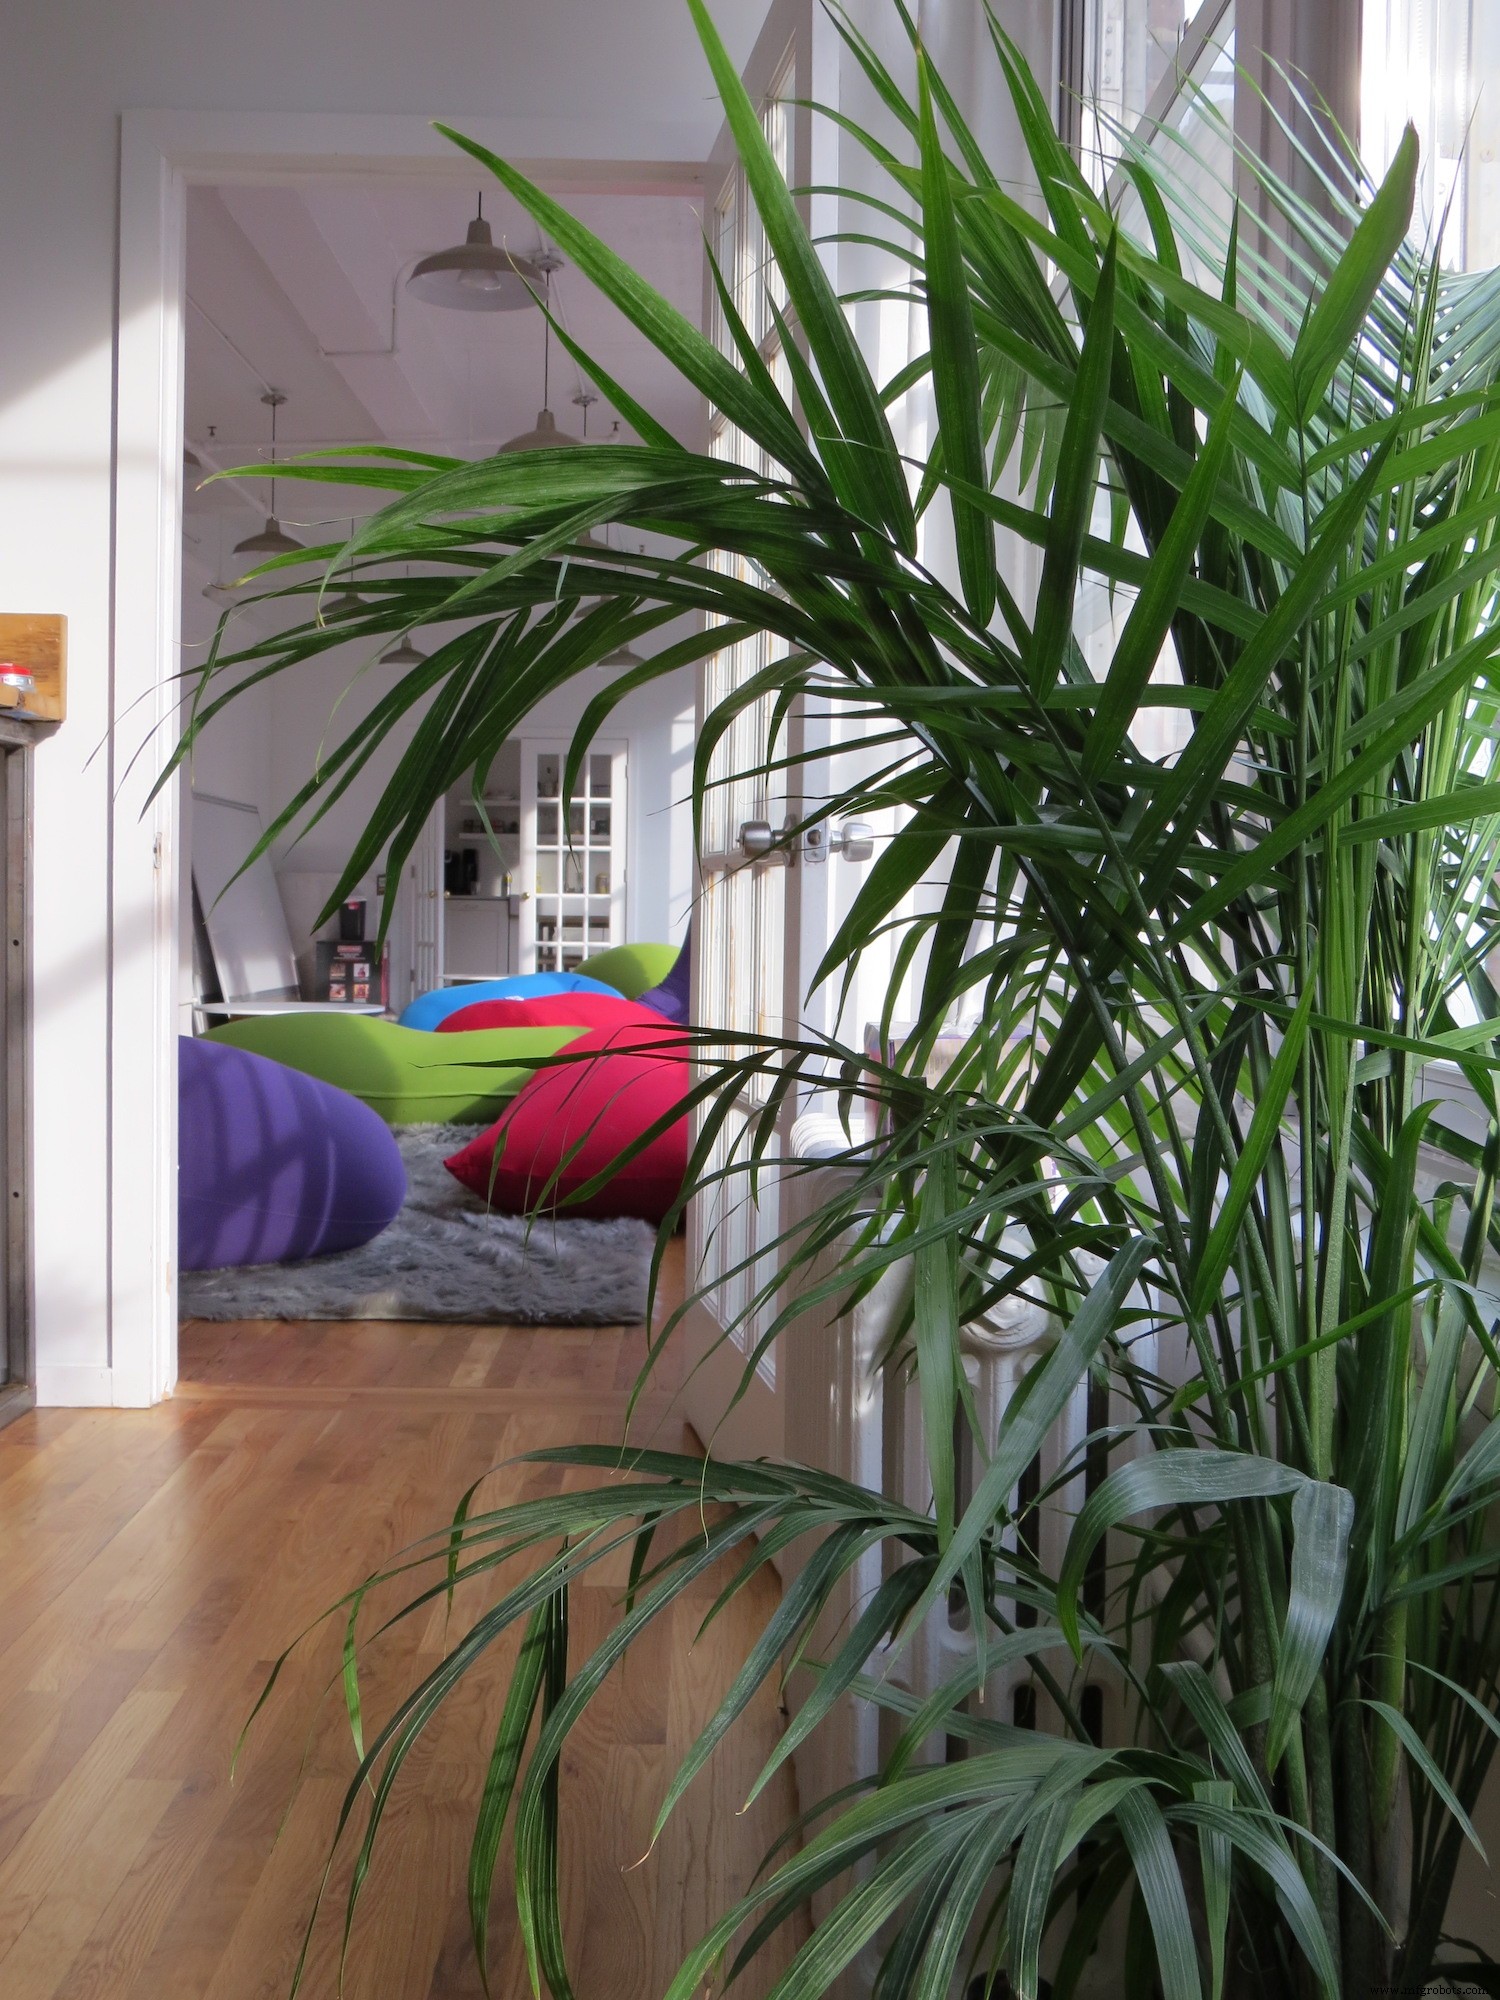
Only we forgot to water them and within a week or so our leafy friends started to look like this...
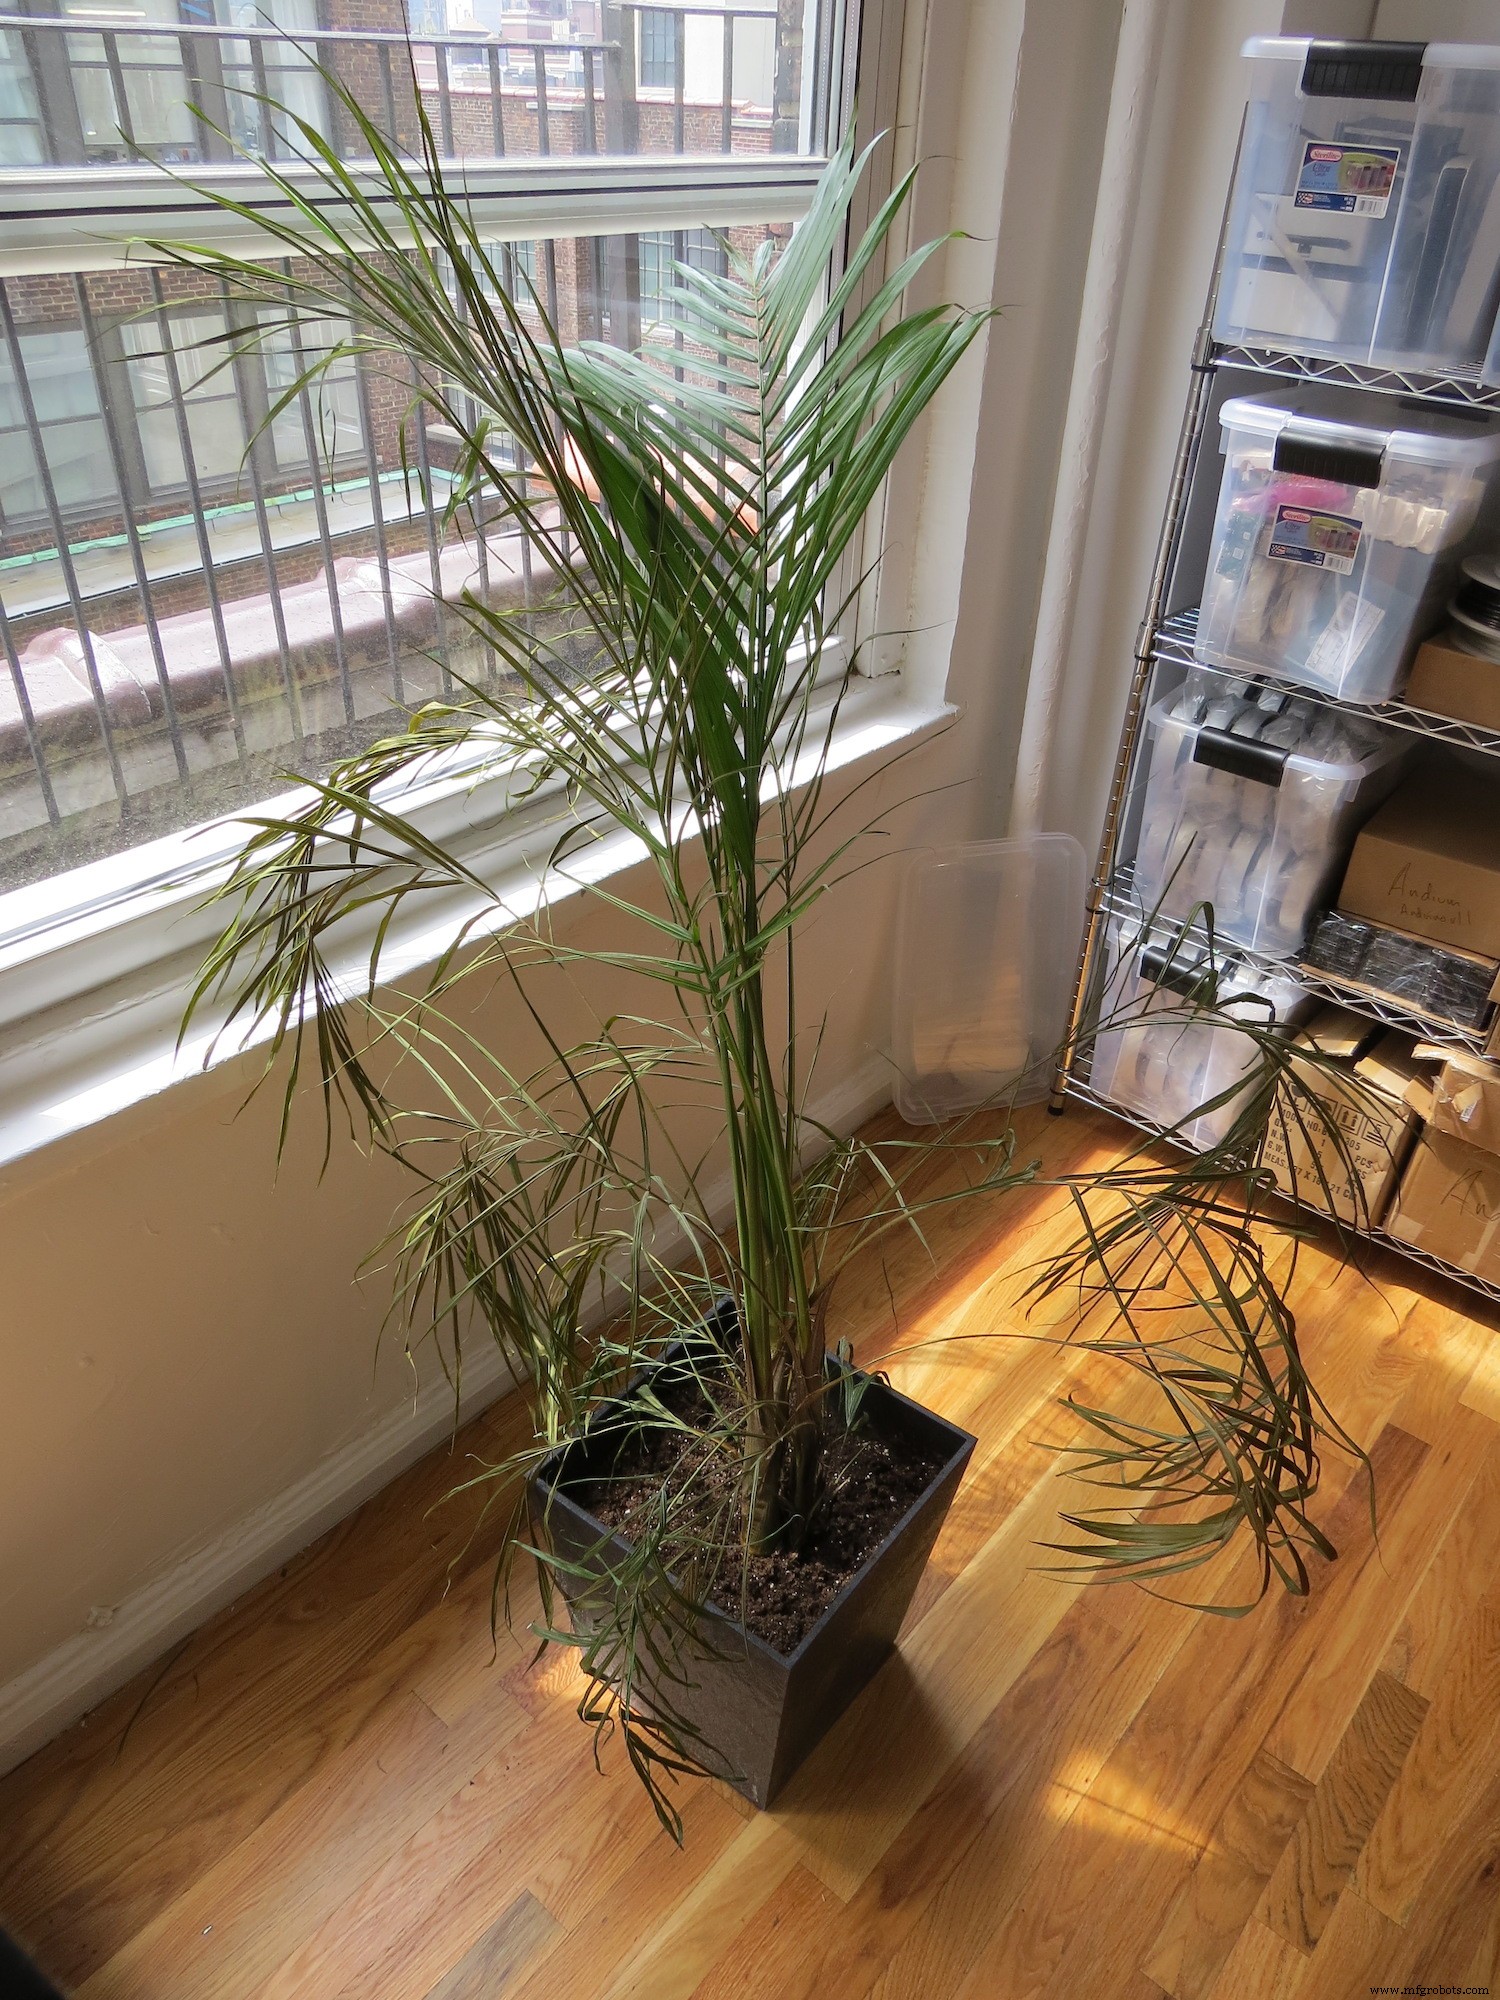
Fail.
We're an IoT company, we're better than this. How come our plants aren't internet connected! Hopefully before it's too late for this little guy I put together a solution using our anduinoWiFi shield and IFTTT. Time to give our plants a voice!
Getting StartedIf you've got a green thumb you've probably already stopped reading, but if you're like me and need to give your plants the ability to digitally beg for mercy and scream for some water then you're in the right place.
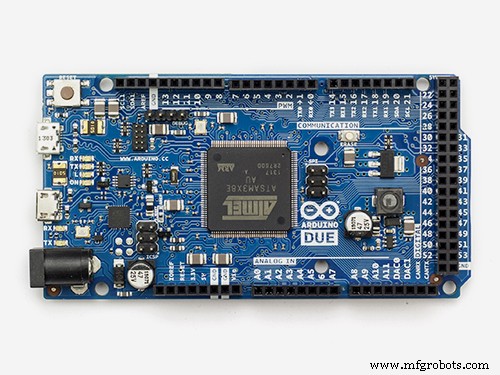
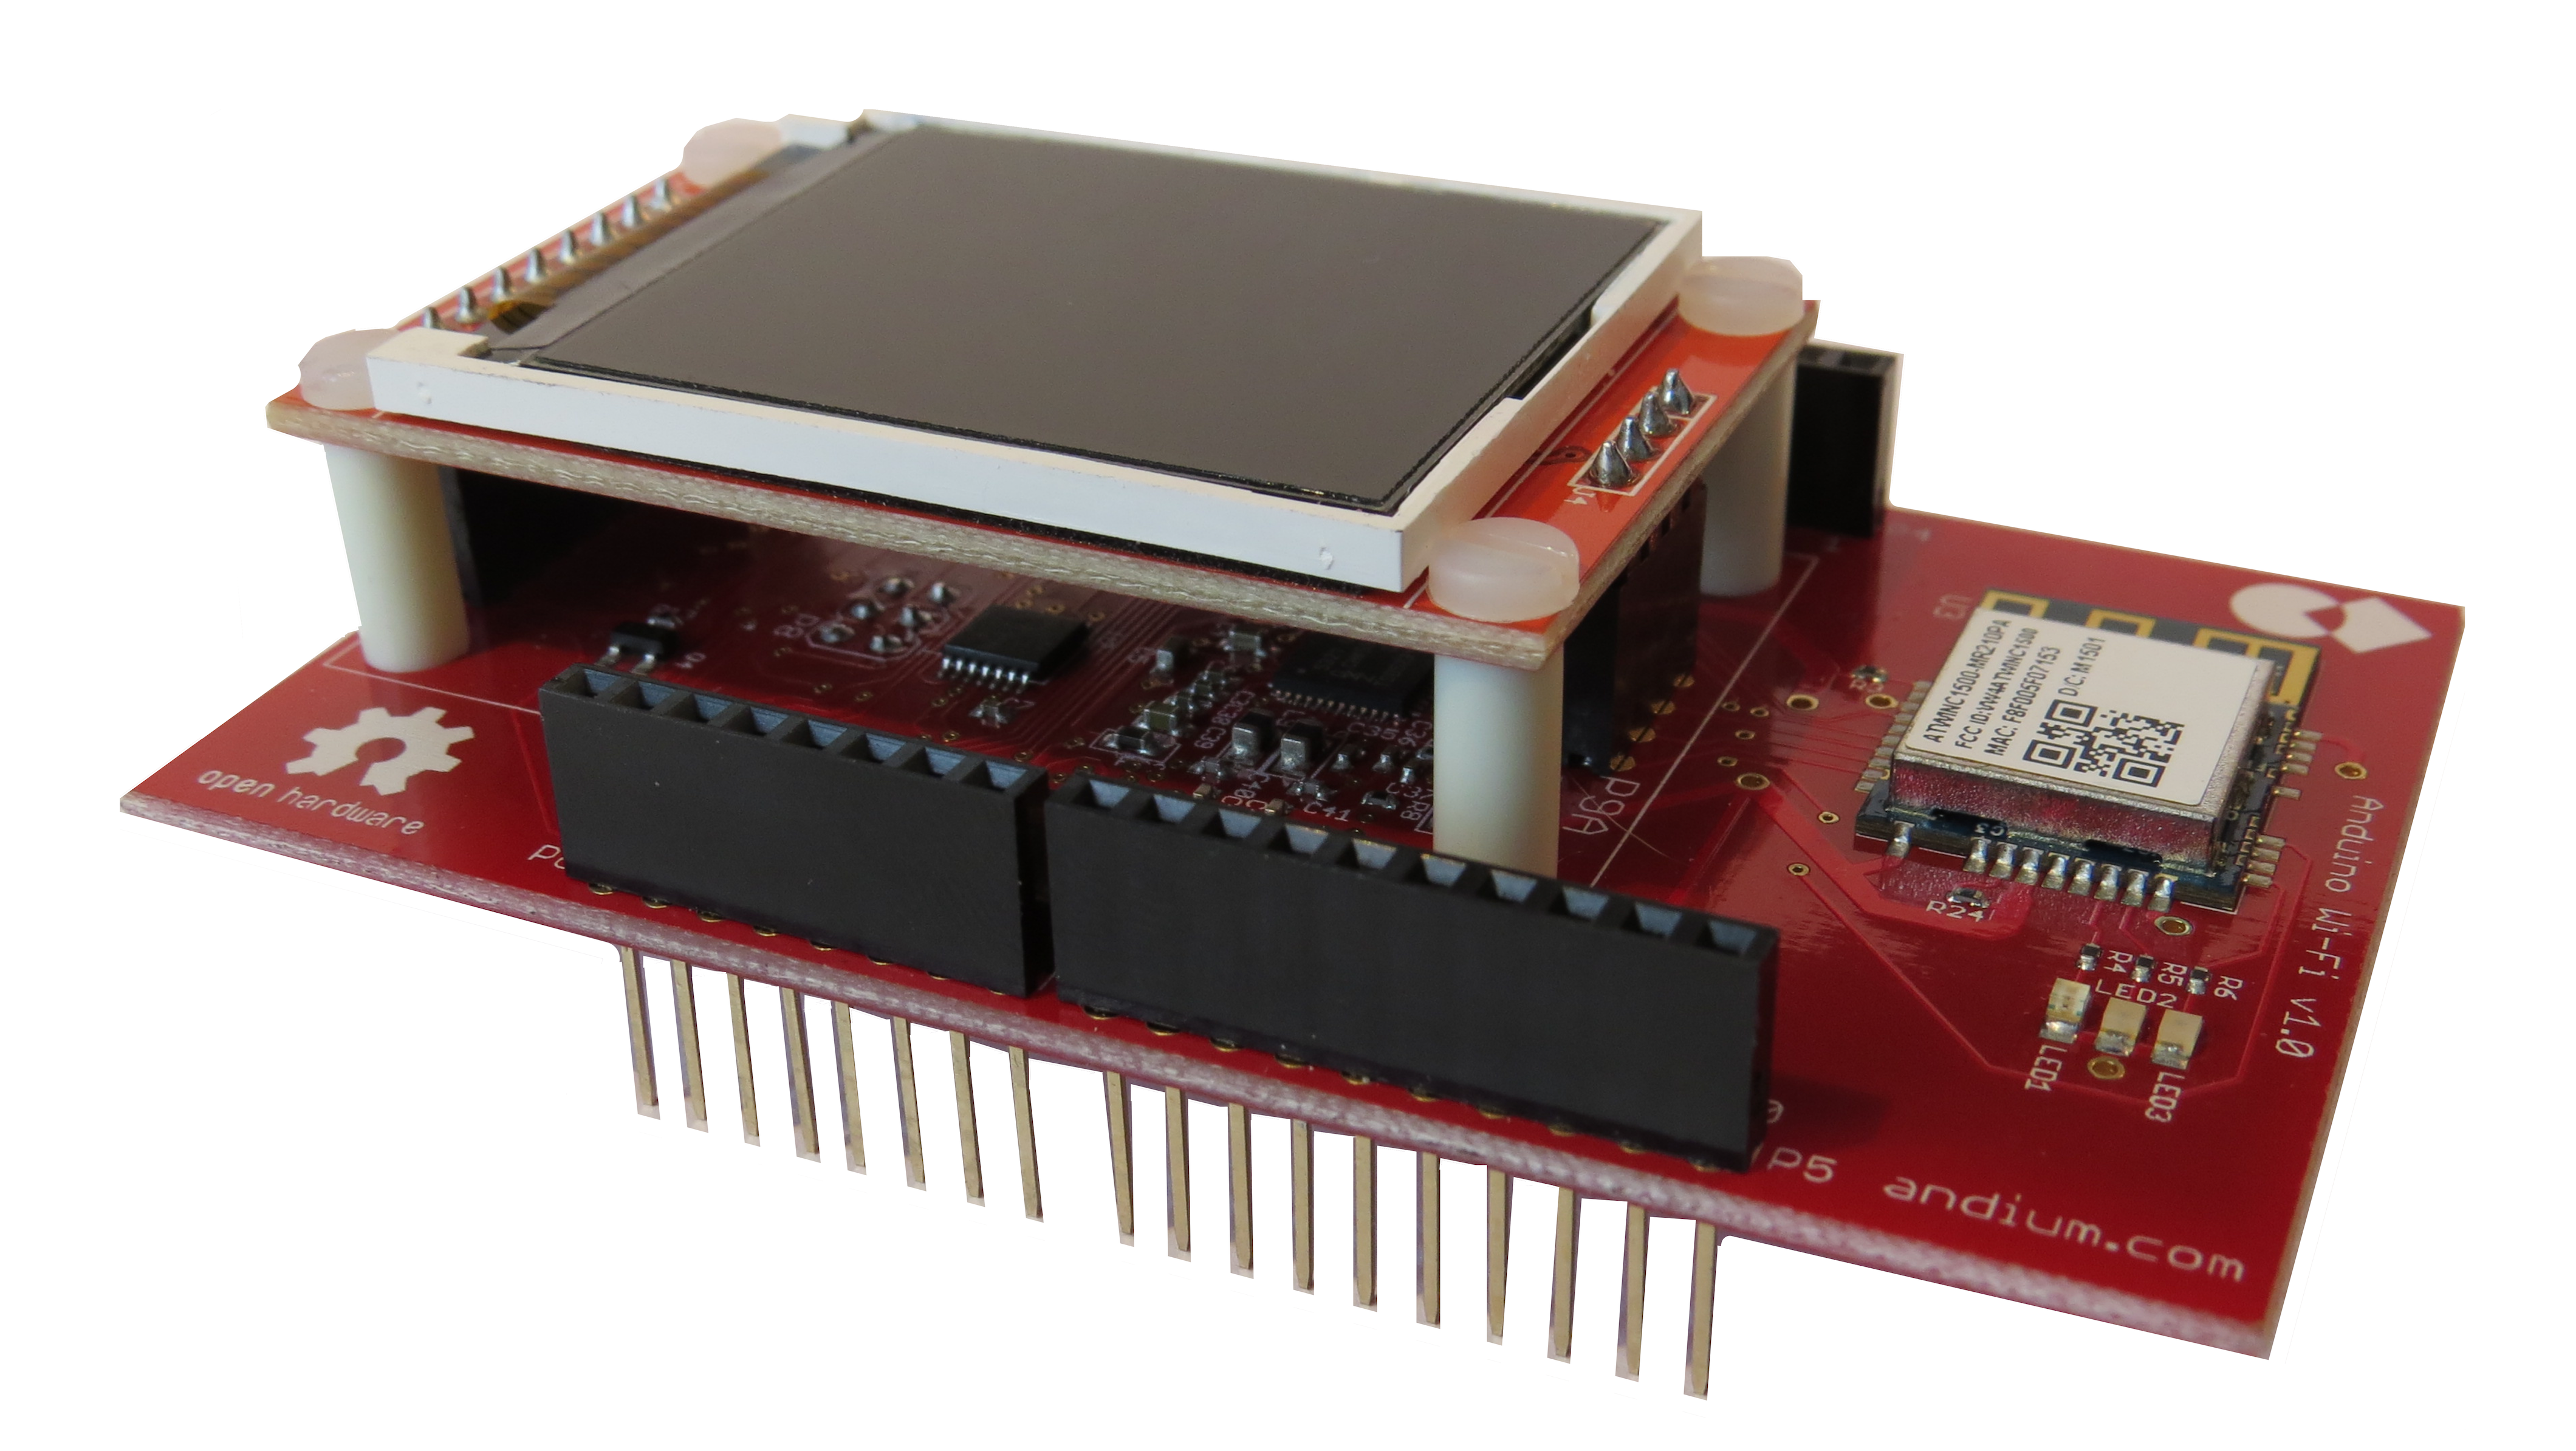
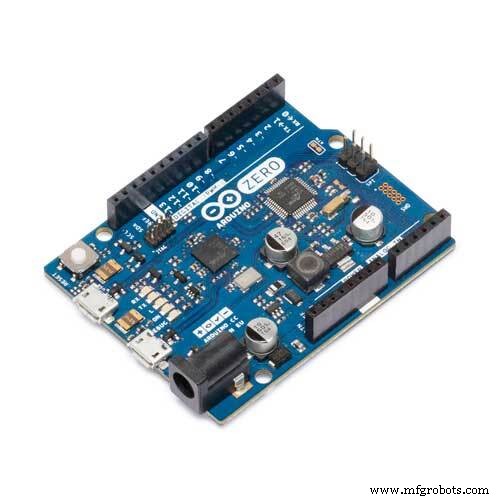
To give your plants a voice you'll need an Arduino Due, or Zero, an anduinoWiFi shield, (or any other WiFi connected Arduino that can speak to Adafruit IO) and lastly a 'Capacitive Soil Moisture Sensor'. Oh, and a glass of water. (Give it to your plant when we're done, they'll thank you via e-mail now).

The soil moisture sensor is pretty cool, there aren't many sensors where you're actually encouraged to submerge in wet dirt, so enjoy that while you can. Not too much though, take note of this line...


Whatever you do, don't submerge your sensor below that white line. Nothing above there will tolerate the moisture exposure too well, so be careful when watering your plants that contain this sensor.
If you clicked through to the next photo above, you might be wondering why I have the sensor submerged in a glass of water. Well, wonder no more!
How to Calibrate the 'Capacitive Soil Moisture Sensor'Our capacitive sensor has three wires which we'll connect to 3.3v(red), ground(black), and (blue- signal) analog pin A1. When we calibrate our sensor we're going to record the capacitance reading when the sensor is completely dry, and then take a second reading when the sensor is submerged (up to the white line!) in a glass of water. This gets us our extreme 0-100% relative humidity thresholds.
Wire up your sensor, run this sketch, and jot done your results. For reference, my dryVal was 807 and my wetVal was 415.
int inputPin = A1;
void setup() {
 Serial.begin(115200);
 delay(3000);
}
void loop() {
Serial.print("Raw val: ");
Serial.println(readHumidity());
delay(3000);
}
int readHumidity() {
 int sensorVal = analogRead(inputPin);
return sensorVal;
}
Once you have these two numbers you're ready to configure the relative humidity mapping. Consider yourself calibrated!
The Sketch#include <WiFi101.h>
#include "Adafruit_MQTT.h"
#include "Adafruit_MQTT_Client.h"
#include "AnduinoLCD.h"
// WiFi parameters
#define WLAN_SSID "Andium"
#define WLAN_PASS "maybeitsjustpassword"
// Adafruit IO
#define AIO_SERVER "io.adafruit.com"
#define AIO_SERVERPORT 1883
#define AIO_USERNAME "yourusernname"
#define AIO_KEY "dosifje0j230fj32lksdfj230ff23"
WiFiClient client;
Adafruit_MQTT_Client mqtt(&client, AIO_SERVER, AIO_SERVERPORT, AIO_USERNAME, AIO_KEY);
/****************************** Feeds ***************************************/
// Setup feed for temperature
Adafruit_MQTT_Publish humidityVal = Adafruit_MQTT_Publish(&mqtt, AIO_USERNAME "/feeds/officePlants");
/*Create an instance of the AnduinoLCD */
AnduinoLCD LCD = AnduinoLCD(ST7735_CS_PIN, ST7735_DC_PIN, ST7735_RST_PIN);
int inputPin = A1;
const int dryVal = 807;
const int wetVal = 415;
int humidity = 0;
int humidityPrev = 0;
int relHumidity = 0;
void setup()
{
Serial.begin(115200);
delay(3000);
//Connect to WiFi & Adafruit.IO
connectToWiFi();
connectToAdafruit();
//Initialize LCD
LCD.begin();
LCDinit();
}
void loop() {
// ping adafruit io a few times to make sure we remain connected
if(! mqtt.ping(3)) {
// reconnect to adafruit io
if(! mqtt.connected())
connect();
}
humidity = readHumidity();
//convert int temp to char array
char b[4];
String str;
str=String(humidity);
for(int i=0; i<str.length(); i++)
{
b[i]=str.charAt(i);
}
b[(str.length())+1]=0;
// Publish data
if (!humidityVal.publish((char*)b)) {
Serial.println(F("Failed to publish temp"));
} else {
Serial.print(F("Humidity published: "));
Serial.println(humidity);
displayHumidity(humidity, humidityPrev);
}
Serial.print("Humidity: ");
Serial.print(humidity);
//Serial.print(" *F\t");
//prev temp stored for LCD
humidityPrev = humidity;
//repeat every 10min
delay(600000);
}
// connect to adafruit io via MQTT
void connect() {
Serial.print(F("Connecting to Adafruit IO... "));
int8_t ret;
while ((ret = mqtt.connect()) != 0) {
switch (ret) {
case 1: Serial.println(F("Wrong protocol")); break;
case 2: Serial.println(F("ID rejected")); break;
case 3: Serial.println(F("Server unavail")); break;
case 4: Serial.println(F("Bad user/pass")); break;
case 5: Serial.println(F("Not authed")); break;
case 6: Serial.println(F("Failed to subscribe")); break;
default: Serial.println(F("Connection failed")); break;
}
if(ret >= 0)
mqtt.disconnect();
Serial.println(F("Retrying connection..."));
delay(1000);
}
Serial.println(F("Adafruit IO Connected!"));
}
void displayHumidity(int humidity, int humidtyPrev)
{
//clear the stale value
LCD.setTextColor(ST7735_BLACK);
LCD.setTextSize(2);
LCD.setTextWrap(true);
LCD.setCursor(40,60);
LCD.setTextSize(5);
LCD.print(humidityPrev);
LCD.setTextSize(2);
LCD.print("%");
//Print new value
LCD.setTextColor(ST7735_WHITE);
LCD.setTextSize(2);
LCD.setTextWrap(true);
LCD.setCursor(40,60);
LCD.setTextSize(5);
LCD.print(humidity);
LCD.setTextSize(2);
LCD.print("%");
}
void connectToWiFi()
{
// Connect to WiFi access point.
delay(10);
Serial.print(F("Connecting to "));
Serial.println(WLAN_SSID);
WiFi.begin(WLAN_SSID, WLAN_PASS);
while (WiFi.status() != WL_CONNECTED) {
delay(500);
Serial.print(F("."));
}
Serial.println(F("WiFi connected!"));
}
void connectToAdafruit()
{
// connect to adafruit io
connect();
}
void LCDinit()
{
LCD.setBacklight(ON);
LCD.fillScreen(ST7735_BLACK); //clear the screen
LCD.showBanner(); //load Andium Banner
LCD.setTextColor(ST7735_WHITE);
LCD.setTextSize(2);
LCD.setTextWrap(true);
LCD.setCursor(0,40);
LCD.print("Humidity: ");
}
int readHumidity() {
int sensorVal = analogRead(inputPin);
relHumidity = map(sensorVal, dryVal, wetVal, 0, 100);
Serial.println("relHumidity");
Serial.print(relHumidity);
return relHumidity;
}
Copy and paste this sketch into your IDE and make sure you have these libraries installed.
- WiFi101
- Adafruit_MQTT
- AnduinoLCD
As well as your personally calibrated...
const int dryVal = 807;
const int wetVal = 415;
wet and dry values. Toward the bottom of the sketch when we readHumidity() we use these values to map 0-100% relative humidity. So now our values will read 0% when dry and 100% when fully saturated.
relHumidity = map(sensorVal, dryVal, wetVal, 0, 100);
If all goes well, and your arduino connects to WiFi and Adafruit IO you should start to see readings come in every 10 minutes. Here's a snapshot of our readings today.

Don't mind those outliers earlier today, I was also publishing while I read my raw unmapped capacitance to determine my dry and wet values.
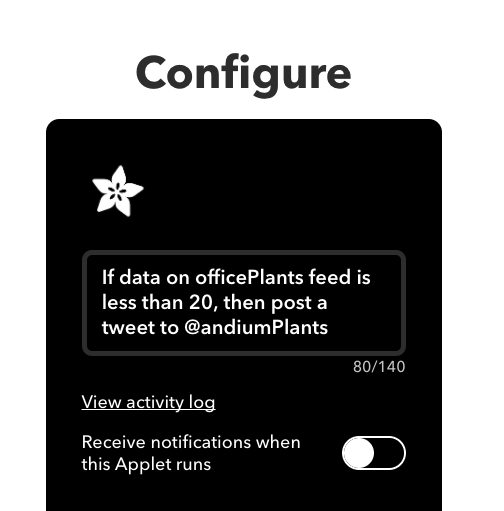
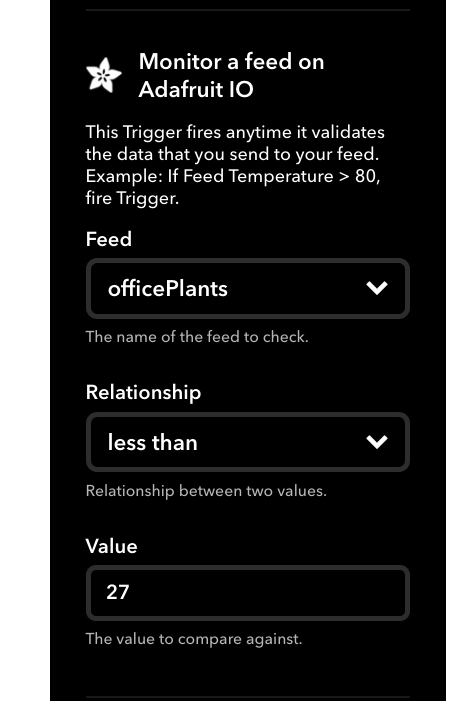
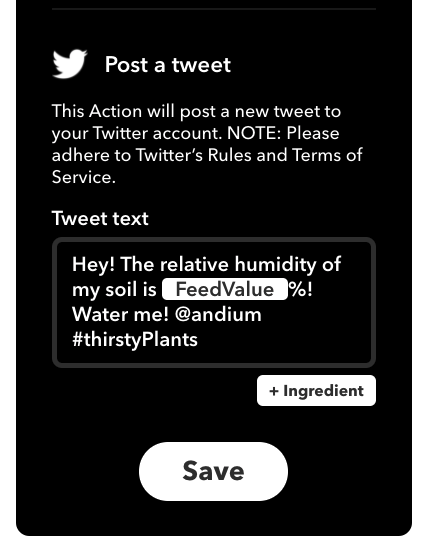
Great, now every 10 minutes we publish our soil moisture reading. Now I sort of really don't care what the readings are until I have to save my plants from dying and water them. Let's use IFTTT to set a threshold humidity level and configure notification to be sent out so we're reminded to water our plants!
IFTTT ThresholdUsing IFTTT I've set up a threshold such that when the relative humidity of the soil drops below 20% the our thirsty plants will reach out to us via twitter (@andiumPlants) requesting to be watered! Here's a glance at the set up.
That's it!
What's next?I leave that up to you! How else can we creatively give our plants a voice and keep our fauna from failing. Grab an anduinoWiFi and a soil sensor and start making!
Code
Anduino
An Arduino library for the Andium(Anduino) shield. Transform your Arduino into an AndiumNode. https://github.com/andium/AnduinoManufacturing process
- Fertilizer: Science, Production, and Sustainable Futures
- Build a Bluetooth‑controlled Arduino Spybot
- FlickMote: Gesture‑Controlled IR Remote for Smart Home
- DIY Arduino TV B-Gone: Universal Remote for All TVs
- Build a Custom LED Master Clock with Alarm – Viewable from 12 Meters
- Find Me: Smart Item Locator with Arduino and Bluetooth
- Optimized Power Solutions for Arduino Projects
- Arduino Tic Tac Toe with MAX7219 LED Matrix and Cardboard Enclosure
- Assessing Plant Health with TinyML: A Practical Guide
- Build a Smart Arduino Quadruped Robot: Step‑by‑Step Guide