


Control RGB Lights with TinyML Keyword Detection
Components and supplies
 |
| × | 1 |
Apps and online services
 |
|
About this project
The PremiseMachine learning at the edge is extremely useful for creating devices that can accomplish "intelligent" tasks with far less programming and logical flow charts compared to traditional code. That's why I wanted to incorporate at-the-edge keyword detection that can recognize certain words and then perform a task based on what was said.
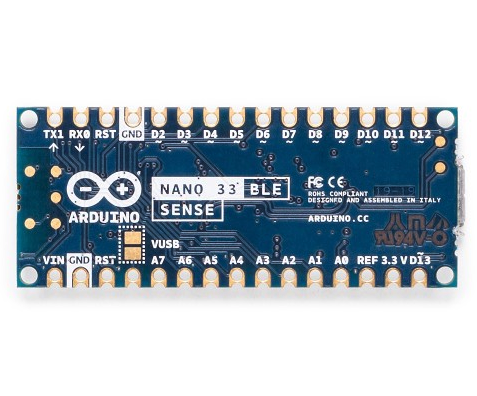
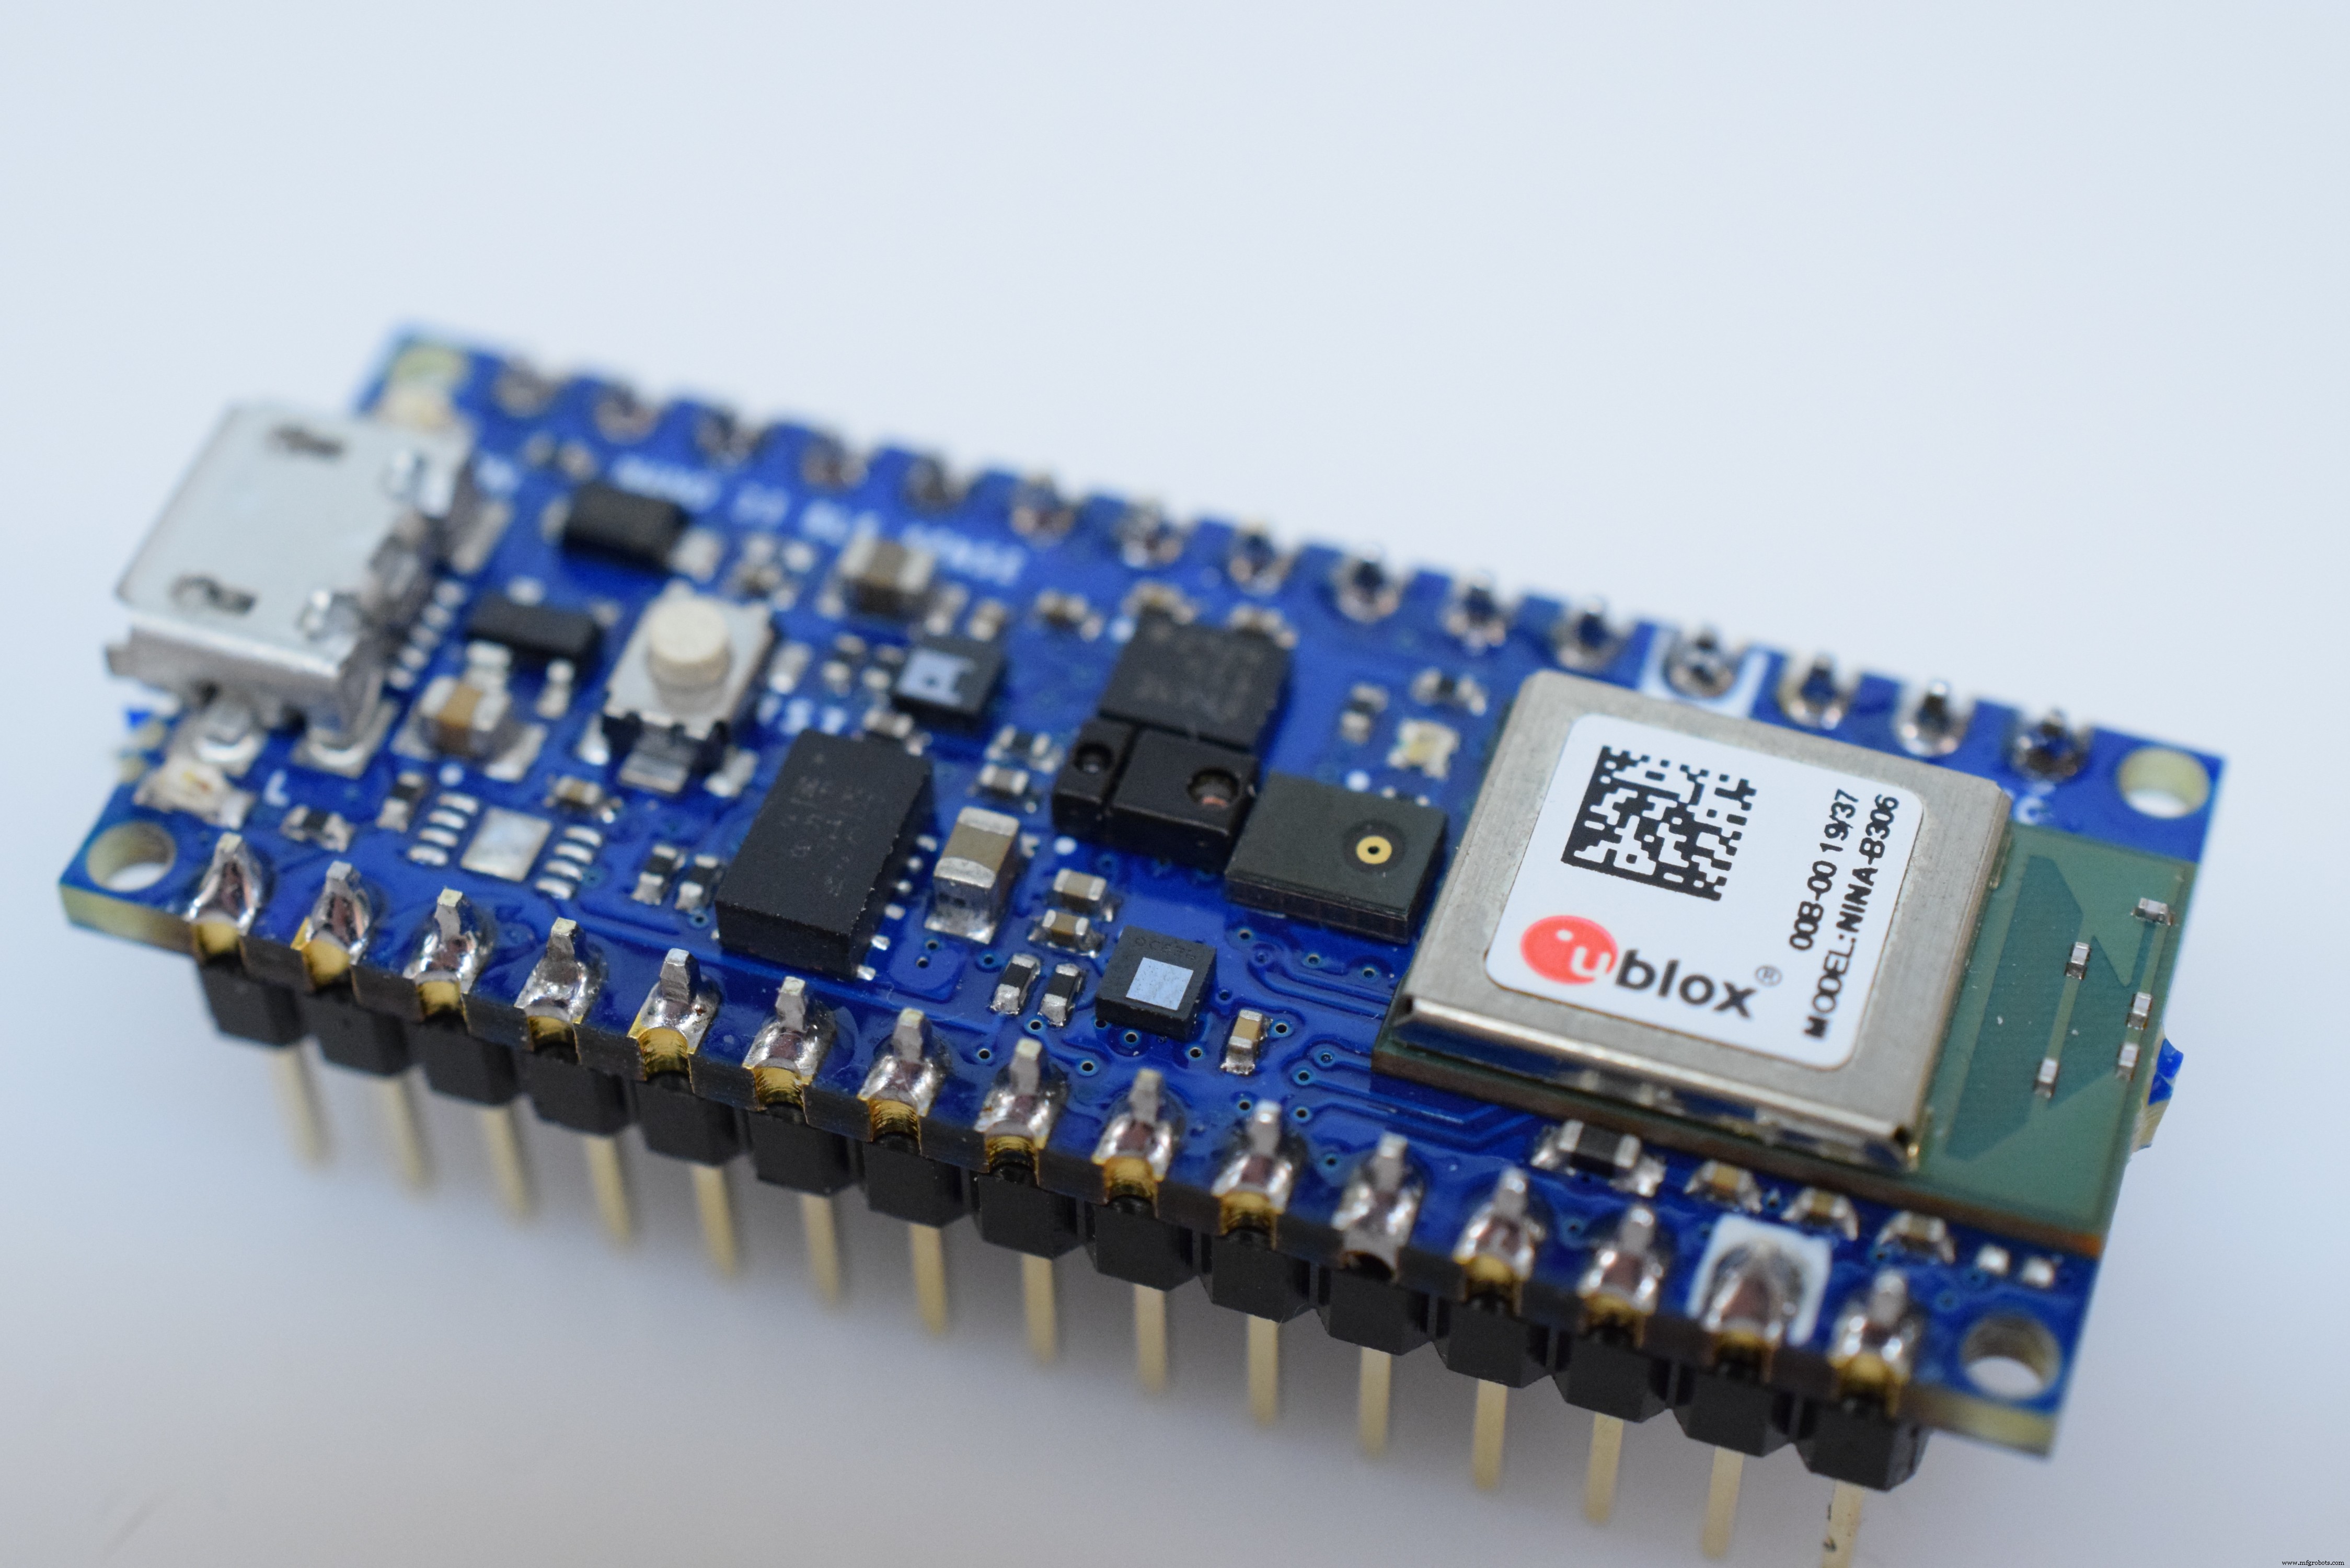
HardwareThis project just has one component: an Arduino Nano 33 BLE Sense. The actual magic happens in the machine learning model. The Arduino Nano 33 BLE Sense is full of sensors, including a microphone, 9-axis IMU, environmental sensor, and a gesture/proximity/color/ambient light sensor (APDS-9960). The microcontroller on it is an nRF52840 that runs at 64MHz and contains 1MB of flash memory and 256KB of RAM. This project also uses its onboard RGB LED to display the current color.
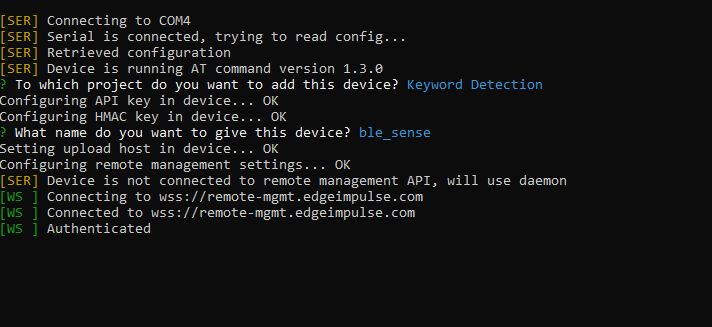
I began by creating a new project on Edge Impulse and then installed the Edge Impulse CLI tool. For more instructions on how to do that, visit the installation instruction page. This lets the Arduino Nano communicate with the cloud service to receive commands and send sensor data automatically. I downloaded the most recent Edge Impulse firmware and flashed it to the board by double-clicking the reset button to make it enter bootloader mode. Then I ran flash_windows.bat to transfer it.
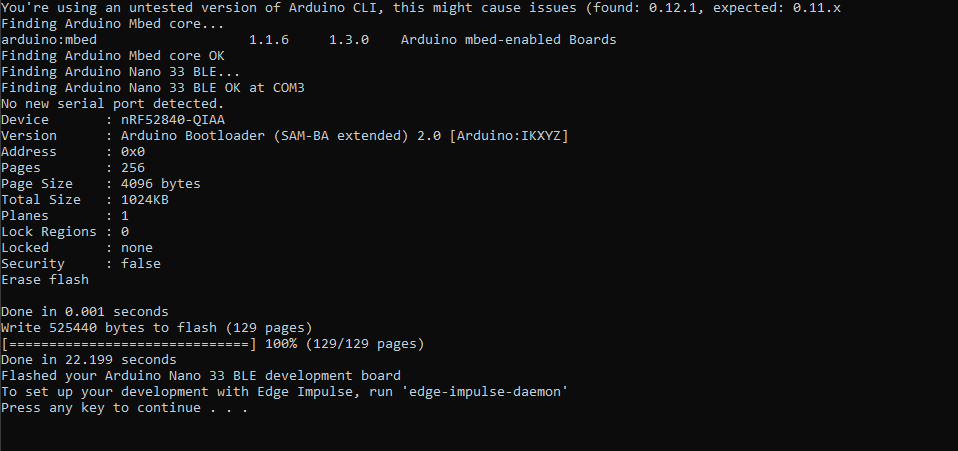
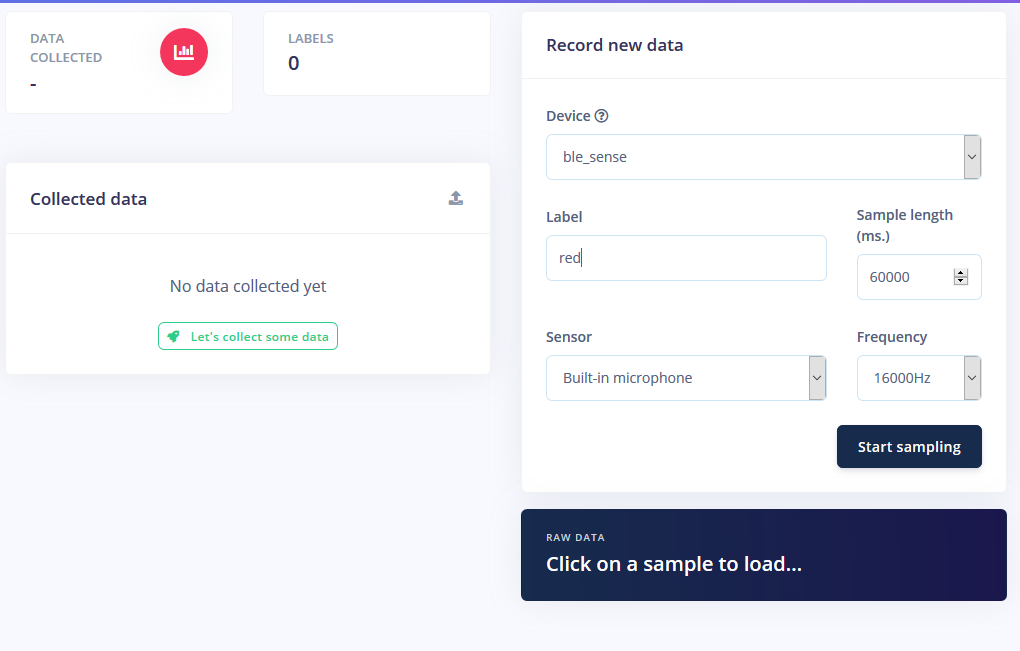
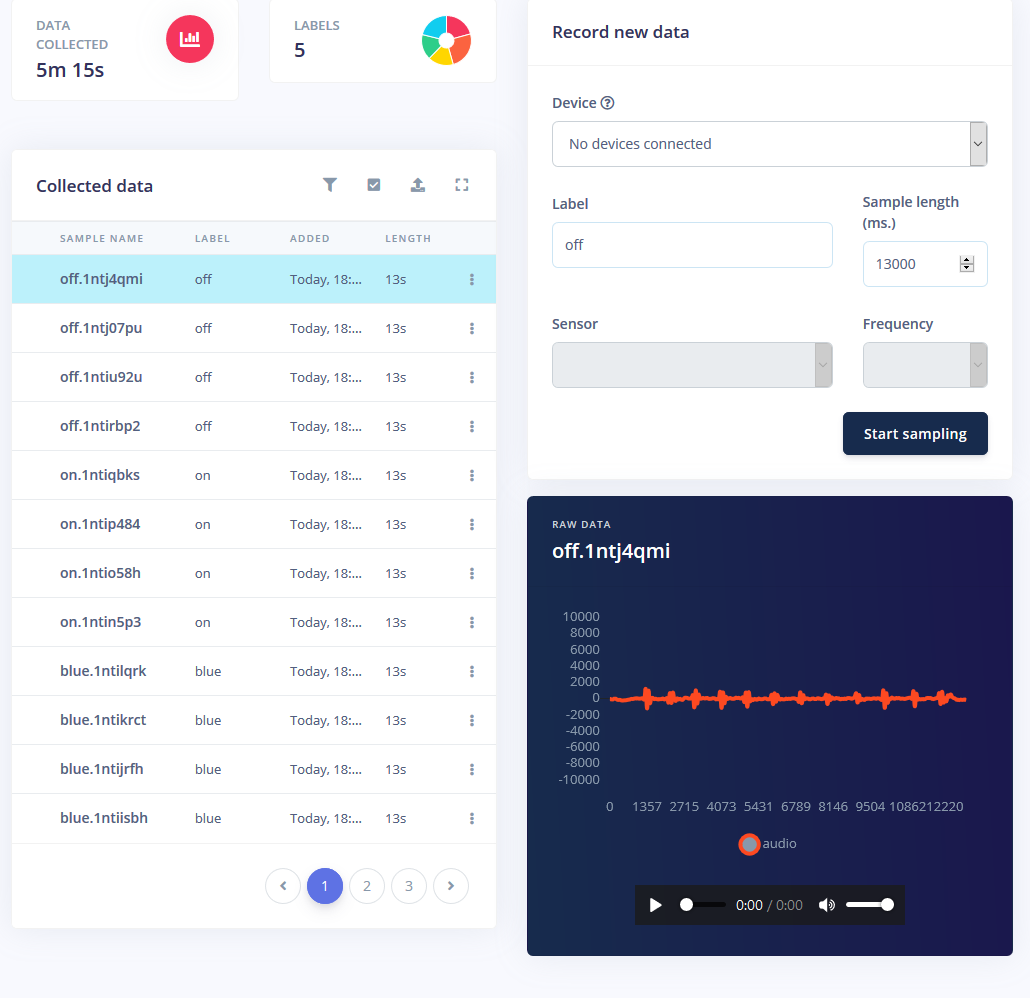
Over on the command prompt I ran edge-impulse-daemon and followed the wizard to set it up. Now the Nano shows up in the project's device list, which lets samples be taken and uploaded as part of the training/testing dataset.
Training a machine learning model requires data, and quite a bit of it. I wanted to have the following modes for the RGB LED strip:
- On
- Off
- Red
- Green
- Blue
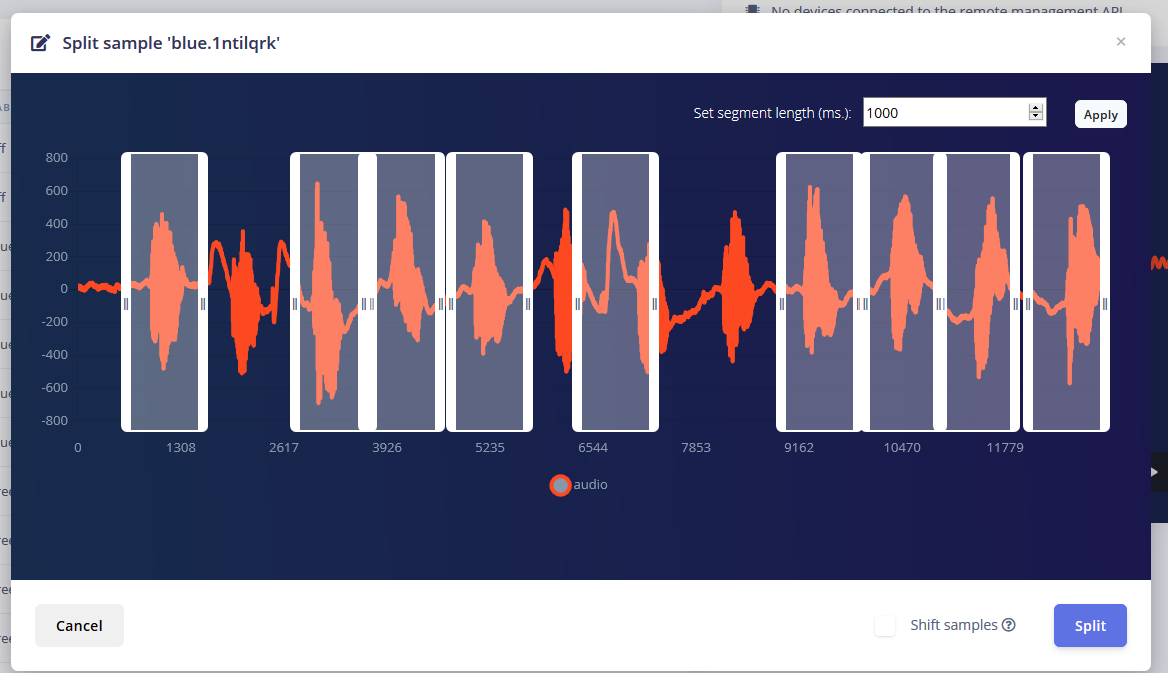
I got about 1 minute of sound for each mode where I repeatedly said the word at 1-2 second intervals and split them.
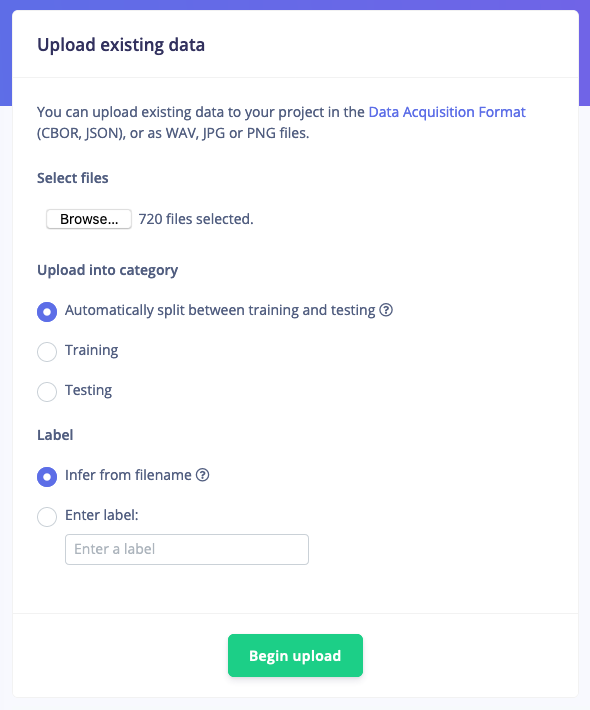
But just having these samples isn't enough, since background noise and other words will give a false reading. Thankfully, Edge Impulse already provides a pre-built dataset for noise and 'unknown' words, so I used their "Upload Existing Data" tool to upload these audio files into the training data.
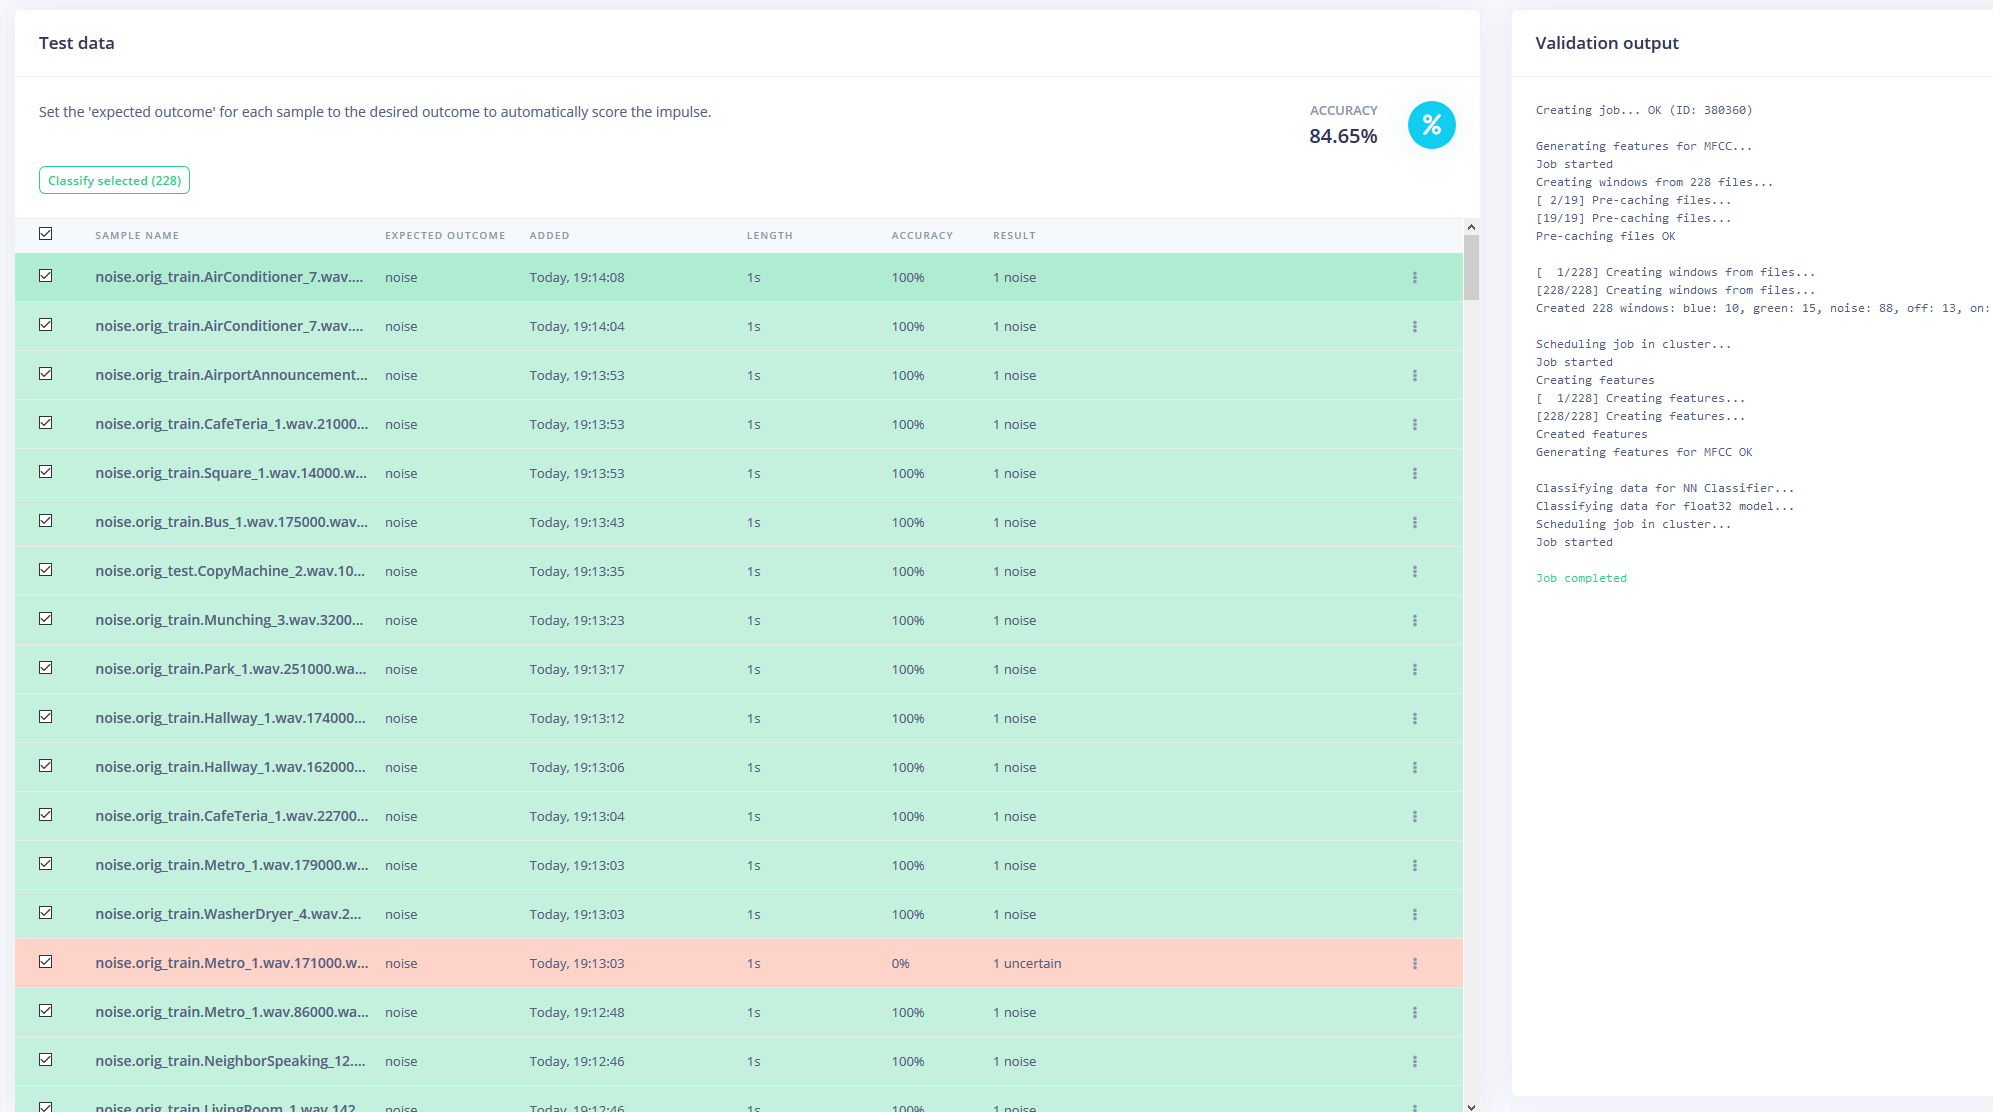
Finally, I rebalanced the dataset to have the recommended 80-20 split for training and testing data, respectively.
Now armed with an hour of training data and plenty of labels, it was time to train a model. The impulse I designed takes in audio as time-series data with a window size of 1 second and a window increase of 500ms. It then passes through an MFCC block into a Keras neural network block.

The MFCC block allows you to configure how the audio will be processed, along with a spectogram showing the frequencies in a visual way.
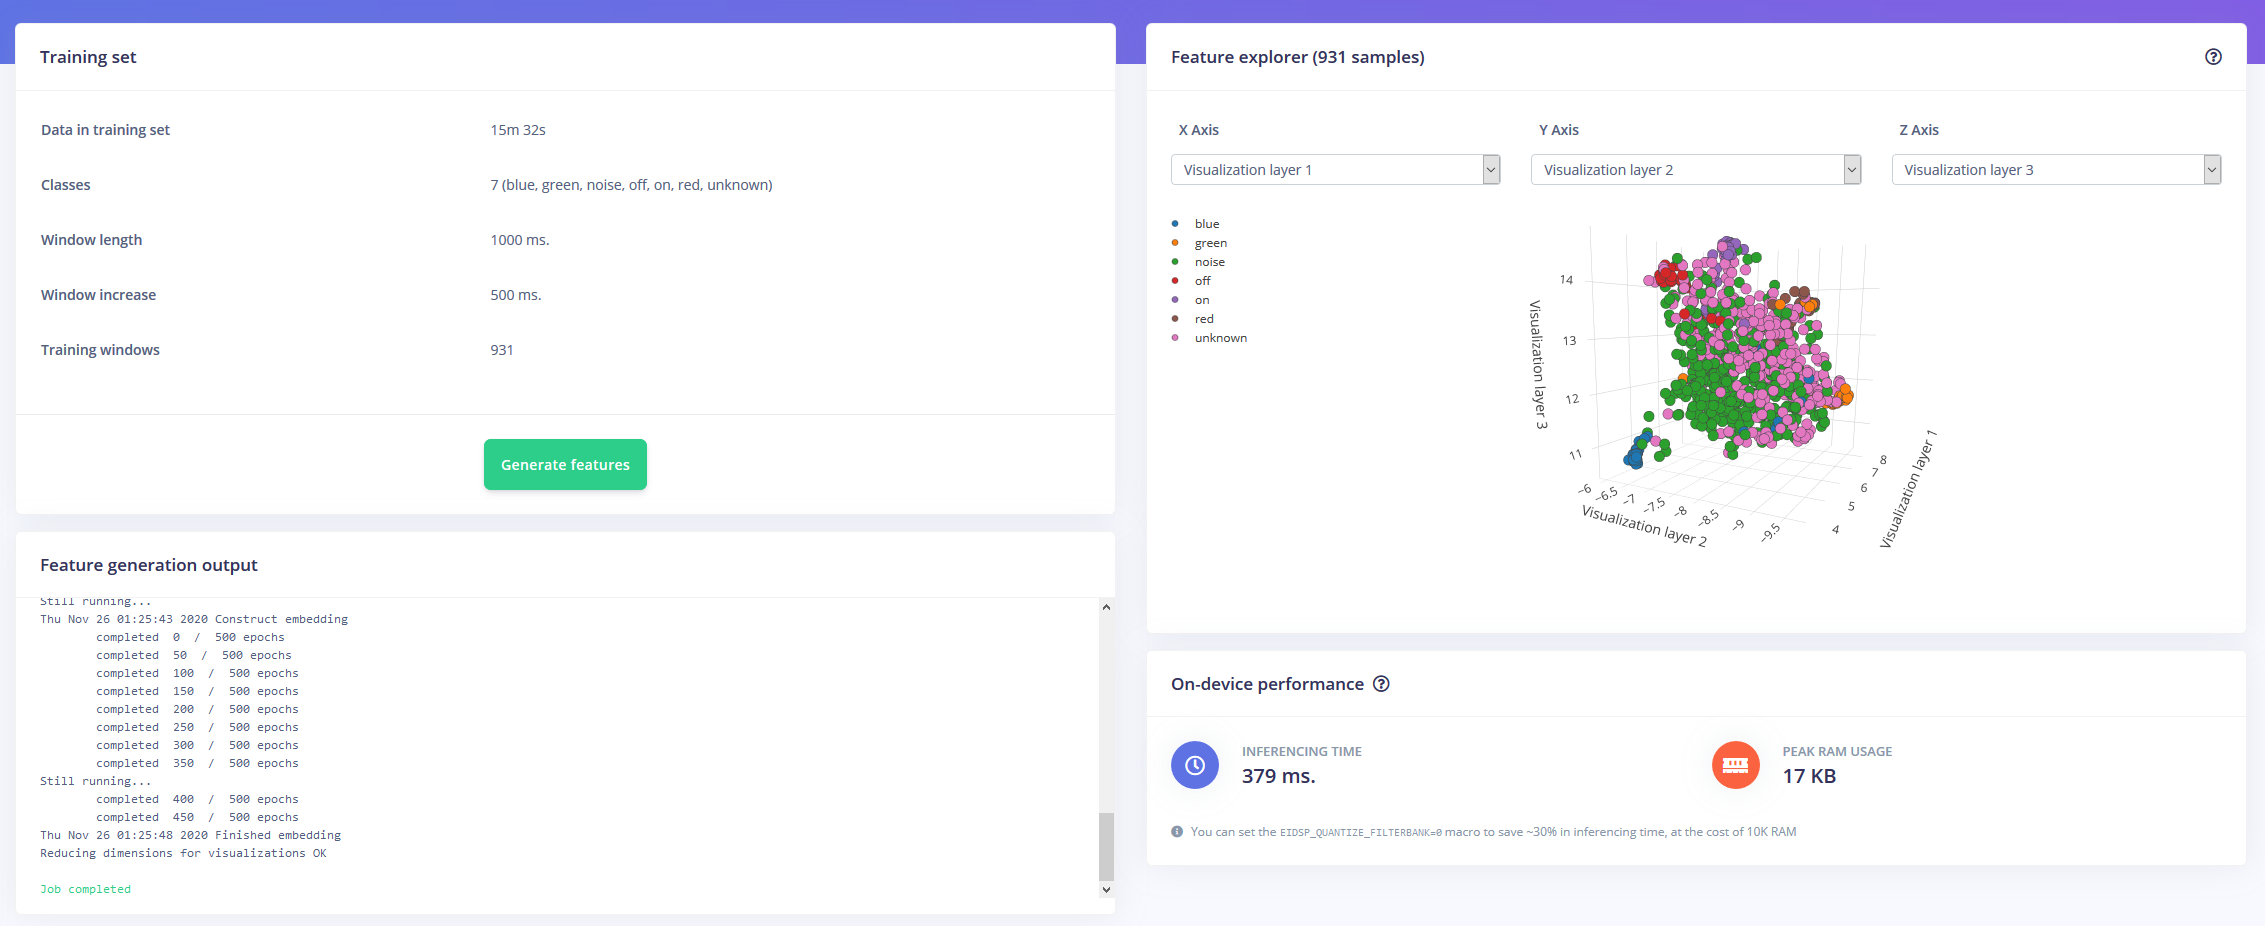
I left the neural network settings as mostly default, but made a few modifications as well. First, I changed the minimum confidence threshold from 0.80 to 0.70, and added a bit of data augmentation in the form of additional noise and masking time bands. This helps the NN to avoid over-fitting the model, as it has more diverse data to work with.
The Arduino Nano 33 BLE Sense acts as an always-on microphone that continuously samples the audio and detects if one of the keywords have been spoken. Once one is found, the keyword is converted into an index that is used to decode the desired color. For the on or off keyword, the LED is set to either black or a light gray.
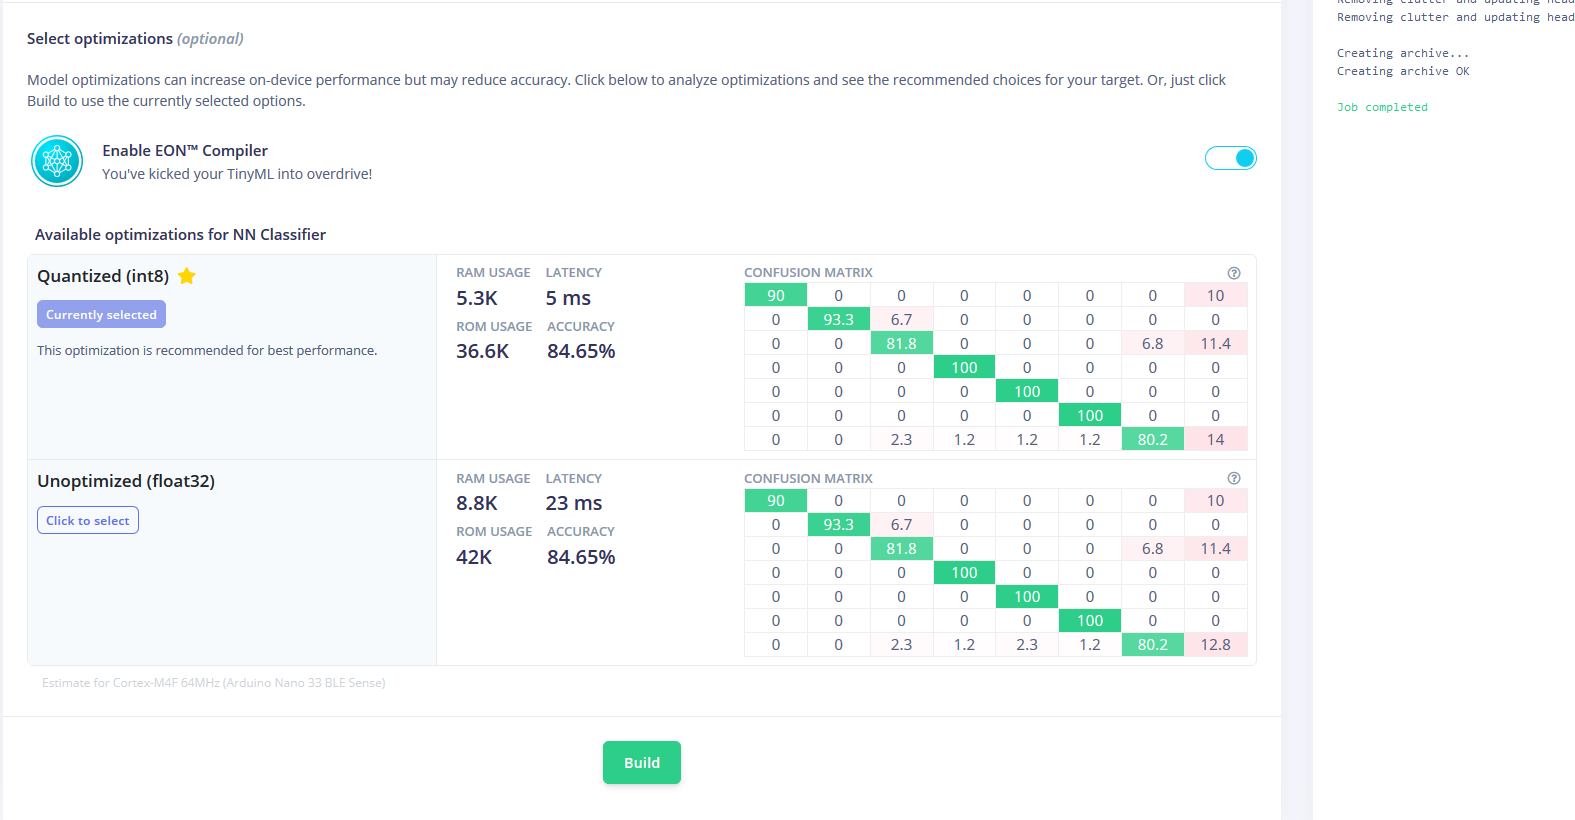
I downloaded the model as a library and added it to the Arduino IDE, then compiled and flashed the code to the Nano.
Code
- RGBLEDKeywordDetection
RGBLEDKeywordDetectionC/C++
/* Edge Impulse Arduino examples
* Copyright (c) 2020 EdgeImpulse Inc.
*
* Permission is hereby granted, free of charge, to any person obtaining a copy
* of this software and associated documentation files (the "Software"), to deal
* in the Software without restriction, including without limitation the rights
* to use, copy, modify, merge, publish, distribute, sublicense, and/or sell
* copies of the Software, and to permit persons to whom the Software is
* furnished to do so, subject to the following conditions:
*
* The above copyright notice and this permission notice shall be included in
* all copies or substantial portions of the Software.
*
* THE SOFTWARE IS PROVIDED "AS IS", WITHOUT WARRANTY OF ANY KIND, EXPRESS OR
* IMPLIED, INCLUDING BUT NOT LIMITED TO THE WARRANTIES OF MERCHANTABILITY,
* FITNESS FOR A PARTICULAR PURPOSE AND NONINFRINGEMENT. IN NO EVENT SHALL THE
* AUTHORS OR COPYRIGHT HOLDERS BE LIABLE FOR ANY CLAIM, DAMAGES OR OTHER
* LIABILITY, WHETHER IN AN ACTION OF CONTRACT, TORT OR OTHERWISE, ARISING FROM,
* OUT OF OR IN CONNECTION WITH THE SOFTWARE OR THE USE OR OTHER DEALINGS IN THE
* SOFTWARE.
*/
// If your target is limited in memory remove this macro to save 10K RAM
#define EIDSP_QUANTIZE_FILTERBANK 0
/**
* Define the number of slices per model window. E.g. a model window of 1000 ms
* with slices per model window set to 4. Results in a slice size of 250 ms.
* For more info: https://docs.edgeimpulse.com/docs/continuous-audio-sampling
*/
#define EI_CLASSIFIER_SLICES_PER_MODEL_WINDOW 3
/* Includes ---------------------------------------------------------------- */
#include <PDM.h>
#include <keyword_detection_inference.h>
#include <map>
#define CONFIDENCE_THRESHOLD 0.7
static const uint32_t colors[] = {0x00ff0000, 0x0000ff00, 0x000000ff}; // red, green, blue
enum Actions
{
LED_ON = 1,
LED_OFF = 0,
LED_RED = 2,
LED_GREEN = 3,
LED_BLUE = 4,
NONE = 5
};
enum Functions
{
CHANGE_LED_ON_OFF = 0,
CHANGE_LED_COLOR = 1,
CHANGE_LED_NONE = 2
};
static const uint8_t redPin = 22, greenPin = 23, bluePin = 24;
const std::map<Actions, Functions> actionToFunctionMap =
{
{LED_ON, CHANGE_LED_ON_OFF},
{LED_OFF, CHANGE_LED_ON_OFF},
{LED_RED, CHANGE_LED_COLOR},
{LED_GREEN, CHANGE_LED_COLOR},
{LED_BLUE, CHANGE_LED_COLOR},
{NONE, CHANGE_LED_NONE}
};
const std::map<const char*, Actions> labelToActionMap =
{
{"on", LED_ON},
{"off", LED_OFF},
{"red", LED_RED},
{"green", LED_GREEN},
{"blue", LED_BLUE},
{"unknown", NONE},
{"noise", NONE}
};
/** Audio buffers, pointers and selectors */
typedef struct {
signed short *buffers[2];
unsigned char buf_select;
unsigned char buf_ready;
unsigned int buf_count;
unsigned int n_samples;
} inference_t;
static inference_t inference;
static bool record_ready = false;
static signed short *sampleBuffer;
static bool debug_nn = false; // Set this to true to see e.g. features generated from the raw signal
static int print_results = -(EI_CLASSIFIER_SLICES_PER_MODEL_WINDOW);
/**
* @brief Arduino setup function
*/
void setup()
{
// put your setup code here, to run once:
Serial.begin(115200);
Serial.println("Edge Impulse Inferencing");
setPixelColor(0xaeae00);
// summary of inferencing settings (from model_metadata.h)
ei_printf("Inferencing settings:\n");
ei_printf("\tInterval: %.2f ms.\n", (float)EI_CLASSIFIER_INTERVAL_MS);
ei_printf("\tFrame size: %d\n", EI_CLASSIFIER_DSP_INPUT_FRAME_SIZE);
ei_printf("\tSample length: %d ms.\n", EI_CLASSIFIER_RAW_SAMPLE_COUNT / 16);
ei_printf("\tNo. of classes: %d\n", sizeof(ei_classifier_inferencing_categories) /
sizeof(ei_classifier_inferencing_categories[0]));
run_classifier_init();
if (microphone_inference_start(EI_CLASSIFIER_SLICE_SIZE) == false) {
ei_printf("ERR: Failed to setup audio sampling\r\n");
return;
}
}
/**
* @brief Arduino main function. Runs the inferencing loop.
*/
void loop()
{
bool m = microphone_inference_record();
if (!m) {
ei_printf("ERR: Failed to record audio...\n");
return;
}
signal_t signal;
signal.total_length = EI_CLASSIFIER_SLICE_SIZE;
signal.get_data = µphone_audio_signal_get_data;
ei_impulse_result_t result = {0};
EI_IMPULSE_ERROR r = run_classifier_continuous(&signal, &result, debug_nn);
if (r != EI_IMPULSE_OK) {
ei_printf("ERR: Failed to run classifier (%d)\n", r);
return;
}
if (++print_results >= (EI_CLASSIFIER_SLICES_PER_MODEL_WINDOW)) {
// print the predictions
ei_printf("Predictions ");
ei_printf("(DSP: %d ms., Classification: %d ms., Anomaly: %d ms.)",
result.timing.dsp, result.timing.classification, result.timing.anomaly);
ei_printf(": \n");
for (size_t ix = 0; ix < EI_CLASSIFIER_LABEL_COUNT; ix++) {
if(result.classification[ix].value > CONFIDENCE_THRESHOLD)
{
performAction(result.classification[ix].label);
}
ei_printf(" %s: %.5f\n", result.classification[ix].label,
result.classification[ix].value);
}
#if EI_CLASSIFIER_HAS_ANOMALY == 1
ei_printf(" anomaly score: %.3f\n", result.anomaly);
#endif
print_results = 0;
}
}
void setPixelColor(uint32_t c)
{
analogWrite(redPin, 255 - (c >> 16));
analogWrite(greenPin, 255 - ((c >> 8) & 0xff));
analogWrite(bluePin, 255 - (c & 0xff));
}
void performAction(const char* classificationLabel)
{
auto itr = labelToActionMap.find(classificationLabel);
if(itr == labelToActionMap.end()) return;
auto itr2 = actionToFunctionMap.find(itr->second);
if(itr2 == actionToFunctionMap.end()) return;
switch(itr2->second)
{
case CHANGE_LED_ON_OFF:
setPixelColor((itr->second) ? 0x5c5c5c : 0x00);
break;
case CHANGE_LED_COLOR:
{
uint32_t pixelColor = colors[itr->second - 2];
setPixelColor(pixelColor);
}
break;
case CHANGE_LED_NONE:
break;
}
}
/**
* @brief Printf function uses vsnprintf and output using Arduino Serial
*
* @param[in] format Variable argument list
*/
void ei_printf(const char *format, ...) {
static char print_buf[1024] = { 0 };
va_list args;
va_start(args, format);
int r = vsnprintf(print_buf, sizeof(print_buf), format, args);
va_end(args);
if (r > 0) {
Serial.write(print_buf);
}
}
/**
* @brief PDM buffer full callback
* Get data and call audio thread callback
*/
static void pdm_data_ready_inference_callback(void)
{
int bytesAvailable = PDM.available();
// read into the sample buffer
int bytesRead = PDM.read((char *)&sampleBuffer[0], bytesAvailable);
if (record_ready == true) {
for (int i = 0; i<bytesRead>> 1; i++) {
inference.buffers[inference.buf_select][inference.buf_count++] = sampleBuffer[i];
if (inference.buf_count >= inference.n_samples) {
inference.buf_select ^= 1;
inference.buf_count = 0;
inference.buf_ready = 1;
}
}
}
}
/**
* @brief Init inferencing struct and setup/start PDM
*
* @param[in] n_samples The n samples
*
* @return { description_of_the_return_value }
*/
static bool microphone_inference_start(uint32_t n_samples)
{
inference.buffers[0] = (signed short *)malloc(n_samples * sizeof(signed short));
if (inference.buffers[0] == NULL) {
return false;
}
inference.buffers[1] = (signed short *)malloc(n_samples * sizeof(signed short));
if (inference.buffers[0] == NULL) {
free(inference.buffers[0]);
return false;
}
sampleBuffer = (signed short *)malloc((n_samples >> 1) * sizeof(signed short));
if (sampleBuffer == NULL) {
free(inference.buffers[0]);
free(inference.buffers[1]);
return false;
}
inference.buf_select = 0;
inference.buf_count = 0;
inference.n_samples = n_samples;
inference.buf_ready = 0;
// configure the data receive callback
PDM.onReceive(&pdm_data_ready_inference_callback);
// optionally set the gain, defaults to 20
PDM.setGain(80);
PDM.setBufferSize((n_samples >> 1) * sizeof(int16_t));
// initialize PDM with:
// - one channel (mono mode)
// - a 16 kHz sample rate
if (!PDM.begin(1, EI_CLASSIFIER_FREQUENCY)) {
ei_printf("Failed to start PDM!");
}
record_ready = true;
return true;
}
/**
* @brief Wait on new data
*
* @return True when finished
*/
static bool microphone_inference_record(void)
{
bool ret = true;
if (inference.buf_ready == 1) {
ei_printf(
"Error sample buffer overrun. Decrease the number of slices per model window "
"(EI_CLASSIFIER_SLICES_PER_MODEL_WINDOW)\n");
ret = false;
}
while (inference.buf_ready == 0) {
delay(1);
}
inference.buf_ready = 0;
return ret;
}
/**
* Get raw audio signal data
*/
static int microphone_audio_signal_get_data(size_t offset, size_t length, float *out_ptr)
{
numpy::int16_to_float(&inference.buffers[inference.buf_select ^ 1][offset], out_ptr, length);
return 0;
}
/**
* @brief Stop PDM and release buffers
*/
static void microphone_inference_end(void)
{
PDM.end();
free(inference.buffers[0]);
free(inference.buffers[1]);
free(sampleBuffer);
}
#if !defined(EI_CLASSIFIER_SENSOR) || EI_CLASSIFIER_SENSOR != EI_CLASSIFIER_SENSOR_MICROPHONE
#error "Invalid model for current sensor."
#endif
Manufacturing process
- Why Edge Computing Is Essential for IoT Success
- Ultra‑Thin Nano Coatings: Precise Colour Control via Sub‑20 nm Layering
- Build and Program 8x8 & 16x16 WS2812 RGB LED Matrix Animations with Arduino and Excel
- Edge Computing: Accelerating AI Deployment at the Network Perimeter
- High-Performance 2.8” TFT Shield for Arduino Nano – 320×240 SPI Display
- Arduino-Based Birthday Reminder: 50-Year Reliable Solution
- Detect Coughs with TinyML on Arduino Nano for Early Flu Detection
- Mastering DC Motor Control: Expert Tips & Tricks
- Smart Staircase RGB LED Lighting System – Motion-Activated & Easy to Install
- Solid Edge for 3D Printing: Is It the Right Choice?