


Build a Precise Air Quality Monitor with the Sharp GP2Y1010AU0F Sensor
Components and supplies
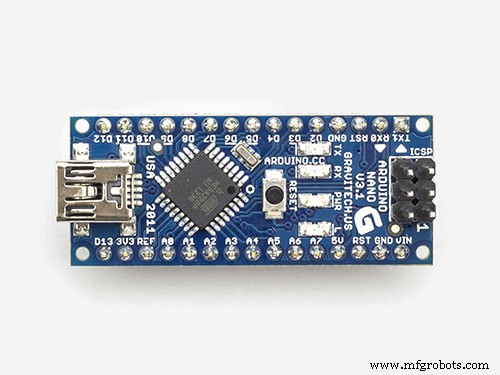 |
| × | 1 | |||
 |
| × | 1 | |||
 |
| × | 1 |
Necessary tools and machines
 |
|
Apps and online services
 |
| |||
 |
|
About this project
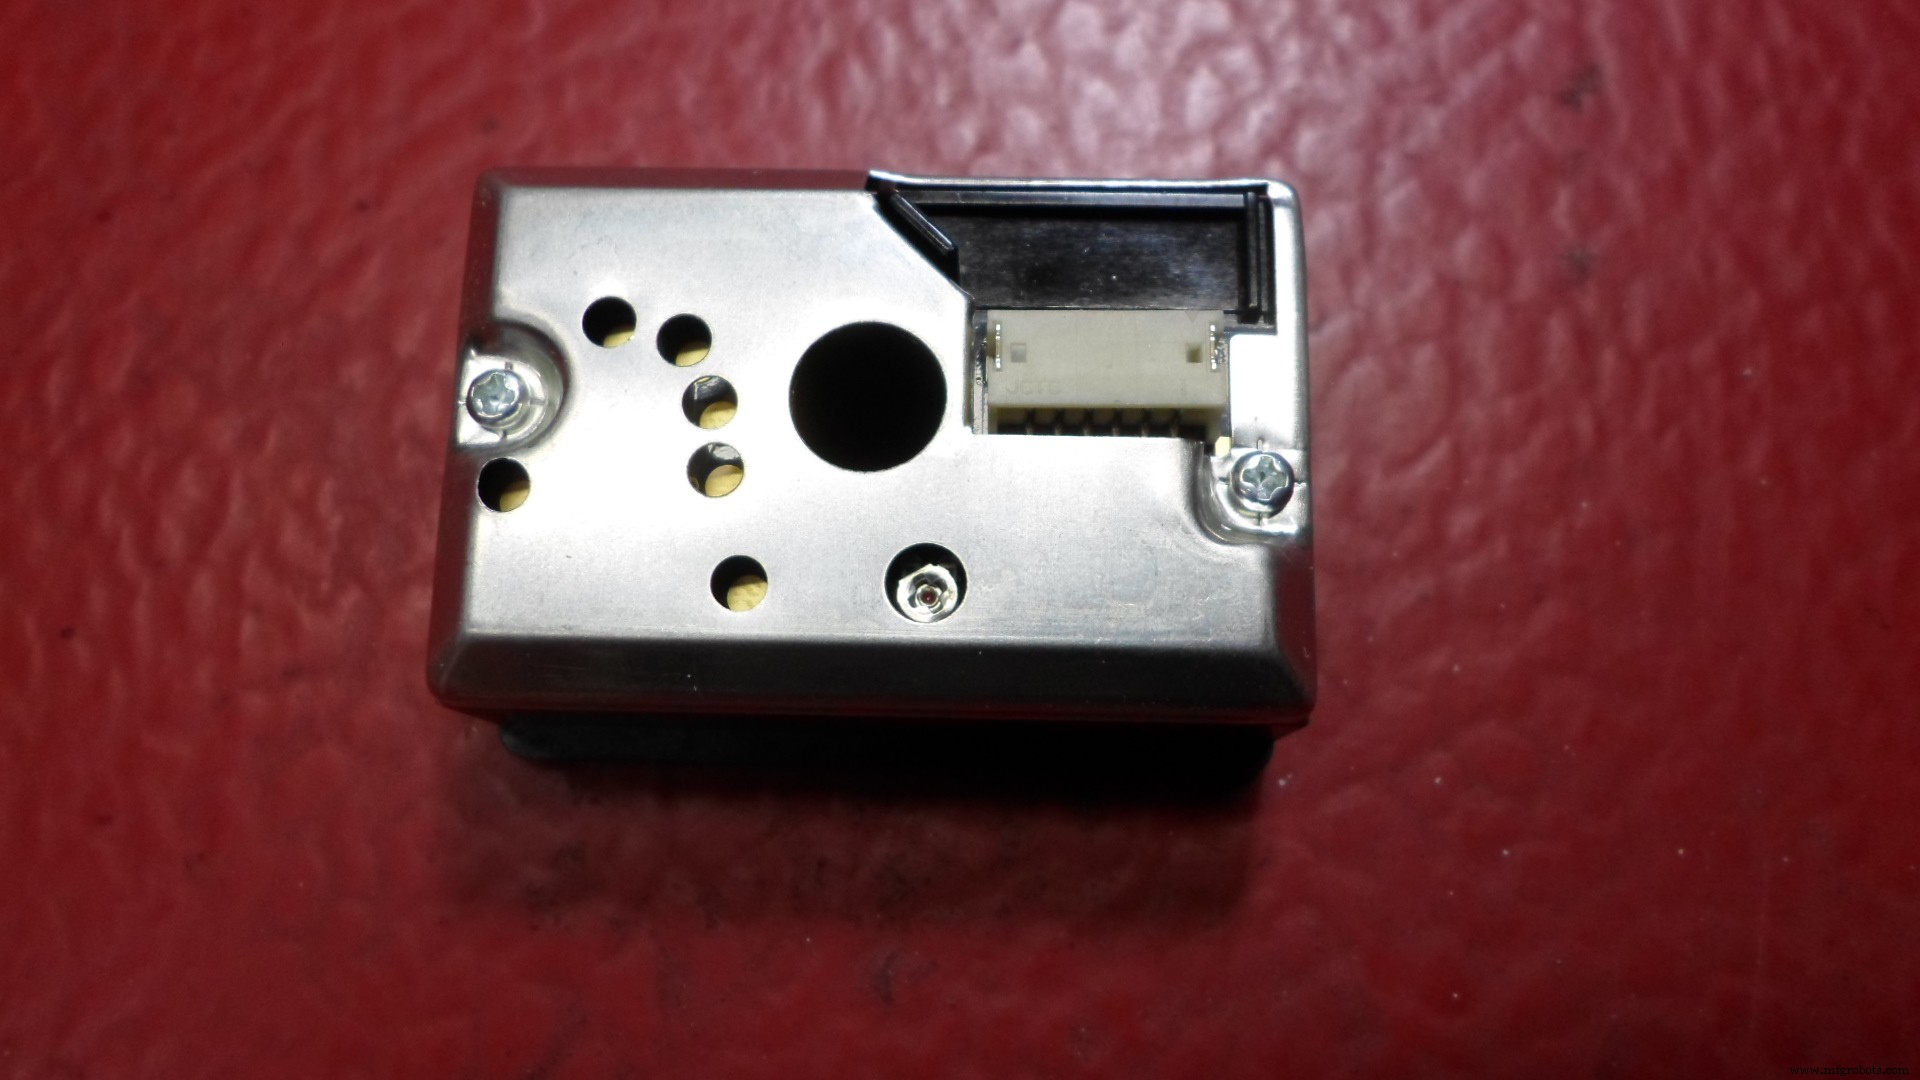
The Sharp Optical Dust Sensor (GP2Y1010AU0F) is especially effective in detecting very fine particles like cigarette smoke, and is commonly used in air purifier systems. An infrared emitting diode and a phototransistor are diagonally arranged into this device, to allow it to detect the reflected light of dust in air.
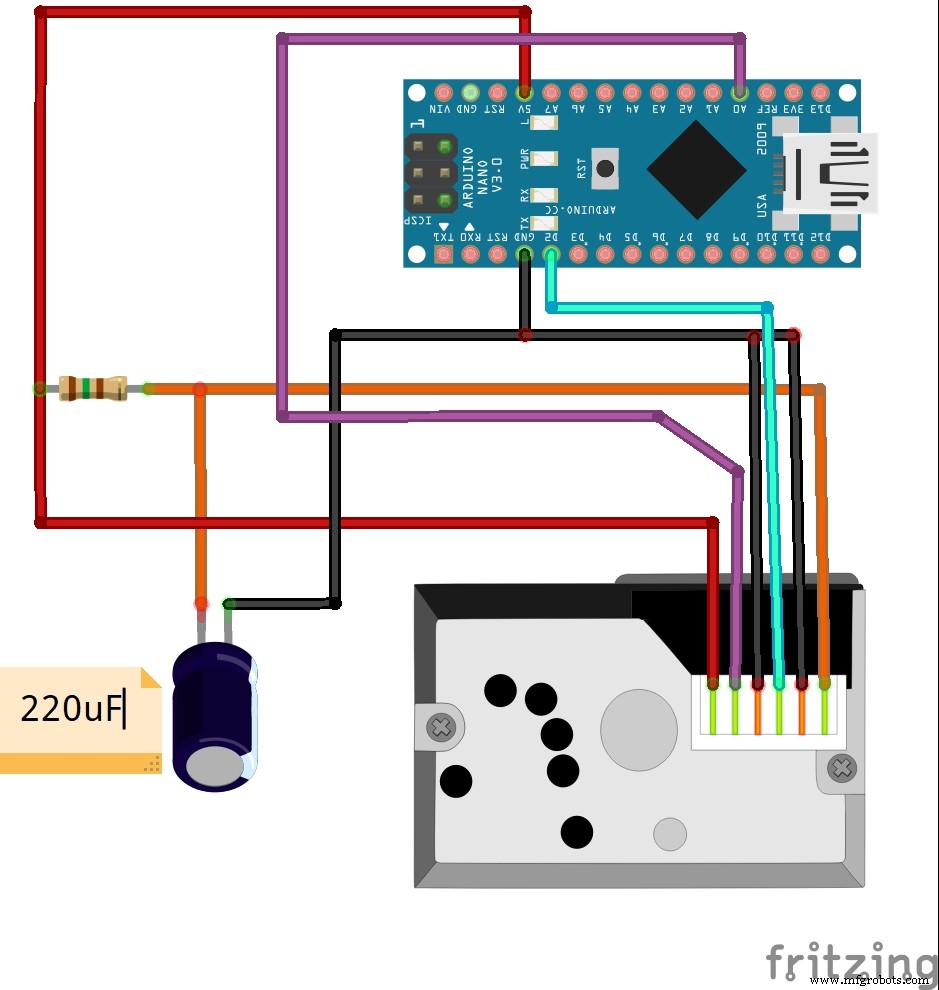
In previous videos I have shown you the Air quality monitors based on DSM501A and PPD42NS sensor boards. This time I will present you same device, now based on Sharp GP2Y1010AU0F sensor board which is also very cheap and costs around $ 5. The electrical scheme of this device is very simple and is shown in the figure below.The air sensor has a very low current consumption (20mA max, 11mA typical), and can be powered directly from Arduino board. The output of the sensor is an analog voltage proportional to the measured dust density, with a sensitivity of 0.5V/0.1mg/m3.
I modified the Arduino sample code from "Dfrobot" page so reading the values is in microg/m3. Next I wrote a Processing code based on "meter" library, so that these values are represented on the PC monitor in the form of a large analogue instrument, giving it a distinct visual effect.
Lastly let's compare all three sensor boards(DSM501A and PPD42NS which I have described in previous videos and Sharp GP2Y1010AU0F described above).All three sensors are very cheap and can be purchased for a few dollars. According to the results I got testing them under the same conditions and the winner is Sharp GP2Y1010AU0F. There are a number of positive points among which:
-It is more sensitive to very low values
-It has very low power consumption and can be powered directly from the Arduino
-Very simple Arduino code that is easily customizable
-It has an analog output so it can be directly connected to a measuring instrument without any additional electronics
This sensor can be purchased at AliExpress
https://www.aliexpress.com/item/32661666070.html?spm=a2g0s.9042311.0.0.27424c4dKW7gUj
Thanks for watching
Code
- Arduino code
- Processing code
Arduino codeArduino
/*
 Standalone Sketch to use with a Arduino UNO and a
 Sharp Optical Dust Sensor GP2Y1010AU0F
*/

int measurePin = 0; //Connect dust sensor to Arduino A0 pin
int ledPower = 2;   //Connect 3 led driver pins of dust sensor to Arduino D2

int samplingTime = 280;
int deltaTime = 40;
int sleepTime = 9680;

float voMeasured = 0;
float calcVoltage = 0;
float dustDensity = 0;

void setup(){
  Serial.begin(9600);
  pinMode(ledPower,OUTPUT);
}

void loop(){
  digitalWrite(ledPower,LOW); // power on the LED
  delayMicroseconds(samplingTime);

  voMeasured = analogRead(measurePin); // read the dust value

  delayMicroseconds(deltaTime);
  digitalWrite(ledPower,HIGH); // turn the LED off
  delayMicroseconds(sleepTime);

  // 0 - 5V mapped to 0 - 1023 integer values
  // recover voltage
  calcVoltage = voMeasured * (5.0 / 1024.0);

  // linear eqaution taken from http://www.howmuchsnow.com/arduino/airquality/
  // Chris Nafis (c) 2012
  dustDensity = 170 * calcVoltage - 0.1;


  Serial.println(dustDensity); // unit: ug/m3

  delay(1000);
}
Processing codeC/C++
/* //<>//
 Meter as a partial circle.
 Change a few colors.
 Note that the circle starts at 90.0 degrees (6:00 OClock) and
 moves clockwise. The scale labels have to be in this order.

  Non-Hardware example.

 created April 19, 2017
 by Bill (Papa) Kujawa.

 This example code is in the public domain.
 */
import processing.serial.*;
import meter.*;

Serial port;
String[] list;

Meter m;

void setup() {
  size(1150, 910);
  background(255, 255, 200);

   port = new Serial(this, "COM4", 9600);

  // Display a full circle meter.
  m = new Meter(this, 125, 25, true); // Instantiate a full circle meter class.
  m.setMeterWidth(850);
  m.setFrameColor(color(100, 0, 0));
  m.setTitleFontColor(color(0, 200, 0));
  m.setPivotPointColor(color(255, 0, 0));
  m.setArcColor(color(0, 0, 200));
  m.setScaleFontColor(color(200, 100, 0));
  m.setTicMarkColor(color(217, 22, 247));
  // Define where the scale labele will appear
  m.setArcMinDegrees(90.0); // (start)
  m.setArcMaxDegrees(360.0); // ( end)
  m.setArcThickness(5);
  m.setNeedleThickness(4);
  // Set the meter value correspond to the scale labels.
  m.setMinScaleValue(0.0);
  m.setMaxScaleValue(800.0);
  m.setInputSignalOutOfRangeFontColor(color(0, 255, 0));
  m.setMinInputSignal(0);
  m.setMaxInputSignal(800);
 m.setHighSensorWarningActive(true);
  m.setHighSensorWarningValue((float)200.0);
  String[] scaleLabelsA = {"0", "100", "200", "300", "400", "500", "600", "700", "800"};
  m.setScaleLabels(scaleLabelsA);

  // Change the title from the default "Voltage" to a more meaningful label.
  m.setTitle("Airquality (ug/m3)");

  // Display the digital meter value.
  m.setDisplayDigitalMeterValue(true);
}

void draw() {

  if (port.available() > 0) {
    String val = port.readString();
    list = split(val, ',');

float air = float(list[0]);

println("Airquality: " + air + " mg/m3 " );
m.updateMeter(int(air));
  }
}
Schematics
Manufacturing process
- Build a Raspberry Pi Air Quality & Weather Station with InfluxDB & Grafana
- Measuring Air Quality with OpenSensors: An Arduino & Python Guide
- Helium-Based Solar‑Powered Air Quality Sensor: Design & Deployment Guide
- K30 CO2 Sensor: Real‑Time Indoor Air Quality Monitoring
- Build an Arduino‑Based Air Quality Monitor Using the DSM501A Dust Sensor
- Build a Portable RFID Door Lock with Arduino – Step-by-Step Guide
- Arduino-Based Indoor Air Quality & Comfort Sensor Kit
- Build an IR Sensor Project with Arduino UNO – Simple Guide
- Build Your Own DIY Air Quality Monitor: PM2.5, CO2, VOC, Ozone, Temp & Humidity with Arduino
- Advanced Carbon‑Based NO₂ Sensor Enhances Indoor Air Quality Monitoring