


Smart AV Cabinet Fan Controller – Arduino Nano, DHT11, and Relay for Optimal Cooling
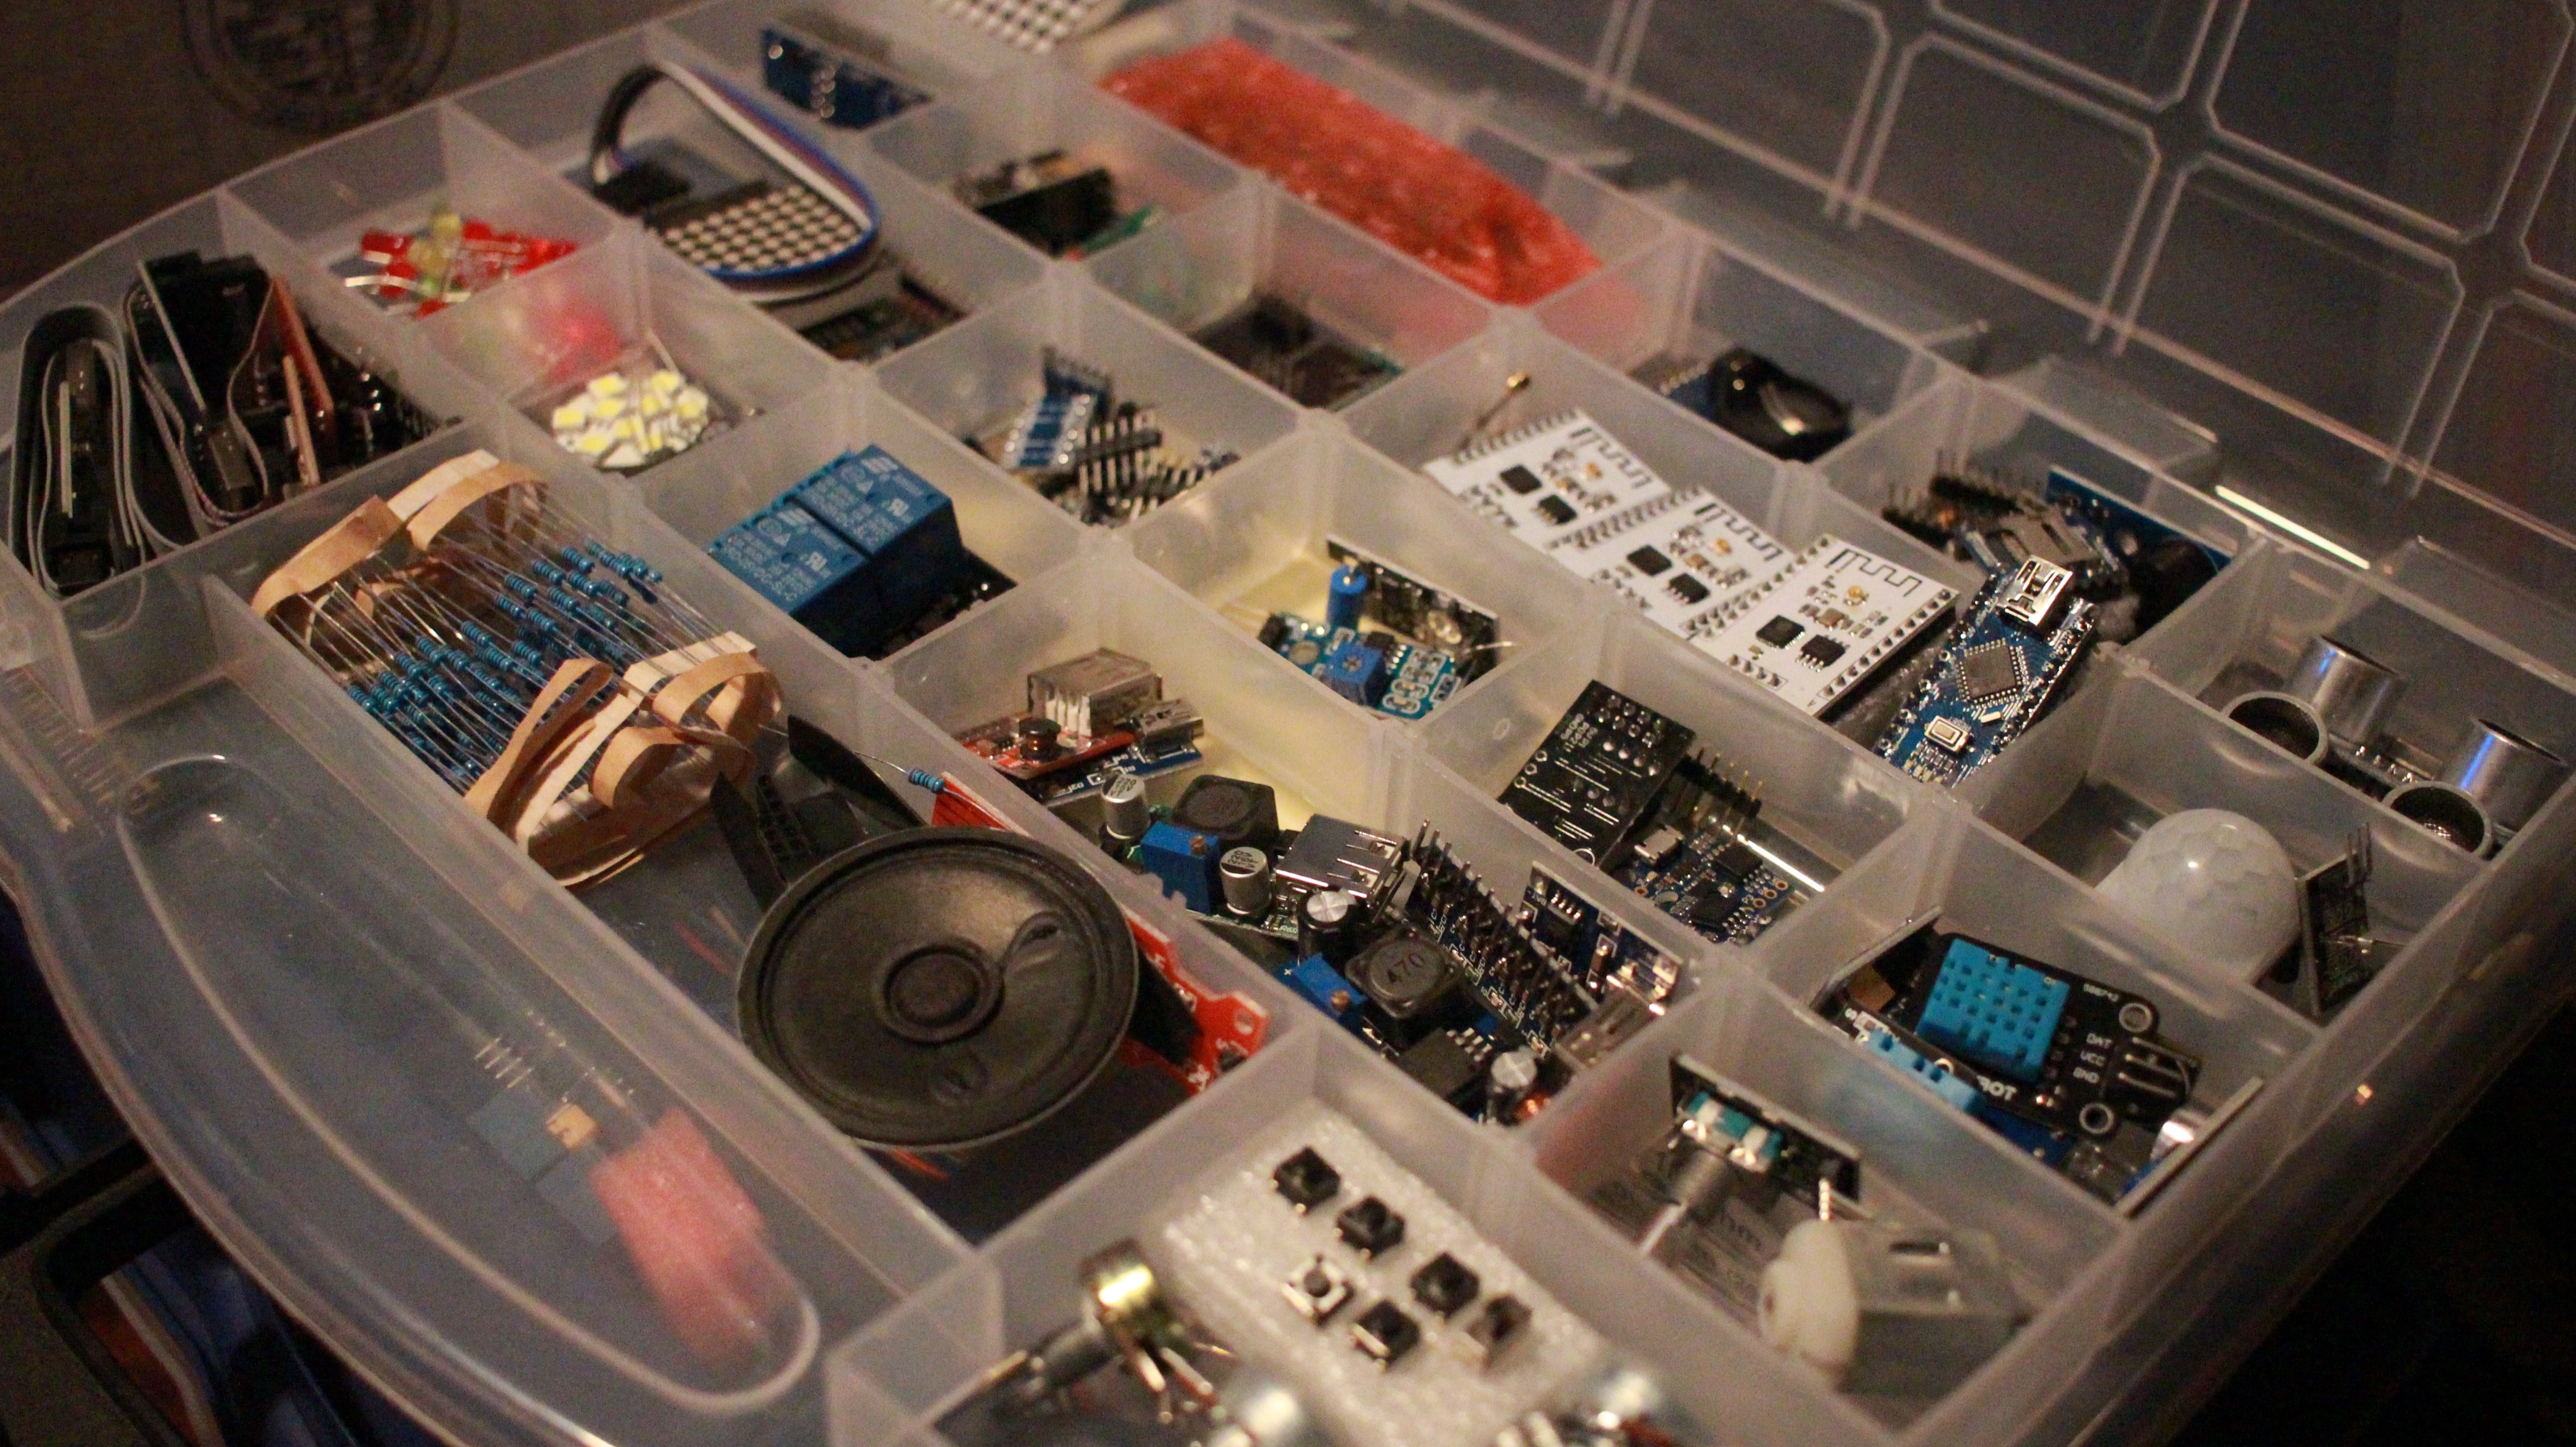
Components and supplies
 |
| × | 1 | |||
 |
| × | 1 | |||
| × | 1 |
About this project
My AV receiver was running really hot so I wanted to add a cabinet fan before the summer heat. At first I tried finding a 5-12v DC source on the outside of the receiver that is powered up only when the receiver is on, but could only find a few places inside the receiver. I also wanted the fans to run for a while after the receiver is powered off, and sizing capacitors for that was starting to get tricky.
Room temp 75F, cabinet temp 109F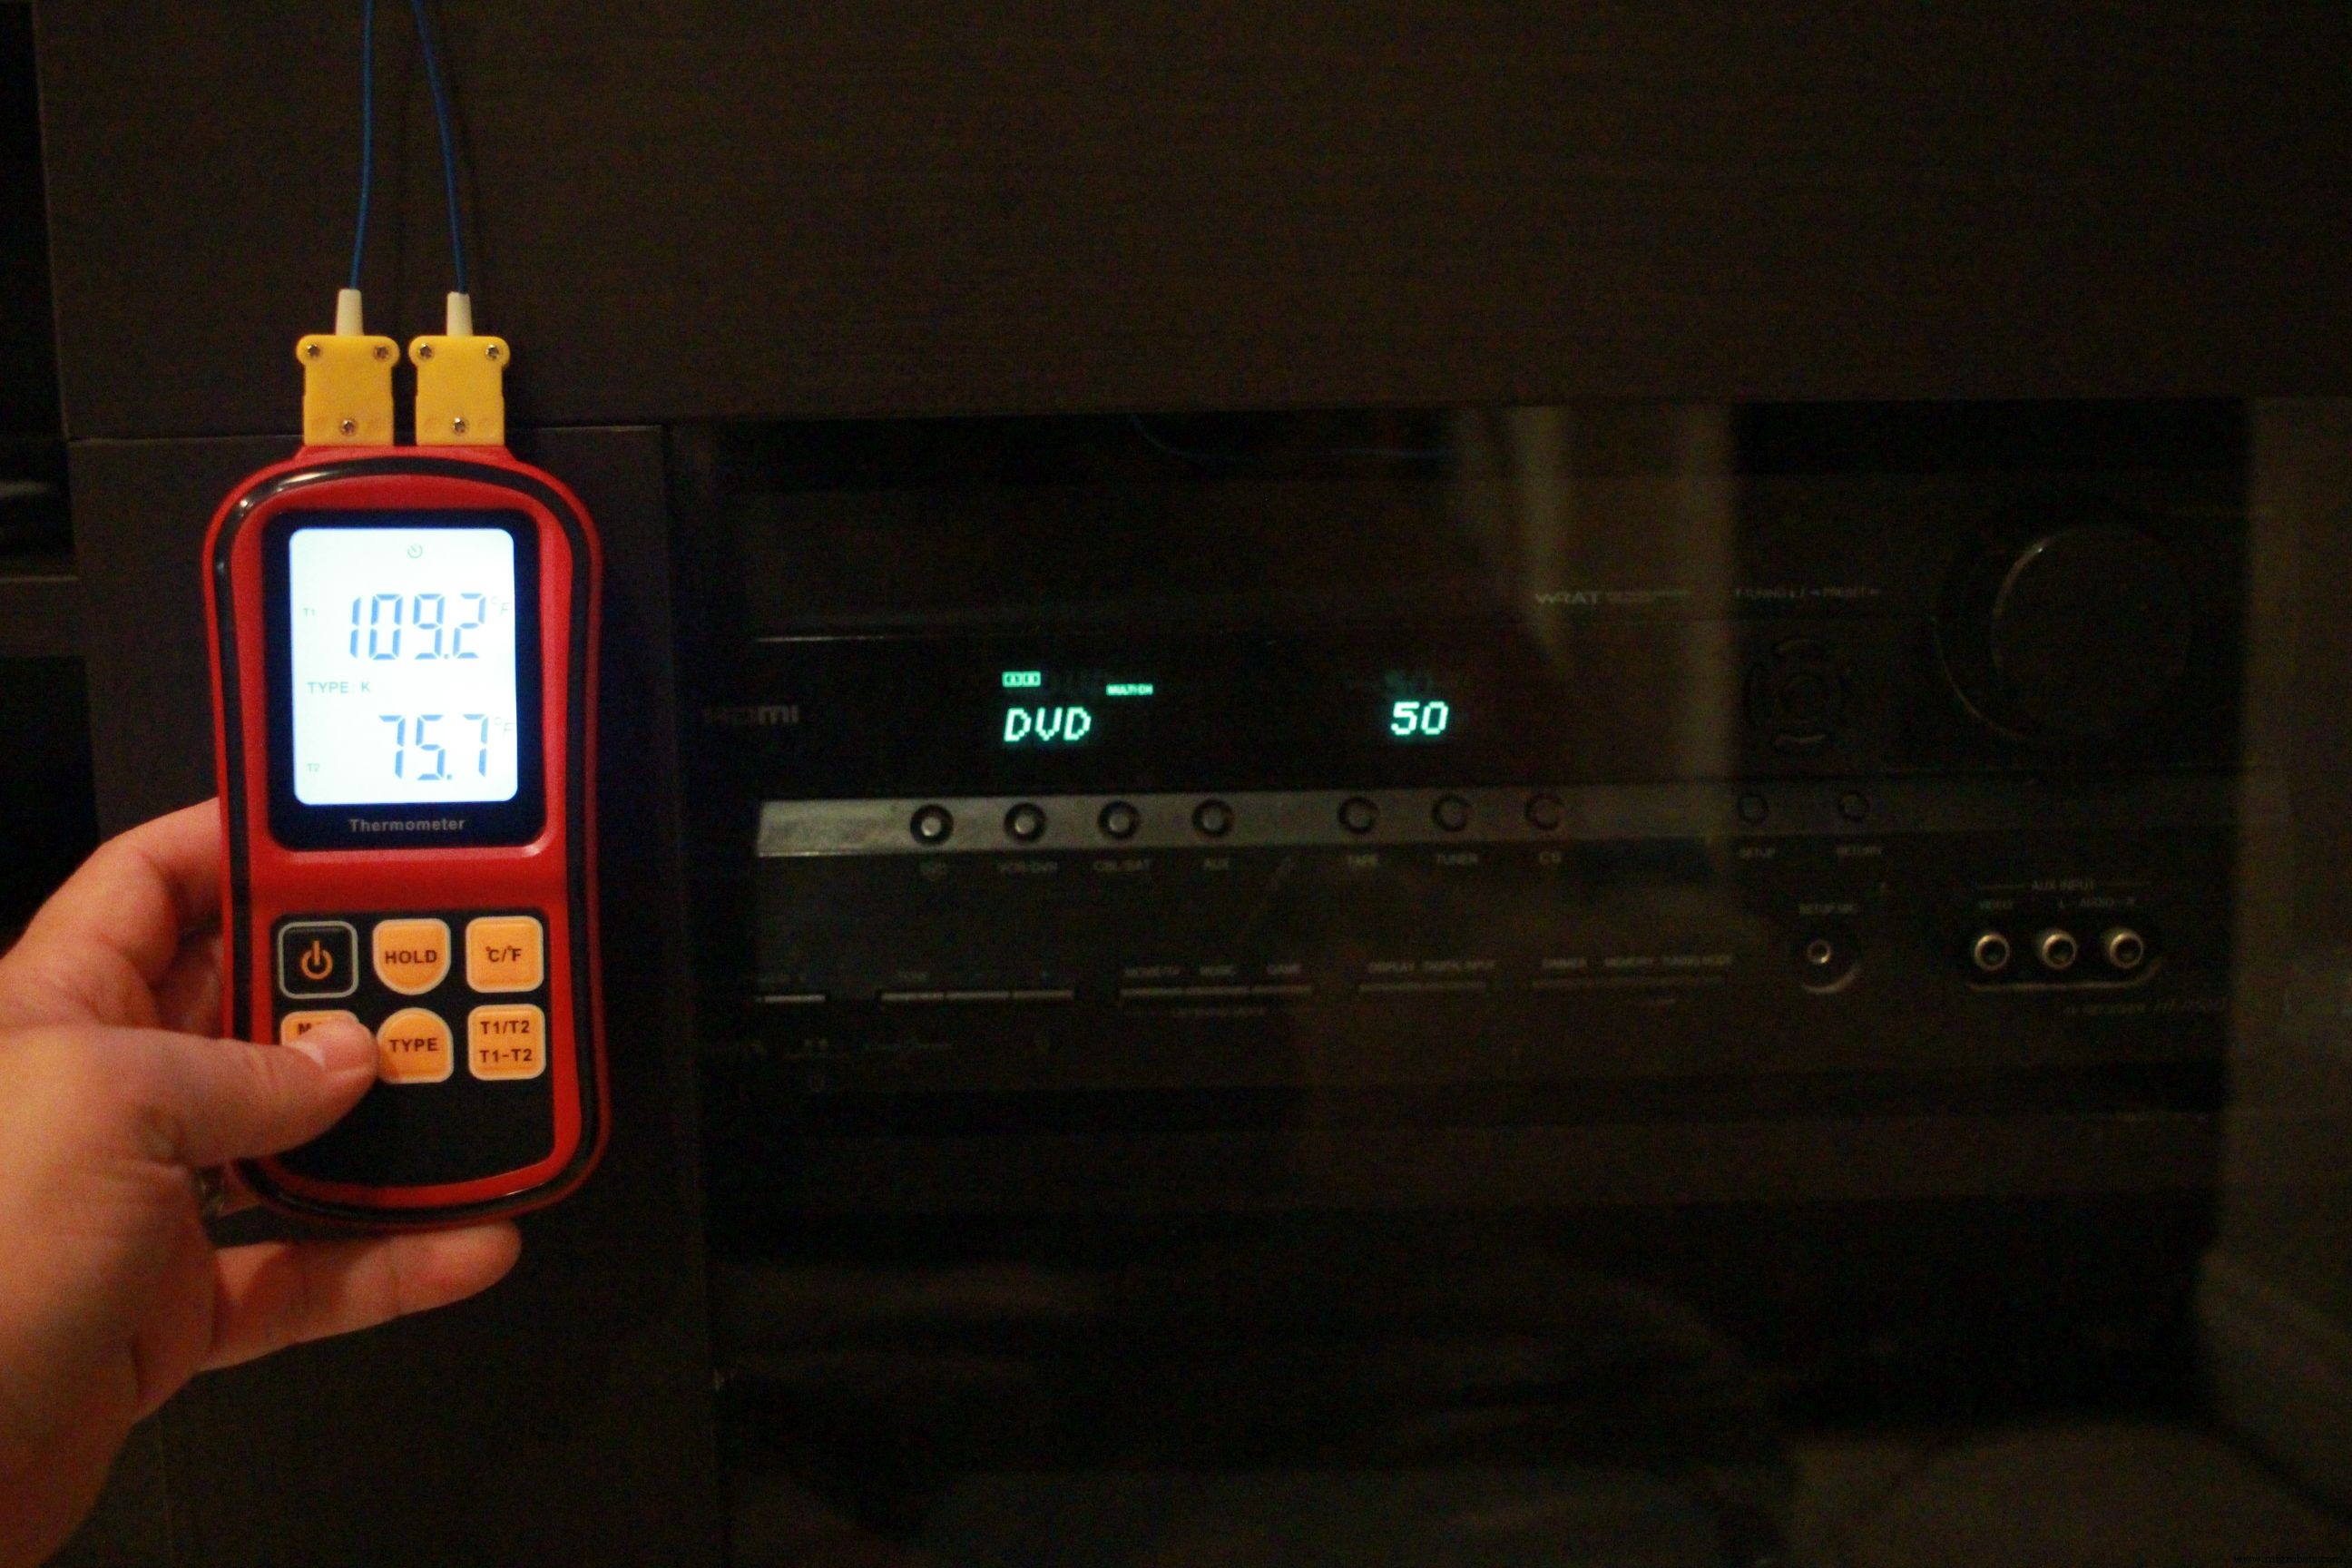
I looked at temperature controlled fans on amazon and they all seemed more expensive than I thought they should be. They were all over $30 and were basically just a fan, temp probe, and a relay...I looked in my parts bin and already had all that stuff.
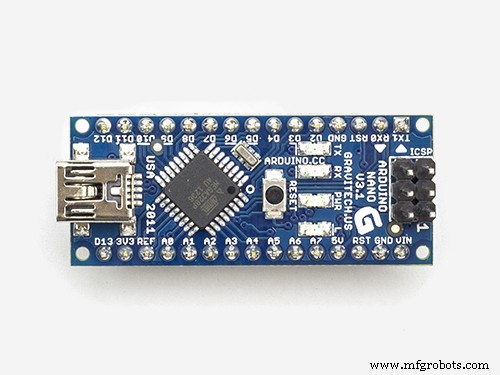
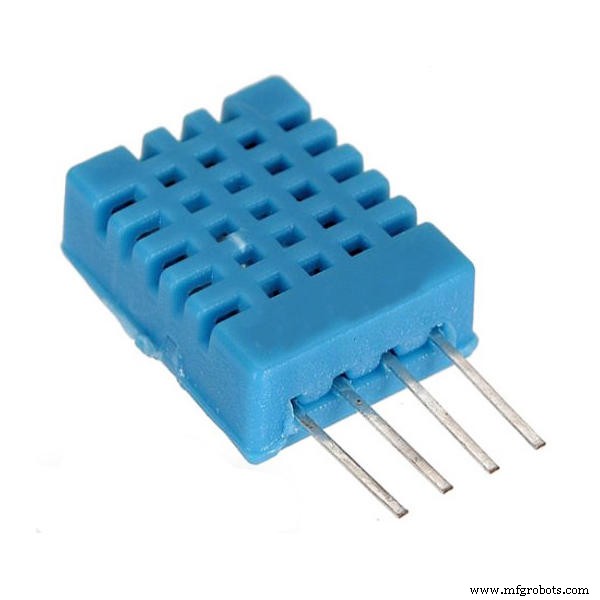
First I wrote up a small sketch for a $2 Chinese Arduino Nano. Added a DHT11 temperature sensor and a 5v DC relay and it worked like a charm.
Quick Prototype
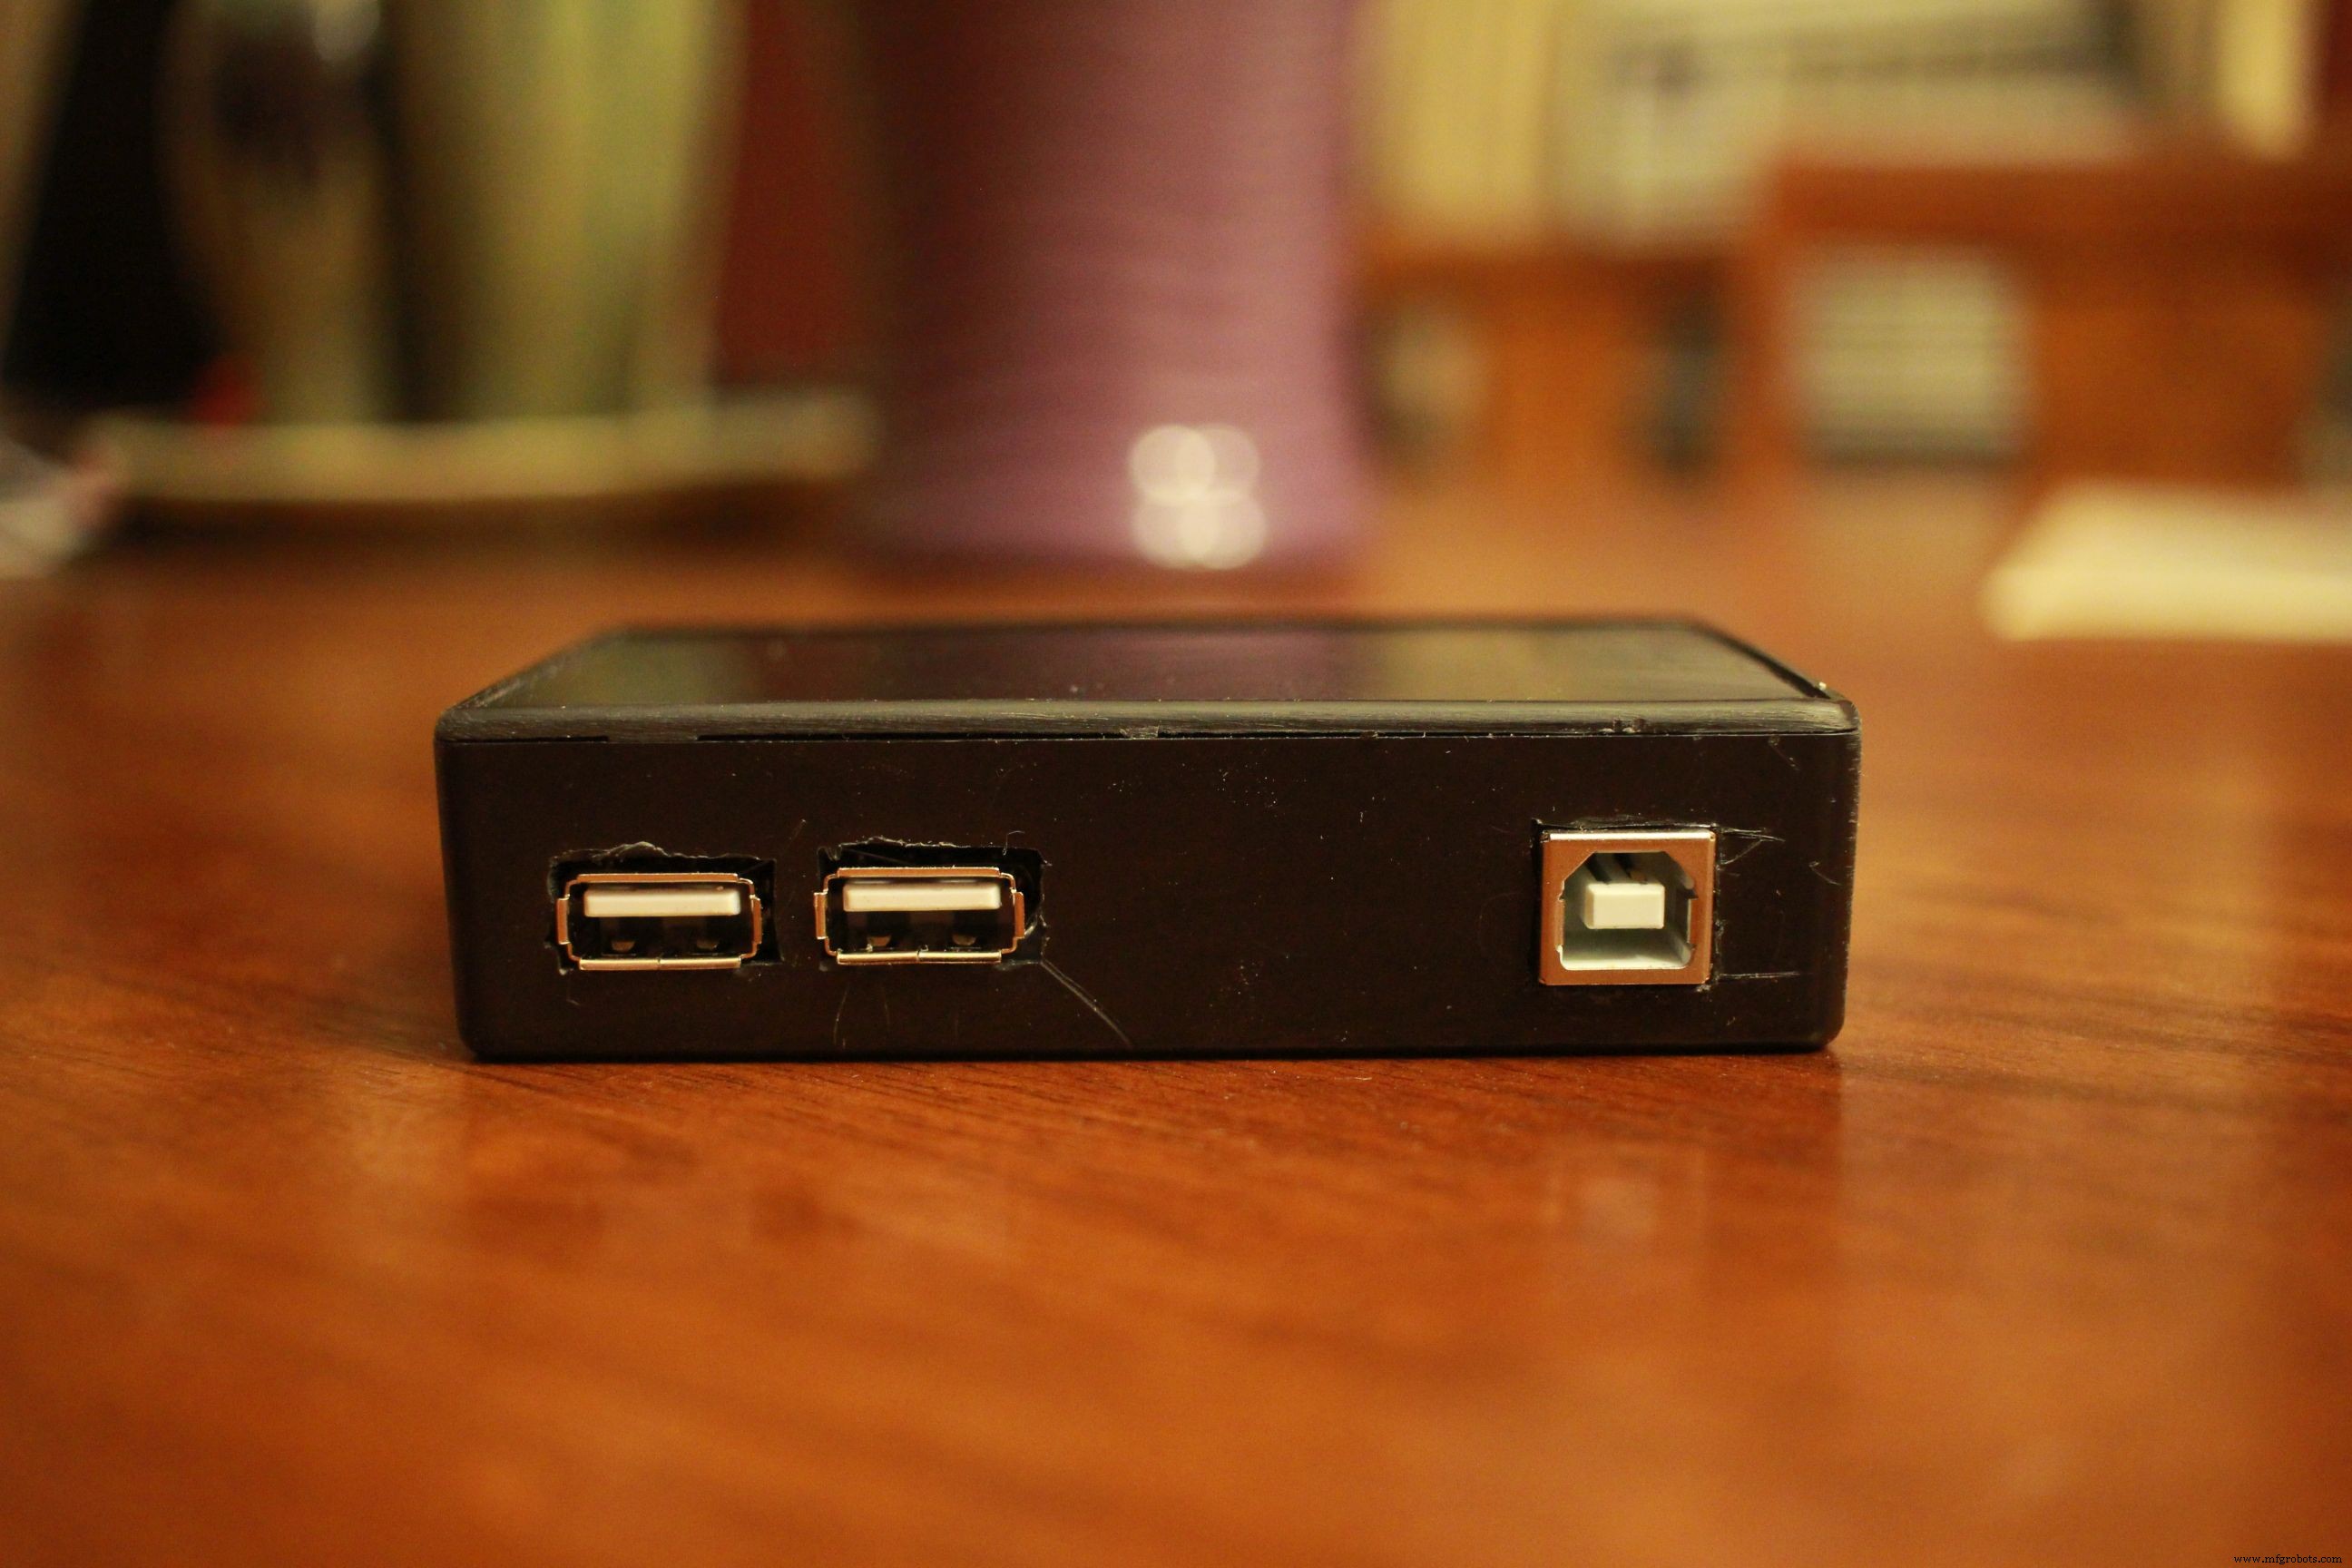
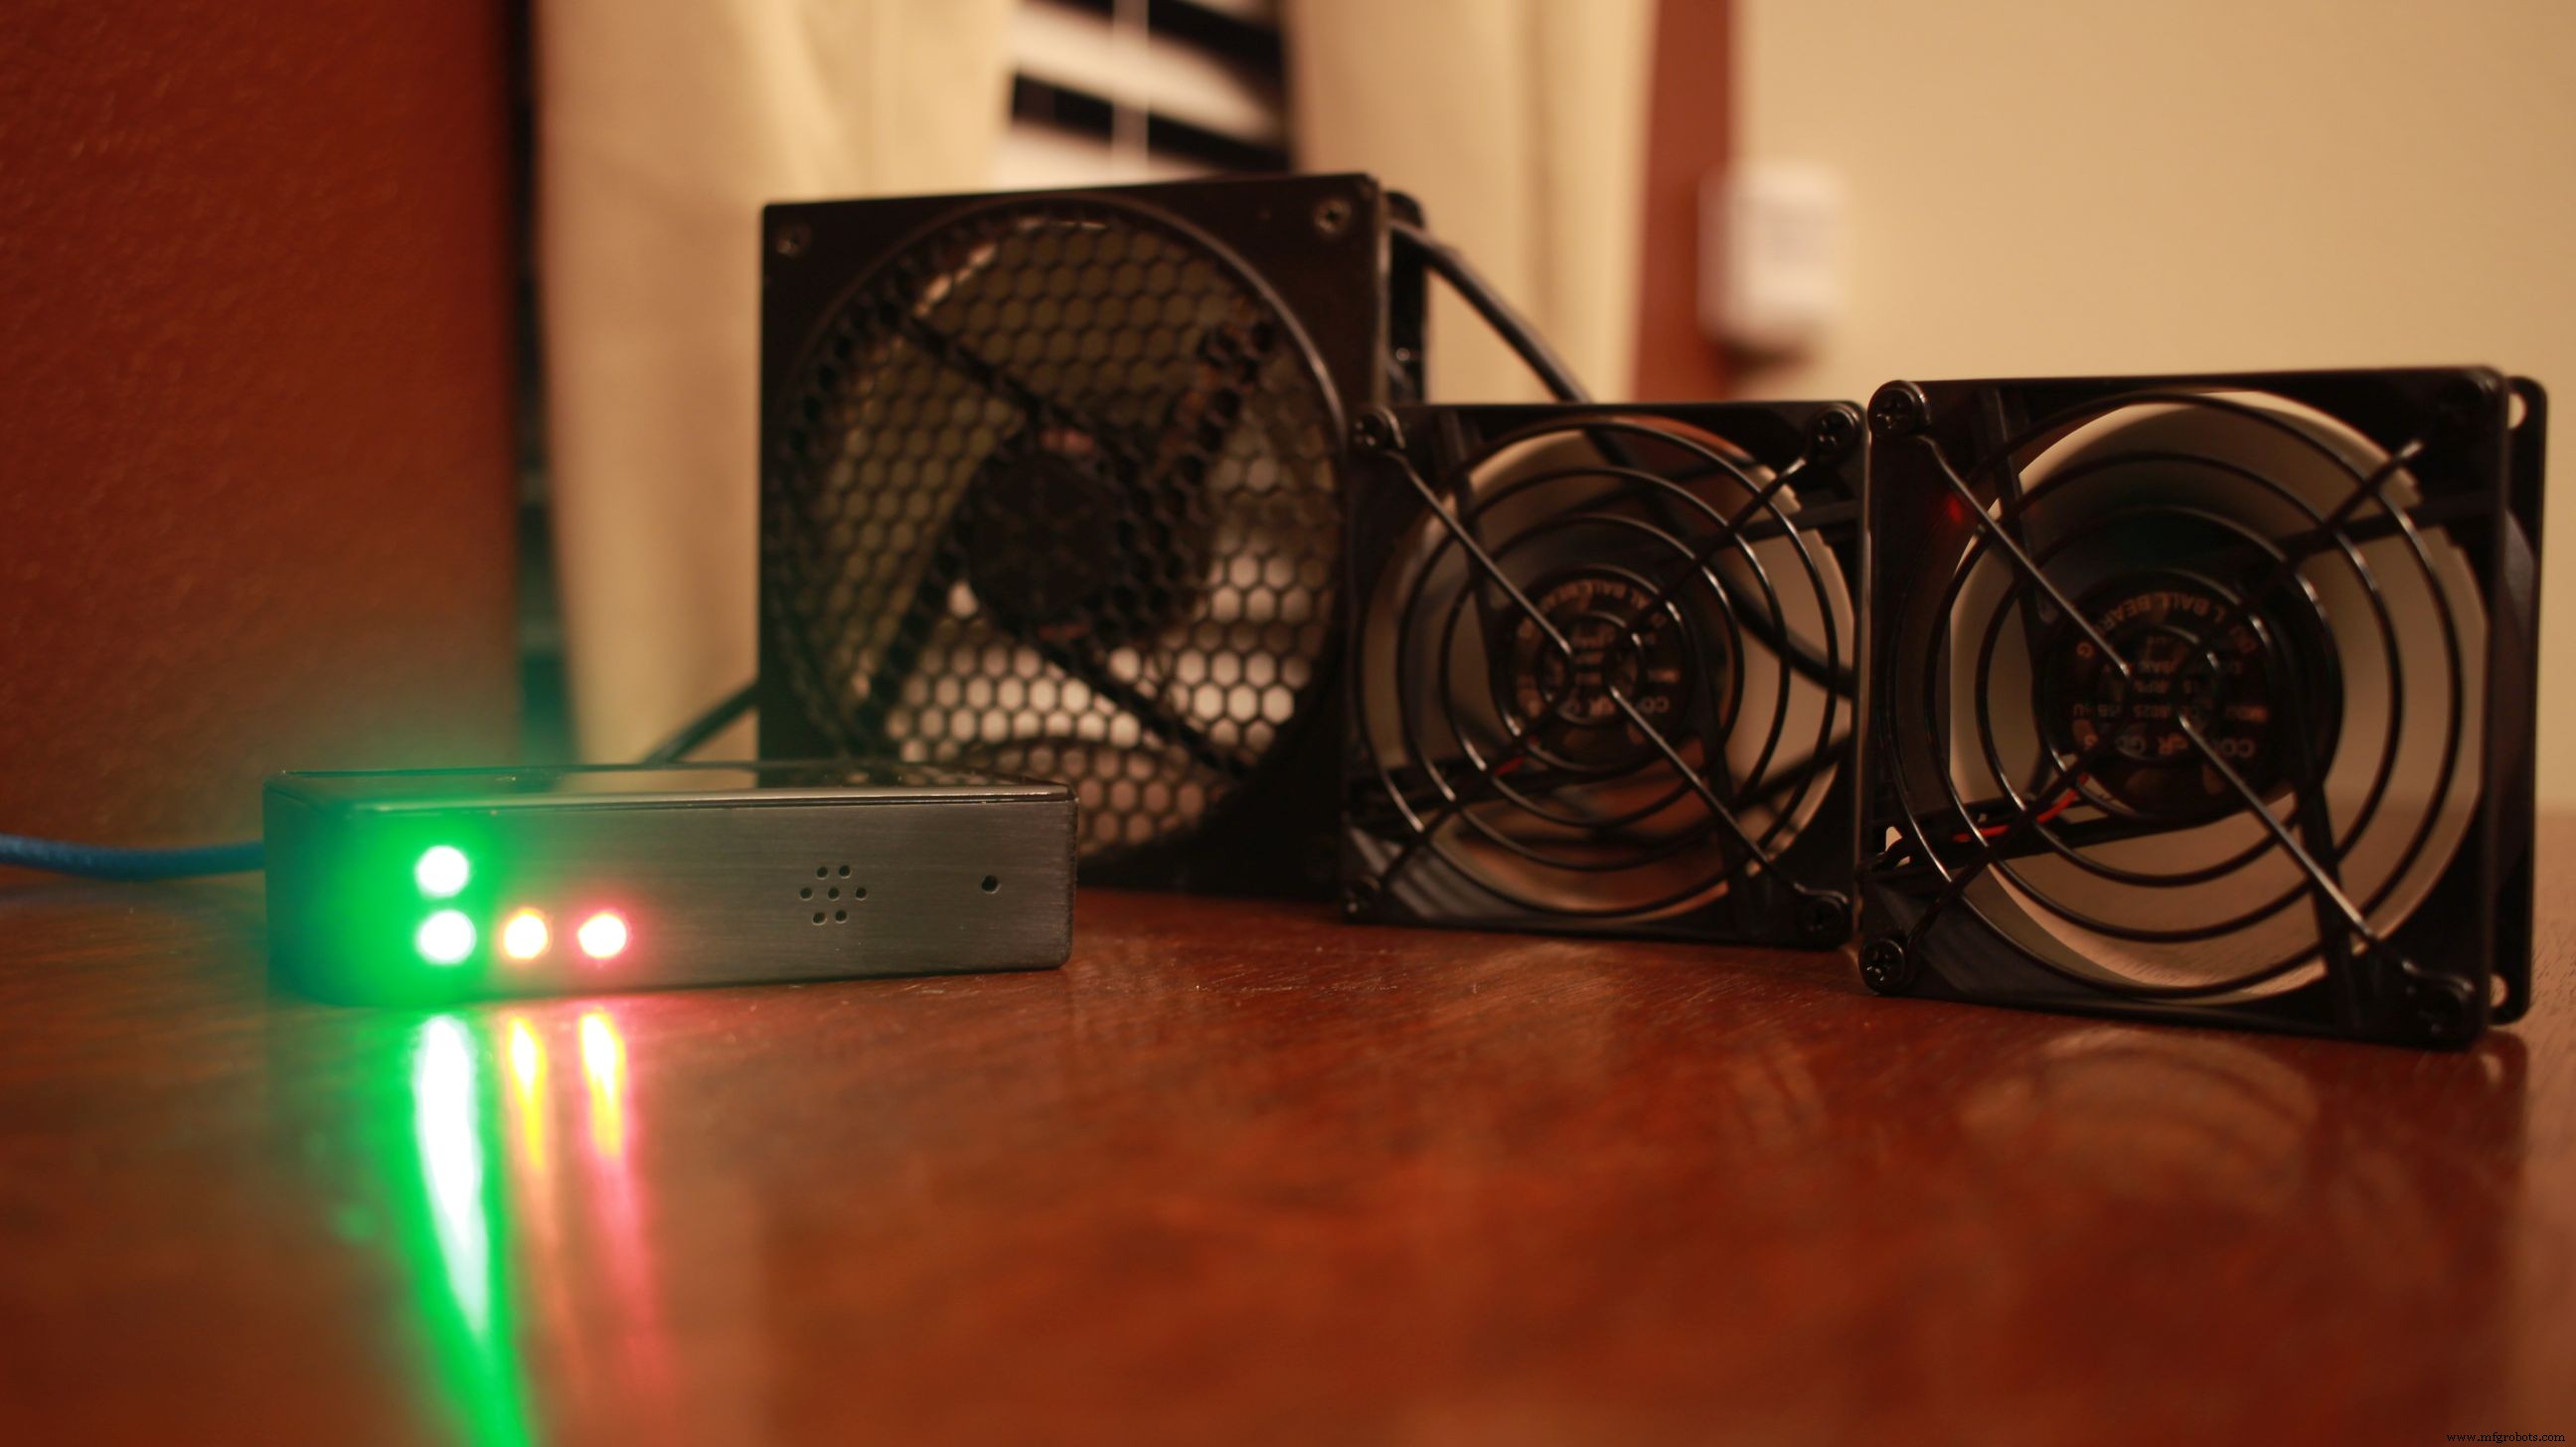
Next I had to find some old PC fans that would spin up and move air on just 5v since I wanted the whole thing to be powered by an old USB phone charger. I found two 80mm and one 120mm fans that still moved enough CFM at 5v and stayed under 200mA, so I cut off the molex connection and wired them up as USB.
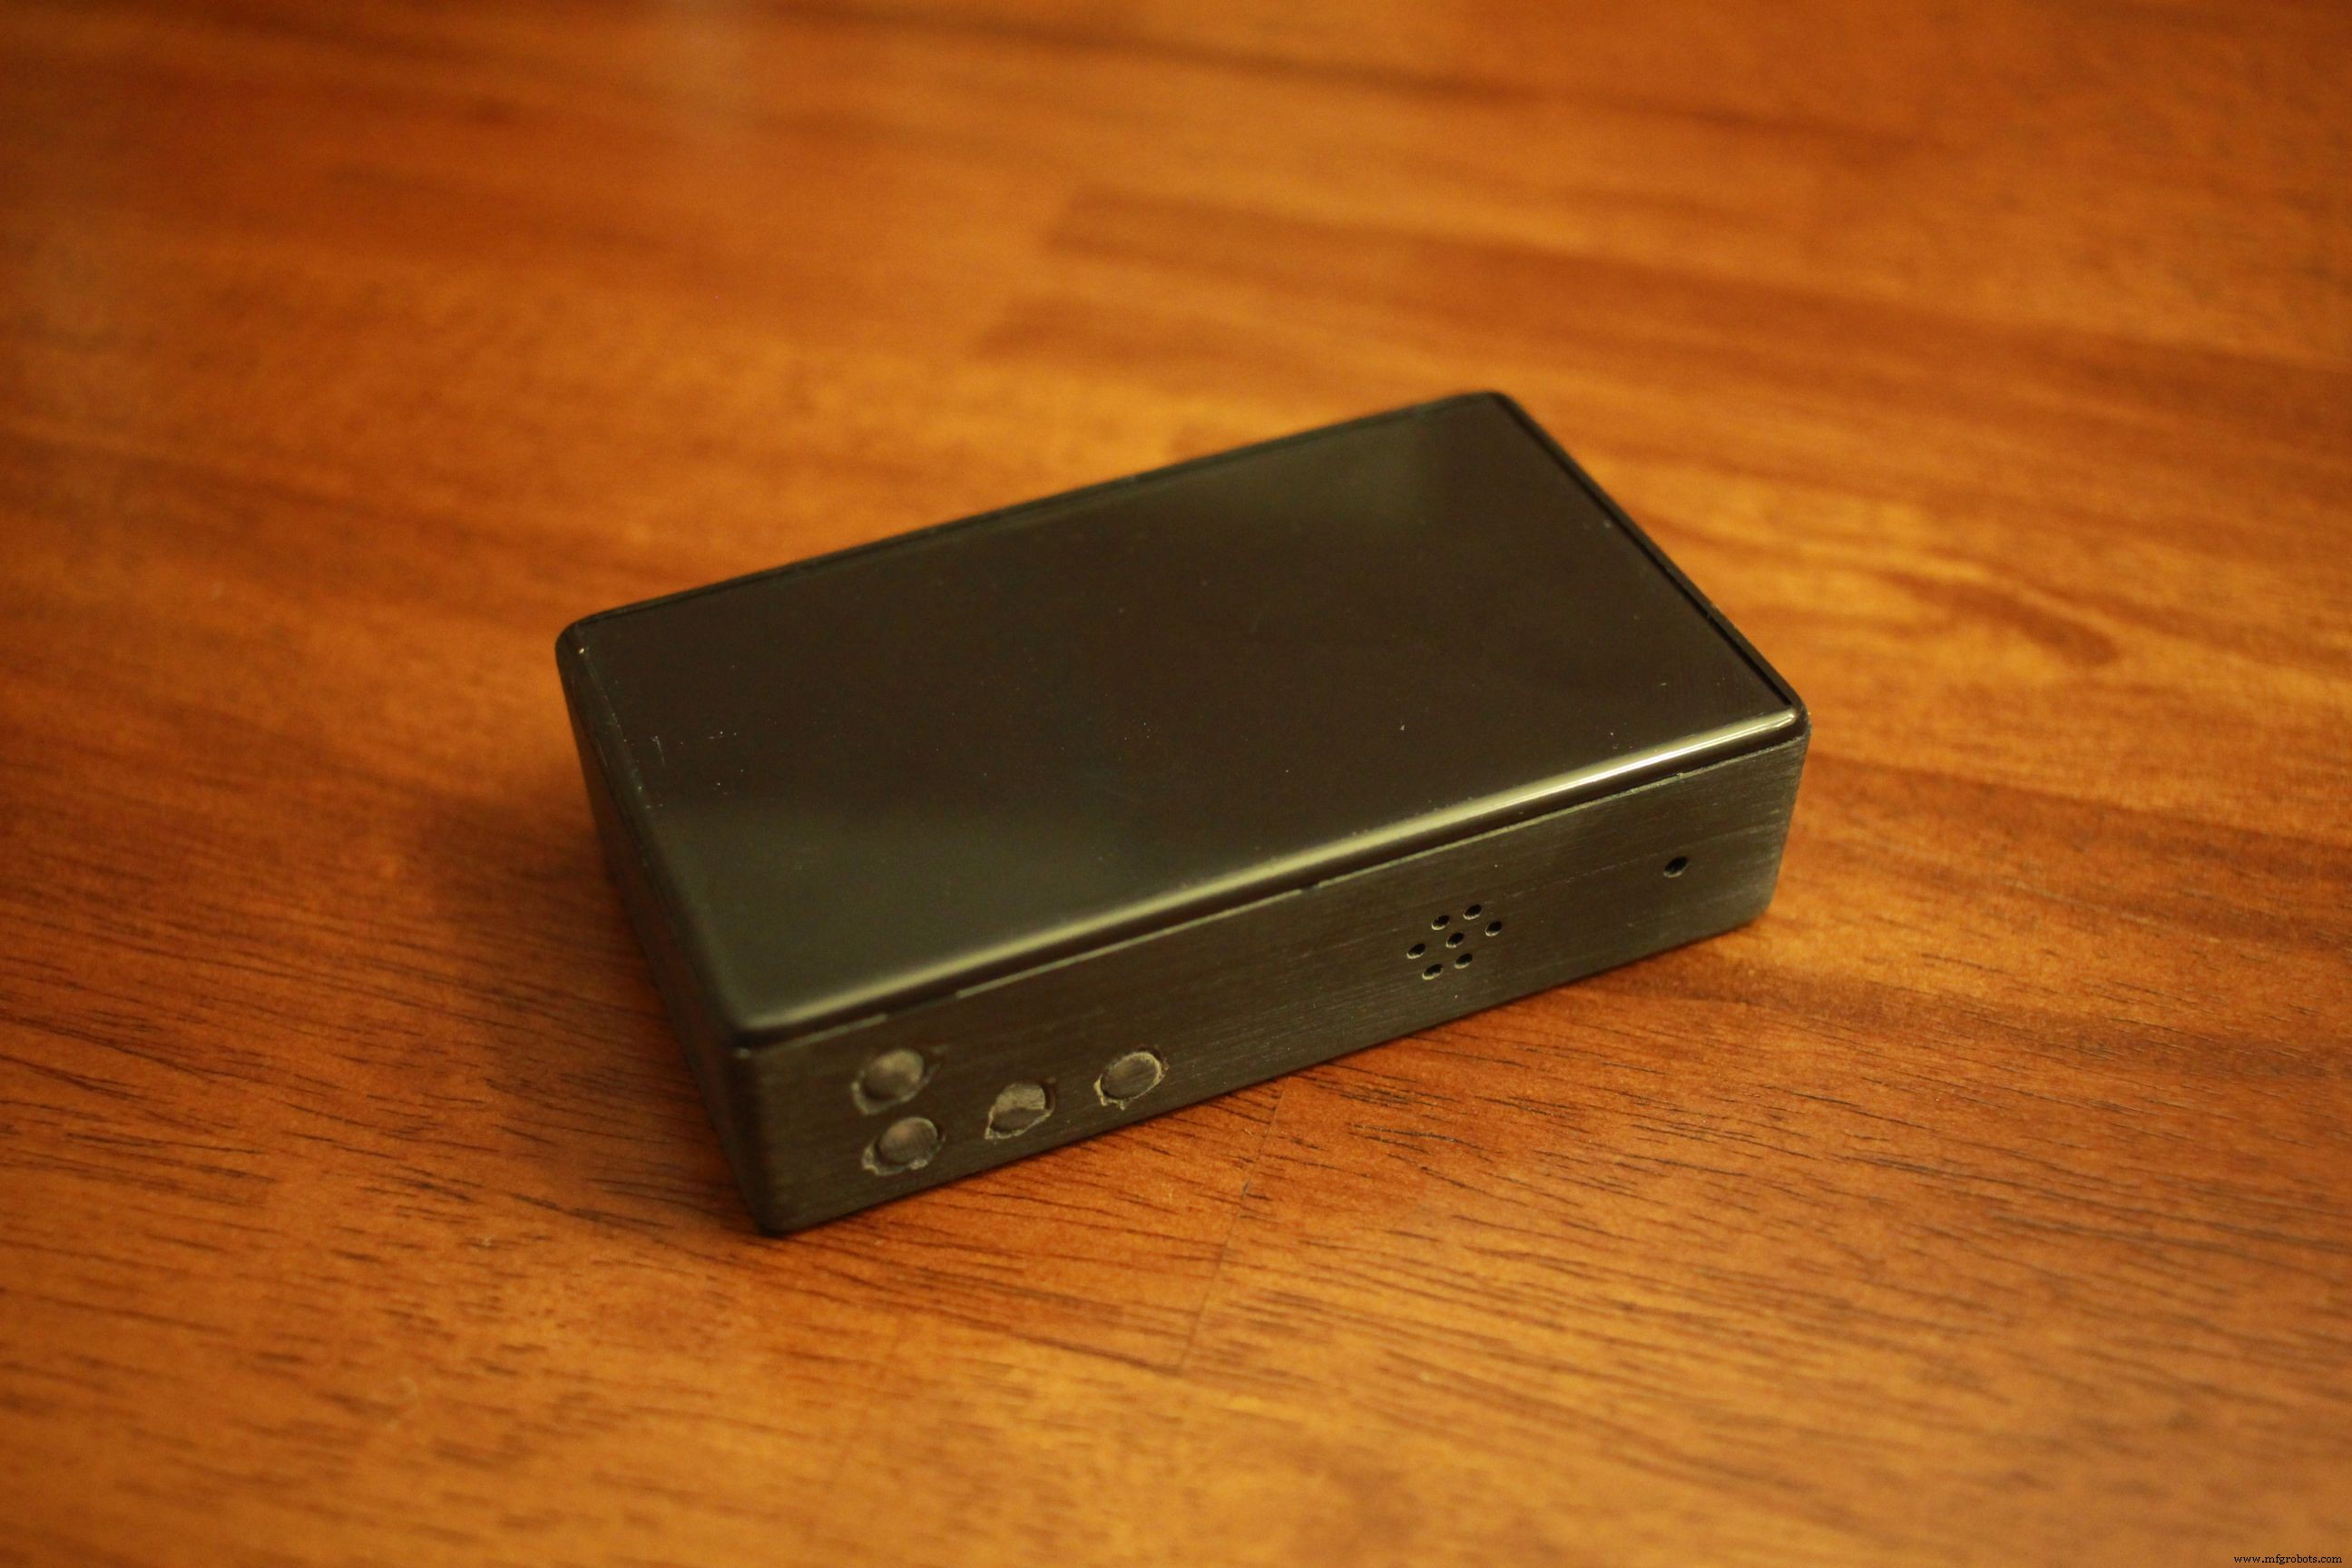
Everything was working on the breadboard, so I ended up adding some status LEDs and a piezo buzzer for an overheating alarm. It all fit nicely into a small project box that I had.
Snug fit calls for lots of hot glue to prevent shorts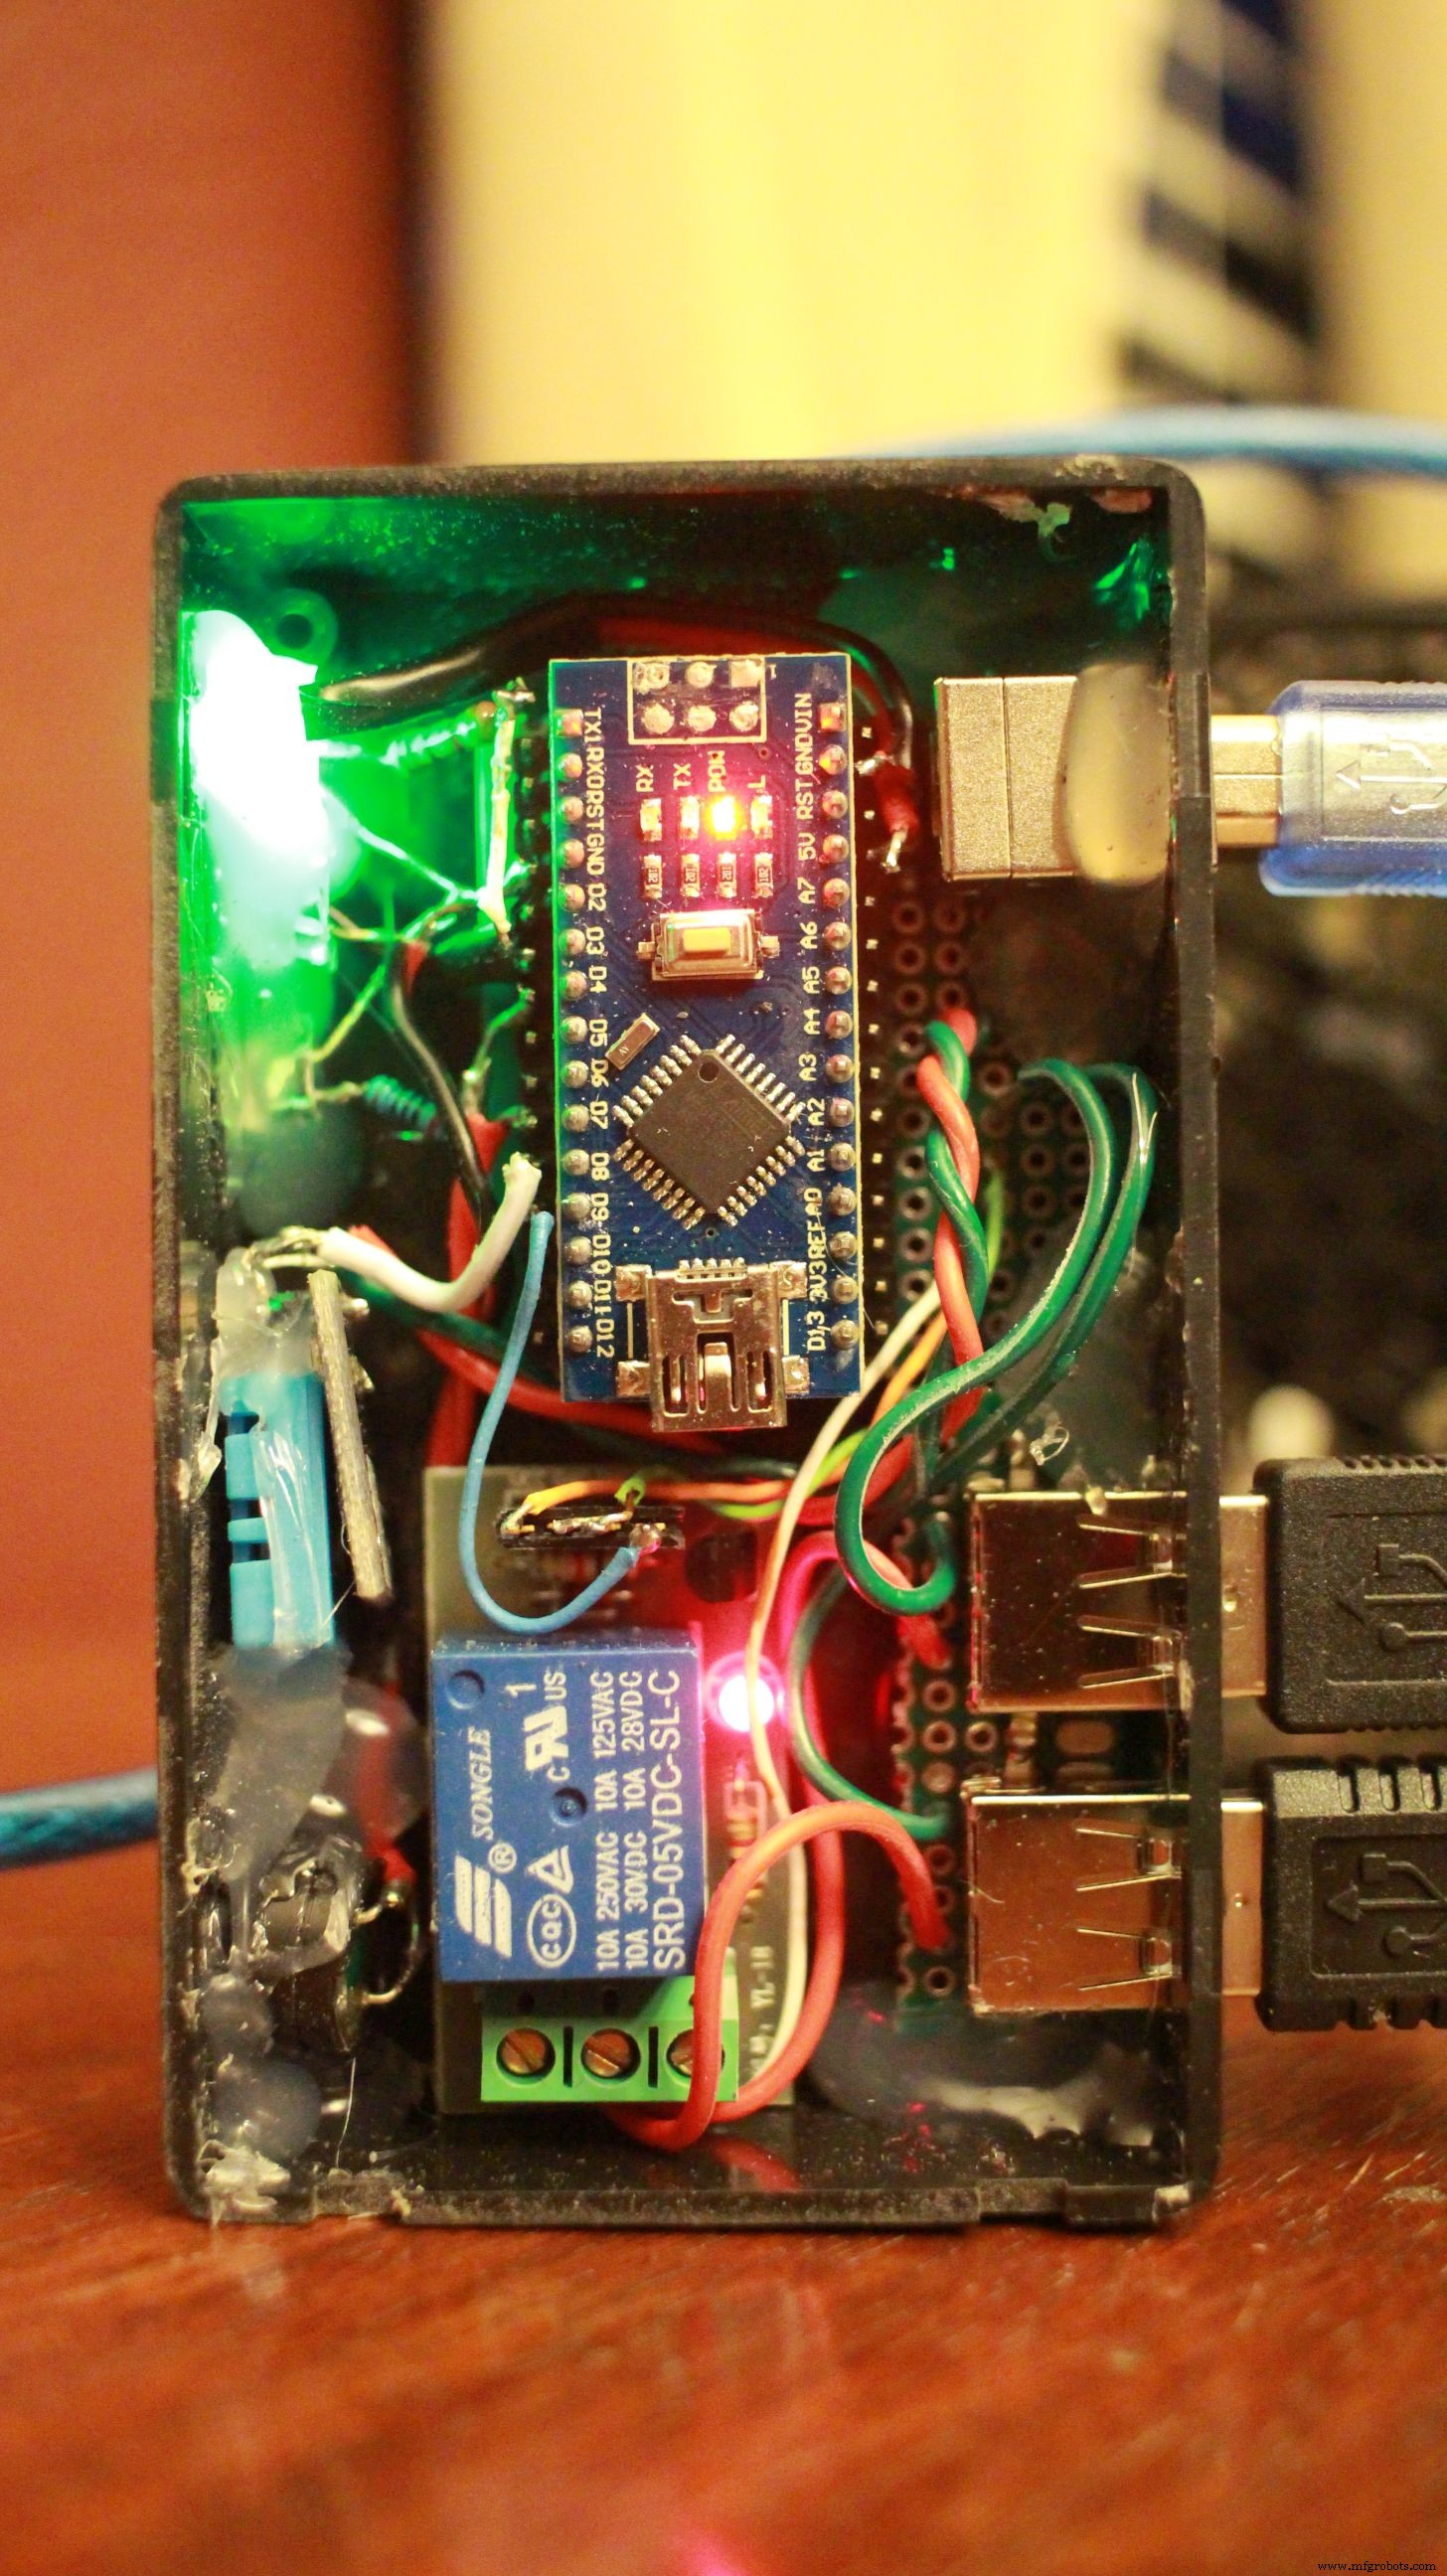
Controller goes through a startup POST to show all fans, LEDs, and piezo alarm are working
Power On Self TestArduino Sketch:
The controller takes the average temperature over a 30 second span. If it's over 95F, the fan kicks on for 5 minutes before checking again. If the temp is over 120F, then the alarm sounds while the fans continue to run. Alarm sounds every 30 seconds until the temp is back under 120F.
Serial output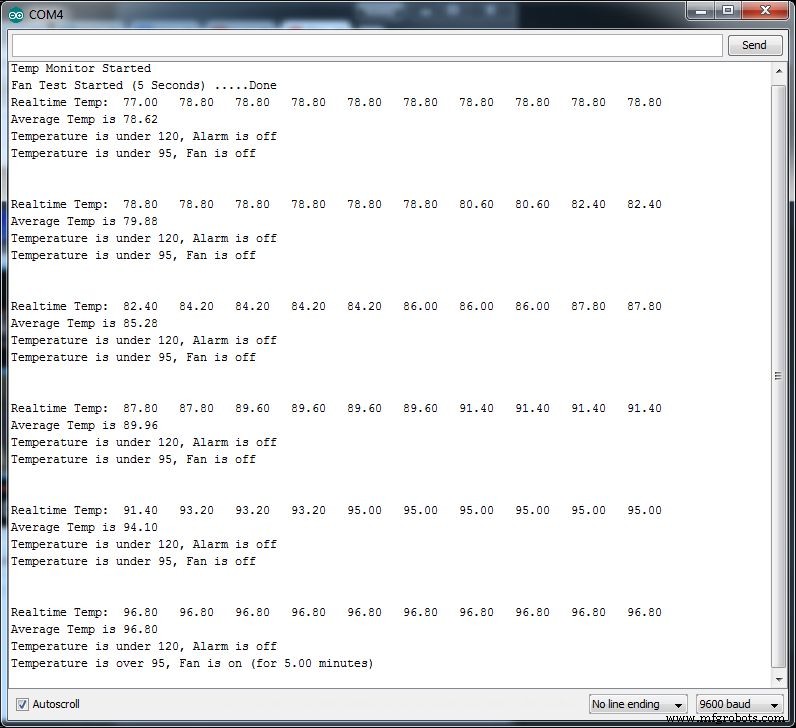
In practice, the fans kick on about 2 minutes after the receiver is turned on and will run the whole time it's on. After powering down the media center, the fans run for at least 5 minutes before the temp gets below 95F. So far the overheating alarm has not been triggered.
If I were doing this project over, I would look into replacing the Arduino Nano with an ATtiny85 and the relay with a MOSFET. This would be a much smaller form factor and also allow me to use PWM to control fan speed.
Code
- FanTempController
FanTempControllerC/C++
Arduino sketch that uses the average temp reading from a DHT11 sensor to turn on a fan via a relay.// Temperature controller for A/V Cabinet
// Fan is controlled by 10A relay connected to a 12v (computer) or 5v (USB) Fan
// Piezo alarm for alternate overheating alert
int FANTEMP = 95; // High temp at which the fan turns on (90*F)
int ALARMTEMP = 120; // Overheating temp (120*F)
int FANLED = 2; // Pin for fan "on" LED
int TEMPOK = 3; // LED for when temp is under FANTEMP
int ALARMLED = 4; // Alarm LED
int ALARMPIN = 7; // Audible alarm for overheating
// DHTPIN = 8; (defined below)
int FANPIN = 9; // Relay for fan switch
#include "DHT.h" // Written by ladyada, public domain
#define DHTPIN 8 // DHT Sensor
// Uncomment whatever type you're using!
#define DHTTYPE DHT11 // DHT 11
//#define DHTTYPE DHT22 // DHT 22 (AM2302)
//#define DHTTYPE DHT21 // DHT 21 (AM2301)
// Initialize DHT sensor for normal 16mhz Arduino
DHT dht(DHTPIN, DHTTYPE);
// NOTE: For working with a faster chip, like an Arduino Due or Teensy, you
// might need to increase the threshold for cycle counts considered a 1 or 0.
// You can do this by passing a 3rd parameter for this threshold. It's a bit
// of fiddling to find the right value, but in general the faster the CPU the
// higher the value. The default for a 16mhz AVR is a value of 6. For an
// Arduino Due that runs at 84mhz a value of 30 works.
// Example to initialize DHT sensor for Arduino Due:
//DHT dht(DHTPIN, DHTTYPE, 30);
// Readings used for average
const int numReadings = 10;
// Set variables to zero
float avetemp = 0;
float temp = 0;
float checkdelay = 0;
void setup() {
Serial.begin(9600);
Serial.println("Temp Monitor Started");
dht.begin();
pinMode(FANPIN,OUTPUT);
pinMode(ALARMPIN,OUTPUT);
pinMode(ALARMLED,OUTPUT);
pinMode(FANLED,OUTPUT);
pinMode(TEMPOK,OUTPUT);
digitalWrite(FANPIN, HIGH);
digitalWrite(FANLED, HIGH);
digitalWrite(ALARMLED, HIGH);
digitalWrite(TEMPOK, HIGH);
for(int x = 0; x < 5; x++){ // Test Alarm
tone(ALARMPIN, 220 * x, 75);
delay(100);
}
Serial.print("Fan Test Started (5 Seconds) ");
for(int x = 0; x < 5; x++){
Serial.print(".");
delay(1000);
}
Serial.println("Done");
digitalWrite(FANPIN, LOW);
digitalWrite(FANLED, LOW);
digitalWrite(ALARMLED, LOW);
digitalWrite(TEMPOK, LOW);
noTone(ALARMPIN);
}
void loop() {
// Wait a few seconds between measurements.
delay(2000);
temp = 0;
Serial.print("Realtime Temp: \t");
for (int x = 0; x < numReadings; x++){
float f = dht.readTemperature(true); // Read temperature as Fahrenheit
Serial.print(f);
Serial.print("\t");
temp = f + temp;
delay(3000); // delay in between reads for stability
}
Serial.println();
avetemp = temp / numReadings; // calculate the average
Serial.print("Average Temp is ");
Serial.println(avetemp); // send it to the computer as ASCII digits
// Check if any reads failed and exit early (to try again).
if (isnan(temp)) {
Serial.println("Failed to read from DHT sensor!");
return;
}
// Set off alarm if overheating
if (avetemp>ALARMTEMP) {
digitalWrite(ALARMLED, HIGH);
Serial.print("Temperature is over ");
Serial.print(ALARMTEMP);
Serial.println(", Alarm is on");
for(int x = 0; x < 3; x++){ // Sound the alarm for 5 seconds
tone(ALARMPIN, 660, 1000); // Fan should already be running from last loop, if not, it will start right after alarm sounds
delay(500);
tone(ALARMPIN, 440, 1000);
delay(500);
}
noTone(ALARMPIN);
checkdelay = 30000; // Switch the normal 5 min delay to 30 seconds before going through the loop again
} else {
digitalWrite(ALARMLED,LOW);
Serial.print("Temperature is under ");
Serial.print(ALARMTEMP);
Serial.println(", Alarm is off");
checkdelay = 300000; // Unless temp is over 120*F the fan runs for 5 minutes before temp is checked again
}
// Turn on fan if cabinet is warm
if (avetemp>FANTEMP) {
digitalWrite(FANPIN, HIGH);
digitalWrite(FANLED, HIGH);
digitalWrite(TEMPOK, LOW);
Serial.print("Temperature is over ");
Serial.print(FANTEMP);
Serial.print(", Fan is on (for ");
Serial.print(checkdelay / 1000 / 60);
Serial.println(" minutes)");
delay(checkdelay); // turn on minimum of 5 min (unless alarm is going off, then it loops after 30 seconds)
} else {
digitalWrite(FANPIN,LOW);
digitalWrite(FANLED,LOW);
digitalWrite(TEMPOK,HIGH);
Serial.print("Temperature is under ");
Serial.print(FANTEMP);
Serial.println(", Fan is off"); // When fan is off, Temp is read every 30 seconds
}
Serial.println();
Serial.println();
}
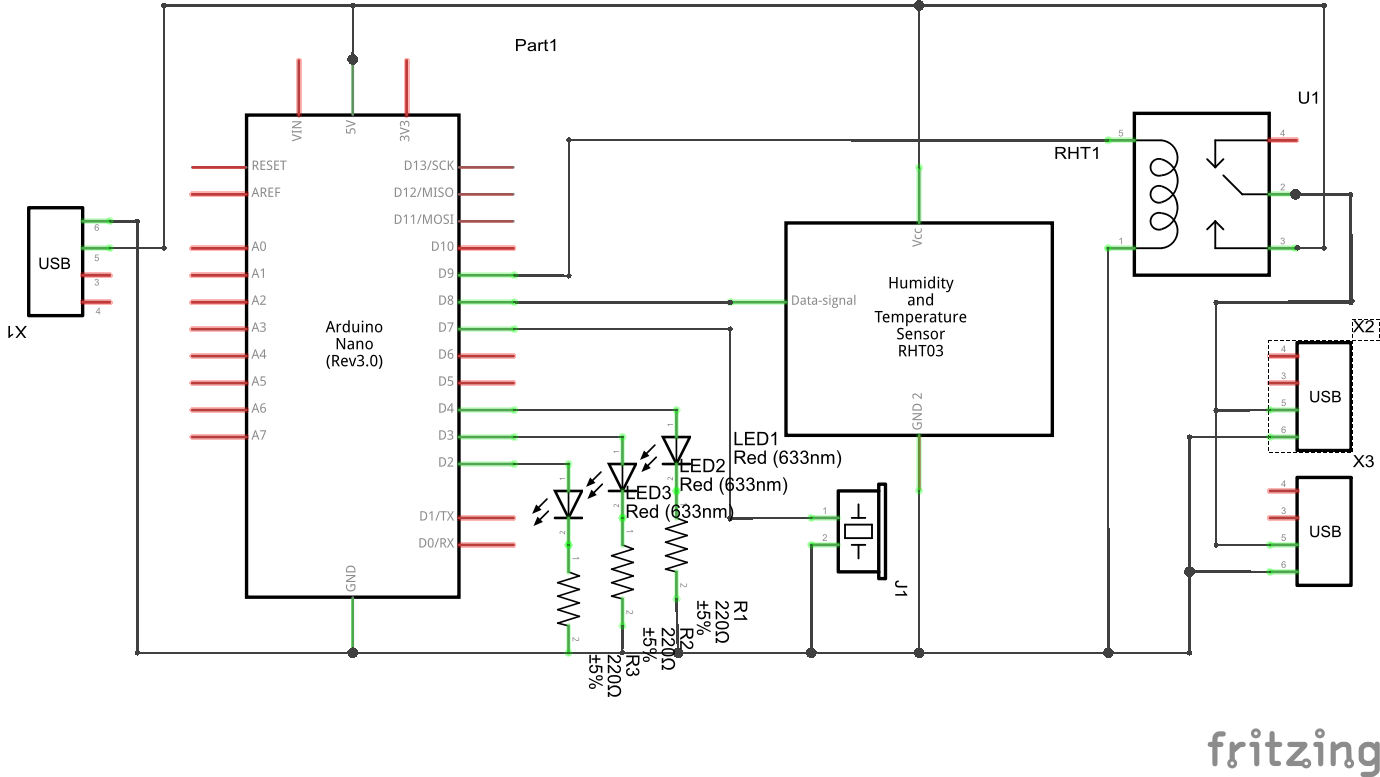
Schematics
Manufacturing process
- File Cabinet: Design, Manufacturing, and Modern Use
- Temperature‑Controlled Fan: DIY Relay System for Media Furniture Cooling
- Web‑Controlled DMX Lighting System – Arduino Master Controller
- DIY Arduino USB Gaming Controller – Build Your Own High-Performance Gamepad
- Build a Powerful FM Radio Receiver with Arduino and TEA5767 Module
- Advanced Multi-Zone Heating Control System for Smart Homes
- Arduino DMX-512 Tester Controller – Full Parts Kit for Reliable Lighting Control
- Arduino-Driven GrowBox Controller – Open-Source Firmware & Hardware Guide
- Arduino‑Powered Smart Irrigation Controller – Auto‑Watering with Weather & Light Sensors
- Comprehensive Pool Controller Kit – Raspberry Pi 2 + Arduino, Relay Boards, Temperature Sensors & Accessories