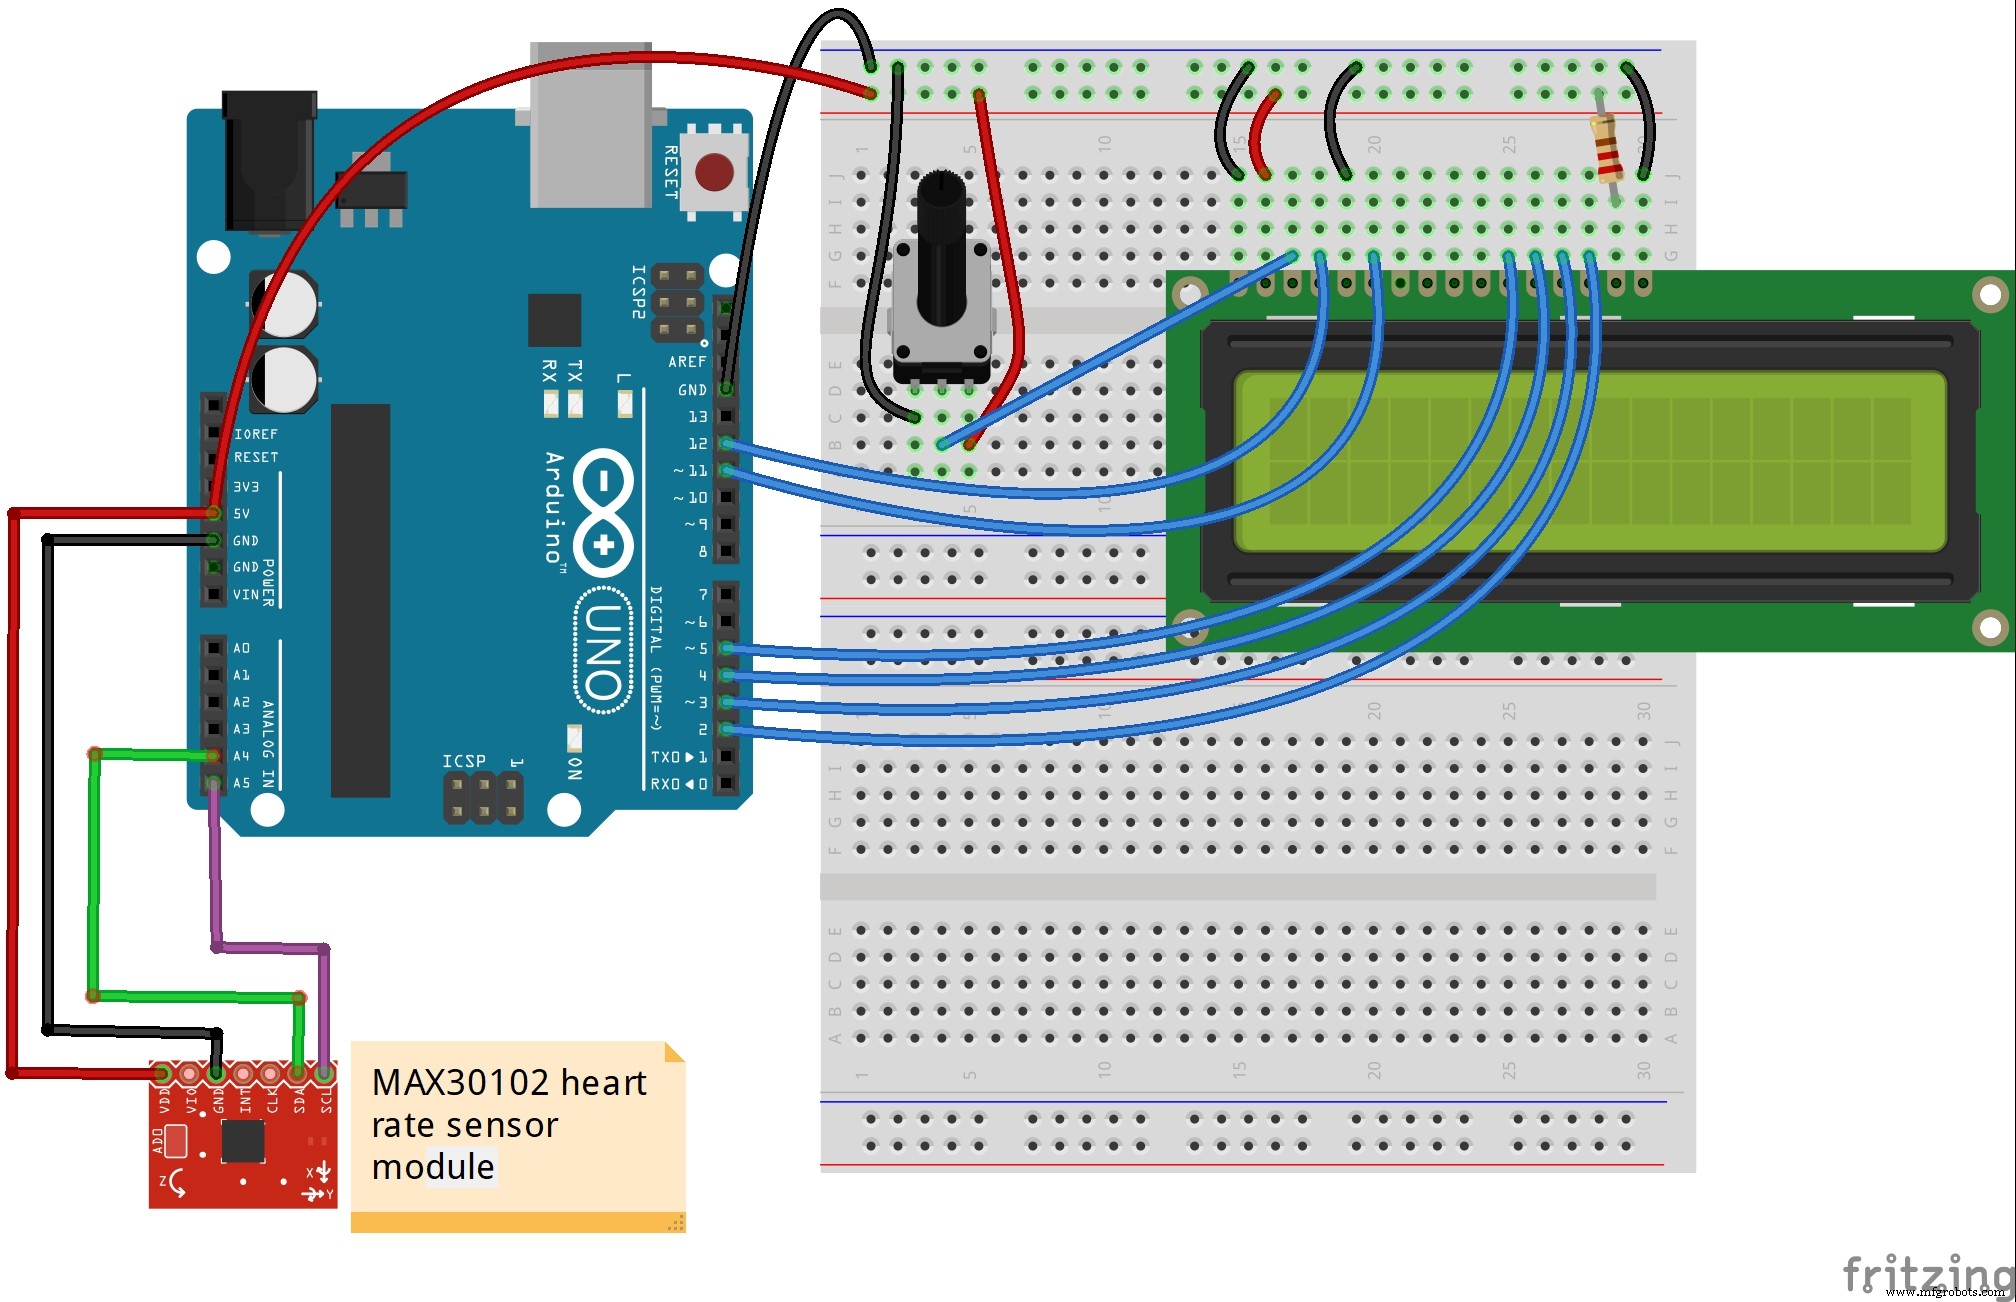
Build a MAX 30102 Heart Rate Monitor with Arduino Nano & 16x2 LCD
Components and supplies
 | | × | 1 | |
| | MAX 30102 Heart rate monitor |
| × | 1 | |
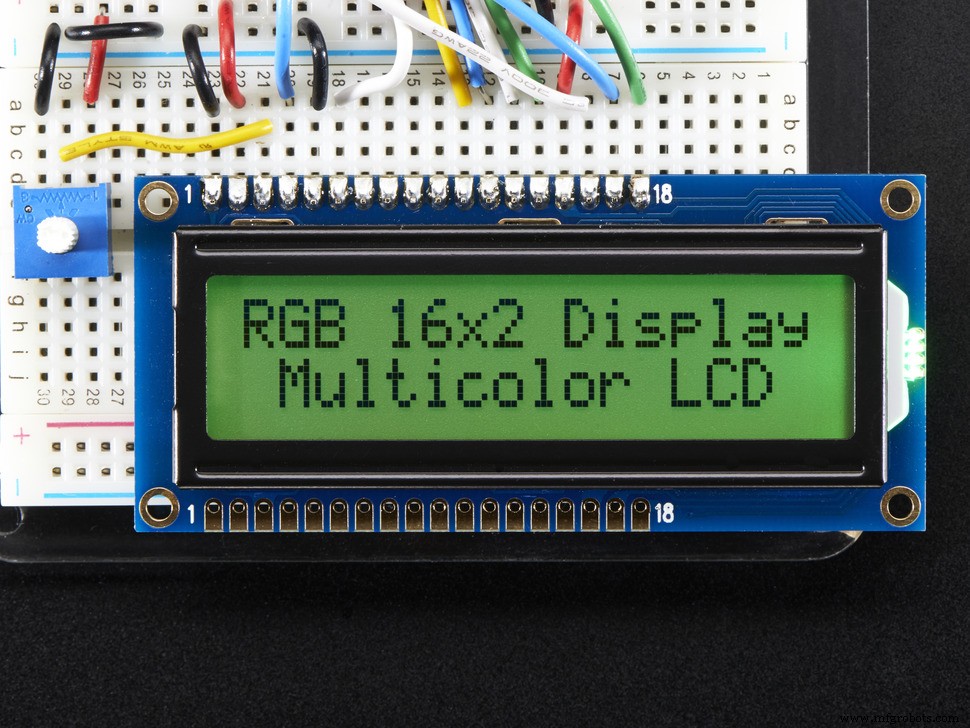 | | Adafruit RGB Backlight LCD - 16x2 |
| × | 1 | |
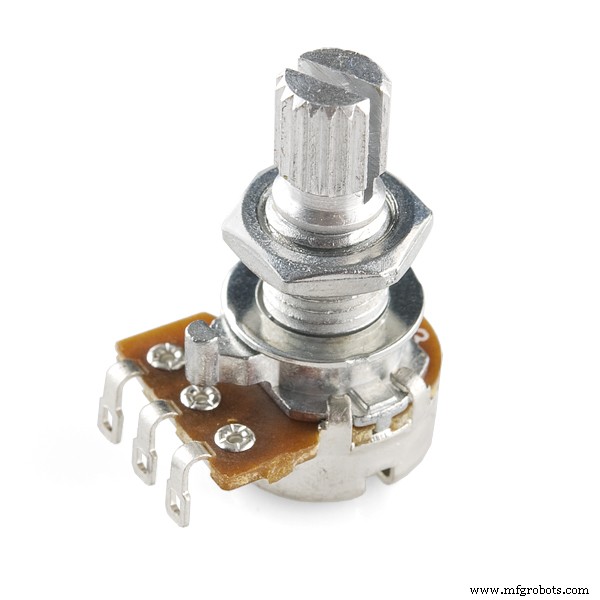 | | Rotary potentiometer (generic) |
| × | 1 | |
About this project
This is a simple heart rate monitor made with a MAX30102 sensor module. I wrote a simple code based on Arduino libraries and values are shown on a 16x2 LCD screen. The first row displays averge beats per minute, and the second row shows the value of the reflected infrared beam. This value should be constant to make readings more accurate.
Code
Untitled fileArduino
/*
  Optical Heart Rate Detection (PBA Algorithm) using the MAX30105 Breakout
  By: Bennu @ MH-ET LIVE
  Date: October 2nd, 2017
  https://github.com/MHEtLive/MH-ET-LIVE-max30102

  This is a demo to show the reading of heart rate or beats per minute (BPM) using
  a Penpheral Beat Amplitude (PBA) algorithm.

  It is best to attach the sensor to your finger using a rubber band or other tightening
  device. Humans are generally bad at applying constant pressure to a thing. When you
  press your finger against the sensor it varies enough to cause the blood in your
  finger to flow differently which causes the sensor readings to go wonky.

  Hardware Connections (Breakoutboard to Arduino):
  -5V = 5V (3.3V is allowed)
  -GND = GND
  -SDA = A4 (or SDA)
  -SCL = A5 (or SCL)
  -INT = Not connected

  The MAX30105 Breakout can handle 5V or 3.3V I2C logic. We recommend powering the board with 5V
  but it will also run at 3.3V.
*/

#include <Wire.h>
#include "MAX30105.h"
#include <LiquidCrystal.h>

#include "heartRate.h"

MAX30105 particleSensor;
LiquidCrystal lcd(12, 11, 5, 4, 3, 2);

const byte RATE_SIZE = 4; //Increase this for more averaging. 4 is good.
byte rates[RATE_SIZE]; //Array of heart rates
byte rateSpot = 0;
long lastBeat = 0; //Time at which the last beat occurred

float beatsPerMinute;
int beatAvg;

void setup()
{
  Serial.begin(9600);

  lcd.begin(16, 2);
  Serial.println("Initializing...");

  // Initialize sensor
  if (!particleSensor.begin(Wire, I2C_SPEED_FAST)) //Use default I2C port, 400kHz speed
  {
    Serial.println("MAX30105 was not found. Please check wiring/power. ");
    while (1);
  }
  Serial.println("Place your index finger on the sensor with steady pressure.");

  particleSensor.setup(); //Configure sensor with default settings
  particleSensor.setPulseAmplitudeRed(0x0A); //Turn Red LED to low to indicate sensor is running
  particleSensor.setPulseAmplitudeGreen(0); //Turn off Green LED
}

void loop()
{
  long irValue = particleSensor.getIR();

  if (checkForBeat(irValue) == true)
  {
    //We sensed a beat!
    long delta = millis() - lastBeat;
    lastBeat = millis();

    beatsPerMinute = 60 / (delta / 1000.0);

    if (beatsPerMinute < 255 && beatsPerMinute > 20)
    {
      rates[rateSpot++] = (byte)beatsPerMinute; //Store this reading in the array
      rateSpot %= RATE_SIZE; //Wrap variable

      //Take average of readings
      beatAvg = 0;
      for (byte x = 0 ; x < RATE_SIZE ; x++)
        beatAvg += rates[x];
      beatAvg /= RATE_SIZE;
    }
  }

  Serial.print("IR=");
  Serial.print(irValue);
  Serial.print(", BPM=");
  Serial.print(beatsPerMinute);
  Serial.print(", Avg BPM=");
  Serial.print(beatAvg);

  if (irValue < 50000)
    Serial.print(" No finger?");

  Serial.println();

  lcd.setCursor(0,0);
  lcd.print("BPM: ");
  lcd.print(beatAvg);

  lcd.setCursor(0,1);
  lcd.print(" IR: ");
  lcd.print(irValue);
}
Schematics