


Build Custom Animations on 16x2 LCD Displays with Arduino
Components and supplies
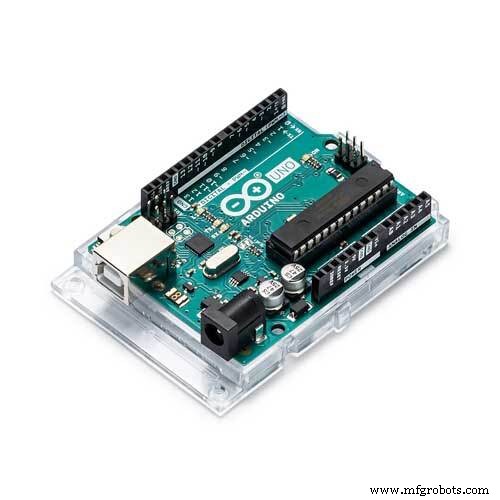 |
| × | 1 | |||
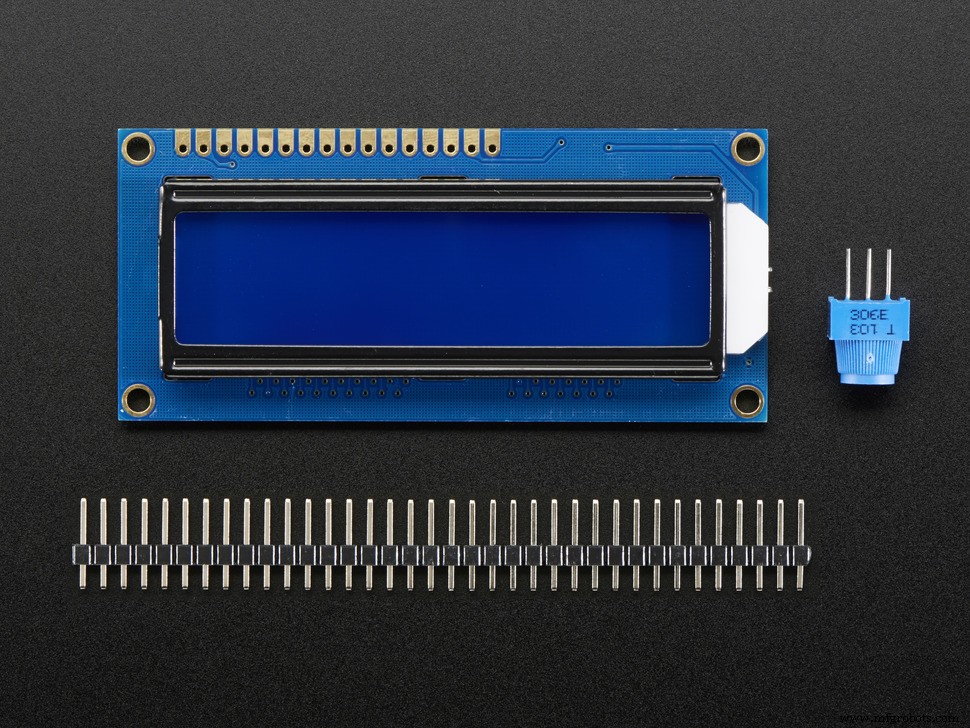 |
| × | 1 | |||
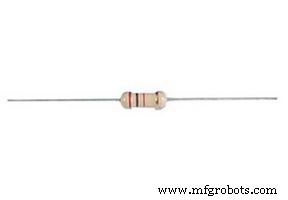 |
| × | 1 |
Apps and online services
 |
| |||
|
About this project
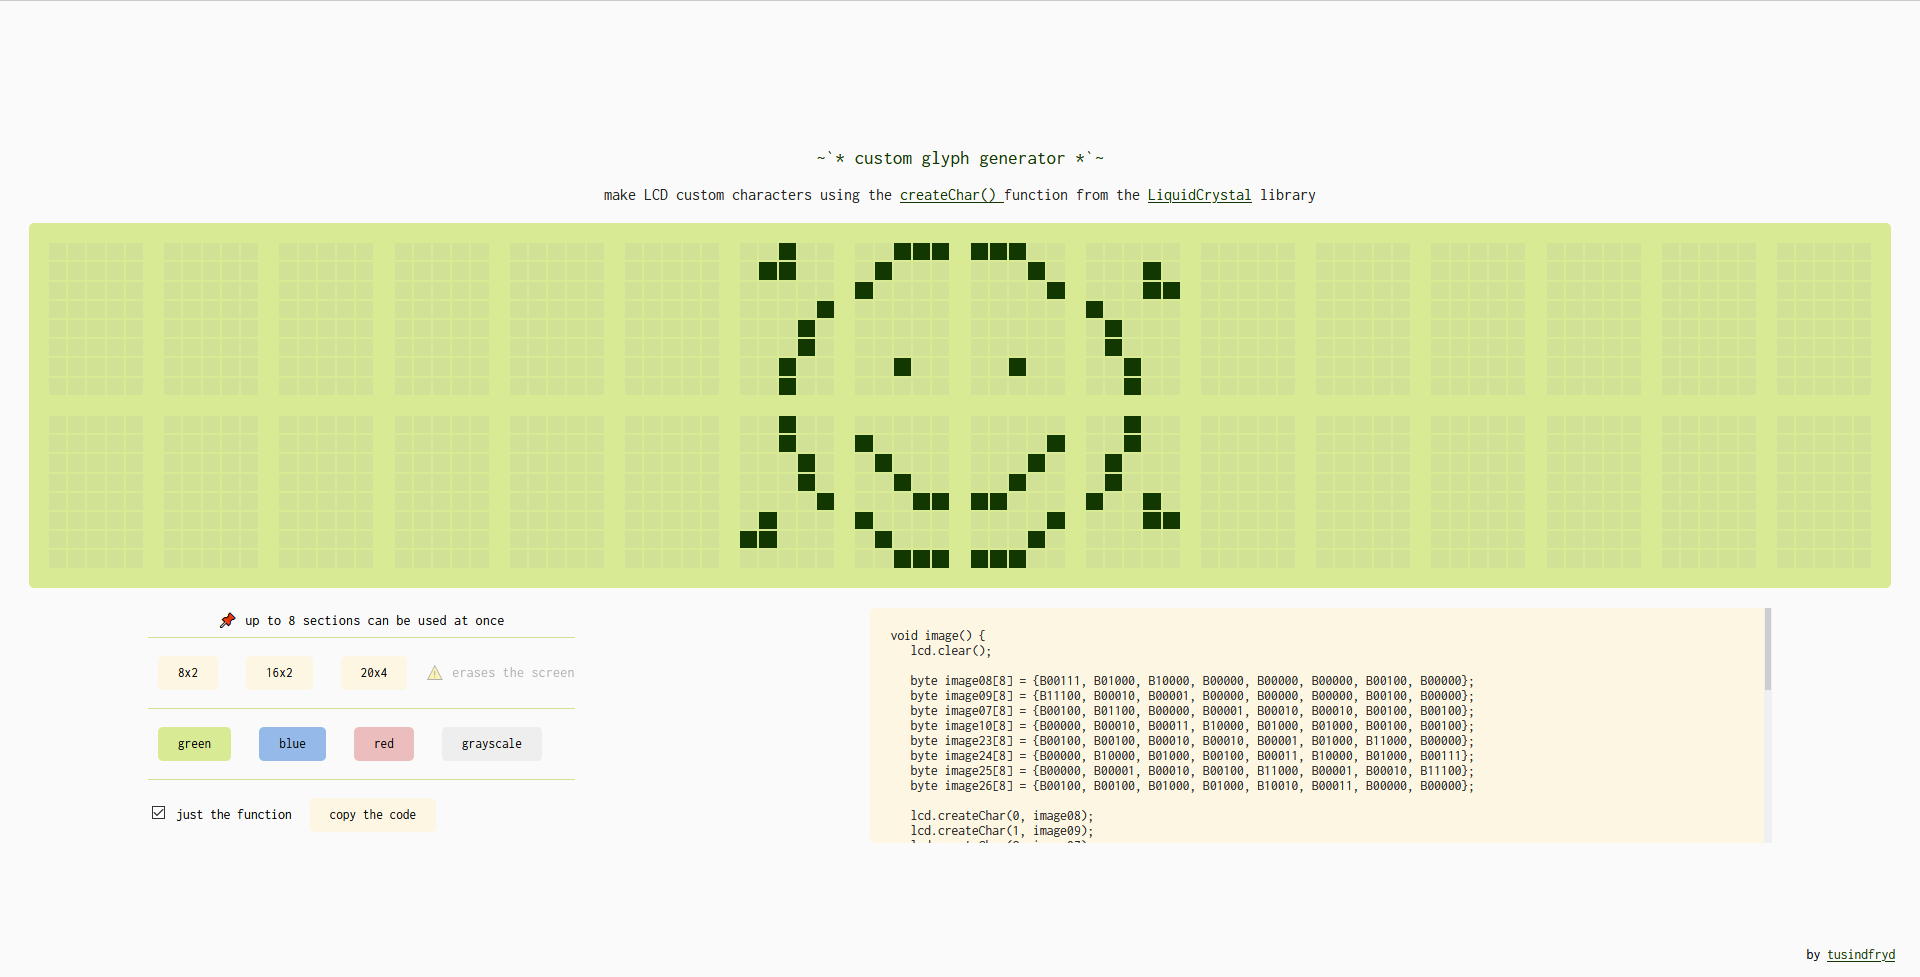
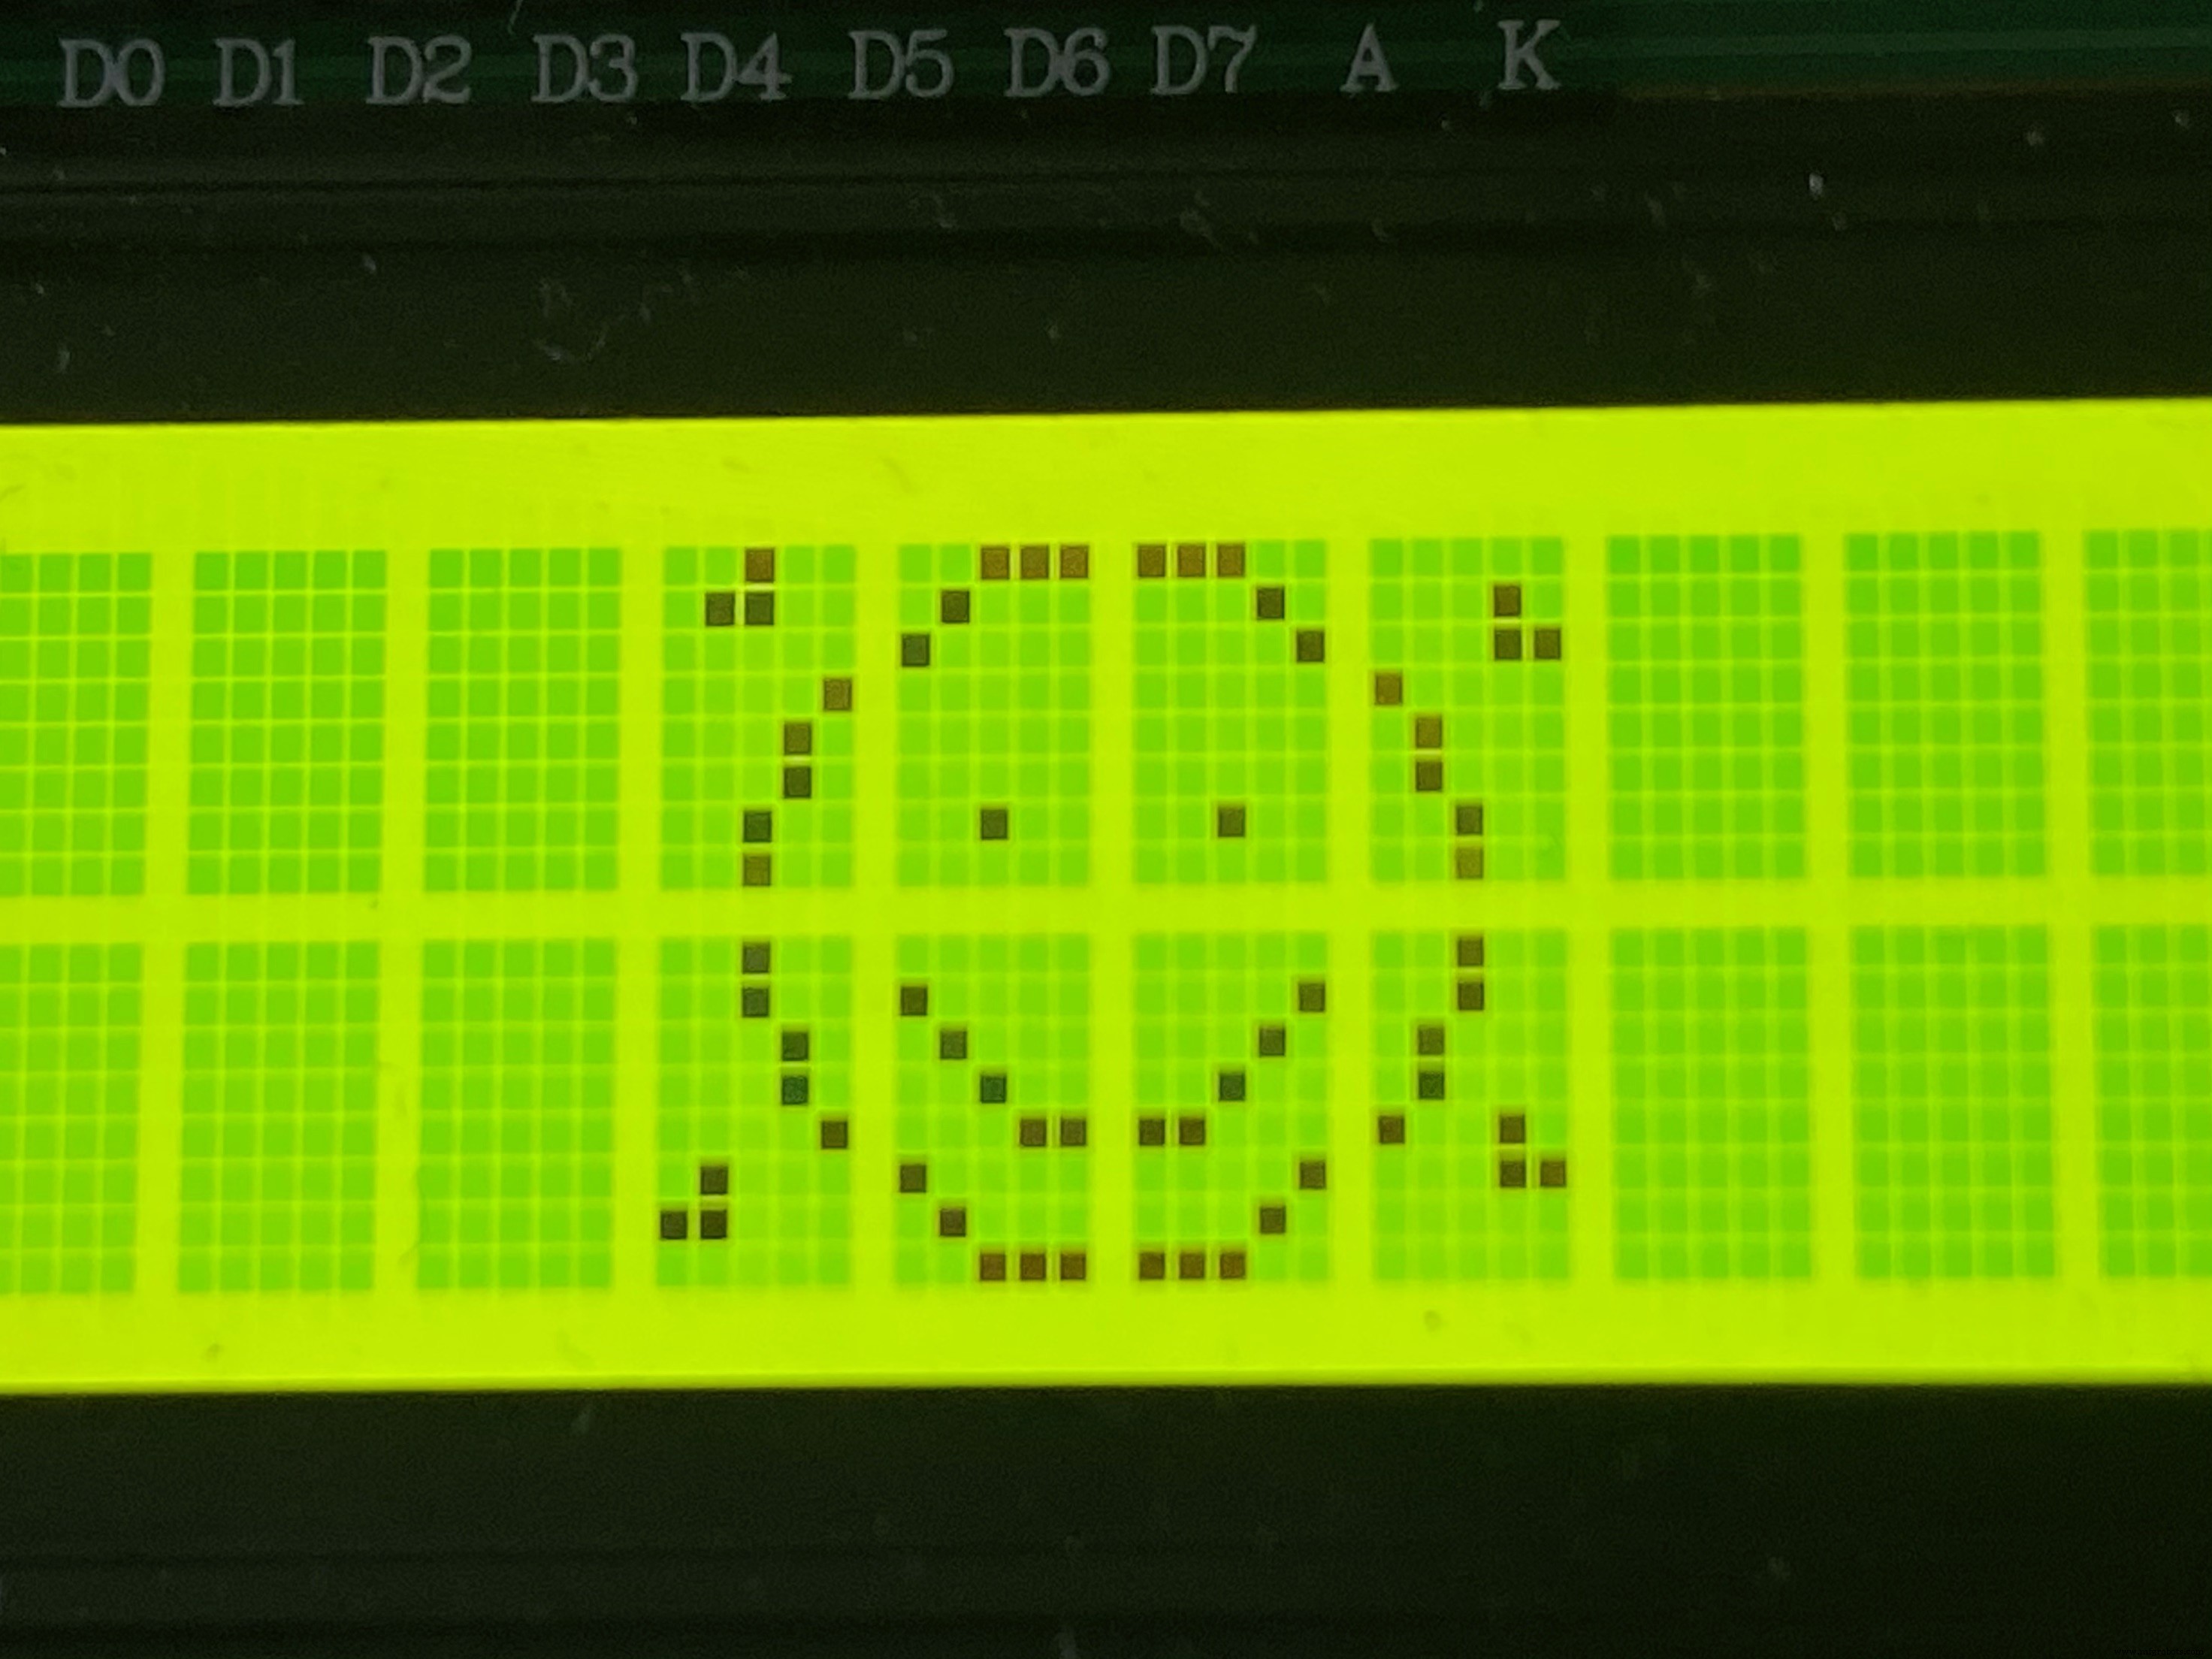
The LiquidCrystal library makes it easy to use LCDs with Arduino. A particularly interesting function from that library is the createChar() function: you can create custom glyphs (characters), each described by an array of eight bytes, one for each row. The five least significant bits of each byte determine the pixels in that row. Writing bytes by hand to create art is not exactly an artist's ideal process, so I have made a web tool in which you can draw the glyphs, and the code is generated for you.
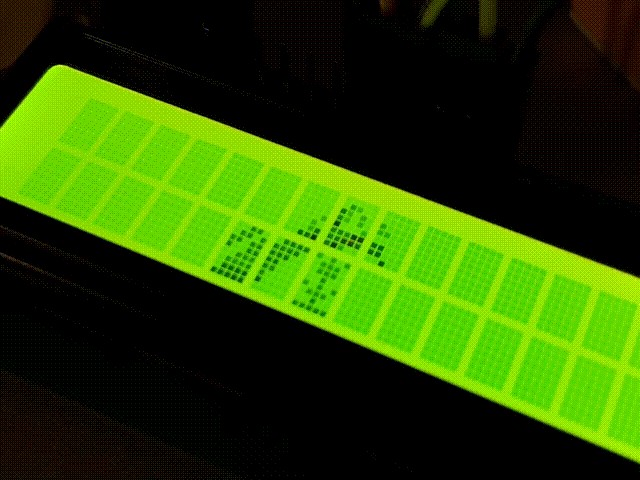
In this article I will show how to create custom animations having only just an Arduino board and an LCD - which you can use to create a whole lot of projects: you can make a game, or a short story, or a music video, or decorate a status panel.
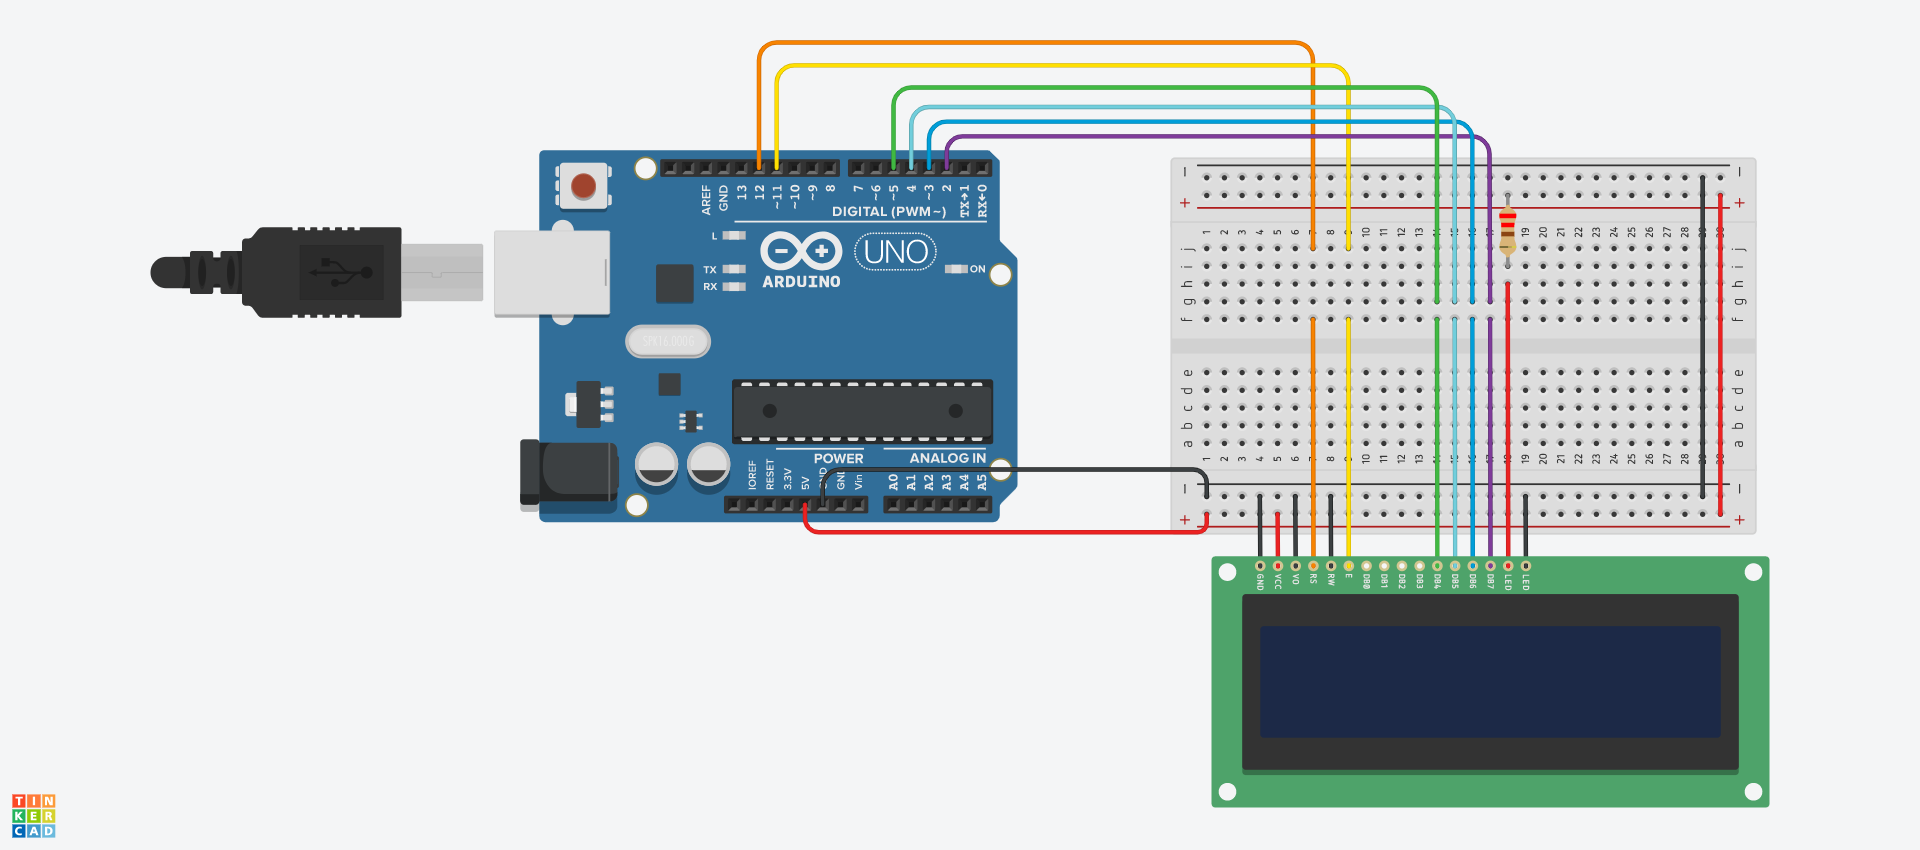
Connect the LCD to the Arduino - depending on the model of your screen, different connections might work better. For one of my screens, the schematic below worked well - but for another, I had to use a potentiometer (like in the tutorial under this link) and tweak the value of the resistor to get the best contrast.
See the simulation on TinkerCad under this link.

Go to the tool at https://tusindfryd.github.io/screenduino/ and create your art. Up to 8 sections can be used at once, so if you cannot select a new square, make sure you're not using 8 sections already.
Generating the CodeWhen you're done with your first image, uncheck the box "just the function". Copy the code to clipboard and upload it onto your Arduino. At this point you should see your image on the LCD.
Making More FramesMake sure your code is saved. You can now create the second frame. Just draw another image. When you're done, check the box "just the function". Copy the function and paste it at the end of your code. Rename the new function to something else - like image01(), so that you can keep track. Now you will need to move the call to image() from the setup() function to the loop() function, add a delay, call image01(), and add a delay again. Consider renaming image() to image00() for consistence. Your loop() function should look something like this:
void loop()
{
 image00();
 delay(250);
 image01();
 delay(250);
}
Upload the sketch onto your Arduino. Try adding more frames or changing the delay time.
Code
- Butterfly Metamorphosis Animation
Butterfly Metamorphosis AnimationArduino
This is example code (the code behind the butterfly metamorphosis animation from the gif)./*
butterfly metamorphosis animation
2021 ~ by tusindfryd
this code is in public domain
*/
#include <LiquidCrystal.h>
LiquidCrystal lcd(12, 11, 5, 4, 3, 2); // RS, E, D4, D5, D6, D7
void setup()
{
lcd.begin(16, 2);
}
void loop()
{
image00();
delay(250);
image01();
delay(250);
image02();
delay(250);
image03();
delay(700);
image04();
delay(250);
image05();
delay(250);
image06();
delay(700);
image07();
delay(1250);
}
void image00()
{
lcd.clear();
byte image22[8] = {B00110, B01101, B11011, B10011, B00111, B01111, B01111, B11111};
byte image23[8] = {B01111, B11110, B11100, B11000, B11000, B10000, B10000, B00000};
byte image07[8] = {B00000, B00000, B00000, B00000, B00000, B00000, B00001, B00111};
byte image08[8] = {B00000, B01000, B10000, B10000, B10000, B11111, B11111, B11000};
byte image09[8] = {B00000, B00000, B00000, B00000, B00000, B11000, B11000, B00100};
lcd.createChar(0, image22);
lcd.createChar(1, image23);
lcd.createChar(2, image07);
lcd.createChar(3, image08);
lcd.createChar(4, image09);
lcd.setCursor(5, 1);
lcd.write(byte(0));
lcd.setCursor(6, 1);
lcd.write(byte(1));
lcd.setCursor(6, 0);
lcd.write(byte(2));
lcd.setCursor(7, 0);
lcd.write(byte(3));
lcd.setCursor(8, 0);
lcd.write(byte(4));
}
void image01()
{
lcd.clear();
byte image22[8] = {B00110, B00101, B00011, B00011, B00111, B01111, B01111, B11111};
byte image23[8] = {B01111, B11110, B11100, B11000, B11000, B10000, B10000, B00000};
byte image07[8] = {B00000, B00000, B00000, B00000, B00000, B00000, B11001, B10111};
byte image08[8] = {B00000, B01000, B10000, B10000, B10000, B11111, B11111, B11000};
byte image09[8] = {B00000, B00000, B00000, B00000, B00000, B11000, B11000, B00100};
byte image06[8] = {B00000, B00000, B00000, B00000, B00000, B00000, B00000, B00011};
lcd.createChar(0, image22);
lcd.createChar(1, image23);
lcd.createChar(2, image07);
lcd.createChar(3, image08);
lcd.createChar(4, image09);
lcd.createChar(5, image06);
lcd.setCursor(5, 1);
lcd.write(byte(0));
lcd.setCursor(6, 1);
lcd.write(byte(1));
lcd.setCursor(6, 0);
lcd.write(byte(2));
lcd.setCursor(7, 0);
lcd.write(byte(3));
lcd.setCursor(8, 0);
lcd.write(byte(4));
lcd.setCursor(5, 0);
lcd.write(byte(5));
}
void image02()
{
lcd.clear();
byte image22[8] = {B00000, B00001, B00011, B00011, B00111, B01111, B01111, B11111};
byte image23[8] = {B01111, B11110, B11100, B11000, B11000, B10000, B10000, B00000};
byte image07[8] = {B00000, B00000, B00000, B00001, B00111, B00100, B11001, B10111};
byte image08[8] = {B00000, B01000, B10000, B10000, B10000, B11111, B11111, B11000};
byte image09[8] = {B00000, B00000, B00000, B00000, B00000, B11000, B11000, B00100};
lcd.createChar(0, image22);
lcd.createChar(1, image23);
lcd.createChar(2, image07);
lcd.createChar(3, image08);
lcd.createChar(4, image09);
lcd.setCursor(5, 1);
lcd.write(byte(0));
lcd.setCursor(6, 1);
lcd.write(byte(1));
lcd.setCursor(6, 0);
lcd.write(byte(2));
lcd.setCursor(7, 0);
lcd.write(byte(3));
lcd.setCursor(8, 0);
lcd.write(byte(4));
}
void image03()
{
lcd.clear();
byte image22[8] = {B00000, B00001, B00011, B00011, B00111, B01111, B01111, B11111};
byte image23[8] = {B01111, B11110, B11100, B11000, B11000, B10000, B10000, B00000};
byte image07[8] = {B00000, B00000, B00000, B00000, B00000, B00000, B00001, B00111};
byte image08[8] = {B00000, B01000, B10000, B10000, B10000, B11111, B11111, B11010};
byte image09[8] = {B00000, B00000, B00000, B00000, B00000, B11000, B11000, B00100};
byte image24[8] = {B00010, B00111, B00111, B00111, B00111, B00111, B00010, B00000};
lcd.createChar(0, image22);
lcd.createChar(1, image23);
lcd.createChar(2, image07);
lcd.createChar(3, image08);
lcd.createChar(4, image09);
lcd.createChar(5, image24);
lcd.setCursor(5, 1);
lcd.write(byte(0));
lcd.setCursor(6, 1);
lcd.write(byte(1));
lcd.setCursor(6, 0);
lcd.write(byte(2));
lcd.setCursor(7, 0);
lcd.write(byte(3));
lcd.setCursor(8, 0);
lcd.write(byte(4));
lcd.setCursor(7, 1);
lcd.write(byte(5));
}
void image04()
{
lcd.clear();
byte image22[8] = {B00000, B00001, B00011, B00011, B00111, B01111, B01111, B11111};
byte image23[8] = {B01111, B11110, B11100, B11000, B11000, B10001, B10000, B00000};
byte image07[8] = {B00000, B00000, B00000, B00000, B00000, B00000, B00001, B00111};
byte image08[8] = {B00000, B01000, B10000, B10000, B10000, B11111, B11111, B11010};
byte image09[8] = {B00000, B00000, B00000, B00000, B00000, B11000, B11000, B00100};
byte image24[8] = {B00010, B00100, B01011, B10101, B11010, B10101, B11010, B01110};
byte image25[8] = {B00000, B00000, B00000, B10000, B10000, B00000, B00000, B00000};
lcd.createChar(0, image22);
lcd.createChar(1, image23);
lcd.createChar(2, image07);
lcd.createChar(3, image08);
lcd.createChar(4, image09);
lcd.createChar(5, image24);
lcd.createChar(6, image25);
lcd.setCursor(5, 1);
lcd.write(byte(0));
lcd.setCursor(6, 1);
lcd.write(byte(1));
lcd.setCursor(6, 0);
lcd.write(byte(2));
lcd.setCursor(7, 0);
lcd.write(byte(3));
lcd.setCursor(8, 0);
lcd.write(byte(4));
lcd.setCursor(7, 1);
lcd.write(byte(5));
lcd.setCursor(8, 1);
lcd.write(byte(6));
}
void image05()
{
lcd.clear();
byte image24[8] = {B01010, B10100, B01011, B10101, B11010, B10101, B11010, B01110};
byte image25[8] = {B00000, B00000, B00000, B10000, B10000, B00000, B00000, B00000};
byte image23[8] = {B01101, B01010, B01101, B00111, B00000, B00000, B00000, B00000};
byte image07[8] = {B00000, B00000, B00000, B00000, B00000, B00000, B00001, B00011};
byte image08[8] = {B00000, B00000, B00000, B00000, B00000, B00000, B00000, B10000};
lcd.createChar(0, image24);
lcd.createChar(1, image25);
lcd.createChar(2, image23);
lcd.createChar(3, image07);
lcd.createChar(4, image08);
lcd.setCursor(7, 1);
lcd.write(byte(0));
lcd.setCursor(8, 1);
lcd.write(byte(1));
lcd.setCursor(6, 1);
lcd.write(byte(2));
lcd.setCursor(6, 0);
lcd.write(byte(3));
lcd.setCursor(7, 0);
lcd.write(byte(4));
}
void image06()
{
lcd.clear();
byte image08[8] = {B00000, B00100, B01010, B01010, B10001, B00011, B00110, B01100};
byte image07[8] = {B00000, B00000, B00000, B00000, B00001, B00010, B00010, B00001};
byte image09[8] = {B00000, B00000, B10000, B11000, B00000, B00000, B11000, B00100};
byte image24[8] = {B00100, B00100, B00011, B00000, B00000, B00000, B00000, B00000};
byte image25[8] = {B10000, B00000, B00000, B00000, B00000, B00000, B00000, B00000};
lcd.createChar(0, image08);
lcd.createChar(1, image07);
lcd.createChar(2, image09);
lcd.createChar(3, image24);
lcd.createChar(4, image25);
lcd.setCursor(7, 0);
lcd.write(byte(0));
lcd.setCursor(6, 0);
lcd.write(byte(1));
lcd.setCursor(8, 0);
lcd.write(byte(2));
lcd.setCursor(7, 1);
lcd.write(byte(3));
lcd.setCursor(8, 1);
lcd.write(byte(4));
}
void image07()
{
lcd.clear();
byte image24[8] = {B10101, B01110, B01110, B00100, B10101, B01110, B00100, B11111};
byte image08[8] = {B00000, B00100, B01010, B01010, B10001, B00011, B00110, B01100};
byte image07[8] = {B00000, B00000, B00000, B00000, B00001, B00010, B00010, B00001};
byte image09[8] = {B00000, B00000, B10000, B11000, B00000, B00000, B00000, B00000};
lcd.createChar(0, image24);
lcd.createChar(1, image08);
lcd.createChar(2, image07);
lcd.createChar(3, image09);
lcd.setCursor(7, 1);
lcd.write(byte(0));
lcd.setCursor(7, 0);
lcd.write(byte(1));
lcd.setCursor(6, 0);
lcd.write(byte(2));
lcd.setCursor(8, 0);
lcd.write(byte(3));
}
Schematics
Manufacturing process
- CDS Unveils ClearVue3DP: High‑Brightness 3D Transparent LCDs for Seamless Integration
- Build Engaging LCD Animation & Gaming with Arduino UNO
- Build a MAX 30102 Heart Rate Monitor with Arduino Nano & 16x2 LCD
- Build a Reliable Arduino Weather Station with DHT Sensors
- Build a Classic Arduino LCD Arcade Game with Buzzer and Joystick
- Blockly@rduino: Build Arduino Projects with Visual Block Coding
- Arduino DHT22 Temperature & Humidity Sensor with 16x2 I2C LCD Display
- Arduino LCD Thermostat: Simple & Reliable Temperature Control
- Create a Real-Time Arduino PC Monitor with LCD Display
- Build an Interactive LCD Game with Arduino UNO