


Build a Reliable LCD Stopwatch with Arduino Nano – No Potentiometer Needed
Components and supplies
 |
| × | 1 | |||
 |
| × | 1 | |||
 |
| × | 1 | |||
 |
| × | 3 | |||
 |
| × | 5 | |||
 |
| × | 1 | |||
|
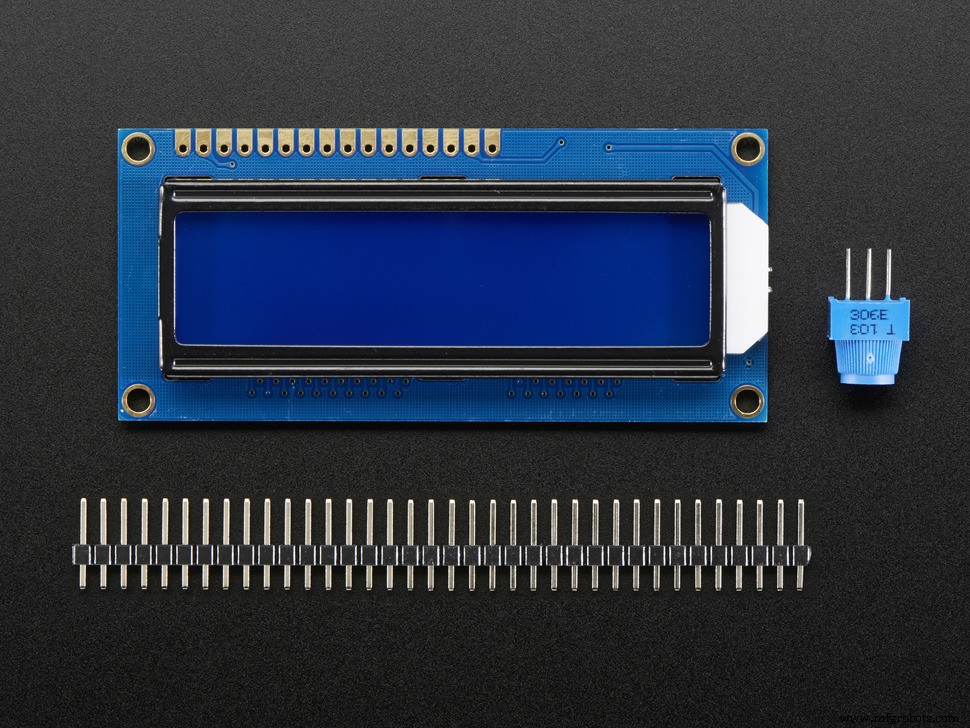
| × | 26 |
About this project
Hello everyone!
This project is a simple learning project for starting with LCD. In this project I am using Arduino NANO and LCD QUAPASS 1602A 16x2. This stopwatch can count hours, minutes and seconds. You can also change the brightness of the LCD.
With just a little code change you can also count hundredths but for my LCD is not working because screen can not refresh that fast.
I have set up almost perfect timings for my stopwatch (my stopwatch has around 15% deviation so if you run it for real 10 minutes it will be 10 minutes and 2 seconds on my stopwatch). So if you are going to change anything is the start subprogram (in program subprogram named stopwatch) you will also need to change the timings because of the Arduino execution time on every code.
STEP 1
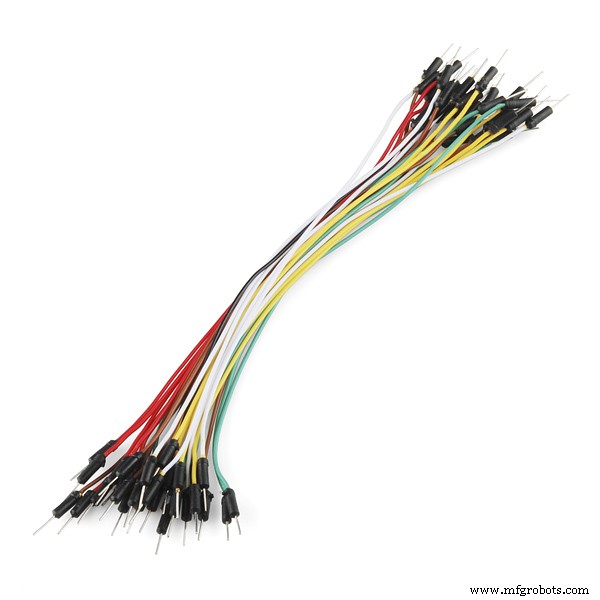
Connect wires to the Arduino and LCD like this (look at what SCHEMATIC is showing).
STEP 2
Copy and past my code down below in your Arduino IDE. And now plug your Arduino in USB drive. Click upload button and your program should be running.
STEP 3
Have fun with my simple and easy to make LCD stopwatch.
If you have any questions leave it in the comments.
Code
- Code
CodeArduino
This is the code for my stopwatch. Just copy it in Arduino IDE and upload it on your Arduino./*Simple LCD stopwatch program with stop, start, reset and lap buttons.*/
//including liblary for LCD
#include <LiquidCrystal.h>
//setting up LCD INPUT pins
LiquidCrystal lcd(12,11,5,4,3,2);
//setting hours, minutes, secound and miliseconds to 0
int h=0;
int m=0;
int s=0;
int ms=0;
//defines pin for all buttons
const int start_pin = 8;
const int stop1_pin = 9;
const int reset_pin = 10;
//defines starting points (in my case 0)
int start=0;
int stop1=0;
int reset=0;
int brightness_pin = 6; //defines pin for setting brightness
int brightness=100; //you can change this number to change brightness
void setup()
{
analogWrite(brightness_pin ,brightness); //this sets brightness on pin 6
lcd.begin(16 ,2); //starting LCD
//defining pins if they are INPUT or OUTPUT pins
pinMode(start_pin, INPUT);
pinMode(stop1_pin, INPUT);
pinMode(reset_pin, INPUT);
pinMode(brightness_pin, OUTPUT);
}
void loop()
{
lcd.setCursor(0,1);
lcd.print("STOPWATCH");
lcd.setCursor(0,0);
lcd.print("TIME:");
lcd.print(h);
lcd.print(":");
lcd.print(m);
lcd.print(":");
lcd.print(s);
start = digitalRead(start_pin); //reading buton state
if(start == HIGH)
{
stopwatch(); //goes to sub program stopwatch
}
}
//--------------------SUB PROGRAMS-------------------------
void stopwatch()
{
lcd.setCursor(0,0); //setting start point on lcd
lcd.print("TIME:"); //writting TIME
lcd.print(h); //writing hours
lcd.print(":");
lcd.print(m); //writing minutes
lcd.print(":");
lcd.print(s); //writing seconds
ms=ms+10;
delay(10);
if(ms==590)
{
lcd.clear(); //clears LCD
}
if(ms==590) //if state for counting up seconds
{
ms=0;
s=s+1;
}
if(s==60) //if state for counting up minutes
{
s=0;
m=m+1;
}
if(m==60) //if state for counting up hours
{
m=00;
h=h+01;
}
lcd.setCursor(0,1);
lcd.print("STOPWATCH");
stop1 = digitalRead(stop1_pin); //reading buton state
if(stop1 == HIGH) //checking if button is pressed
{
stopwatch_stop(); //going to sub program
}
else
{
stopwatch(); //going to sub program
}
}
void stopwatch_stop()
{
lcd.setCursor(0,0);
lcd.print("TIME:");
lcd.print(h);
lcd.print(":");
lcd.print(m);
lcd.print(":");
lcd.print(s);
lcd.setCursor(0,1);
lcd.print("STOPWATCH");
start = digitalRead(start_pin); //reading buton state
if(start == HIGH)
{
stopwatch(); //going to sub program
}
reset = digitalRead(reset_pin); //reading buton state
if(reset == HIGH)
{
stopwatch_reset(); //going to sub program
loop();
}
if(reset == LOW)
{
stopwatch_stop(); //going to sub program
}
}
void stopwatch_reset()
{
lcd.clear();
lcd.setCursor(0,1);
lcd.print("STOPWATCH");
h=00; //seting hours to 0
m=00; //seting minutes to 0
s=00; //seting seconds to 0
return; //exiting the program and returning to the point where entered the program
}
Library
This is the library that you need for LCD.https://github.com/arduino-libraries/LiquidCrystalSchematics
This is a Schematics of my circuit.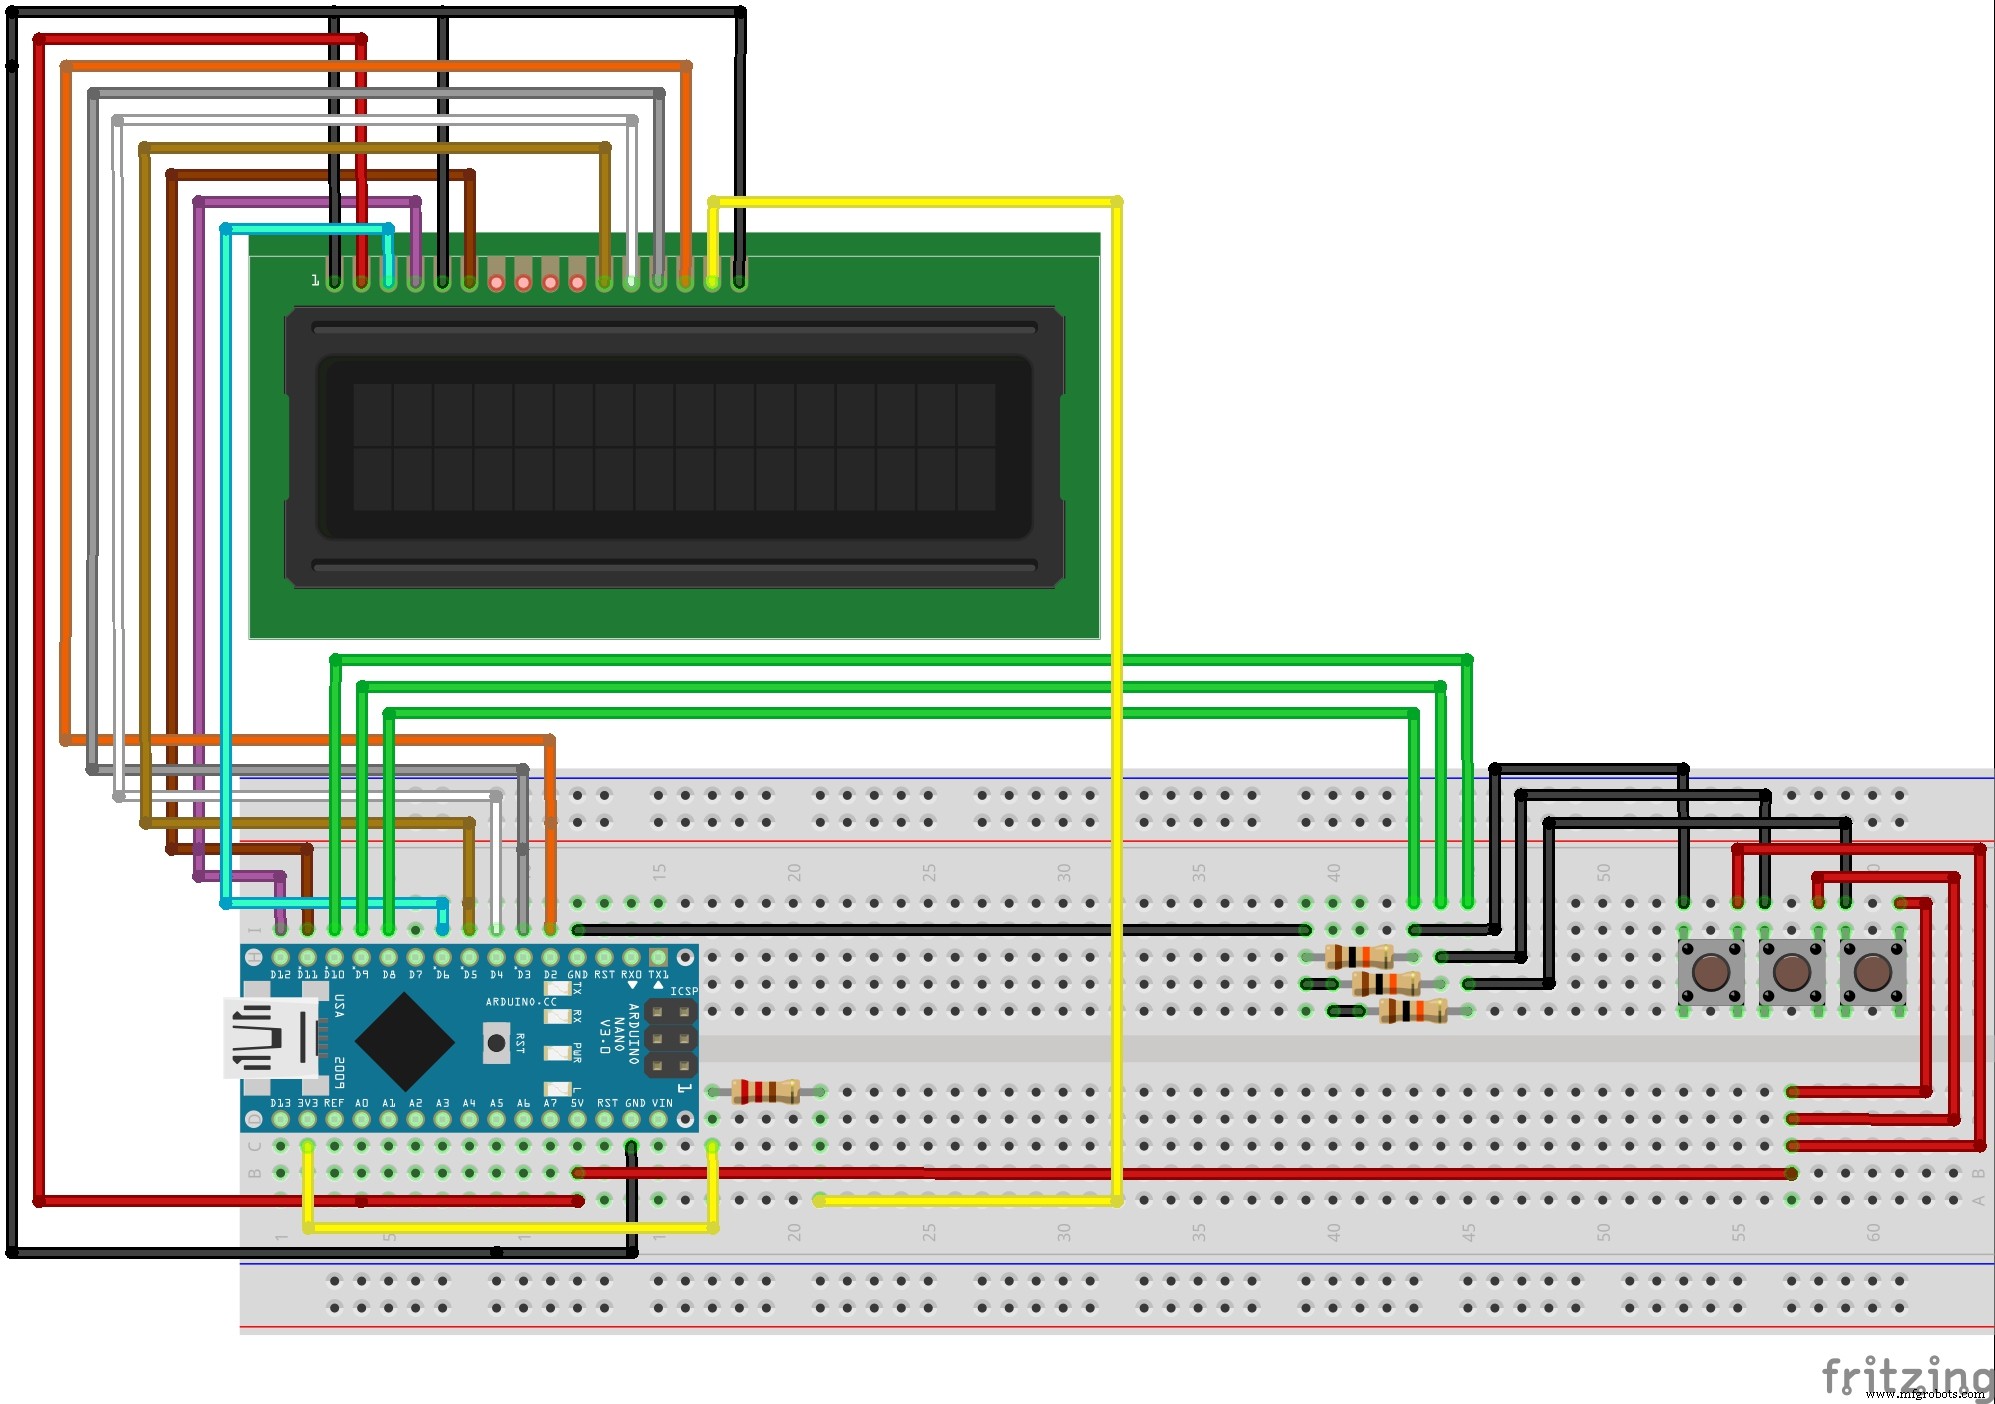
Manufacturing process
- Build a Simple Obstacle Sensor with Arduino – Easy IR LED & Photodiode Tutorial
- Find Me: Smart Item Locator with Arduino and Bluetooth
- DIY Arduino Nano Oscilloscope (10 Hz–50 kHz) with 128×64 LCD
- Build a Custom Arduino Joystick Steering Wheel for Gaming
- Build an AI LCD Companion: Your Interactive Buddy
- Build a Classic Arduino LCD Arcade Game with Buzzer and Joystick
- PhoneLocator: Securely Locate Your Phone Anywhere
- Hysteresis-Based Arduino Temperature Control System
- Real-Time Soil Moisture Monitoring with LCD Display – Arduino DIY Kit
- Build an Interactive LCD Game with Arduino UNO