


Build a Mini Piano with Arduino UNO – Step-by-Step Tutorial
Components and supplies
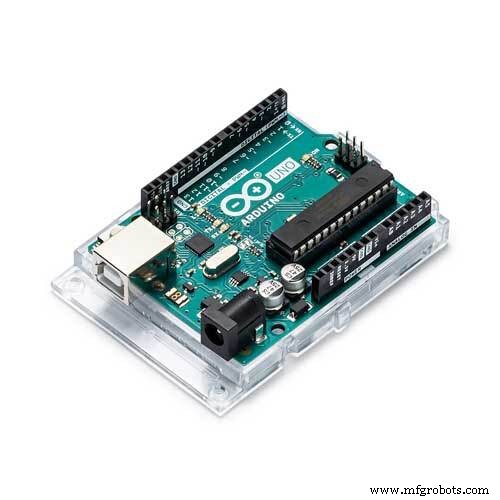 |
| × | 1 | |||
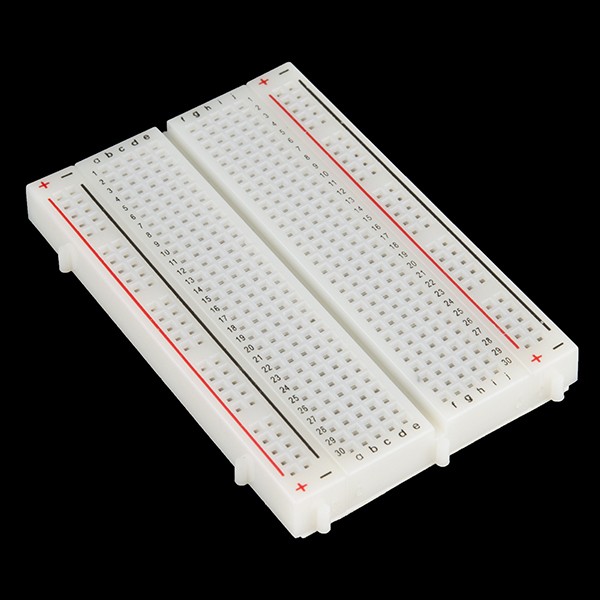 |
| × | 1 | |||
 |
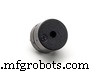
| × | 7 | |||
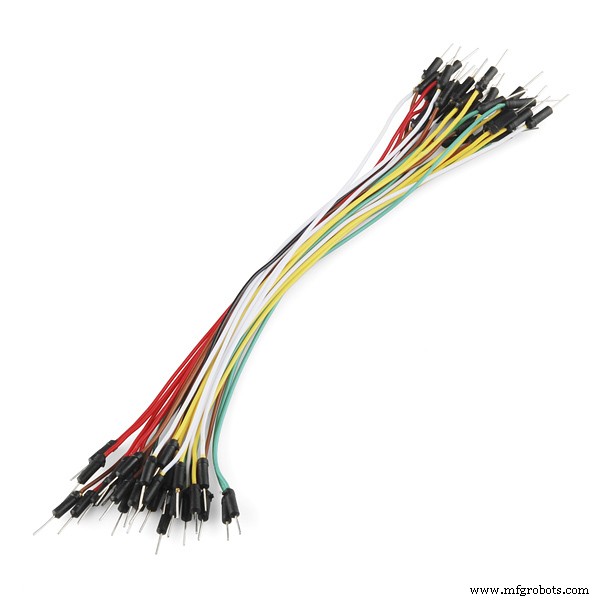 |
| × | 1 | |||
 |
| × | 1 |
Necessary tools and machines
 |
|
About this project
Step 1: Parts and Material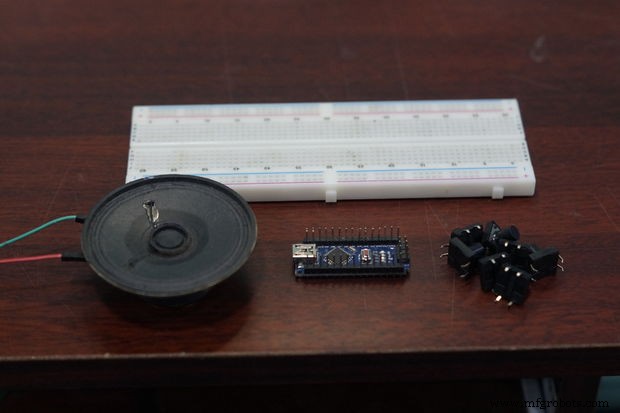
The Parts which we need are :
* Arduino
* Piezo Buzzer
* Push Buttons - 7
* Jumper Cables
Step 2: Connections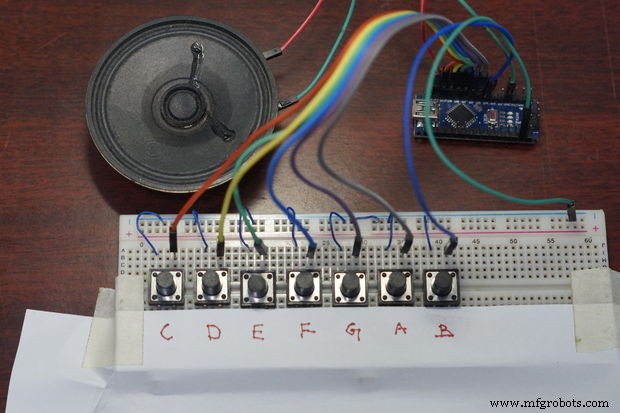
The Buttons are connected to D4 to D10 of the Arduino
The Piezo Buzzer -> D11 of the Arduino
Step 3: The CodeBefore you can start playing your piano, you will need to obtain and install the Tone Arduino library if it is not already installed. This can be downloaded from Github here. If you do not know how to install third-party Arduino libraries in your version of the Arduino IDE, reference this guide on Arduino.cc. Attached below, you will find a zip file that contains the Arduino code for Arduino Piano. Download it and unzip it somewhere on your computer. Open Arduino_Piano.ino in the Arduino IDE and upload the code to your Arduino.

Arduino_Piano.rarDownload
Step 4: Play!And that's it! You should now be able to tap on the keys and hear the corresponding notes played through the buzzer. If the note isn't accurate, you can adjust the note value in the Arduino sketch to set what value that the pitch is achieved.You can also change the scale that is played by uncommenting one of the few scales included, or make your own scale! If you make your own piano, please comment and show us some pictures and videos. We'd love to see some creative instruments!
Give a thumbs up if it really helped you and do follow my channel for interesting projects :)
Thanks for reading!
Working of the Project
Code
- Code
CodeArduino
The Code is attached//Arduino Piano
/*
Visit the Channel for more interesting projects
https://www.youtube.com/channel/UCks-9JSnVb22dlqtMgPjrlg
*/
#define T_C 262
#define T_D 294
#define T_E 330
#define T_F 349
#define T_G 392
#define T_A 440
#define T_B 493
const int C = 10;
const int D = 9;
const int E = 8;
const int F = 7;
const int G = 6;
const int A = 5;
const int B = 4;
const int Buzz = 11;
const int LED = 13;
void setup()
{
pinMode(LED, OUTPUT);
pinMode(C, INPUT);
digitalWrite(C,HIGH);
pinMode(D, INPUT);
digitalWrite(D,HIGH);
pinMode(E, INPUT);
digitalWrite(E,HIGH);
pinMode(F, INPUT);
digitalWrite(F,HIGH);
pinMode(G, INPUT);
digitalWrite(G,HIGH);
pinMode(A, INPUT);
digitalWrite(A,HIGH);
pinMode(B, INPUT);
digitalWrite(B,HIGH);
digitalWrite(LED,LOW);
}
void loop()
{
while(digitalRead(C) == LOW)
{
tone(Buzz,T_C);
digitalWrite(LED,HIGH);
}
while(digitalRead(D) == LOW)
{
tone(Buzz,T_D);
digitalWrite(LED,HIGH);
}
while(digitalRead(E) == LOW)
{
tone(Buzz,T_E);
digitalWrite(LED,HIGH);
}
while(digitalRead(F) == LOW)
{
tone(Buzz,T_F);
digitalWrite(LED,HIGH);
}
while(digitalRead(G) == LOW)
{
tone(Buzz,T_G);
digitalWrite(LED,HIGH);
}
while(digitalRead(A) == LOW)
{
tone(Buzz,T_A);
digitalWrite(LED,HIGH);
}
while(digitalRead(B) == LOW)
{
tone(Buzz,T_B);
digitalWrite(LED,HIGH);
}
noTone(Buzz);
digitalWrite(LED,LOW);
}
Project Repo
https://github.com/Rahul24-06/Mini-PianoSchematics
I had explained in the video. Kindly refer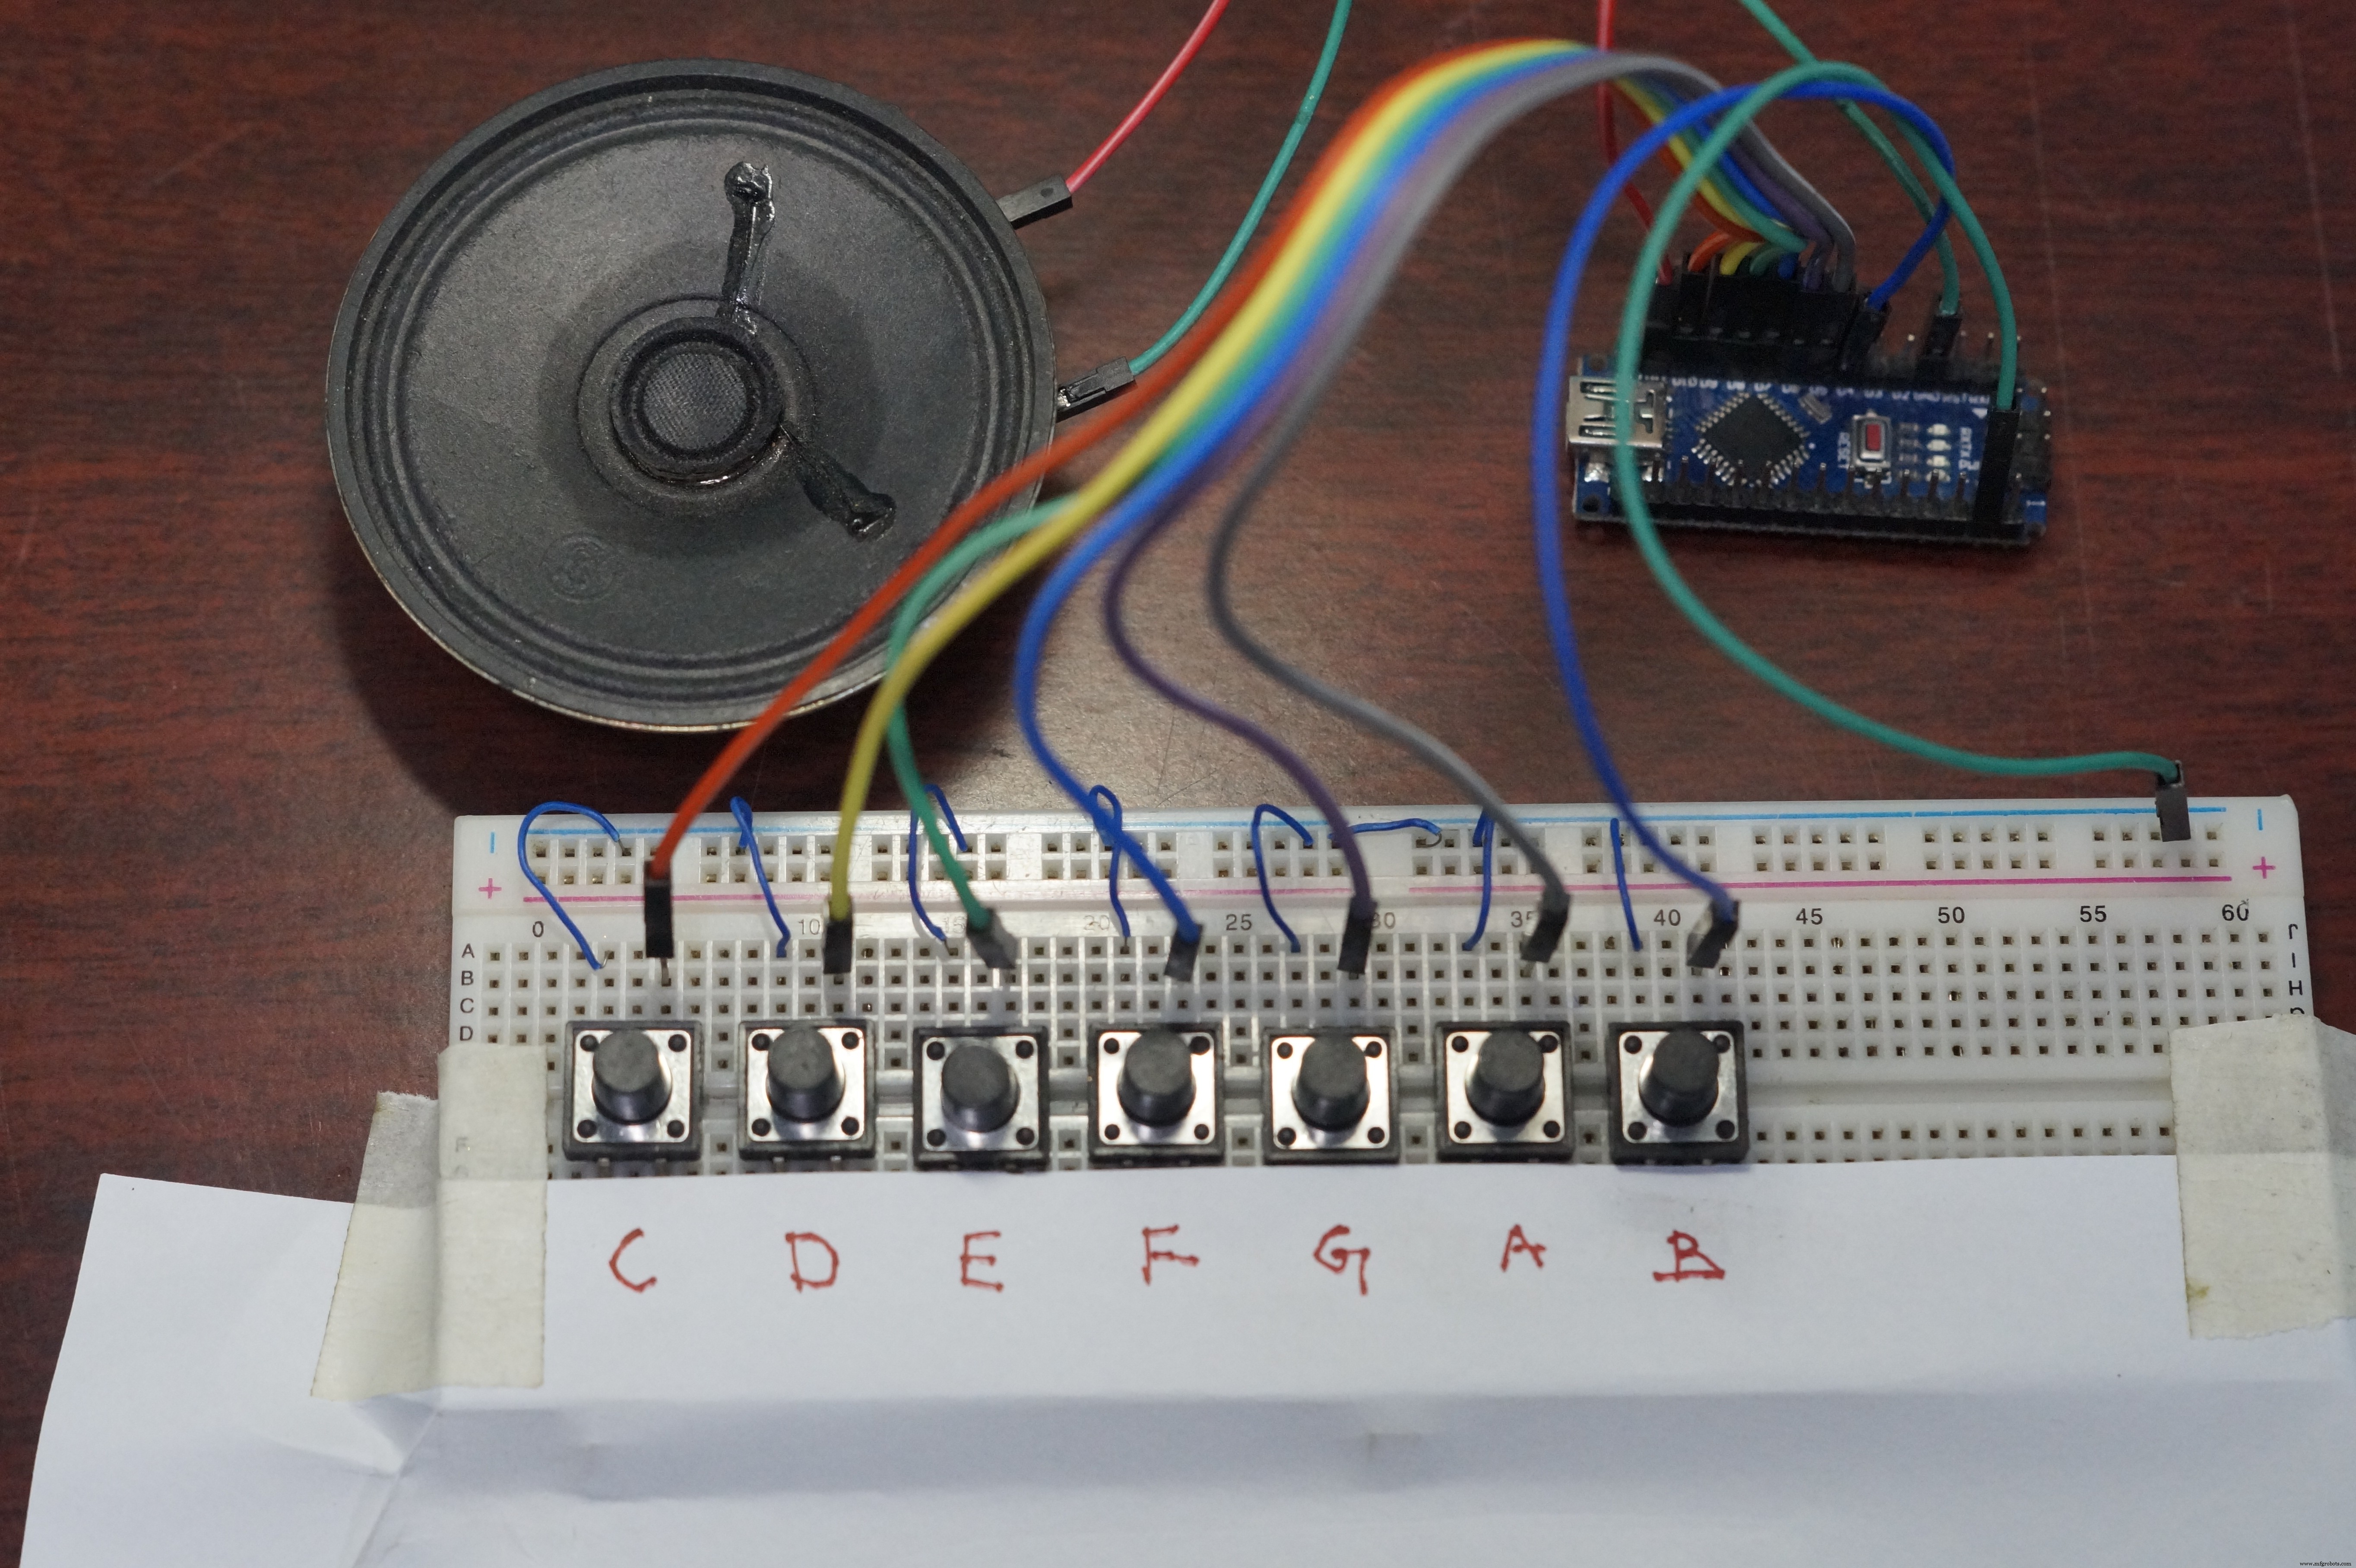
Manufacturing process
- Create a Secure Arduino RFID Lock – Step‑by‑Step Guide
- Build an Arduino Iron Man: Components, Sensors, and Step‑by‑Step Guide
- Find Me: Smart Item Locator with Arduino and Bluetooth
- PiBot: The Arduino‑Powered Piano Robot for Precision Music Performance
- Build a Custom Arduino Joystick Steering Wheel for Gaming
- PhoneLocator: Securely Locate Your Phone Anywhere
- Build JARVIS v1 Home Automation with Arduino Nano – Step‑by‑Step Tutorial
- Compact 5-Story Arduino-Driven Mini Elevator
- Master Arduino & MATLAB Integration: Step‑by‑Step Serial Communication Tutorial
- Arduino Tutorial 06: Connecting Arduino to Processing via Serial Communication