


A6 GSM/GPRS Module: Master AT Commands & Arduino Integration
Components and supplies
 |
| × | 1 | |||
| × | 1 | ||||
 |
| × | 1 |
Necessary tools and machines
 |
|
About this project
This is A6 GSM/GPRS module. In this tutorial, we shall learn how to connect the module with Arduino Uno and also work with “AT” Commands. This A6 module has the following features.
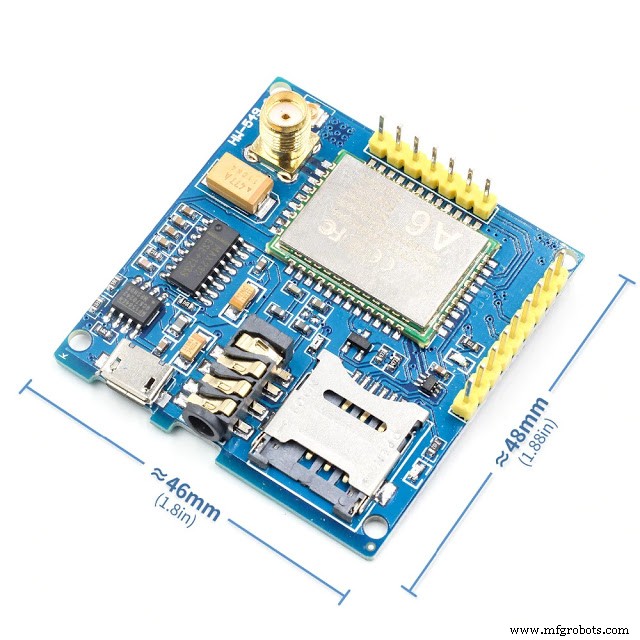
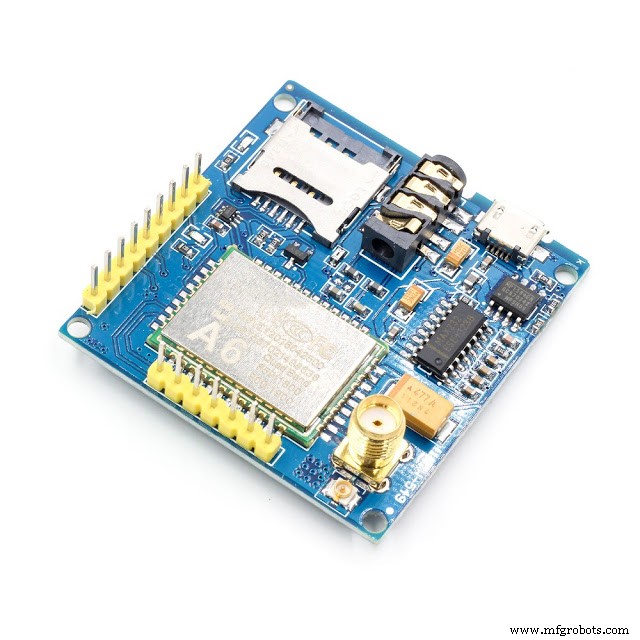
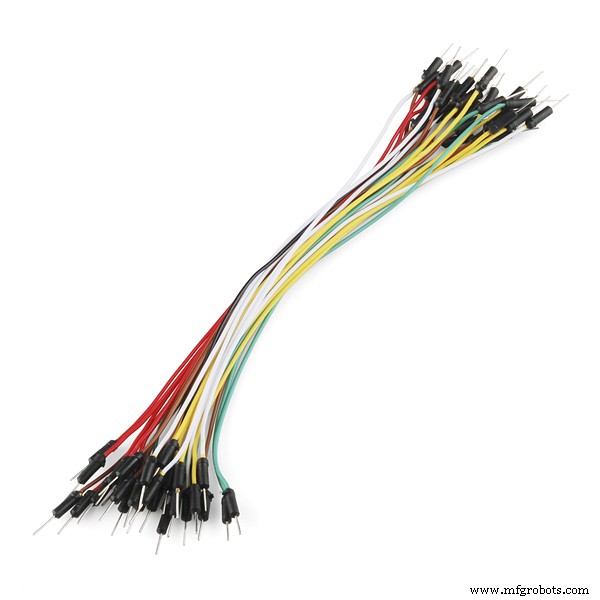
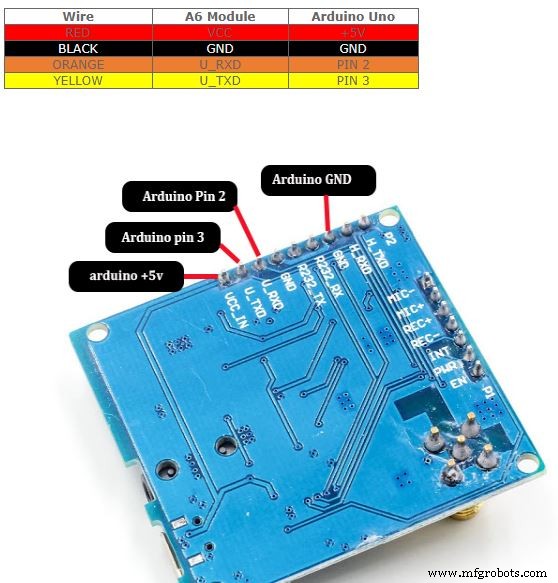
Features:- Working frequency: quad-band network, 850 / 900 / 1800 / 1900MHz- Working voltage: 4.8-9VDC(On-board voltage regulator circuit supply power for A6 module)- Working Current: maximum of 2A- Sleep Current: 5mA- Onboard Micro SIM card holder, you can install Micro SIM card- Onboard Micro USB interface for external power supply- Communication Interface: TTL serial port / RS232 serial port- Baud rate: 115200bps and it can also be set by AT command.- Interface logic voltage: 3.3V- Make and answer phone calls using a headset and electret microphone.- Send and receive SMS messages.- Send and receive GPRS data (TCP/IP, HTTP, etc.).- Be used to test the Ai-Thinker GPRS A6 module- Pin pitch: 2.54mm- Onboard antenna interface: SMA and IPX If you connect this with arduino uno for AT commands, you need only 4 wires. I decided to use four difference colored wires for easy understandings.1st insert a micro - sim card to A6 module

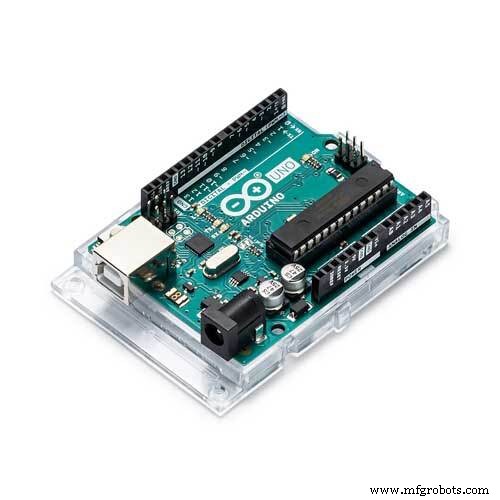
You have to connect A6 module with Arduino uno as per the following wiring. WireA6 ModuleArduino UnoREDVCC+5VBLACKGNDGNDORANGEU_RXDPIN 2YELLOWU_TXDPIN 3
Once the wiring is completed, you can start programming.
How to work with AT commands?#include <SoftwareSerial.h> SoftwareSerial A6MODULE(2,3);
void setup() { // put your setup code here, to run once: Serial.begin(9600);delay(1000); A6MODULE.begin(9600);delay(1000);}
void loop() { while(A6MODULE.available()){ Serial.write(A6MODULE.read()); } while(Serial.available()){ A6MODULE.write(Serial.read()); }}
After Uploading codes, run the serial monitor.Now type AT and press enter. If all the things are in order, Serial monitor will say “OK”HOW TO CALL?ATD command is used for dial a phone call.Eg: Type ATD+123456789 then enter (your phone number) HOW TO SEND SMS?Type AT+CMGF = 1 then enter “ Answer should be OK”Then Type AT+CMGS = “+123456786” then enter (your phone number)
Code
- Code
CodeArduino
Once the wiring is completed, you can start programming.


How to work with AT commands.?


#include <SoftwareSerial.h>

SoftwareSerial A6MODULE(2,3);

void setup() {
  // put your setup code here, to run once:
 Serial.begin(9600);
delay(1000);
  A6MODULE.begin(9600);
delay(1000);
}

void loop() {

 while(A6MODULE.available()){
  Serial.write(A6MODULE.read());
 }


 while(Serial.available()){
  A6MODULE.write(Serial.read());
 }

}

After Uploading codes, run the serial monitor.

Now type AT and press enter. If all the things are in order, Serial monitor will say “OK”

HOW TO CALL?
ATD command is used for dial a phone call.

Eg: Type ATD+123456789 then enter (your phone number)

 HOW TO SEND SMS?
Type AT+CMGF = 1  then enter “ Answer should be OK”

Then Type AT+CMGS = “+123456786” then enter (your phone number)
Schematics
Manufacturing process
- Verilog Module Basics: Structure & Syntax
- Mastering Verilog Parameters: Build Reusable, Scalable Modules
- Java 9 Module System: Enhancements, Link‑Time, and Custom Runtime Images
- JX Wave Generator – Arduino-Compatible DDS Oscillator with OLED Display
- Wireless IR Temperature Scanner – Arduino Nano with Bluetooth & MLX90614
- ArduRadio Alarm Clock: DIY Arduino-Based FM Radio & Alarm System
- Master Vibration Detection with Arduino: A Simple Sensor & LED Setup
- Integrate SIM800L GPRS Module with Arduino Using AT Commands
- Arduino Due Project Kit: TFT, GPS, RTC, Sensors, Bluetooth & Joystick – Full Component List
- Why an Old Phone Beats Buying a GSM Module: A Smart, Cost‑Effective Alternative