


CoroFence Thermal Detector: Advanced PIR Sensor & IoT Integration
Components and supplies
| × | 1 | ||||
 |
| × | 1 | |||
 |
| × | 1 | |||
 |
| × | 1 | |||
 |
| × | 1 | |||
 |
| × | 1 | |||
 |
| × | 1 |
Apps and online services
 |
| |||
 |
|
About this project
Current Global Pandemic CrisisAs World Health Organisation (WHO) recommends to prevent infection spread includes "regular hand washing, covering mouth and nose when coughing and sneezing, thoroughly cooking meat and eggs. Avoid close contact with anyone showing symptoms of respiratory illness such as coughing and sneezing".
It became an ordinary practice while traveling through airports to have thermal scanners in order to discover possible infected travelers.
Home Made Thermal DetectorWhile we are challenged to continue our work remotely as protection layer in the current situation we should avoid get in contact with others until the situation will be under control.
The main idea is to build a thermal camera detector that can be easily deployed outside your house /lab /office /shuttle... so you can be protected in your safe zone.
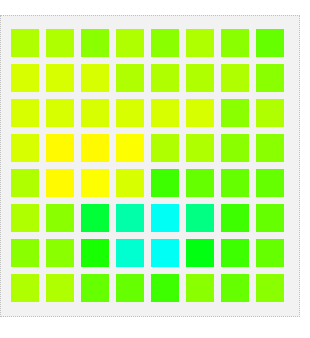
Input Sensors- Grid Eye
"Contrary to conventional thermal sensors that only measure temperature of a certain point-of-contact, Grid-EYE, based on Panasonic’s MEMS technology, can measure temperature of the entire specified area without any contact; in other words, it is a “contact-less thermopile array sensor”. 64 pixels yield accurate temperature measurement over a viewing angle of 60° provided by a silicon lens. Grid-EYE uses an I²C communication interface, enabling temperature measurements at speeds of 1 or 10 frames/sec. An interrupt function is also available."

- Dimensions: 11.6 x 4.3 x 8.0mm (L x H x W)
- Operating voltage: 3.3V or 5.0V (depends on P/N)
- Temperature range of measuring object: -20°C to 100°C (depends on P/N)
- Field of view (FoV): 60°
- Number of pixels: 64 (vertical 8 x horizontal 8)
- External interface: I²C (fast mode)
- Frame rate: 10 frames/sec or 1 frame/sec
What makes this sensor perfect for human detection from 1.5 meters and has a target in as 5/7 meters.
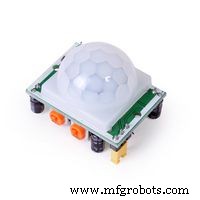
- PIR
We need also a trigger because we want also to activate the thermal camera when movement is detected. Therefore a PIR sensor is perfect choice.
"PIR sensor detects a human being moving around within approximately 10m from the sensor. This is an average value, as the actual detection range is between 5m and 12m. PIR are fundamentally made of a pyro electric sensor, which can detect levels of infrared radiation. For numerous essential projects or items that need to discover when an individual has left or entered the area. PIR sensors are incredible, they are flat control and minimal effort, have a wide lens range, and are simple to interface with."
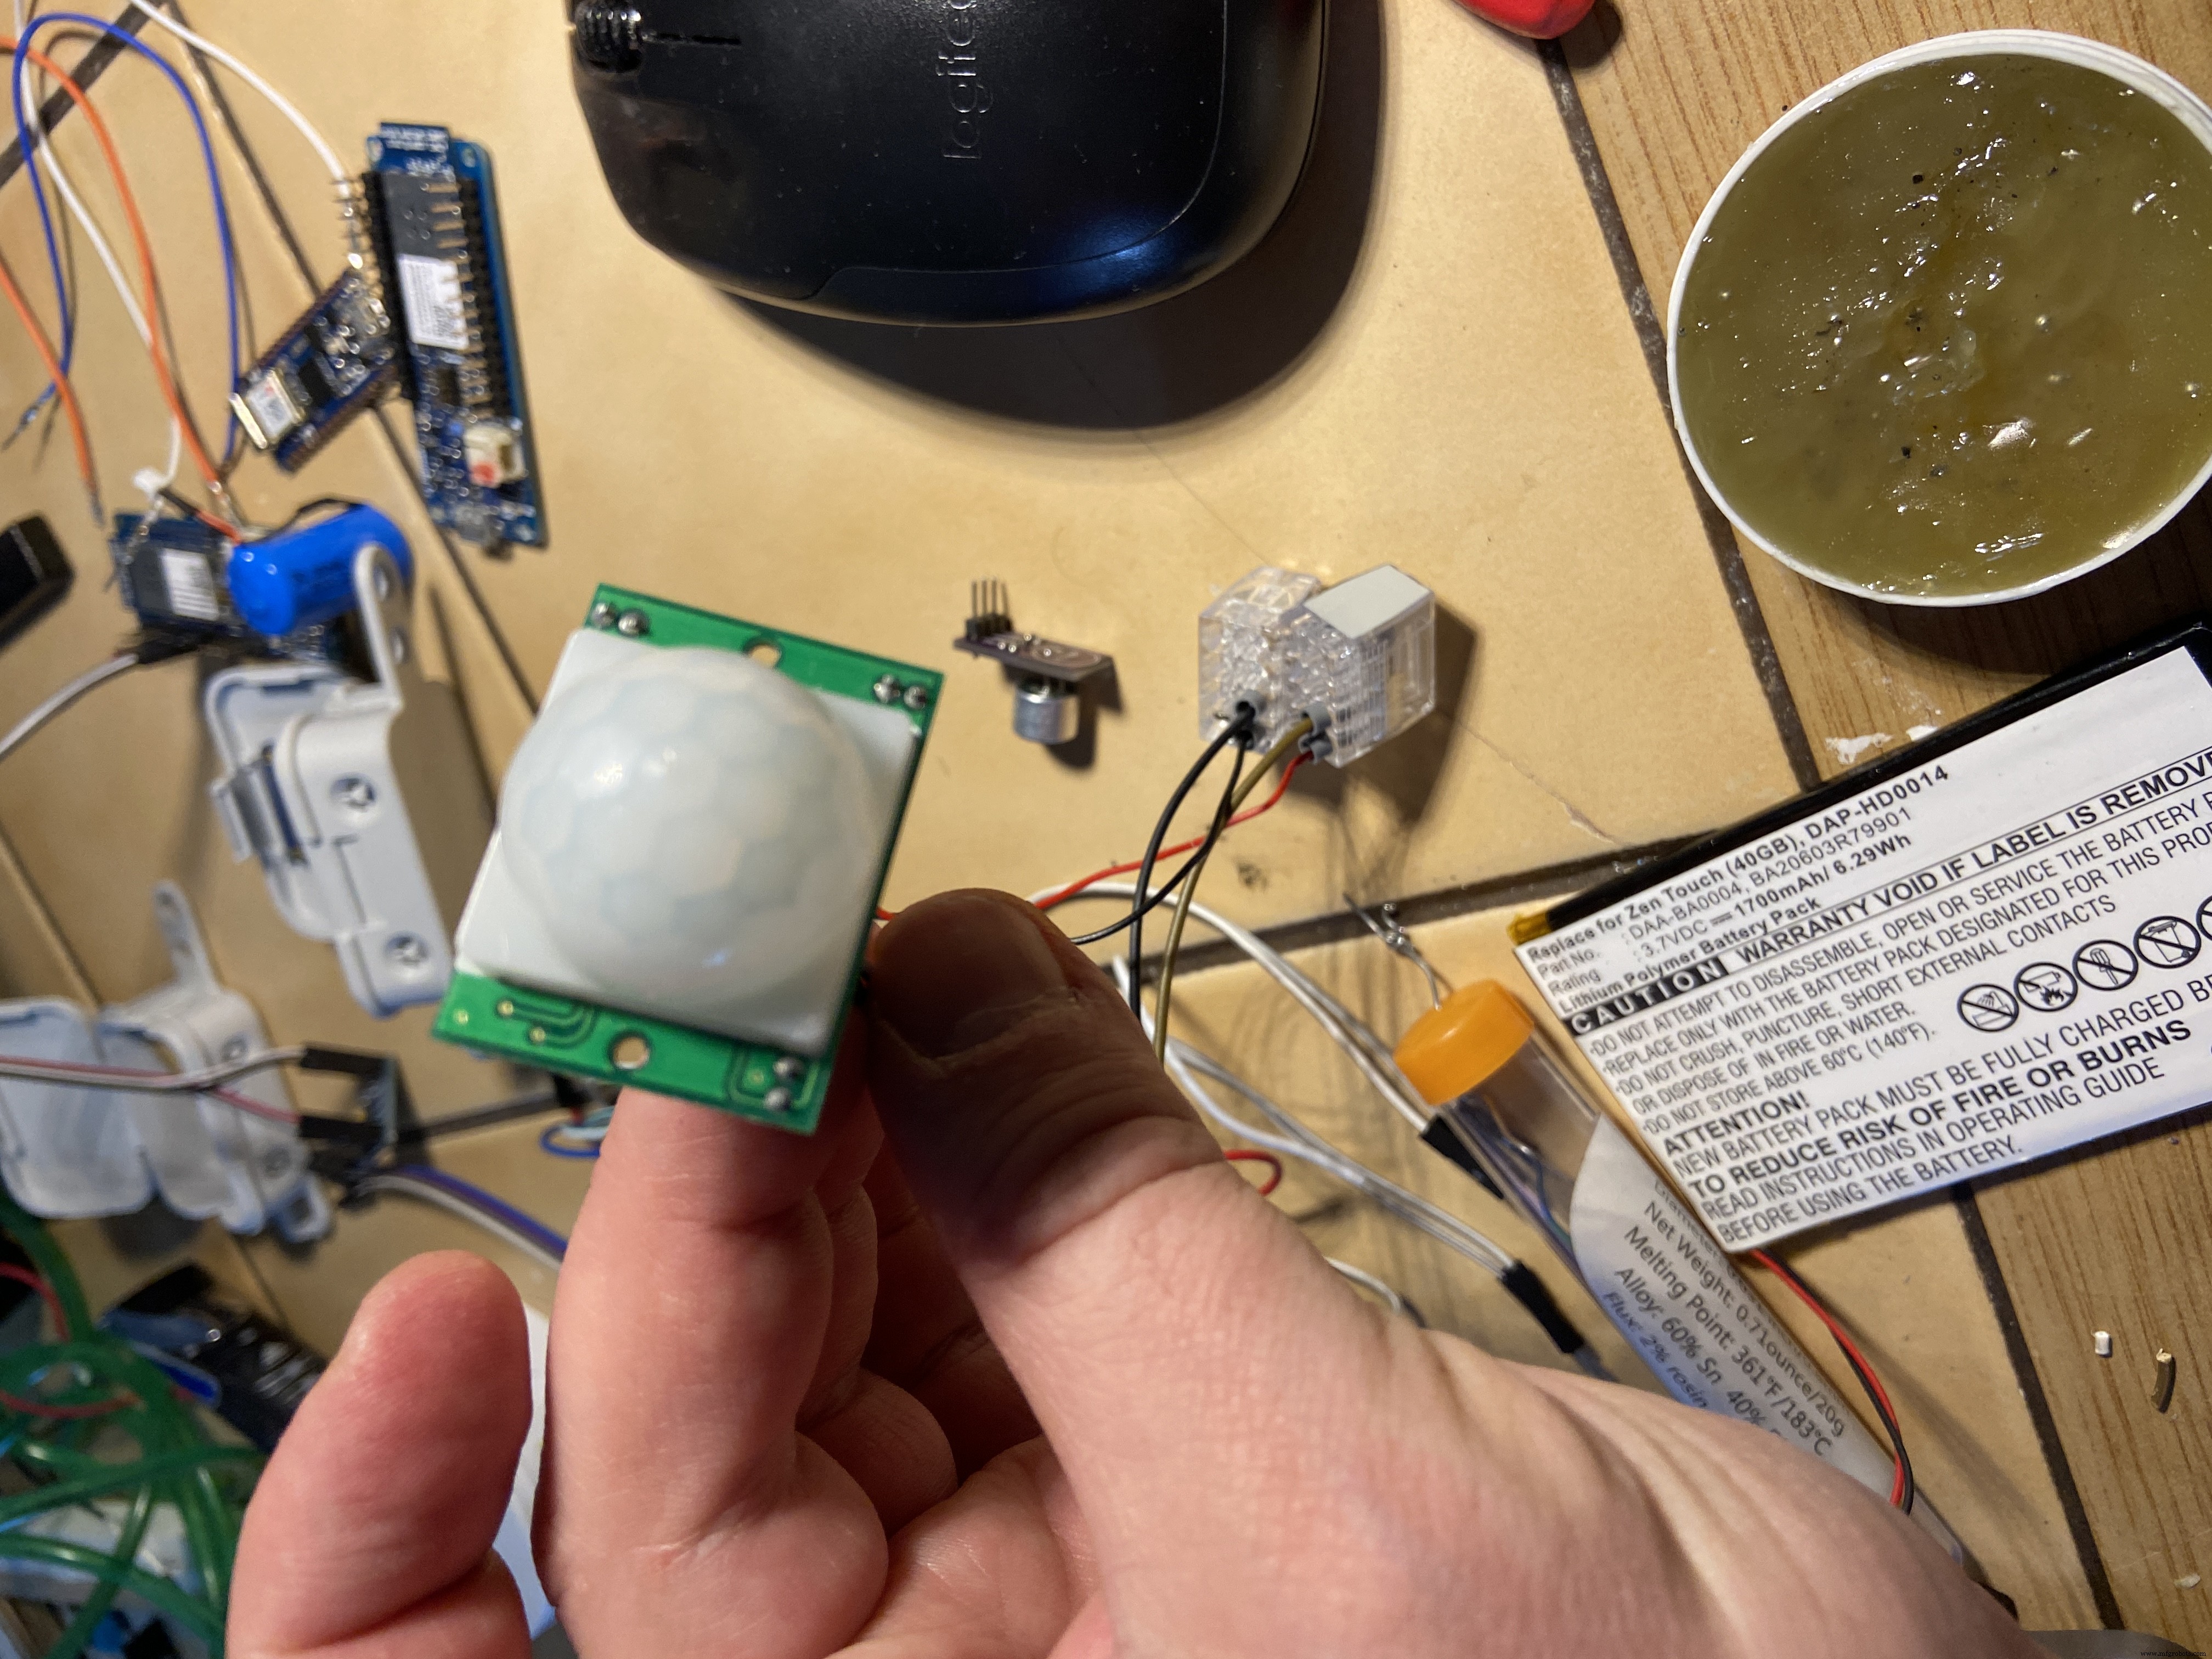
Add things together as bellow:
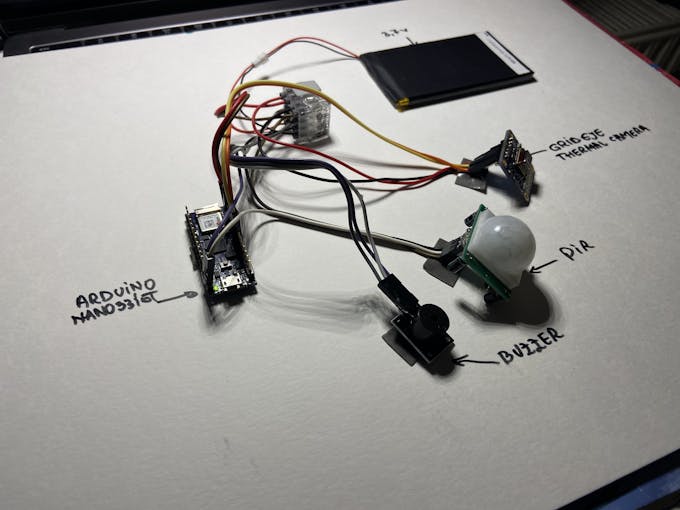
As connectivity is completed (see diagram below) prepare the box for input sensors as follows:

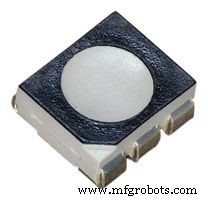
- RGB LEED
We would like to get instant temperature feedback with and basic RGB LED that will be programmed for show some colors as we get in the thermal camera.
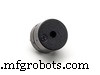
- Buzzer
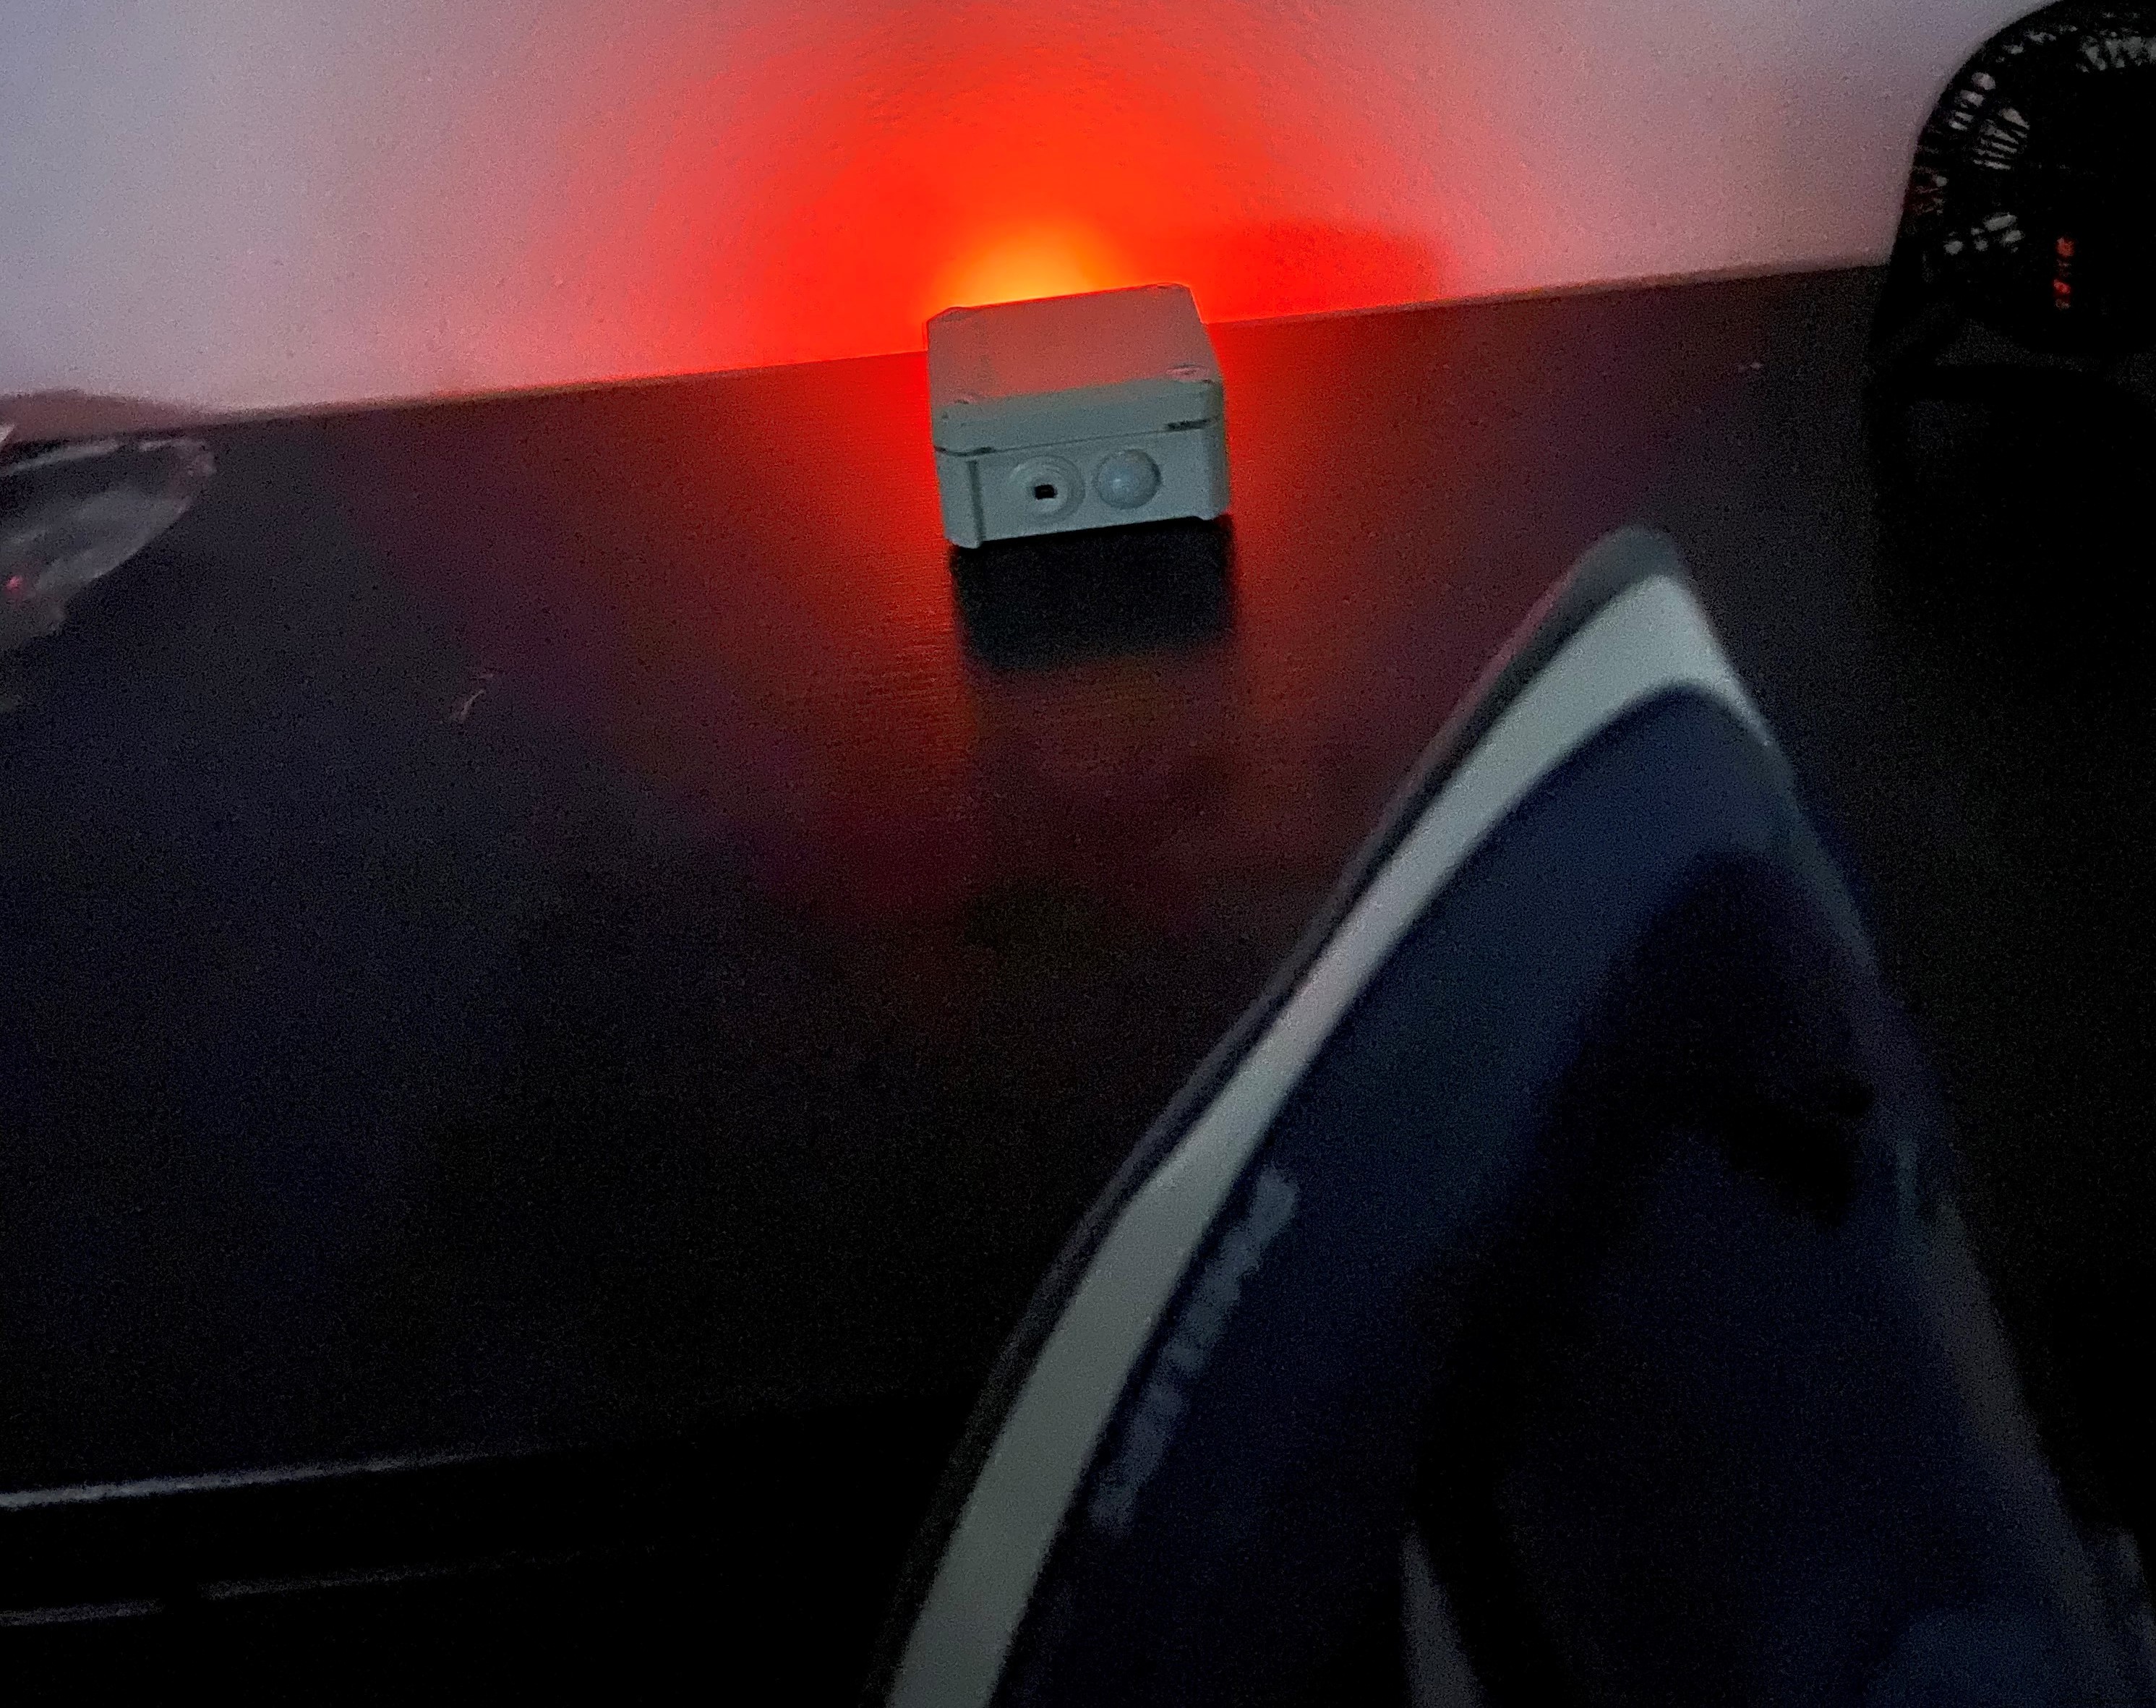
When temperature goes over normal 37'C then we initiate a sound alarm in order to notify you in regards to possible dangers.

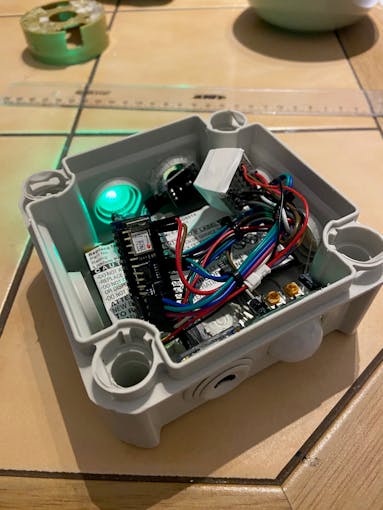
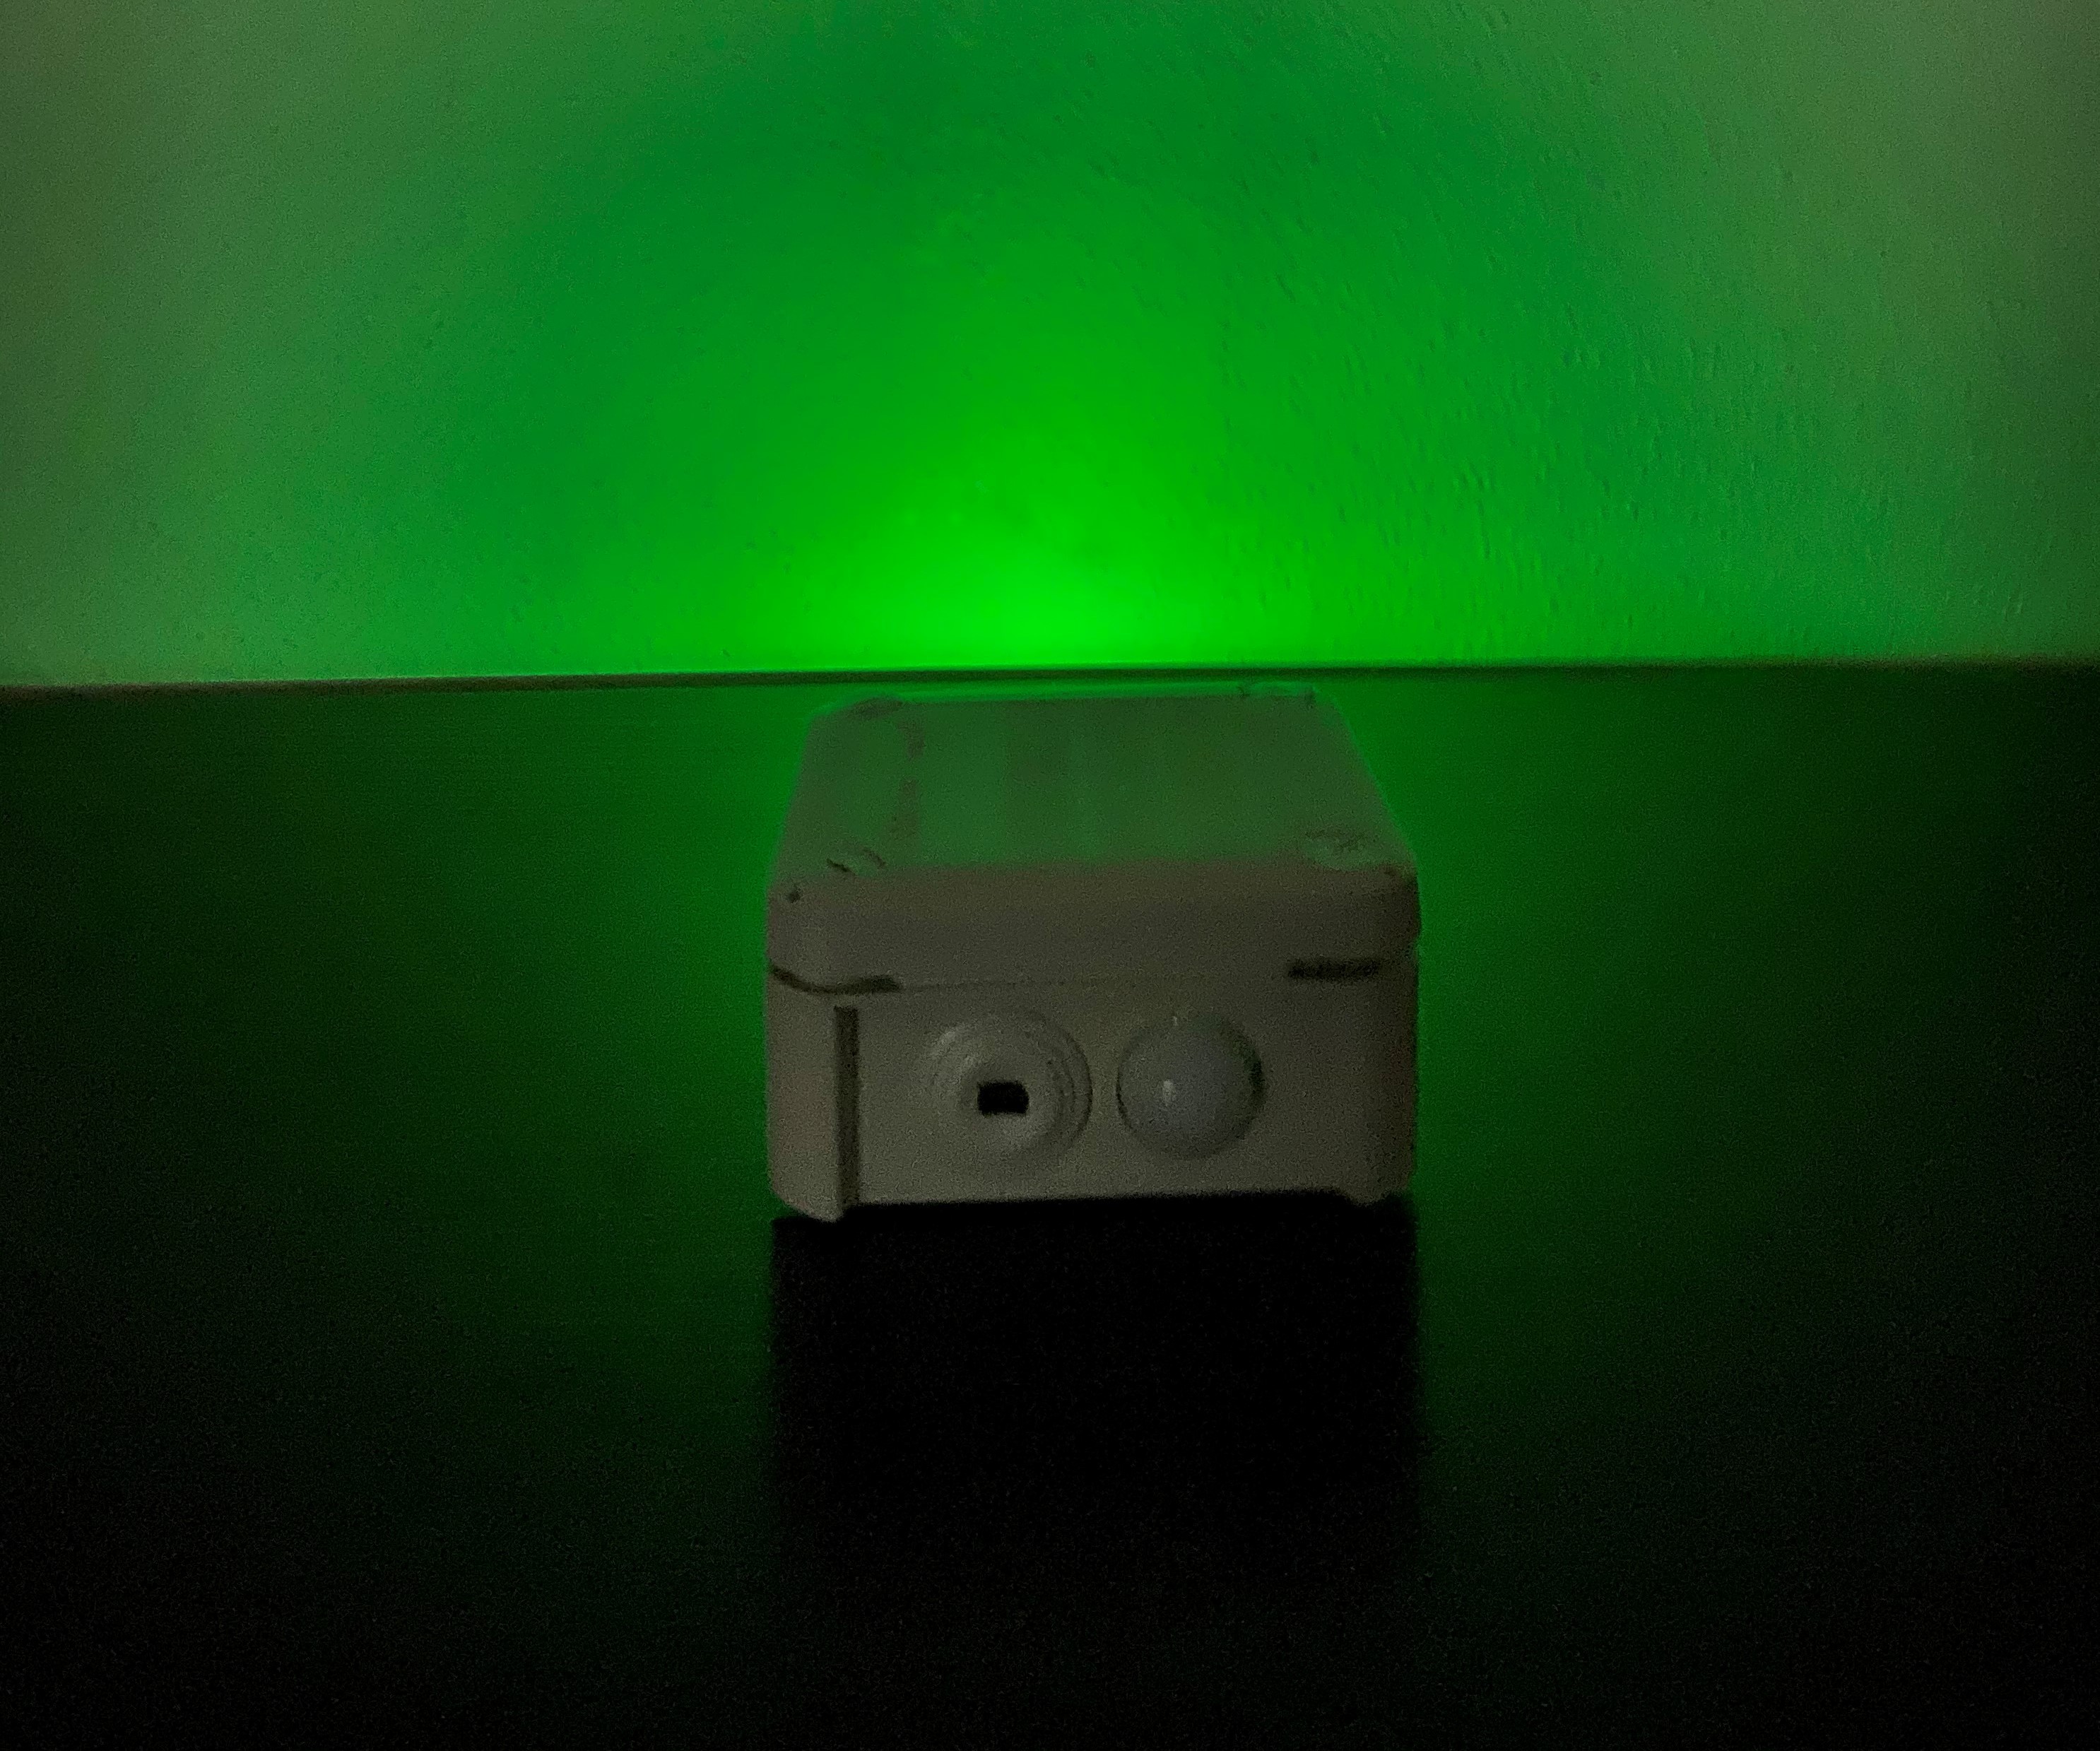
While temperature is normal and presence is detected then we show a green light
// different colors can be established
if (tempC<16) {
setColor(0, 0, 255);  // blue
} else if(tempC < 15) {
setColor(80, 0, 80); // cyan
}  else if(tempC < 30) {
setColor(0, 255, 255);  // aqua
}  else if(tempC < 36) {
setColor(0, 255, 0);  // green
} else if(tempC < 38) {
setColor(255, 255, 0); // yellow
}   else if(tempC < 39) {
setColor(255, 20, 20);   // magenta
}
To trigger sound alarm and red color, test it properly using a steam iron for clothes, as incidentally discovered later while doing some domestic stuff.

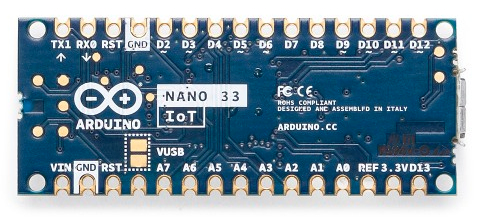
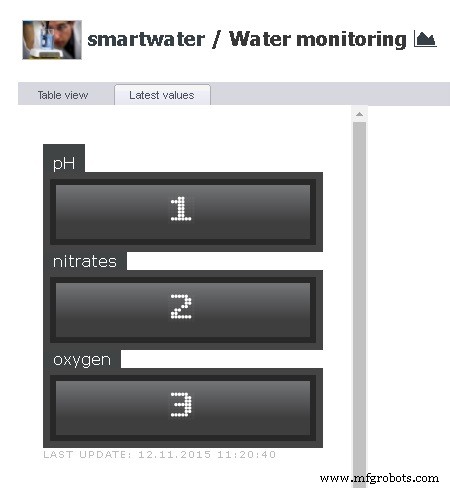
Alternatively you can view the temperature in a NodeJS interface and get the data from your Arduino on serial connection with this terminal application.
Further plan is to extend data integration with das platform and start modeling.
Follow live stream on @dasDatahttps://dasdata.co/camera/
Code
- coronafence
coronafenceC/C++
#include <Wire.h>
#include <SparkFun_GridEYE_Arduino_Library.h>

GridEYE grideye;

String heatData;
int ledState;
unsigned long meetime;
uint16_t seconds = 3142;      // max == 65535

int bluePin = 8;
int greenPin = 9;
int redPin = 10;
int buzzPin = 11;                // choose the pin for the LED
int inputPin = 12;               // choose the input pin (for PIR sensor)
int pirState = LOW;             // we start, assuming no motion detected
int val = 0;                    // variable for reading the pin status
float tempC;

void setup()
{
  pinMode(redPin, OUTPUT);
  pinMode(greenPin, OUTPUT);
  pinMode(bluePin, OUTPUT);
  pinMode(buzzPin, OUTPUT);      // declare LED as output
  pinMode(inputPin, INPUT);     // declare sensor as input
  // Start your preferred I2C object
  Wire.begin();
  // Library assumes "Wire" for I2C but you can pass something else with begin() if you like
  grideye.begin();

  Serial.begin(115200);
}

void loop()
{
    char receiveVal;
    if(Serial.available() > 0)
    {
       receiveVal = Serial.read();
       if(receiveVal == '1')      {
          ledState = 1;
       }
      else
          ledState = 0;
      }

     val = digitalRead(inputPin);  // read input value
  if (val == HIGH) {            // check if the input is HIGH
       //   digitalWrite(ledPin, HIGH);  // turn LED ON
     if (pirState == LOW) {
      meetime = millis();
      Serial.println("Motion detected!");
      // We only want to print on the output change, not state
      pirState = HIGH;

      getHeatmap();


      if (tempC<16) {
           setColor(0, 0, 255);  // blue
        } else if(tempC < 16) {
           setColor(80, 0, 80); // cyan
          }  else if(tempC < 20) {
            setColor(0, 255, 255);  // aqua
          }  else if(tempC < 24) {
            setColor(0, 255, 0);  // green
          } else if(tempC < 28) {
              setColor(255, 255, 0); // yellow
          }   else if(tempC < 37) {
            setColor(255, 20, 20);   // magenta
          }


     // read the bytes incoming from the client:
     // char thisChar = client.read();
     // echo the bytes back to the client:
     // char msg[10] = "";
       Serial.println(heatData);
       delay(1500);
    }
  } else {
   // digitalWrite(ledPin, LOW); // turn LED OFF
    if (pirState == HIGH){
      // we have just turned of
      noTone(buzzPin);     // Stop sound...
      Serial.println("Motion ended!");
      setColor(0, 0, 0);  // none
      meetime = 0;
      // We only want to print on the output change, not state
      pirState = LOW;
    }
  }


}

void getHeatmap()
{
  // Print the temperature value of each pixel in floating point degrees Celsius
  // separated by commas
  heatData = "";
  float previousVal = 0;
  for (unsigned char i = 0; i < 64; i++)
  {
        if(previousVal>37) {
             // we have just turned on
            Serial.println("High temperature!");
            setColor(255, 0, 0);  // red
            tone(buzzPin, 1000); // Send 1KHz sound signal...
          }
          tempC = grideye.getPixelTemperature(i);
          heatData += tempC + String(",");
          previousVal = tempC;
  }


  // End each frame with a linefeed
  Serial.println();
  // Give Processing time to chew
}


void setColor(int red, int green, int blue)
{
  #ifdef COMMON_ANODE
    red = 255 - red;
    green = 255 - green;
    blue = 255 - blue;
  #endif
  analogWrite(redPin, red);
  analogWrite(greenPin, green);
  analogWrite(bluePin, blue);
}
coronafence
Code for Arduino IDE, Visual Studio 2019, NodeJS https://github.com/dasdata/coronafenceSchematics
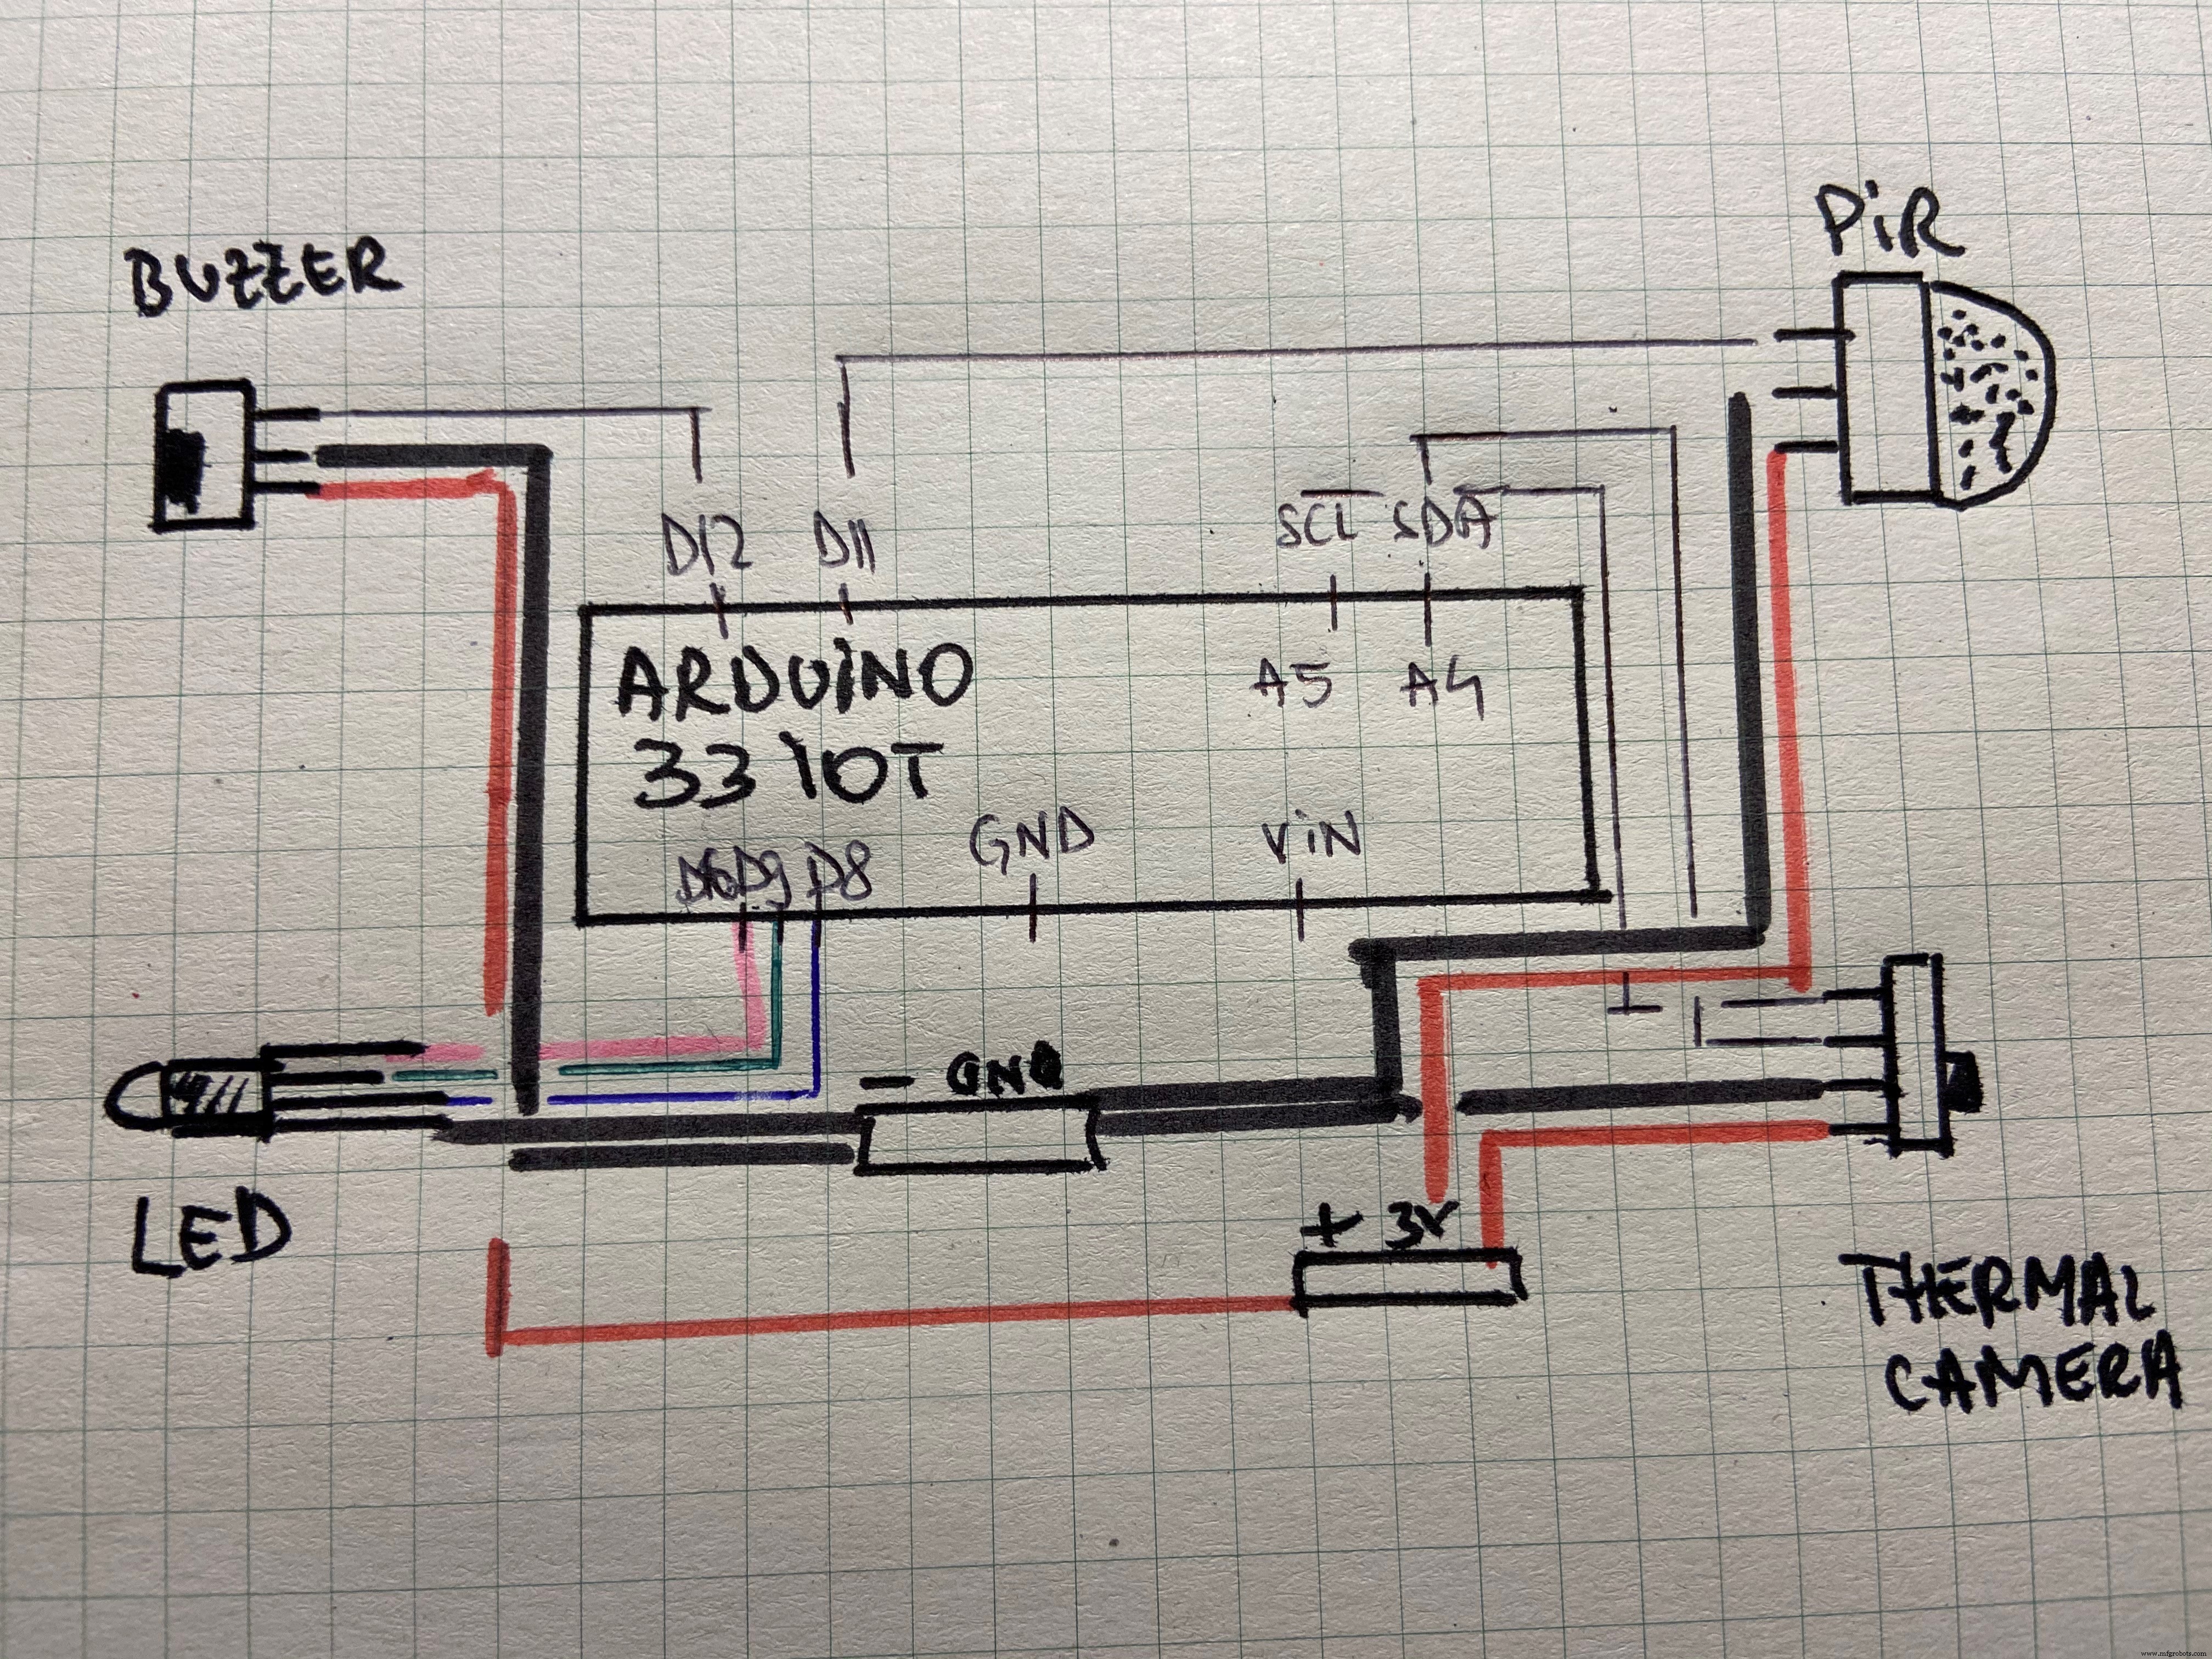
Manufacturing process
- Multi‑Position Temperature Sensor System for Smart Home Integration
- MotionSense: Smart Intrusion Detection with Arduino & ESP8266
- 3D Printer Fire Prevention: Smart Sensor Safety System
- Arduino-Based Repulsive Magnetic Levitation: Simple Circuit & DIY Guide
- Advanced Remote‑Controlled Gripper Robot for Precision Handling
- Advanced Microcontrollers Lab: ESP32, Arduino, PIC, and Sensor Modules
- Build a Compact CNC Machine with Arduino UNO
- DIY Face-Tracking Camera Powered by Arduino UNO
- DIY Smart IoT Device: Build with ATmega32U4, ESP8266 & Sensors
- Build a DIY Logic Analyzer with Arduino UNO – Step‑by‑Step Guide