


Quick & Easy Mini Bug Robot – Build in 30 Minutes with Arduino Pro Mini & MG996R Servos
Components and supplies
 |
| × | 1 | |||
| × | 1 | ||||
 |
| × | 1 | |||
 |
| × | 1 | |||
 |
| × | 1 | |||
 |
| × | 1 | |||
| × | 1 | ||||
| × | 1 | ||||
| × | 1 |
Apps and online services
 |
|
About this project
BackgroundHere is a quick and easy little robot that can be built and assembled in about half an hour with the right tools and parts.
I didn't invent it. I saw a video of a thing like this on YouTube and thought 'Hey, that looks fun, I'll build one.'
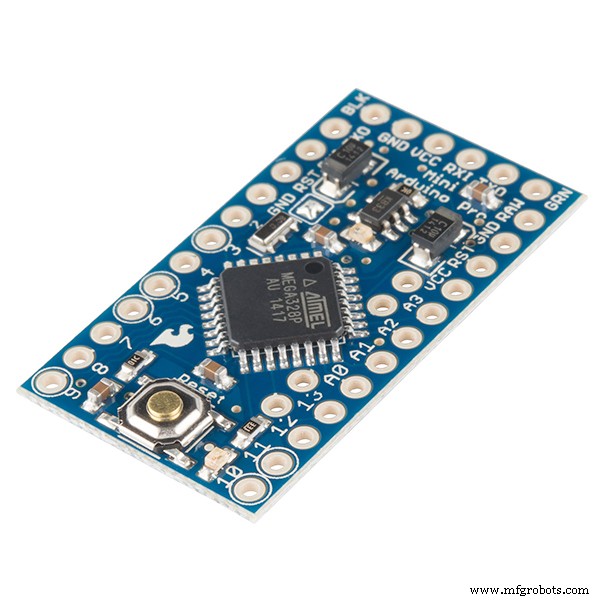
So I grabbed some servos out of my junk box, an old cellphone battery I had kept in the hope of finding something cool to do with it, an Arduino Pro 3.3v that I had bought on a whim because I needed to reach the quota for free delivery and went to work.
An hour or so later, here it was!
AssemblyLet's start with the basic assembly.
Cut off the mounting arm that's opposite the side where the wires come out on one of the servos (this will be your back servo). The back servo points down and the other forward. You can use glu or cable ties to keep them together.
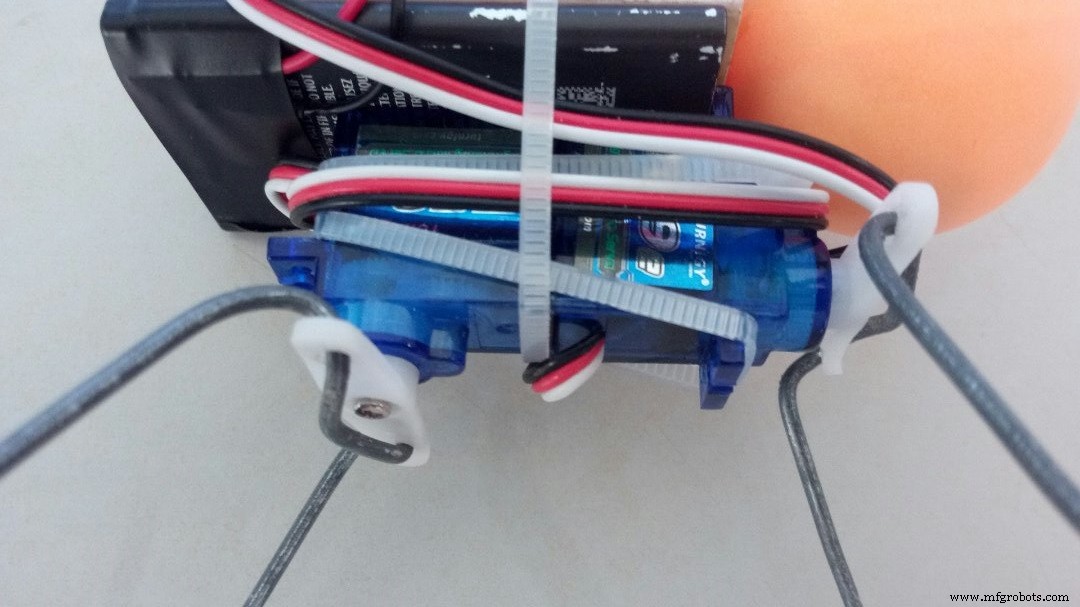
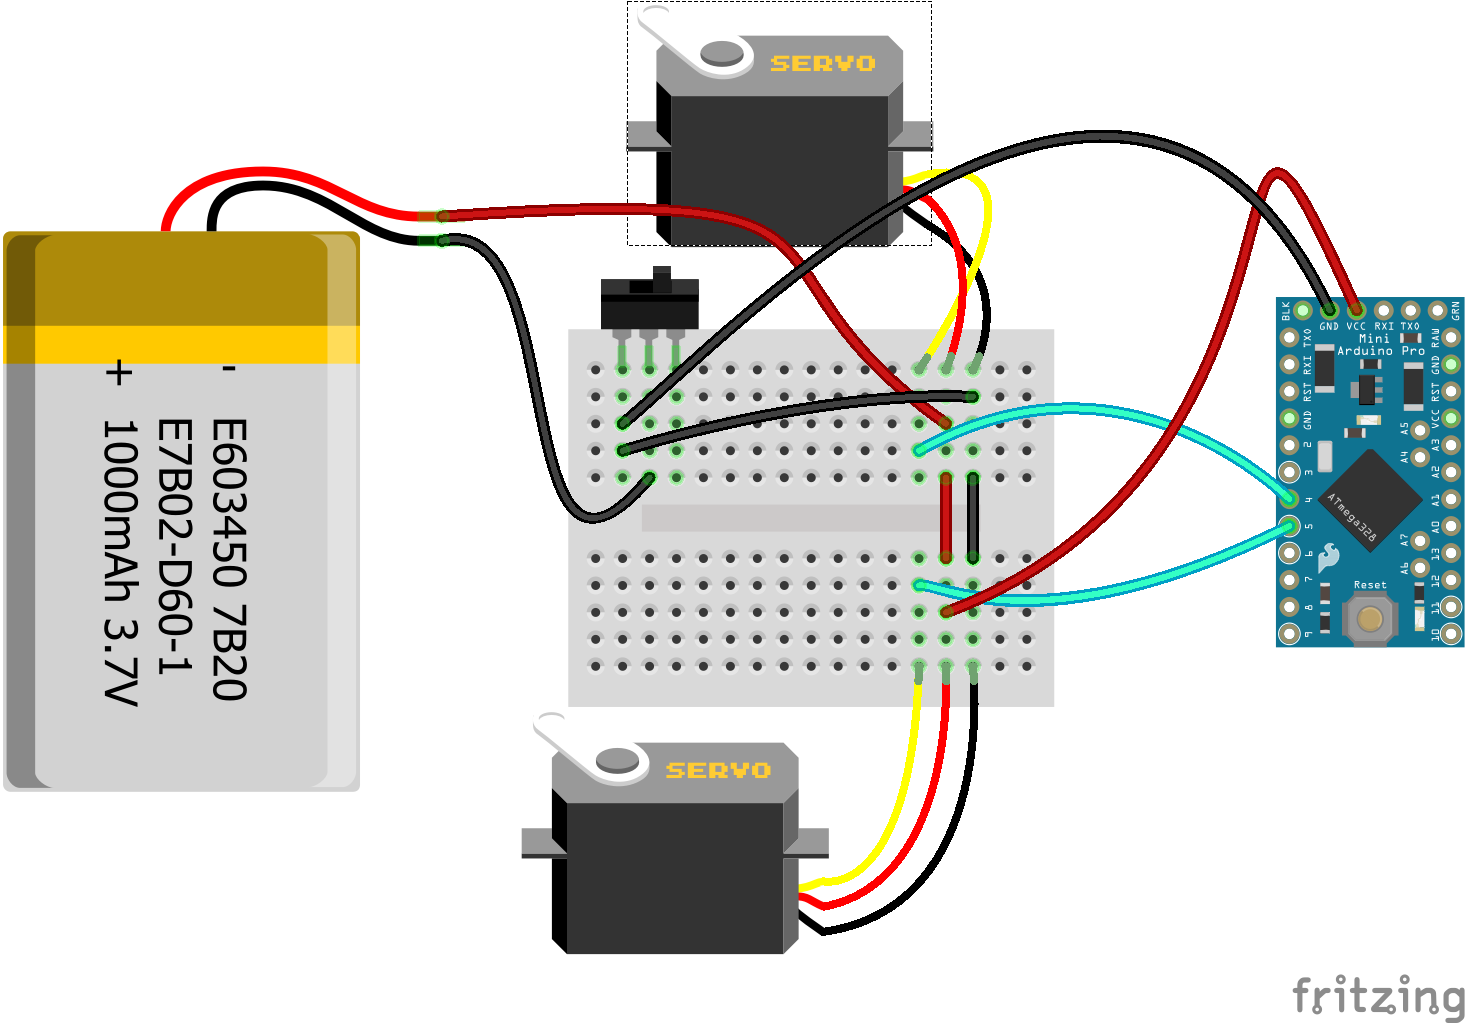
Next, hook a red and a black wire to the positive and negative of your cellphone battery (I kept them in place with some electrician tape). If you have a Li-Ion battery, then you don't have to struggle with that :)
Then I glued the mini breadboard onto the battery. You don't have to, off course. It depends whether you plan to ever reuse the parts of this robot or not.
Cable tie your battery and breadboard onto the servo contaption.
Cut a wedge into the ping pong ball. Sounds easy, right? :) It's possibly the hardest step of this entire tutorial! A ping pong ball is remarkably solid and also... round. Cutting round things take patience. And wear goggles!!! It doesn't matter what device you use to cut it. The plastic (or whatever weird material mine was made of) splinters a lot. So goggles! I want you to still be able to read the rest of this tutorial after you're done cutting!
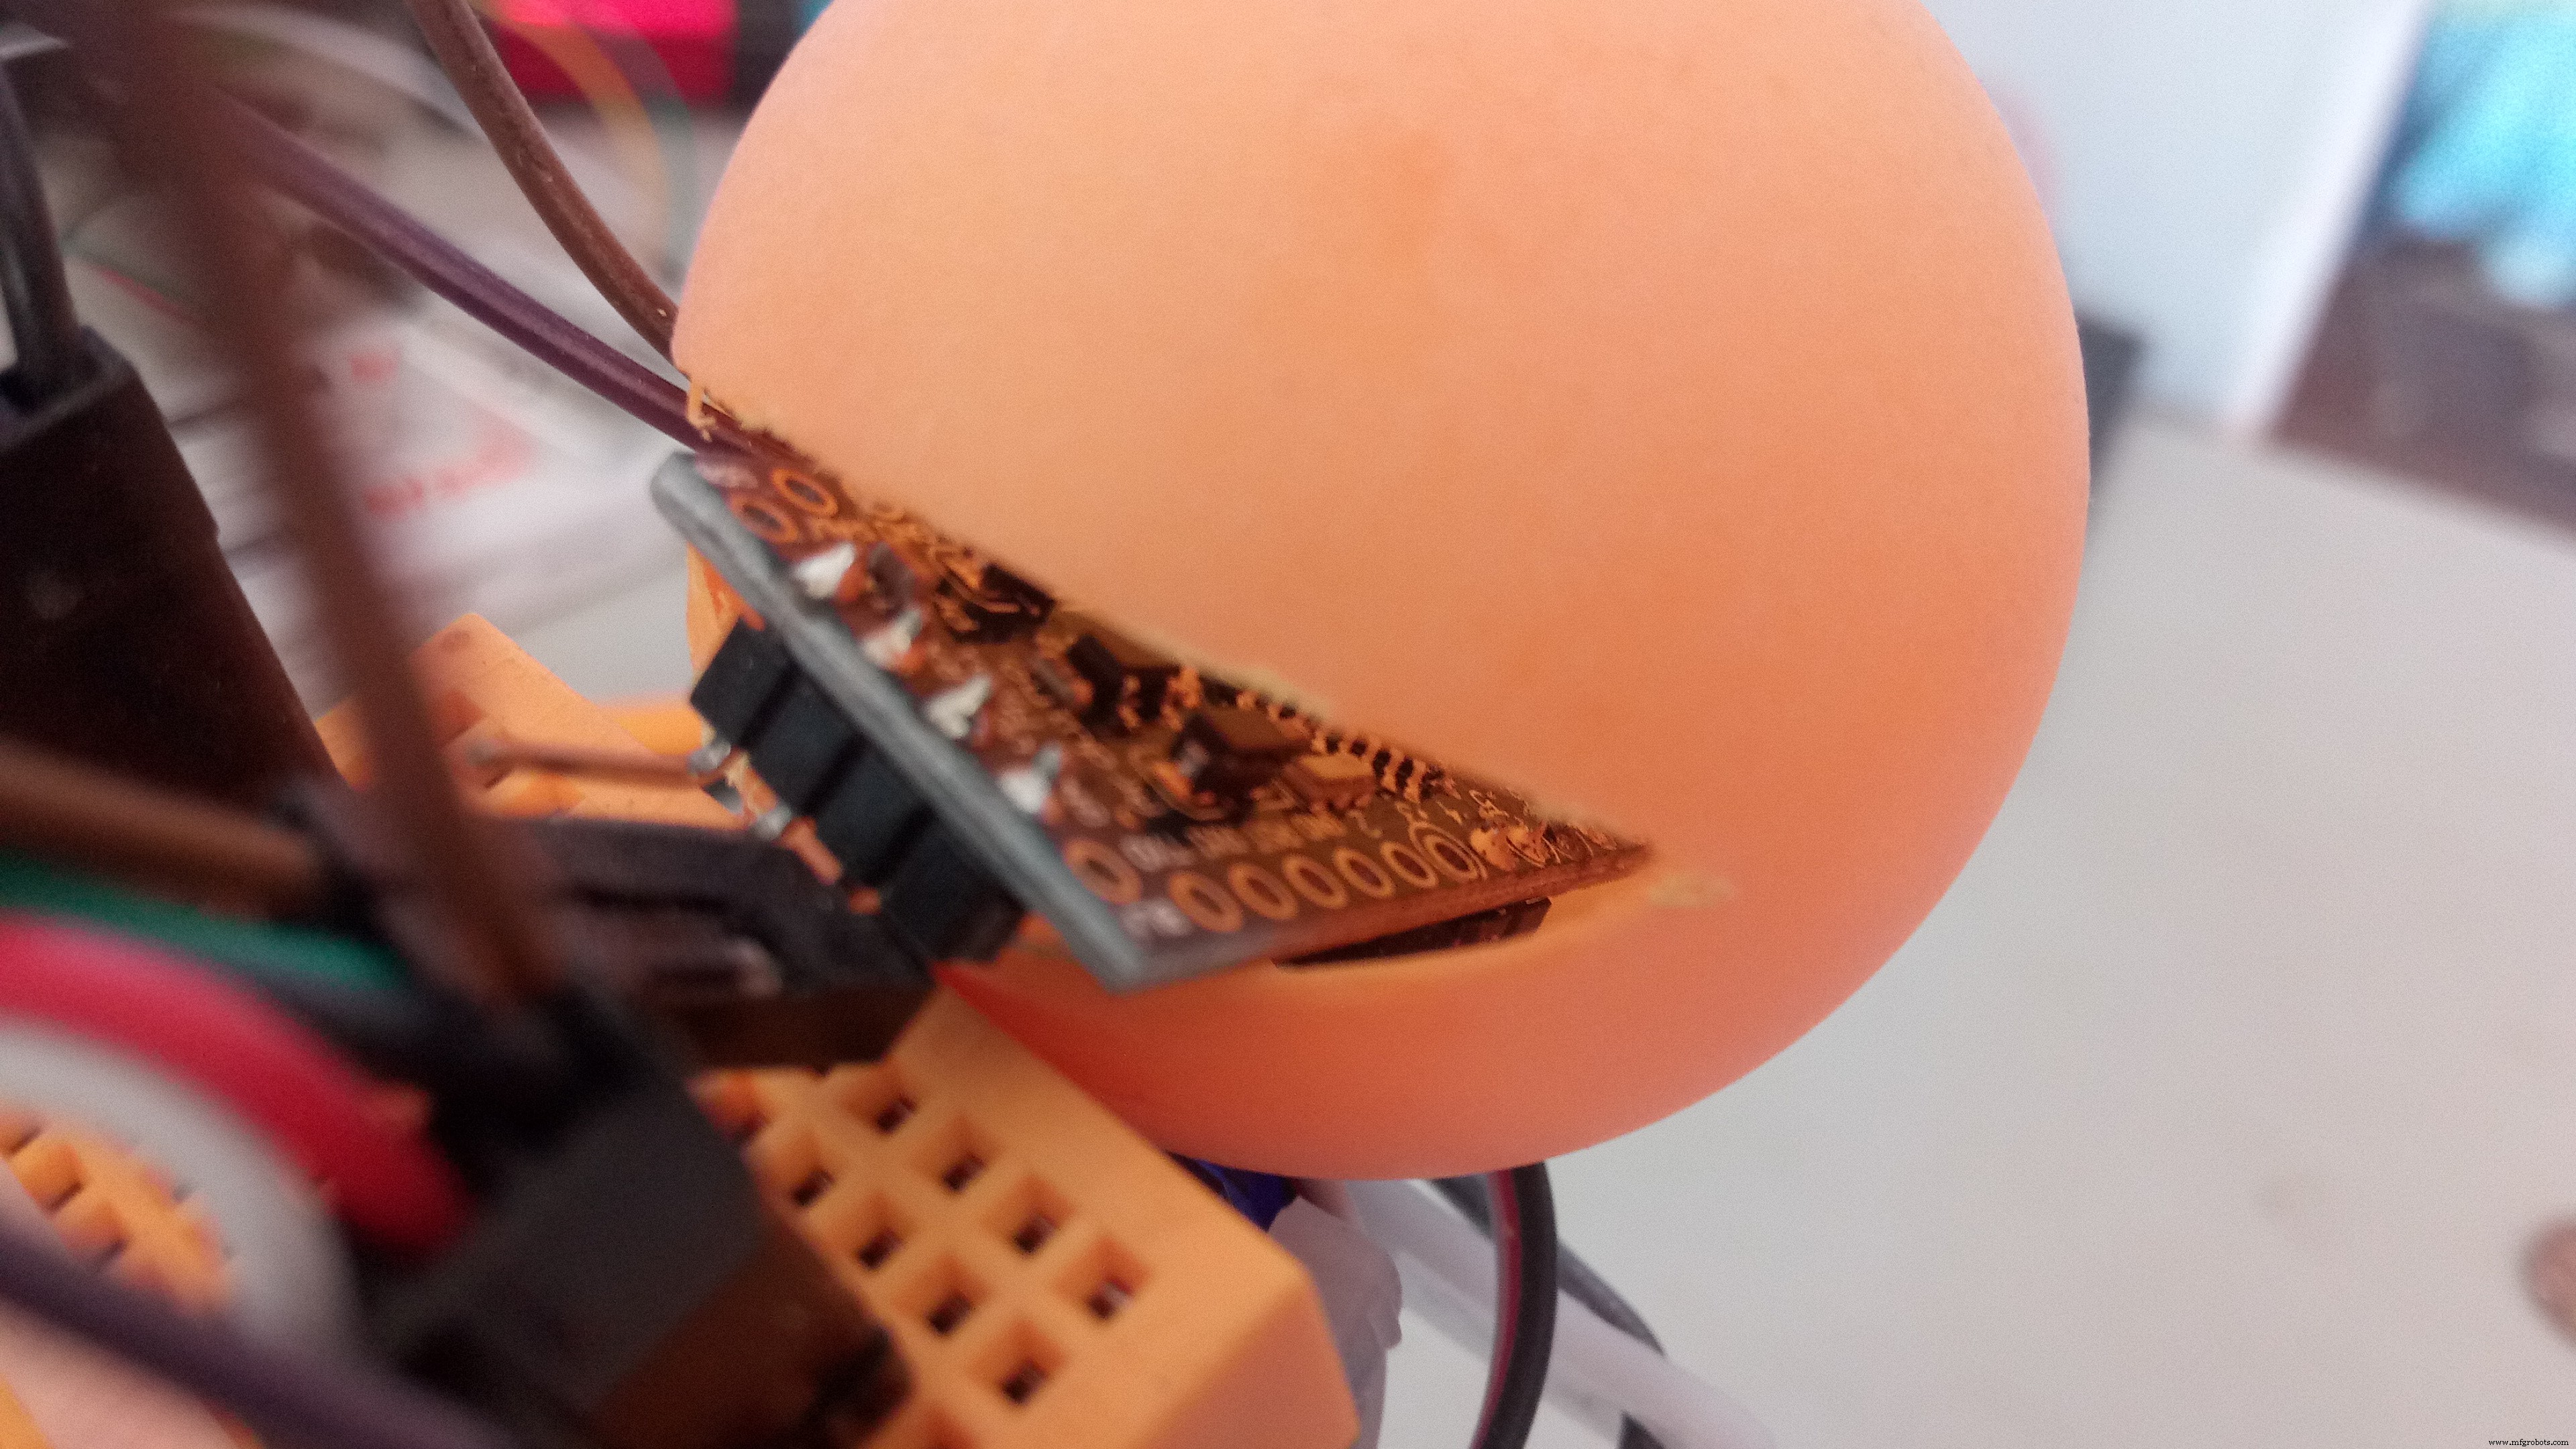
Check that your Arduino fits in the hole nicely. And then glue the ping pong ball to the rest of the animal.
For the legs, I leave you to your own device. Mine were simple piece of 1mm thick steel wire bend into and around the wing mounting of the servos (as on the picture) At the end of each legs, I placed a small foot cut out of a glue gun stick for grip.
Just heat up the wire with a lighter and plant it in your make-shift foot. the glue will melt on contact and solidify again really quickly.
Before you attach the legs to the rest of the monster, you'll need to do the circuitry and load the sketch onto the board. You will need to read up on this if you don't know how to upload a sketch onto the Arduino Pro Mini. https://www.arduino.cc/en/Guide/ArduinoProMini
The code for this one is extremely simple so I'm not going to go through it.
It has a 5 second delay at the end of the setup so you have time to unplug your Arduino before the legs start moving but after centering them.
You can now place your legs and screw them in place.
Once the legs are screwed in place, you can even choose to edit the program and shorten (or remove) the delay on line 13.
DemonstrationIf all went well, you should now have a cute little guy looking a little like this:
And check out ClaudioGasp's Triceratops video in the comments! It's AWEsome!
Code
- Bug
BugArduino
#include <Servo.h>
int FRONT = 4;
int BACK = 5;

Servo frontLegs, backLegs;

void setup() {
  pinMode(13, OUTPUT);  //This is just for the pretty blinking
  frontLegs.attach(FRONT);
  backLegs.attach(BACK);
  frontLegs.write(90);  //Center the servo
  backLegs.write(90);   //Center the servo
  delay(5000);          //Wait 5 sec (This gives us time to unplug the arduino
                        //  so we can affix the legs.
}


void loop() {
  digitalWrite(13,HIGH);      //LED on
  delay(200);
  frontLegs.write(70);        //move front leg a little
  delay(200);
  backLegs.write(70);         //move back leg a little
  digitalWrite(13,LOW);       //LED off
  delay(200);
  frontLegs.write(110);       //move front leg a little
  delay(200);
  backLegs.write(110);        //move back leg a little
}
Schematics
bug_Yr3jFYFuNQ.fzzManufacturing process
- Integrated Circuits (ICs): Compact, Powerful Chips Powering Modern Electronics
- MotionSense: Smart Intrusion Detection with Arduino & ESP8266
- Build a Secure IoT Puzzle Box with Arduino MKR Bundle – Step-by-Step Guide
- Build Your Own Autonomous Tank: Walabot, Arduino, Raspberry Pi & Alexa Integration
- Advanced Microcontrollers Lab: ESP32, Arduino, PIC, and Sensor Modules
- MOSMusic Project Kit: MOSFET, Arduino, and More
- Build a Smart Wristband with Arduino MKR GSM 1400 & Hologram IoT
- Smart Plug: 120V Arduino‑Based Smart Outlet with Real‑Time Clock
- SmartPostBox: IoT-Enabled Intelligent Mailbox System
- Pathfinder: Arduino UNO Project Kit – Components & Supplies