


Smart AC Lighting with Arduino UNO and Relay – Automatic Control
Components and supplies
 |
| × | 1 | |||
| × | 1 | ||||
| × | 1 | ||||
 |
| × | 1 | |||
| × | 1 | ||||
 |
| × | 1 |
Necessary tools and machines
|
Apps and online services
 |
| |||
 |
|
About this project
Smart House LightsIn this project we'll learn how to use the relay with ultrasonic sensor and Arduino to make our home lights ( or any device ) smarter.
Our target is to make an energy saving light bulb turn off when you go out of the room and turn on when you come back in. It's so easy to implement and takes a small amount of time.
This tutorial assumes basic Arduino knowledge. If you've used Arduino before you're cool to go.
Caution : this project uses AC high voltage power supply, if you're less than 16 or don't have enough experience you must have an experienced person to help you with the AC part.
However, you can complete the project using DC devices which run on low voltage and will prove the same concept. I'll state the warning clearly when it starts to be dangerous.
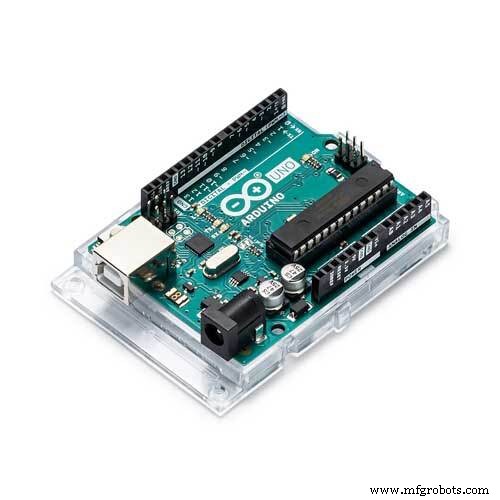
Components1) Arduino Uno
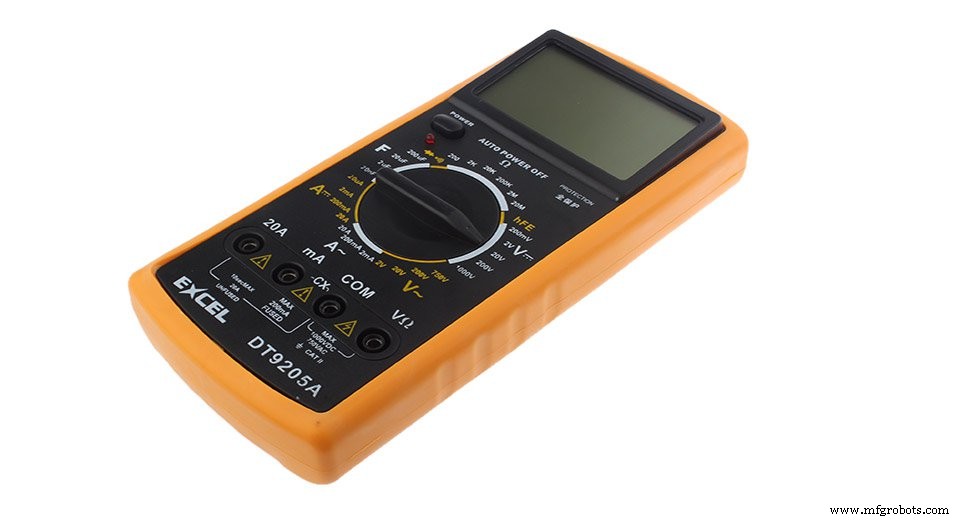
2) Multimeter
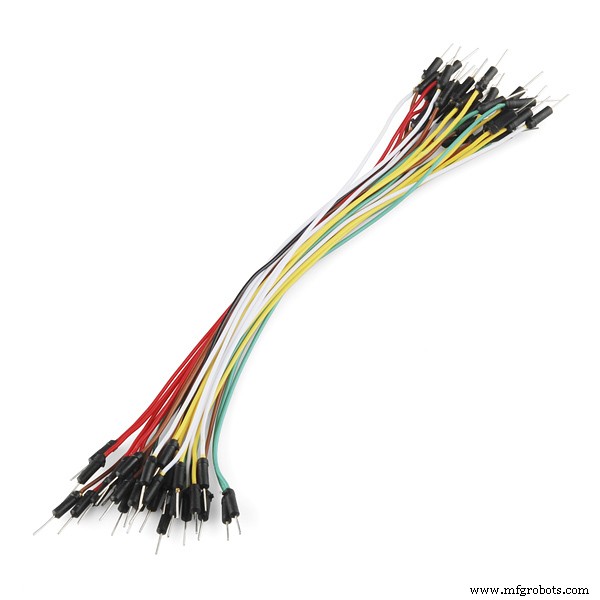
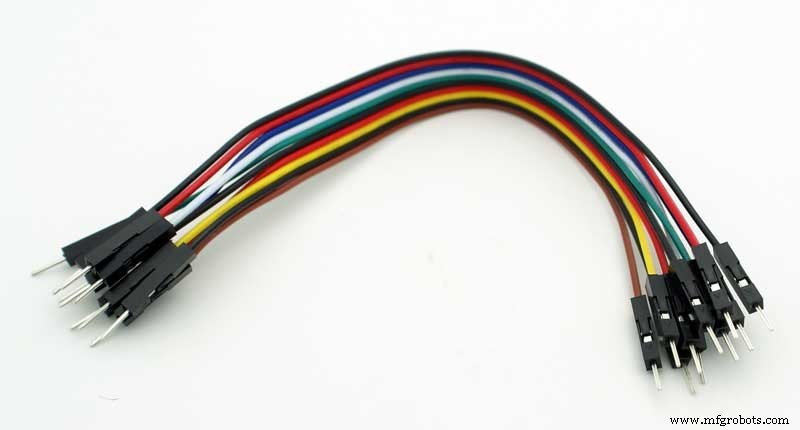
3) Jumper Wires
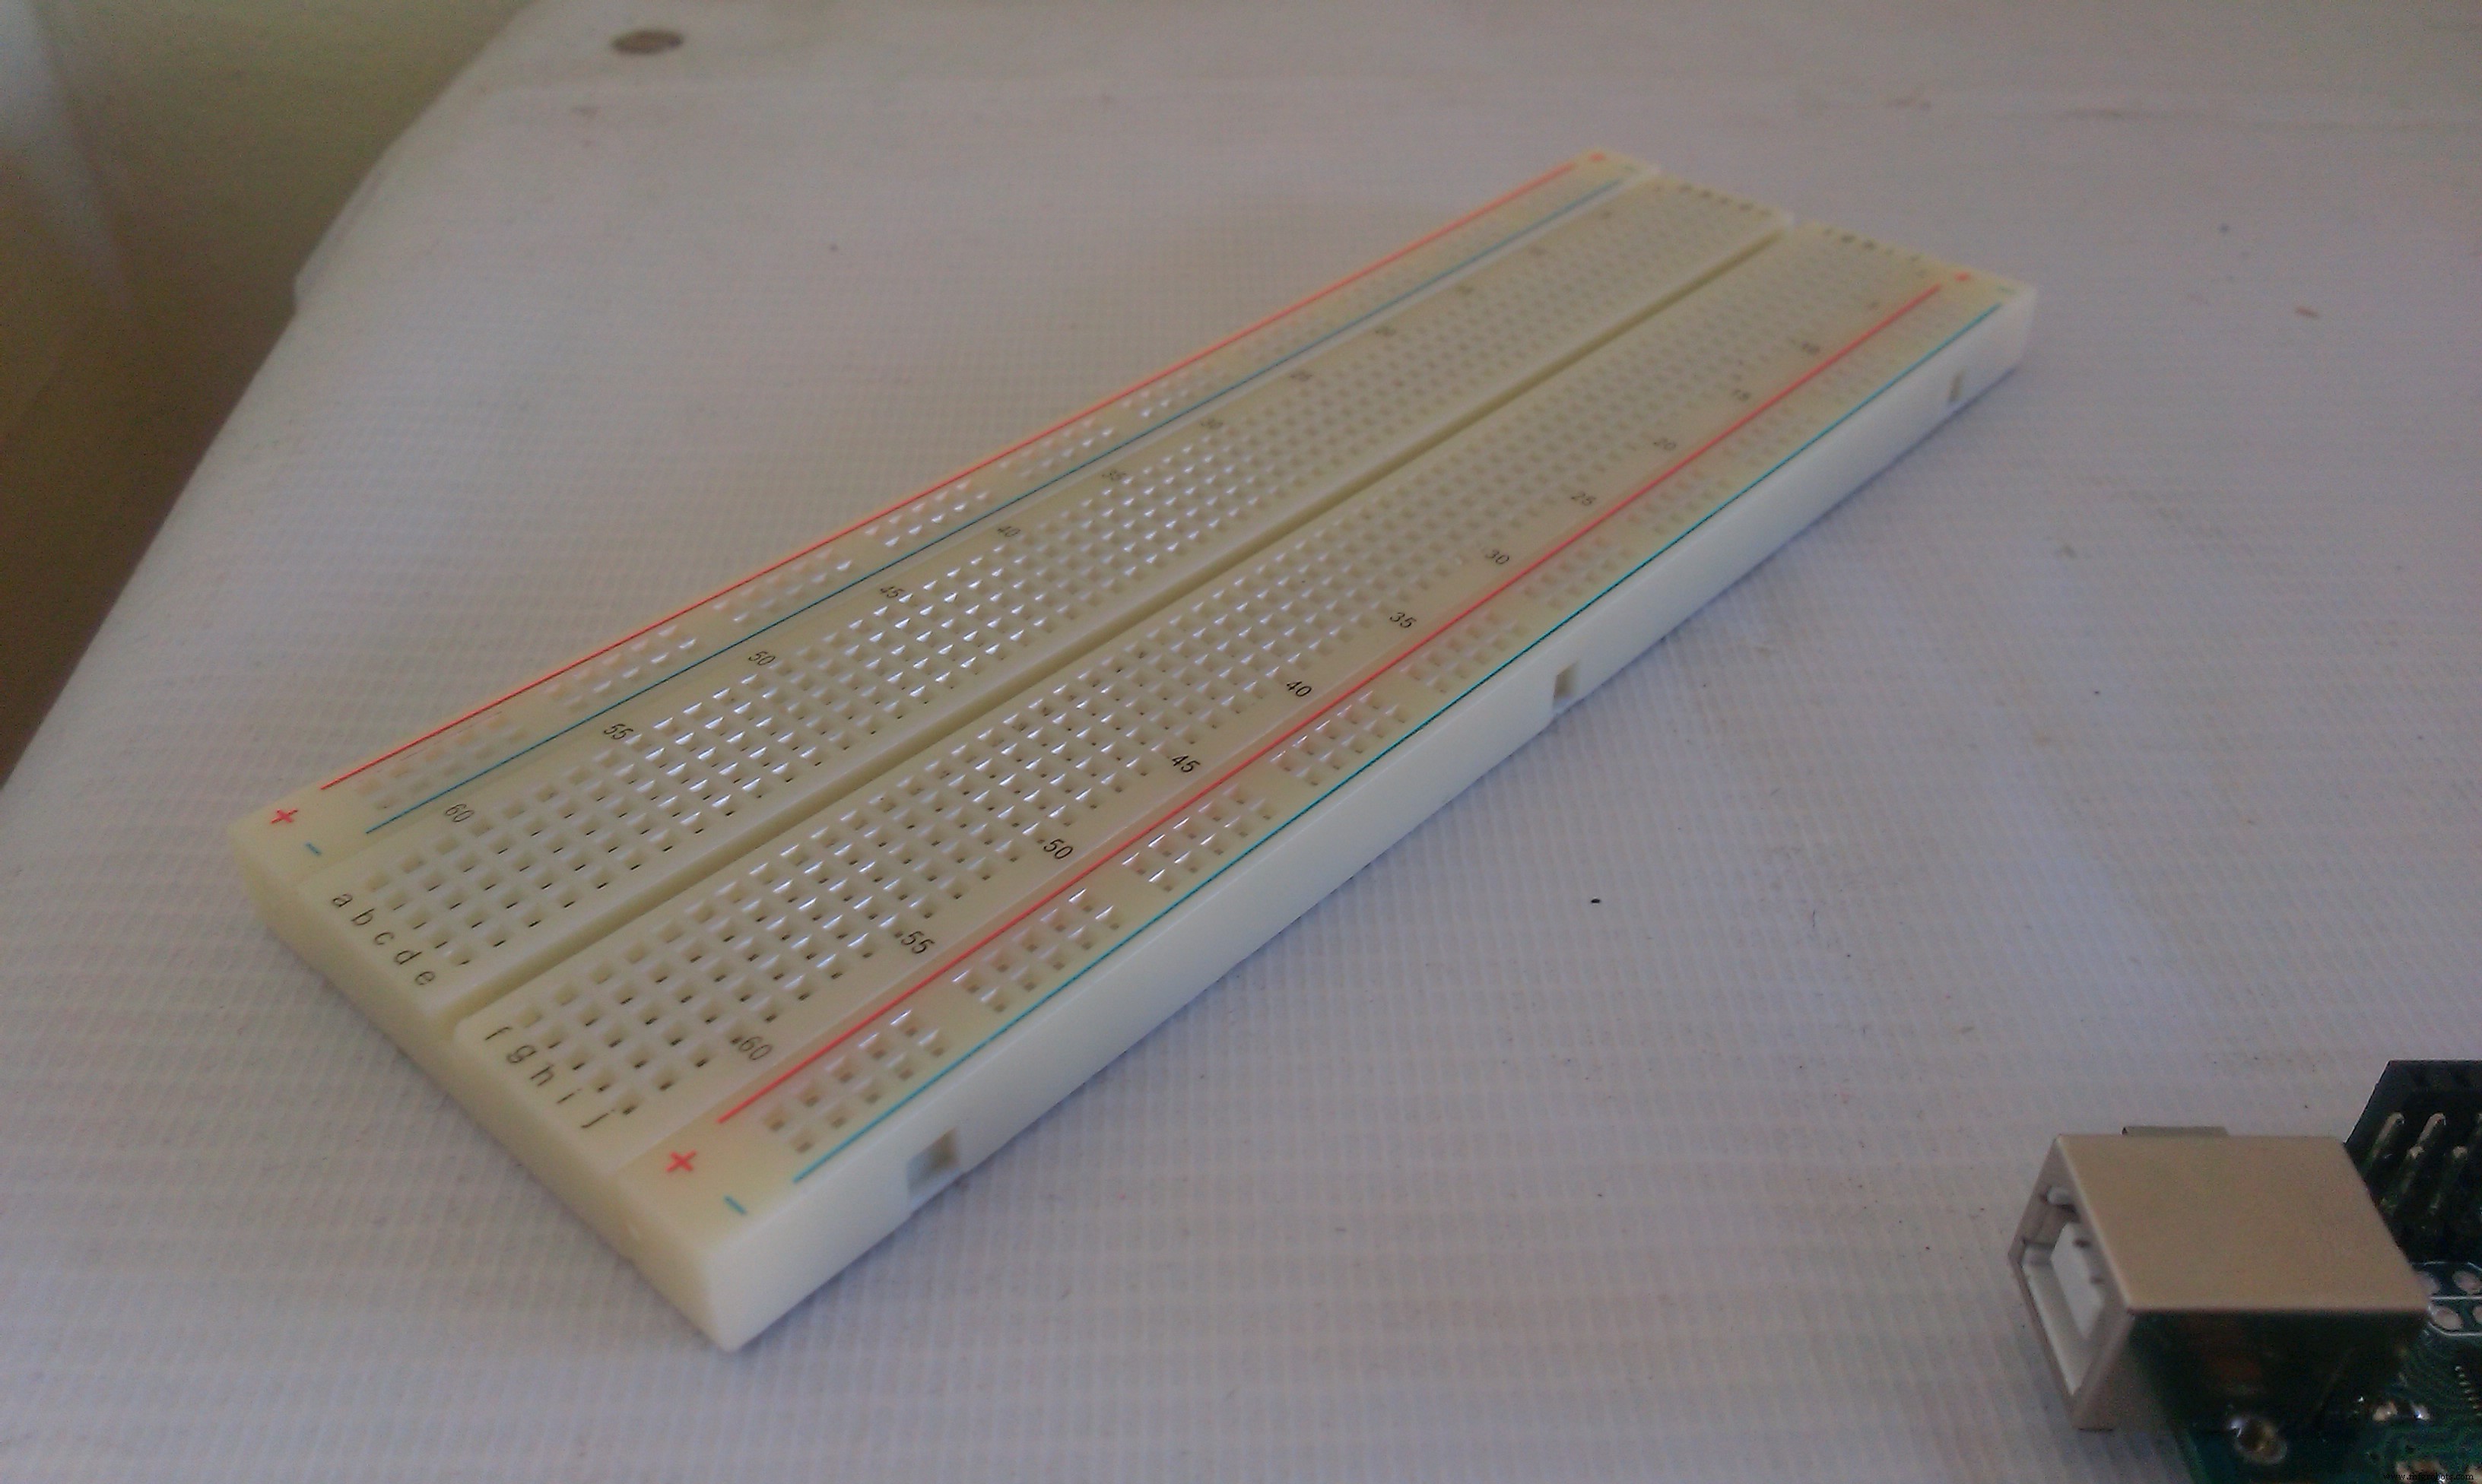
4) Breadboard
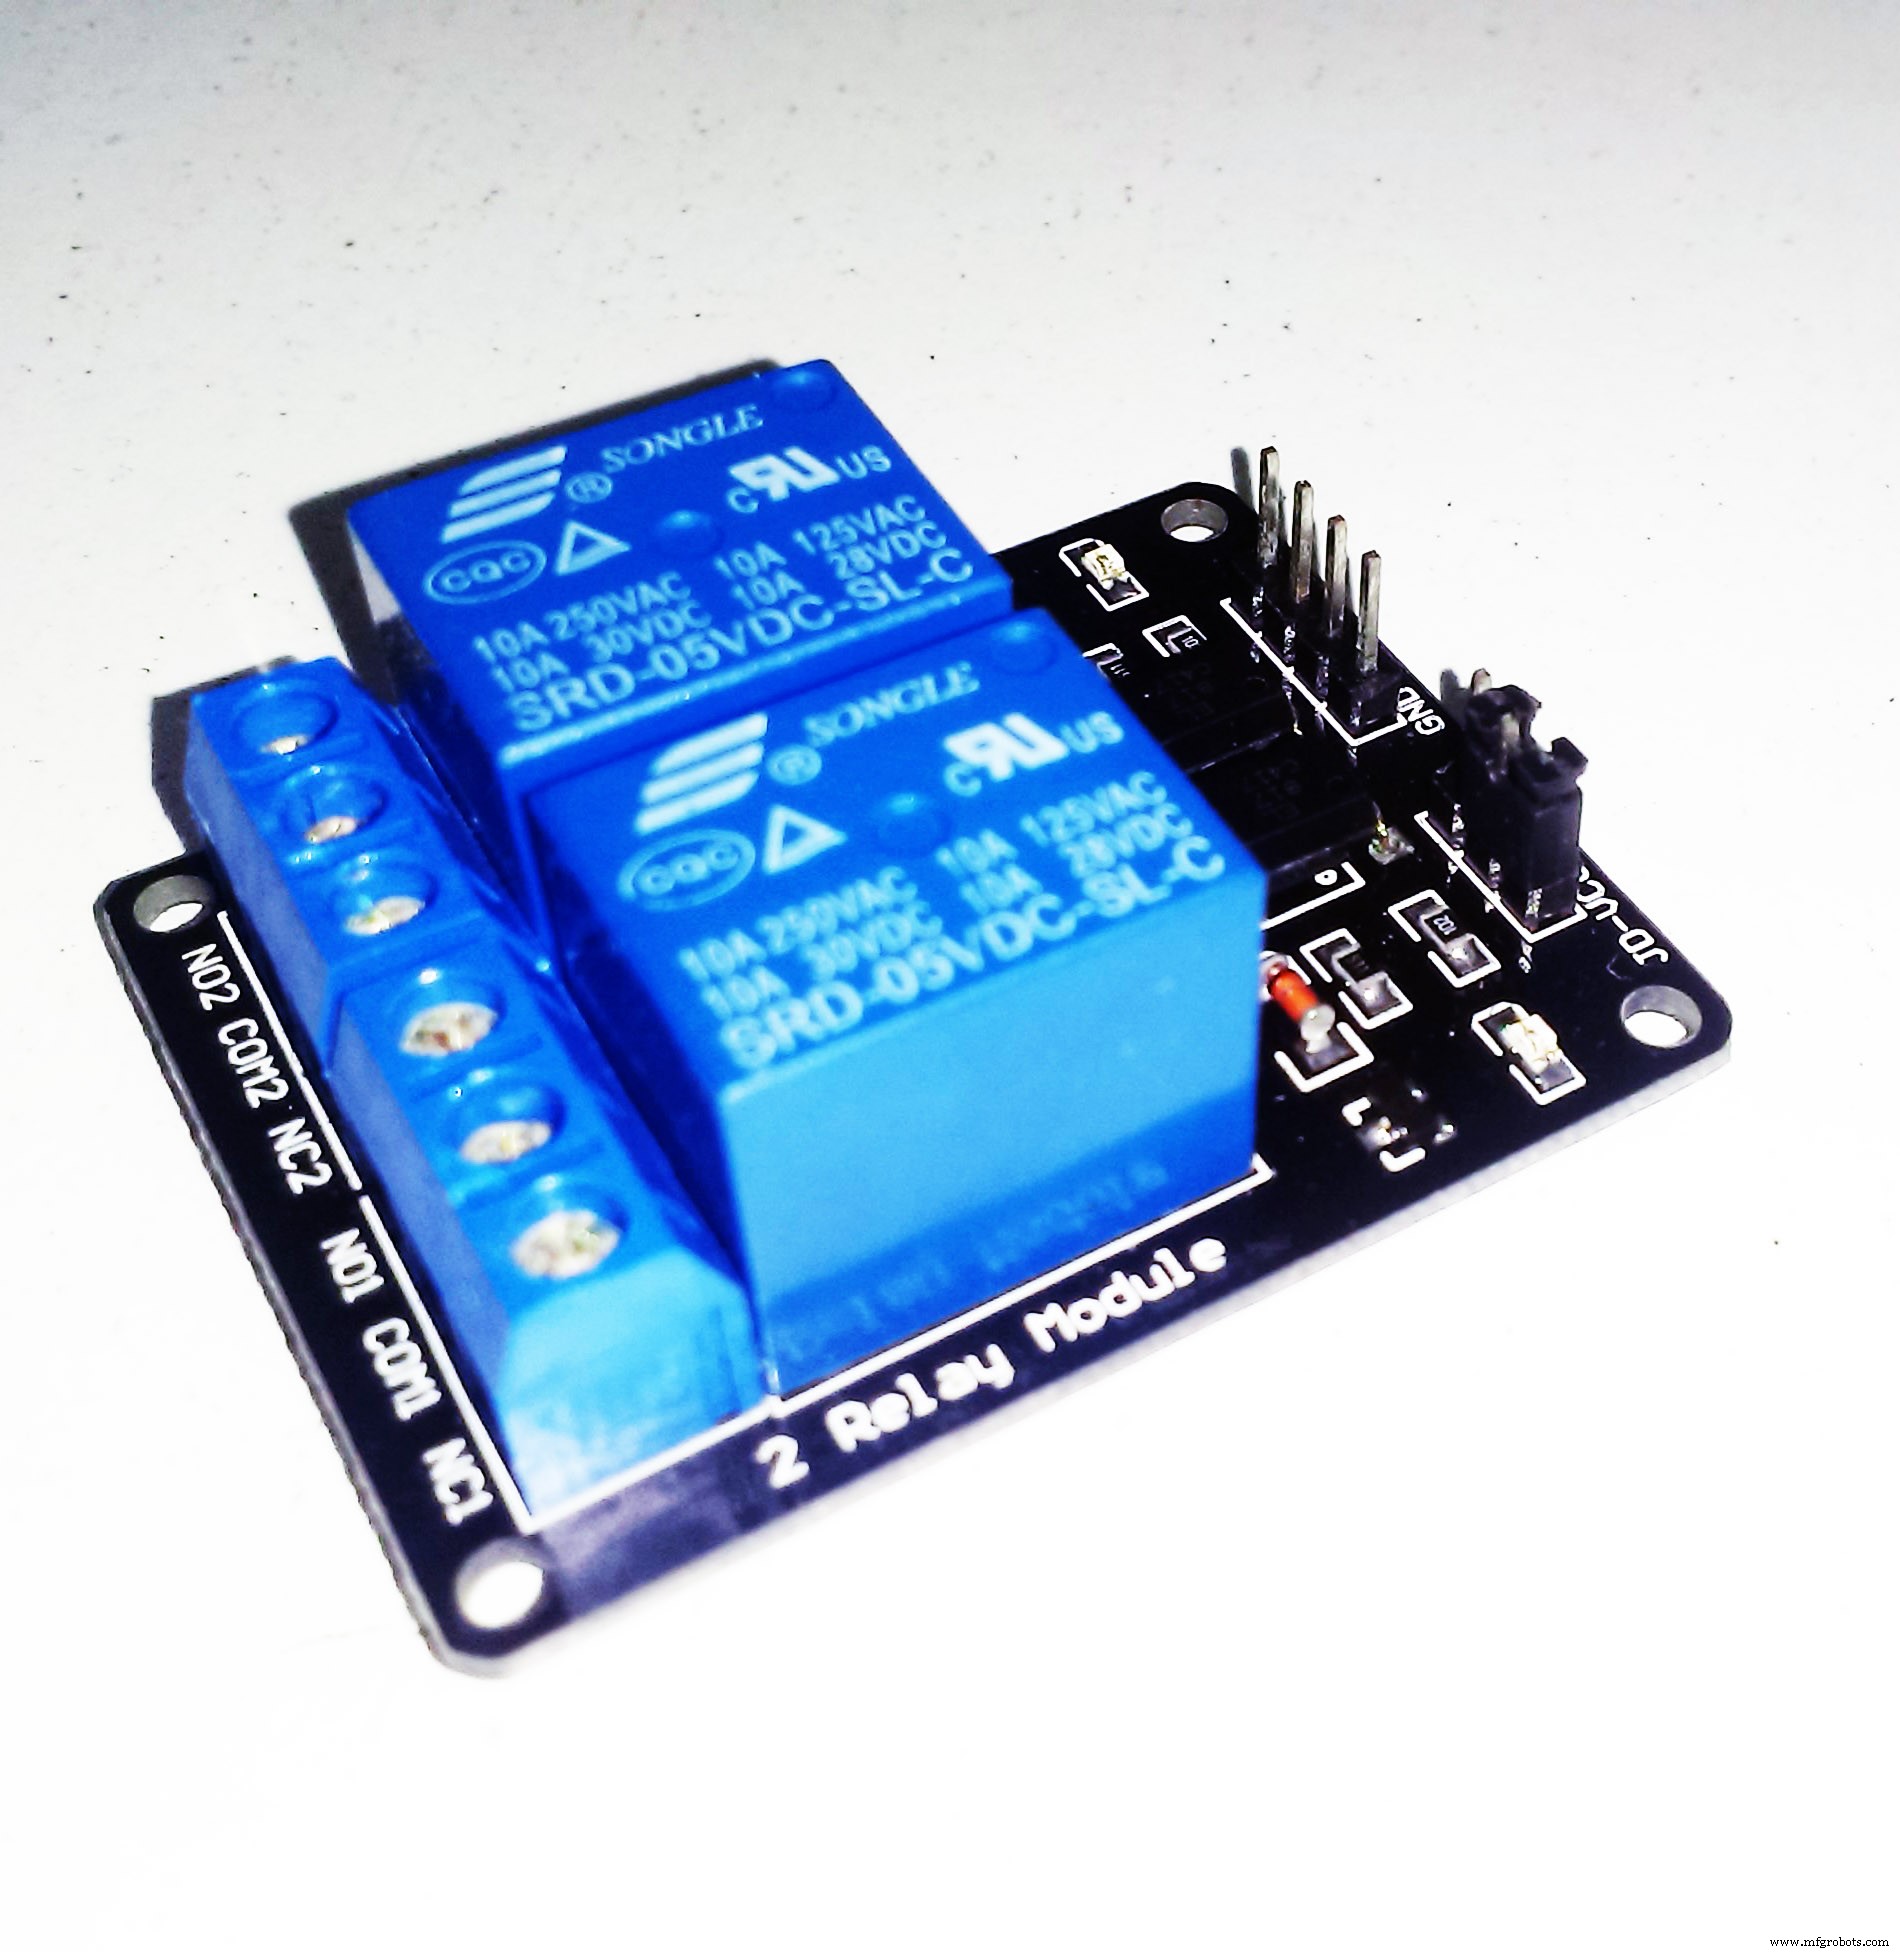
5) Realy Module
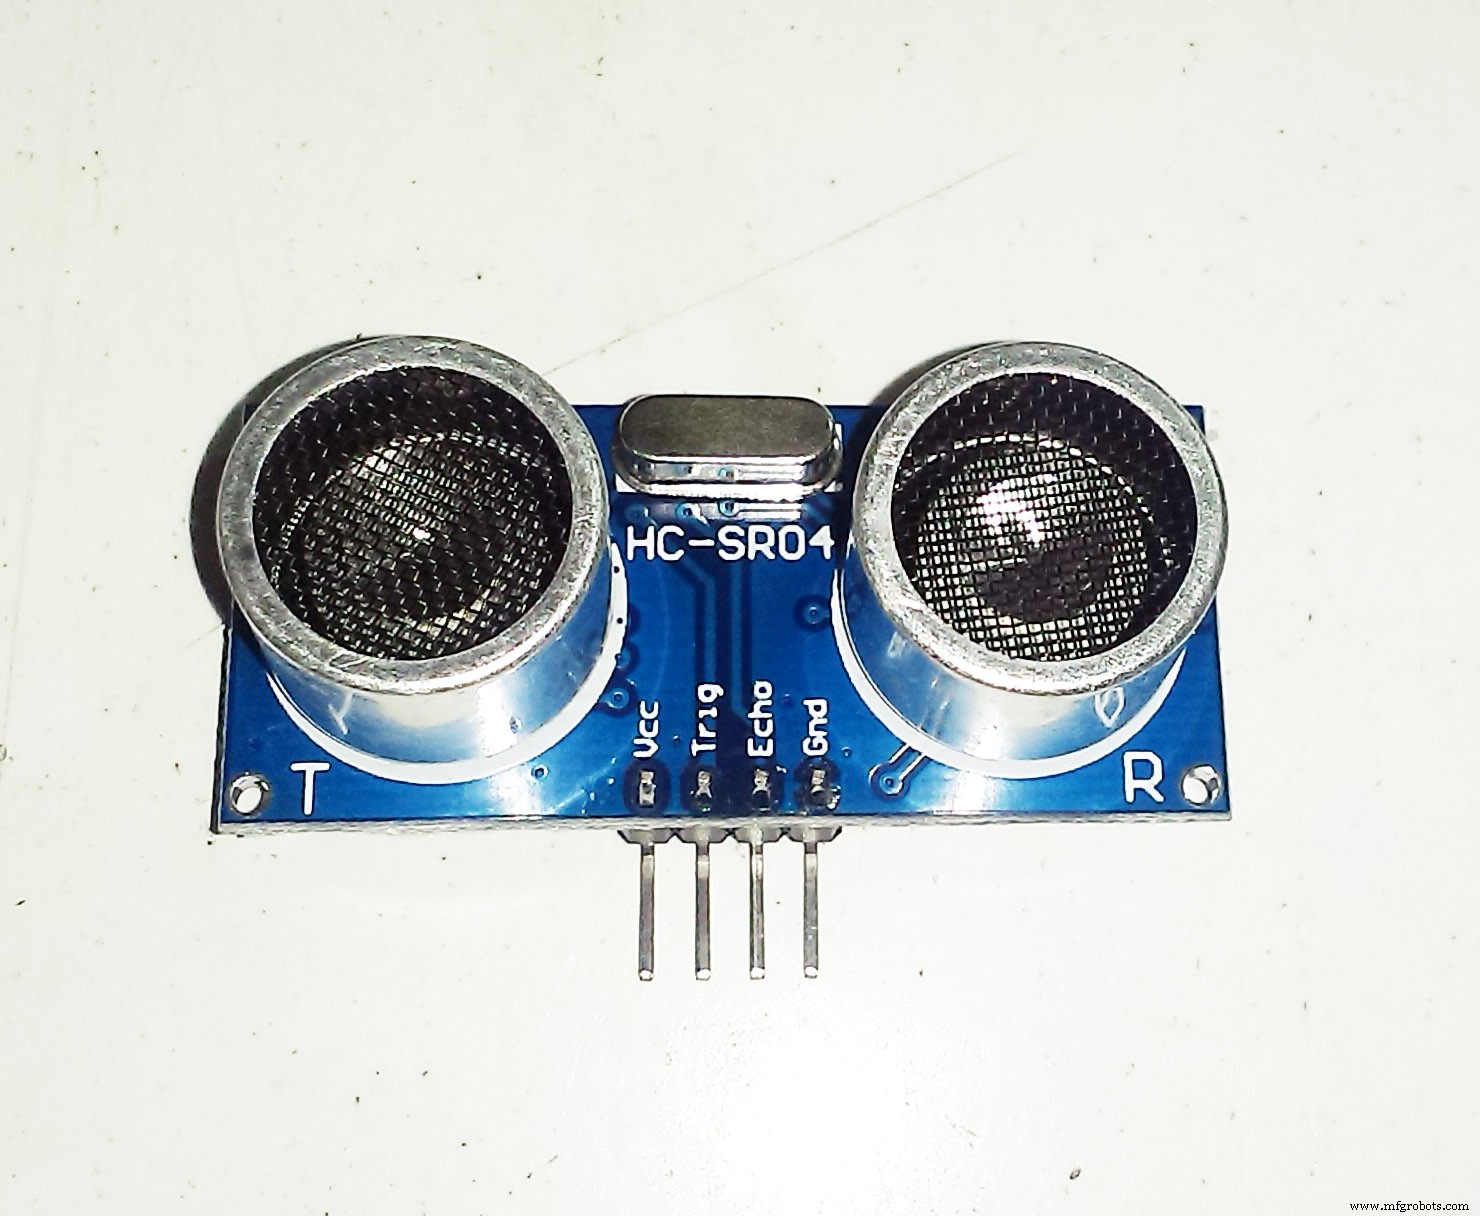
6) Ultrasonic sensor ( HC-SR04 ) and Ultrasonic library for the Arduino you can find it here it's called ( New Ping ) library, if it's your first time to install an external library to the Arduino check this link.
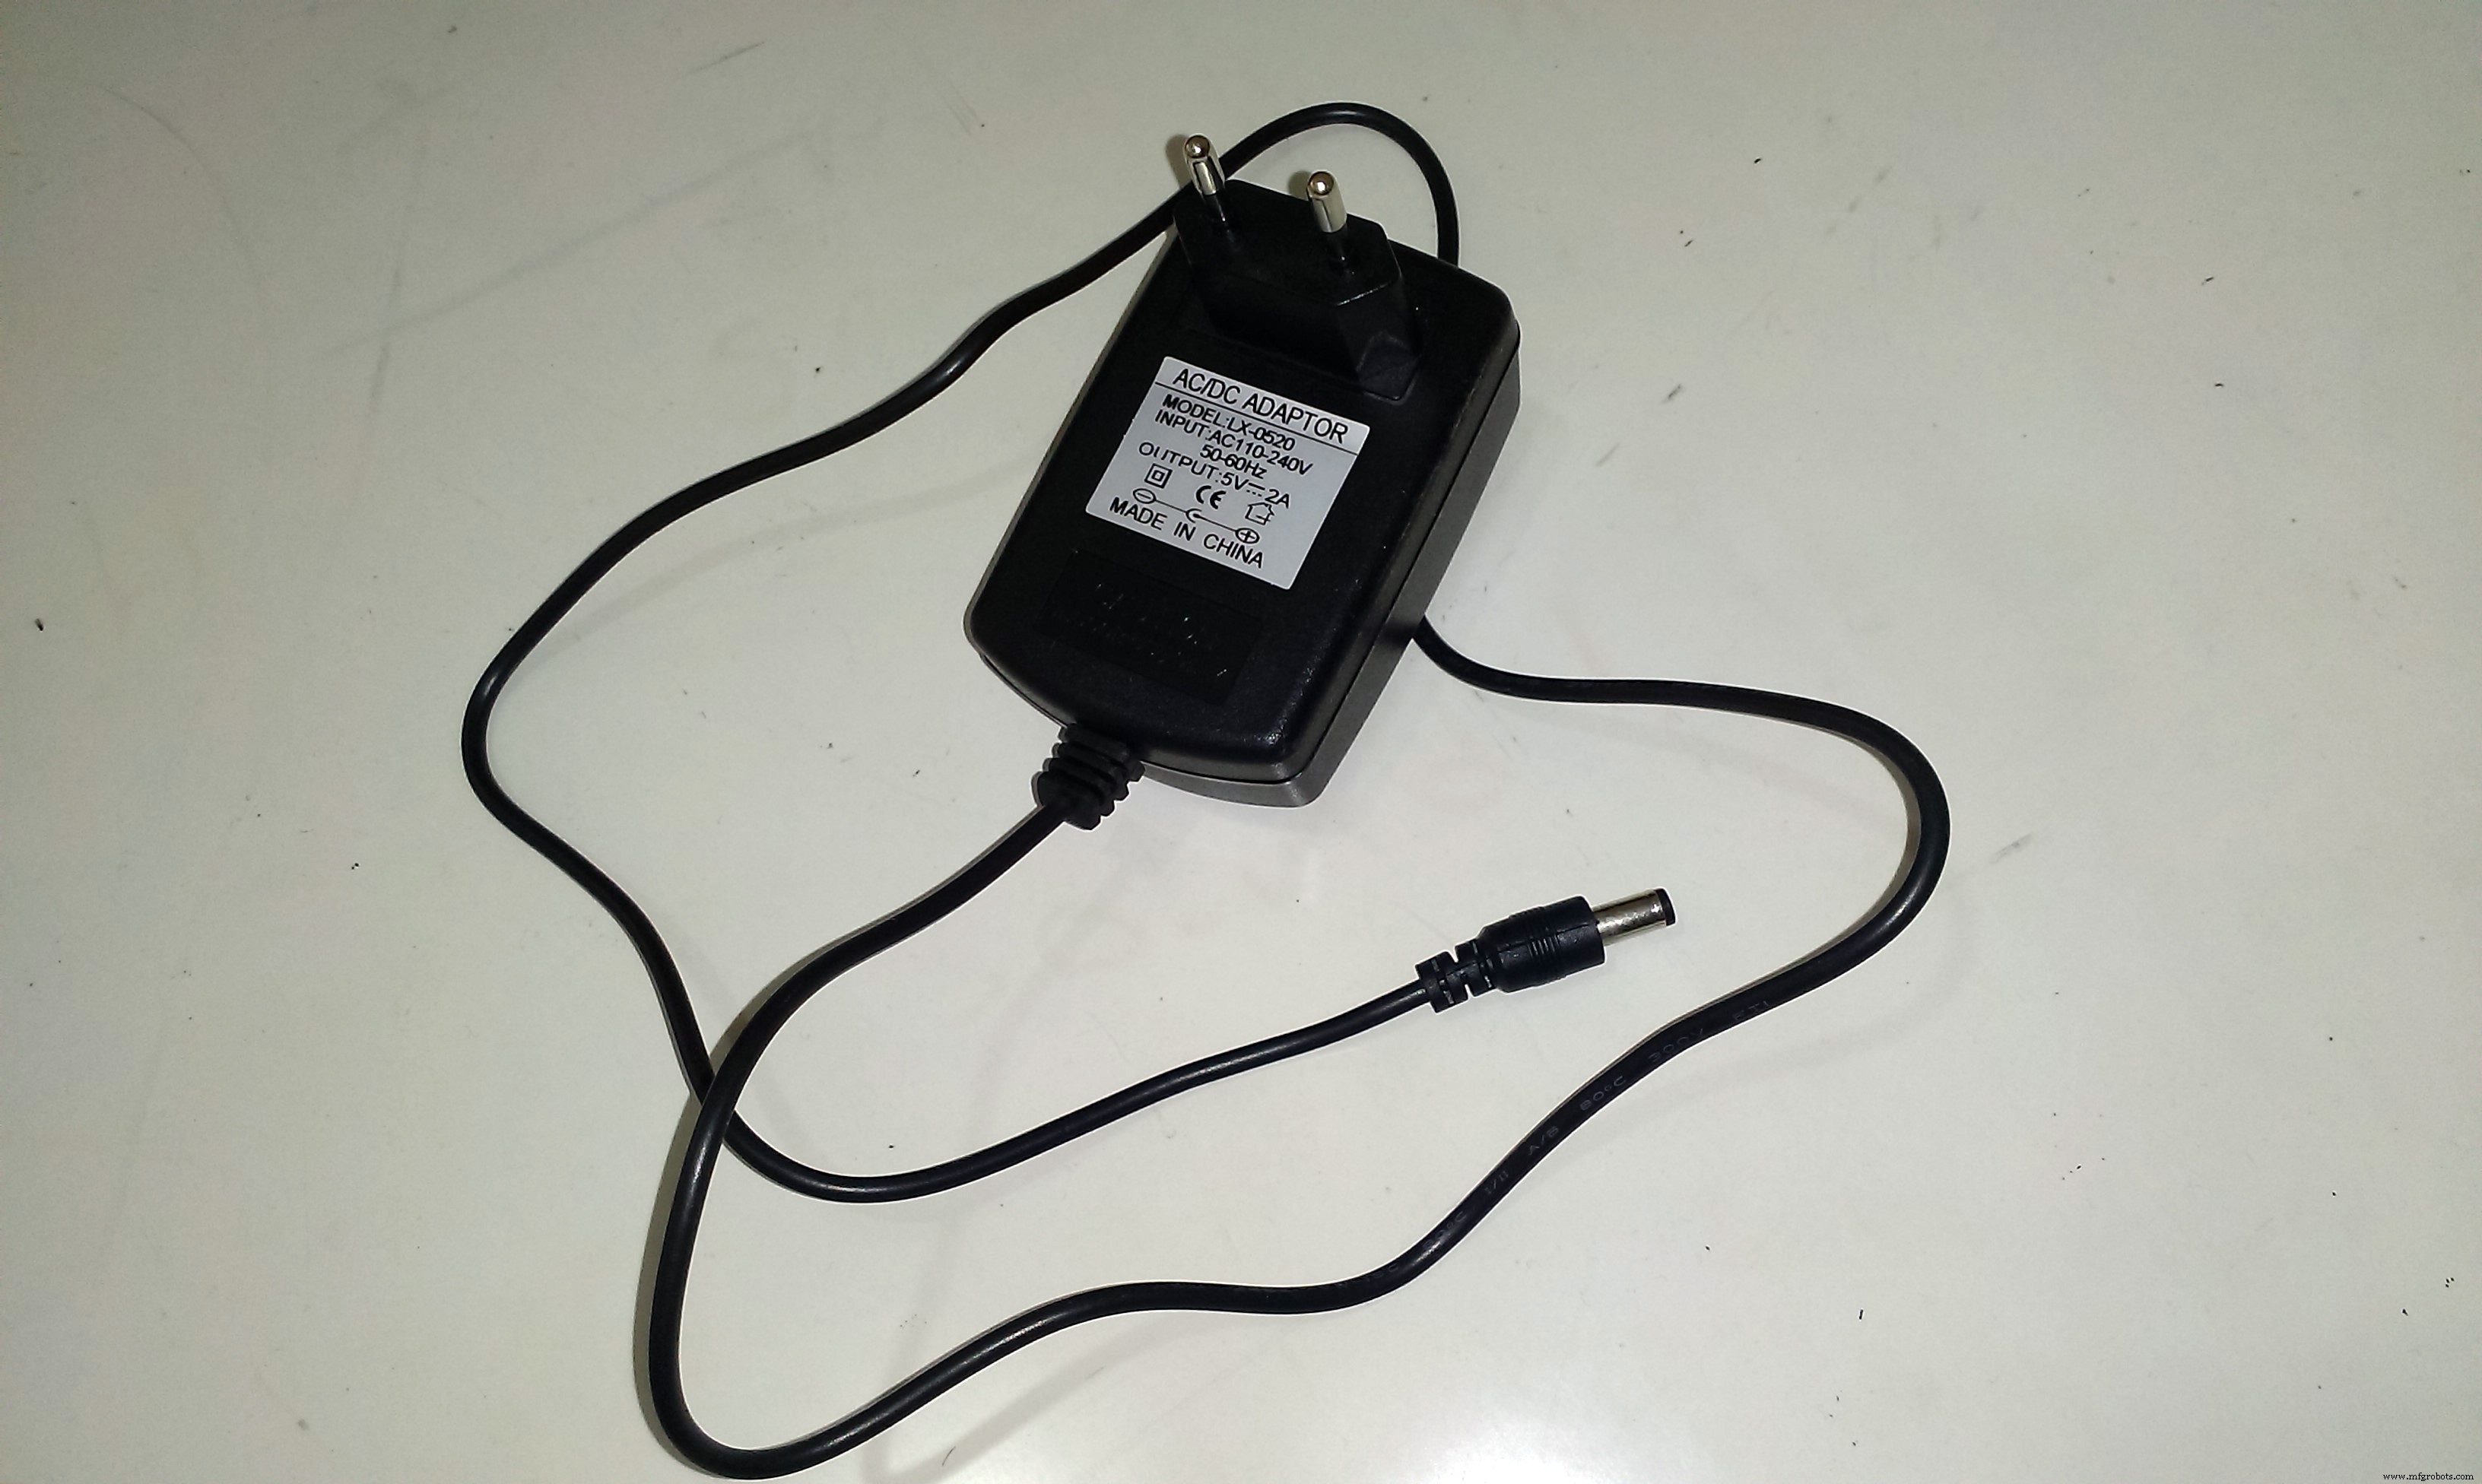
7) DC power source ( optional )
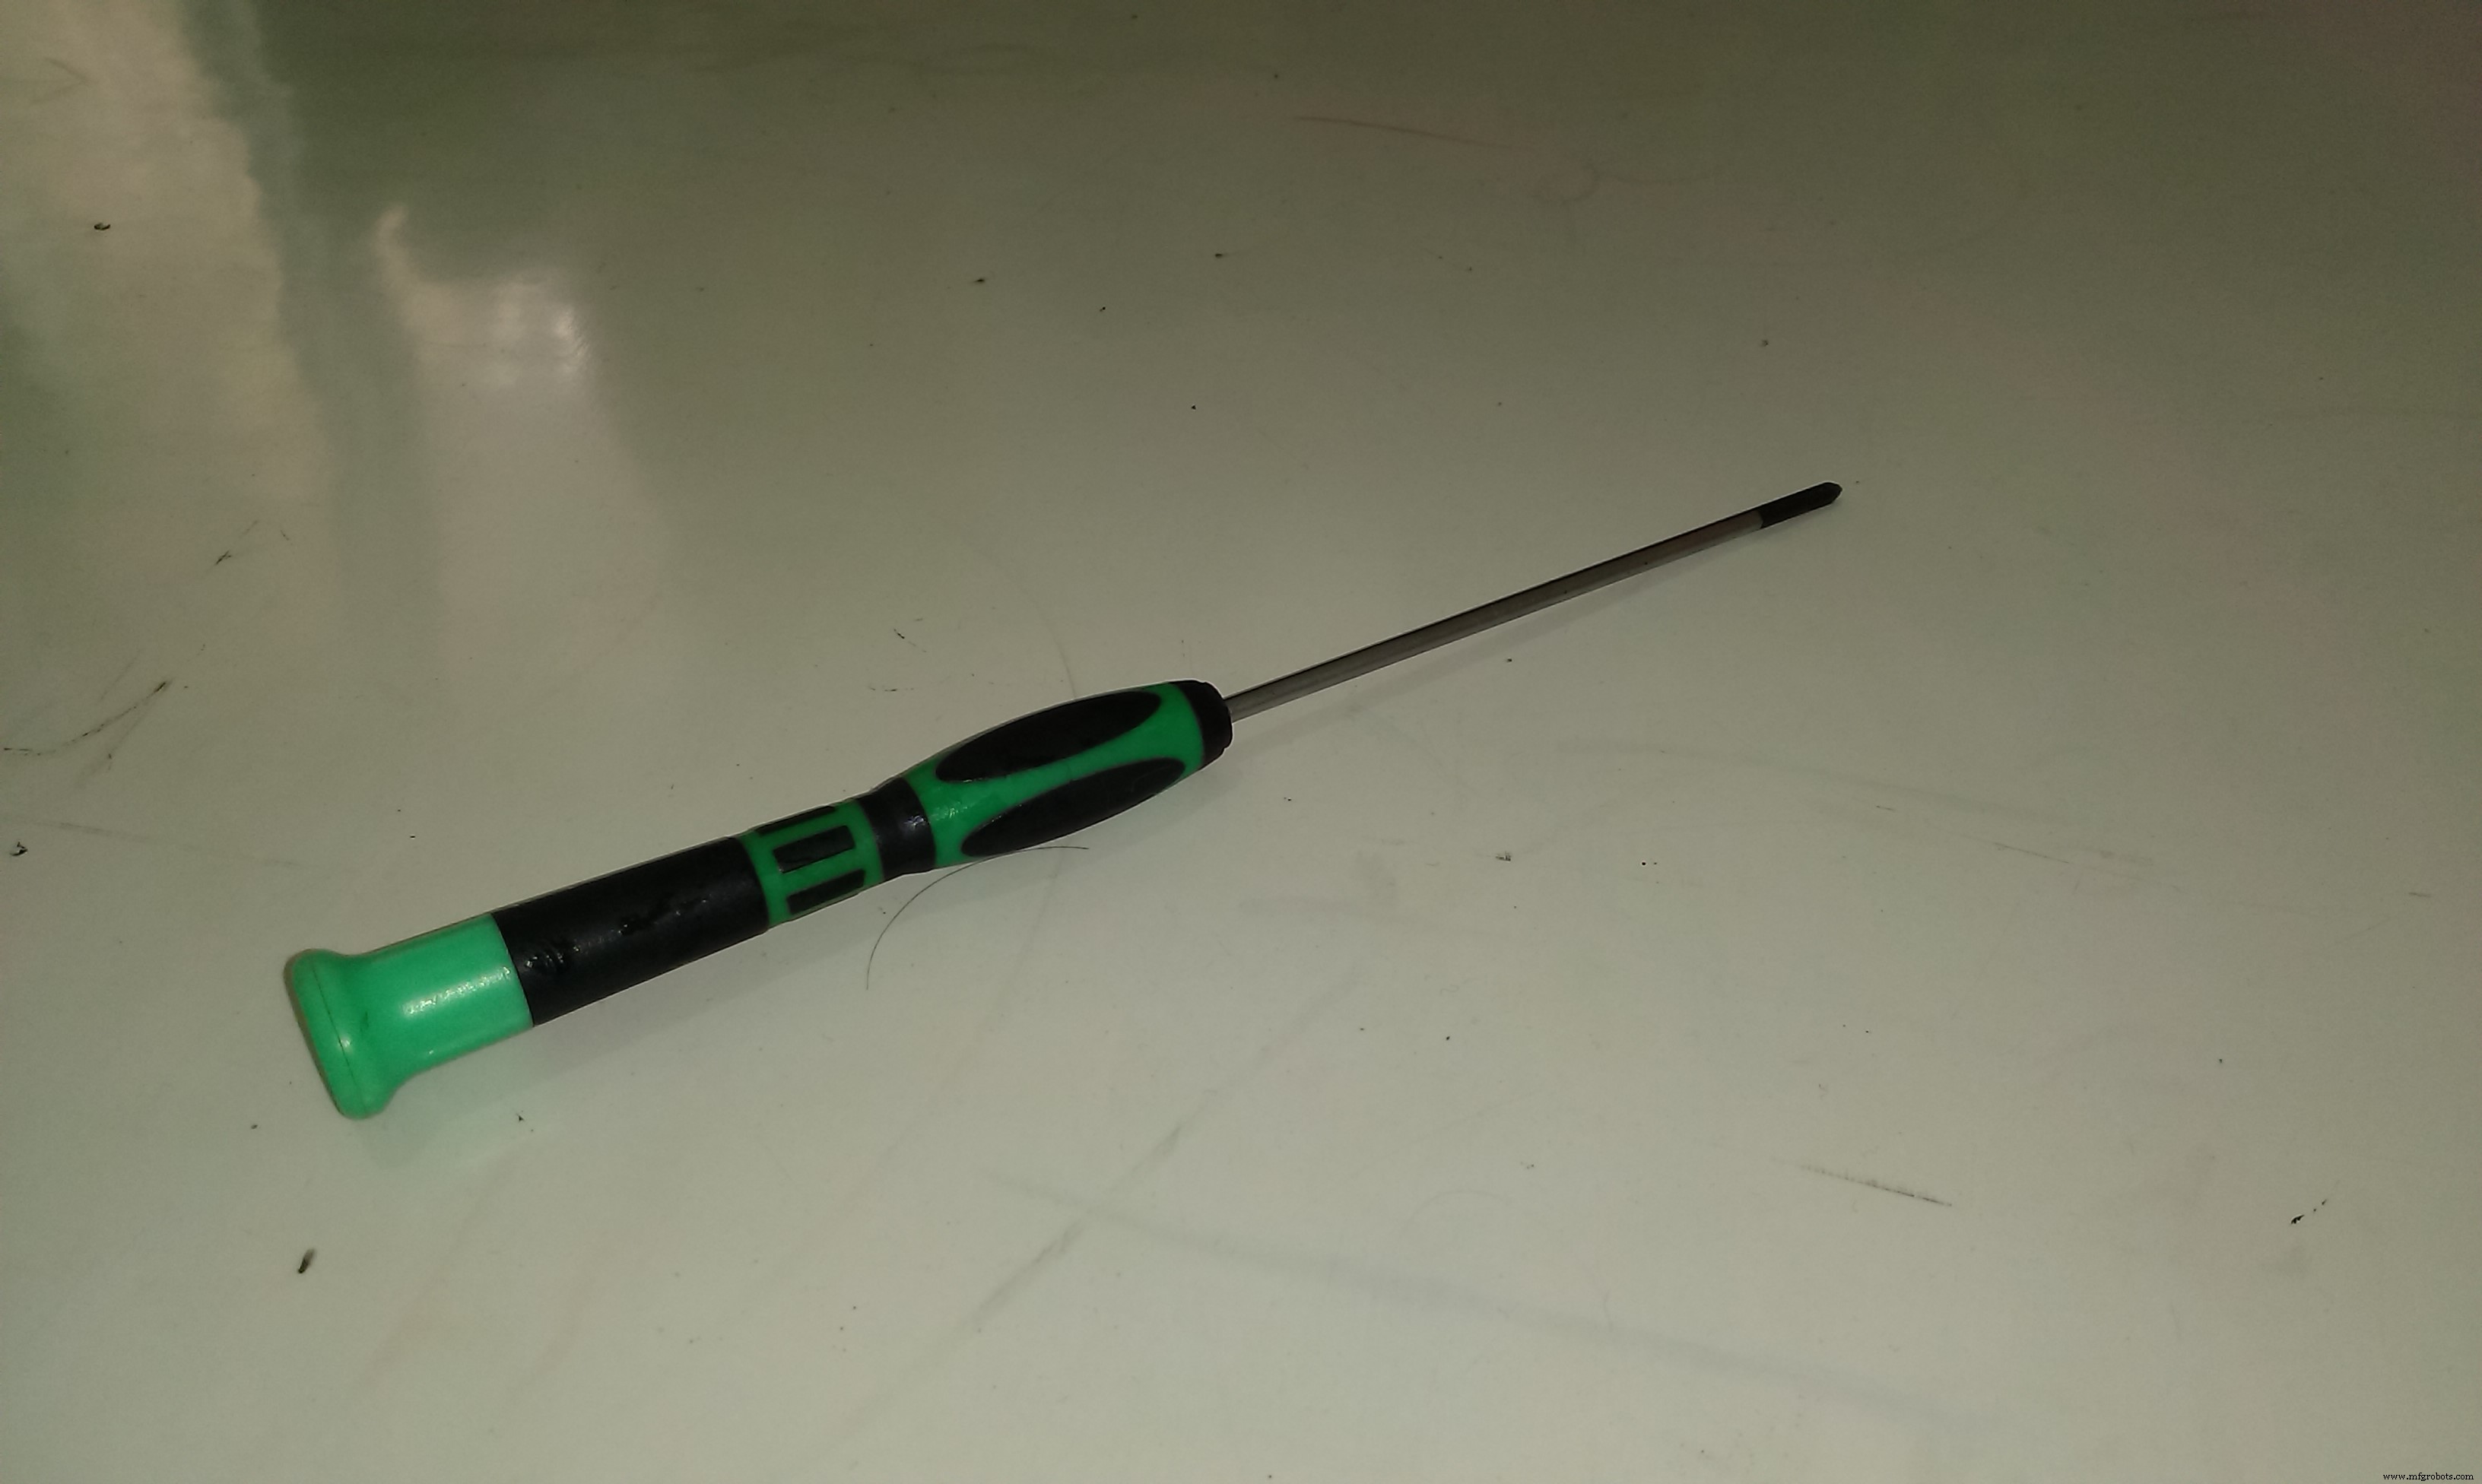
8) Screwdriver ( + type for the relay module )
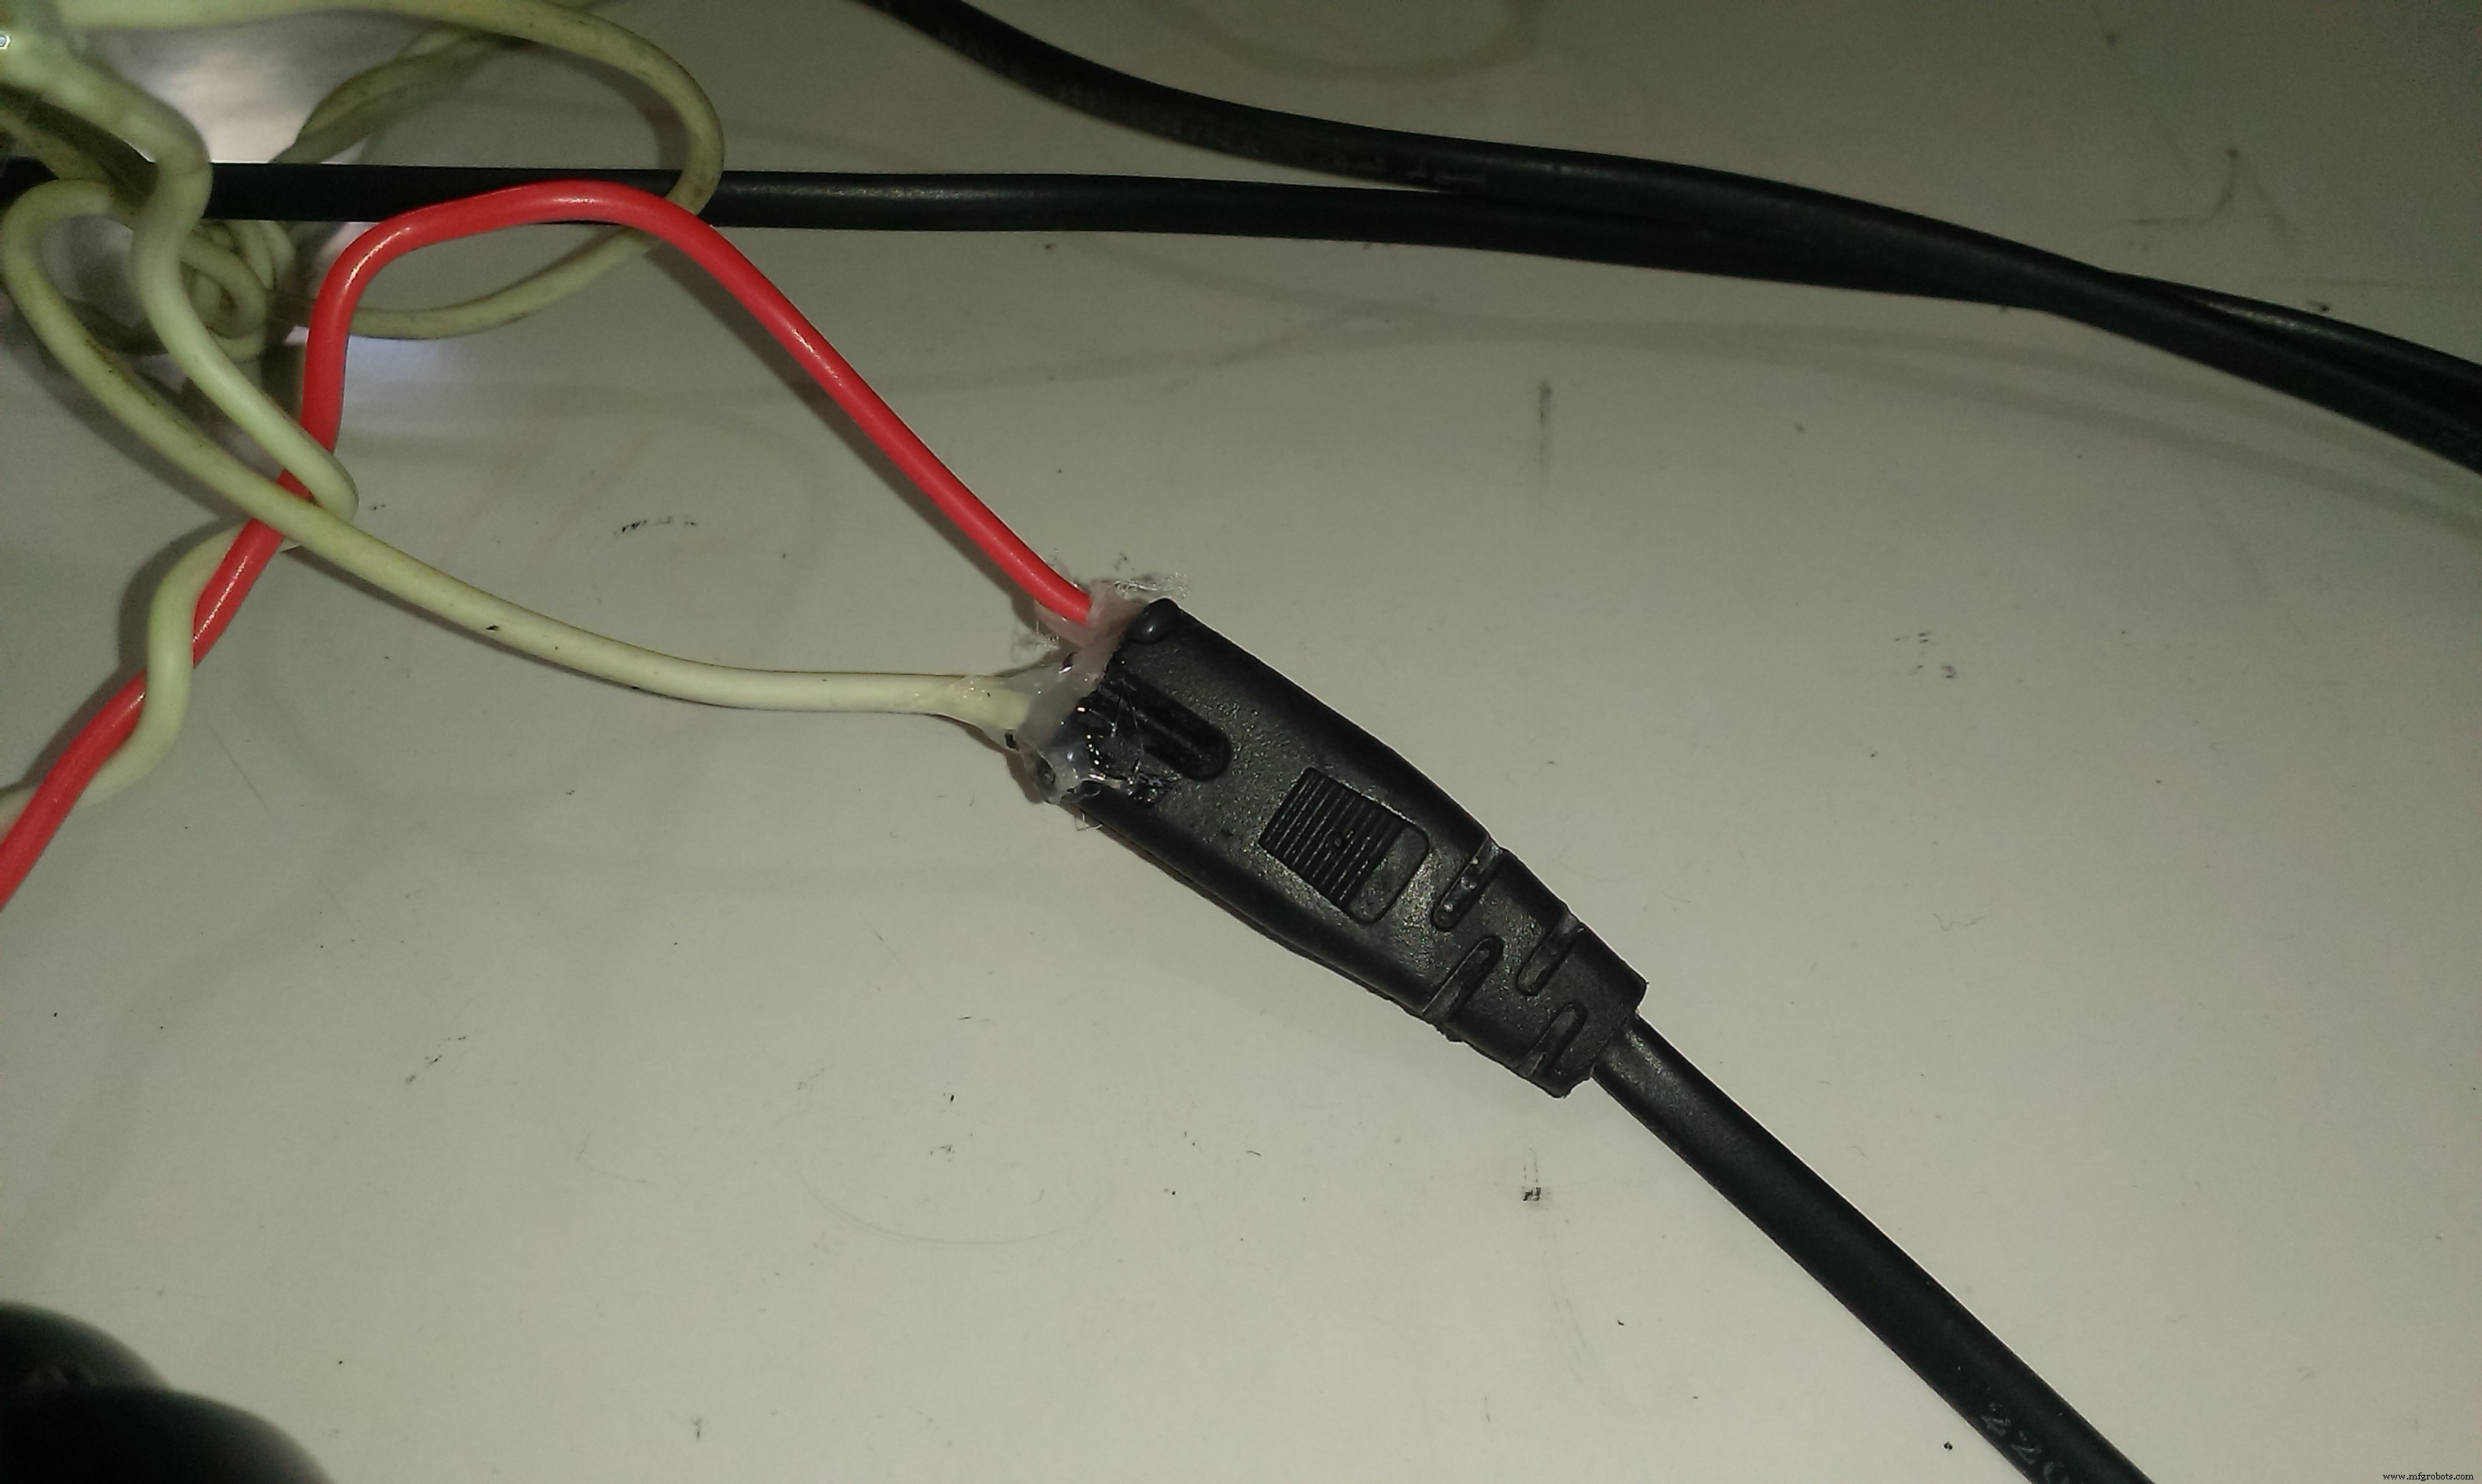
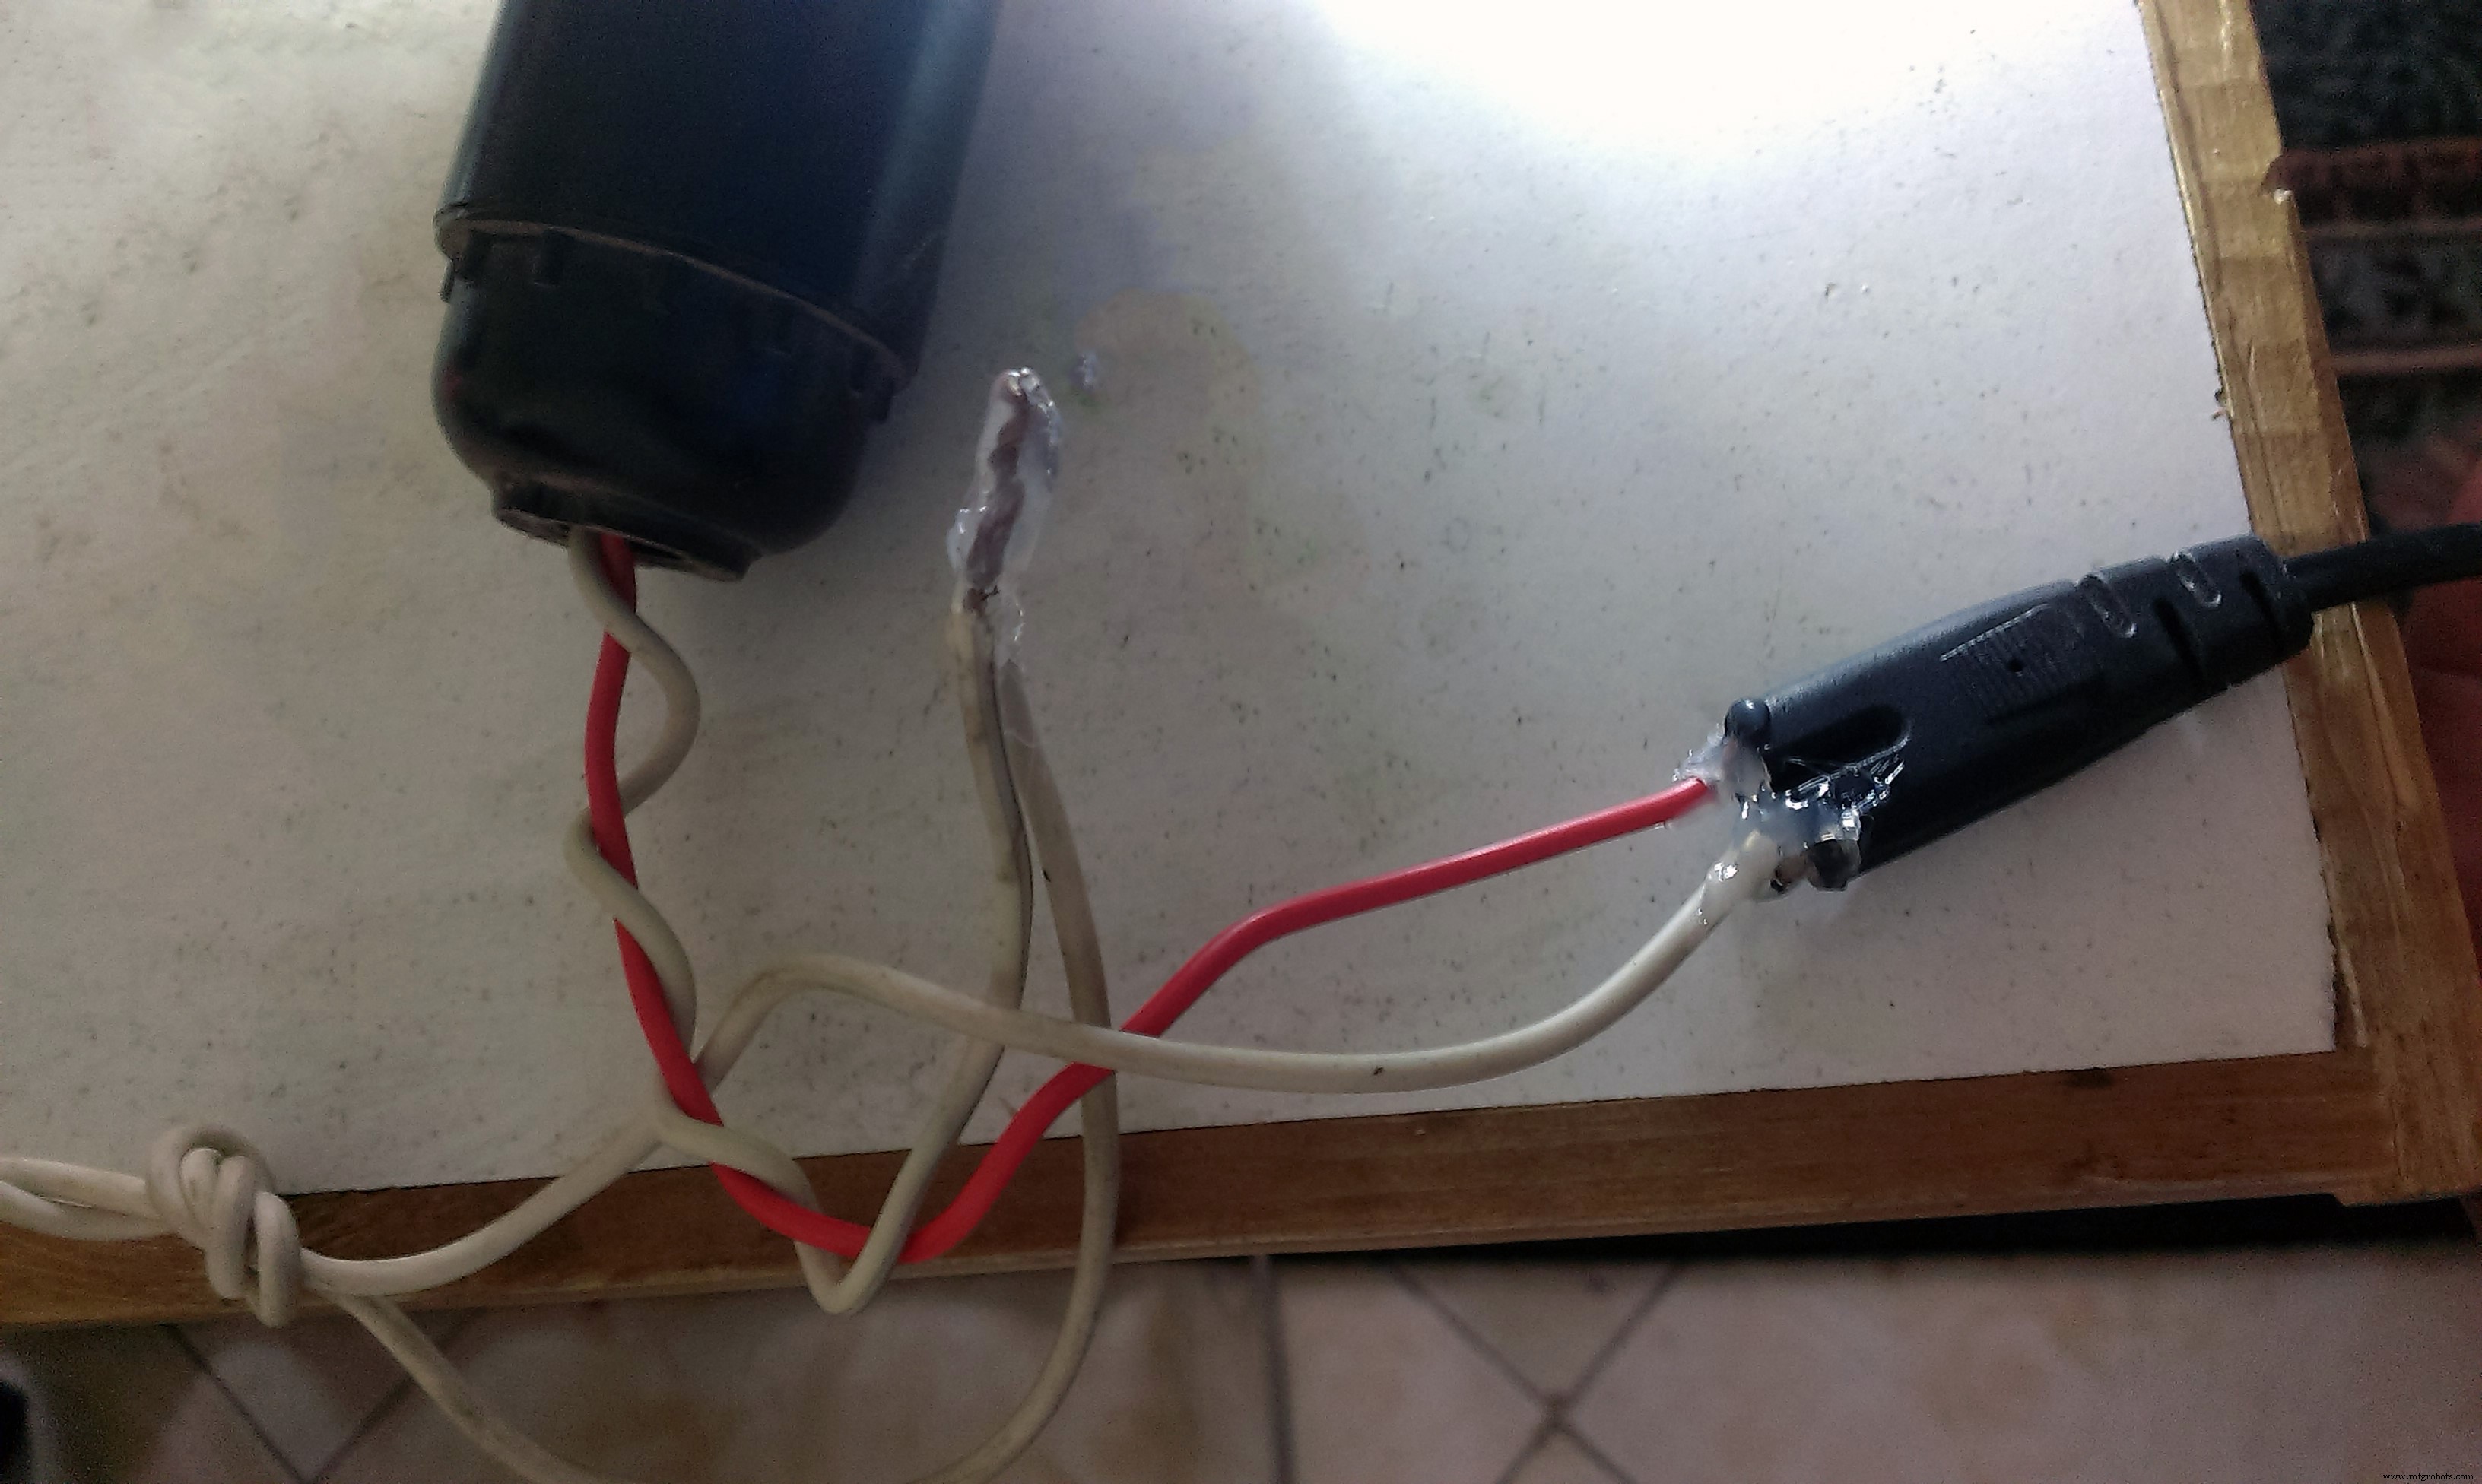
9) Energy saving light bulb with its mounting and wall plug attached ( I used an old radio power cable to get the plug ).
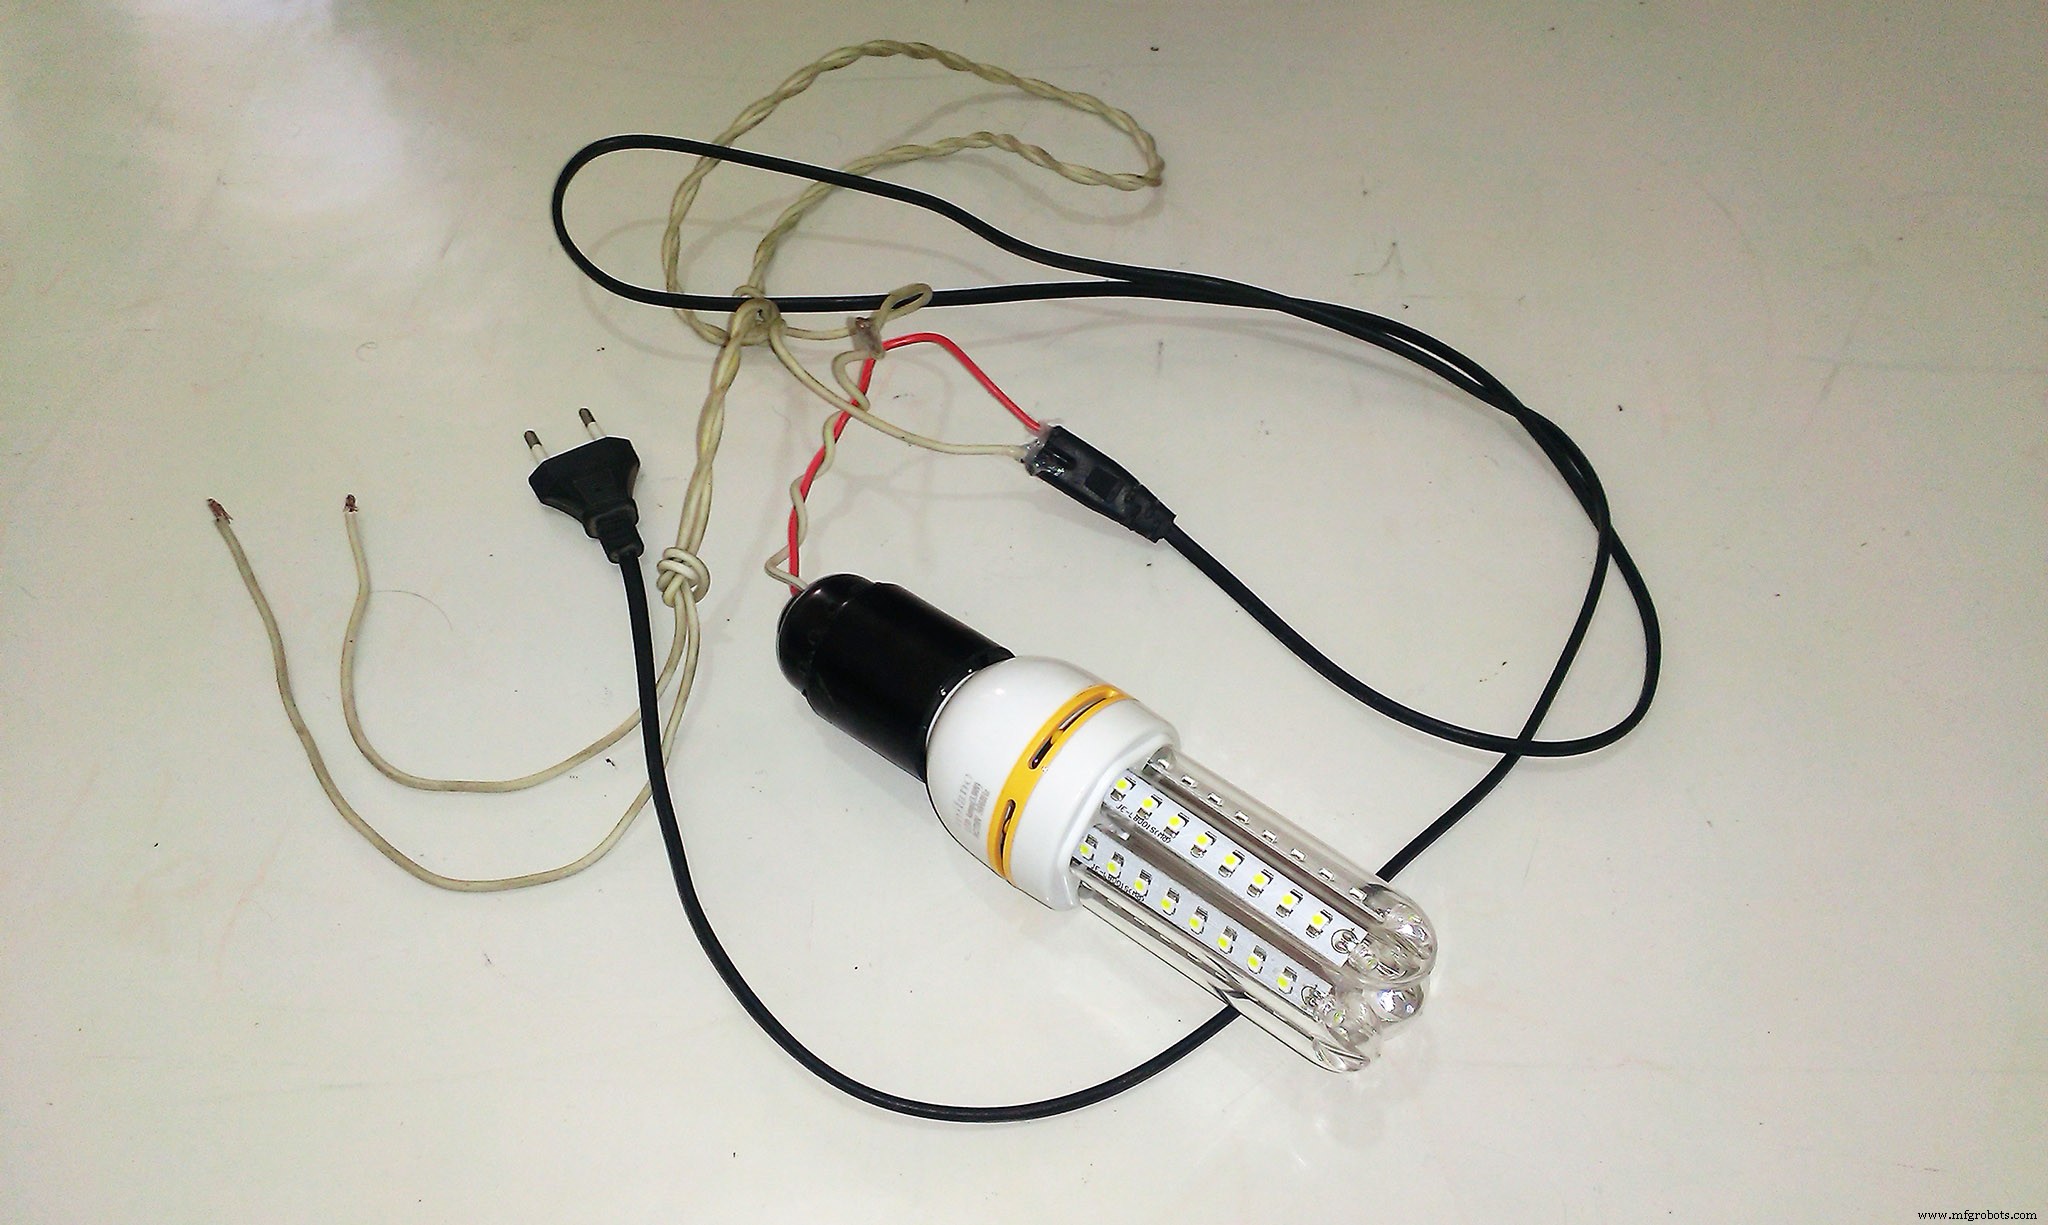
I also used a glue gun to attach the ends of wires, you should use an insulator tape.
10) Visual Studio for writing Arduino code, wanna know how ? check this link, it's totally free or you can use Arduino IDE.
Let's get started.

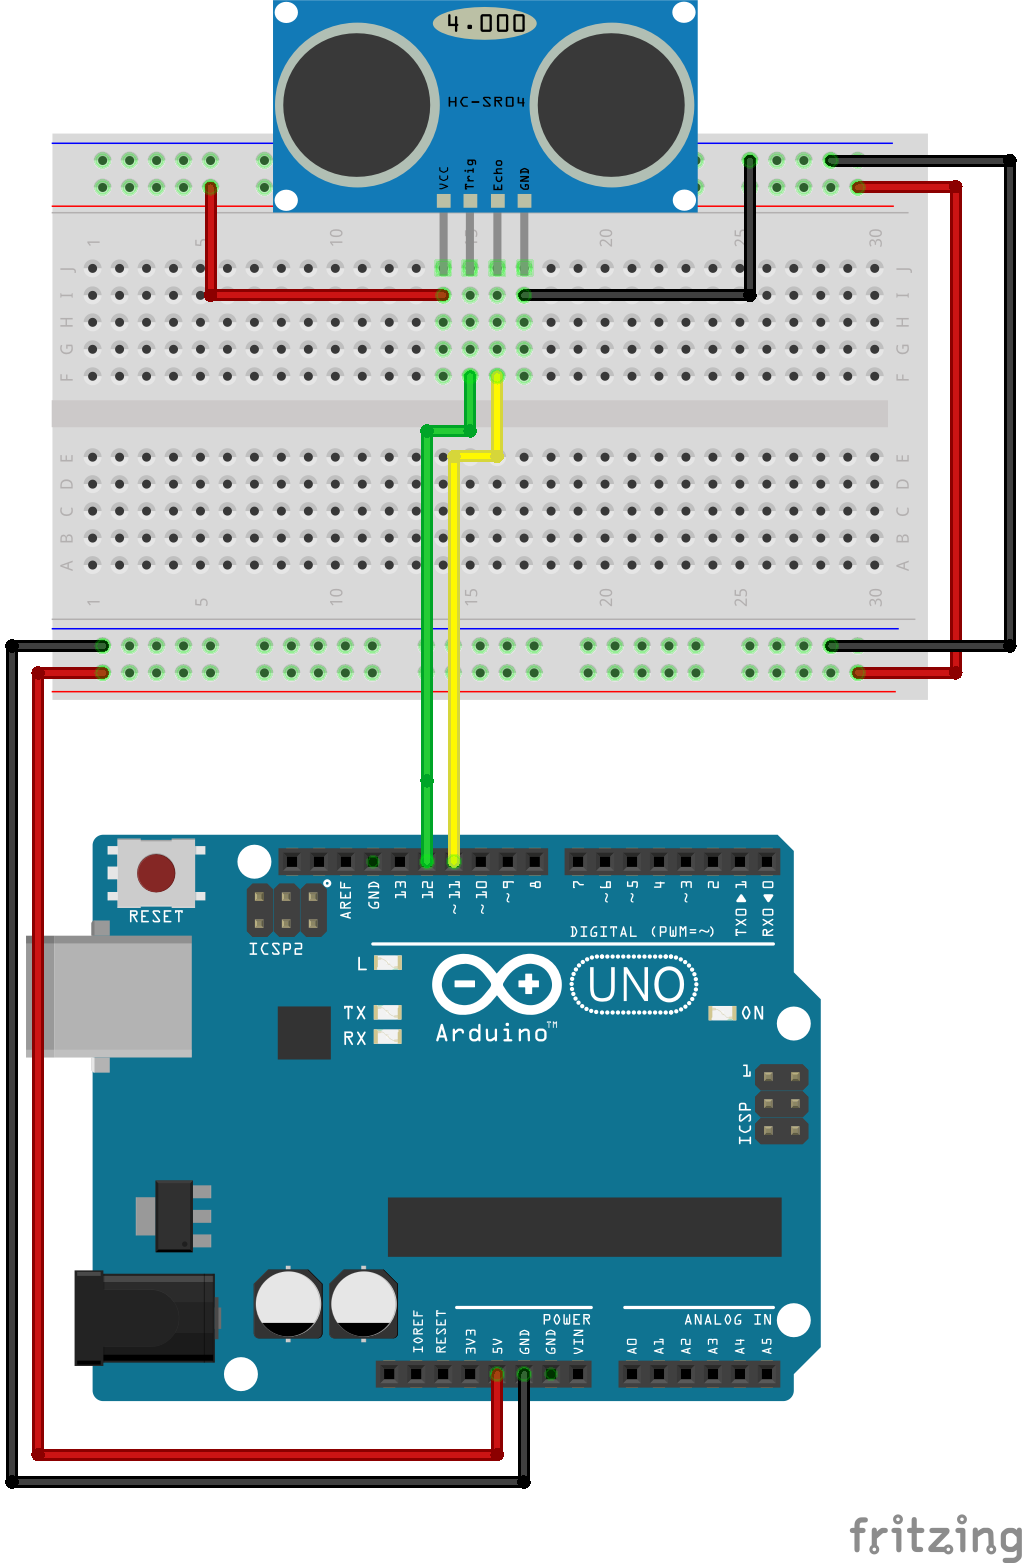
Firstly, we'll know how to attach the ultrasonic sensor to the Arduino which is illustrated in the image below, We'll later describe how to test the ultrasonic sensor.
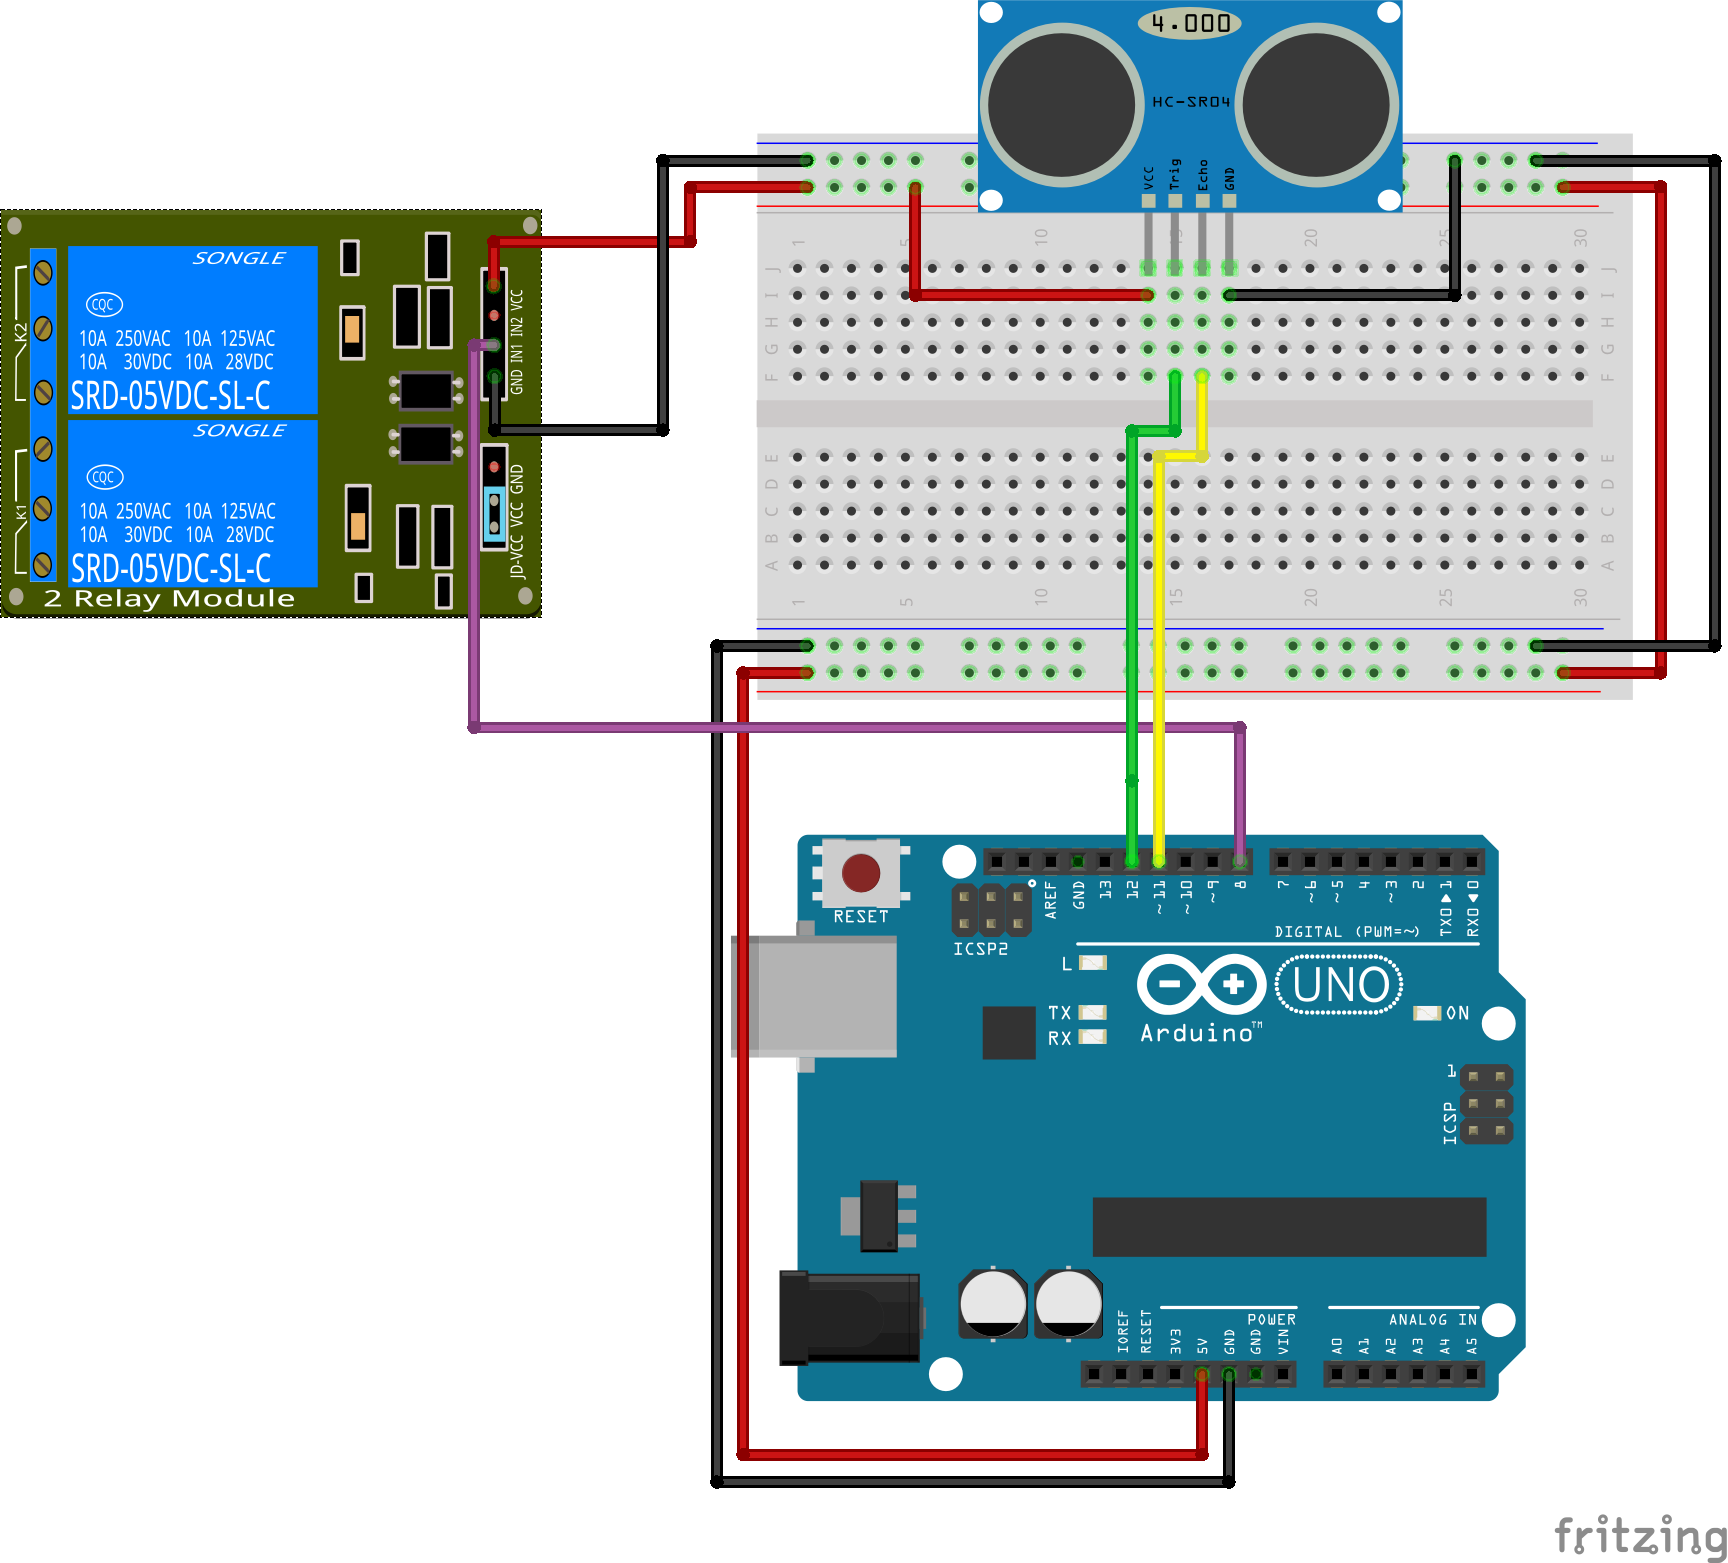
The Relay Module
Then we'll connect one channel of the relay module ( as the one I have has 2 channels ), the Vcc pin goes to 5v and the IN1 goes to Arduino Pin 8 ( or any pin of your choice ).
It's worth noting that my relay module is active-low, to know what's the difference between active-low and active-high check this link. So, before continuing you should know your relay's active mode, to do that you simply connect the Vcc and GND normally then connect the IN pin to 5V if nothing happens then it's active low to ensure it connect the IN pin to GND.
Then prepare the lamp to be hooked up to the wall plug and the relay one terminal will be connected directly to the plug, the other one will have a cut in the middle of the way, one end of the cut will go to the Normally Open pin (NO1 ) in the relay module, the other one will go to the COM1 pin and then the plug.
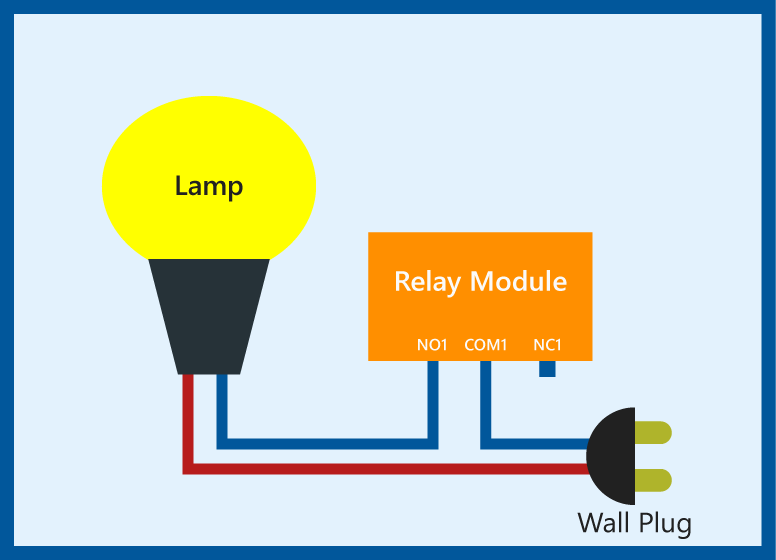
The final circuit becomes ( The lamp is simplified :) )

Now we're done with the hardware.

The code does the following
- Measures the distance from ultrasonic
- Checks if someone passed by the door
- Switches the state of the light
Now let's try the ultrasonic sensor, this is the example from thee library, it's very simple and straight forward as it just prints the distance it reads.
You can obtain the distance in Centimeter or Inches using ( sonar is the ultrasonic instance name).
sonar.ping_cm();
// Or
sonar.ping_inch();
As we can see it also sets the pins of the Ultrasonic sensor and the max desired range.
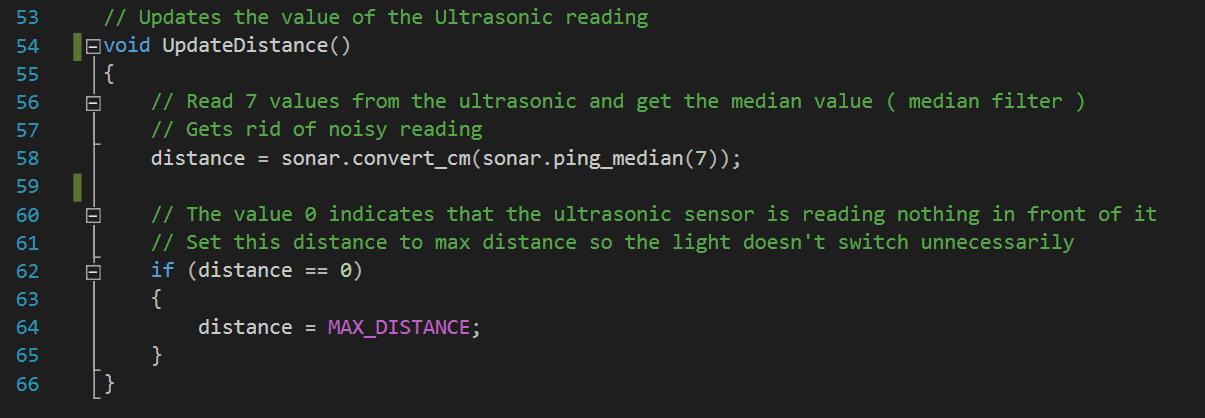
Unfortunately, sometimes the ultrasonic sensor reads a faulty distance every now and then.
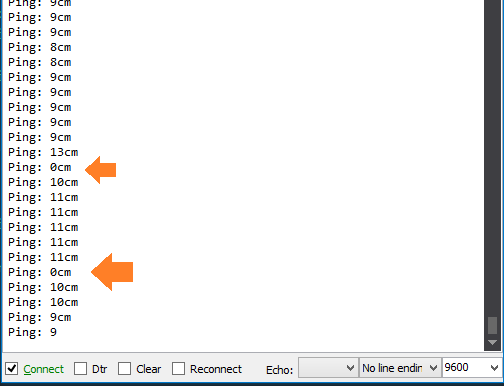
Which can keep the light switching on and off unintentionally, to fix this problem we should get a number of reading and select their average, another way to fix it is to use the median filter which simply takes a number of readings, sorts them in an array and selects the value in the middle which is so cool to remove the noise if it occurs frequently.
Luckily the NewPing library has this filter implemented in a function called
sonar.ping_median(unsigned byte numReadings);You simply pass the number of readings that you want to consider as a sample maximum 512 as they're using unsigned byte.
this function returns the time the echo used to bounce back which should be converted to the unit of length you're using, this is also readily implemented in the library by using
sonar.convert_cm(unsigned int echoTime);
// Or
sonar.convert_in(unsigned int echoTime);
The last catch about the ultrasonic is that it reads 0 if nothing is in front of it, this is simply solved by telling it to set distance to MAX_DISTANCE if it reads 0, finally the code for reading the sensor becomes ( distance is a global variable ) :
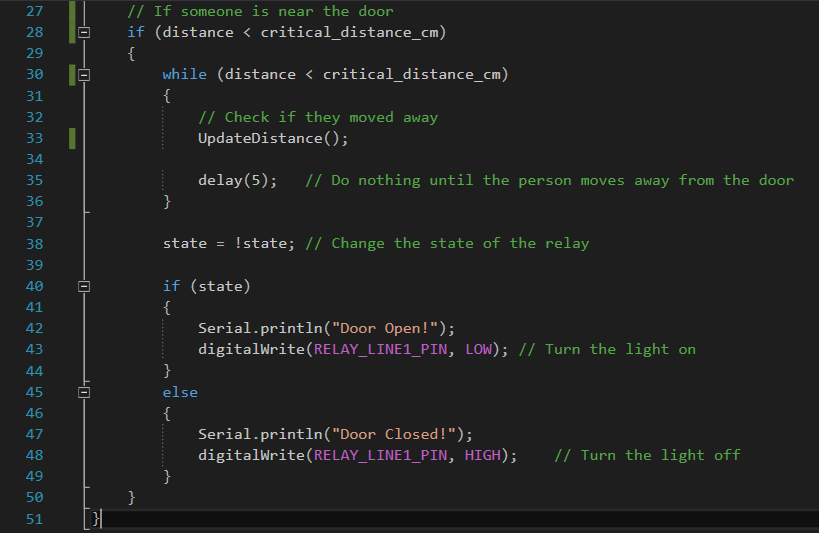
Now let's start coding, to know that someone has passed by the ultrasonic must read a critical distance which can simply be half of the door's width. so we're always sure that someone is passing the door.
One other thing that I want to keep in mind is that the light will only switch when something has passed in front of the ultrasonic, this means that if someone is standing still in front of it, nothing will happen. The code to do this is as follows
Congratulations !! you're now done, I'll attach the whole Visual Studio project as I made a small edit to the library ( used dynamic memory allocation instead of variable size arrays -as Visual Studio doesn't allow them- ) and added some documentation.
Check out electronic components on utsource.net
Please respect this project if you find it useful, other projects:
Arduino color mixer
RC Car using 1Sheeld
Articles
Developing Arduino using Visual Studio
Code
- Smart House Light
- Ultrasonic test
Smart House LightArduino
This code takes the input reading from the ultrasonic and controls the relay accordingly#define TRIGGER_PIN 12 // Arduino pin tied to trigger pin on the ultrasonic sensor.
#define ECHO_PIN 11 // Arduino pin tied to echo pin on the ultrasonic sensor.
#define MAX_DISTANCE 200 // Maximum distance we want to ping for (in centimeters). Maximum sensor distance is rated at 400-500cm. [this is an arbitrary number]
#define RELAY_LINE1_PIN 8
#include "NewPing.h"
NewPing sonar(TRIGGER_PIN, ECHO_PIN, MAX_DISTANCE); // NewPing setup of pins and maximum distance.
unsigned int critical_distance_cms = 50; // Cutoff distance at which the light will switch [this is an arbitrary number]
bool state = 0;
void setup() {
Serial.begin(9600); // Open serial monitor at 115200 baud to see ping results.
pinMode(RELAY_LINE1_PIN, OUTPUT);
digitalWrite(RELAY_LINE1_PIN, HIGH); // Turn the light off
}
void loop() {
delay(50); // Wait 50ms between pings (about 20 pings/sec). 29ms should be the shortest delay between pings.
unsigned int distance = readDistance(); // Current distance of any object facing the ultrasonic sensor
Serial.print("Ultrasonic: ");
Serial.print(distance); // Send ping, get distance in cm and print result (0 = outside set distance range)
Serial.println("cm");
// Someone is near the door
if (distance < critical_distance_cms)
{
while (distance < critical_distance_cms)
{
// Check if they moved away
distance = readDistance();
delay(5); // Do nothing until the person moves away from the door
}
state = !state; // Change the state of the relay
if (state)
{
Serial.println("Door Open!");
digitalWrite(RELAY_LINE1_PIN, LOW); // Turn the light on
}
else
{
Serial.println("Door Closed!");
digitalWrite(RELAY_LINE1_PIN, HIGH); // Turn the light off
}
}
}
// Updates the value of the Ultrasonic reading
unsigned int readDistance()
{
// Read 7 values from the ultrasonic and get the median value ( median filter )
// Gets rid of noisy reading
unsigned int distance = sonar.convert_cm(sonar.ping_median(7));
// The value 0 indicates that the ultrasonic sensor is reading nothing in front of it
// Set this distance to max distance so the light doesn't switch unnecessarily
if (distance == 0)
{
distance = MAX_DISTANCE;
}
return distance;
}
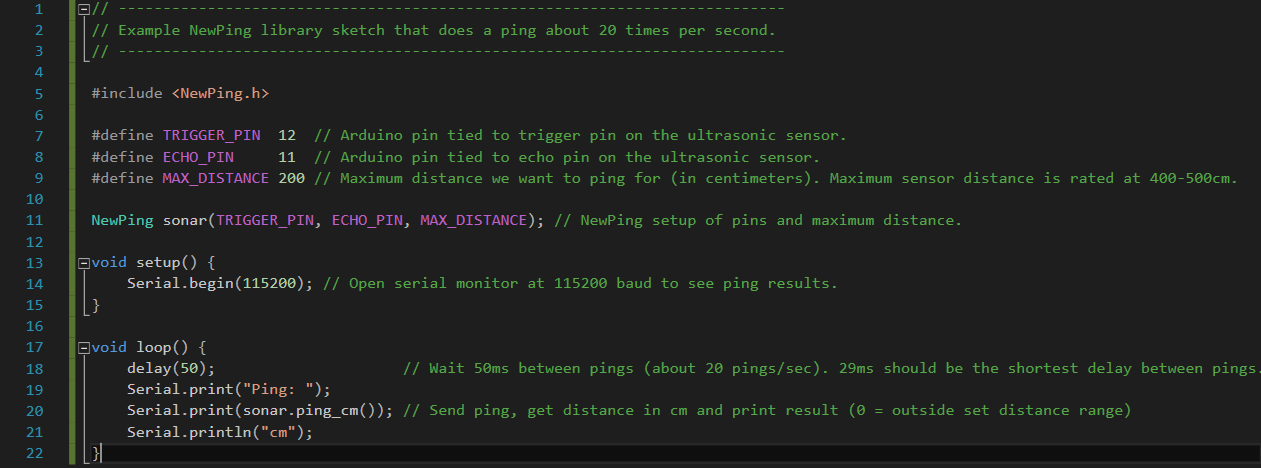
Ultrasonic testArduino
Code to make the ultrasonic prints the value it's reading// ---------------------------------------------------------------------------
// Example NewPing library sketch that does a ping about 20 times per second.
// ---------------------------------------------------------------------------
#include <NewPing.h>
#define TRIGGER_PIN 12 // Arduino pin tied to trigger pin on the ultrasonic sensor.
#define ECHO_PIN 11 // Arduino pin tied to echo pin on the ultrasonic sensor.
#define MAX_DISTANCE 200 // Maximum distance we want to ping for (in centimeters). Maximum sensor distance is rated at 400-500cm.
NewPing sonar(TRIGGER_PIN, ECHO_PIN, MAX_DISTANCE); // NewPing setup of pins and maximum distance.
void setup() {
Serial.begin(115200); // Open serial monitor at 115200 baud to see ping results.
}
void loop() {
delay(50); // Wait 50ms between pings (about 20 pings/sec). 29ms should be the shortest delay between pings.
Serial.print("Ping: ");
Serial.print(sonar.ping_cm()); // Send ping, get distance in cm and print result (0 = outside set distance range)
Serial.println("cm");
}
Smart House Lights
This is the full project for Visual Studio with the edited libraryhttps://github.com/shakram02/Arduino_SmartHouseLights.gitSchematics
This is the full circuit describing the whole project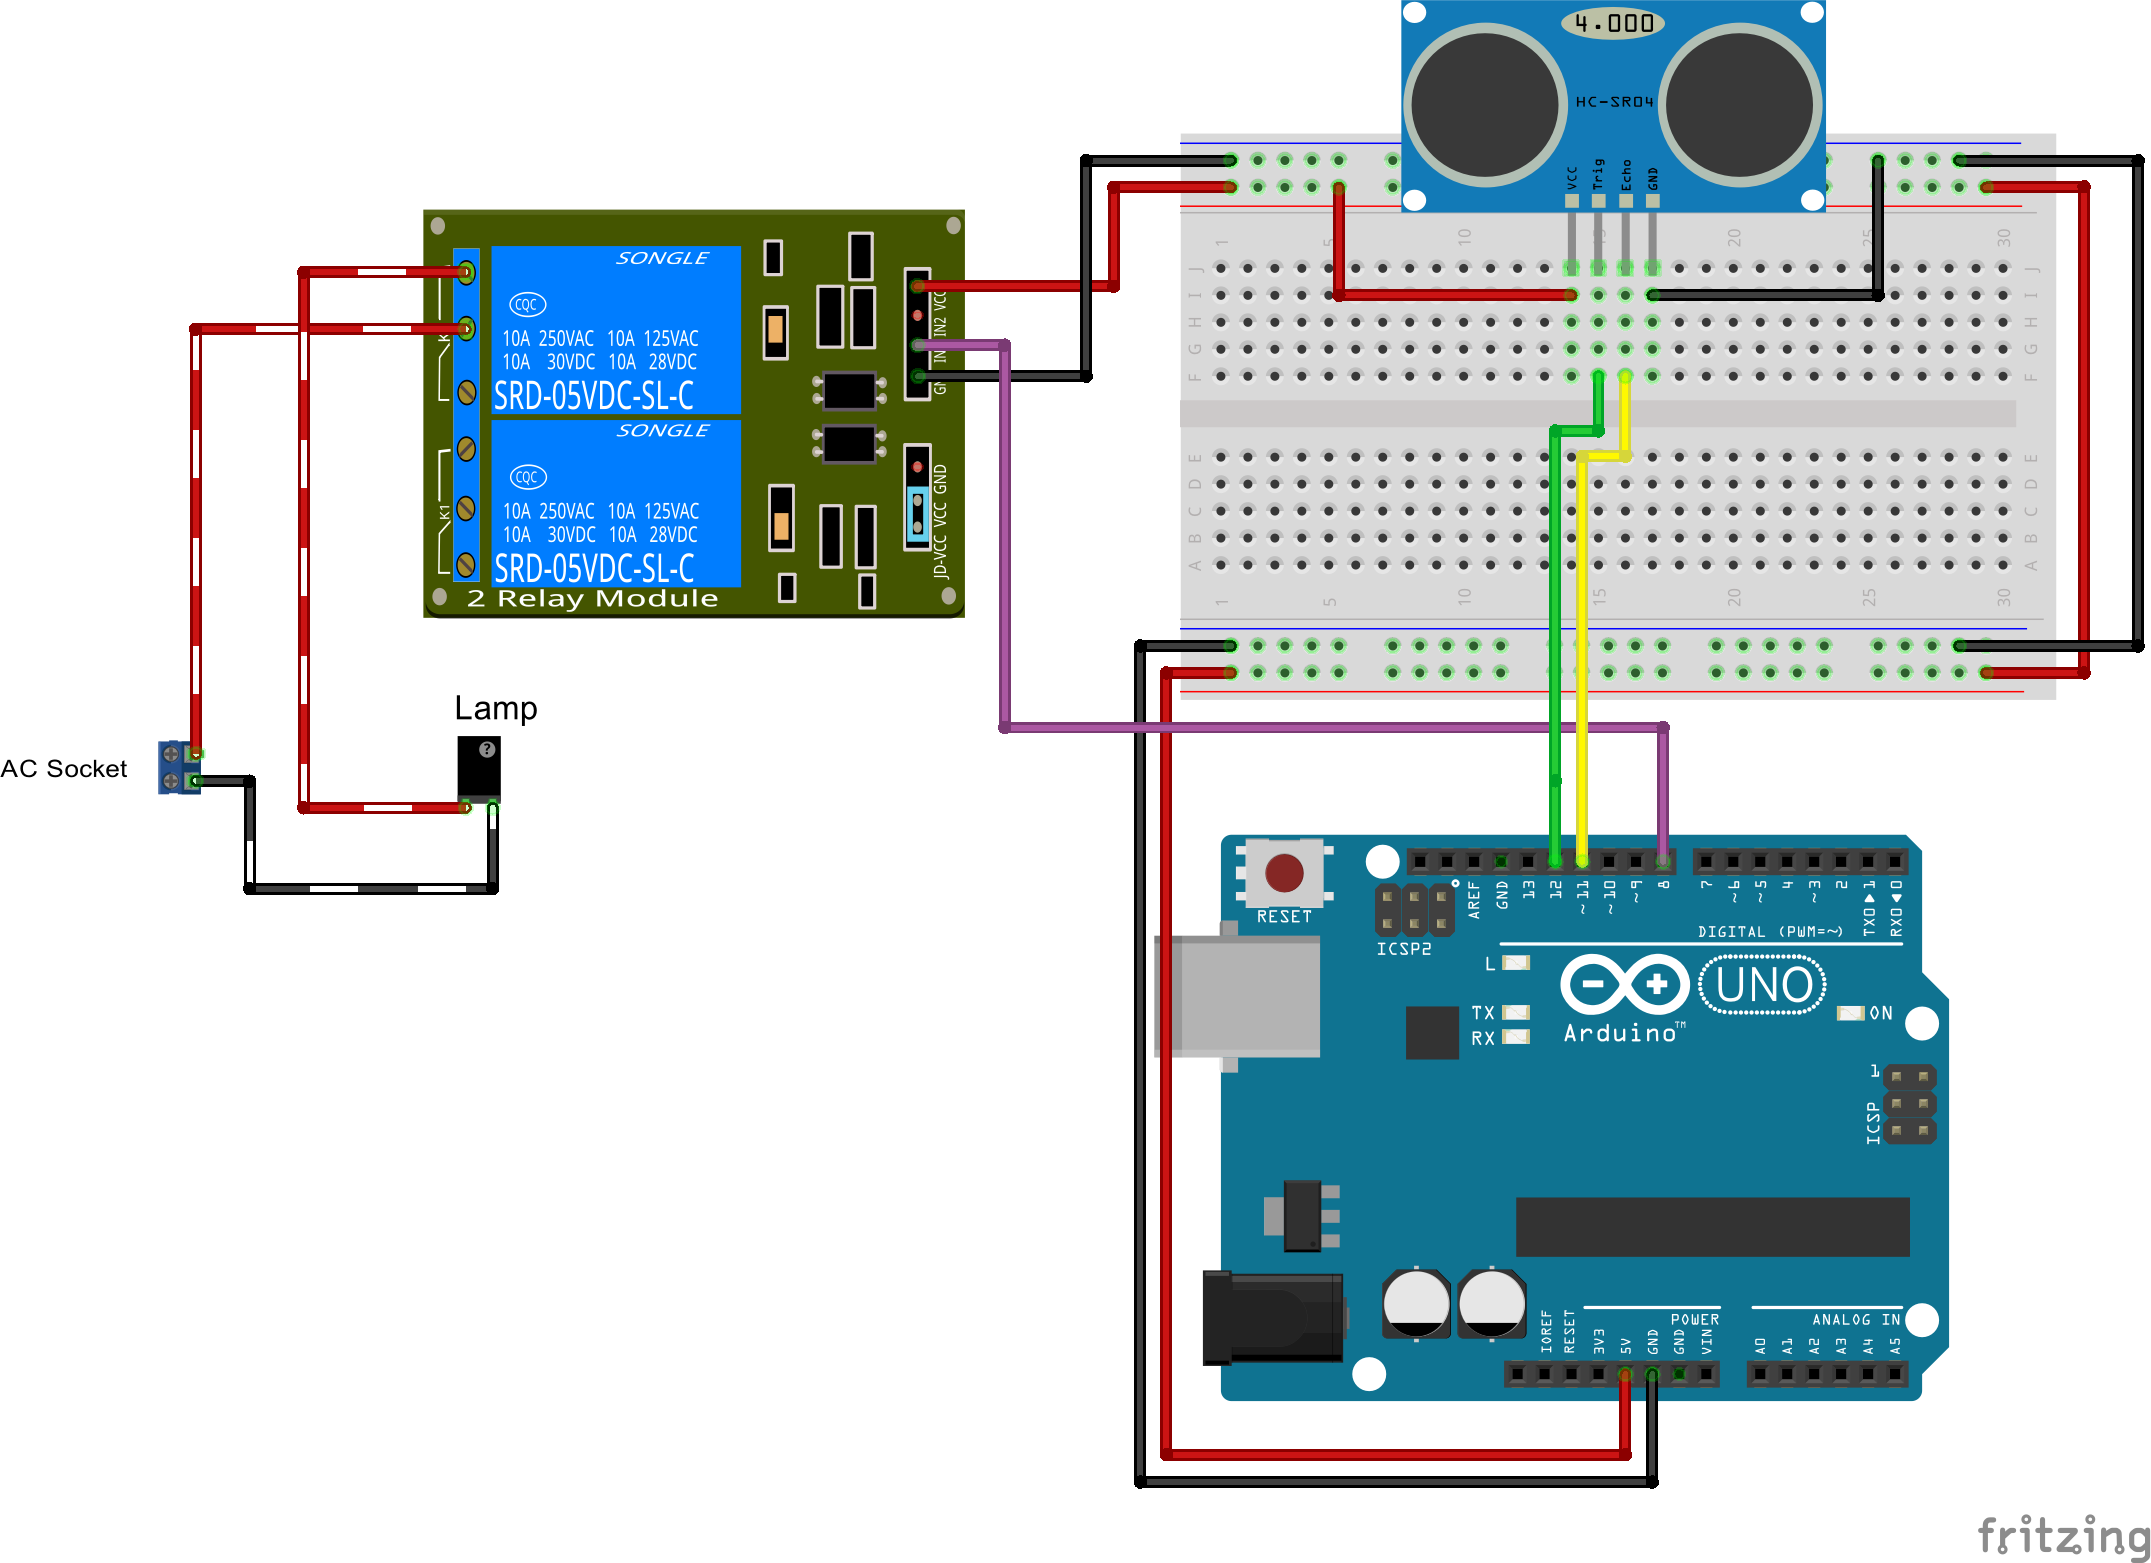
Manufacturing process
- Arduino Digital Dice Project: Build Your Own LCD-based Random Number Generator
- Real-Time Distance Measurement with Arduino Sonar & Processing Visualization
- NeoPixel Matrix Pong on Arduino Nano: Build a Neon Pong Game
- Arduino-Powered Security System: Smart Motion Detection & Alert
- Build a Classic Arduino LCD Arcade Game with Buzzer and Joystick
- Arduino Tennis Game – Build a Virtual Racquet Experience with NeoPixel, Sensors, and Bluetooth
- Build a Smart Weather Station with Arduino UNO and AWS Integration
- Building an IoT Device with ESP8266‑01 and Arduino Nano: A Complete Guide
- Configure NeoPixels with Vixen Lights & Arduino: A Step‑by‑Step Guide
- Build an Interactive LCD Game with Arduino UNO