


Create Stunning 3D Printed Lithophanes: A Step‑by‑Step Guide
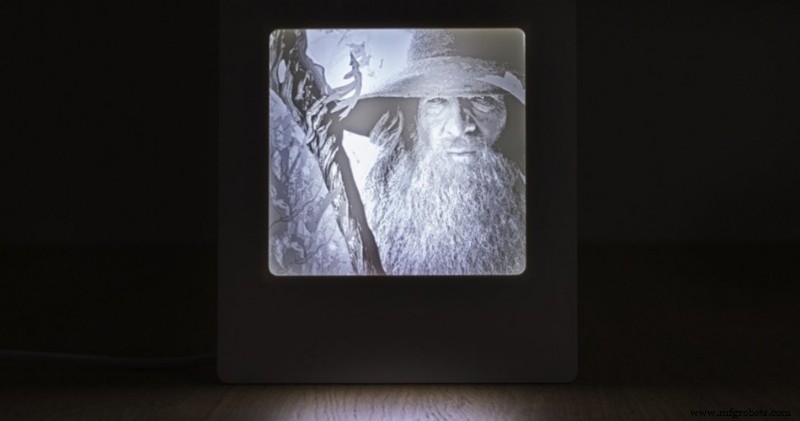
Image 1: 3D printed lithophane. Source: Formlabs
A lithophane is a three-dimensional image with different thicknesses that cause the opacity of each of its parts to vary by projecting light on it, achieving a very showy and original result.
It is believed that its origin dates back to the nineteenth century, traditionally carved from wax, moulded in plaster, then melted and baked in porcelain. Today, 3D printing makes this technique much more accessible, and allows you to create a lithophane in a simple way.
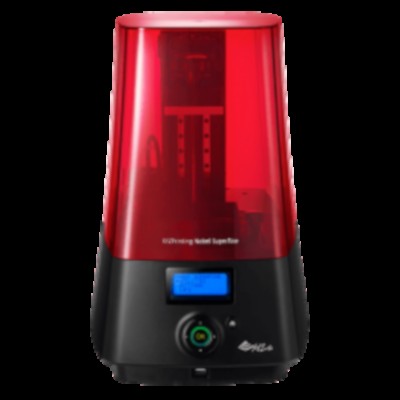
Due to the level of detail required for their realisation, the lithophanes are more suitable for 3D printing on a high resolution stereolithographic printer (SLA).
 Form 3
 Form Cure
 UniZ Slash
 XYZ Nobel
To convert any photograph into a spectacular 3D printed lithophane, just follow the following steps:
1. Select the photography
Thanks to the high resolution of SLA 3D printing, any image with good contrast and good definition will become a clear lithophane with impressive details. If the photography has low contrast, it is advisable to convert it to black and white, raise the contrast or delete the background using a photo editing tool to achieve a better result.
2. Design the lithophane
The lithophane are based on the contrast difference between the different parts of the image, so it is advisable to edit the image beforehand. This can be done using specific lithophane generation software or using any image editor.
Option 1: Use a free lithophane generator
There are different lithophane generation tools available online, so using a free lithophane image converter can be a quick and easy option.
Option 2: Use image editing software
Tools such as Adobe Photoshop or Blender provide the ability to handle user-friendly settings.
In the case of Photoshop, Adobe has an option which automatically applies a series of settings to convert the image to grayscale, invert the colors and then make a 3D depth map. It also creates a raised edge and a flat surface on the back.
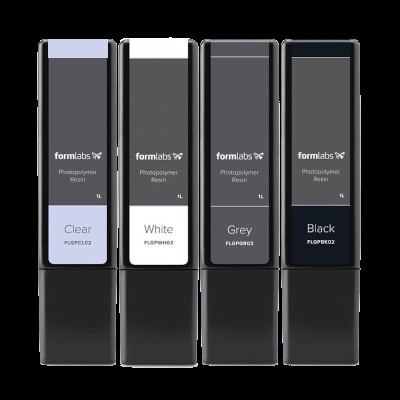 Resina estándar
 Formlabs
 Resina Basic
 HarzLabs
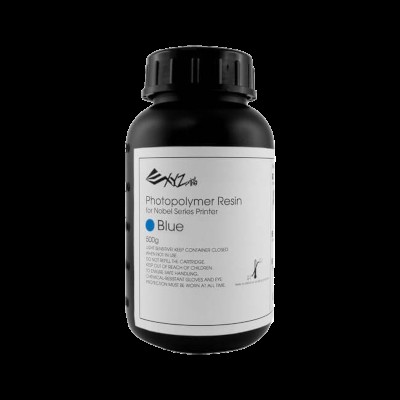
 Resina UniZ
 zUDP
 Resina estándar
 XYZ
3. 3D printing of the lithophane
To print the lithophane it will be necessary:
- Open the STL file in the laminate software, such as Preform, Cure, Simplify3d, etc.
- Orient the file on the platform. For faster results, it is advisable to print the piece with the flat part directly on the manufacturing platform without supports.
- Print the file to 50 microns layer height, for better result and detail.
4. Post-processing
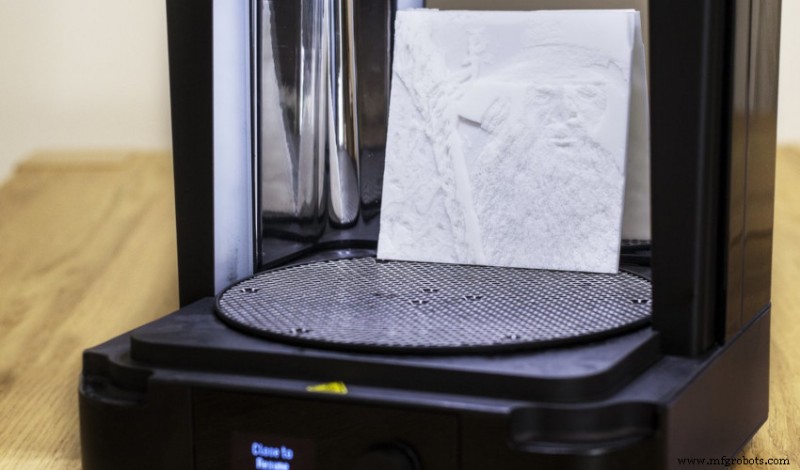
Image 2: The curing process is key to a perfect result. Source: Formlabs
Due to the delicacy and extreme thinness of certain parts of a lithophane, its post-processing will require extra care to achieve a perfect finish, so it is advisable to use appropriate curing devices. The lithophane, being quite thin pieces, require a shorter curing time, so that with 5 minutes to 40 °C in the curing chamber would be sufficient.
Thanks to the high precision and level of detail of SLA 3D printing, the lithophane prints give incredible results next to a window or with good background light. A souvenir photography, an original gift, a tulip for a… lamp applications are almost infinite.
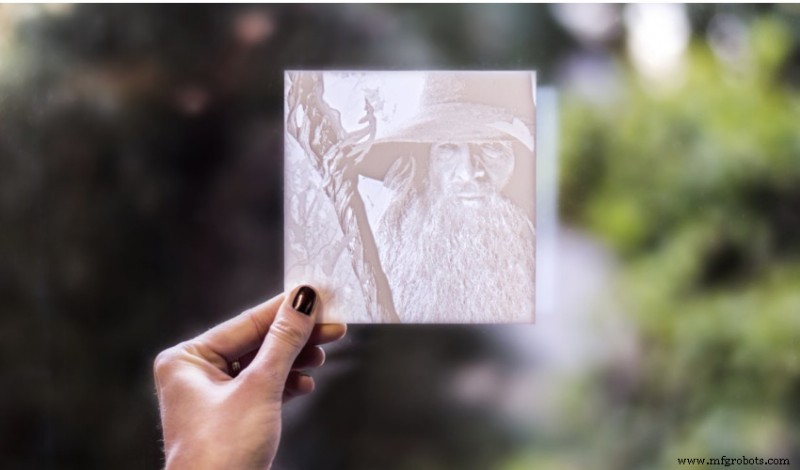
Image 3: Result of a 3D printed lithophane.
3D printing
- The Complete Guide to Fiberglass Production
- Expert Guide to Designing and Manufacturing Injection Molds
- What to Make of 3D‑Printed Firearms: Ethics, Technology, and Public Policy
- Master 3D Texturing in SOLIDWORKS 2019: Create Realistic, Layer‑Line‑Free Prints
- Step-by-Step Guide to Crafting Durable Silicone Molds at Home
- Build a Winning Prototype: Step‑by‑Step Guide for Rapid Product Development
- Inkjet-Printed Graphene: The Future of 3D-Printed Electronics
- Lithophanes: Create 3D Printed Images & Choose the Right Filament
- DIY Guide: Build Your Own DC Motor Controller
- Master CNC Programming: A Beginner’s Guide to Fanuc Controls