


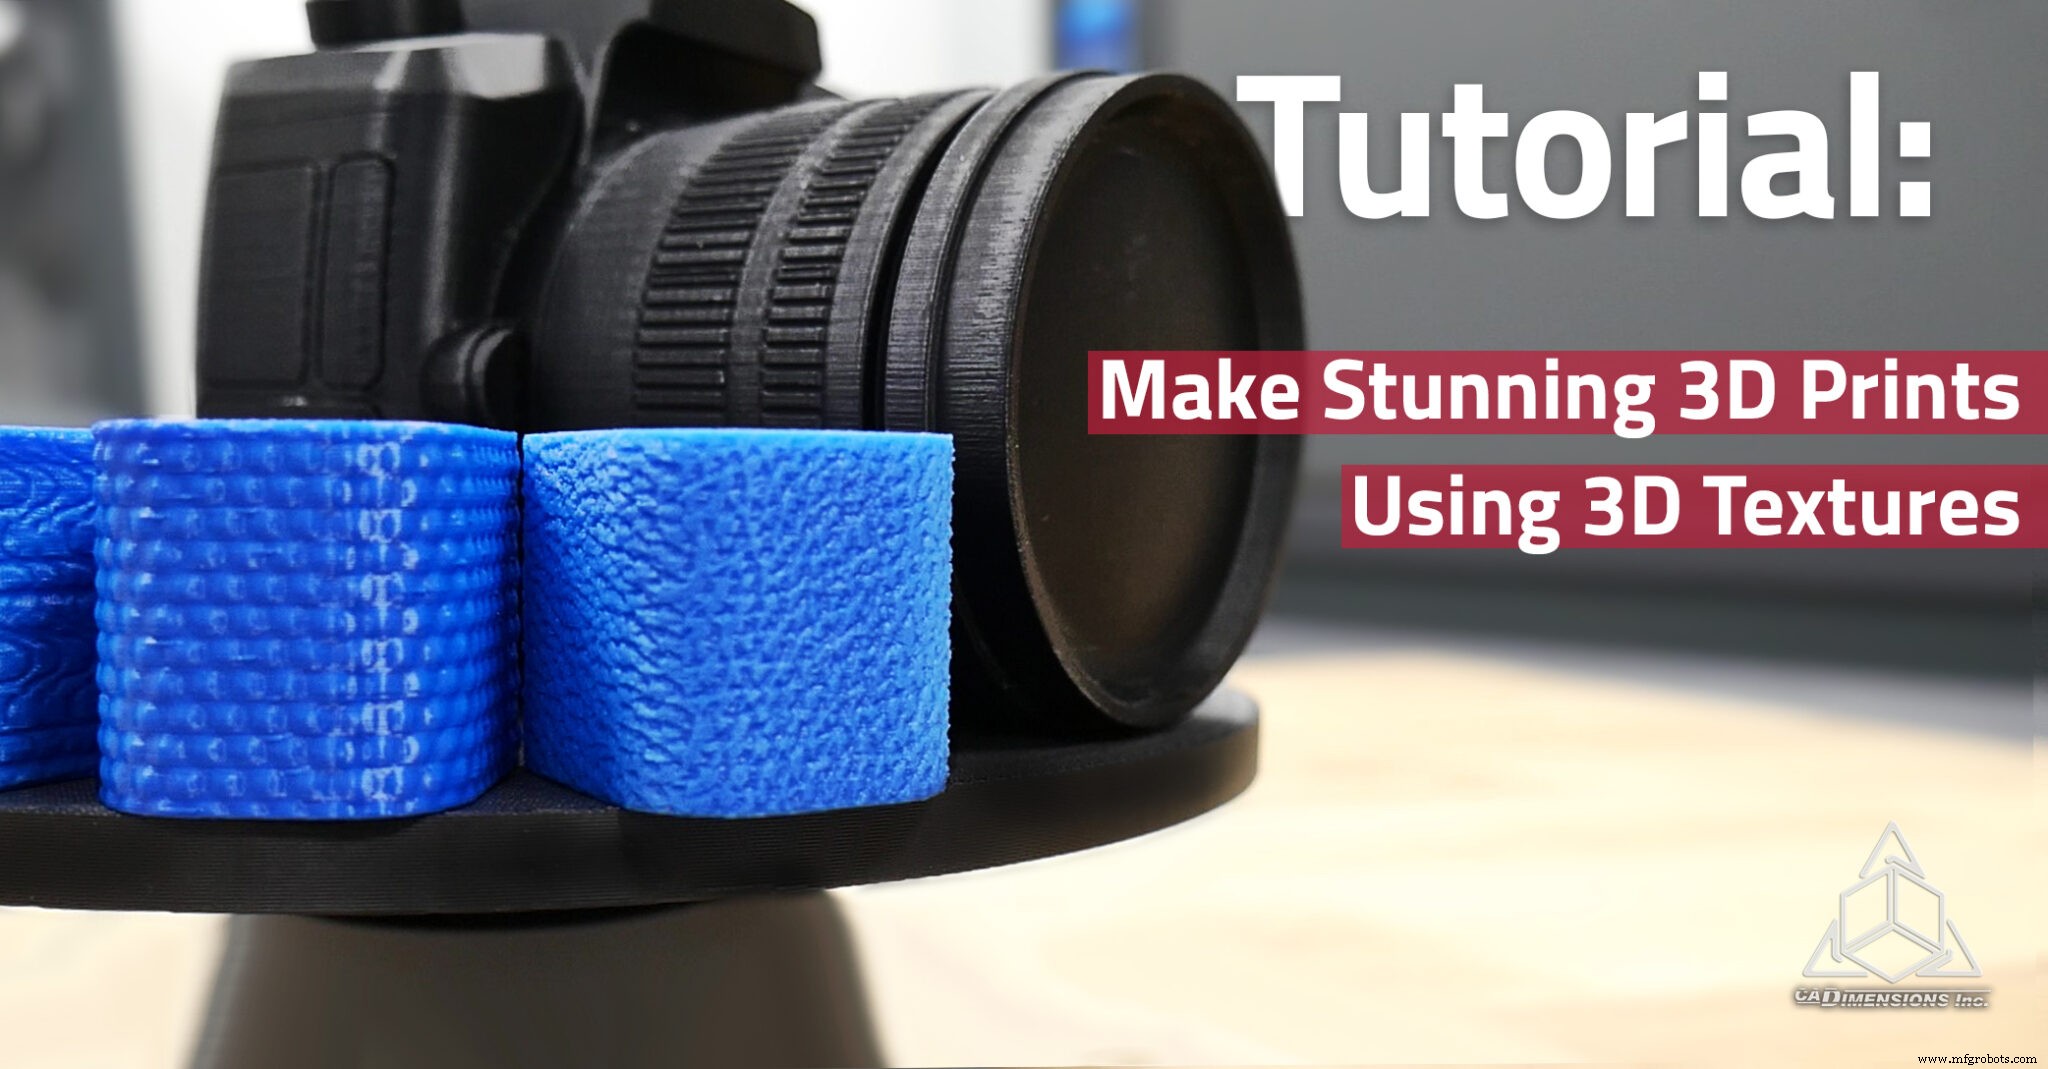
Master 3D Texturing in SOLIDWORKS 2019: Create Realistic, Layer‑Line‑Free Prints
Since the release of SOLIDWORKS 2019, the built‑in 3D texture (displacement mapping) feature has opened up new possibilities for mechanical designers. Traditionally a staple of artistic modeling tools like Maya and 3DS Max, 3D texturing now lets engineers add realistic surface detail, hide layer lines, and even simulate knurling with ease.
In this step‑by‑step guide, we’ll walk through how to apply a 3D texture to any part, from choosing the right image to fine‑tuning the detail level and offset.
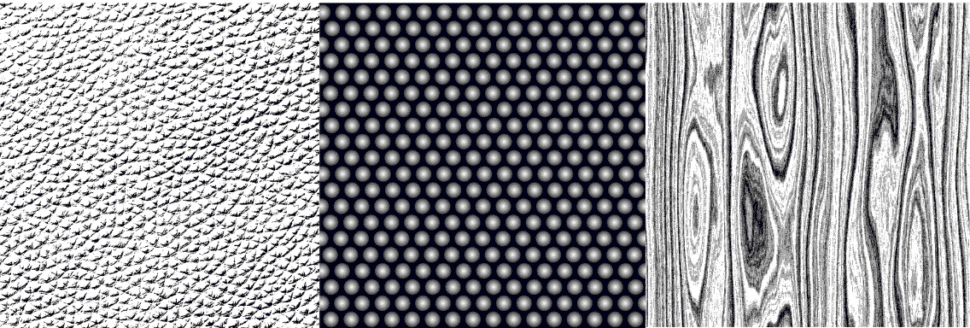
Step 1: Pick or Create a Heightmap Image
Choose a greyscale or black‑and‑white image that represents the surface profile you want. SOLIDWORKS interprets lighter tones as raised features and darker tones as recessed ones. While any black‑and‑white image will work, heightmaps—images that map elevation to brightness—produce the most predictable results. Keep the file size moderate; larger images increase processing time.
Step 2: Select the Faces to Texture
Highlight the surfaces that should receive the texture. In this tutorial, a simple block is used, and both flat and curved faces are selected.
Step 3: Import the Image and Create an Appearance
Choose the image file from your computer. SOLIDWORKS will prompt you to save it as a new appearance. If the image already exists in your design library, the prompt will be skipped.
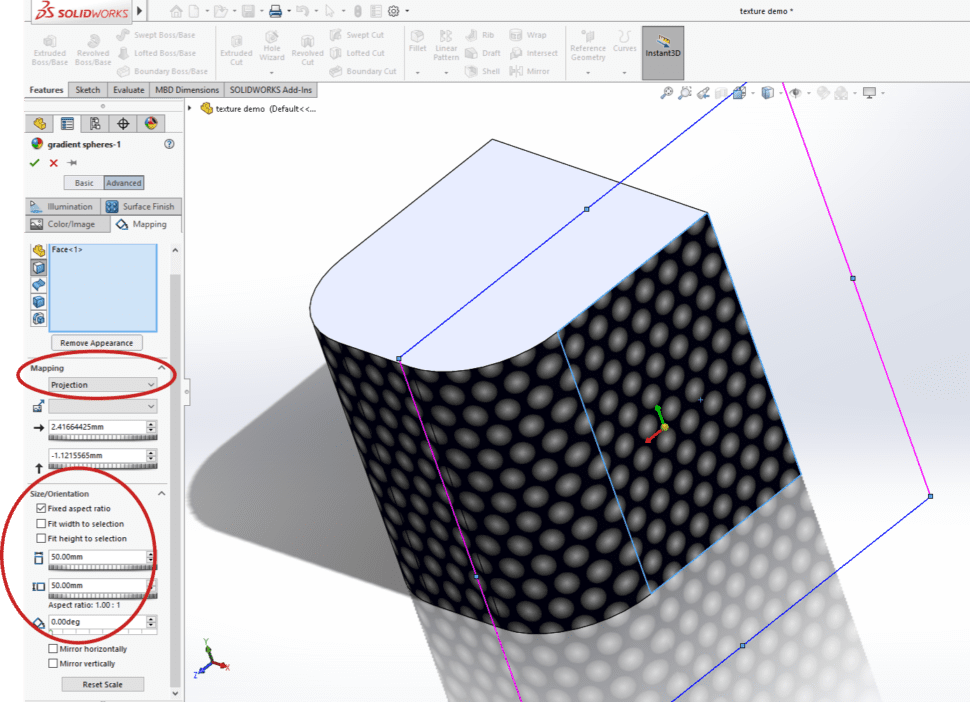
Step 4: Fine‑Tune the Appearance
Adjust placement, mapping, and scale. “Automatic” placement and “projection” mapping work best for flat surfaces, while “surface” mapping is ideal for curves. You can also rotate and scale the image to match the geometry.
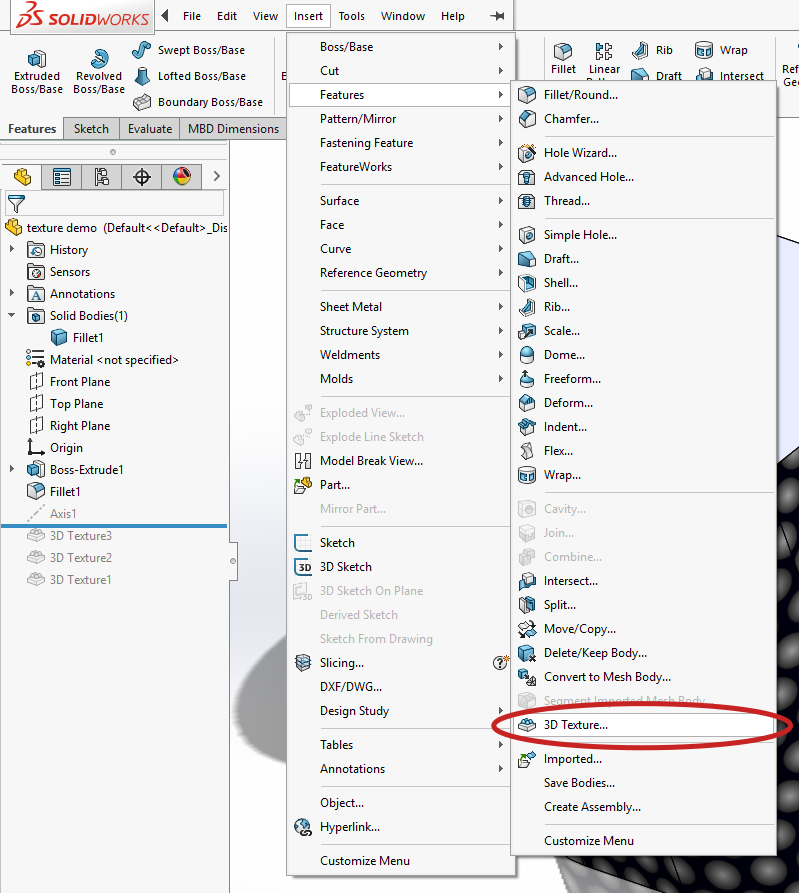
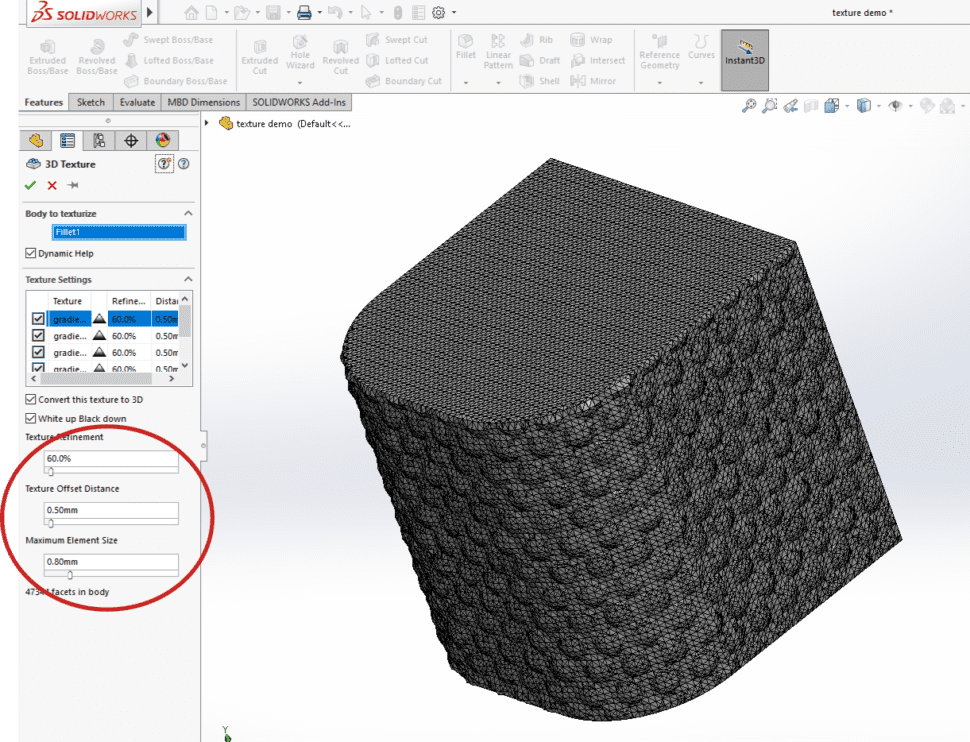
Step 5: Apply the 3D Texture Feature
Navigate to Insert > Feature > 3D Texture. Every face with an appearance will display a checkbox. Check all relevant faces, then set the detail level (≈60% for a balanced look) and the offset distance (0.5 mm is a good starting point). By default, lighter areas will protrude while black remains flush; the “white up, black down” option can be toggled if you need the opposite effect.
Best Practices and Tips
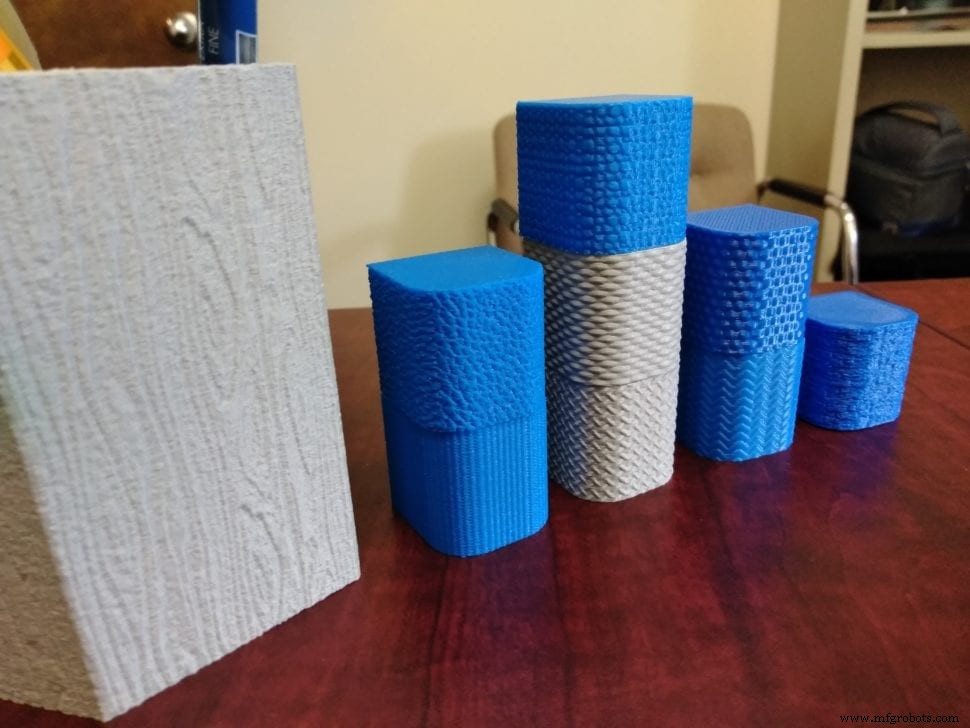
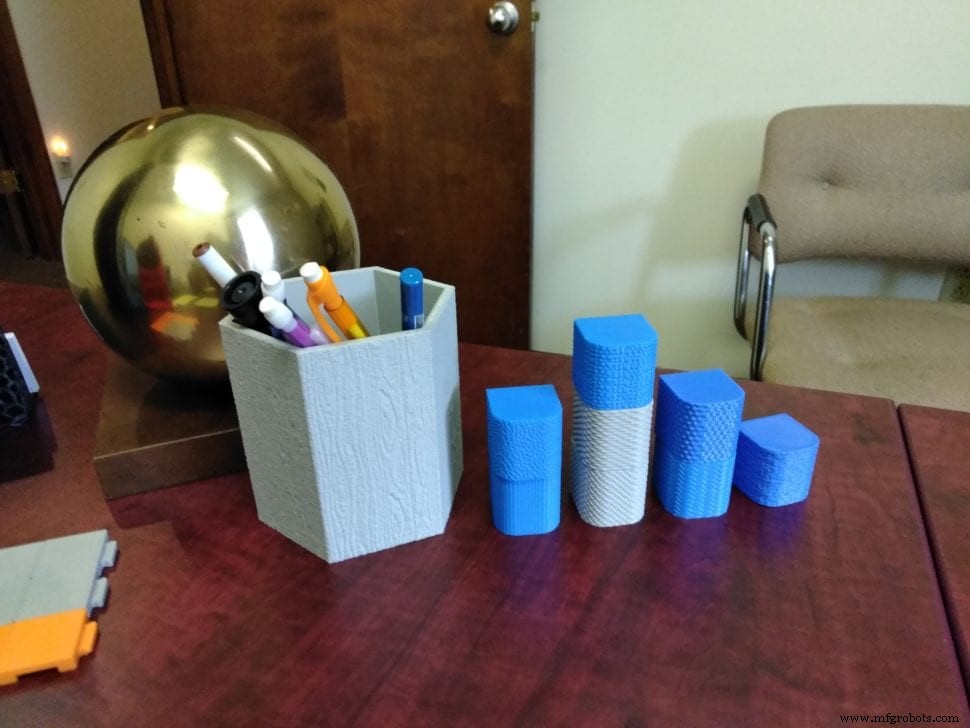
3D textures are most effective on vertical or angled surfaces where the raised features can be clearly seen. Printing with a smaller layer height amplifies detail and further smooths the surface. This technique is especially valuable for prototypes that need to resemble final products or for parts where surface finish is critical.
Ready to Bring Your Design to Life?
If you need short‑run production, samples, or prototypes, our FabLab offers state‑of‑the‑art 3D printing services that can incorporate custom textures directly into your parts.
Learn about CADimensions 3D Printing Services
3D printing
- Create Musical Tones with Arduino: A Step‑by‑Step Guide
- Create a Progressive Cutaway Animation in SolidWorks – Step‑by‑Step Tutorial
- Custom Metal Parts Production: Expert Guide to Fabrication and Manufacturing
- Boost Your 3D Prints: 5 Proven Strategies for Strength and Durability
- Build Stronger 3D Prints: A Complete Step‑by‑Step Guide
- The Longevity of PLA 3D Prints: How Long They Last
- Optimize 3D-Printed Parts with Generative Design: A Practical Guide
- Hollywood’s Robot Milling: Crafting Realistic Props & Animatronics
- Create Custom Christmas Decorations with 3D Printing
- Create Stunning 3D Printed Lithophanes: A Step‑by‑Step Guide