


Build a Leap Motion‑Controlled Laser Tank – Arduino, Raspberry Pi, RGB LEDs
Components and supplies
| × | 1 | ||||
| × | 1 | ||||
 |
| × | 1 | |||
 |
| × | 1 | |||
| × | 1 | ||||
| × | 1 | ||||
| × | 1 | ||||
 |
| × | 1 | |||
 |
| × | 1 | |||
| × | 1 | ||||
 |
| × | 1 | |||
| × | 1 | ||||
| × | 1 | ||||
 |
| × | 1 |
About this project
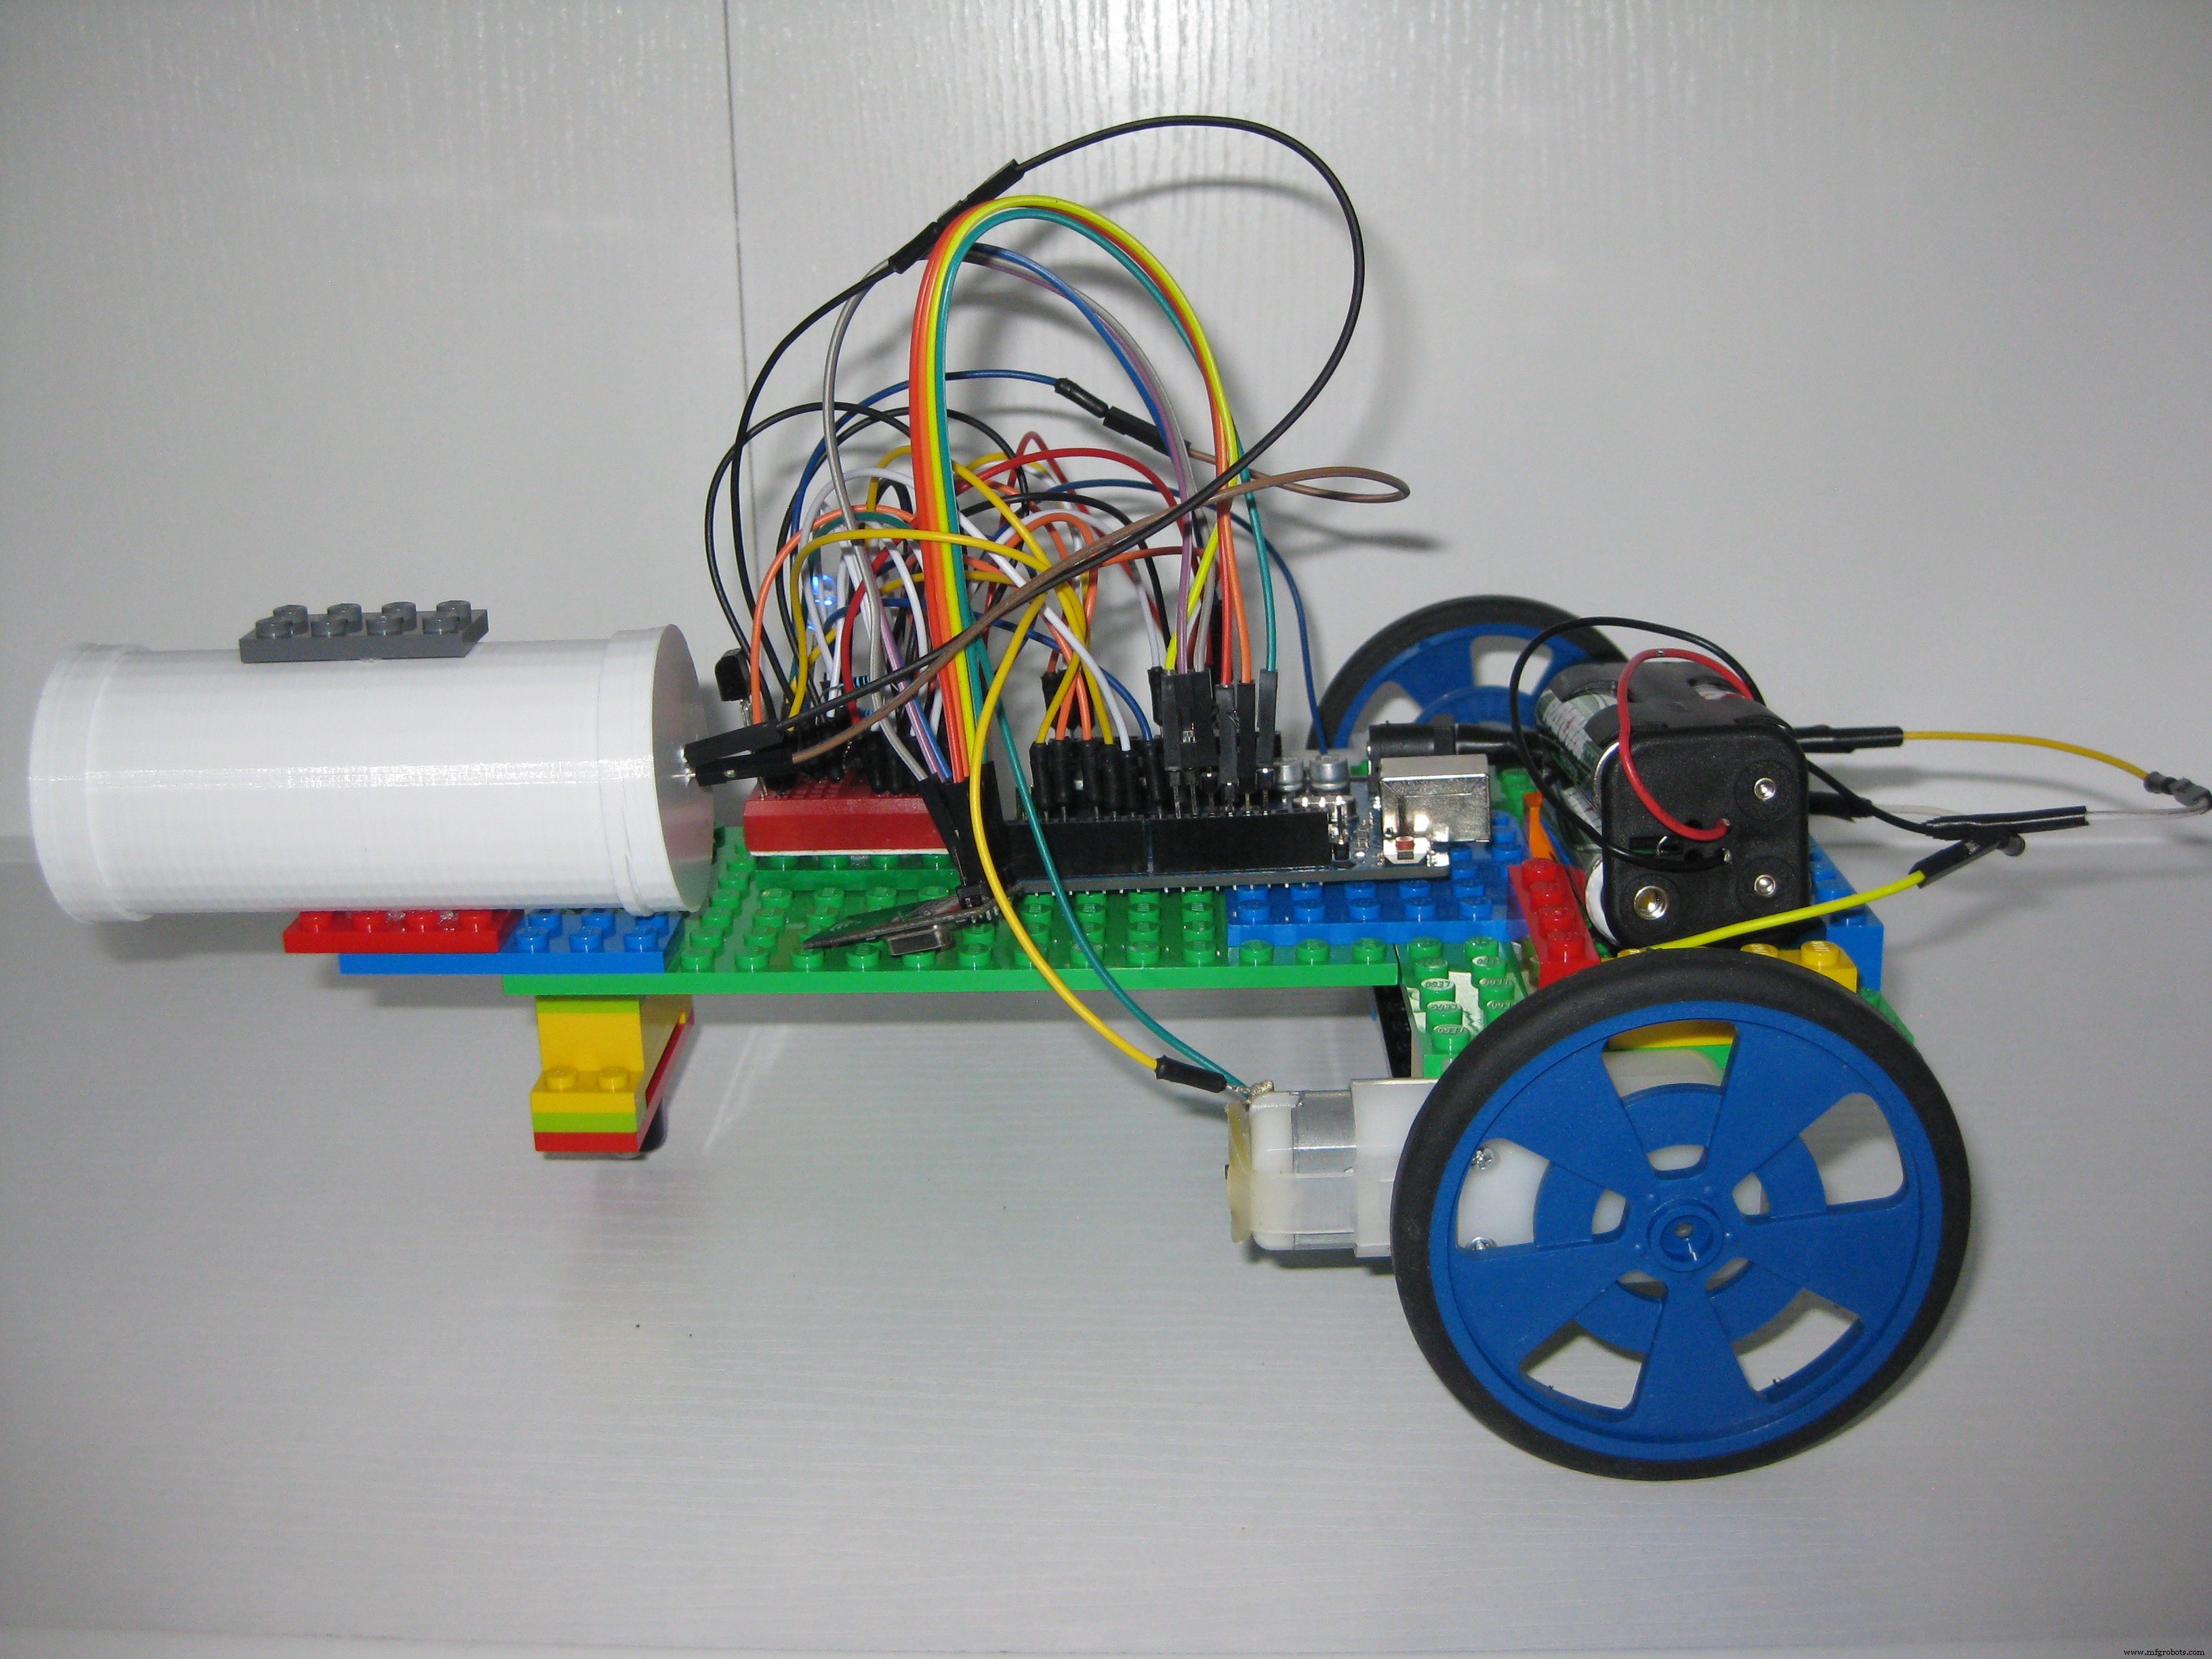
The goal of this project was to create a set of robotic tanks to do battle where the operators got a more realistic feel for controlling the vehicles using the Leap Motion controller. I wanted to create the robot tanks inexpensively, so people could replicate the project as easily as possible.
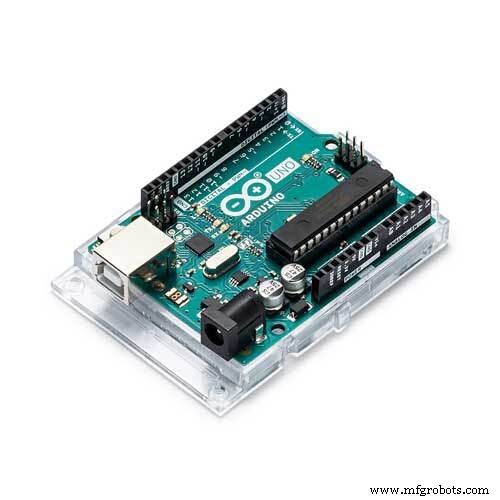
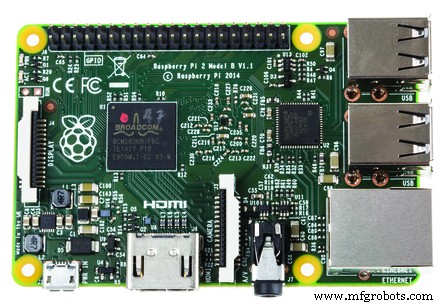
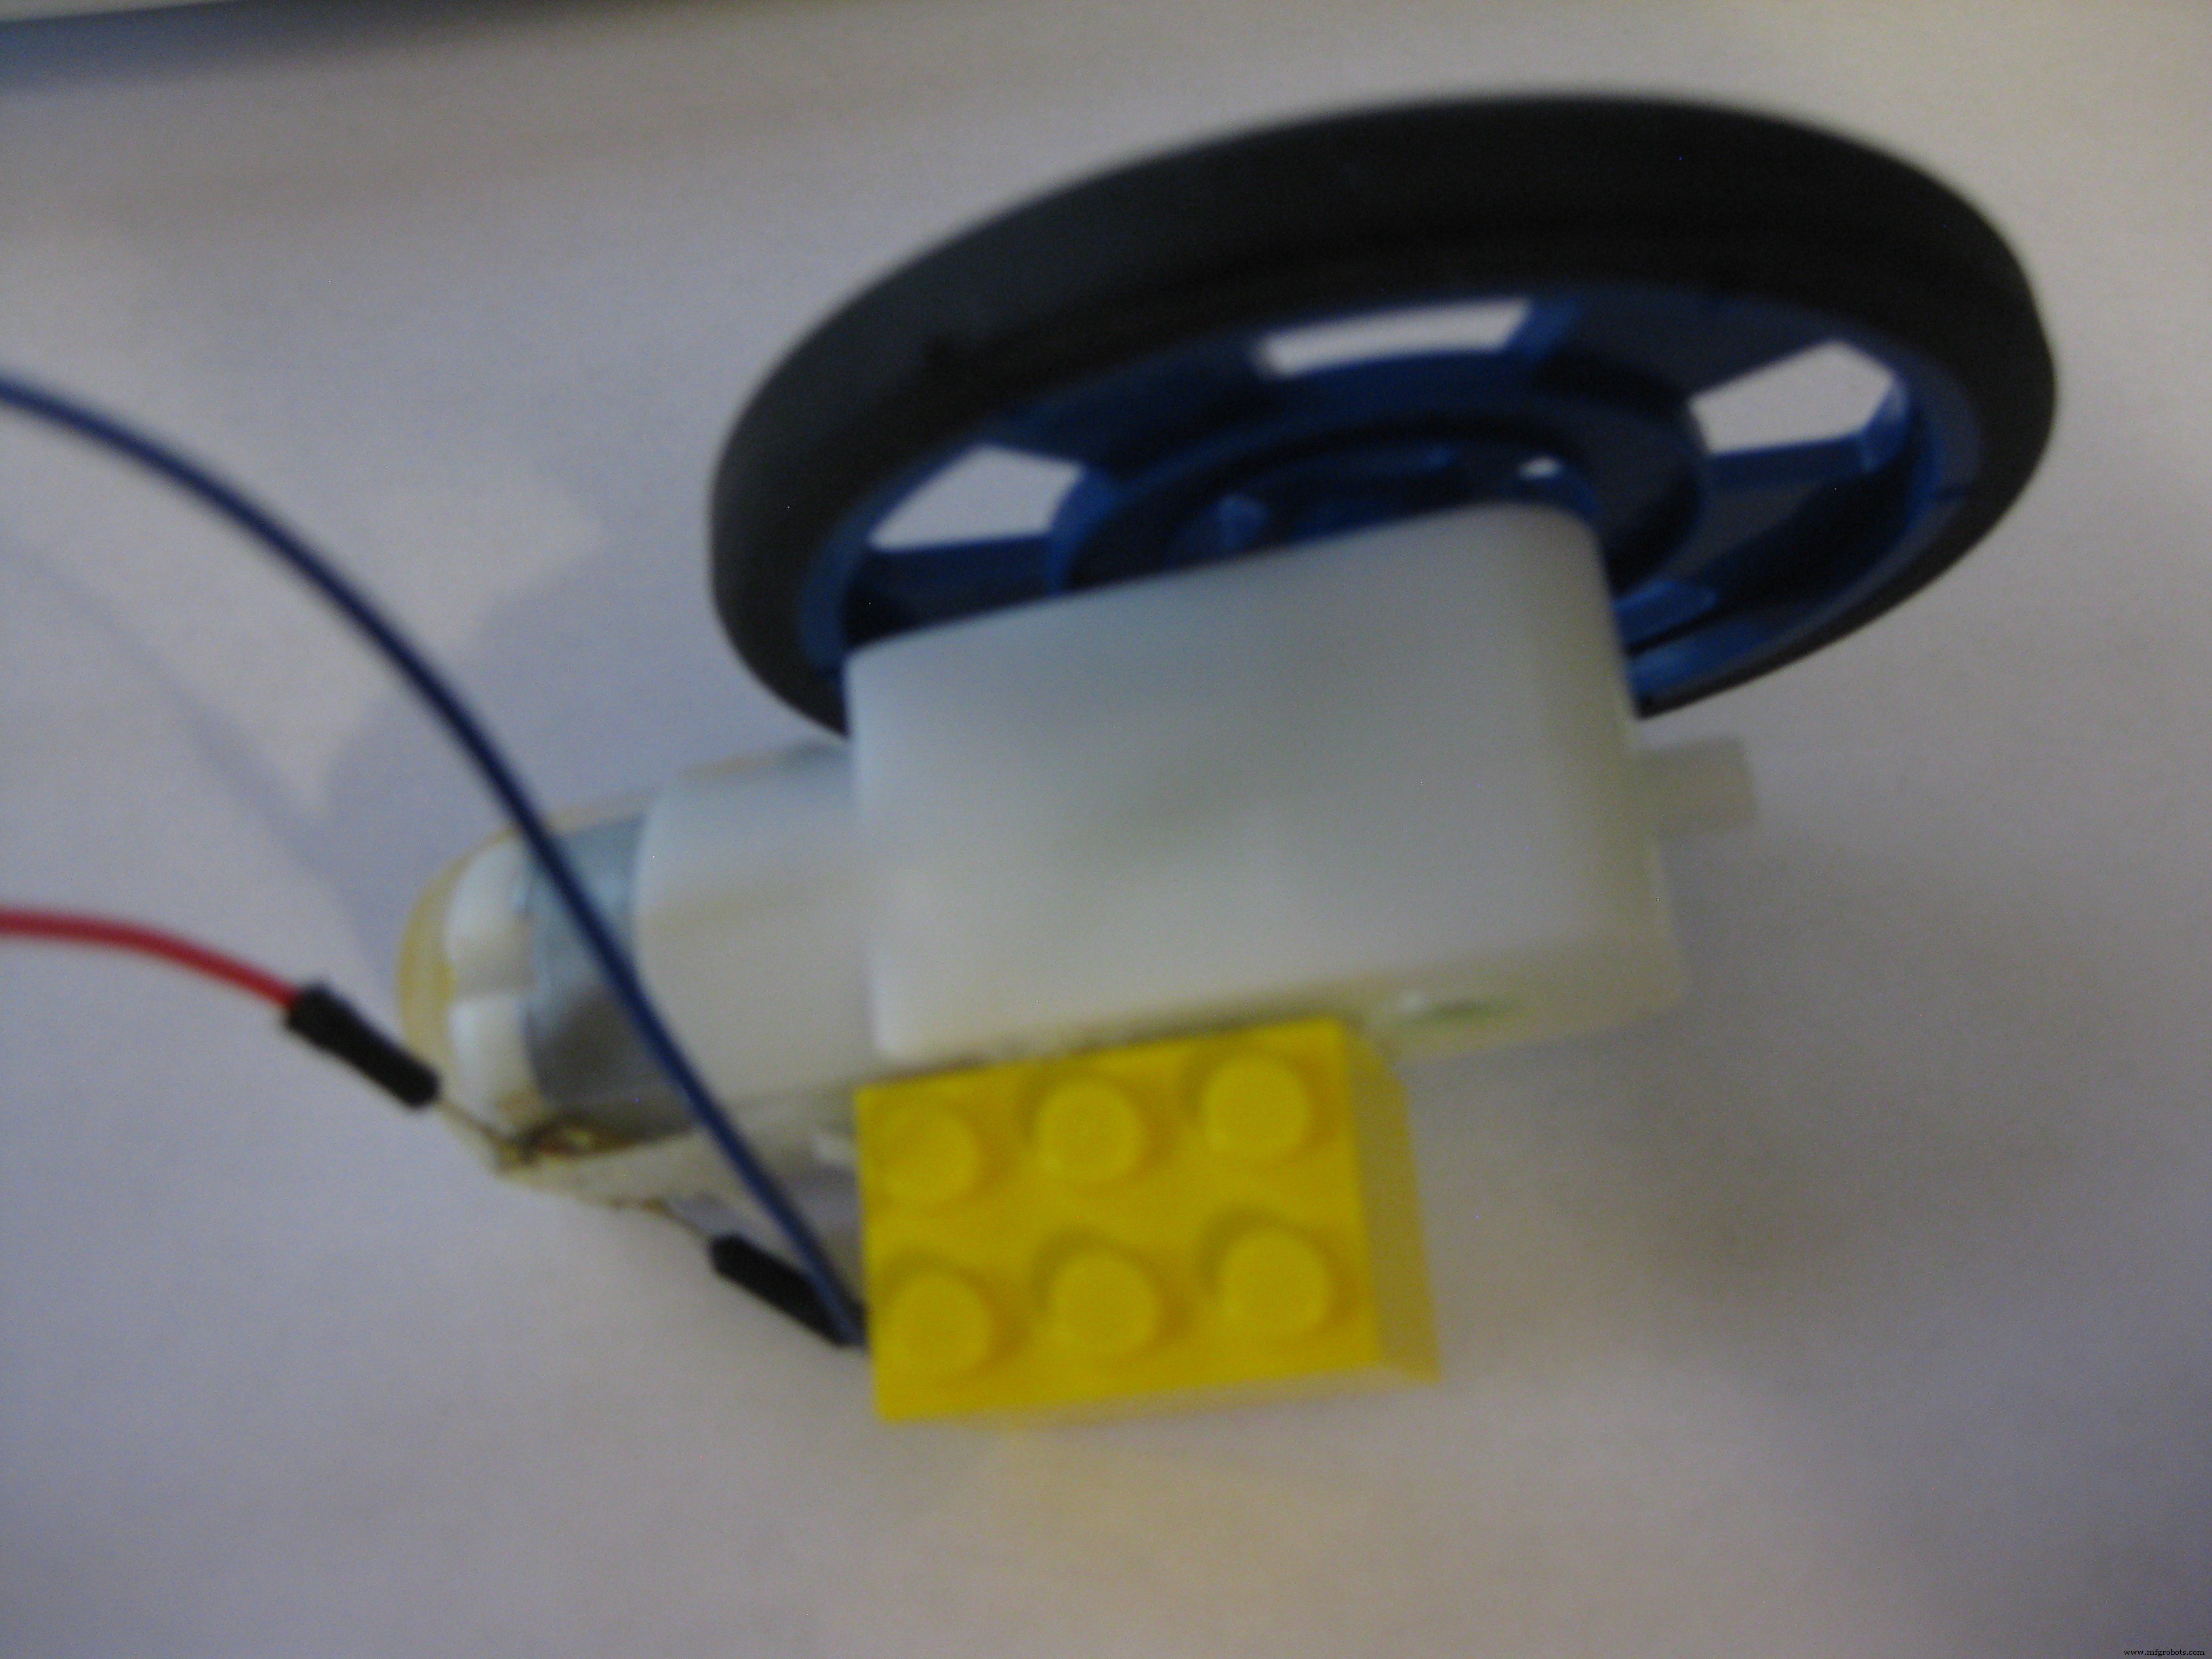
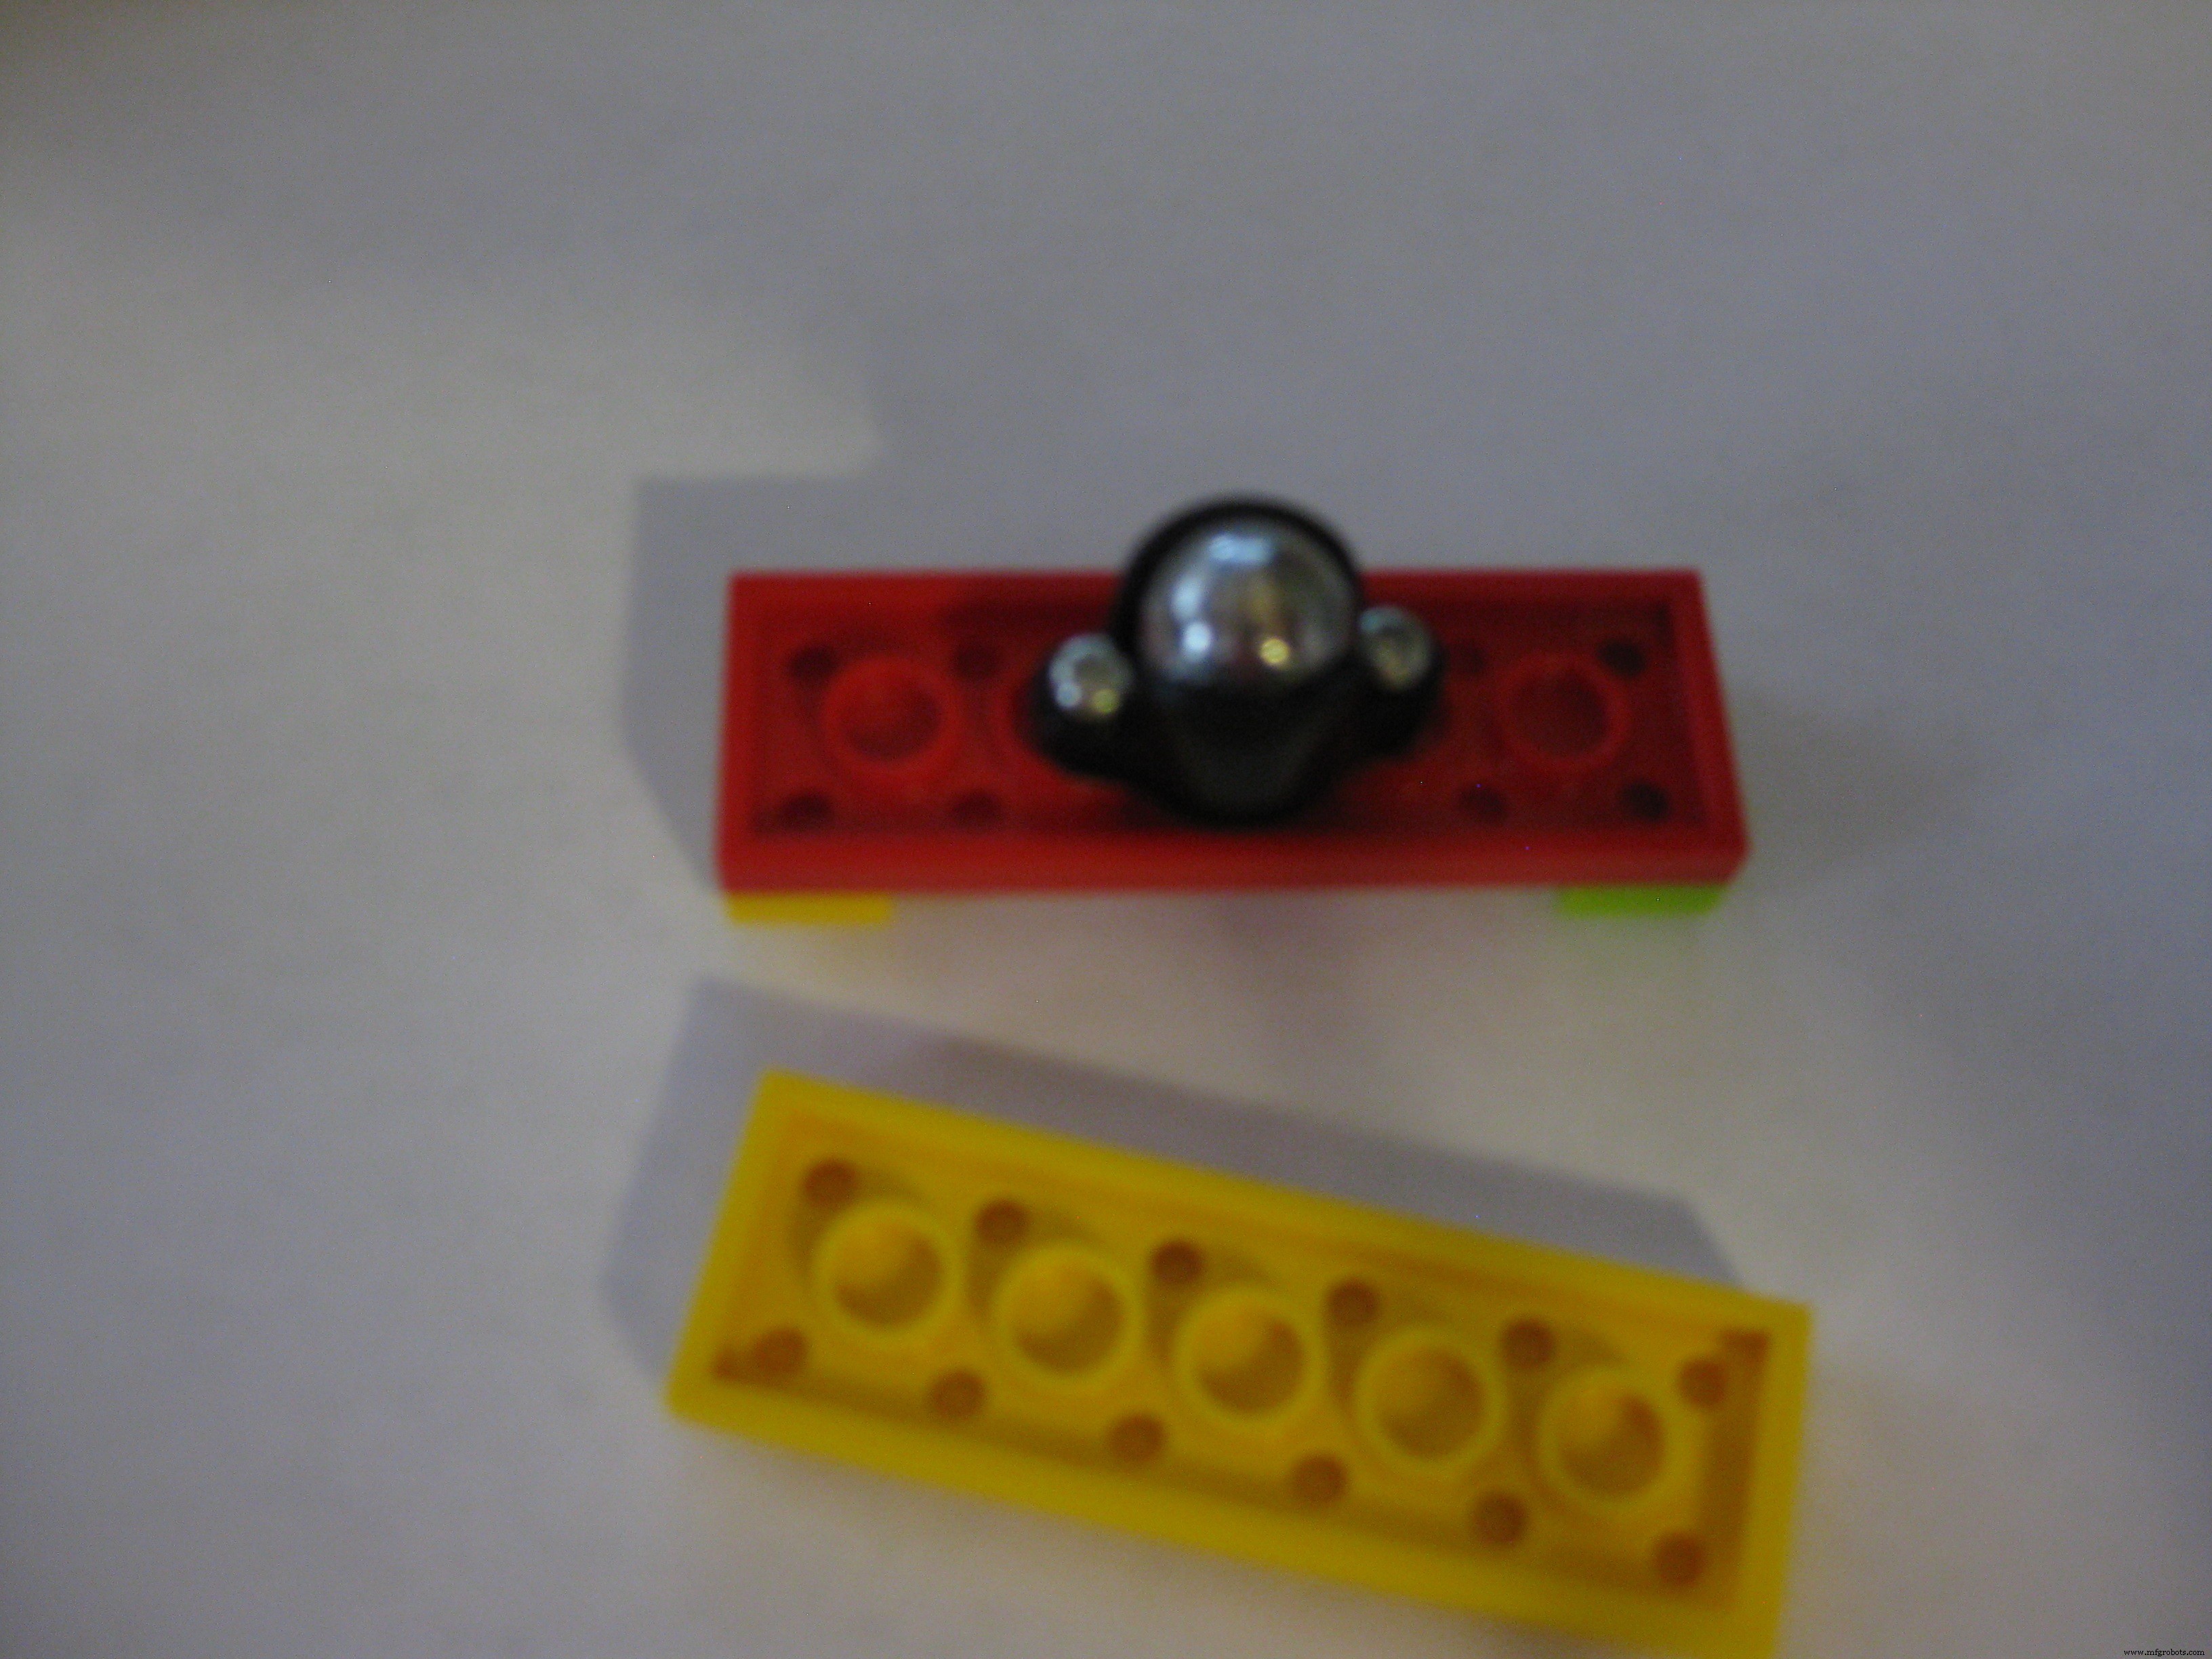
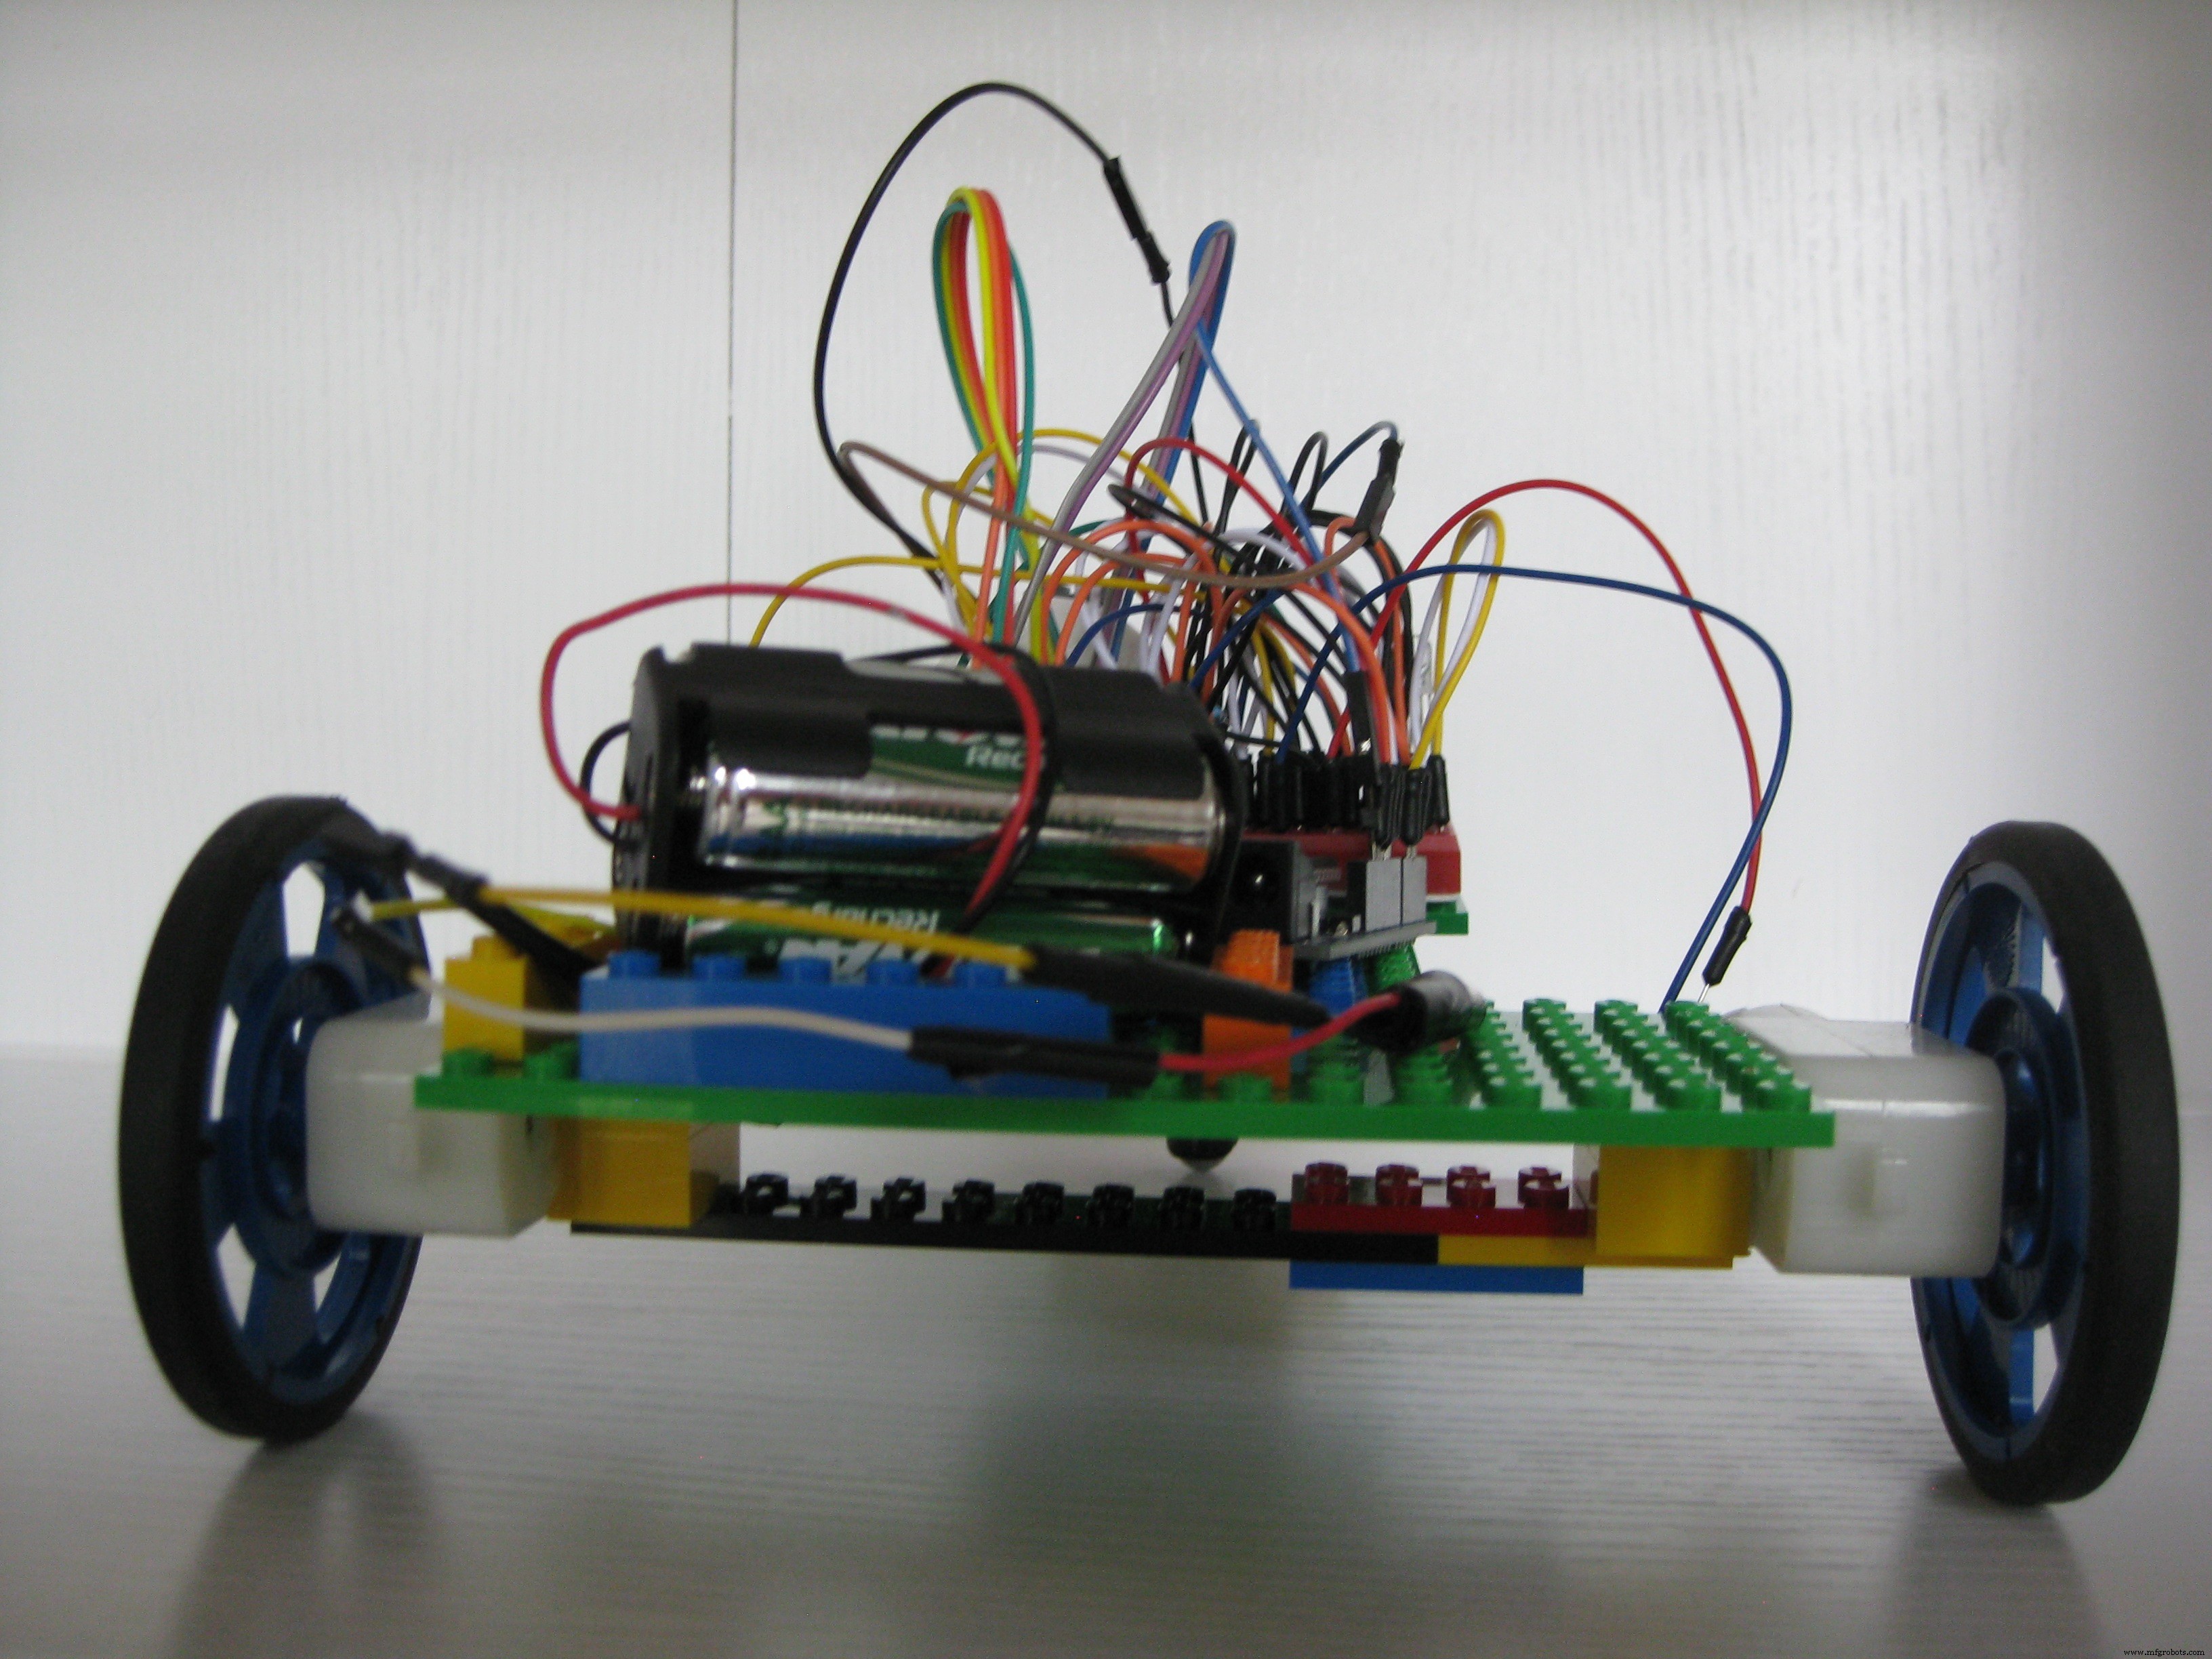
The tank body is made out of generic Lego bricks and plates. The power source is a simple block of 4 AA rechargeable batteries. The controller for the tank is an Arduino Uno R3. "Propulsion" is two simple DC motors with wheels in the back with a single caster in the front using a single L293D integrated circuit. The "weaponry" is a single IR LED light and the "armor" is a set of IR sensors which detect hits from the opposing tanks IR LED. The "heads up display" is a single multi-colored LED telling you of any actions occurring on the tank including your armor status. Finally the "control" of the tank is handled wireless-ly via a Raspberry Pi 2 running NodeJS connected via a RF24 wireless module which each tank also is equipped with.
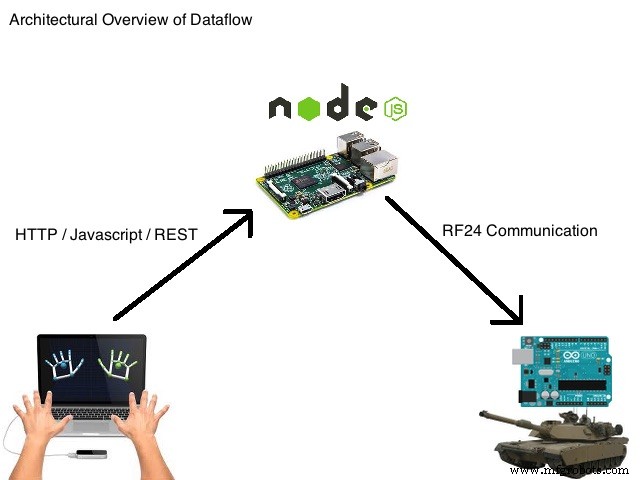
Using the operators hands, the Leap Motion controls the tank using the Leap Motion Javascript SDK. Using the SDK to detect hand motion, javascript communicates with the NodeJS server on the Raspberry PI 2, which in turn communicates with the tank via the RF24 module. Both hands forward, the tank moves forward. Both hands back, the tank moves backwards. Left hand forward, right hand backward, the tank turns right. Right hand forward, left hand backward, the tank turns left. Both hands in the "nuetral" position will stop the tank. One hand forward (left or right) while dropping the other hand will "fire" the tank's weapon.
Here is a quick demonstration of the Tanks weapon, armor and heads up display.
Using the omni directional advanced armor and cardboard boxes as shelter, Laser Tanks becomes a game of hunt and evade.
Project Setup Steps:
1) Assemble tanks and wire them using the schematics below. Download the needed Arduino libraries (see README in github repository), Compile, and Upload the arduino sketch for tank1 to one tank, and tank2 to the other tank.
2) Wire the RF24 transceiver to the Raspberry Pi. Install Raspbian OS and node JS on the Pi.
3) Download, Configure, and Build (see README in github repository) the RF24 library on the Pi.
4) Download the NodeJS server software from the github site, configure, and start up the App Server/Web server (see README in github repository).
5) Install the Leap Motion and drivers onto your computer. Open a browser and load the URL to the Raspberry Pi Rest/Web server to load the web page (see README in github repository) to control tank one or tank two.
6) Click the calibrate button and hold your hands over the leap motion so it detects two hands and knows your neutral position. Once calibration is complete you can control the tank with your hands.
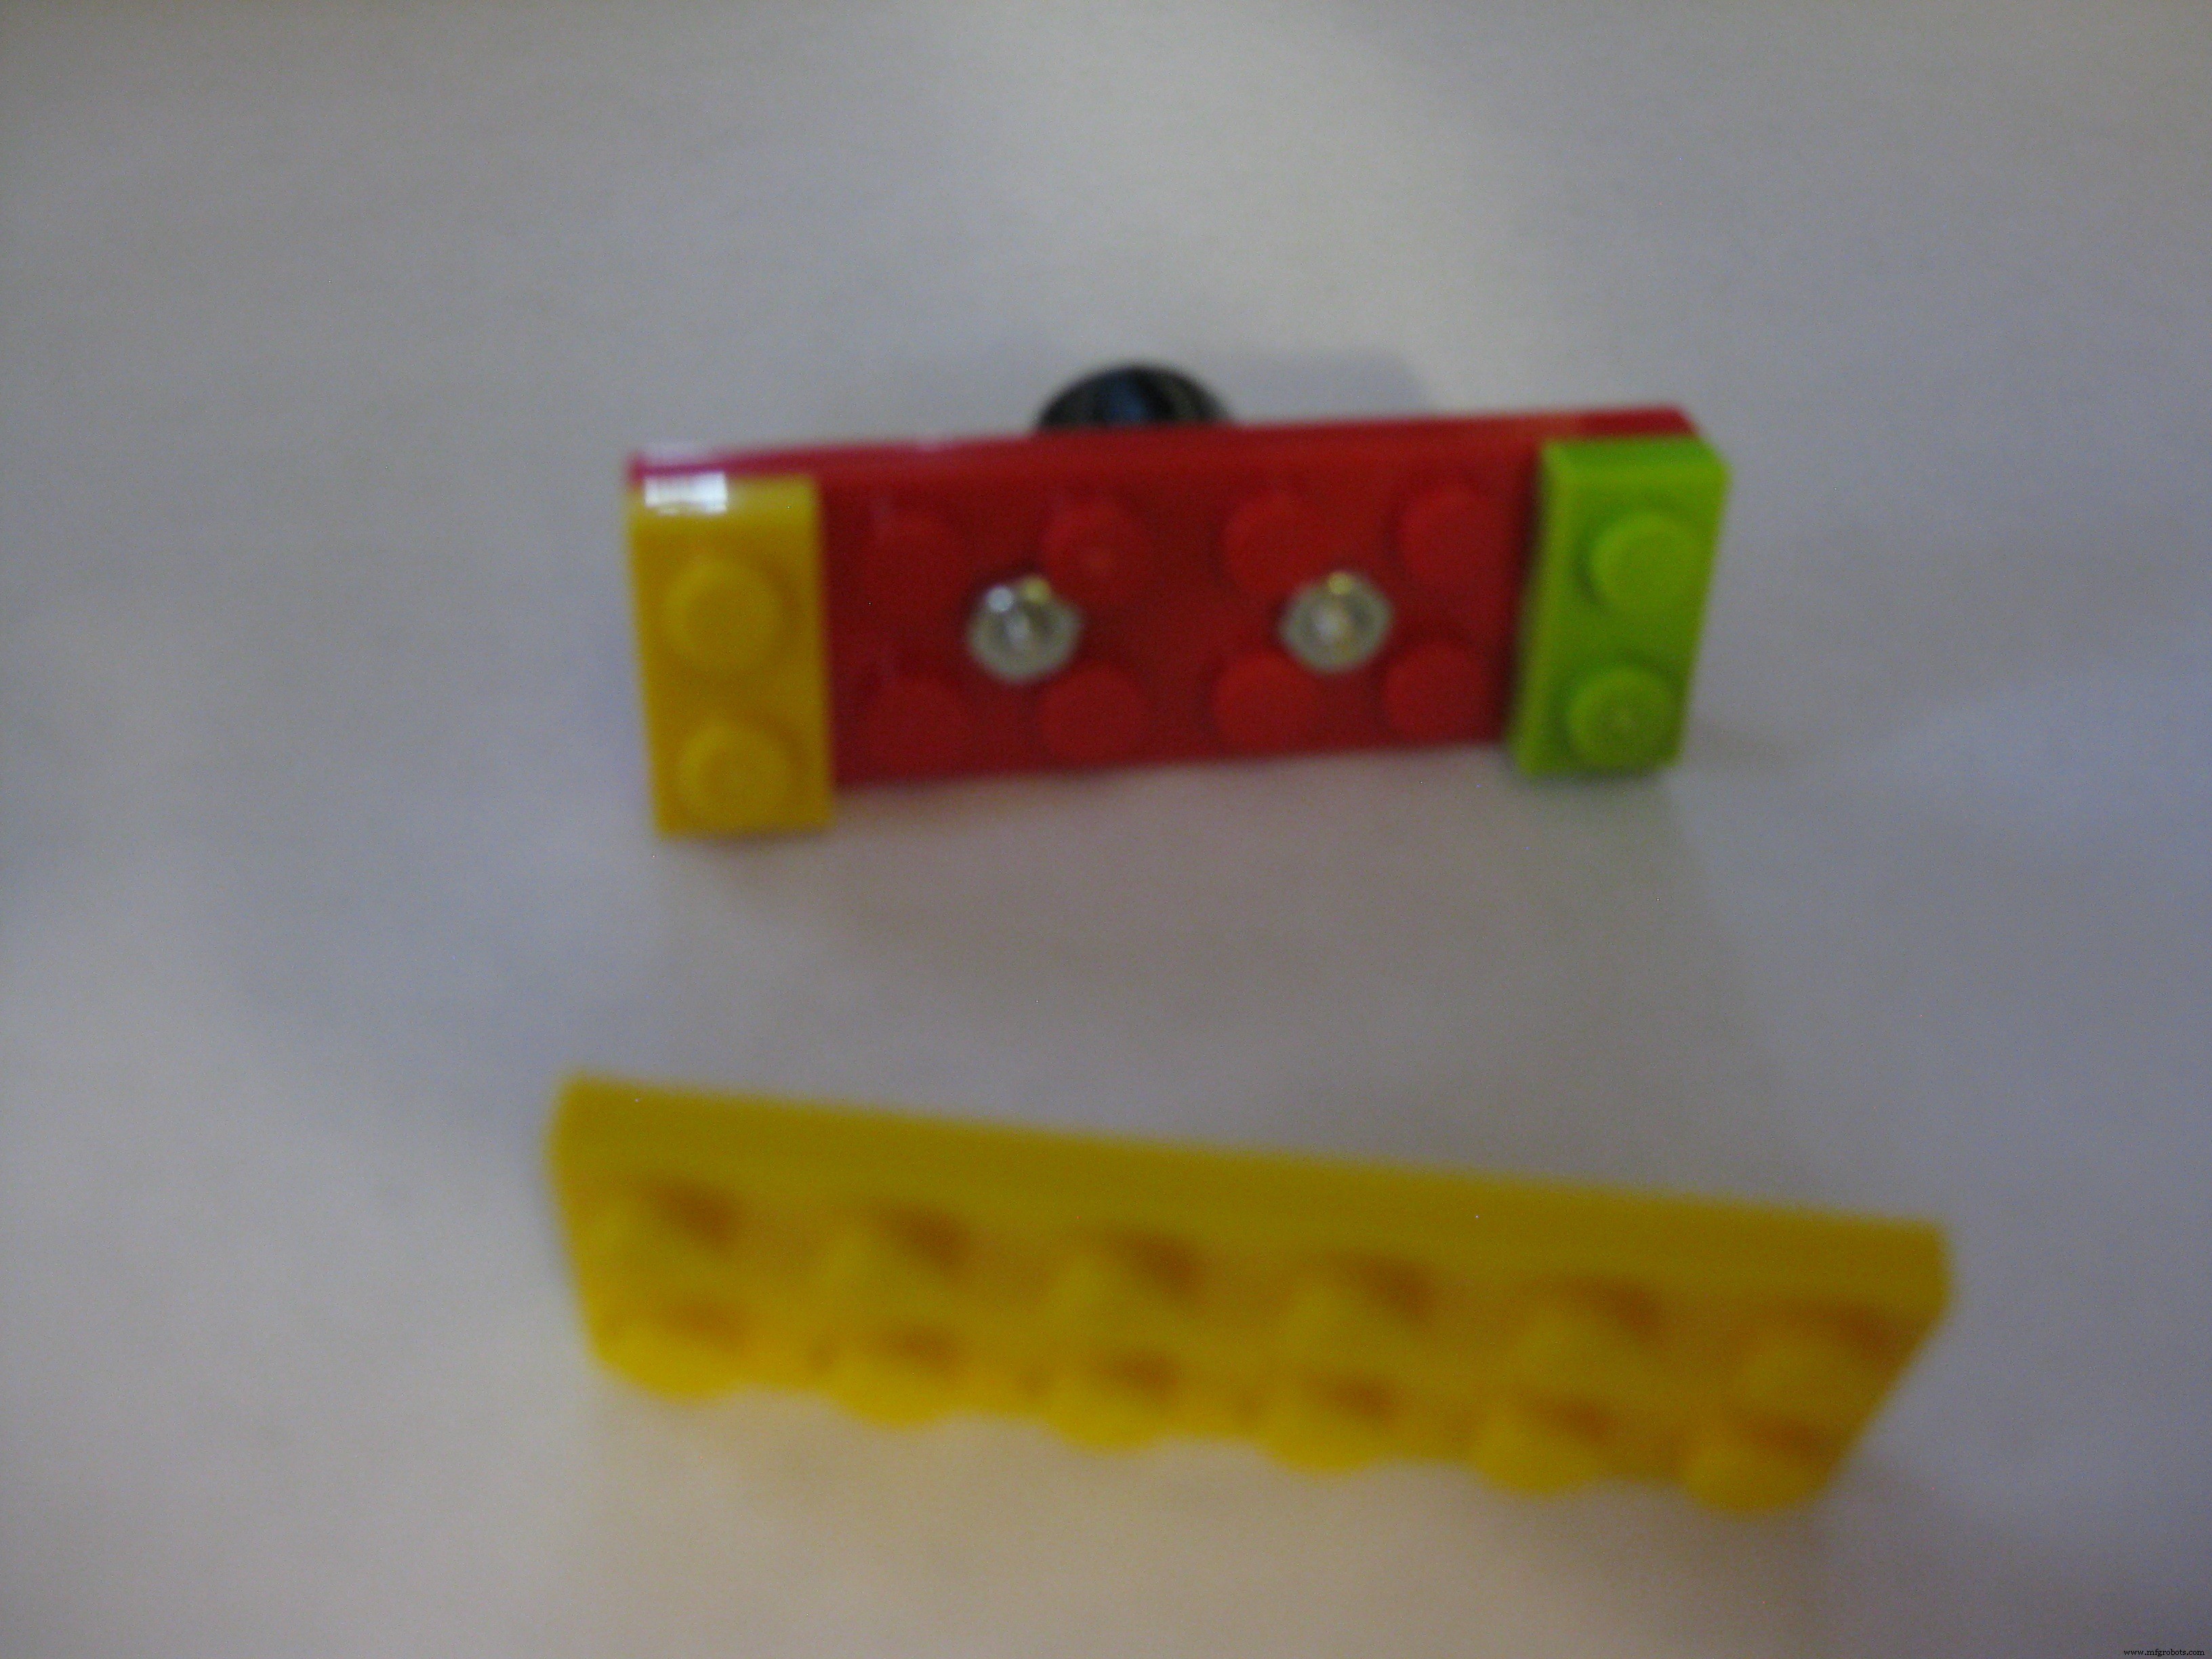
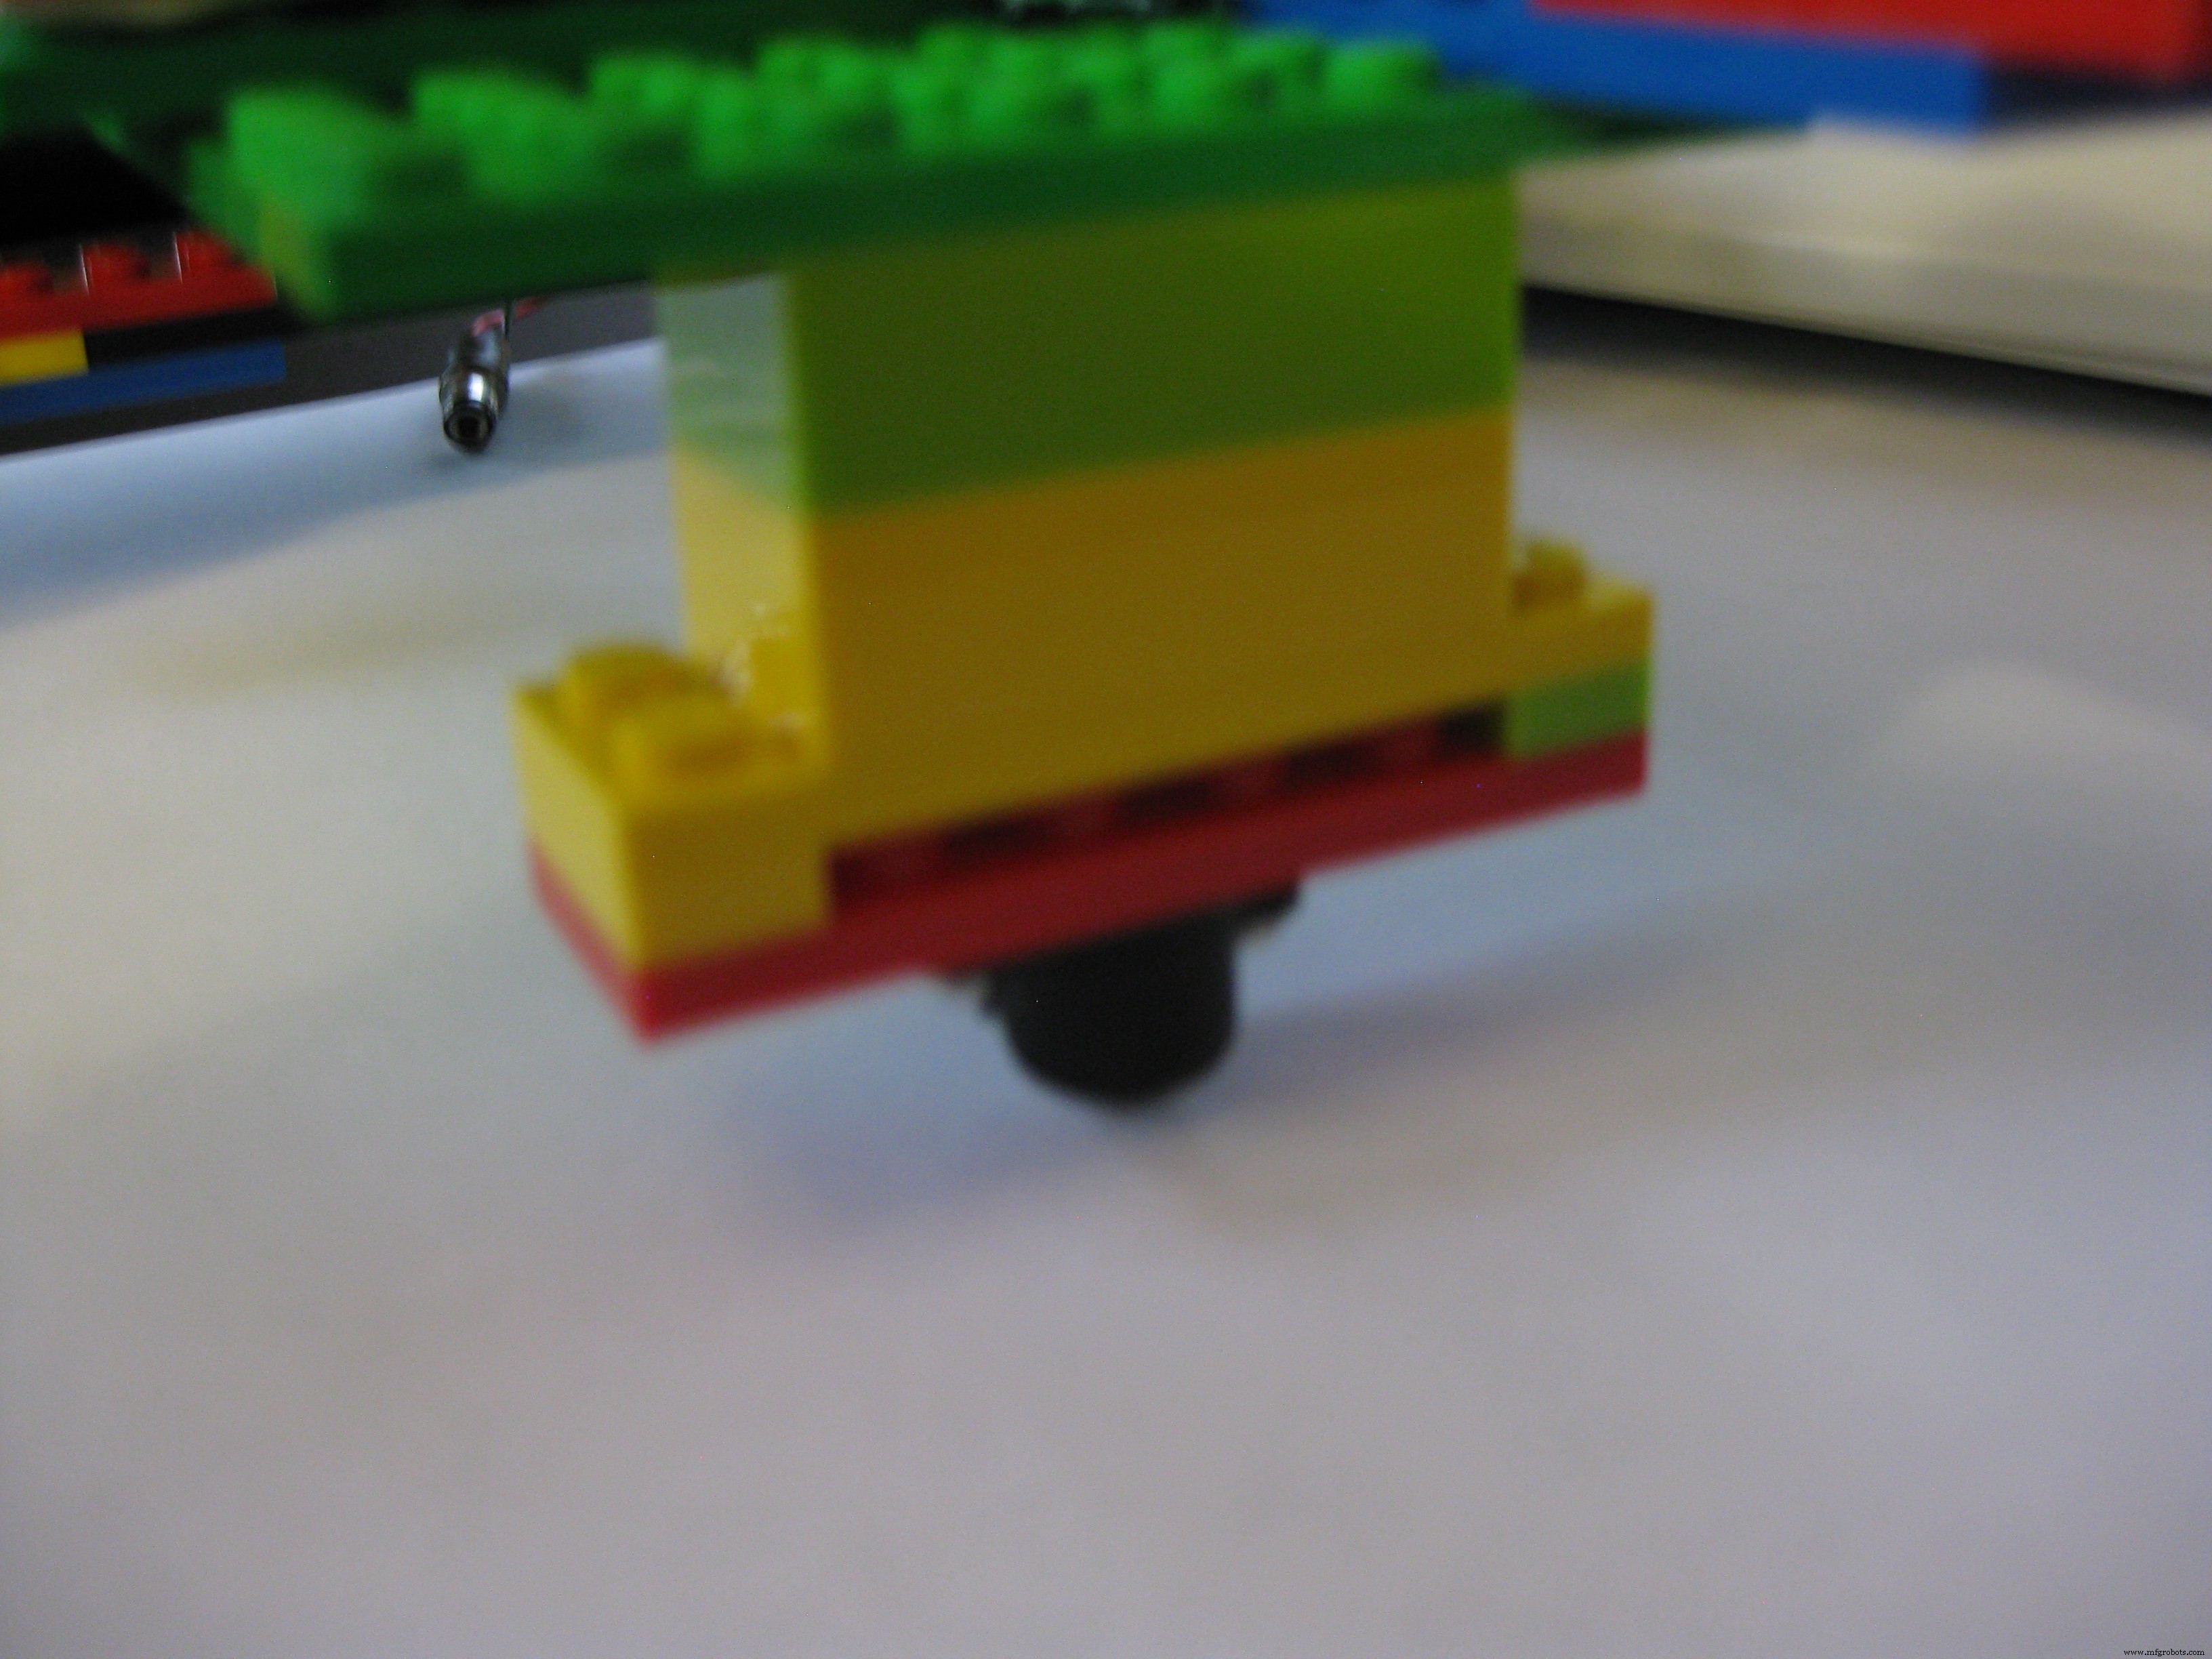
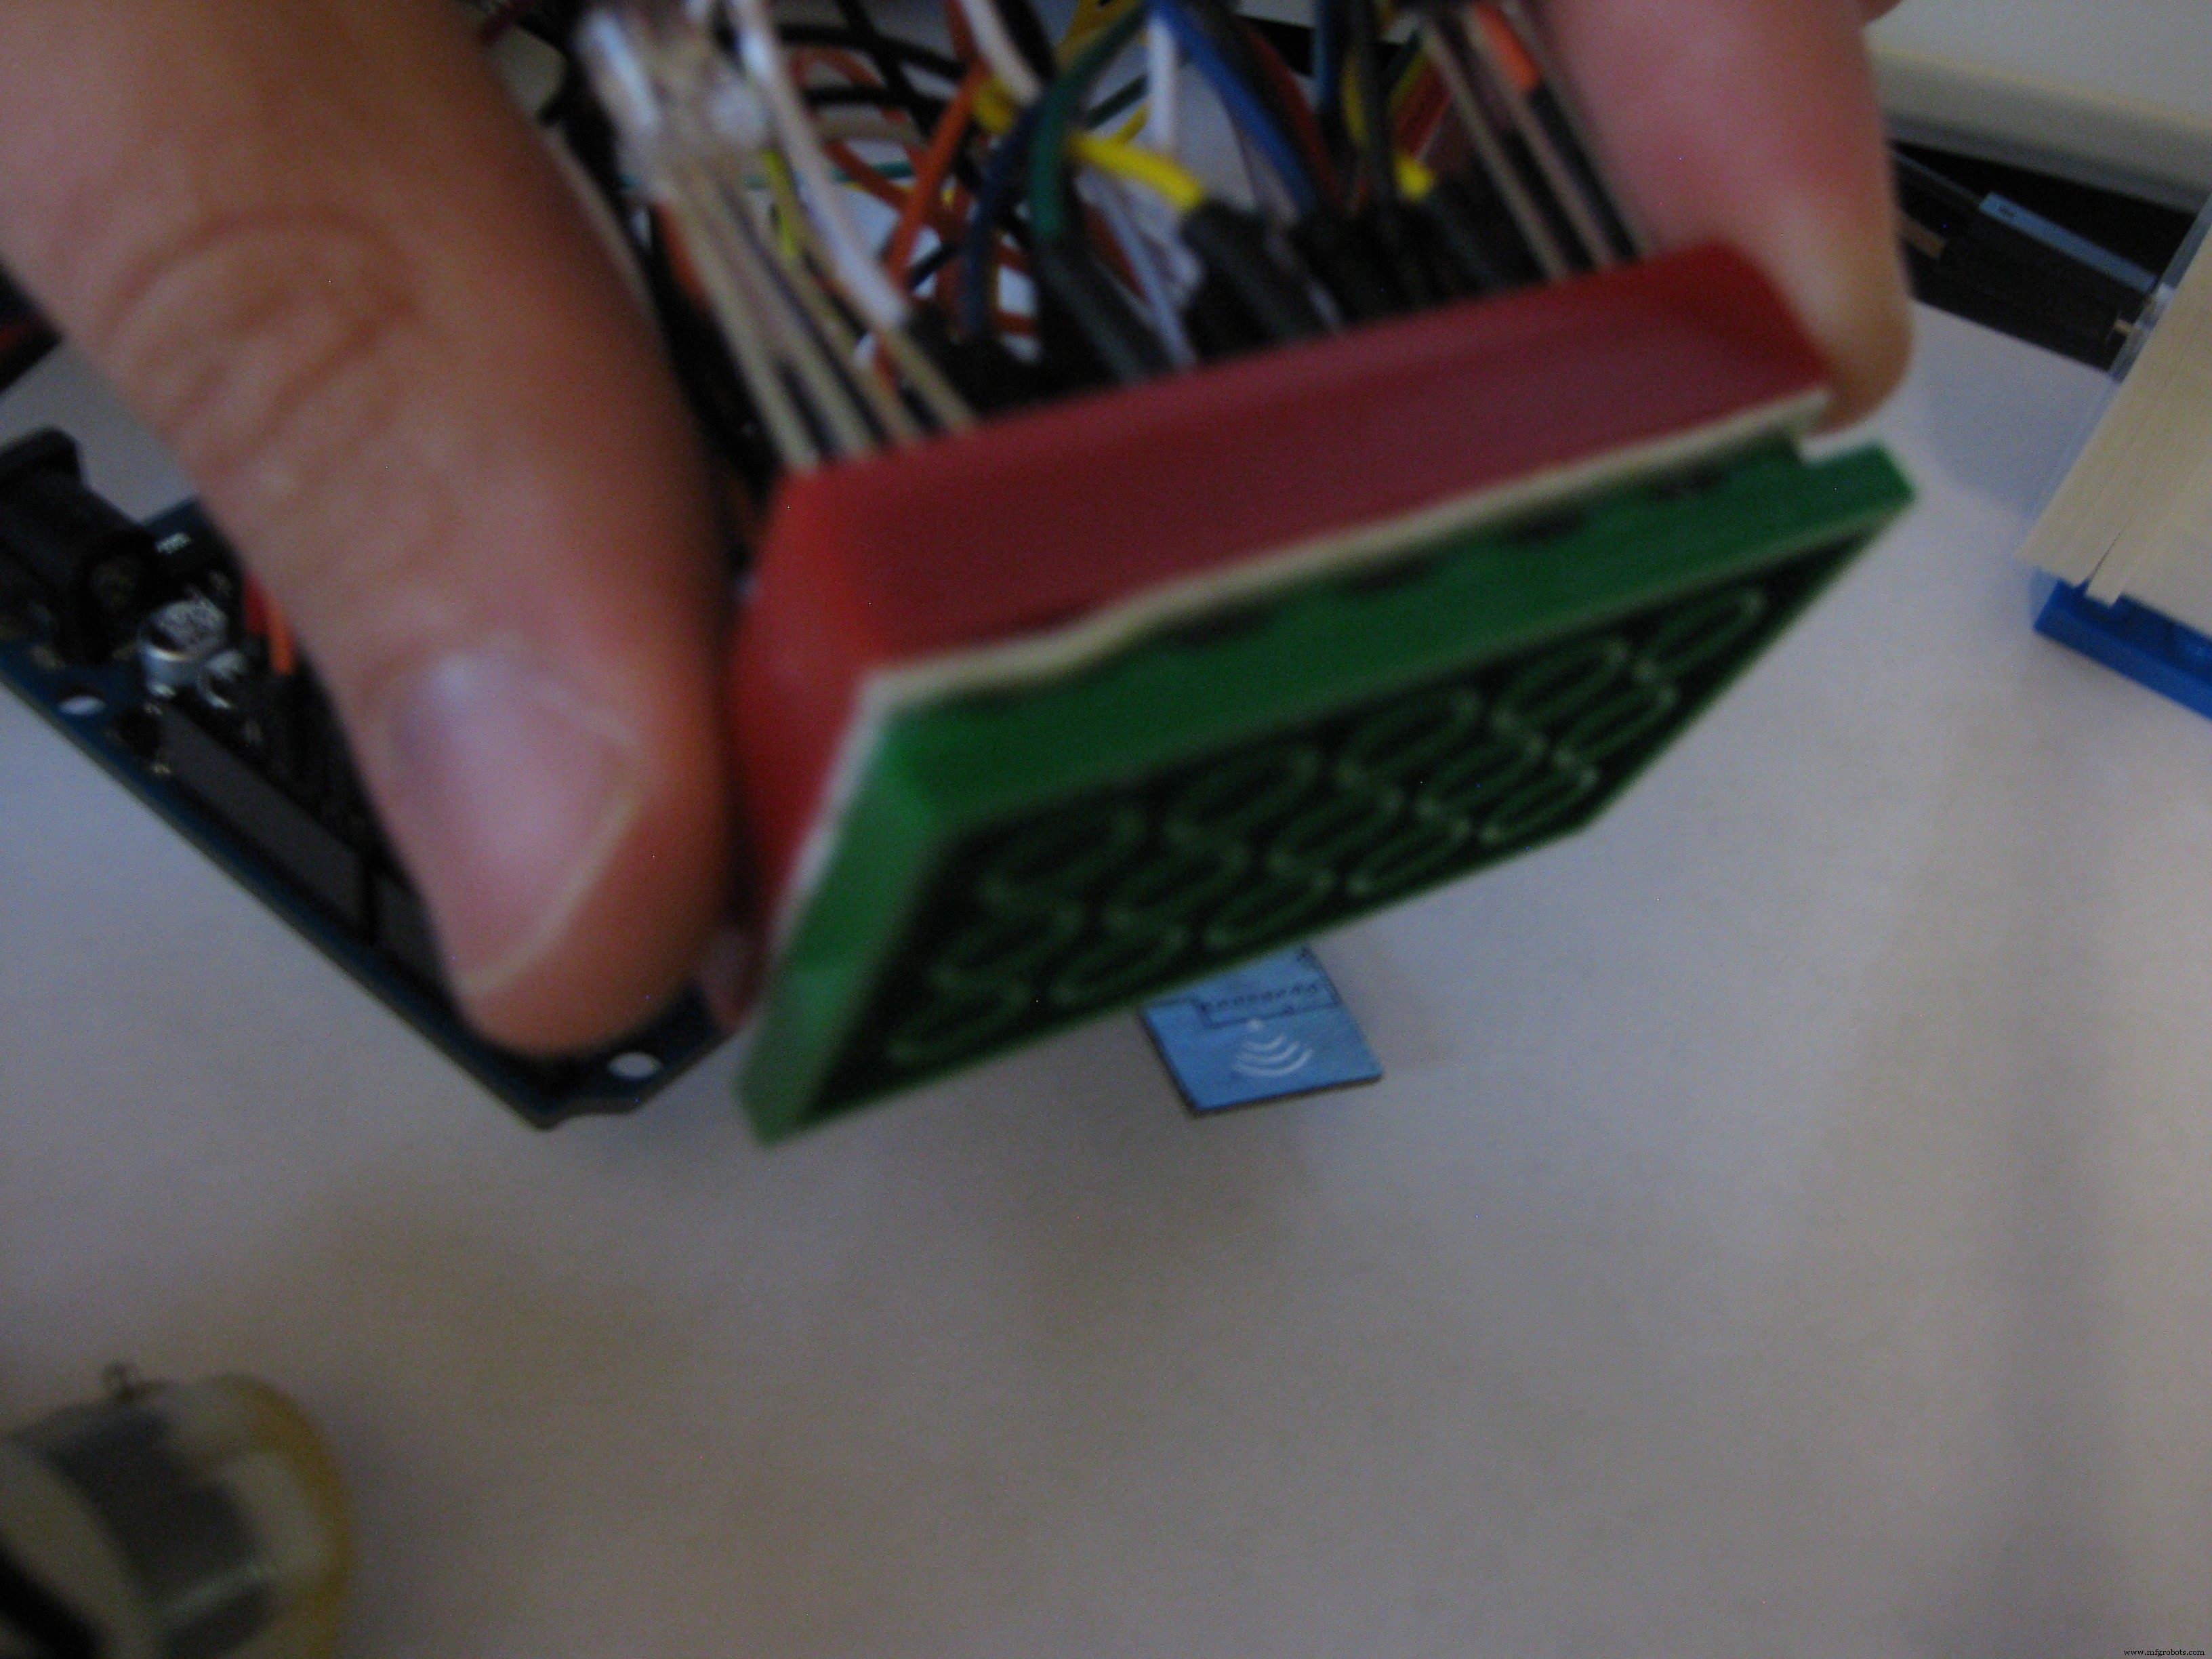
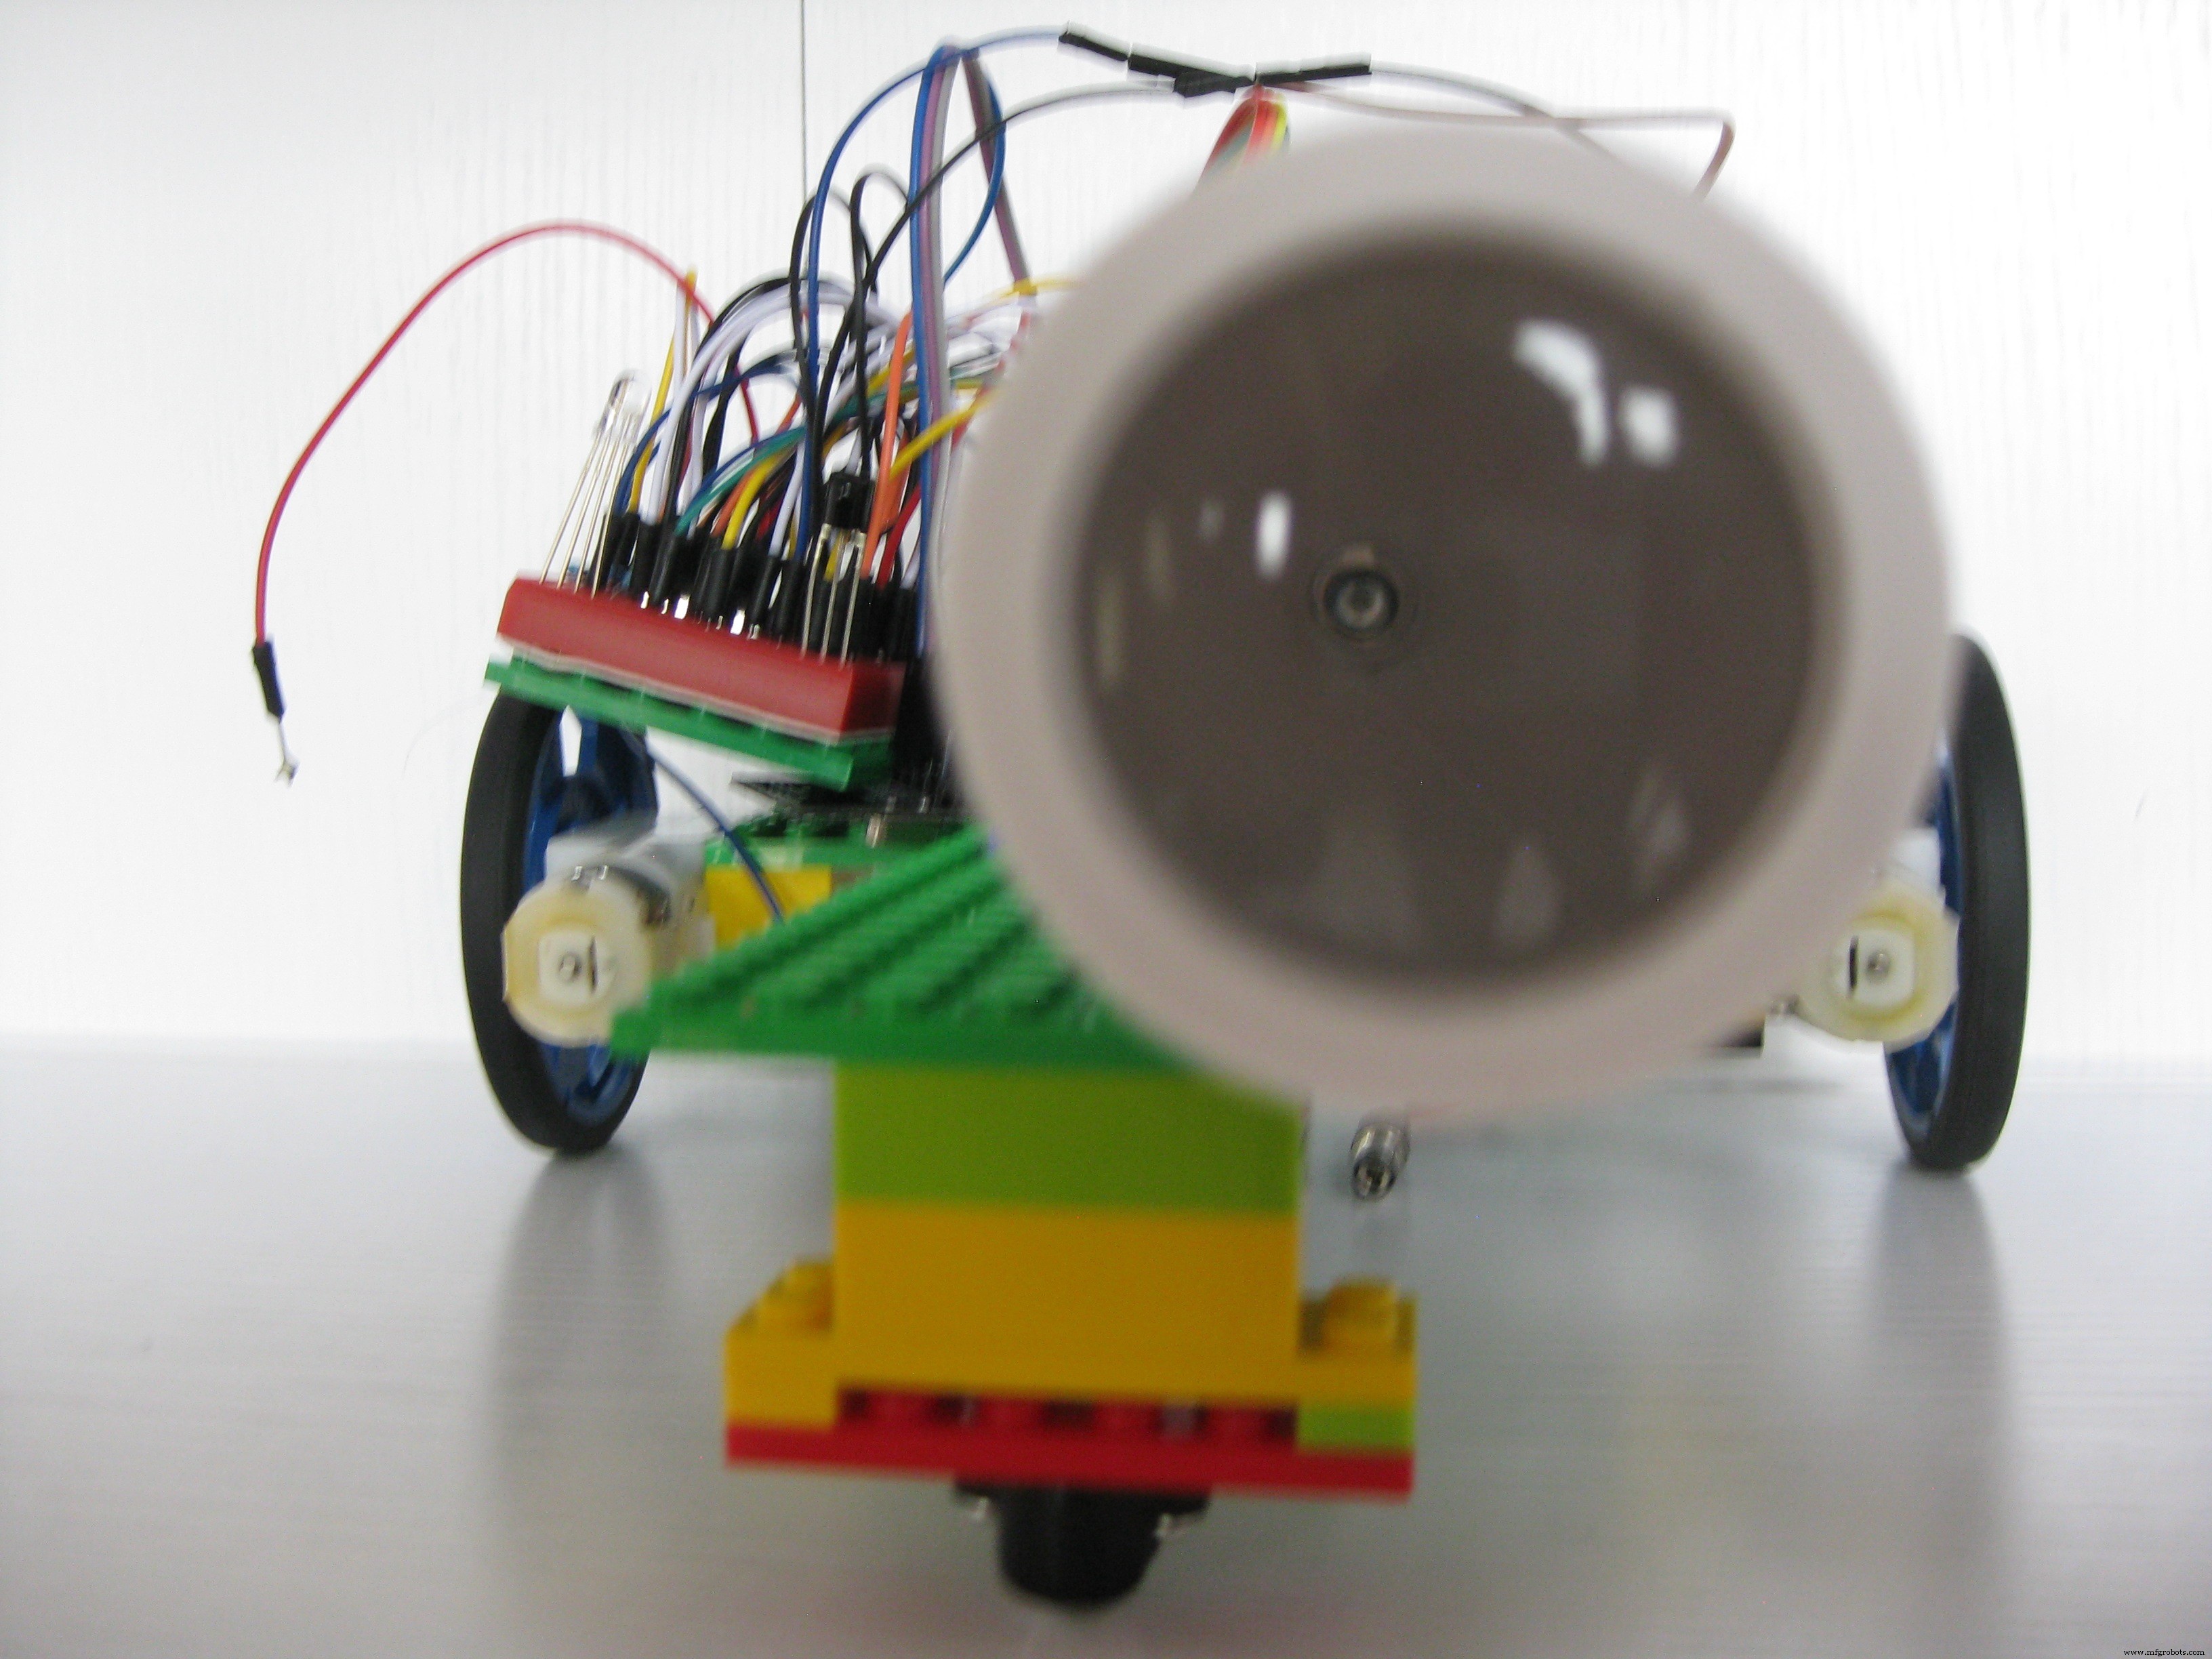
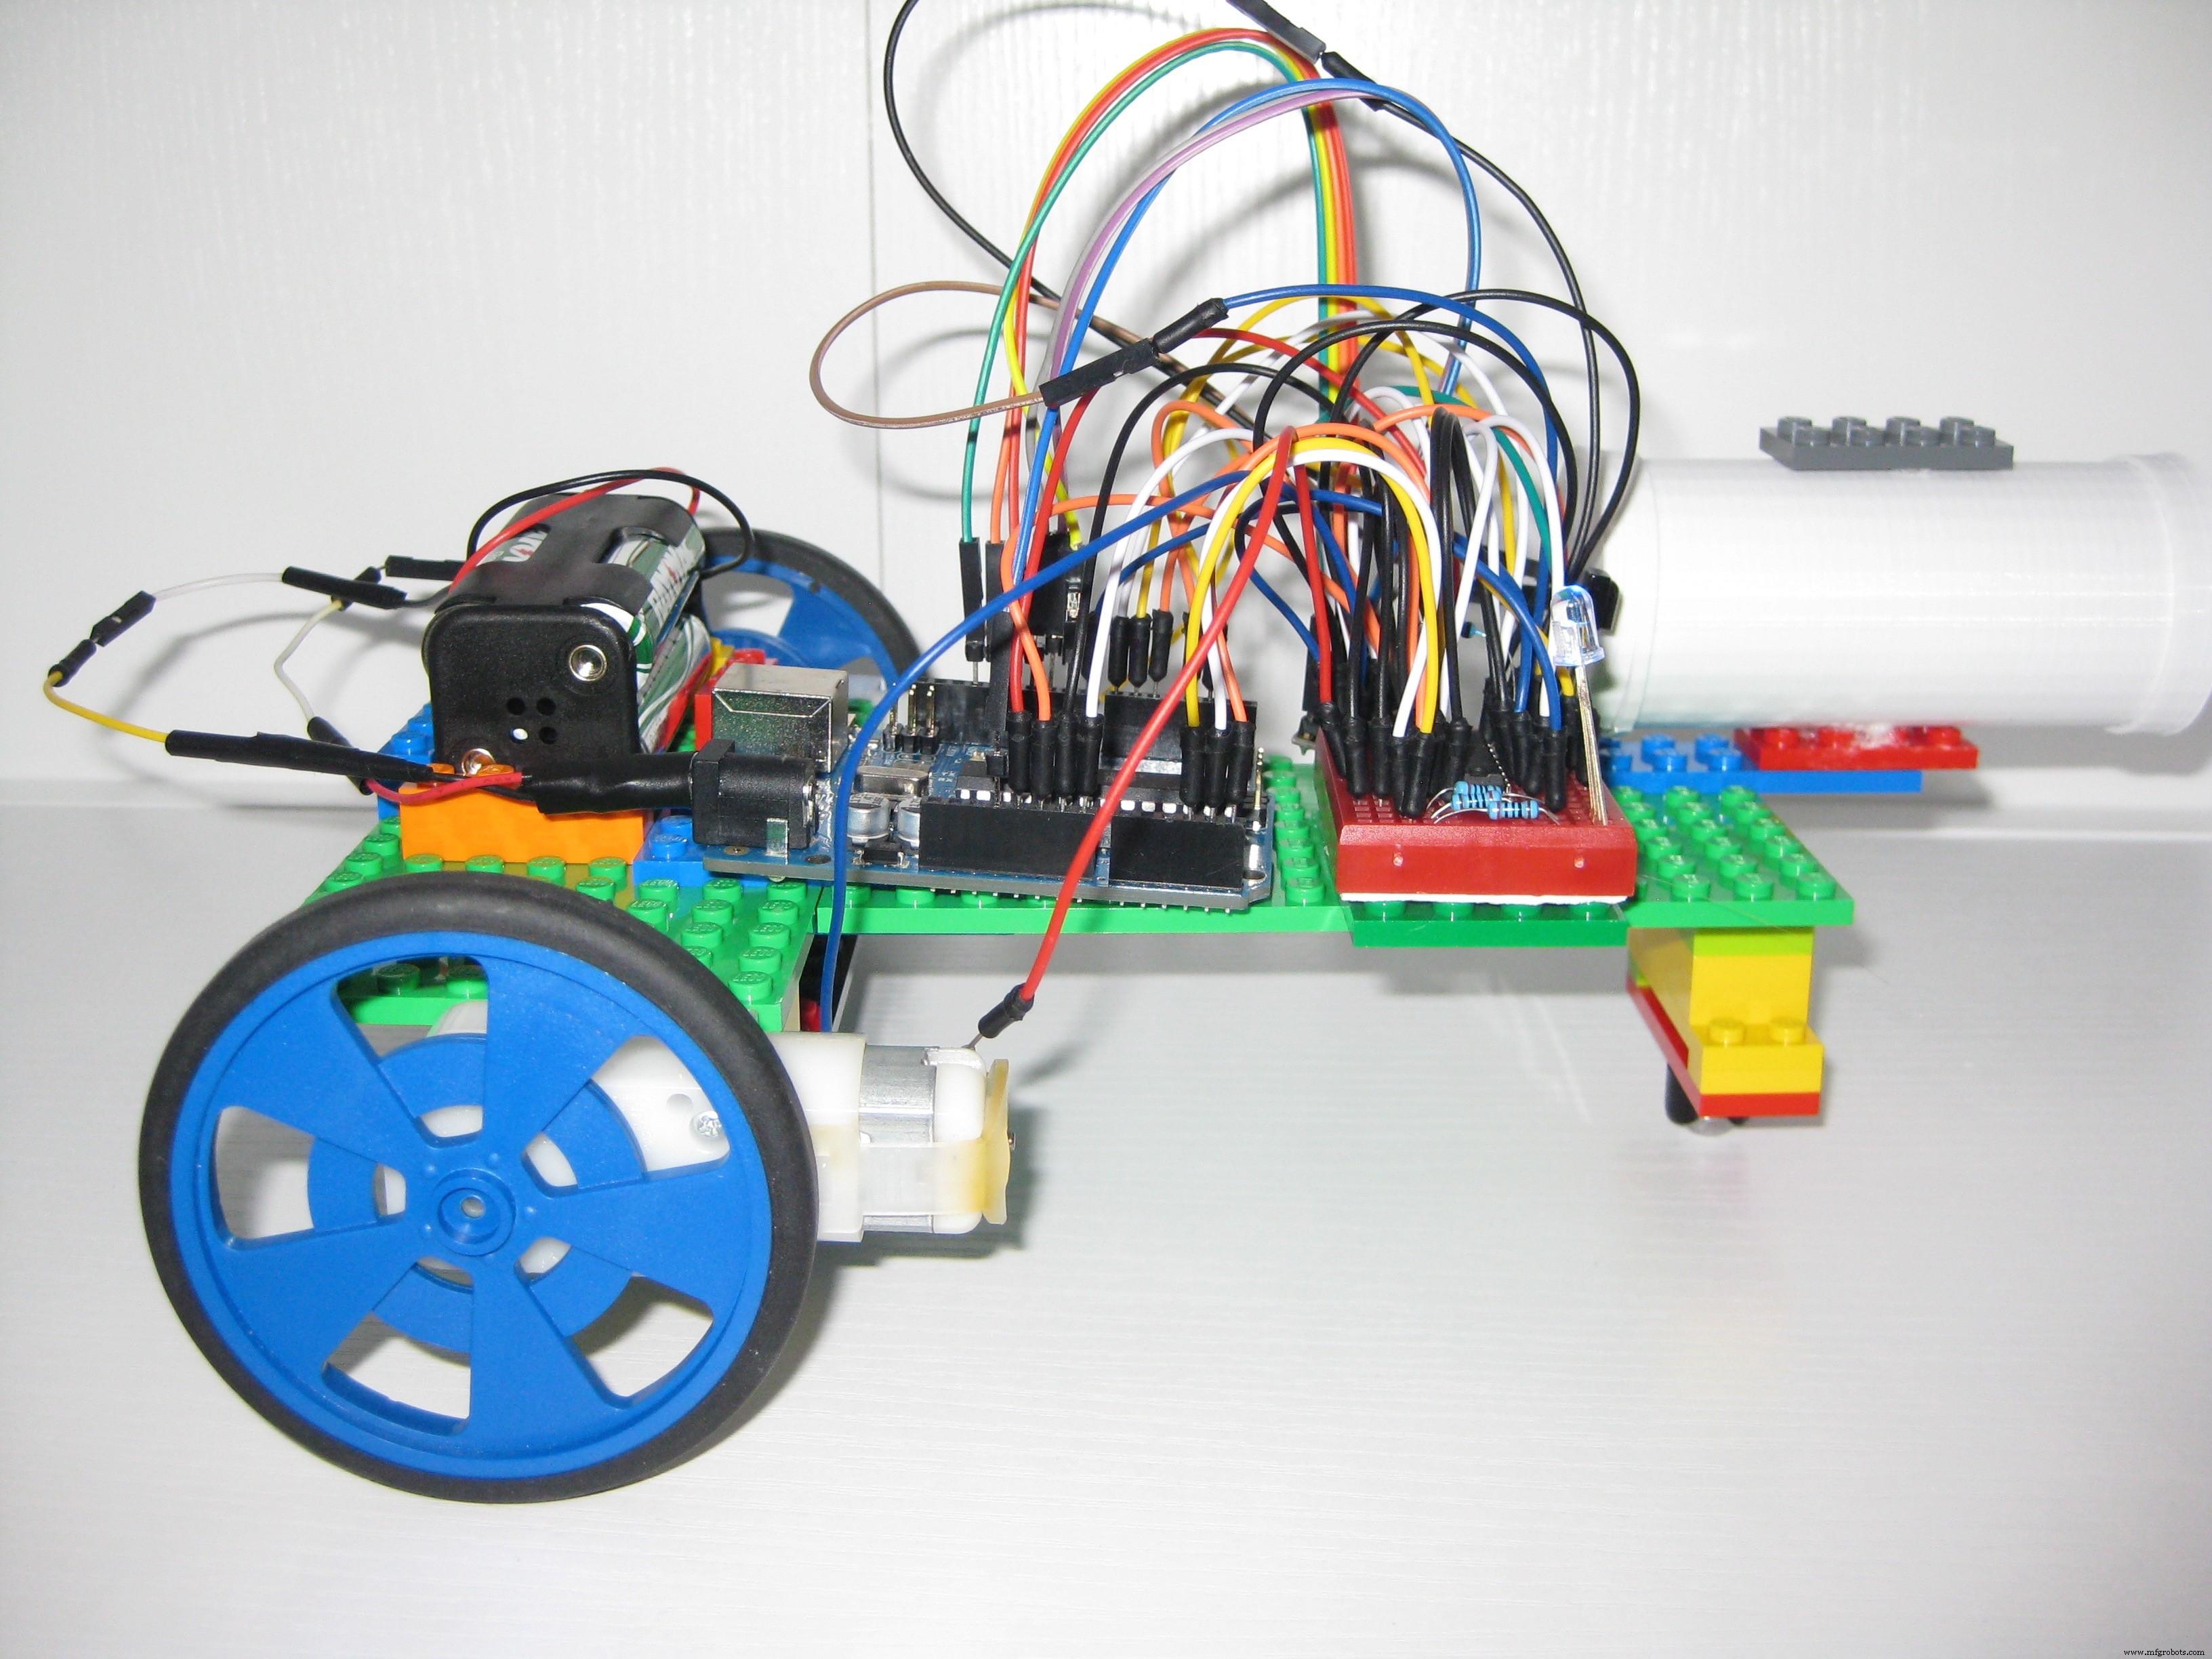
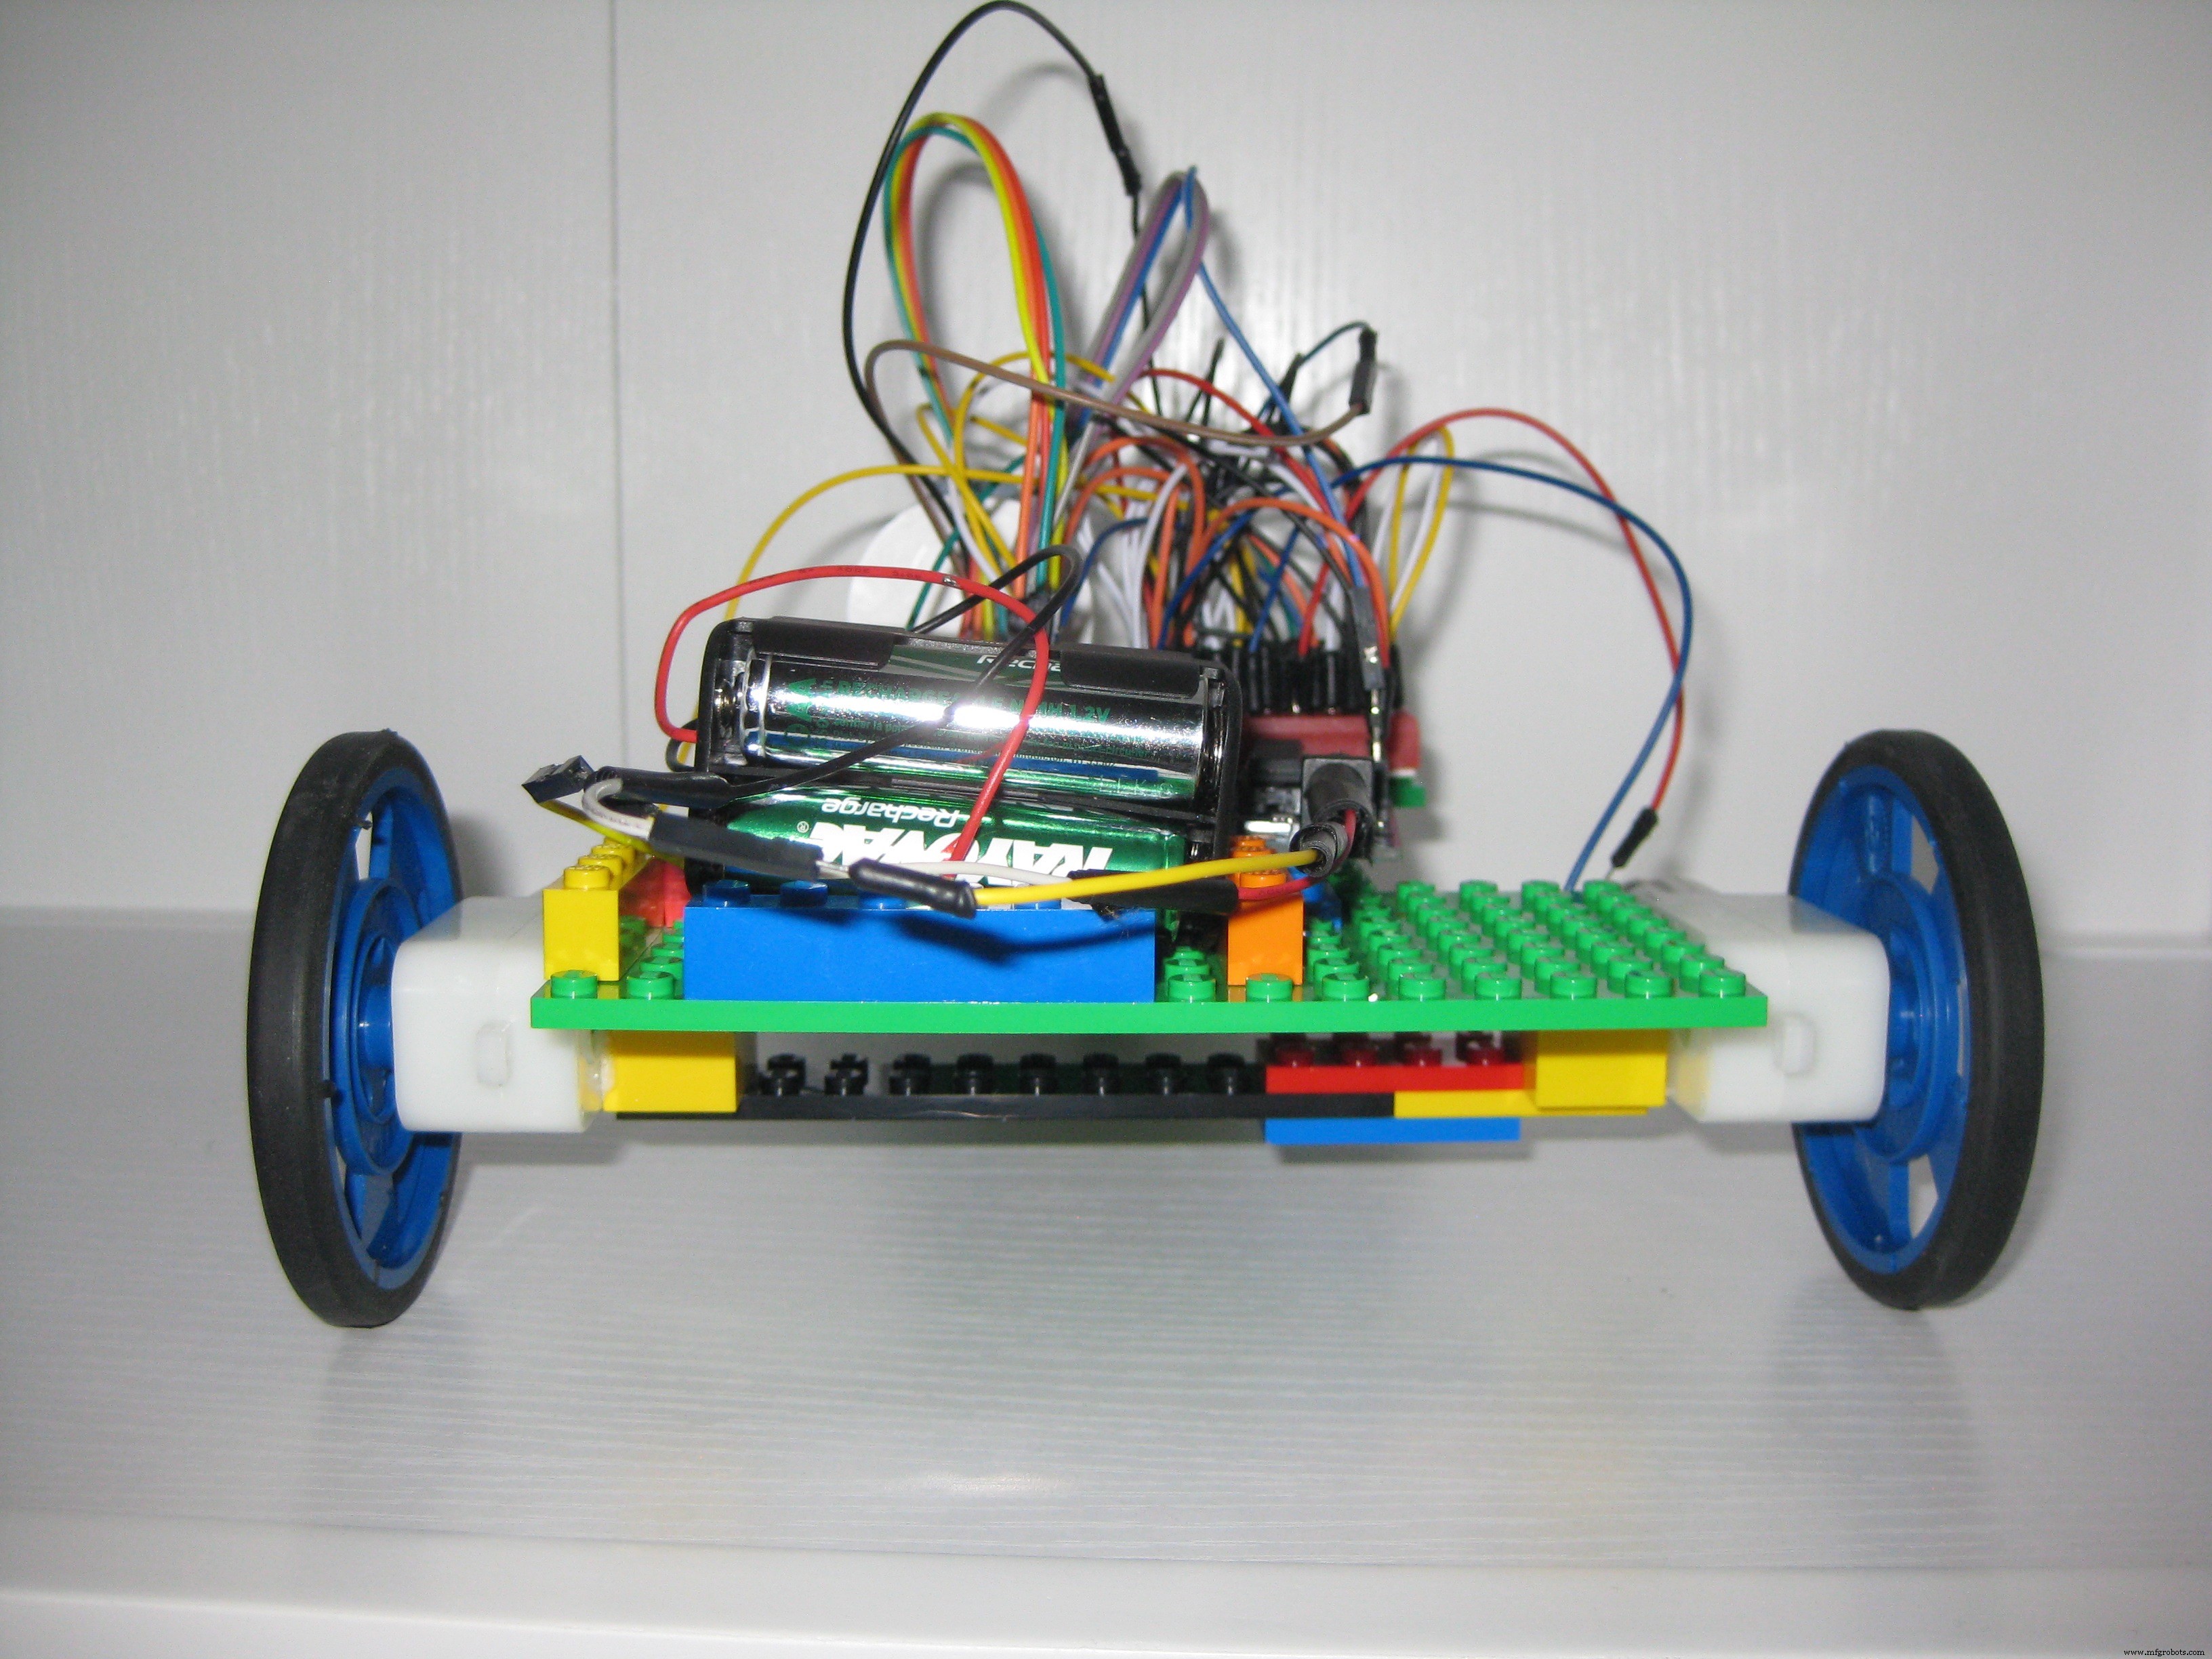
Quick note on the tank chassis:
The body of the tanks is assembled from simple legos that were "gorilla glued" to parts (motors, breadboards, etc) of the tank to help hold it together. Here is a slide show to show how this was done.
A quick note about Infrared LEDs:
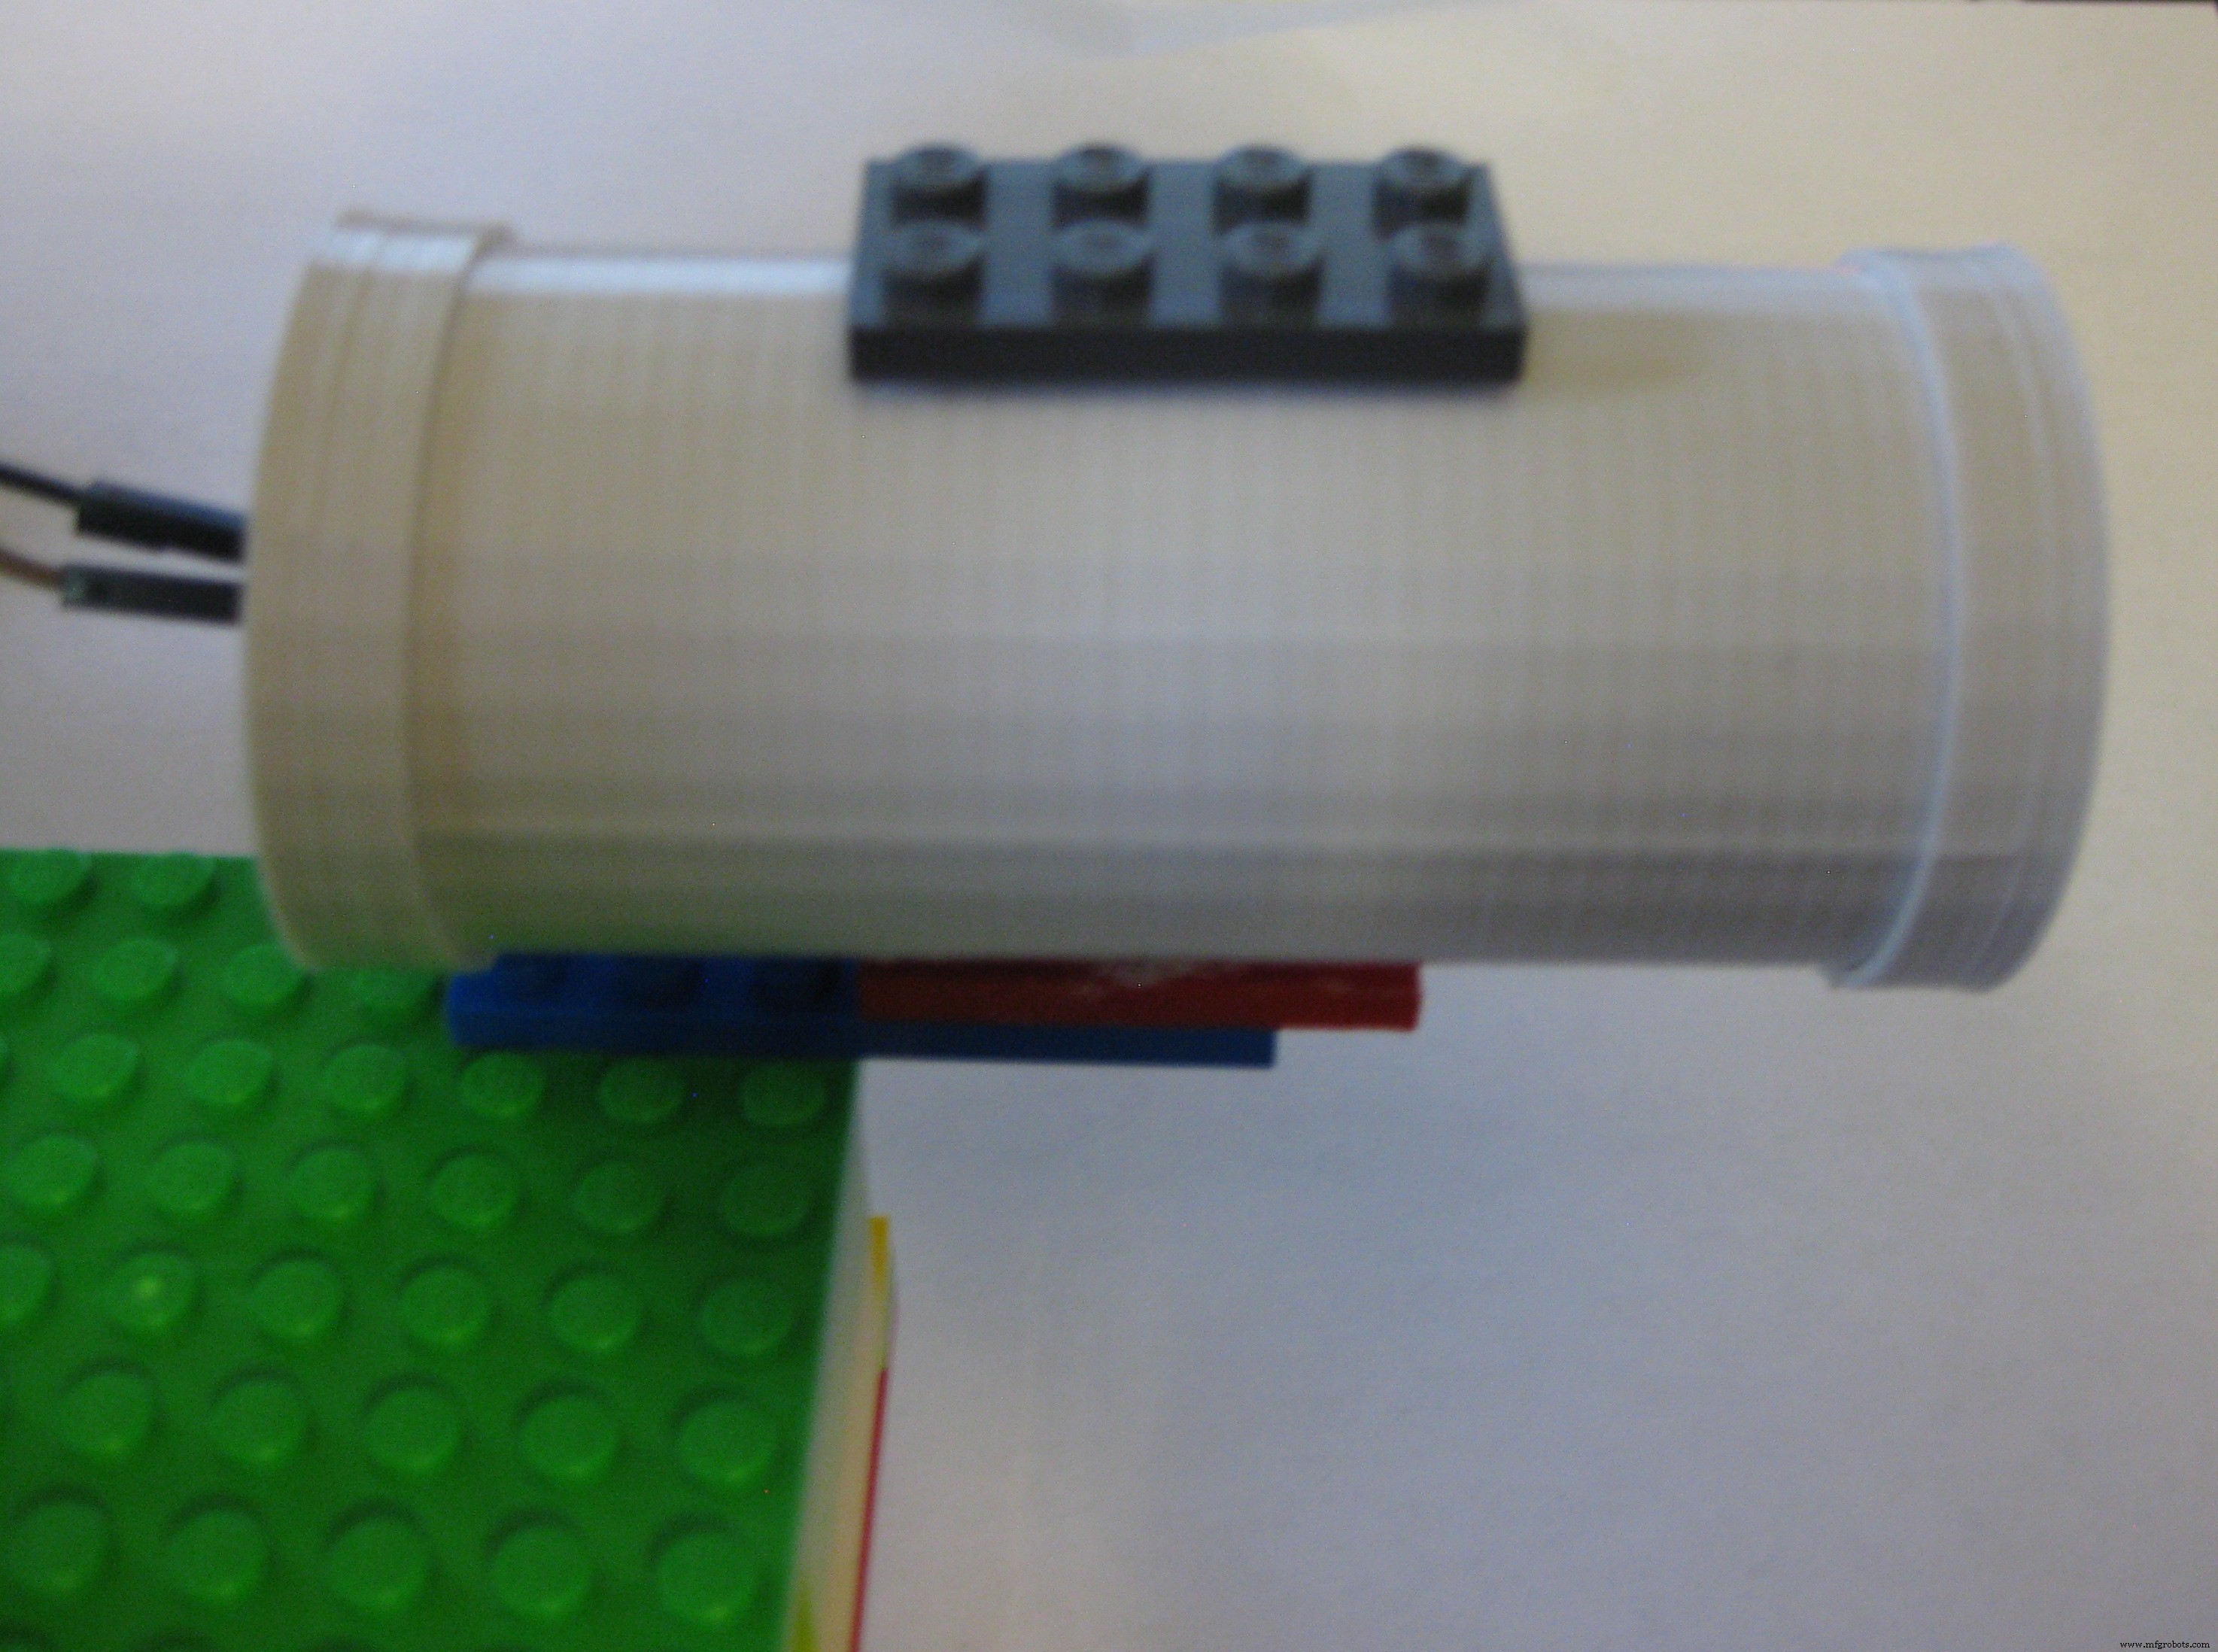
Infrared remote controls are very functional when you want to sit on the couch, or the floor, or the chair and be able to change the channel on your TV from anywhere. Infrared LEDs are built to have the beam of light go in as many directions as possible to improve coverage. But, if you want to control the beam of the LED to be smaller to make it harder to hit the remote sensor (like in a game of tank battle) is a little more difficult. In my reading I found out that by using a very simple magnifying glass lens at the end of a tube, you can focus the Infrared beam. Here is a diagram showing what I am talking about:
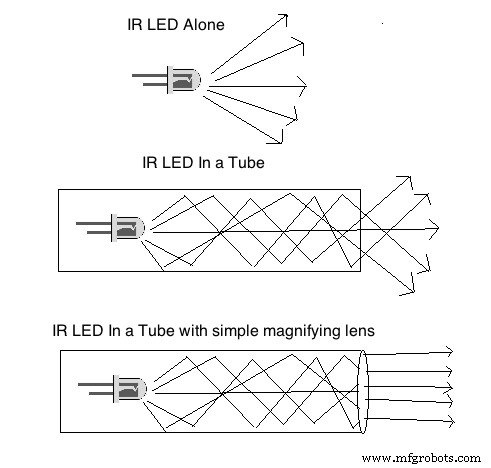
I ended up purchasing a very inexpensive pocket magnifying glass at a drug store, taking the lens out of that and building a tube around it and having the Infrared LED at the other end of the tube, and this worked perfectly for narrowing the beam of the IR LED to be more precise.
A quick note about 360 degrees of Infrared Sensors
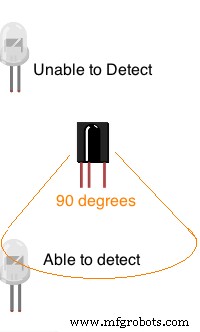
An infrared sensor is able to detect signals from an infrared LED when that LED is directly in front of it or about 90 degrees of focus. If an Infrared LED is behind the sensor, it will not be able to detect the signal sent.
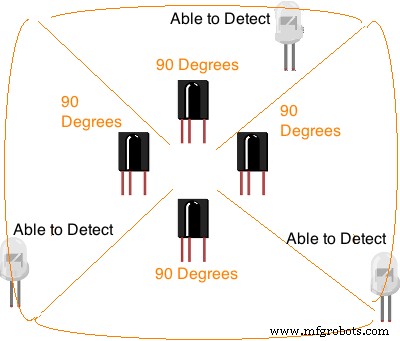
In order to achieve a full 360 degrees of angle of detection, you either needed modify the infrared library to detect signals on 4 different pins from 4 different sensors, or create a hardware solution that allowed 4 sensors to be daisy chained to report on a single pin. I found some online articles that showed how you are able to achieve this with a simple AND integrated circuit to connect 4 sensors to a single input pin. When any of the infrared sensors detected an infrared signal, it reported it on that pin. This allowed to get 360 degrees of detection, without needing to modify the Infrared library, or to use up 4 input pins.
Code
Laser Tanks Github
All the custom code files for the Leap Motion Laser Tanks projecthttps://github.com/corky/LaserTanksSchematics
Using a Infrared LED, the tank shoots "codes" that the other tanks identify as hits.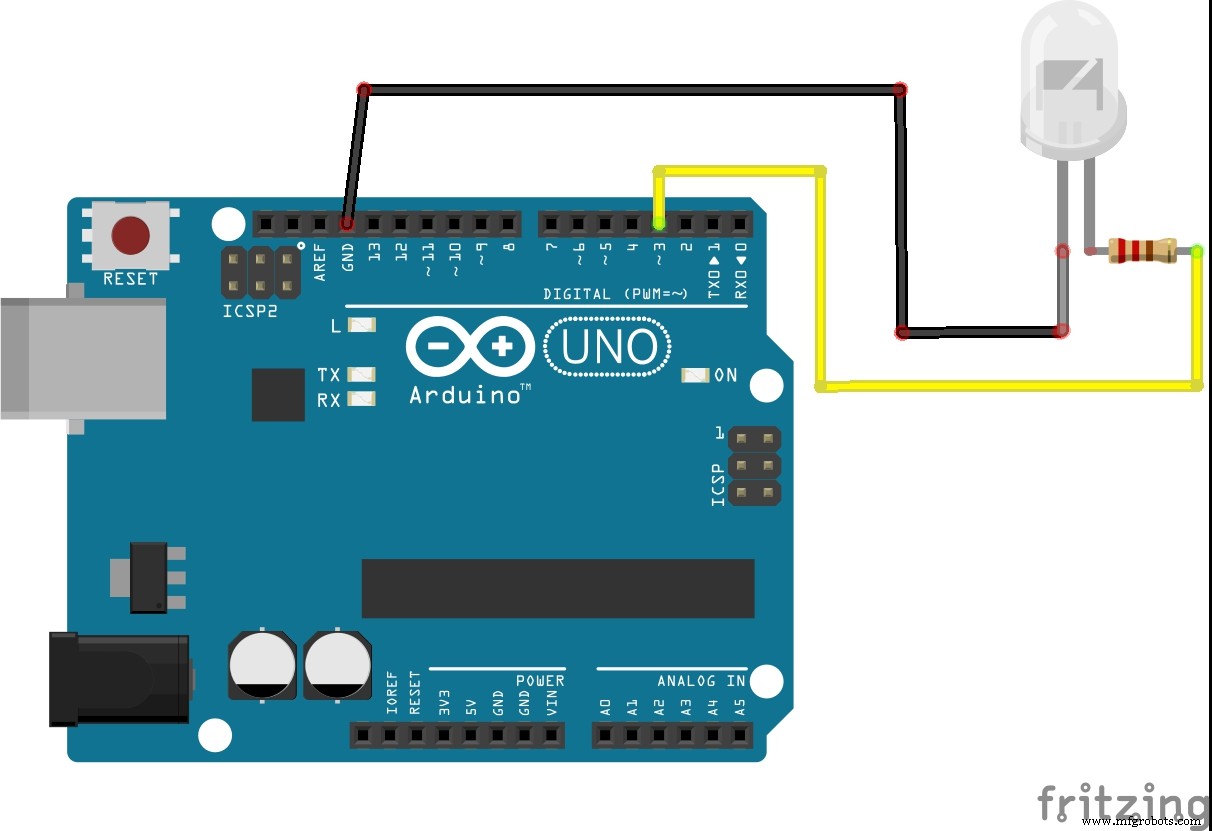 Using a single Infrared Sensor, the tank is able to detect when infrared signals come from opposing tanks and register them as hits
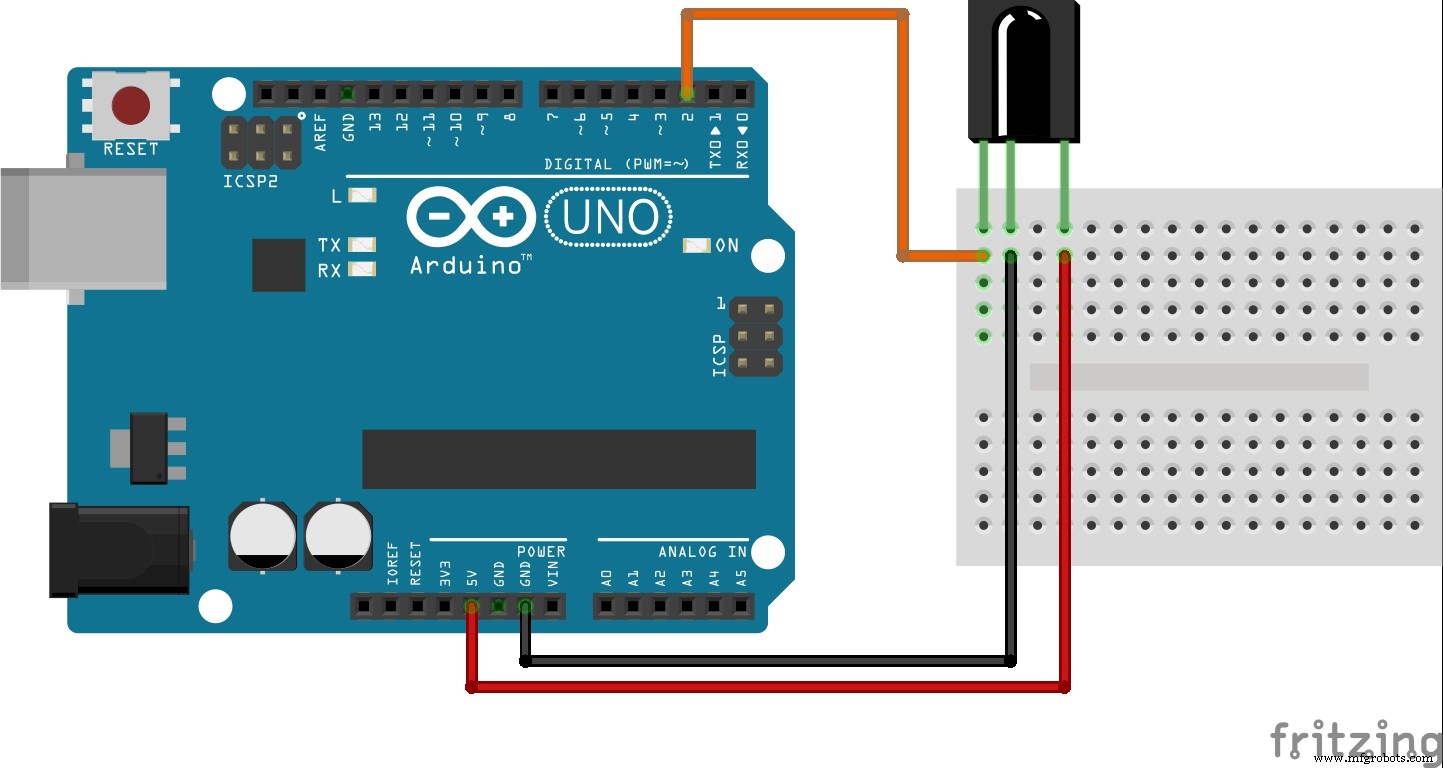 Using 4 infrared sensors, daisy chained together with a simple AND gate integrated circuit (74HCT21), a Tank is able to identify infrared signals from opposing Tank's LED as hits from 360 degrees around it.
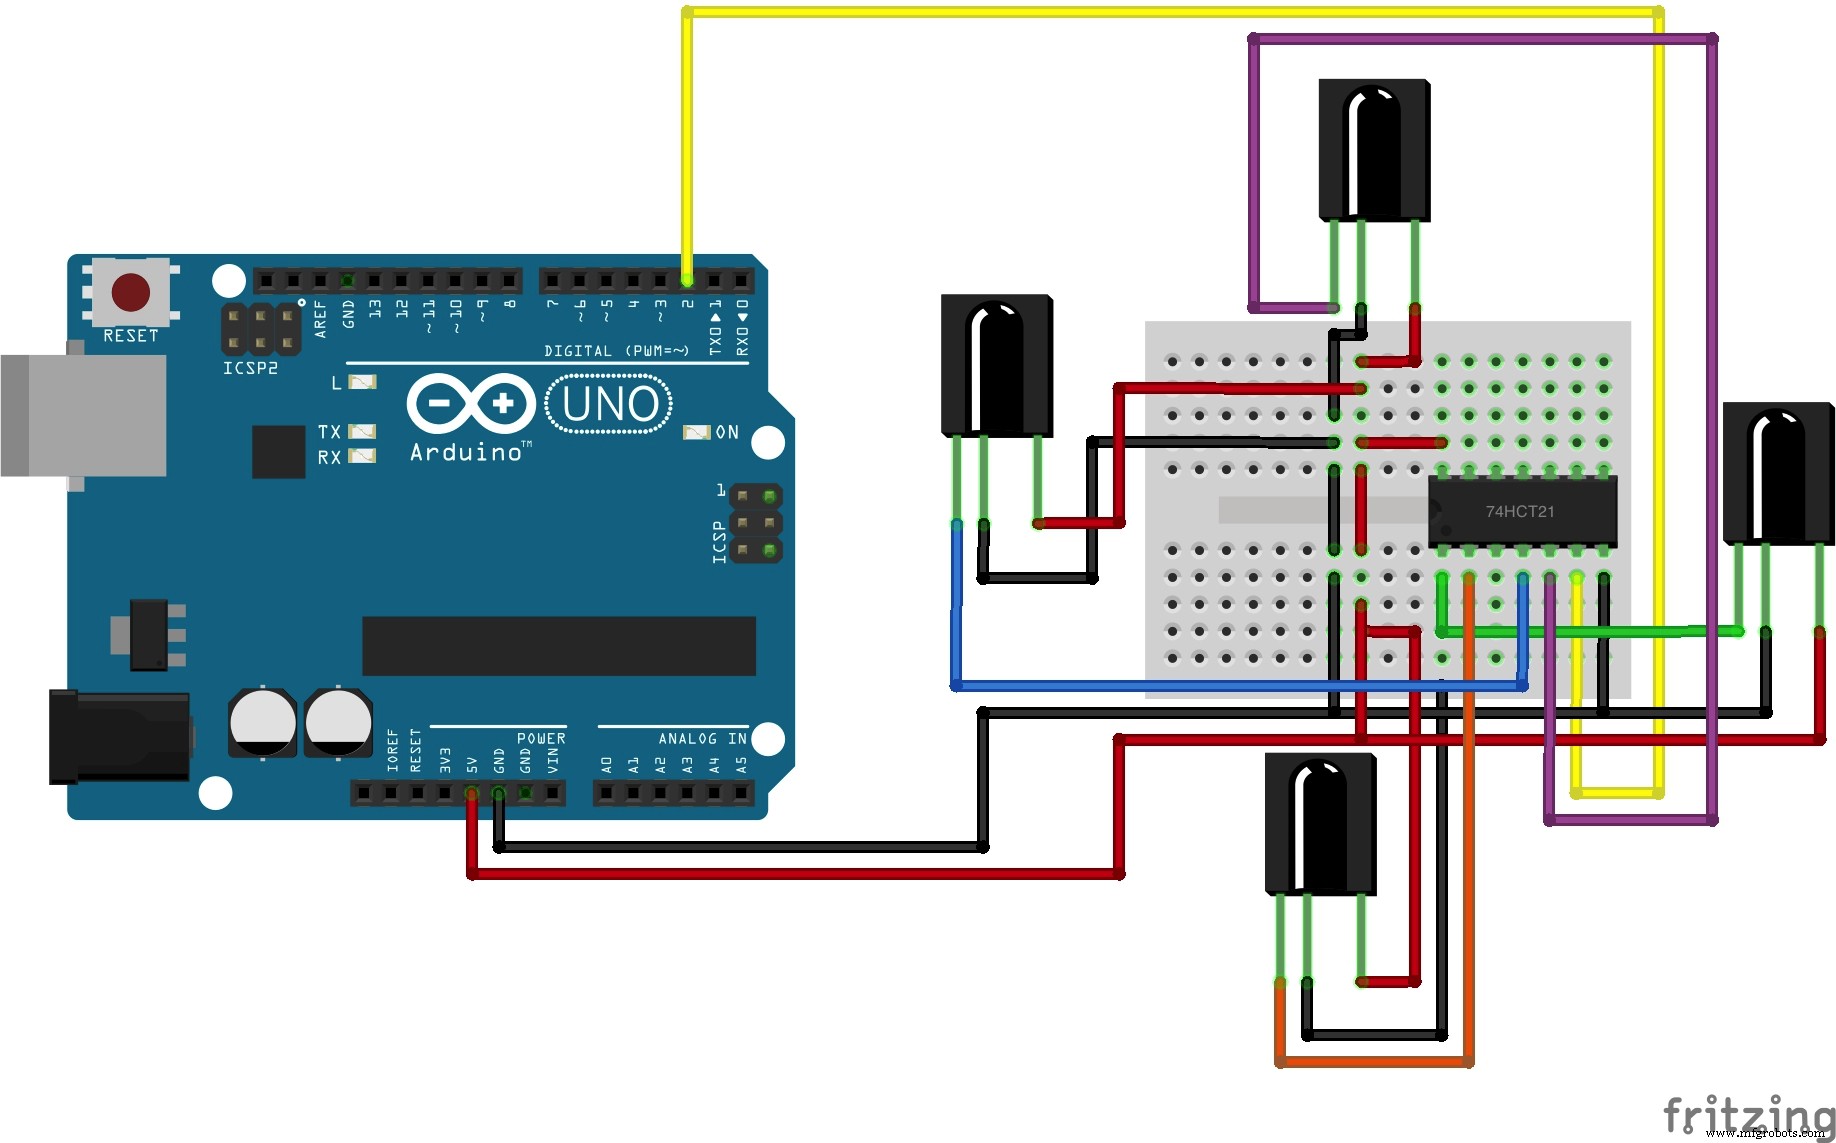 Using a RGB LED, the Tank identifies its current status (how many hits it has taken) by changing the color of the LED. Also, the tank changes the color of the LED to Green for each shot it fires.
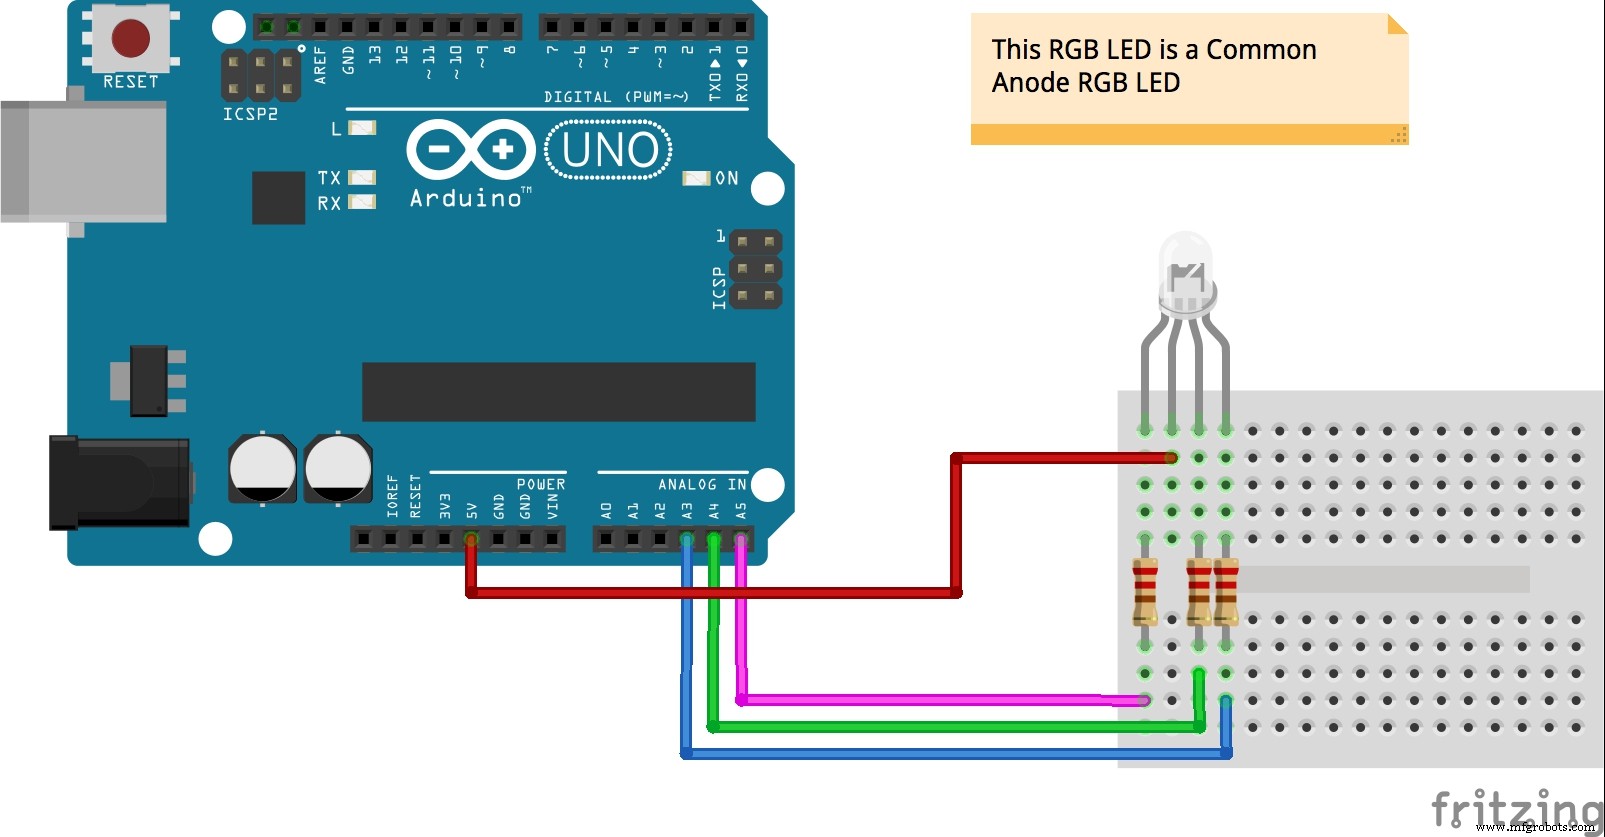 Using a L293D integrated circuit, and some simple DC motors, the tank is able to move forward, backward and turn left or right.
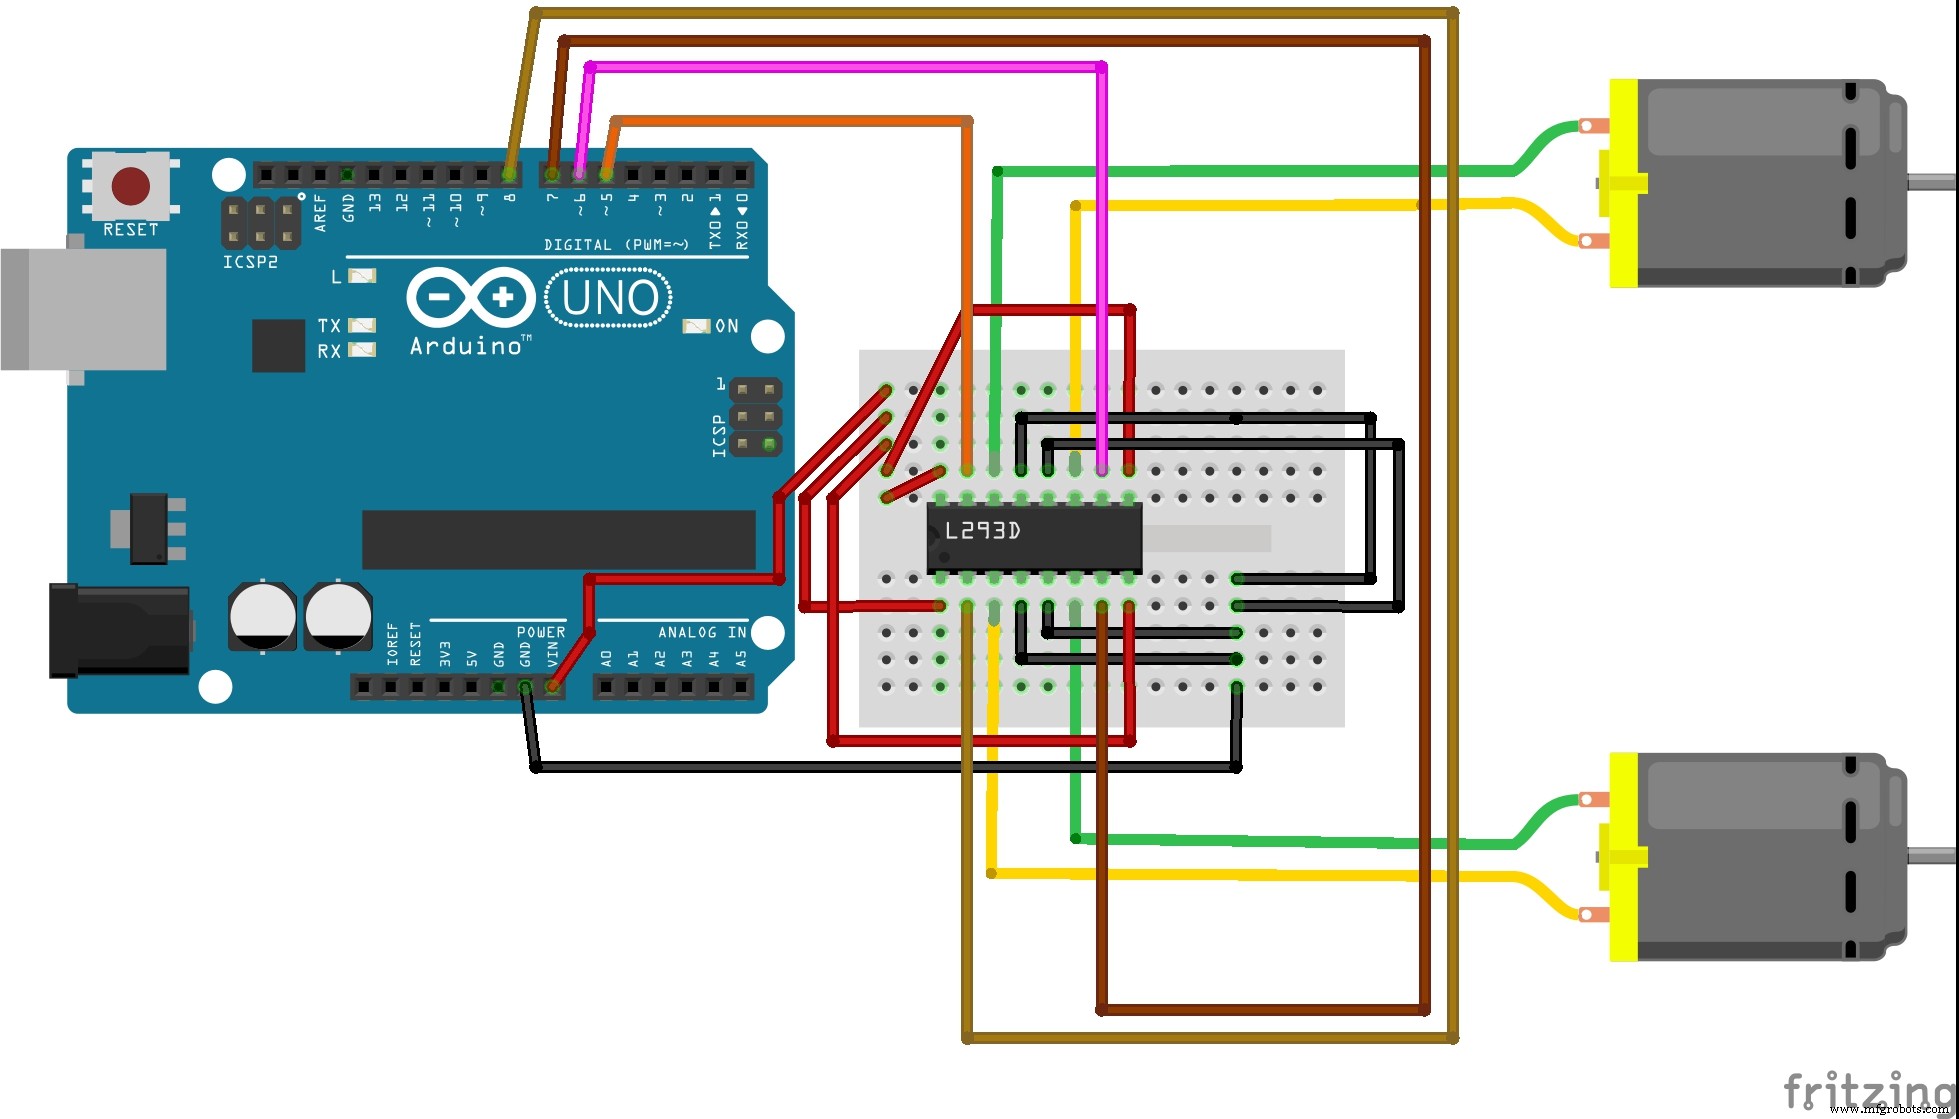 Using a simple and inexpensive RF24 transciever, the tank is able to communicate and receive commands from the operator.
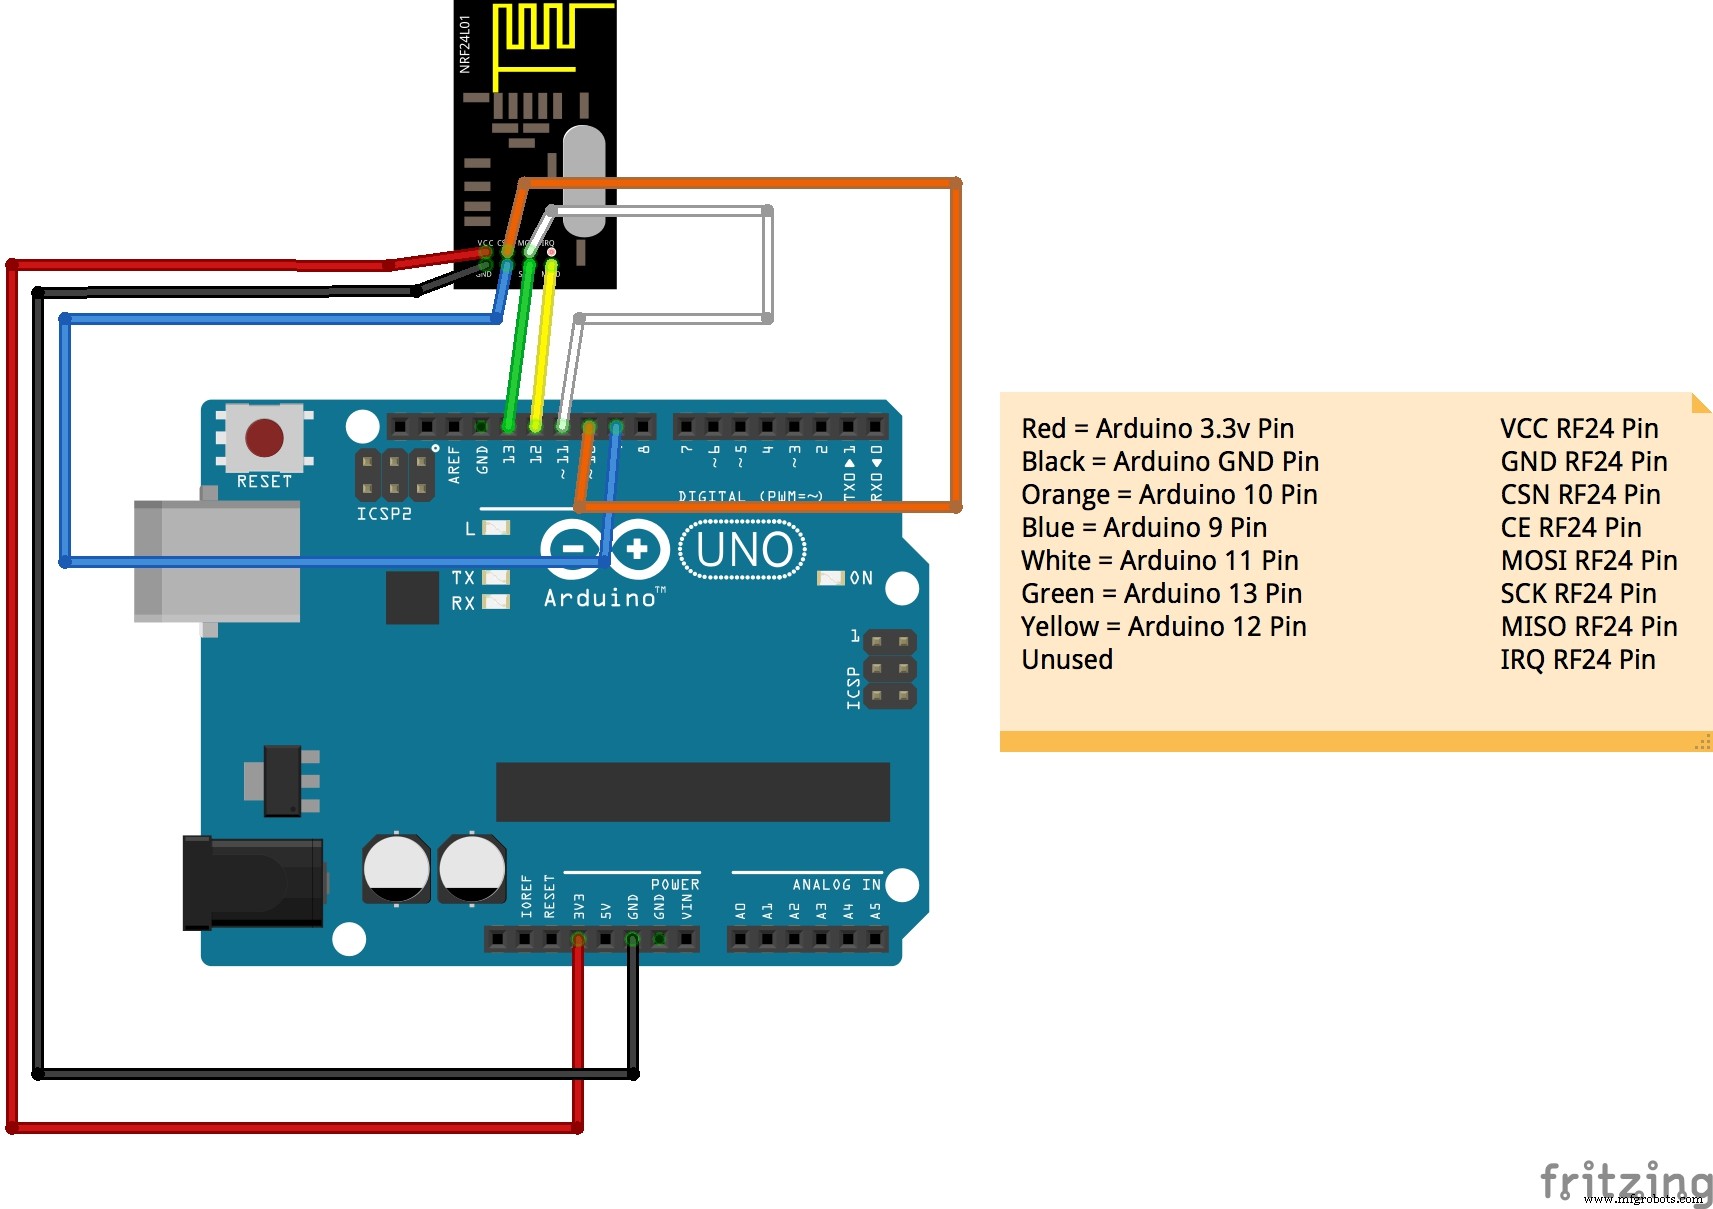 Using a Raspberry Pi2, a simple and inexpensive RF24 transciever, and Node JS, the Operator is able to communicate to each tank via REST API calls.
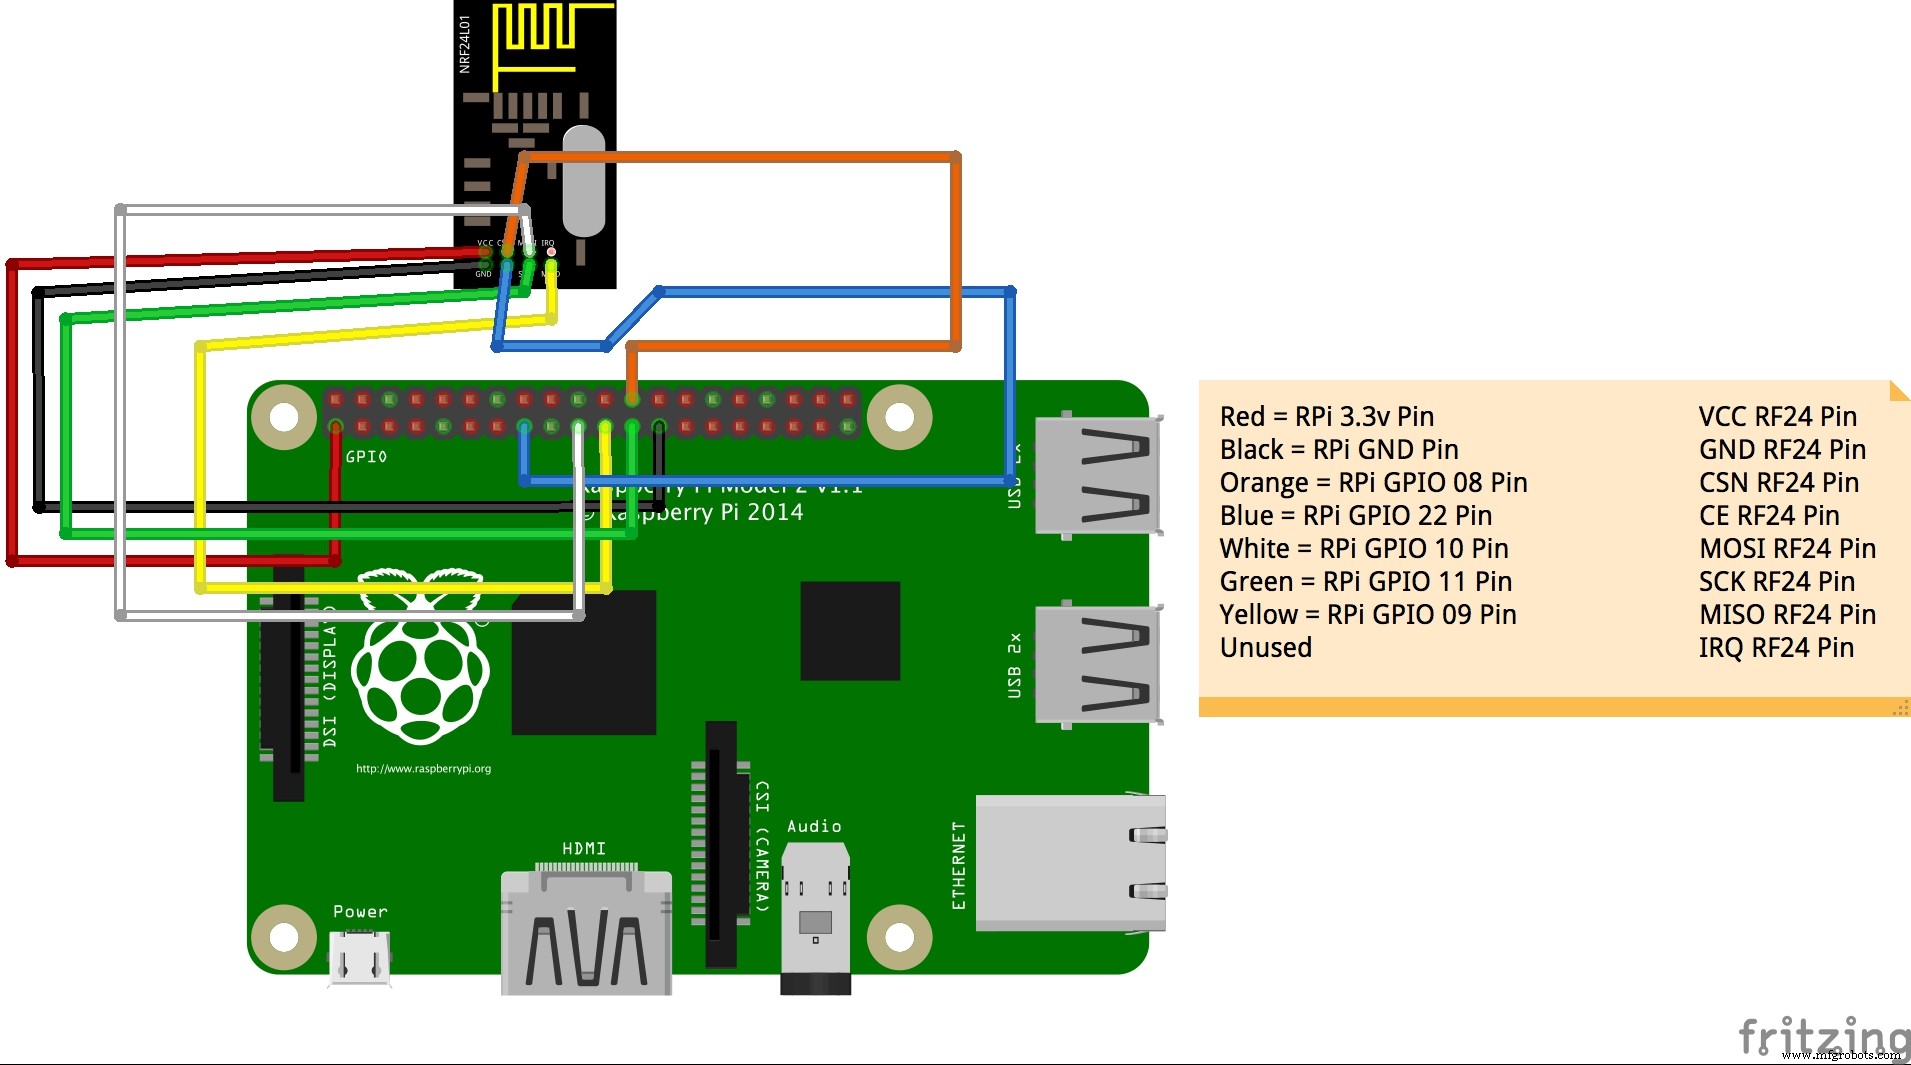
Manufacturing process
- Comprehensive Guide to Laser Marking: Types, Benefits, and Applications
- Laser Pointer: Design, Manufacturing, and Safety Overview
- Semiconductor Lasers: Precision Light Generation for Modern Technology
- Integrated Circuits (ICs): Compact, Powerful Chips Powering Modern Electronics
- Laser‑Guided Missiles: Development, Manufacturing, and Strategic Impact
- Build a DIY Infrared Motion Sensor for Raspberry Pi – Step‑by‑Step Guide
- MotionSense: Smart Intrusion Detection with Arduino & ESP8266
- Motion‑Sensing Under‑Bed LED Light: Quiet, Smart Night Illumination
- Infrared Eye‑Motion Tracking with Arduino Pro Mini – LED Control Demo
- Key Components of a Laser Marking Machine: Understanding Core Parts for Longevity