


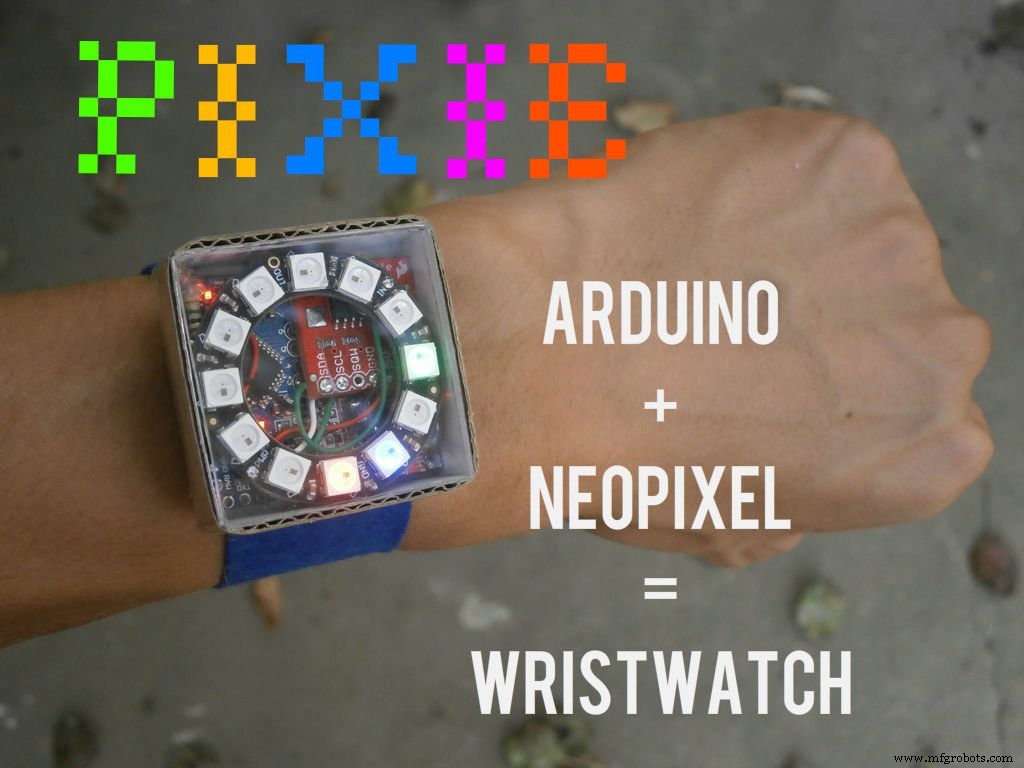
Pixie: An Arduino‑Based NeoPixel Wristwatch – Sleek, DIY LED Timepiece
Components and supplies
 |
| × | 1 | |||
 |
| × | 1 | |||
 |
| × | 1 | |||
 |
| × | 1 | |||
 |
| × | 1 |
Necessary tools and machines
 |
| |||
 |
| |||
 |
|
About this project

Ever since the dawn of time, people have begun to dispense time. First was the sundial, later appeared water clock after them was the hourglass. Millennia later was created the first pendulum clock and few centuries later the electronic watch.
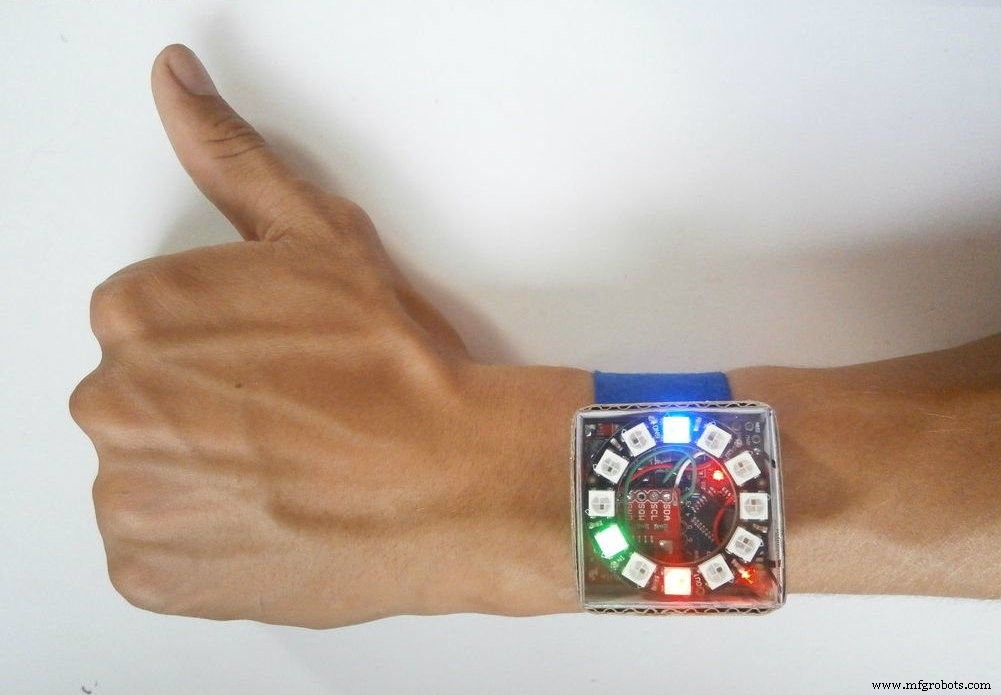
Today I'll show you how to make Pixie, a wristwatch that combines both analog and digital clock technology, with the precision of an atomic clock.
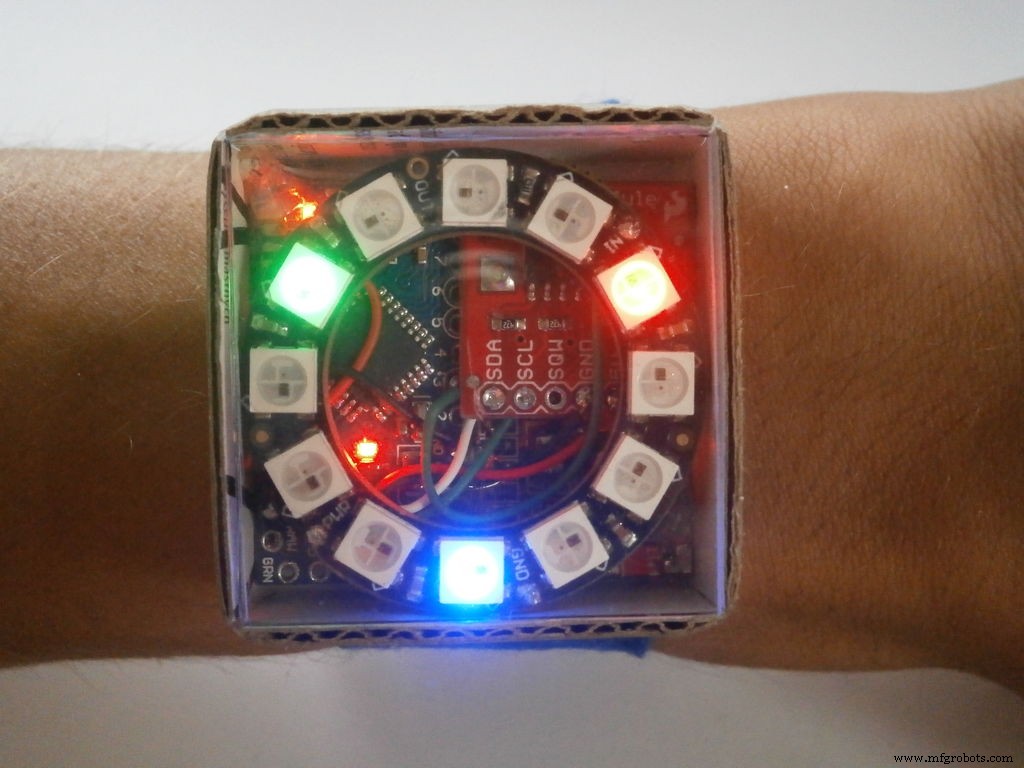
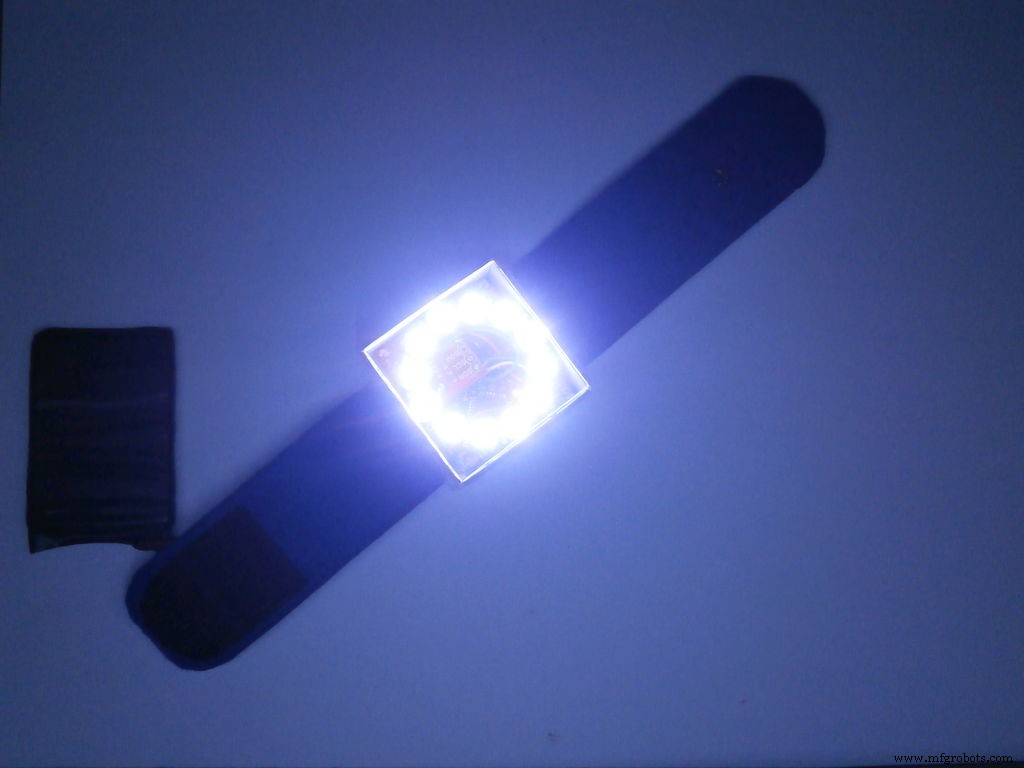
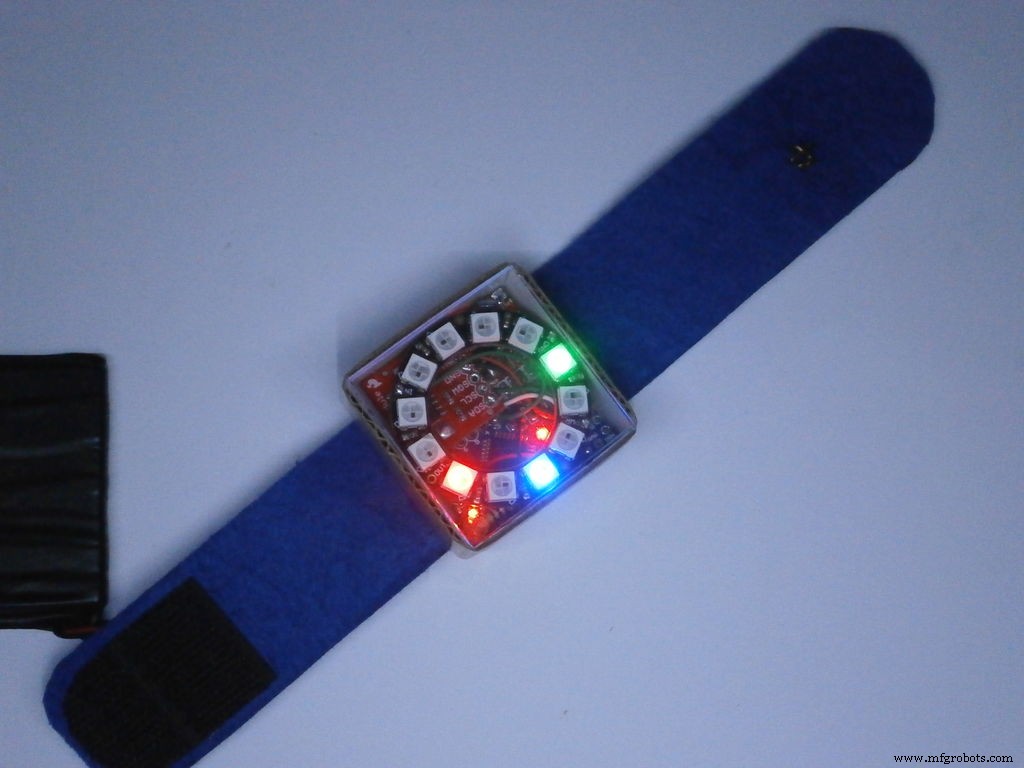
PIXIE shows the hours in blue, the minutes in red and the seconds in green, it also has a flashlight mode that is activated, by capacitive touch switch, for 10 seconds. You may ask why, that's because the LEDs heat-up and they might get damaged, but if you want, you can increase the time at your own risk !
Time format:
Hours: 1 LED = 1 hour
Minutes: 1 LED = 5 minutes
Seconds: 1 LED = 5 seconds
WATCH THE VIDEO !!!!
Step 1: Parts, materials and tools for the project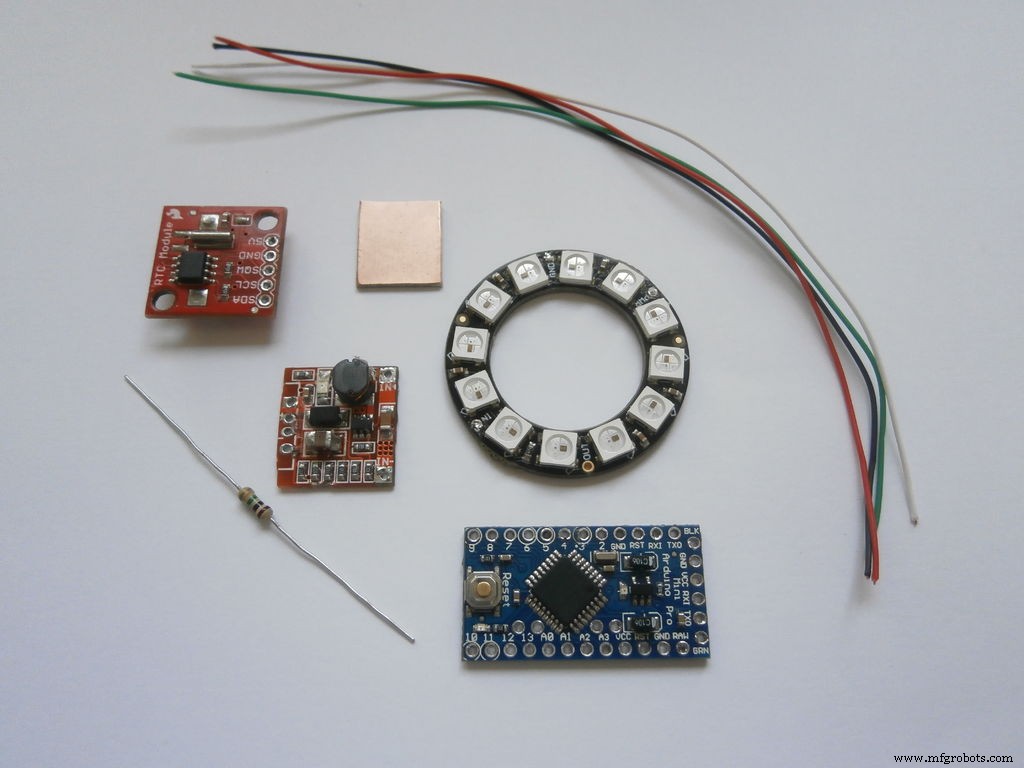
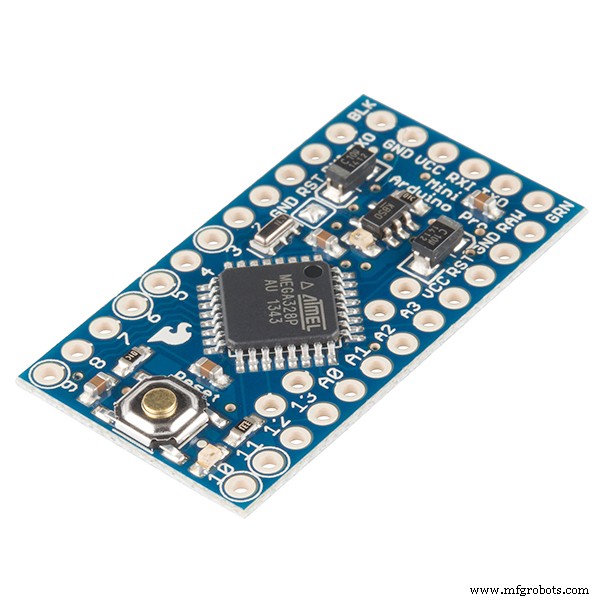
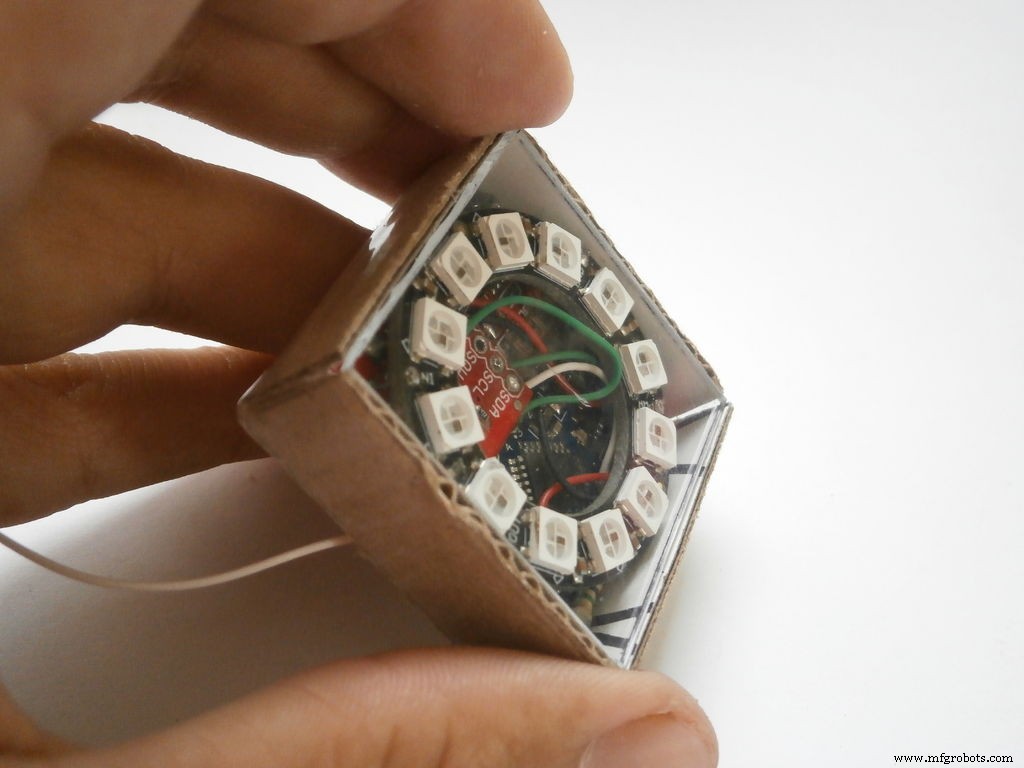
- Arduino Pro mini
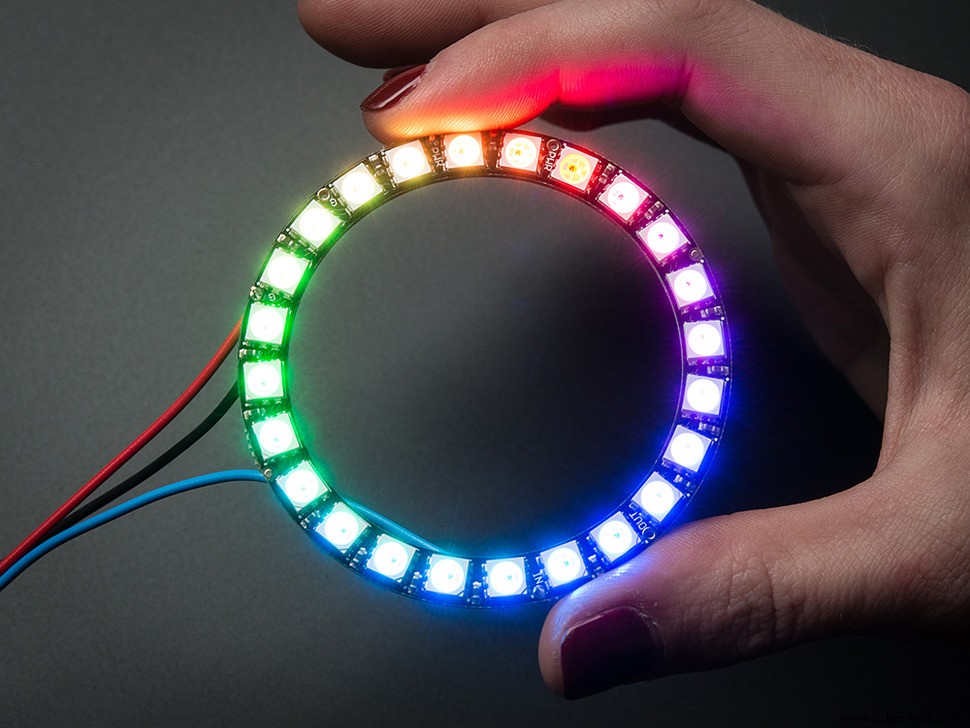
- NeoPixel ring with 12 LEDs
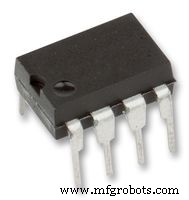
- DS1307 real time clock module
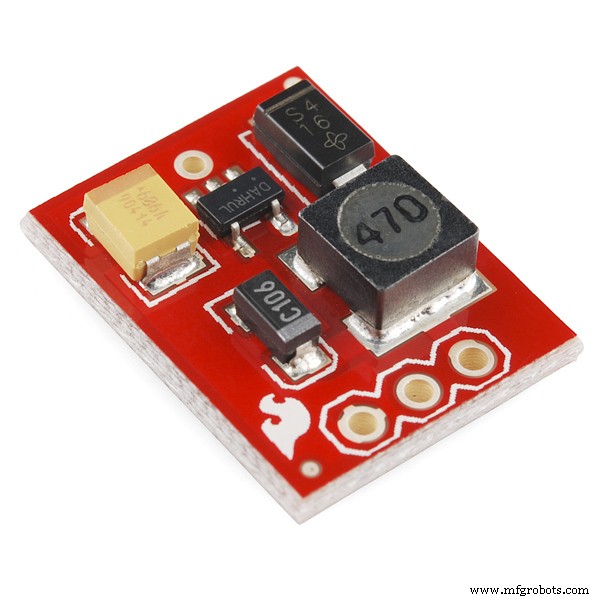
- Step-Up voltage regulator 5v
- 1 x 1M Ohm resistor
- li-ion battery - 3.7v 850mAh
- Wires - different colors
- Small peace of electro conductive material
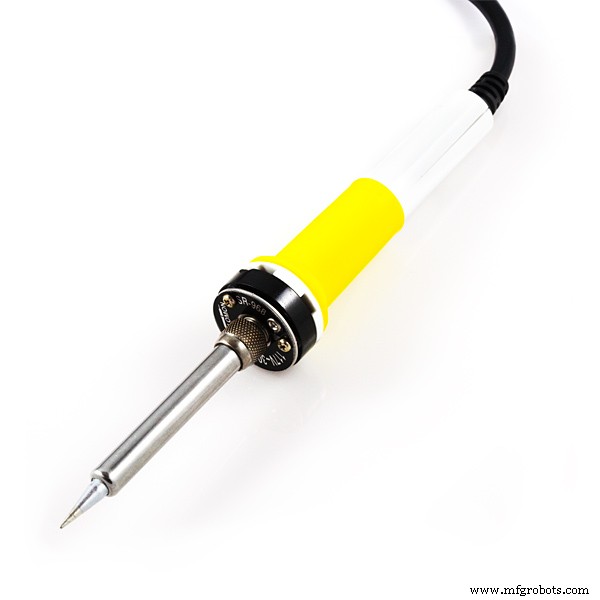
- Soldering iron
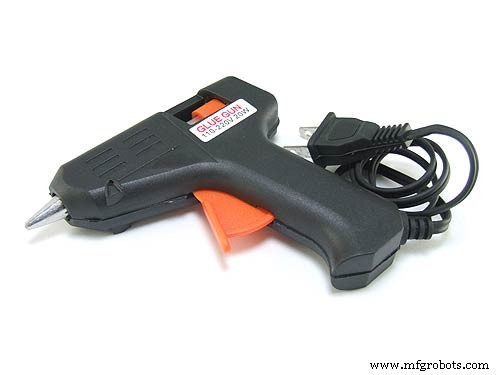
- Hot glue gun
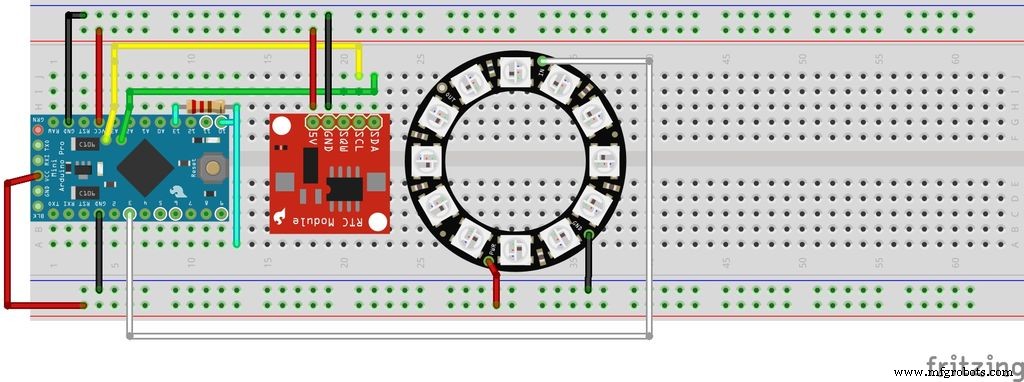

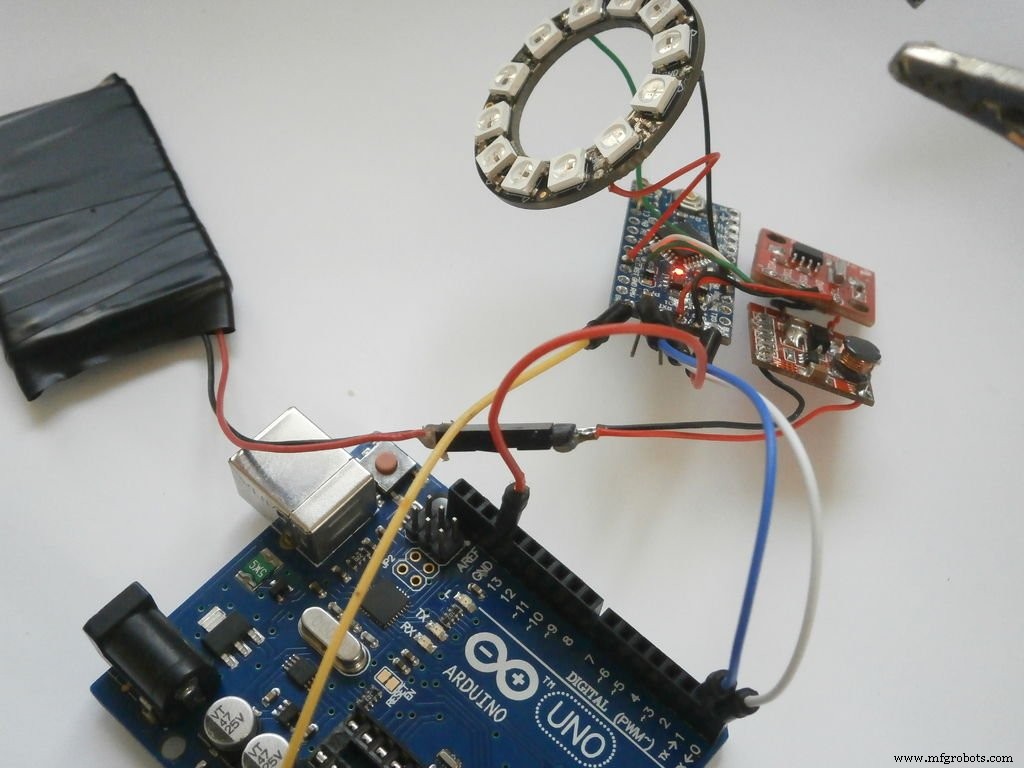
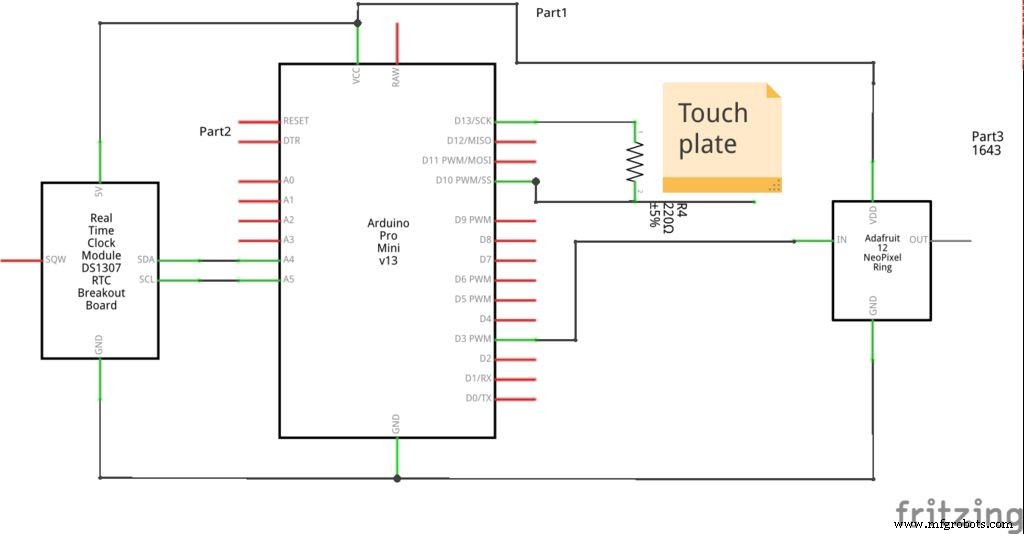
As you see on the schematics, the RTC module DS1307 is connect to the TWI (I2C) interface of the Arduino board(analog pins 5(SCL) and 4(SDA)). The NeoPixel ring is connected to pin 3 of the Arduino.
The 1M ohm resistor is connecting pins 10 and 13 together. The "touch" wire is connected to pin 10.
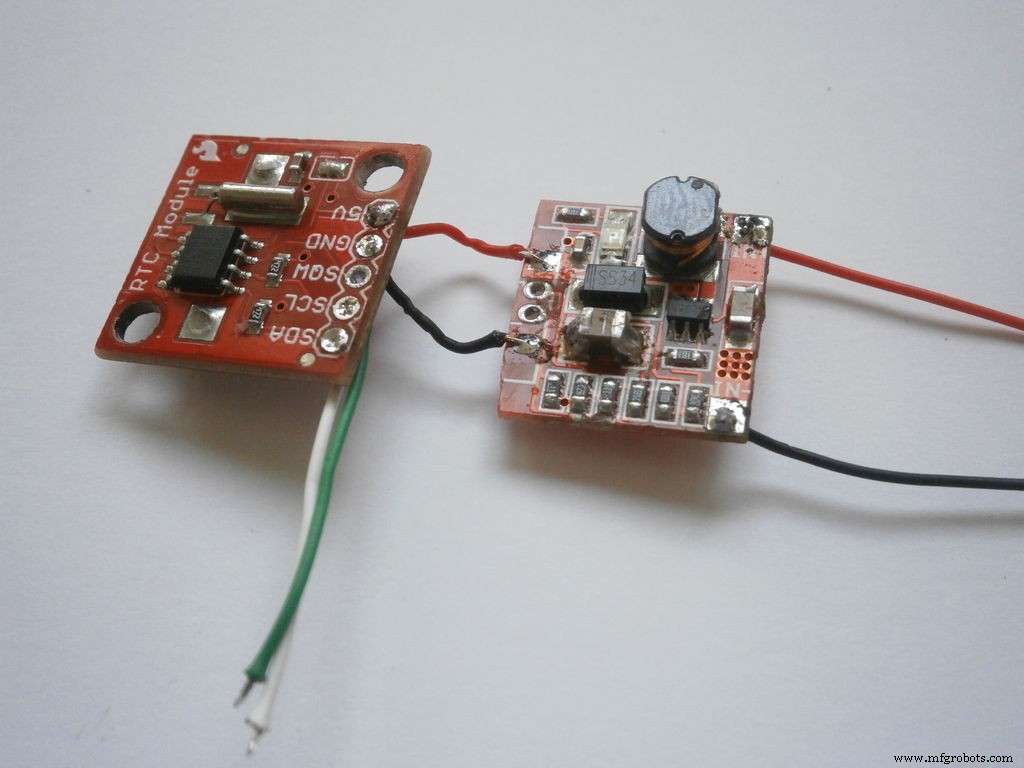
All GND and VSS pins are connected to the Step-Up voltage regulator (not present on any of the schematics above).
Step 3: Building the watch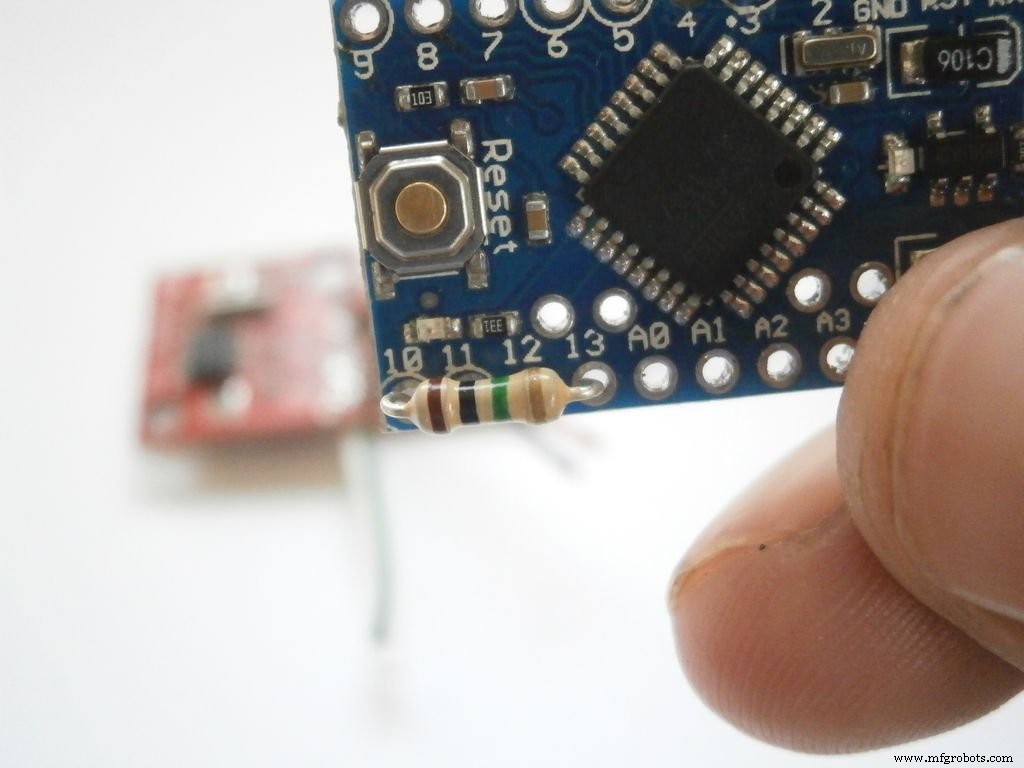
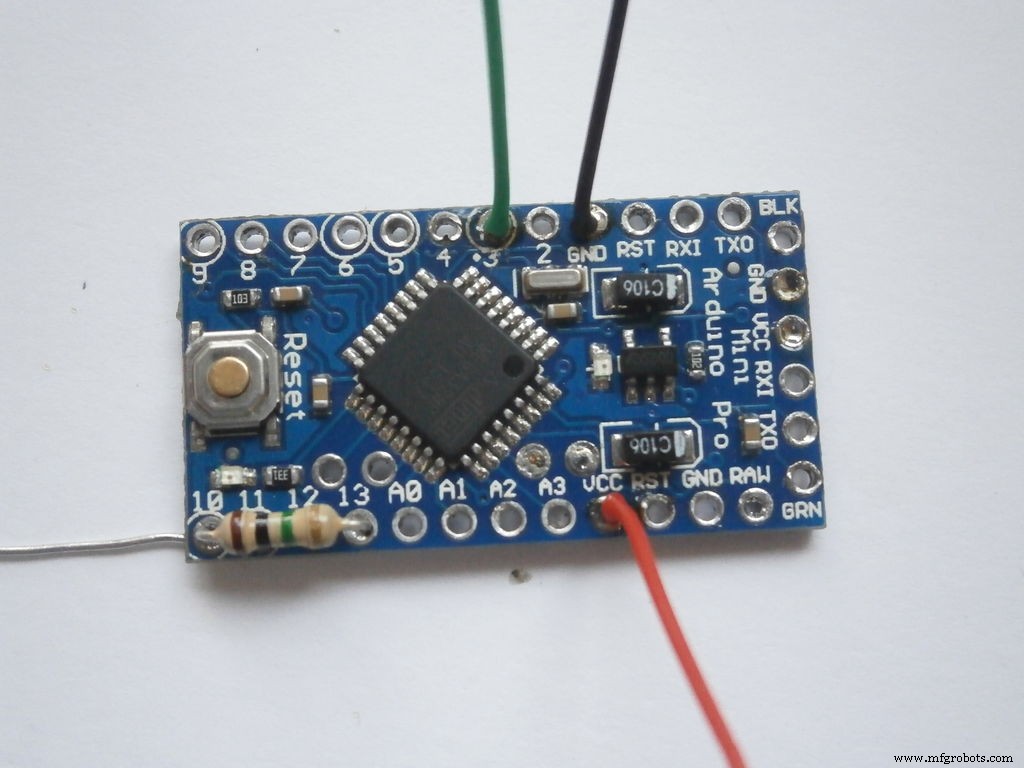
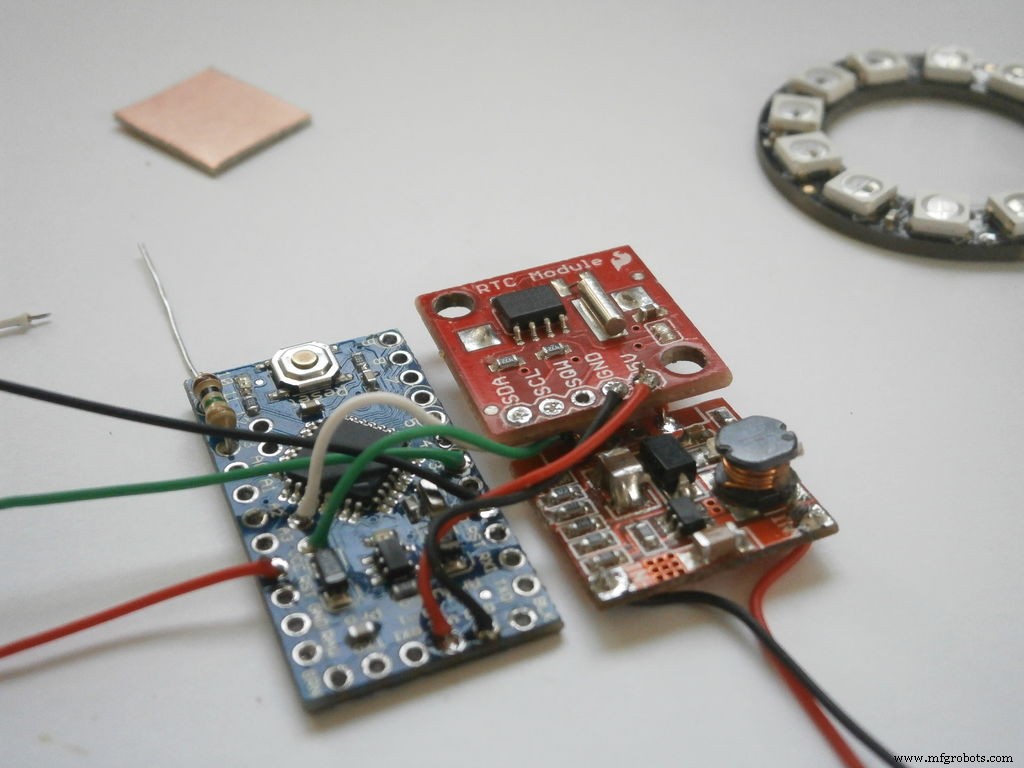
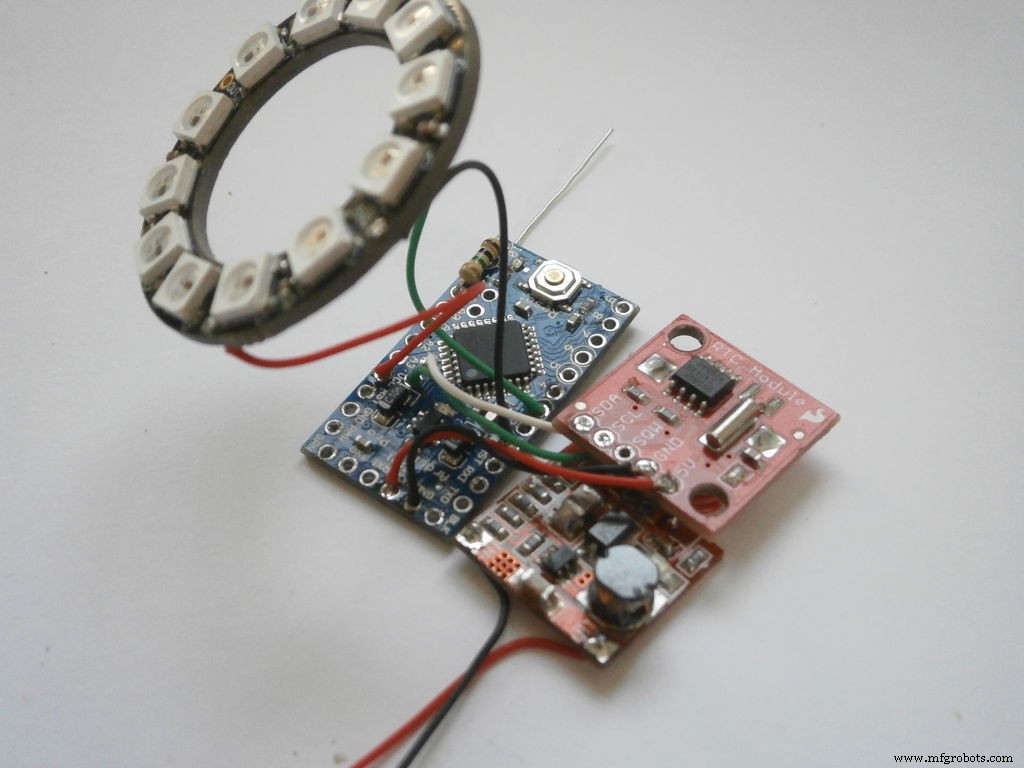
First I solder the 1M Ohm resistor to pins 13 and 10, then I solder the 3 wires for the NeoPixel ring and one more for pin 10.
After that I connect the step-up regulator with the RTC's GND and VSS, then I connected SDA, SCL, GND and VSS of the RTC with the Arduino Pro Mini board, again with wires by soldering them.
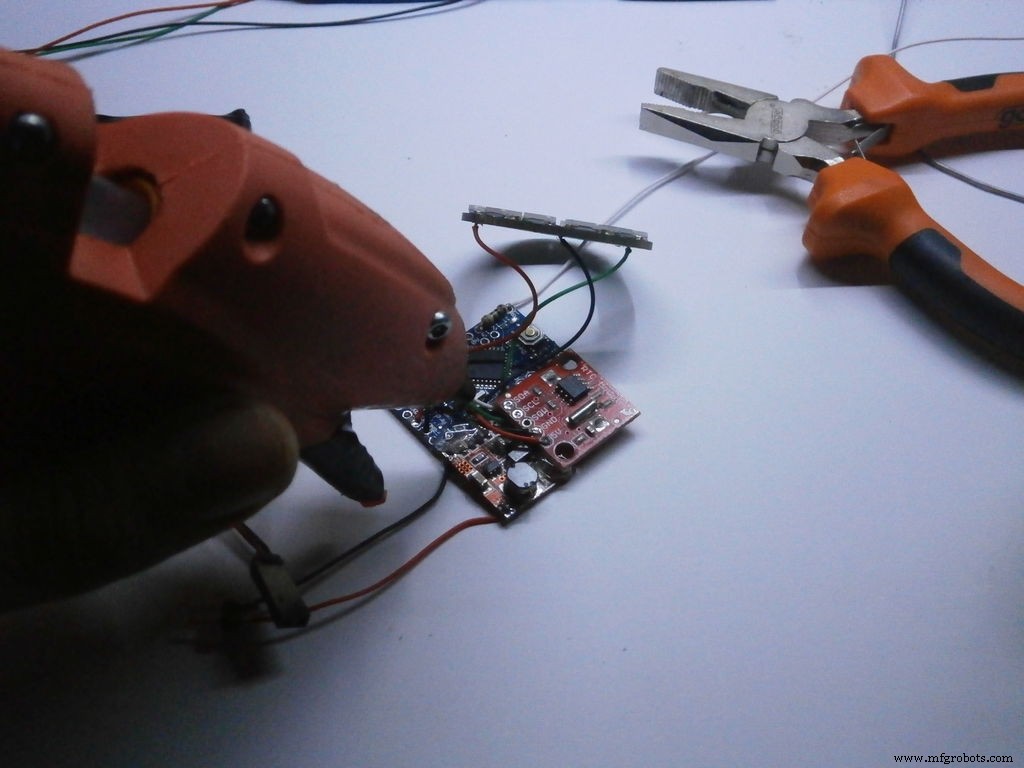
At the end I hot glue all of the boards together as compact as possible.
Step 4: Enclosure and design
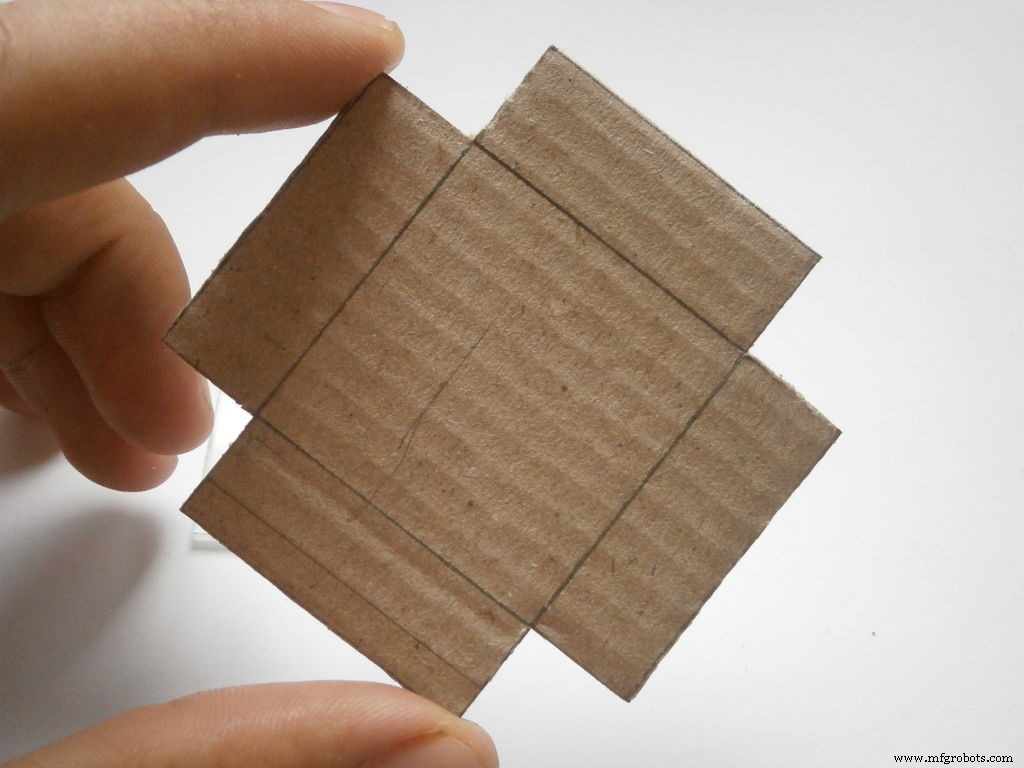
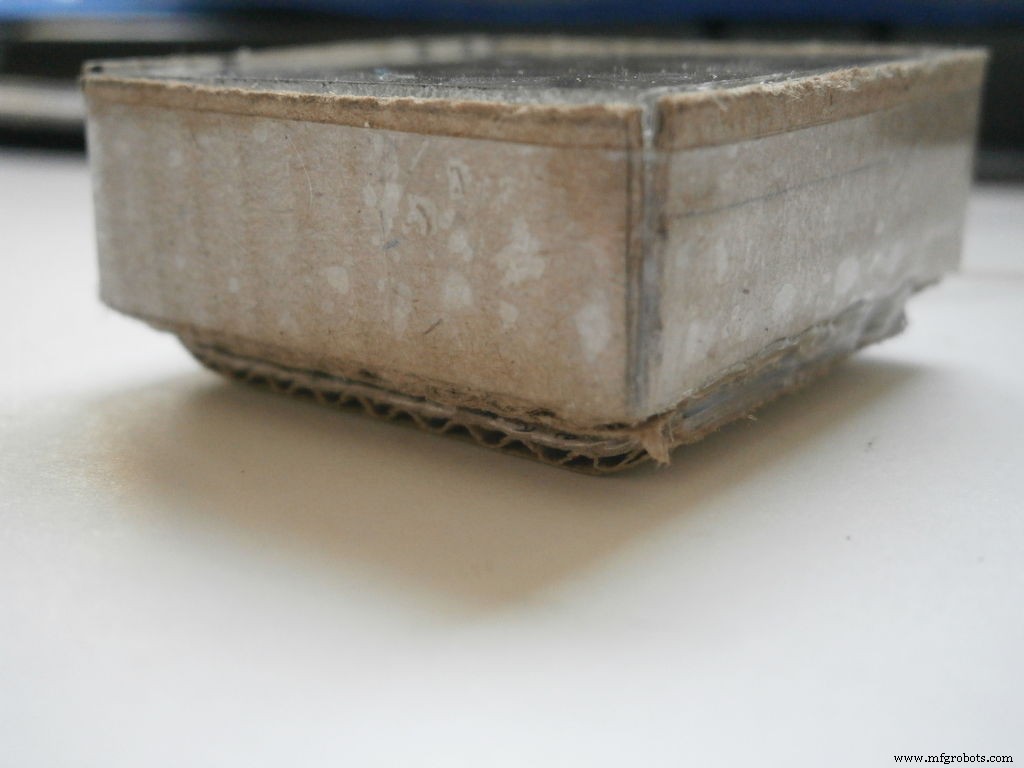
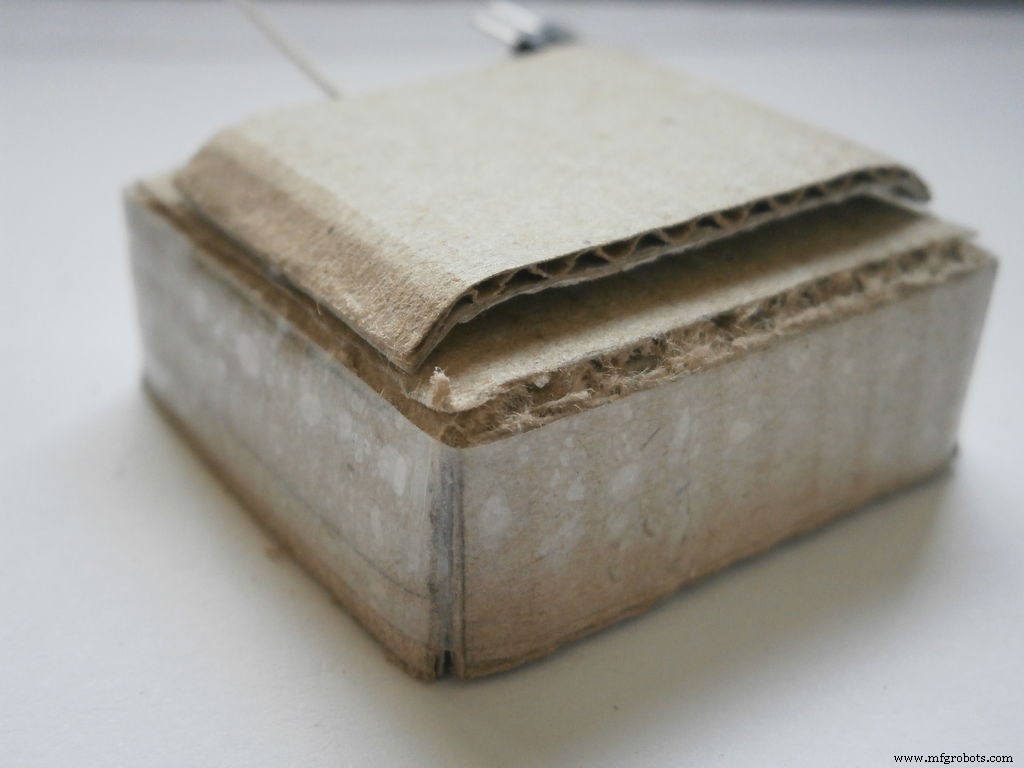
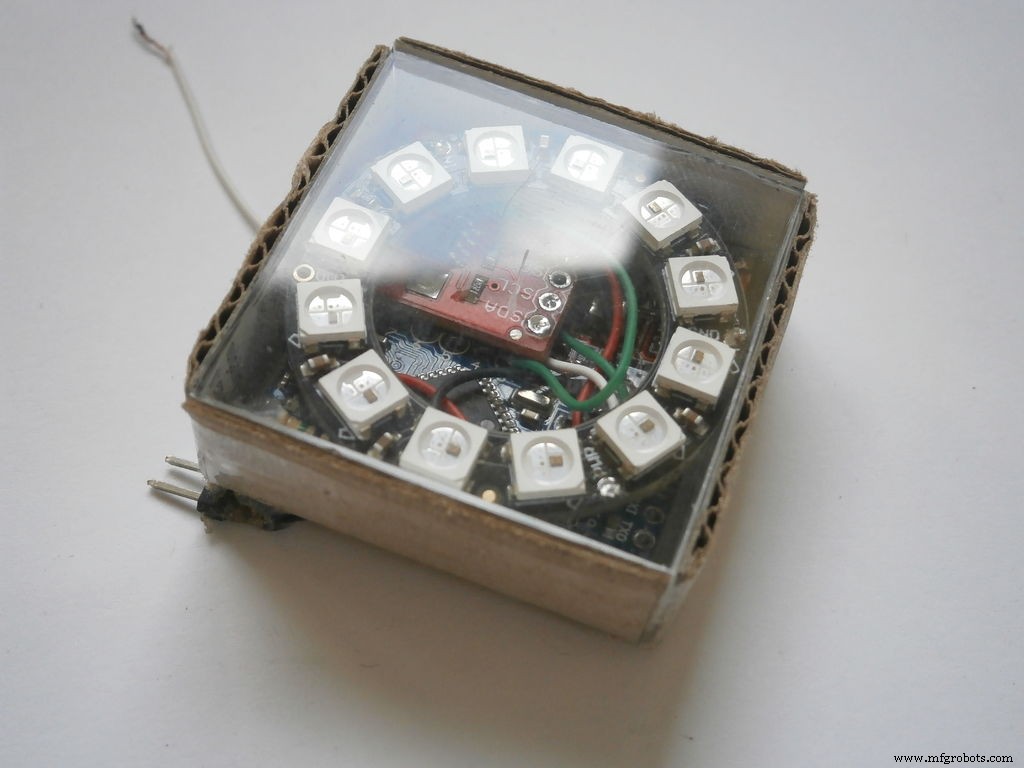
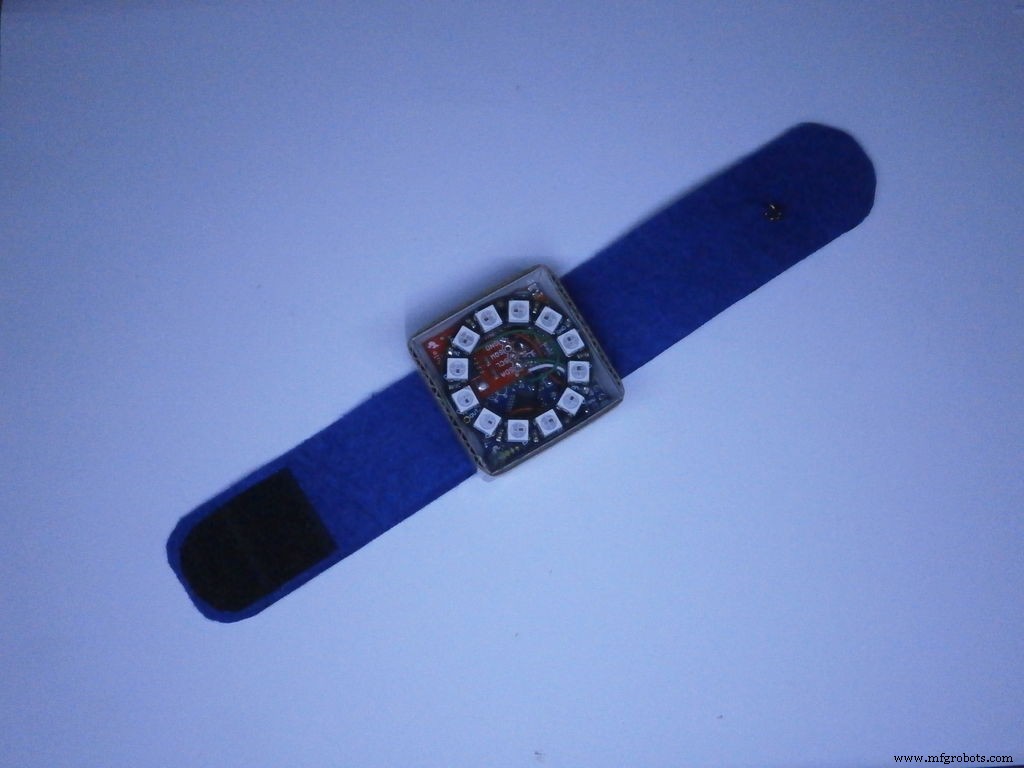
For enclosure I used a simple cardboard box which I made using a piece of cardboard and some duct tape, and a piece of transparent plexiglass, 37 x 37 mm and thick 3 mm, as top.
The size of the box is 37 mm x 37 mm x 15 mm. I also made 2 holes, on the bottom of the box, for the power wires and the "touch" wire.
For the strap I used a piece of filts, long ~ 8 inc and wide 1 inch (~ 20cm x 2,5 cm) and pieces of velcro at the both ends.
Step 5: Software (source code and libraries)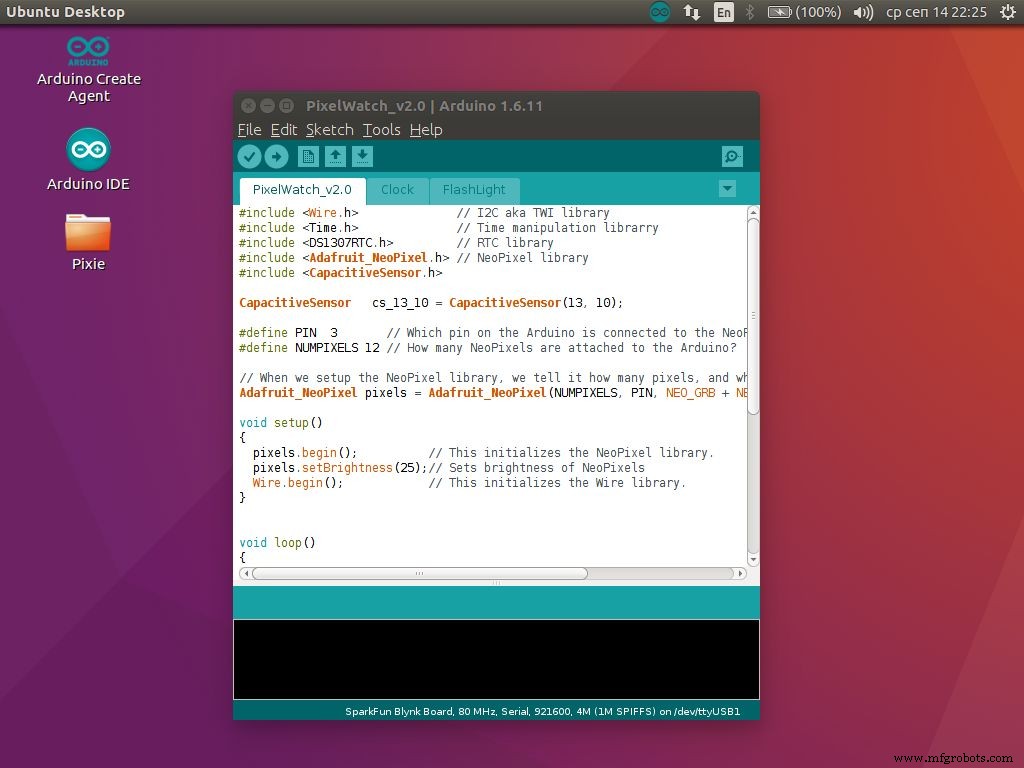
Feel free to download the .zip file that contains the whole source code for the watch.
You will also need these libraries:
Adafruit_NeoPixel
Time
DS1307RTC
Wire - its build-in Arduino IDE
CapacitiveSensor
I used Arduino UNO as programming board to upload the sketch to the Pro mini. I suggest you to use that.
FM7T39KIT22NPAW.zipStep 6: Showcase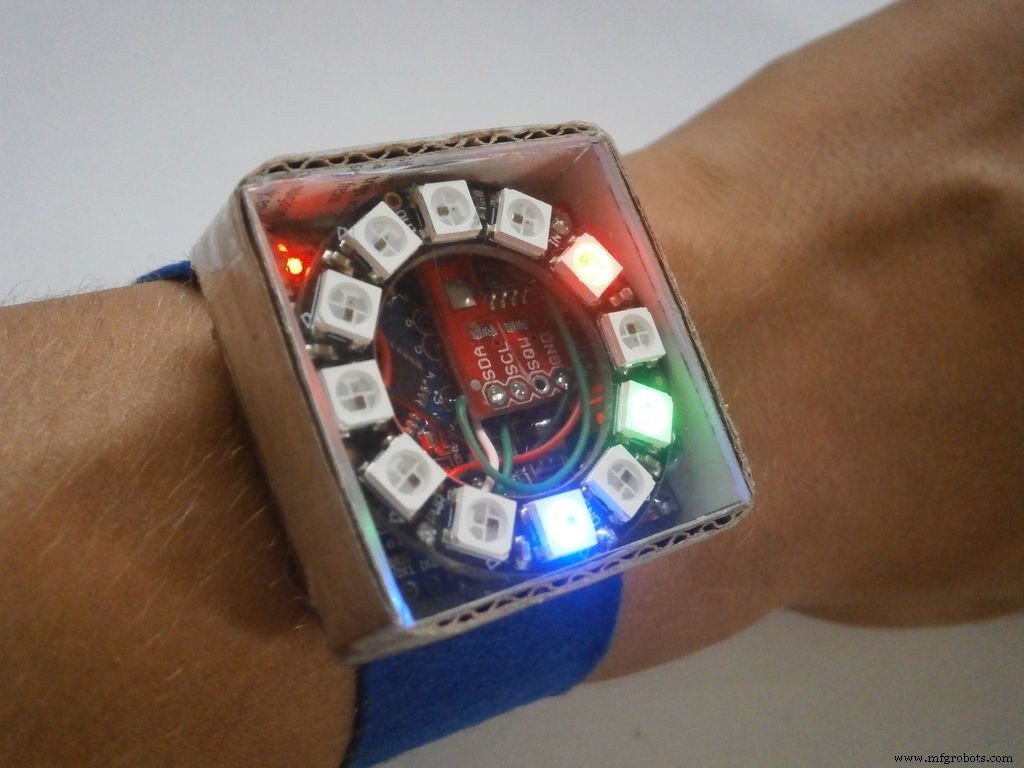
Code
Github
https://github.com/PaulStoffregen/DS1307RTChttps://github.com/PaulStoffregen/DS1307RTCGithub
https://github.com/PaulStoffregen/CapacitiveSensorhttps://github.com/PaulStoffregen/CapacitiveSensorGithub
https://github.com/adafruit/Adafruit_NeoPixelhttps://github.com/adafruit/Adafruit_NeoPixelGithub
https://github.com/PaulStoffregen/Timehttps://github.com/PaulStoffregen/TimeSchematics

Manufacturing process
- Interactive Gyroscope LED Display with NeoPixel Ring and Arduino
- DIY Arduino USB Gaming Controller – Build Your Own High-Performance Gamepad
- Build Real-Time Cellular Automata on Arduino with 128x64 OLED Display
- Smart Gesture-to-Text Hand Glove for Sign Language
- Arduino DMX-512 Tester Controller – Full Parts Kit for Reliable Lighting Control
- Smart Home Automation with Bluetooth Connectivity
- Bluetooth‑Controlled Arduino Mini Lift: Compact Stepper Motor Platform
- Arduino 4WD RC Car – Complete Parts List & Build Guide
- Build an Arduino Memory Game (Simon Clone) – Step‑by‑Step Tutorial
- Build an Arduino‑Powered RC Hovercraft: Full 3D‑Printed Design & Programming Guide