


START: Standalone Arduino Terminal with PS2 Keyboard, LCD, Ethernet, and Remote Shell Access
Components and supplies
 |
| × | 1 | |||
 |
| × | 1 | |||
| × | 1 |
About this project
START is a STandalone ARduino Terminal equipped with:
- a PS2 keyboard.
- an LCD monitor 128x64.
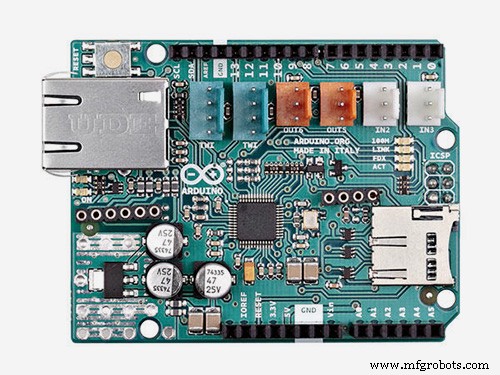
- an Ethernet port.
- optionally, a battery.
START is able to execute a small set of built-in commands to control digital I/O and even to connect to a real telnet server to execute real shell commands remotely!
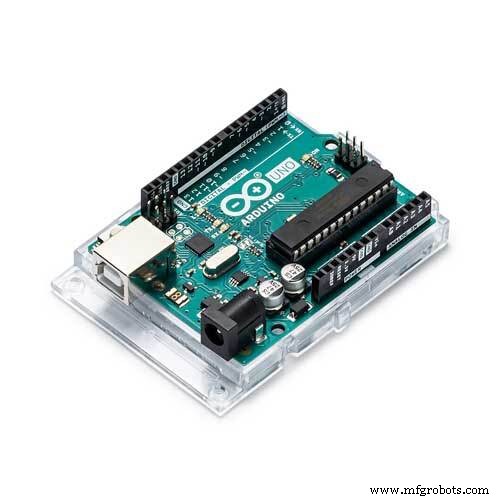
Getting STARTed:START is provided in form of an Arduino library so just download it and install it like any other library.
You also must download and install these libraries in order to get the keyboard and the lcd screen working:
- PS2Keyboard
- U8glib
Then open and upload the runSTART example!
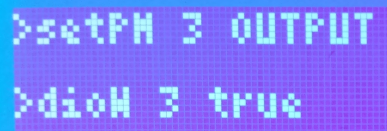
Built-in Commands:All these command are case sensitive!
- free: return the free SRAM still available expressed in bytes.

- setPM pinNumber INPUT/OUTPUT: a wrapper for the pinMode() Arduino function (example:
setPM 3 OUTPUT)
- getPM pinNumber INPUT/OUTPUT: return the mode a pin was previously set (example:
getPM 7)

- dioW pinNumber true/false: a wrapper for the digitalWrite() Arduino function (example:
dioW 3 false)
- dioR pinNumber: a wrapper for the digitalRead() Arduino function (example:
dioR 3)

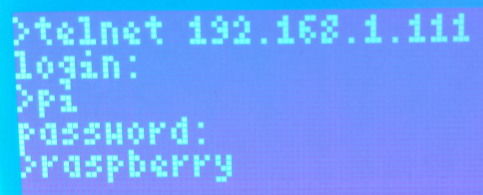
- telnet ipAddress: a basic telnet client actually able to connect to a server to execute remotely shell commands (example:
telnet 192.168.1.111)
You'll be prompted to enter your username/password:
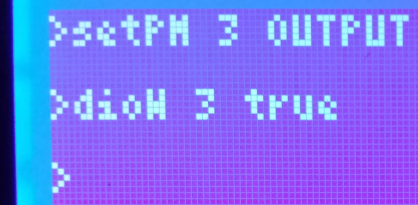
Hit enter and just wait a few seconds...and voilà:
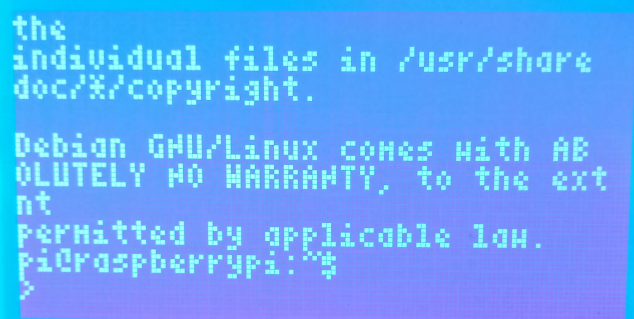
You're now logged on your telnet server and able to execute commands, scripts and run programs remotely!
See the file network.h for network settings!
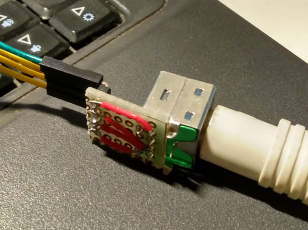
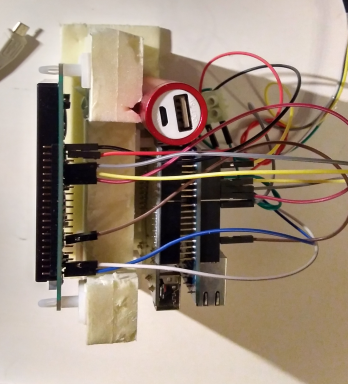
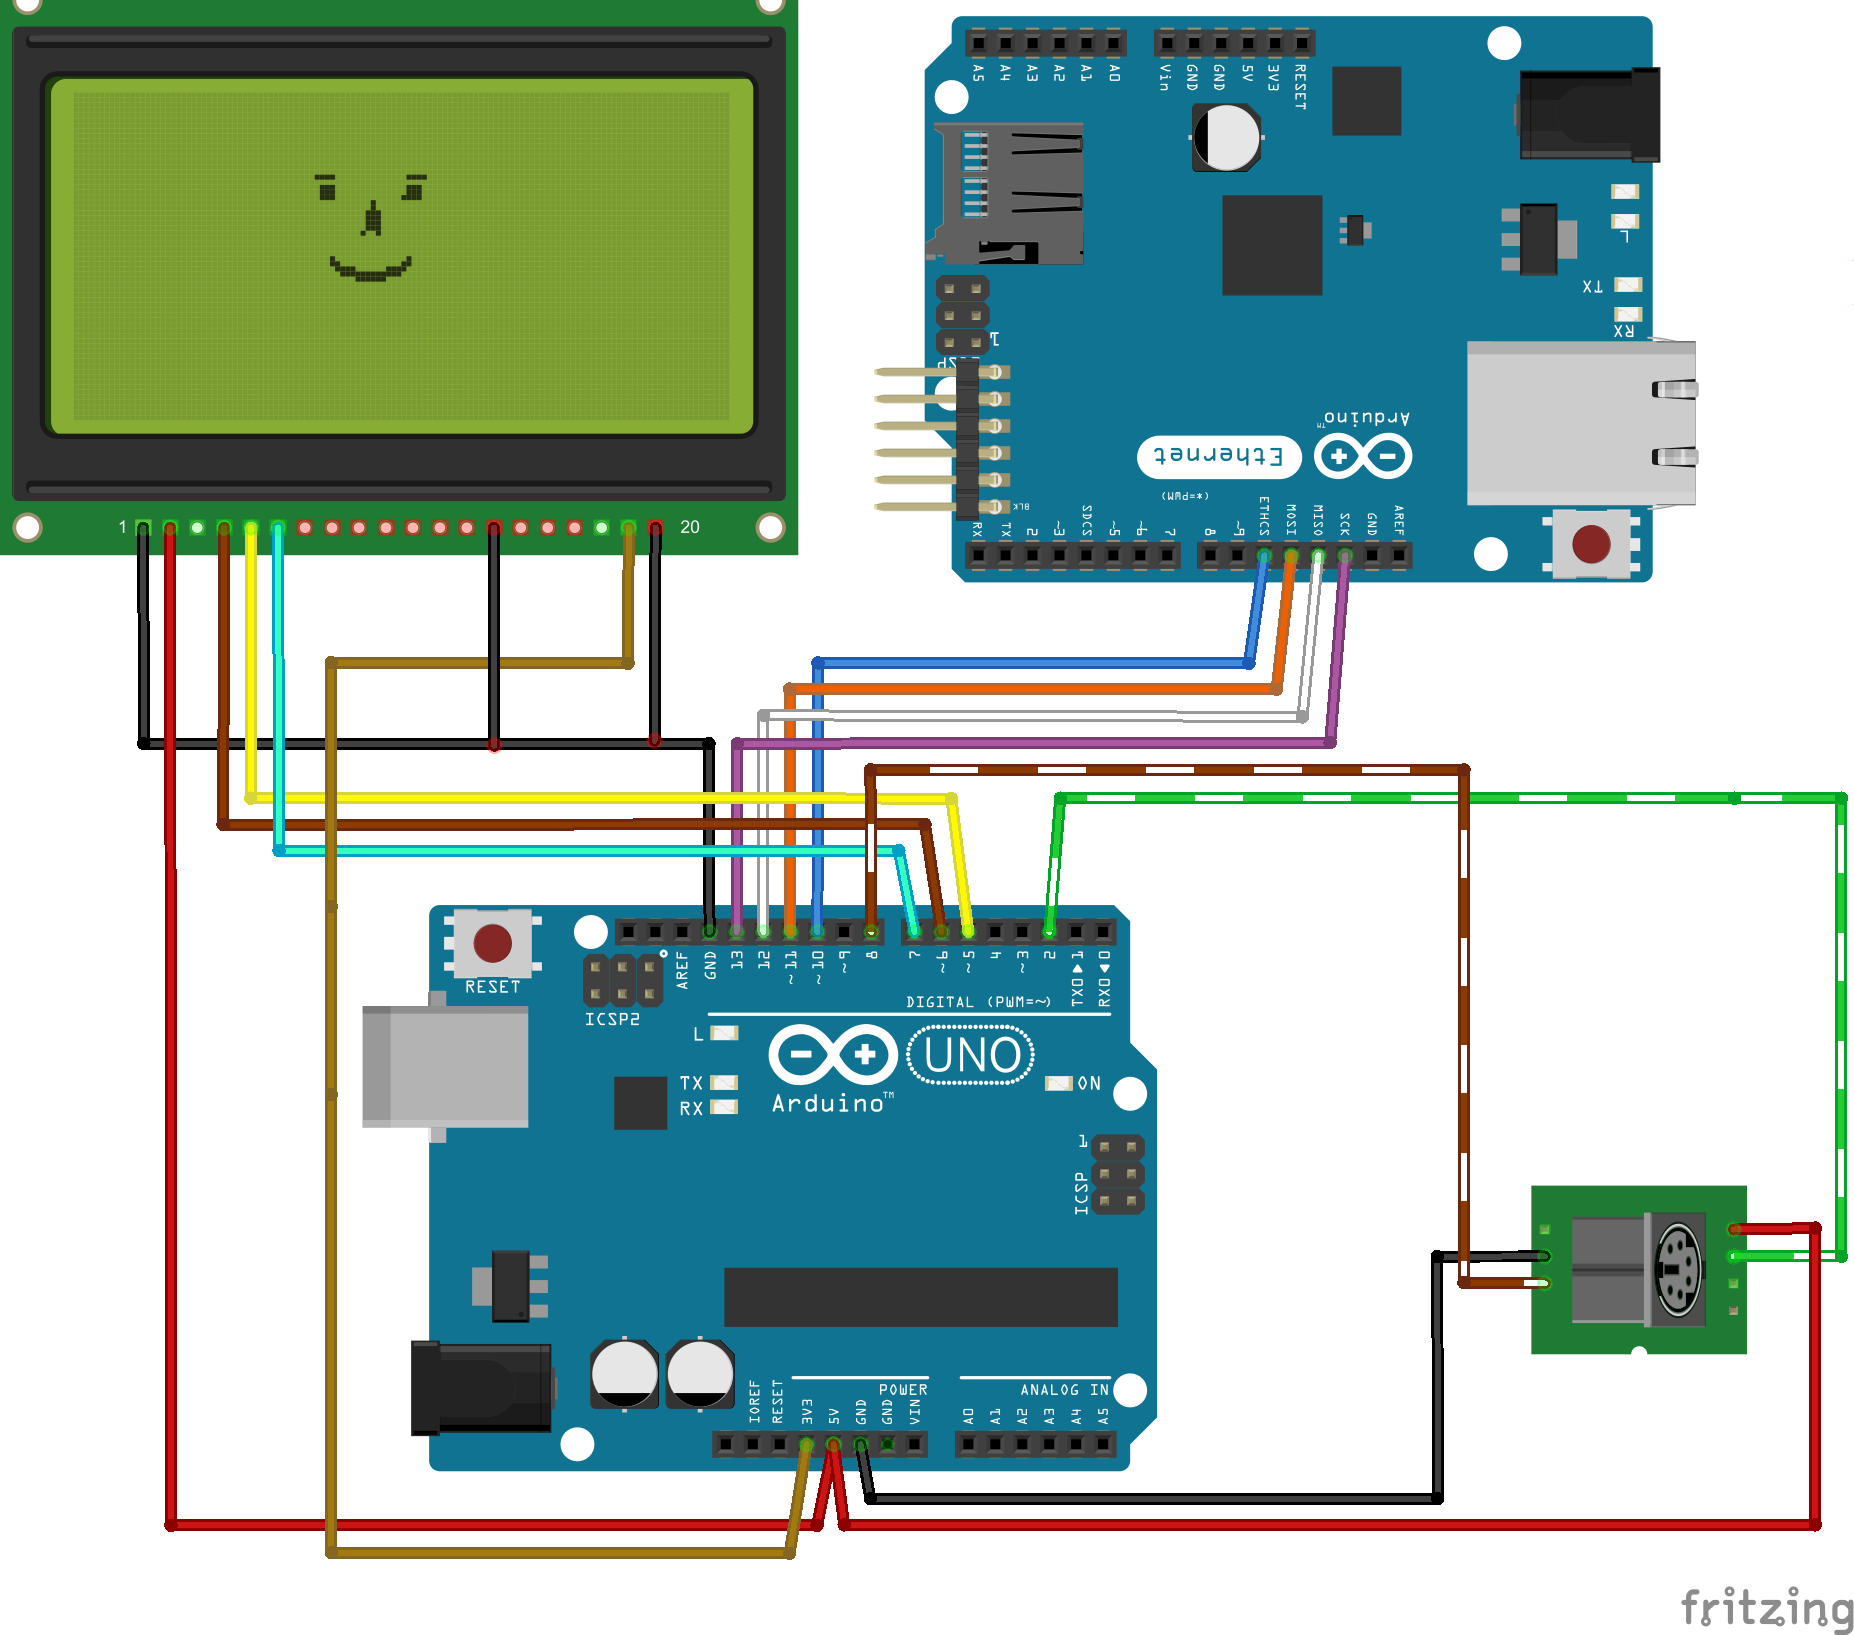
Building Tip 1:To connect the PS2 keyboard to START I made an adapter out of a PS2 pcb connector and a piece of stripboard:
According to the pinout found here:
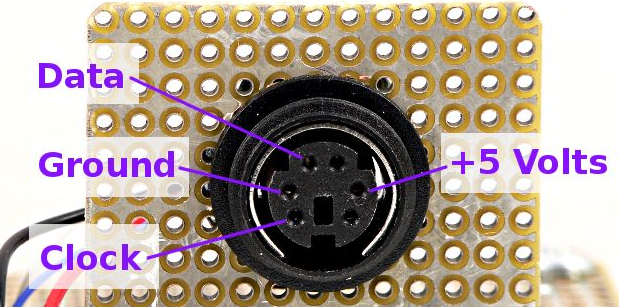
- Data must be connected on Arduino pin 8.
- Clock must be connected on Arduino pin 2.
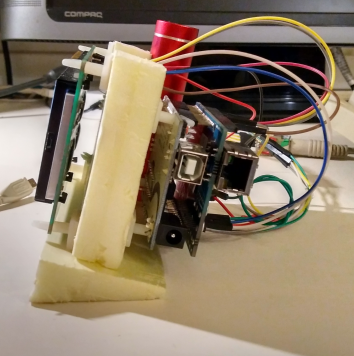
You can build a START terminal just wiring each components separately, but I found very convenient to use a polystyrene "frame" and some pcb plastic spacers to build a more "portable" device:
Code
Github
https://github.com/alejho/STARTSchematics
Manufacturing process
- Build a Bluetooth‑controlled Arduino Spybot
- FlickMote: Gesture‑Controlled IR Remote for Smart Home
- DIY Arduino TV B-Gone: Universal Remote for All TVs
- Build a Custom LED Master Clock with Alarm – Viewable from 12 Meters
- Find Me: Smart Item Locator with Arduino and Bluetooth
- Optimized Power Solutions for Arduino Projects
- Arduino Tic Tac Toe with MAX7219 LED Matrix and Cardboard Enclosure
- Build a Smart Arduino Quadruped Robot: Step‑by‑Step Guide
- Build a Custom Arduino Joystick Steering Wheel for Gaming
- High-Performance 2.8” TFT Shield for Arduino Nano – 320×240 SPI Display