


Step-by-Step Guide: Connecting YL-39/YL-69 Soil Moisture Sensor to Arduino UNO
Components and supplies
 |
| × | 1 | |||
| × | 1 |
Apps and online services
 |
|
About this project
I plan to do an automation for our greenhouse so I started small, by playing first with the sensors that I need. Here is how to use the YL-39 (logic) + YL-69 (probe) pair that form the soil humidity sensor.
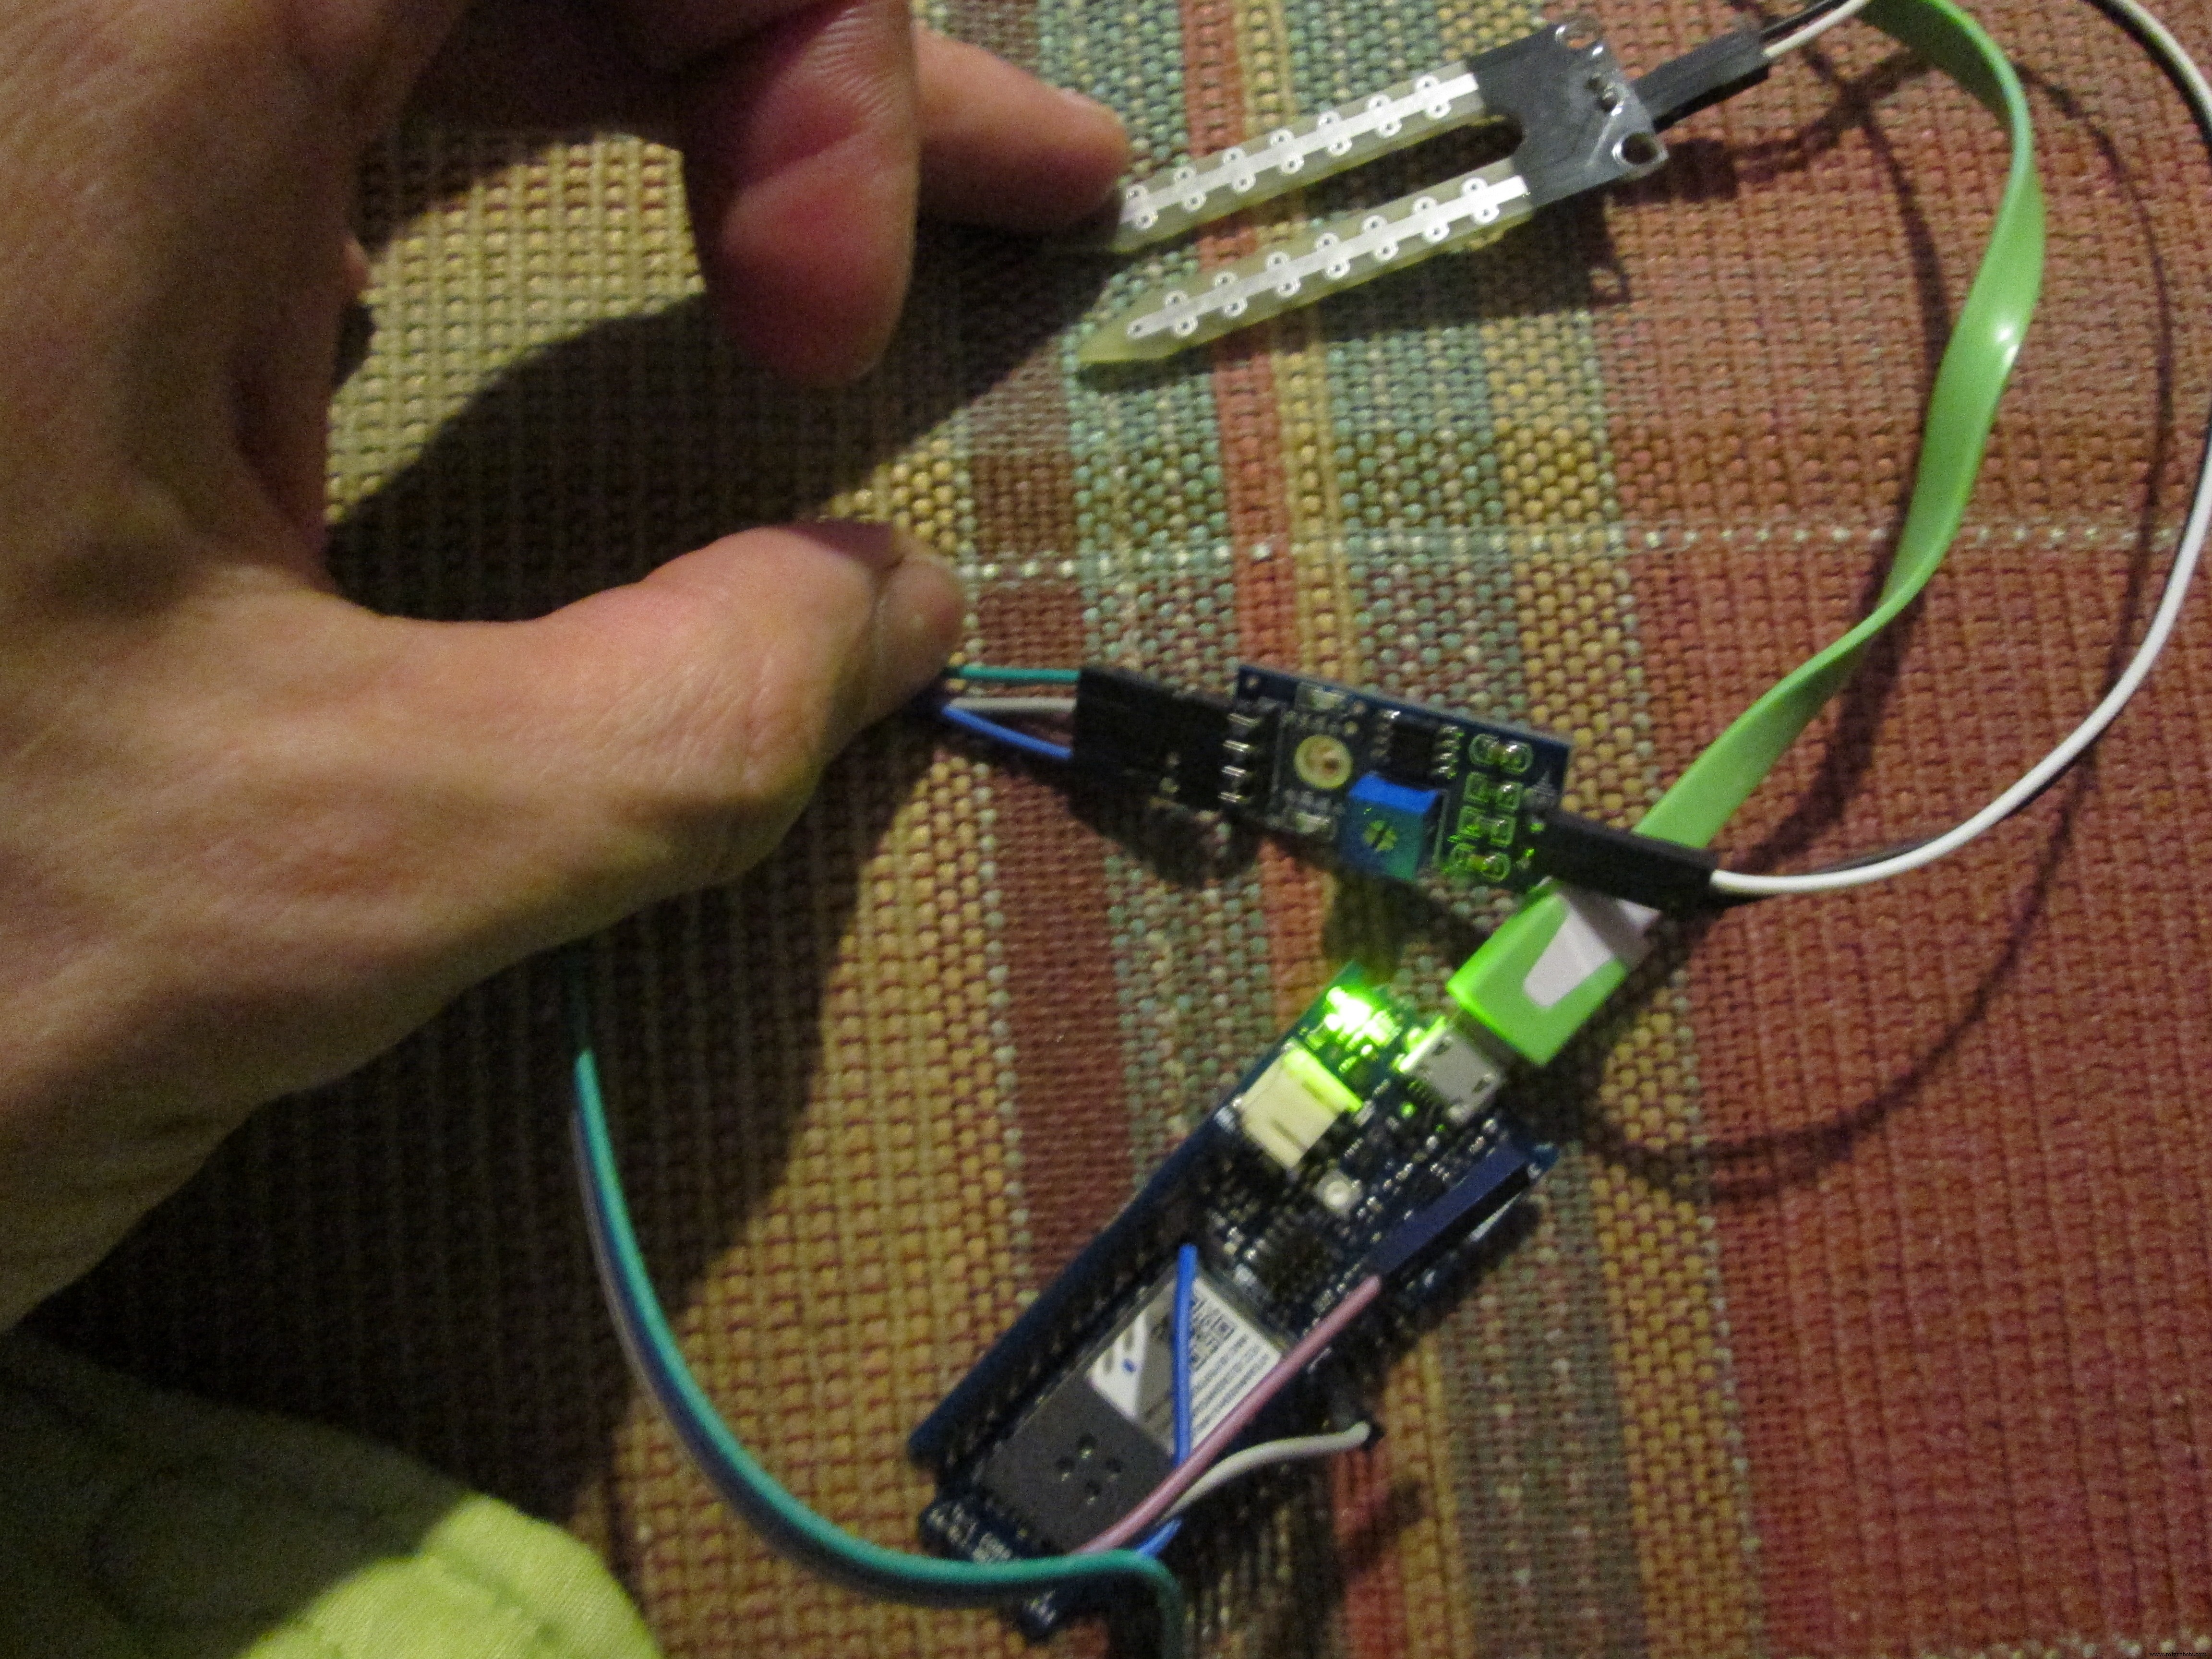
The YL-39 module has 4 pins:
- VCC: 3.3-5V
- GND
- A0 : analog output that can be easily read by Arduino
- D0 : digital pin that goes LOW or HIGH depending on a preset value
The issue with such sensors is that the probe itself work by trying to measure the current that goes from one side of it to the other. Because of this electrolysis occurs so it can destroy the probe (YL-69) pretty fast in high-moisture soils. To bypass this, instead of directly linking the VCC to the Arduino's VCC/5V we simply link it to a digital pin and power it (digital pin goes HIGH) only before we do a readout (see the code for this).
To connect it to the Arduino you just need to connect A0 from YL-39 to A1 from the Arduino and VCC from YL-39 to digital pin 6 from the Arduino.
That's all.
Code
- humidity_sensor_yl_39_69.ino
humidity_sensor_yl_39_69.inoArduino
// YL-39 + YL-69 humidity sensor
byte humidity_sensor_pin = A1;
byte humidity_sensor_vcc = 6;
void setup() {
// Init the humidity sensor board
pinMode(humidity_sensor_vcc, OUTPUT);
digitalWrite(humidity_sensor_vcc, LOW);
// Setup Serial
while (!Serial);
delay(1000);
Serial.begin(9600);
}
int read_humidity_sensor() {
digitalWrite(humidity_sensor_vcc, HIGH);
delay(500);
int value = analogRead(humidity_sensor_pin);
digitalWrite(humidity_sensor_vcc, LOW);
return 1023 - value;
}
void loop() {
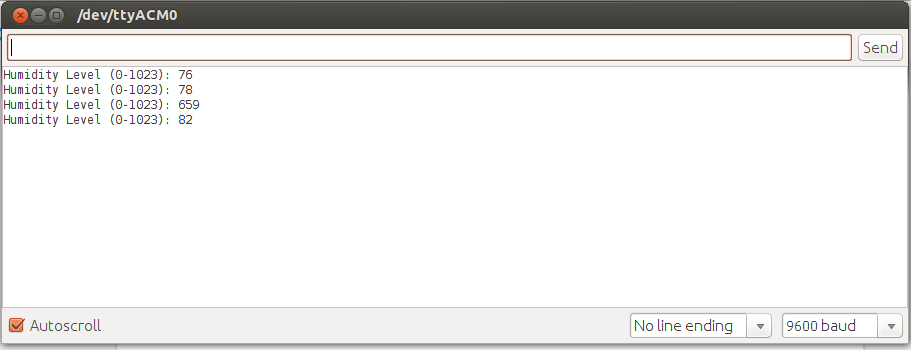
Serial.print("Humidity Level (0-1023): ");
Serial.println(read_humidity_sensor());
delay(10000);
}
Schematics
yl-39.fzzManufacturing process
- Integrating the Acconeer A111 Pulsed Radar with a Raspberry Pi: A Practical Guide
- K30 CO2 Sensor: Real‑Time Indoor Air Quality Monitoring
- Integrating a DFRobot Capacitive Fingerprint Sensor with Arduino or ESP8266
- Integrating the MAX30100 Pulse Sensor with Arduino: A Step-by-Step Guide
- Compact Arduino Radar System with HC‑SR04 Ultrasonic Sensor & 1.8" Display
- Capacitive Touch LED Switch with Arduino UNO – Easy DIY Project
- Build an Ultrasonic Range Detector Using Arduino UNO and SR04 Sensor
- Real-Time Soil Moisture Monitoring with LCD Display – Arduino DIY Kit
- Build an IR Sensor Project with Arduino UNO – Simple Guide
- Portable Arduino-Based Temperature & Humidity Monitor with 16x2 LCD Display