


DIY Human‑Tracking Robot with Arduino UNO and Motor Shield
Components and supplies
 |
| × | 1 | |||
| × | 1 | ||||
 |
| × | 1 | |||
| × | 2 | ||||
 |
| × | 1 | |||
 |
| × | 1 | |||
 |
| × | 4 | |||
 |
| × | 4 | |||
 |
| × | 1 | |||
 |
| × | 1 |
Apps and online services
 |
|
About this project
Hey Guyzz...
In this pandemic I trust everybody is at home staying safe.
I made a new project named Human Following Bot.
watch the whole video to make this project at home.
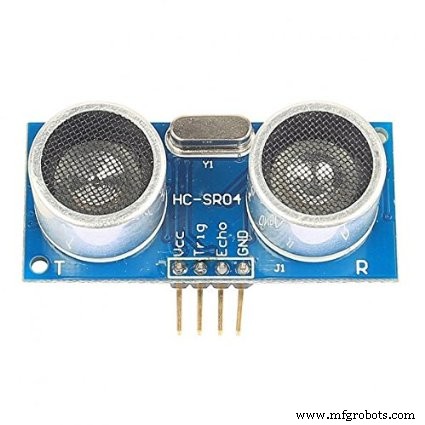
It used 2 IR sensors and an ultrasonic sensor. IR sensors used to follow the human or object and ultrasonic sensor is used to move back the robot.
If you like this project respect it.
Give me suggestions so I can improve it or any feedback you want to give to my YouTube channel.
link is : https://studio.youtube.com/channel/UCaXI2PcsTlH5g0et67kdD6g
Also you can give me suggestions on "What I made next project.?"
Stepstomakethisproject:
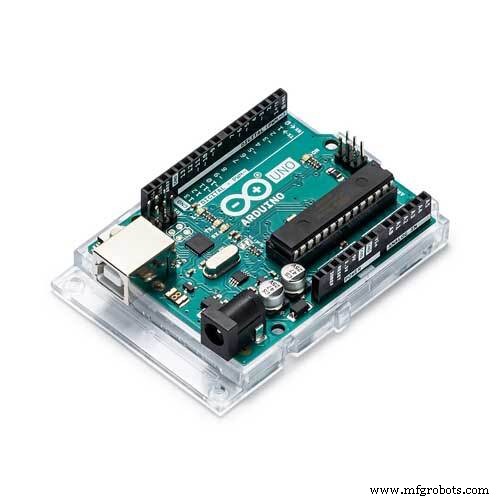
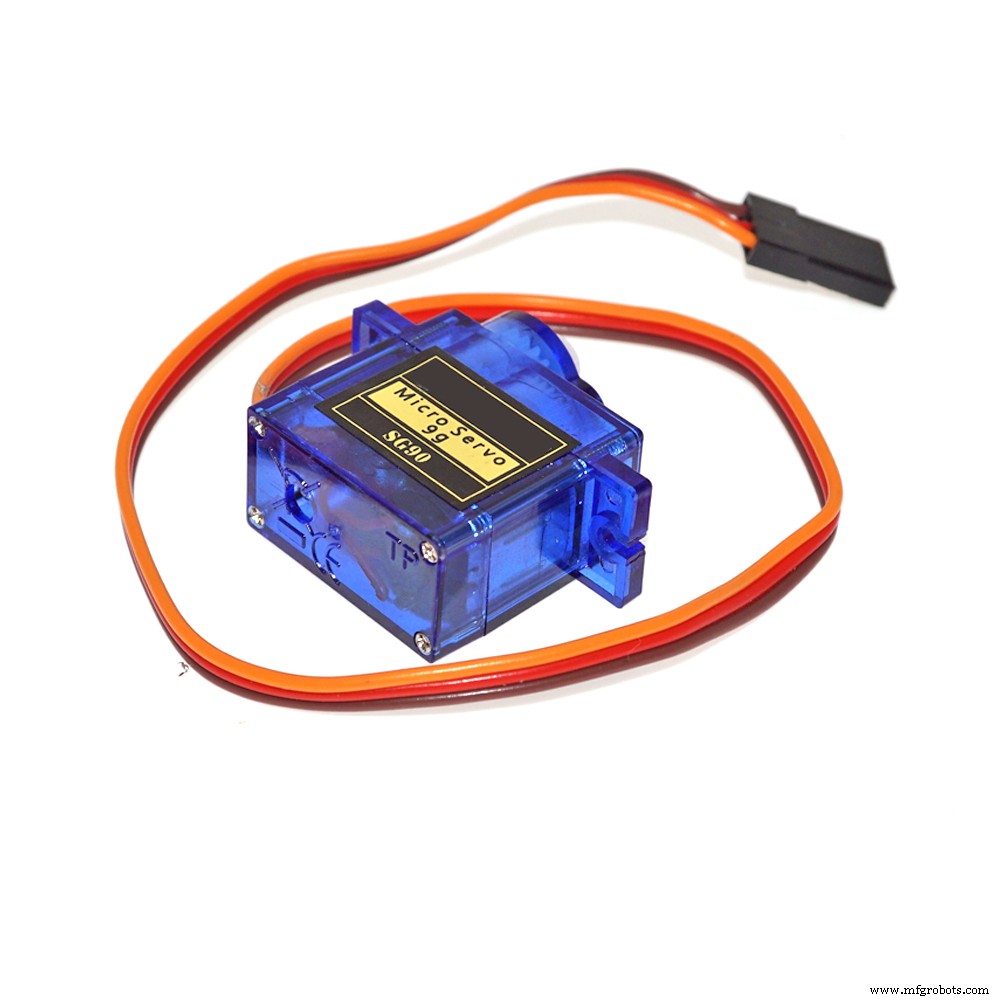
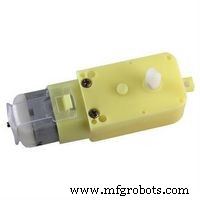
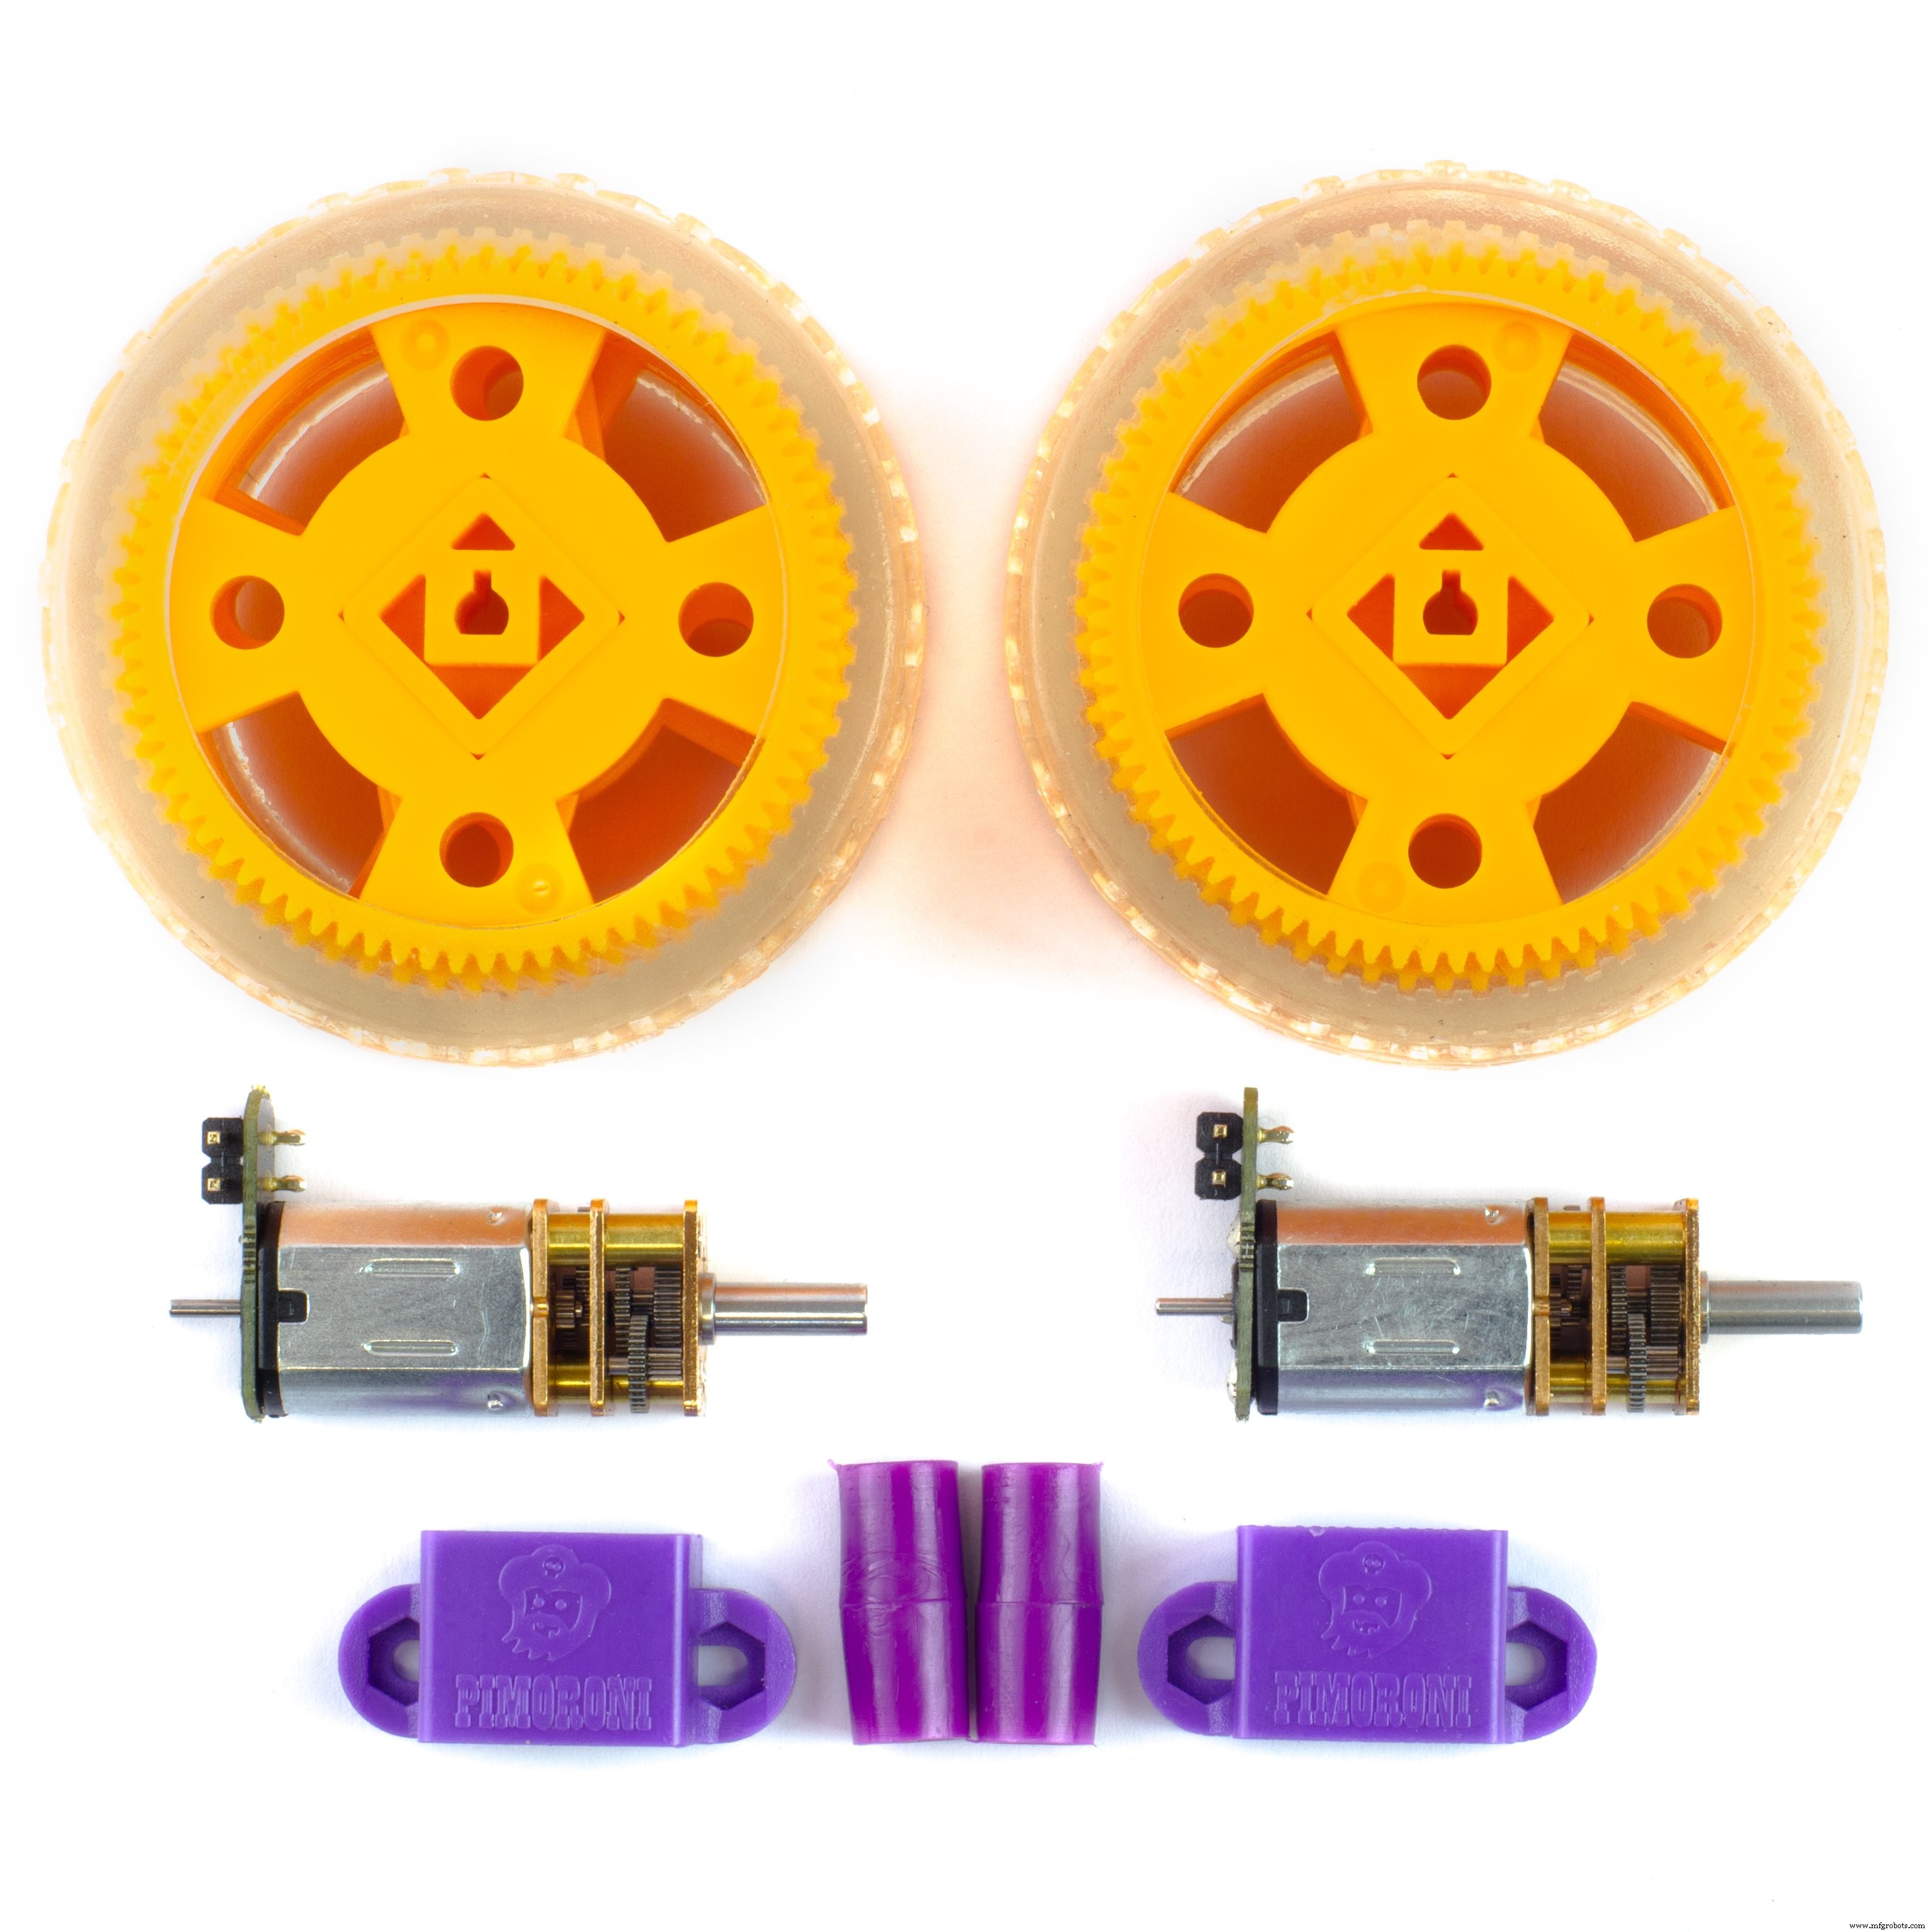
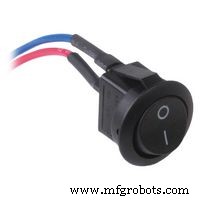
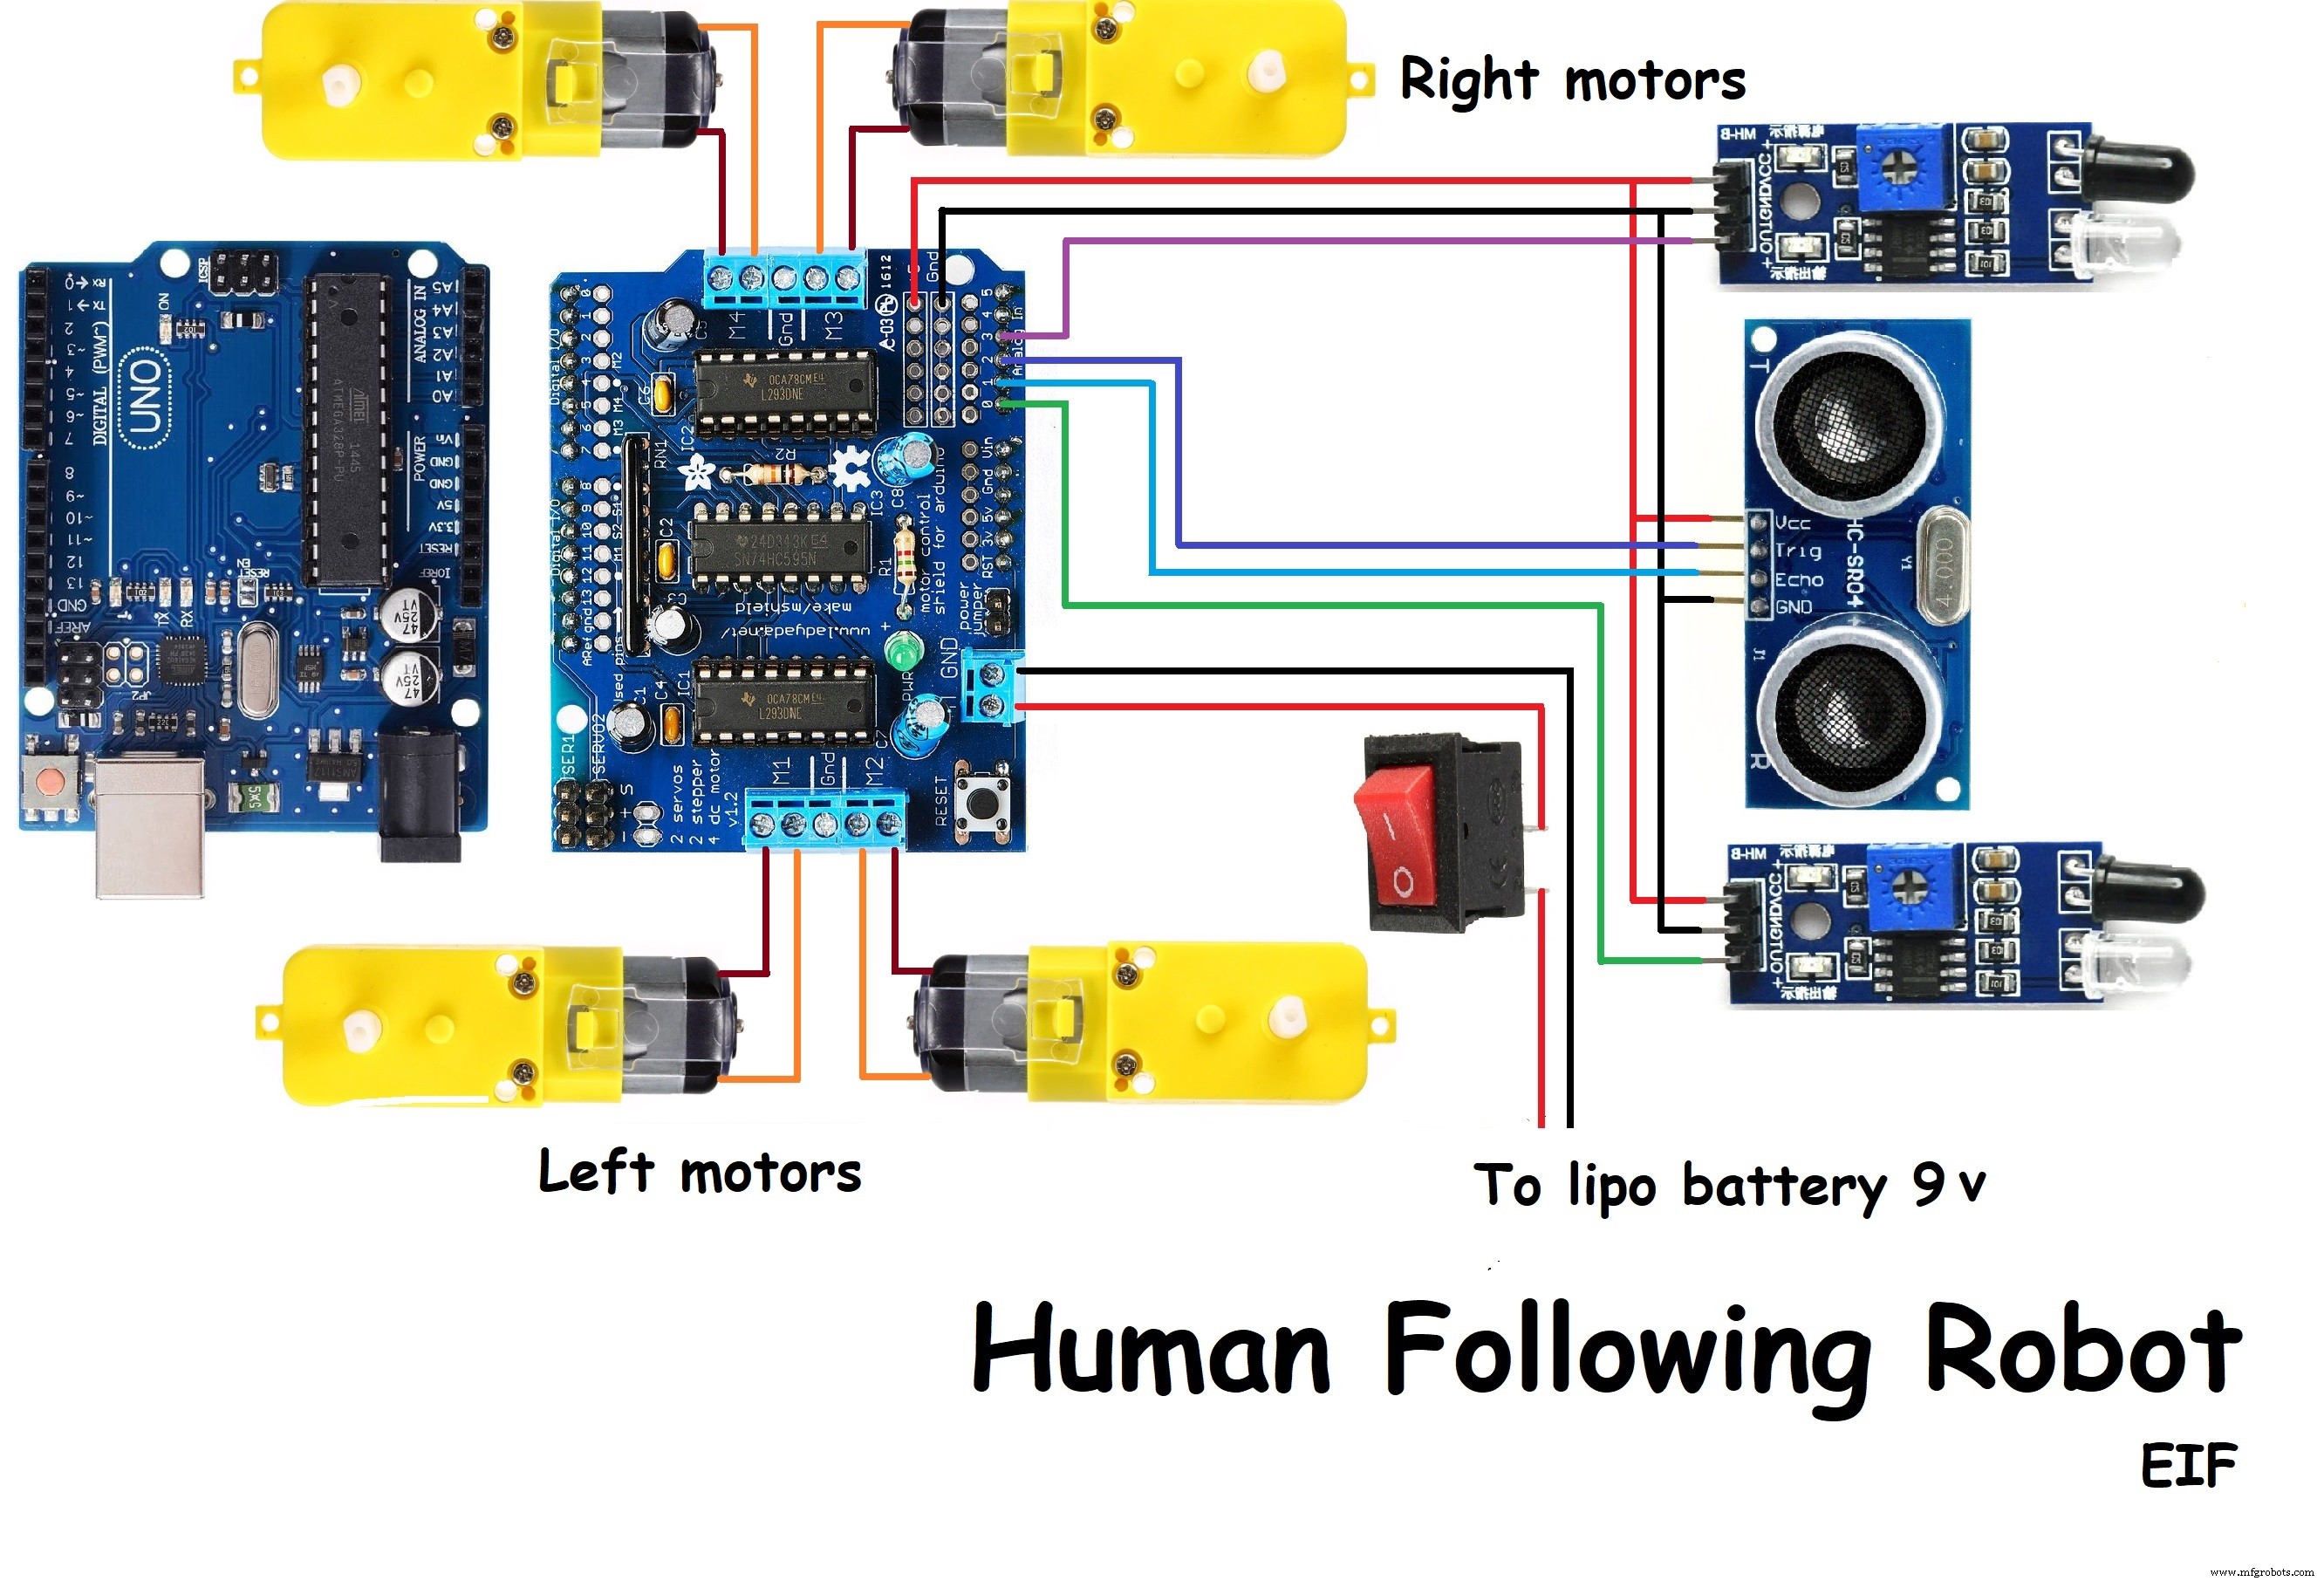
1. Gather components like Arduino, Dc geared motors with wheels, 2 IR sensors, ultrasonic sensor, servo motor, cardboard, l293d motor driver shield, battery 9 v, switch, Jumper wires etc.
2. Take cardboard and place all 4 motors with wheels on it to make a car.
3. Place IR sensors on the car.
4. Stick servo motor on the car.
5. Place ultrasonic sensor in box and add handle to it after that connect it on servo motor.
6. Connect arduino and l293d motor shield on car.
7. Do connections as shown in circuit diagram.
8. Upload the code and connect switch with battery to l293d motor driver shield.
Adjust the sensitivity of IR sensors.
Your project is ready...!!!
Visit my YouTube channel once and see more interesting projects.
"Electronics is Fun"
If you like my channel subscribe it please.
link: https://studio.youtube.com/channel/UCaXI2PcsTlH5g0et67kdD6g
Code
- Code
CodeArduino
// www.YouTube.com/Electronics is Fun //

#include<Servo.h>
#include<AFMotor.h>
#define LEFT A0
#define echopin A1 // echo pin
#define trigpin A2 // Trigger pin
#define RIGHT A3

AF_DCMotor Motor1(1,MOTOR12_1KHZ);
AF_DCMotor Motor2(2,MOTOR12_1KHZ);
AF_DCMotor Motor3(3,MOTOR34_1KHZ);
AF_DCMotor Motor4(4,MOTOR34_1KHZ);

Servo myservo;

int pos =0;
long time;

void setup(){

Serial.begin(9600);
myservo.attach(10);

for(pos = 90; pos <= 180; pos += 1){
myservo.write(pos);
delay(15);
}

for(pos = 180; pos >= 0; pos-= 1) {
myservo.write(pos);
delay(15);
}

for(pos = 0; pos<=90; pos += 1) {
myservo.write(pos);
delay(15);
}

pinMode(RIGHT, INPUT);
pinMode(LEFT, INPUT);

pinMode(trigpin, OUTPUT);
pinMode(echopin, INPUT);

}

void loop(){
unsigned int distance = read_cm();

int Right_Value = digitalRead(RIGHT);
int Left_Value  = digitalRead(LEFT);

Serial.print("R= ");
Serial.print(Right_Value);
Serial.print(" L= ");
Serial.print(Left_Value);
Serial.print(" D= ");
Serial.println(distance);

     if((Right_Value==1) && (distance>=10 && distance<=30)&&(Left_Value==1)){forword();}
else if((Right_Value==0) && (Left_Value==1)){turnRight();}
else if((Right_Value==1) && (Left_Value==0)){turnLeft();}
else if((Right_Value==1) && (Left_Value==1)){stop();}
else if(distance > 5 && distance < 10){stop();}
else if(distance < 5){backword();}

delay(50);
}

long read_cm(){
  digitalWrite(trigpin, LOW);
  delayMicroseconds(2);
  digitalWrite(trigpin, HIGH);
  delayMicroseconds(10);
  time = pulseIn (echopin, HIGH);
  return time / 29 / 2;
}

void forword(){// turn it on going forward
Motor1.setSpeed(120);
Motor1.run(FORWARD);
Motor2.setSpeed(120);
Motor2.run(FORWARD);
Motor3.setSpeed(120);
Motor3.run(FORWARD);
Motor4.setSpeed(120);
Motor4.run(FORWARD);
}

void backword(){ // the other way
Motor1.setSpeed(120);
Motor1.run(BACKWARD);
Motor2.setSpeed(120);
Motor2.run(BACKWARD);
Motor3.setSpeed(120);
Motor3.run(BACKWARD);
Motor4.setSpeed(120);
Motor4.run(BACKWARD);
}

void turnRight(){ // the other right
Motor1.setSpeed(200);
Motor1.run(FORWARD);
Motor2.setSpeed(200);
Motor2.run(FORWARD);
Motor3.setSpeed(100);
Motor3.run(BACKWARD);
Motor4.setSpeed(100);
Motor4.run(BACKWARD);
}

void turnLeft(){ // turn it on going left
Motor1.setSpeed(100);
Motor1.run(BACKWARD);
Motor2.setSpeed(100);
Motor2.run(BACKWARD);
Motor3.setSpeed(200);
Motor3.run(FORWARD);
Motor4.setSpeed(200);
Motor4.run(FORWARD);
}

void stop(){ // stopped
Motor1.setSpeed(0);
Motor1.run(RELEASE);
Motor2.setSpeed(0);
Motor2.run(RELEASE);
Motor3.setSpeed(0);
Motor3.run(RELEASE);
Motor4.setSpeed(0);
Motor4.run(RELEASE);
}
Schematics
Manufacturing process
- Raspoulette: Solar‑Powered Autonomous Coop Door System Prototype
- Arduino Uno-Based Human Detection Robot: Step‑by‑Step Sensor Integration
- 3D RGB Arduclock – Bluetooth LED Timepiece with Real‑Time Clock
- River Health Monitor: Arduino-Based Water Quality System
- Interactive Joystick Game with Arduino and LED Feedback
- DIY Guitar Speed Pick & Stomp Pedal – Build Your Own 3D‑Printed Motorized Pick
- Build a 4-Wheel Arduino Robot Controlled via Dabble App
- Build an Arduino-Powered CNC Plotter: Step-by-Step Drawing Machine DIY
- Smart Hand‑Gesture Wheelchair for People with Disabilities
- M1 Rover: Outdoor Autonomous Robot for Rough Terrain