DIY Guitar Speed Pick & Stomp Pedal – Build Your Own 3D‑Printed Motorized Pick
Components and supplies
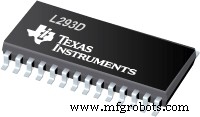 | | Texas Instruments Dual H-Bridge motor drivers L293D |
| × | 1 | |
 | | × | 1 | |
 | | × | 1 | |
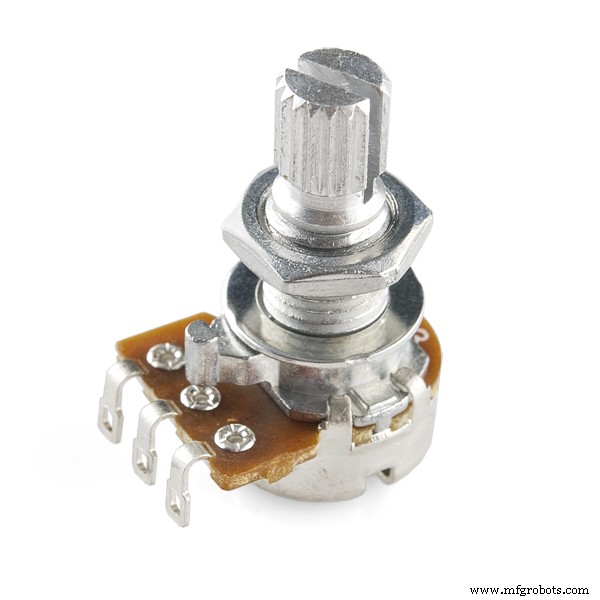 | | Rotary potentiometer (generic) |
| × | 1 | |
 | | × | 1 | |
 | | × | 1 | |
About this project
Create your own speed pick and stomp back at home with this easy 3D-printed and a simple Arduino project!
Create and AssembleSoftware- Model Design: Autodesk Fusion 360 https://www.autodesk.com/products/fusion-360/overview
- 3D Print Slicer Software: Simplify3D https://www.simplify3d.com
- Coding Software: Arduino IDE https://www.arduino.cc/en/Main/Software
3D Printer UsedDownloads- Simplify3D FFF Profile :https://drive.google.com/open?id=1an5pNq8Q5vVltrBfKb08eP2k33RQ4BWq
- 3D Model Parts :https://www.thingiverse.com/thing:3058807
Components- 1 x 6V DC motor – medium torque
- 1 x Potentiometer turn button
- 1 x Push button (no lock mechanism)
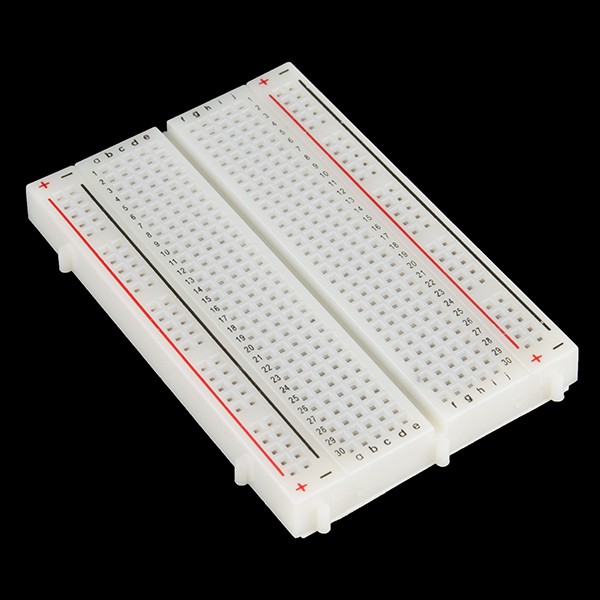
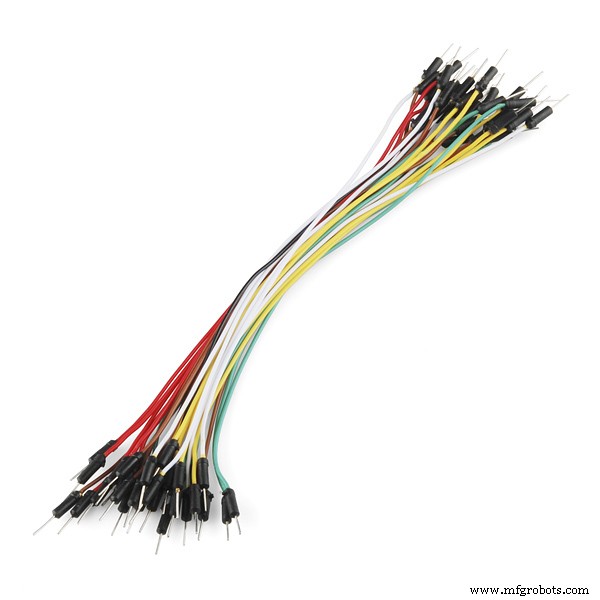
- 1 x Small breadboard wires
- 1 x Adjustable Voltage Power Adapter
Code
- Arduino Code to control Motor Speed via Pedal
Arduino Code to control Motor Speed via PedalArduino
#define PIN_Pot			A0
#define PIN_LED			9
#define PIN_Input1	2 //L293D pin 2
#define PIN_Input2	7 //L293D pin 7
#define PIN_Speed		3 //L293D pin 1

int sensorValue = 0;

void setup()
{
	pinMode(PIN_Speed, OUTPUT);
	pinMode(PIN_LED, OUTPUT);
	pinMode(PIN_Input1, OUTPUT);
	pinMode(PIN_Input2, OUTPUT);
}

void loop()
{
	sensorValue = analogRead(PIN_Pot)/4;

	analogWrite(PIN_LED, map(sensorValue, 0, 255, 10, 255));
	analogWrite(PIN_Speed, map(sensorValue, 0, 255, 50, 220));

	//Setting the direction of the DC Motor
	digitalWrite(PIN_Input1, LOW);
	digitalWrite(PIN_Input2, HIGH);
}
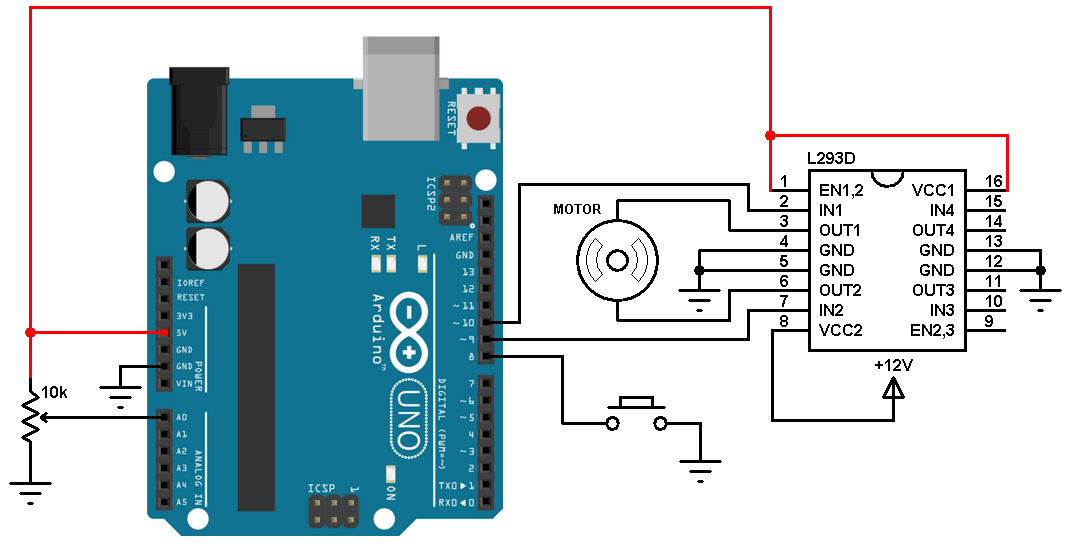
Schematics
More updated schematics will be uploaded soon.