


Mini Acoustic Levitation Demo with Arduino UNO & HC-SR04 Ultrasonic Sensor
Components and supplies
 |
| × | 1 | |||
 |
| × | 1 |
Apps and online services
 |
|
About this project
View this project on my website to see a circuit simulation and more!
Acoustic levitation is made possible through the fact that sound behaves as a wave. When two sound waves intersect each other, they can either constructively or destructively interfere with each other. (This is how noise - cancelling headphones work.)
This project uses an ultrasonic distance sensor to create a levitation effect. This works by creating "pockets" where two opposing sound waves interfere with each other. When an object is placed in the pocket it will stay there, seemingly hovering in place.
Materials needed:
- Arduino board: https://amzn.to/2DLjxR2
- H-bridge: https://amzn.to/2DXFw7y
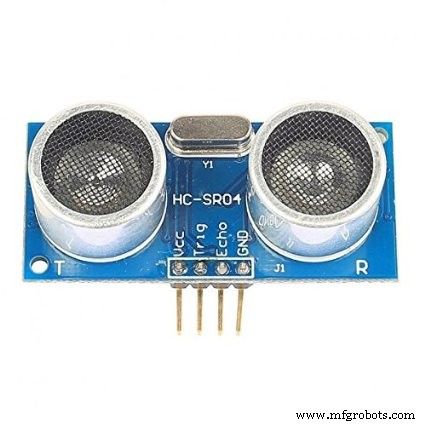
- Distance sensor: https://amzn.to/2PSbJU2
- Breadboard: https://amzn.to/2RYqiSK
- Jumper wires: https://amzn.to/2Q7kiKc
- Diode: https://amzn.to/2KlYMf8
- Capacitors (Maybe): https://amzn.to/2DYnCla
As an Amazon Associate I earn from qualifying purchases.
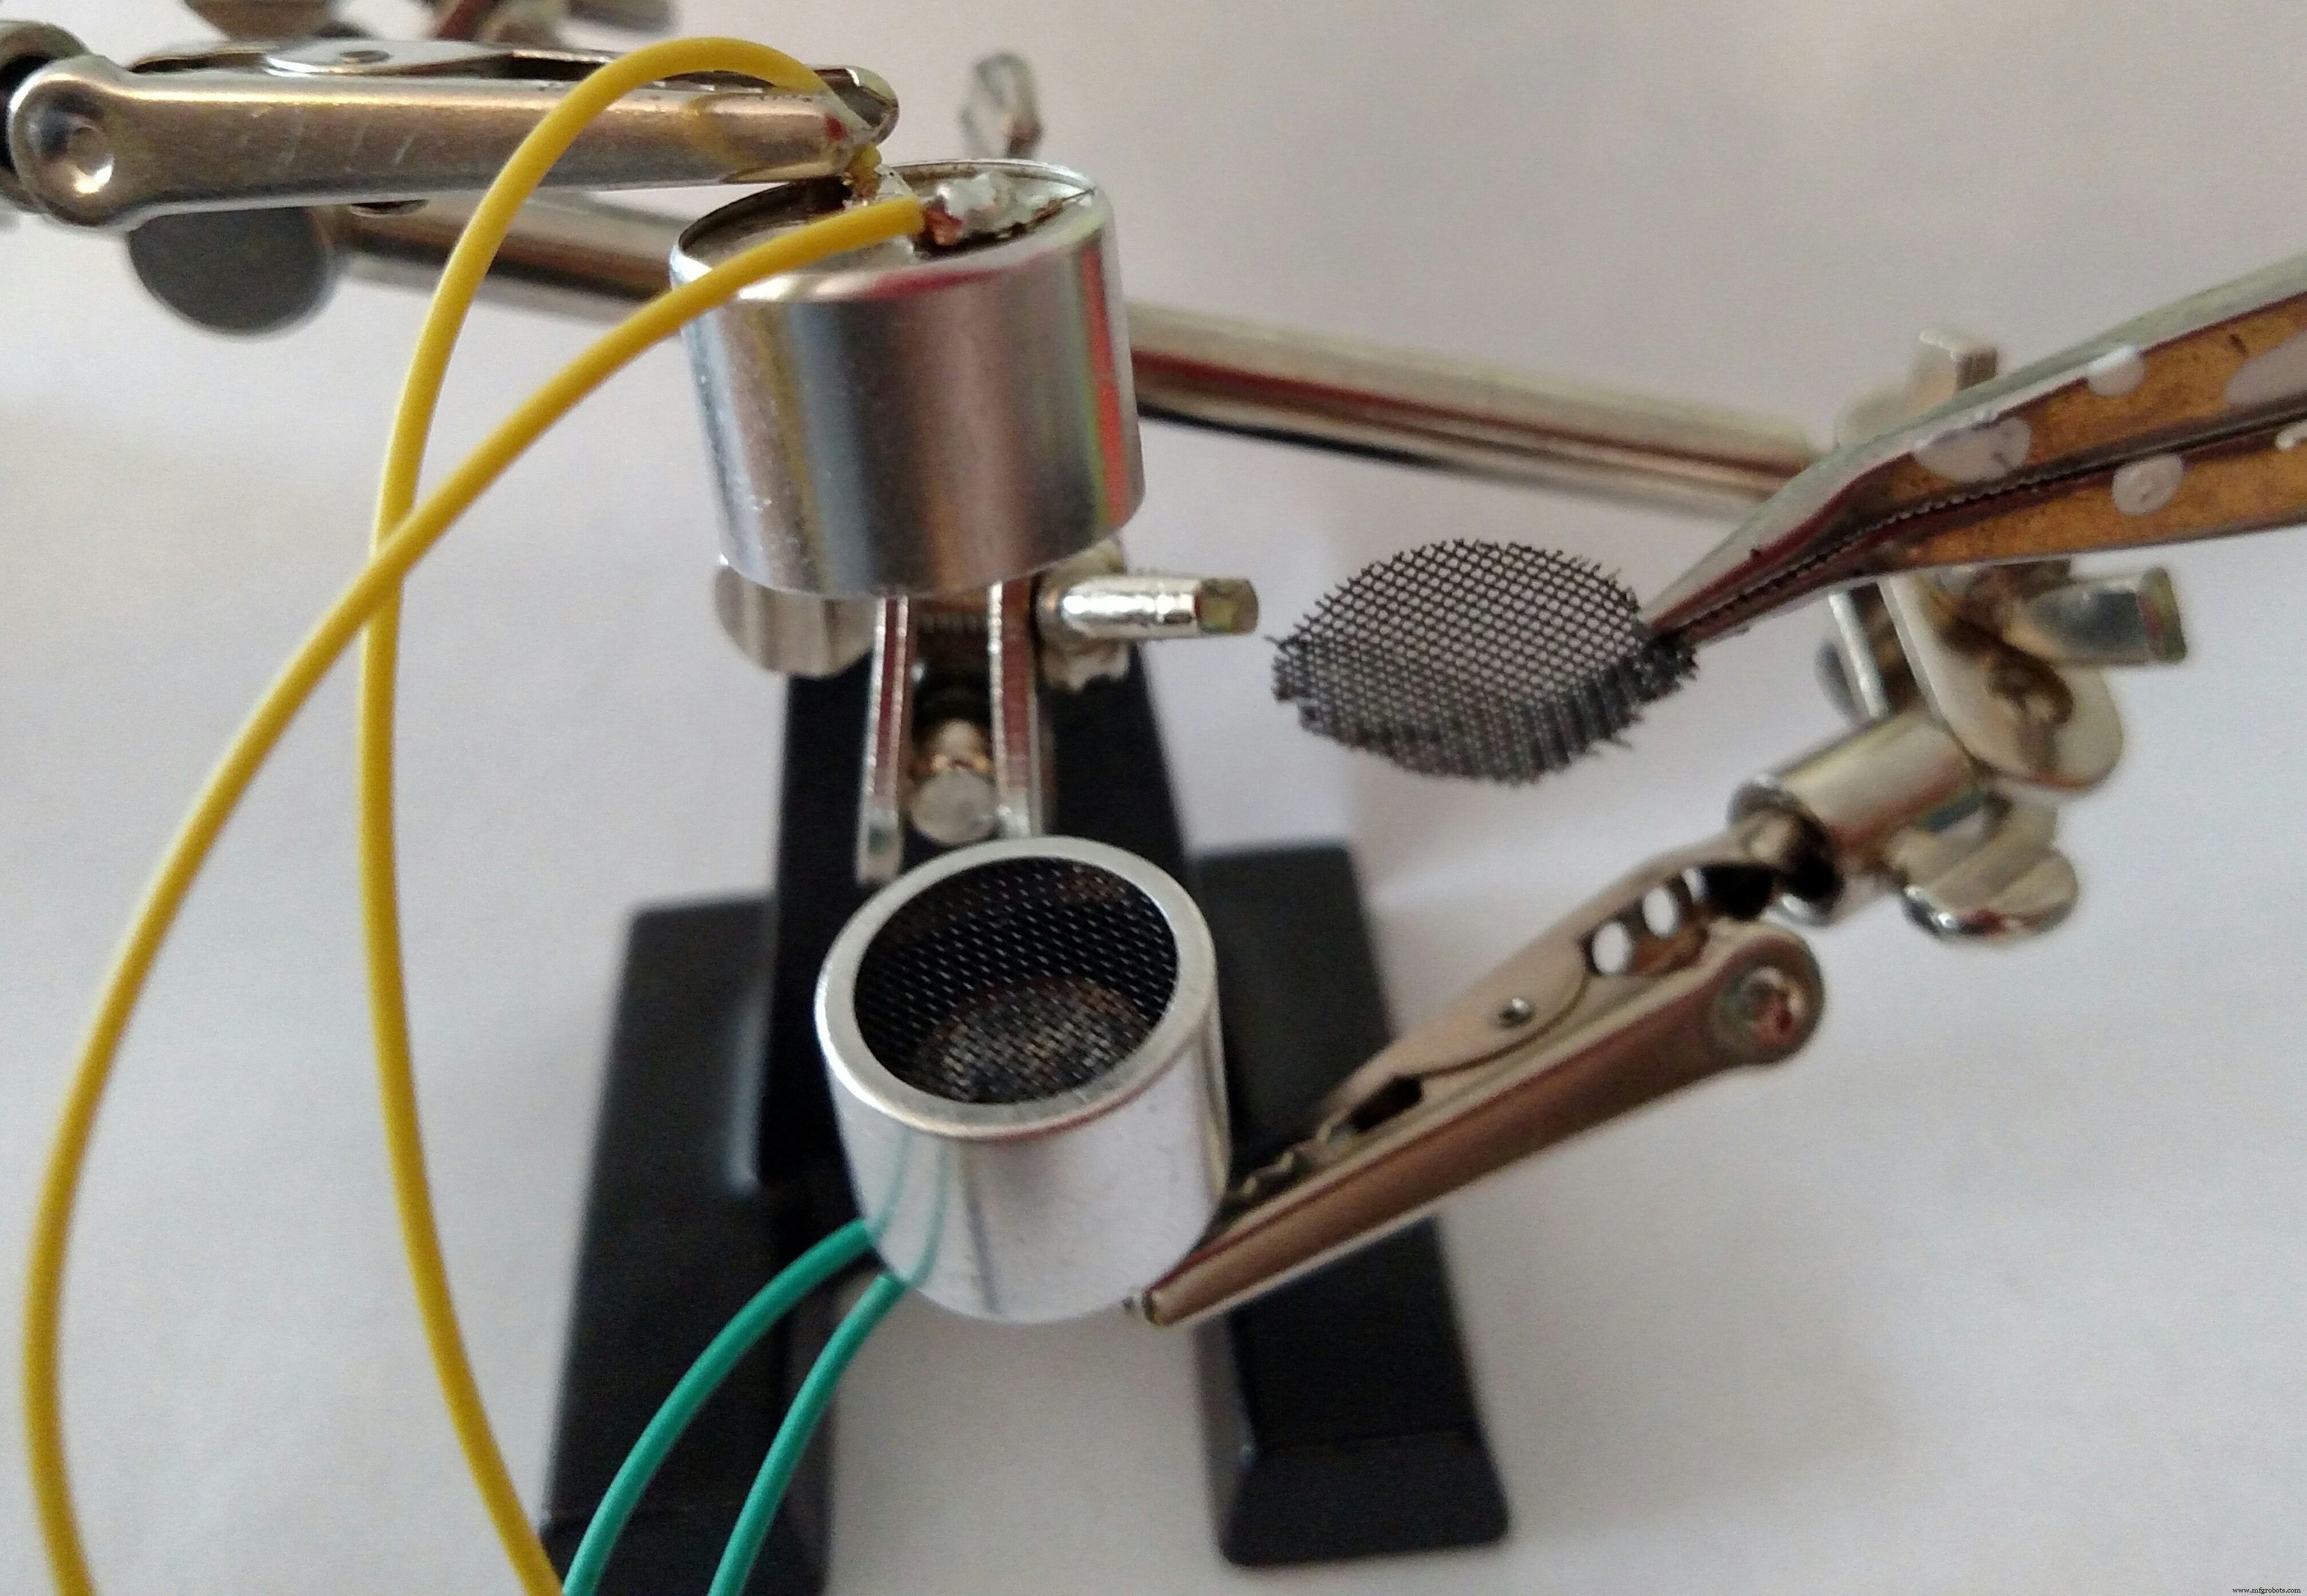
Step 1: Get Ultrasonic Transmitters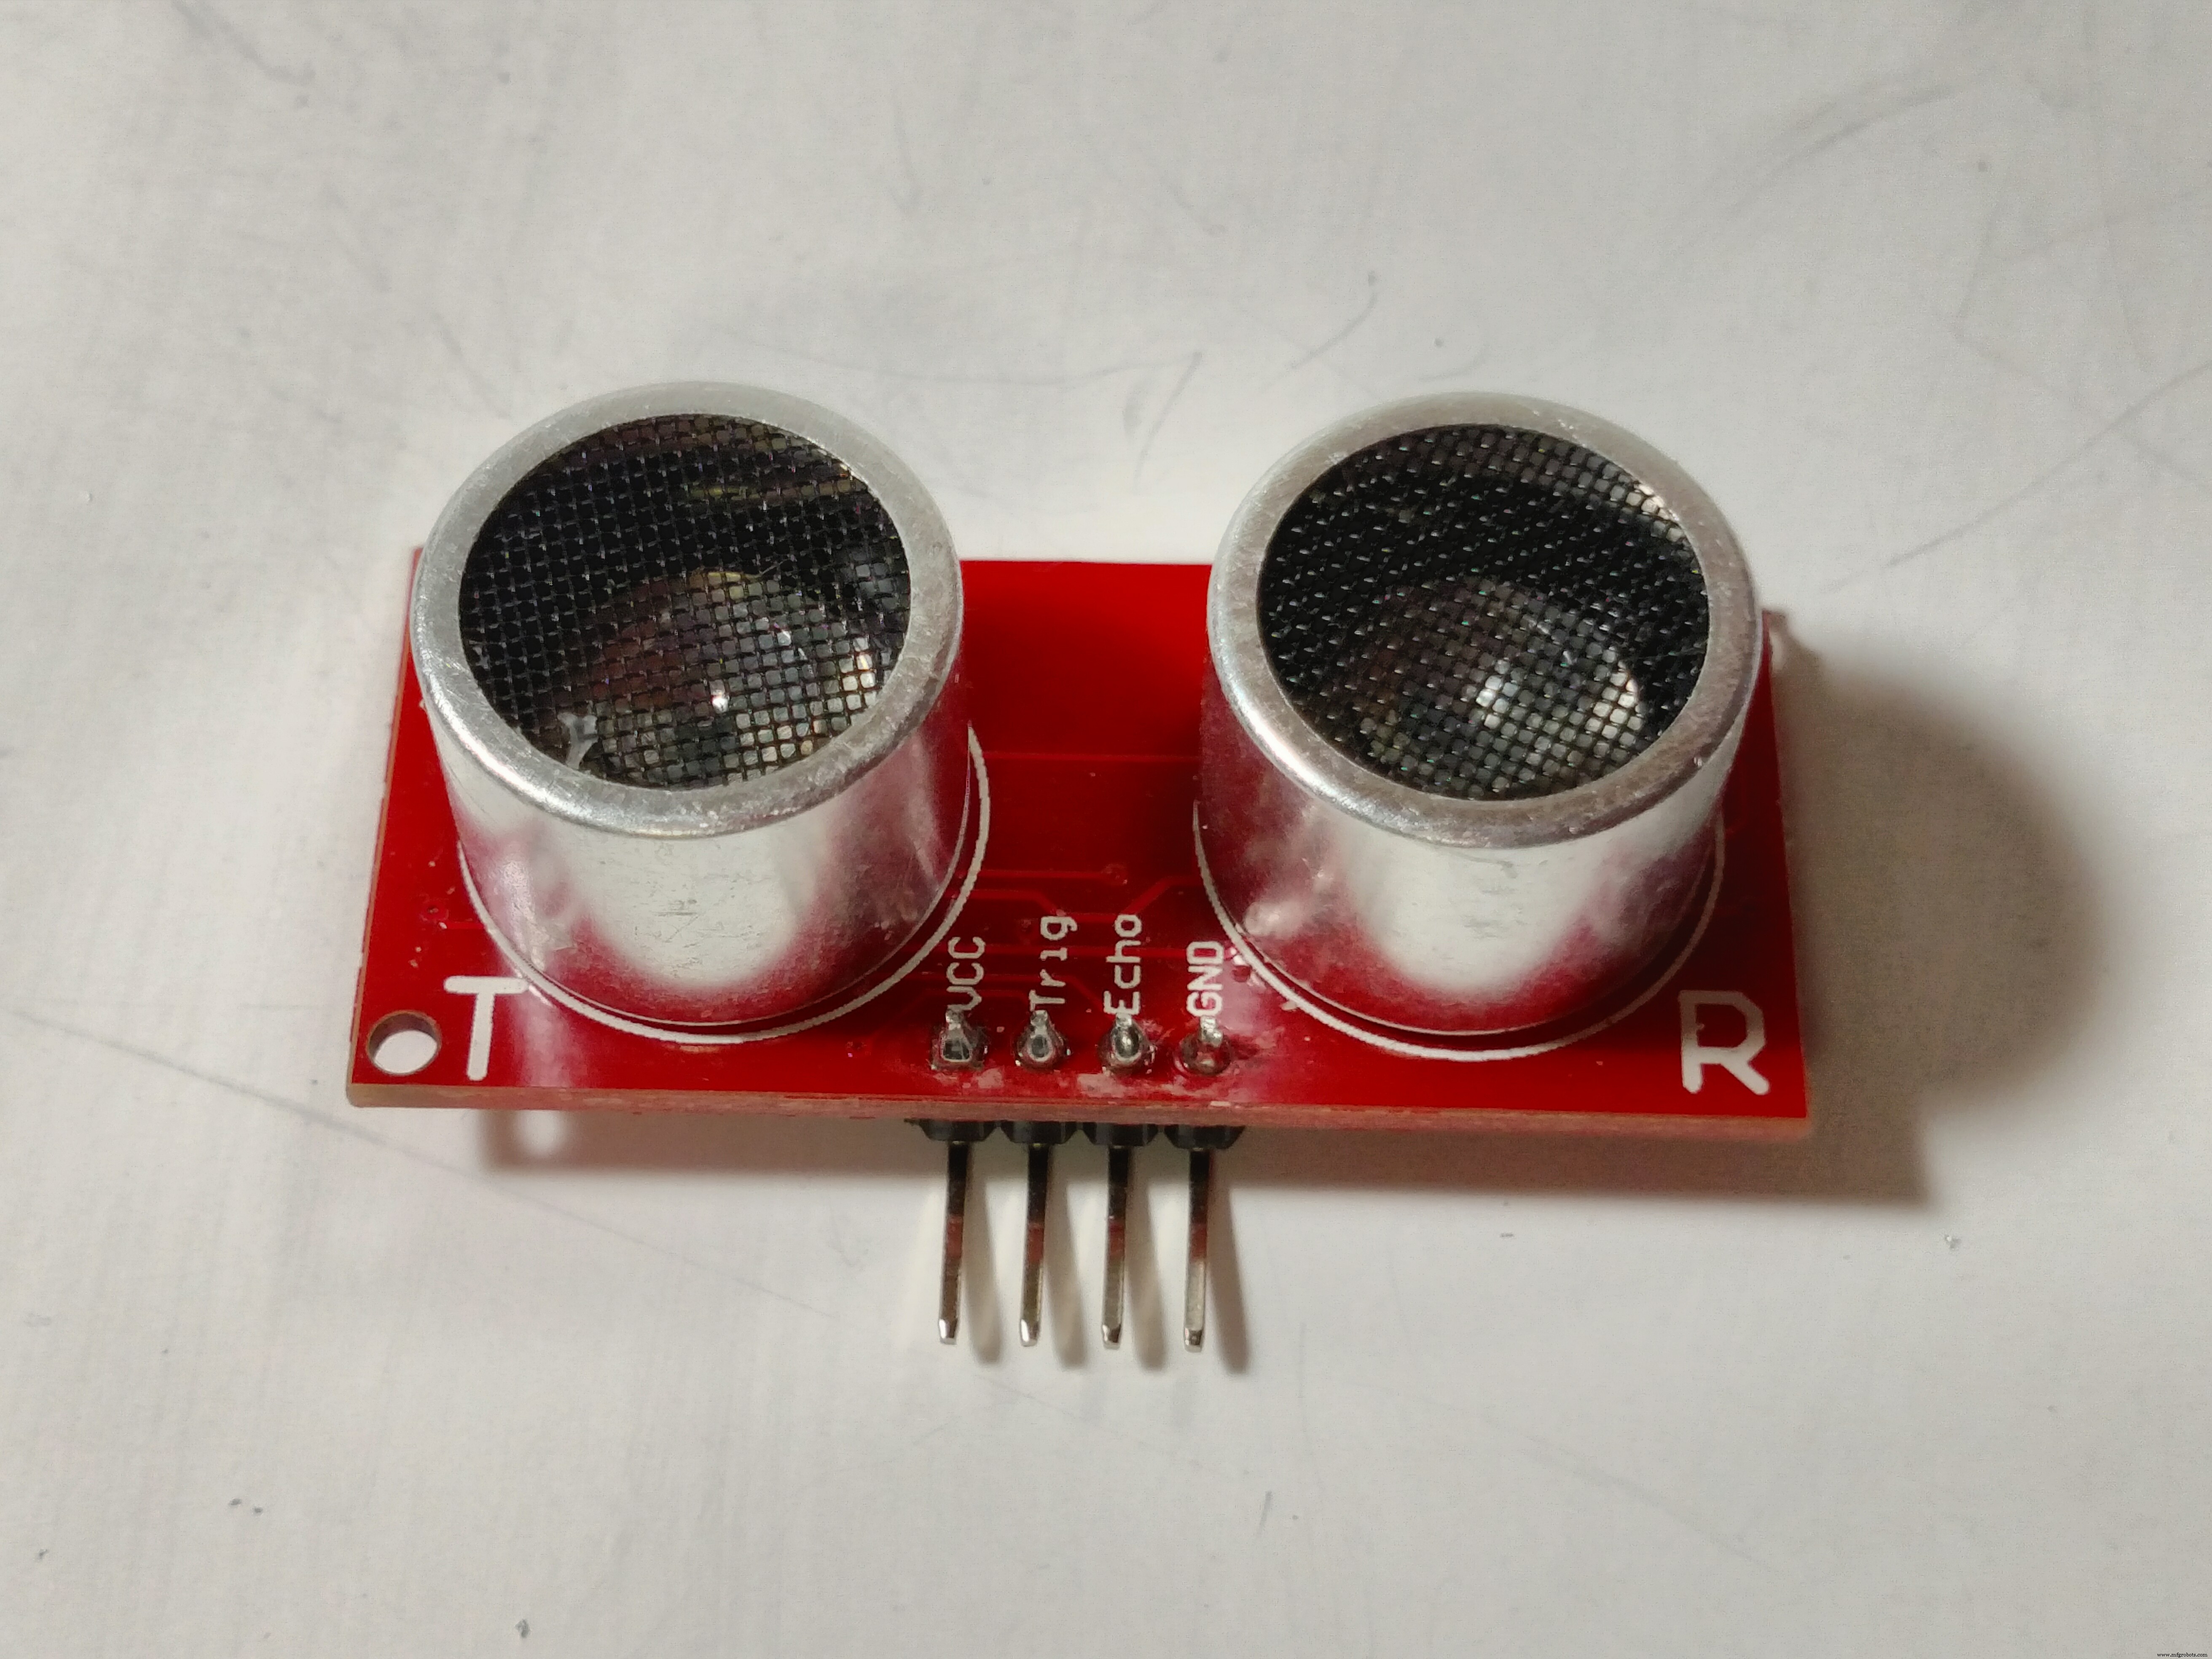
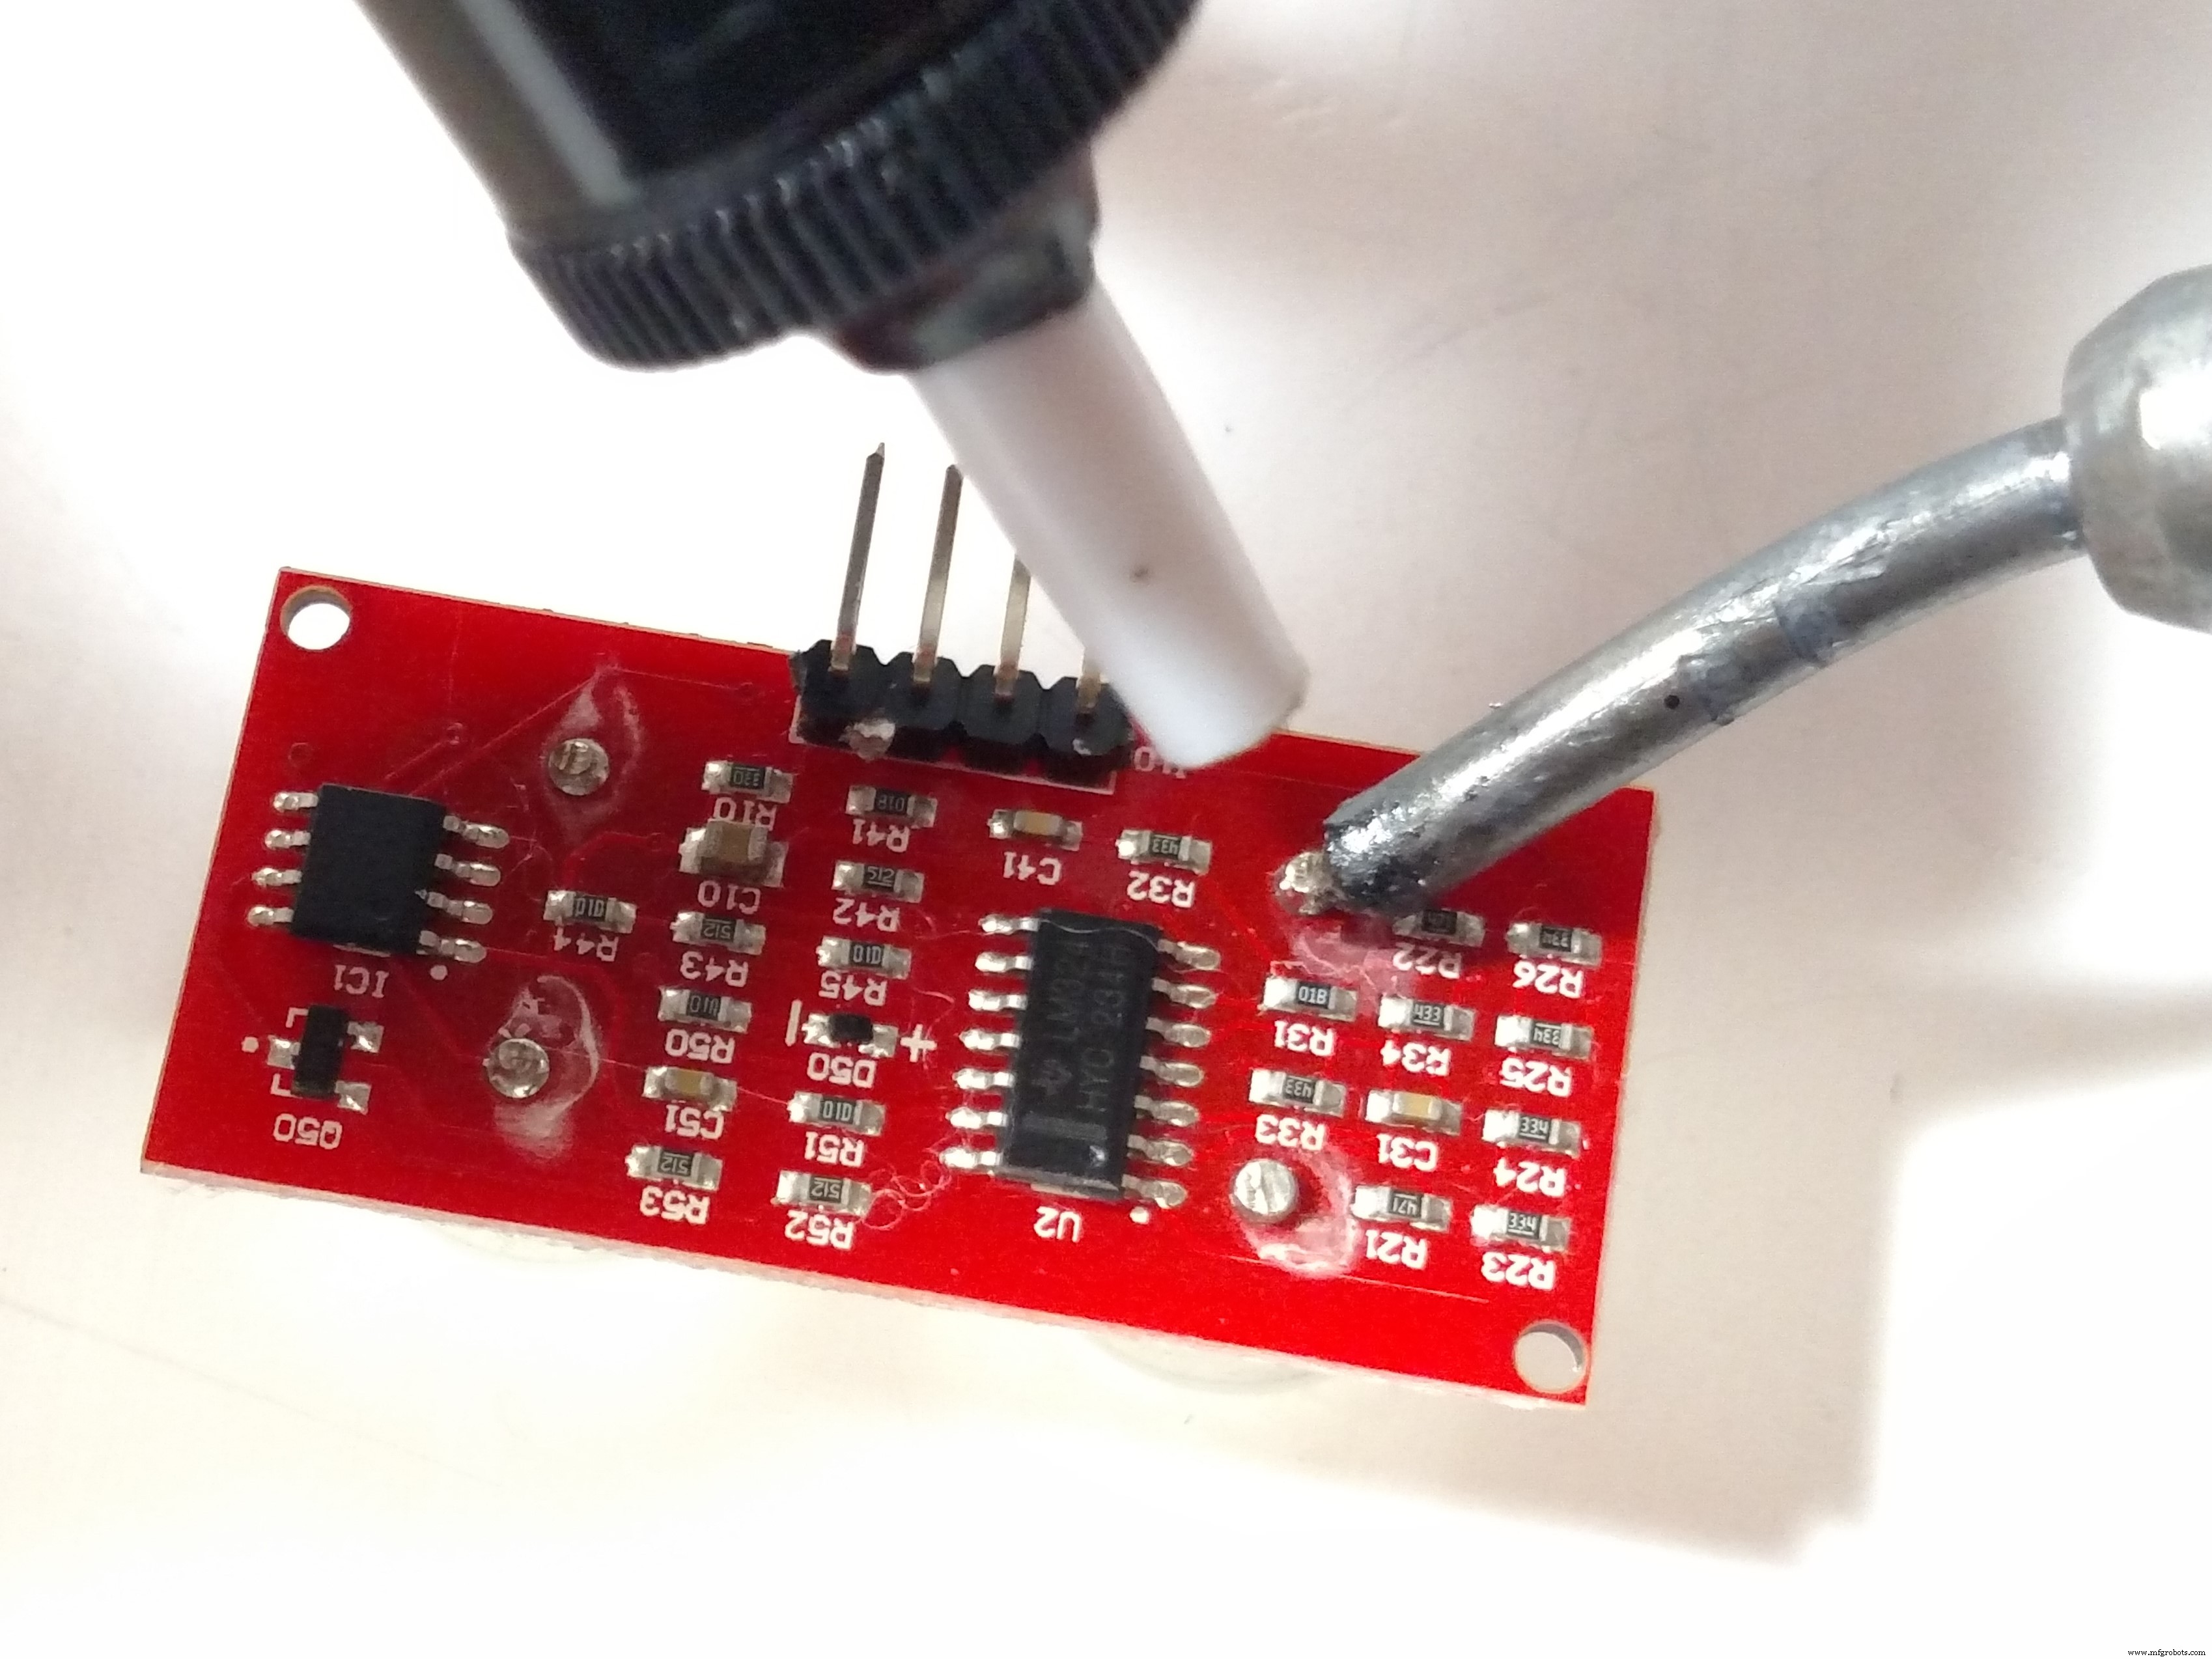

You will need to sacrifice a distance sensor for this step (don't worry, they're relatively cheap):
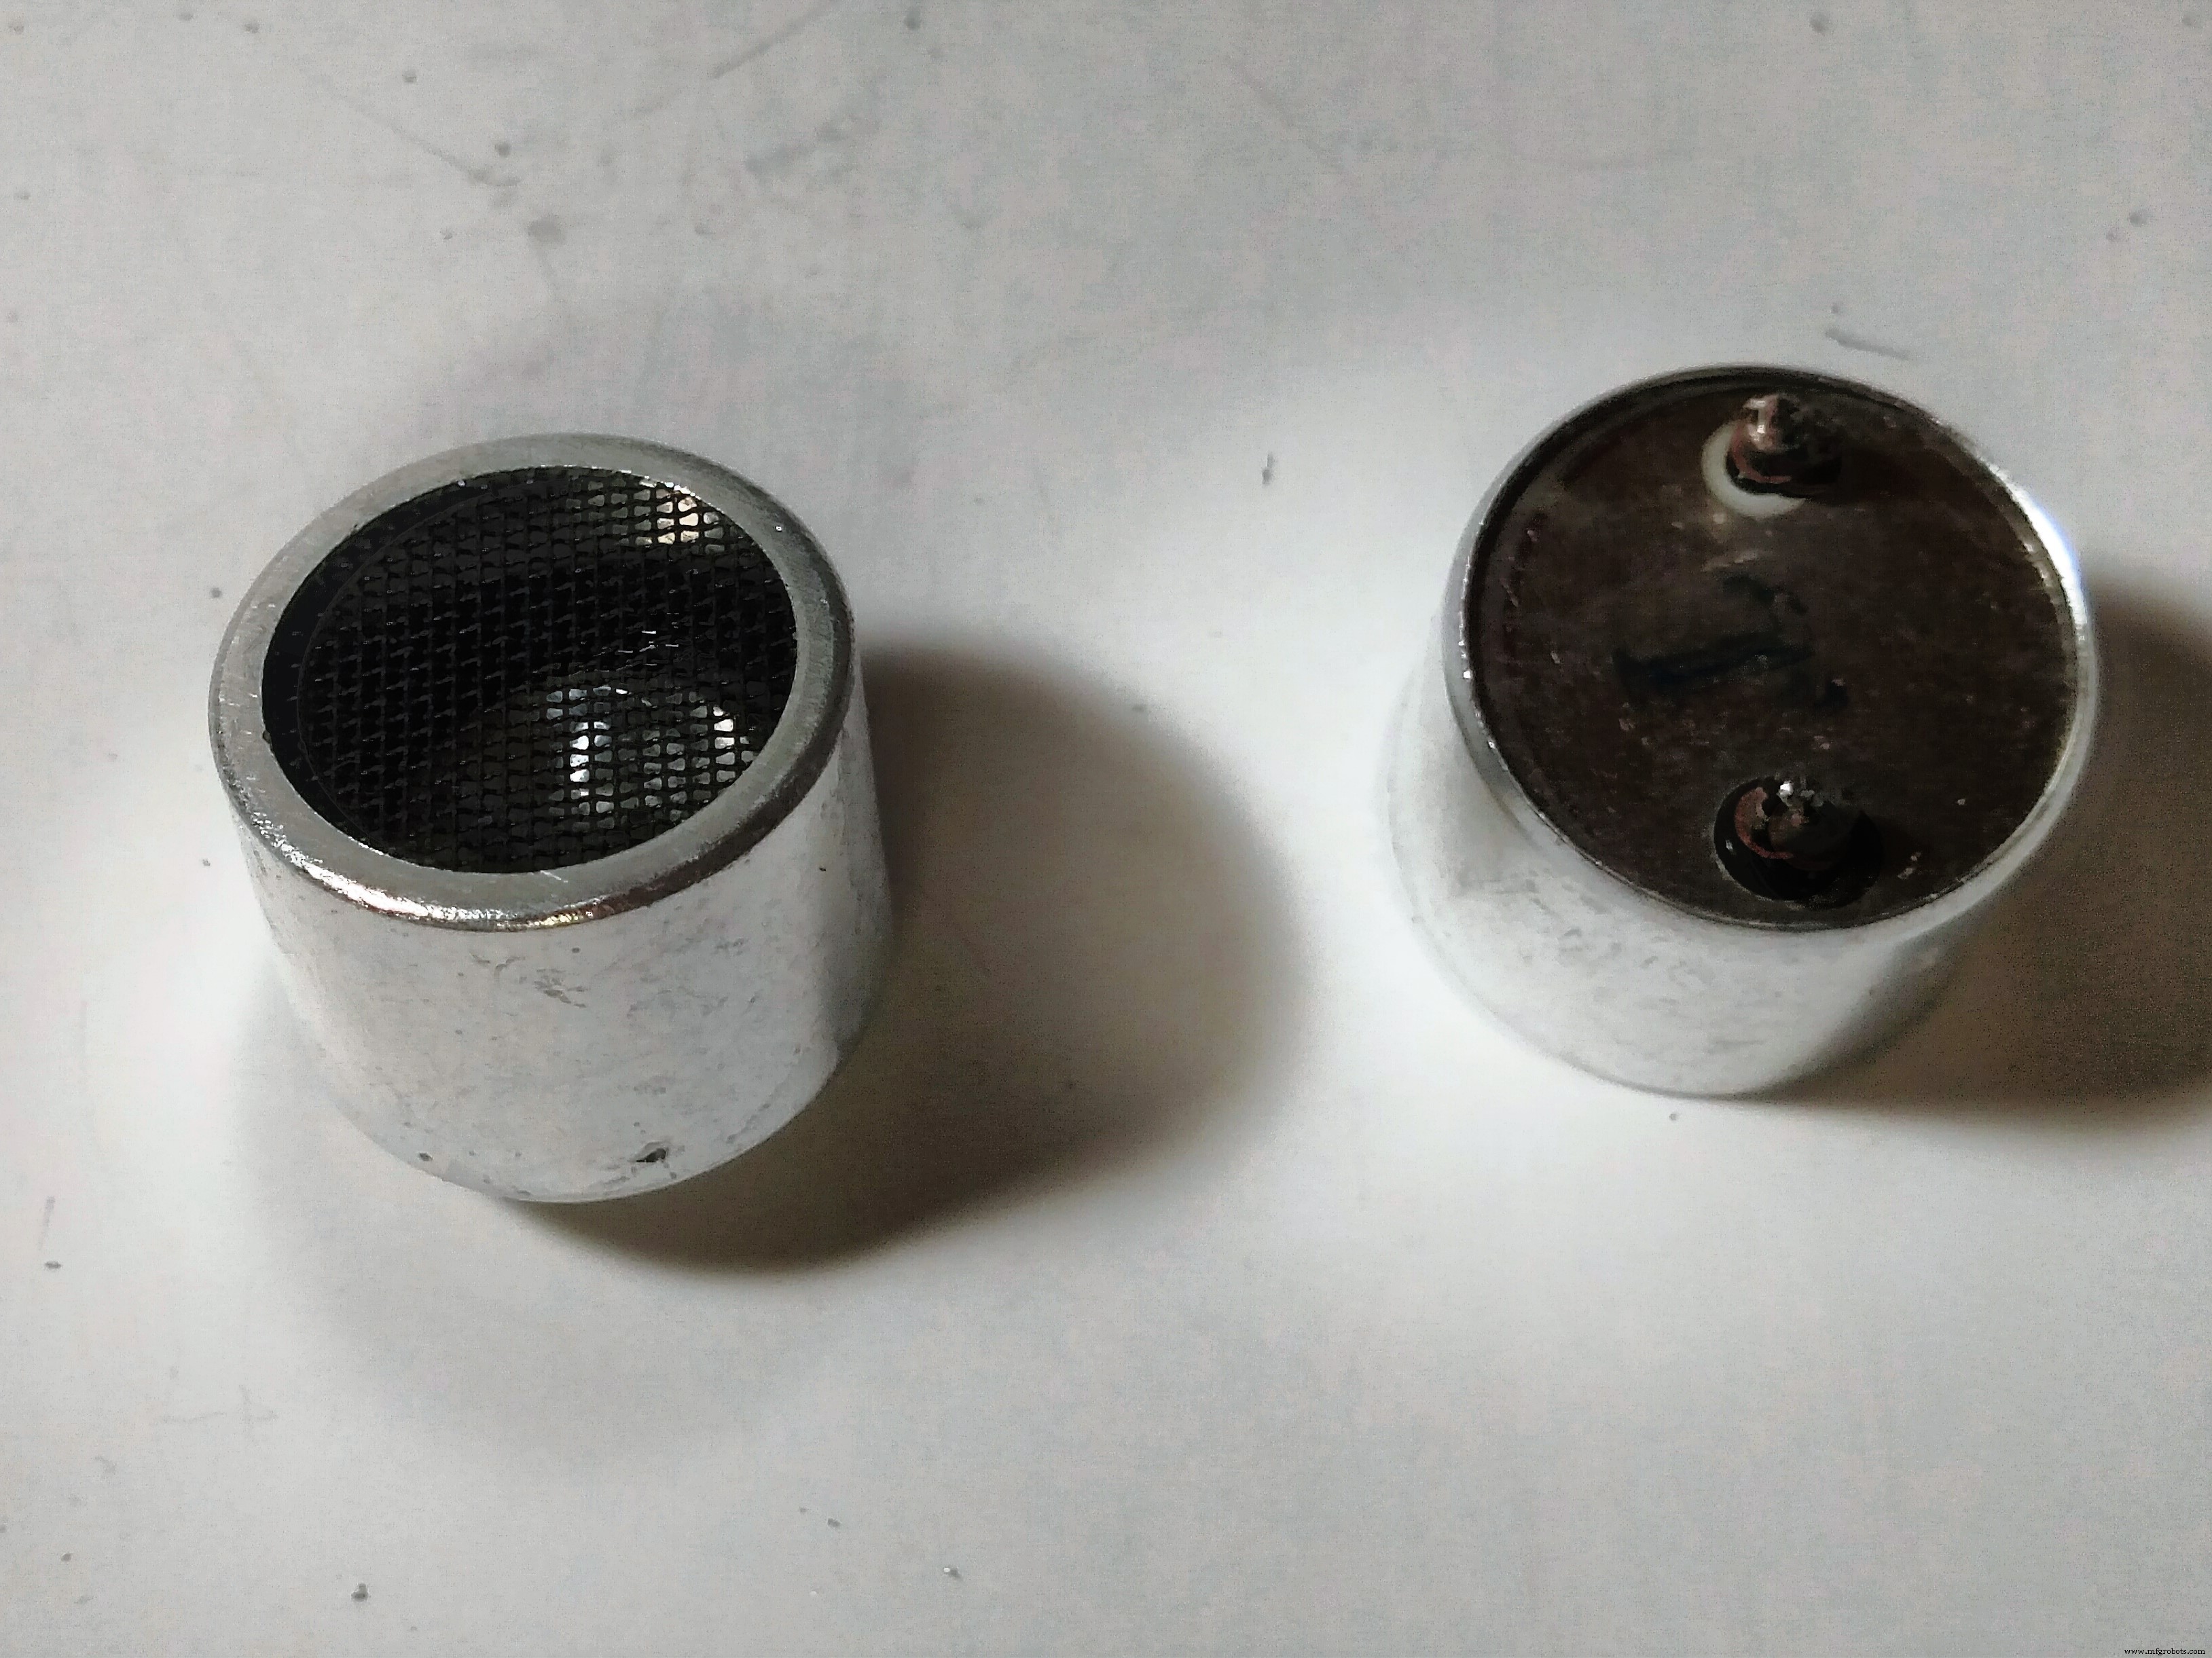
- De-solder and remove both transmitters from the board
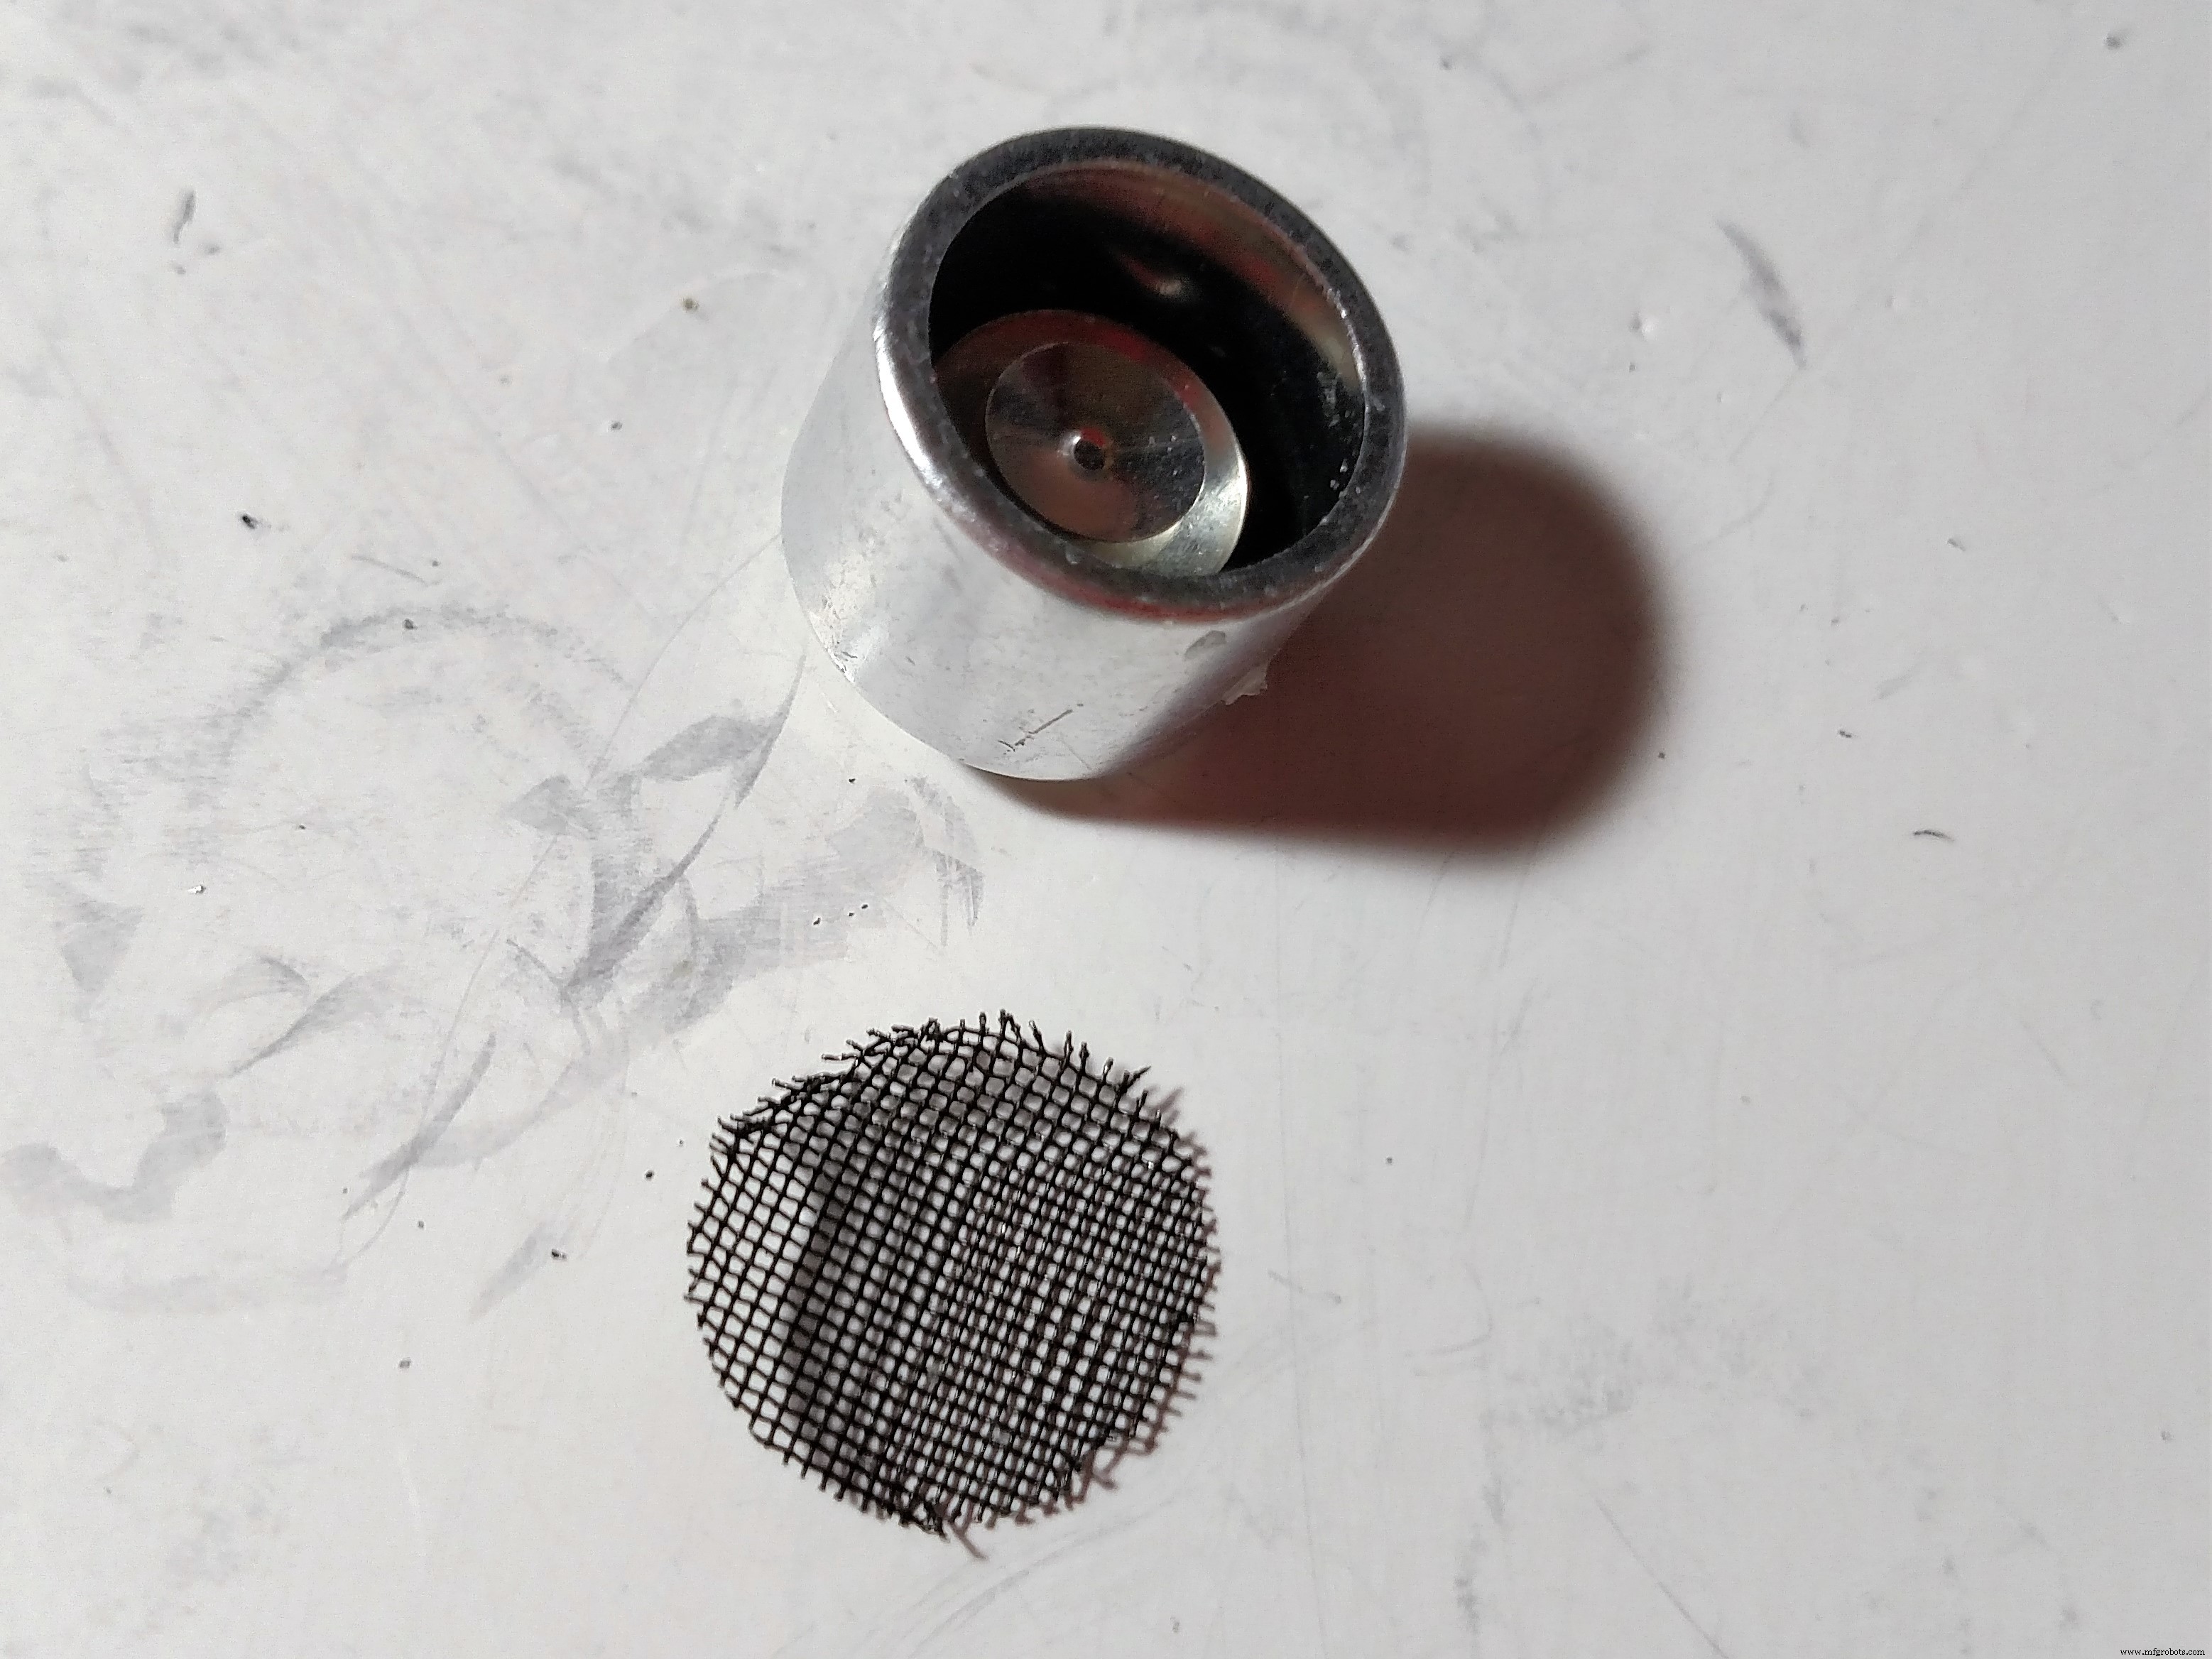
- Remove and save the mesh screen from one
- Solder wires to both transmitters
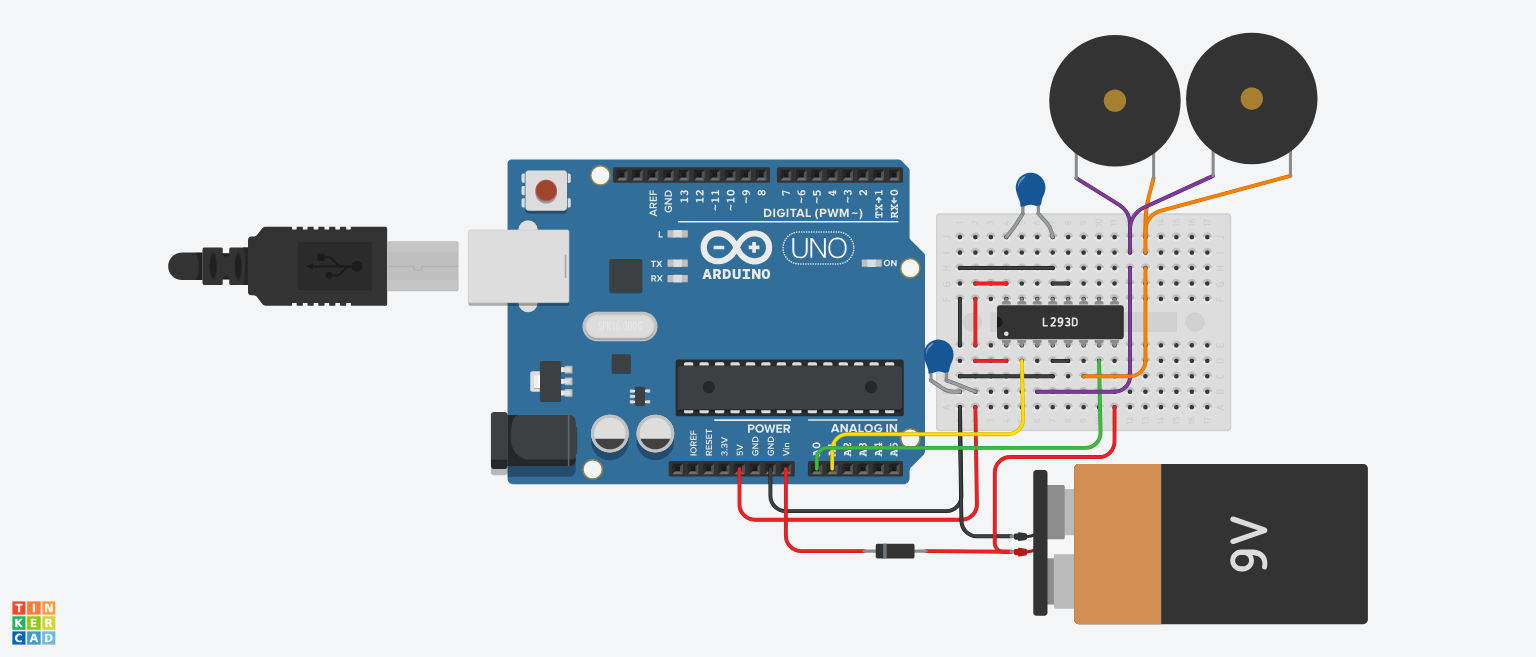
Create the above circuit and note the following:
- You may not necessarily need to include the two 100nF capacitors. (only if your board is for some reason not able to handle the circuit and it keeps shutting itself down)
- The 9v battery is a stand-in for any DC power supply - mine worked fine with a 7.5v LiPo battery
Upload this code to your Arduino:
//original code from: https://makezine.com/projects/micro-ultrasonic-levitator/
byte TP = 0b10101010; // Every other port receives the inverted signal
void setup() {
  DDRC = 0b11111111; // Set all analog ports to be outputs

  // Initialize Timer1
  noInterrupts(); // Disable interrupts

  TCCR1A = 0;
  TCCR1B = 0;
  TCNT1 = 0;
  OCR1A = 200; // Set compare register (16MHz / 200 = 80kHz square wave -> 40kHz full wave)

  TCCR1B |= (1 << WGM12); // CTC mode
  TCCR1B |= (1 << CS10); // Set prescaler to 1 ==> no prescaling
  TIMSK1 |= (1 << OCIE1A); // Enable compare timer interrupt

  interrupts(); // Enable interrupts
}
ISR(TIMER1_COMPA_vect) {
  PORTC = TP; // Send the value of TP to the outputs
  TP = ~TP; // Invert TP for the next run
}
void loop() {
  // Nothing left to do here :)
}


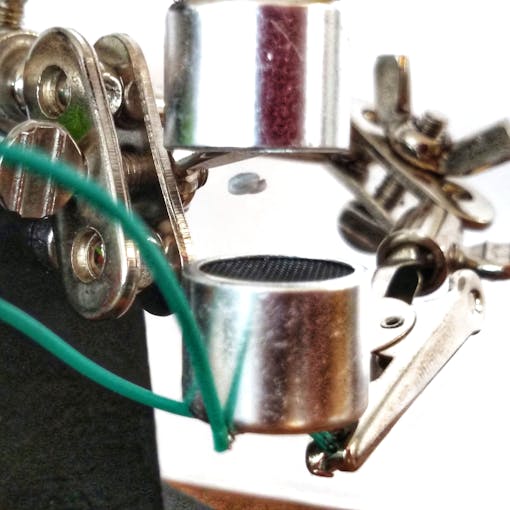
You can really use anything to do this, but I ended up using a set of helping hands (buy some here: https://amzn.to/2TPifsW):
- Start by positioning the transmitters about 3/4" apart from each other
- Get a small piece of Styrofoam about half the size of a pea (it doesn't need to be round)
- Place the Styrofoam on the mesh screen from step 1
- Using tweezers or pliers, position it in between the two transmitters (it should start to wiggle when you get close)
- Move the transmitters around (closer and farther apart) until the Styrofoam stays still
It took me about fifteen minutes to get it working the first time, but after that it was pretty easy to get it going again. Here are some things you can try if it doesn't work at first:
- Make sure you wired everything correctly
- Increase the voltage to the H-bridge (different battery)
- Get a smaller piece of Styrofoam
- Try a different position for the transmitters
- Try adding the capacitors (if you didn't already)
- If it still doesn't work, maybe something is broken: try a different set of transmitters or a new battery.
Code
- Code snippet #1
Code snippet #1Arduino
//original code from: https://makezine.com/projects/micro-ultrasonic-levitator/

byte TP = 0b10101010; // Every other port receives the inverted signal

void setup() {
  DDRC = 0b11111111; // Set all analog ports to be outputs

  // Initialize Timer1
  noInterrupts(); // Disable interrupts

  TCCR1A = 0;
  TCCR1B = 0;
  TCNT1 = 0;
  OCR1A = 200; // Set compare register (16MHz / 200 = 80kHz square wave -> 40kHz full wave)

  TCCR1B |= (1 << WGM12); // CTC mode
  TCCR1B |= (1 << CS10); // Set prescaler to 1 ==> no prescaling
  TIMSK1 |= (1 << OCIE1A); // Enable compare timer interrupt

  interrupts(); // Enable interrupts
}

ISR(TIMER1_COMPA_vect) {
  PORTC = TP; // Send the value of TP to the outputs
  TP = ~TP; // Invert TP for the next run
}

void loop() {
  // Nothing left to do here :)
}
Schematics

Manufacturing process
- Antiperspirant/Deodorant Sticks: Science, History, and Manufacturing Insights
- Raspberry Pi Garage Door Opener with Live Video Streaming – Step‑by‑Step Guide
- High-Resolution 3D Imaging of Pencil-Shaped GaN/(In,Ga)N Core‑Shell Nanowires via Electron Tomography
- Arduino Mini Boss Battle Game – Retro-Inspired Project
- Enable Phone Calls on Arduino UNO Using Twilio & Yaler – Call My Arduino Project
- Build a Sleek Nixie Tube Clock in a Custom MDF Wood Enclosure Using Arduino
- C64 Retro Controller: Arduino Nano Interface
- DIY Arduino CoreXY Drawbot: Build Your Own CNC Drawing Robot
- DHT11 & DHT22 Temperature & Humidity Sensor Kit for Raspberry Pi & Arduino
- Building a Strong Business Case for CMMS: Boosting Maintenance Efficiency and ROI