


Build a Sleek Nixie Tube Clock in a Custom MDF Wood Enclosure Using Arduino
Components and supplies
 |
| × | 1 | |||
 |
| × | 1 |
About this project
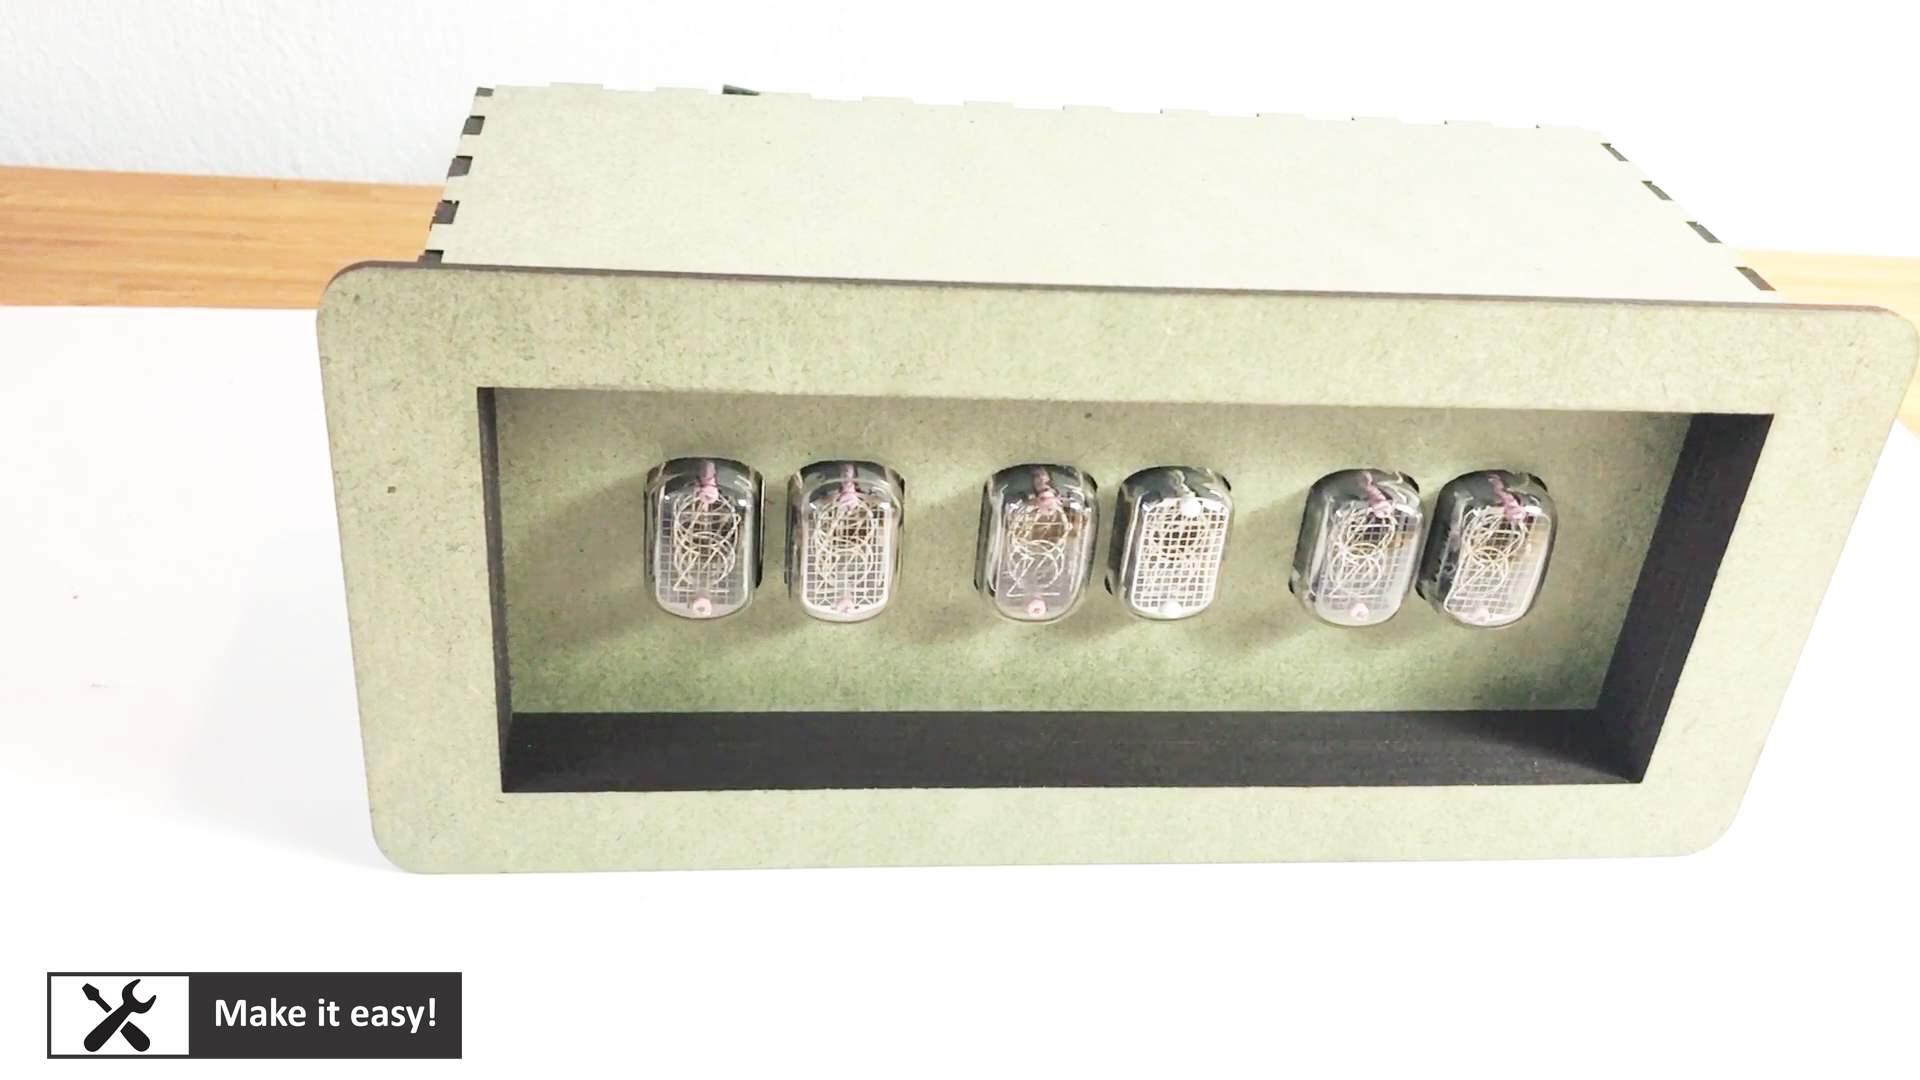
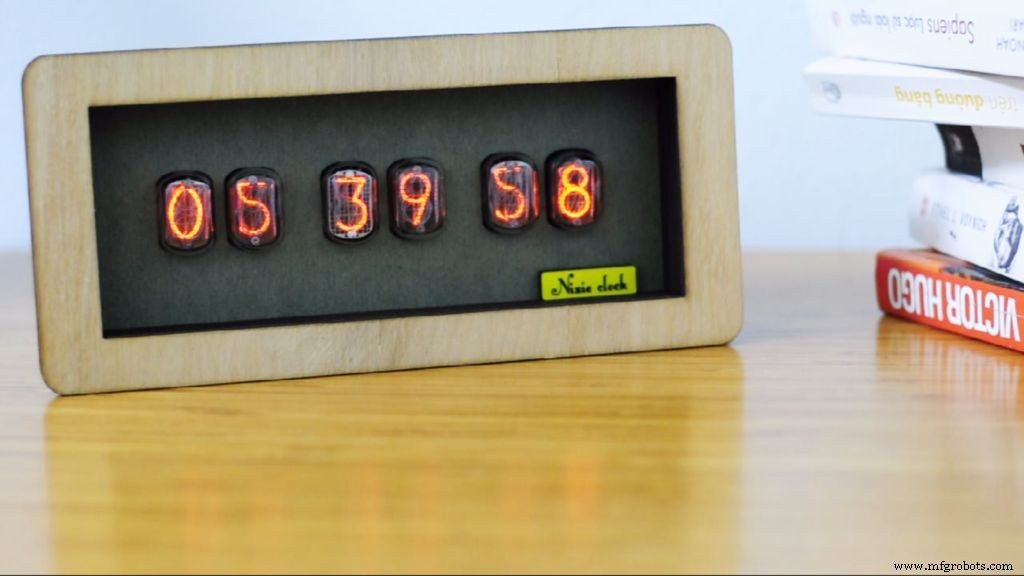
All of them is put in MDF wood case. After completion, the clock is looked like a product: good looking and compact firmly.
Let's start
Step 1: Part ListTo make clearly, let's see part list to make this project
1. Arduino UNO (1set) https://amzn.to/2P58O7s
2. Real time clock module DS3231 https://amzn.to/2SIyEzI
3. DC step-up module 12VDC to 150VDC (1set) https://amzn.to/30kpdK9
4. Nixie tube (6pcs) https://amzn.to/3aHyJvX
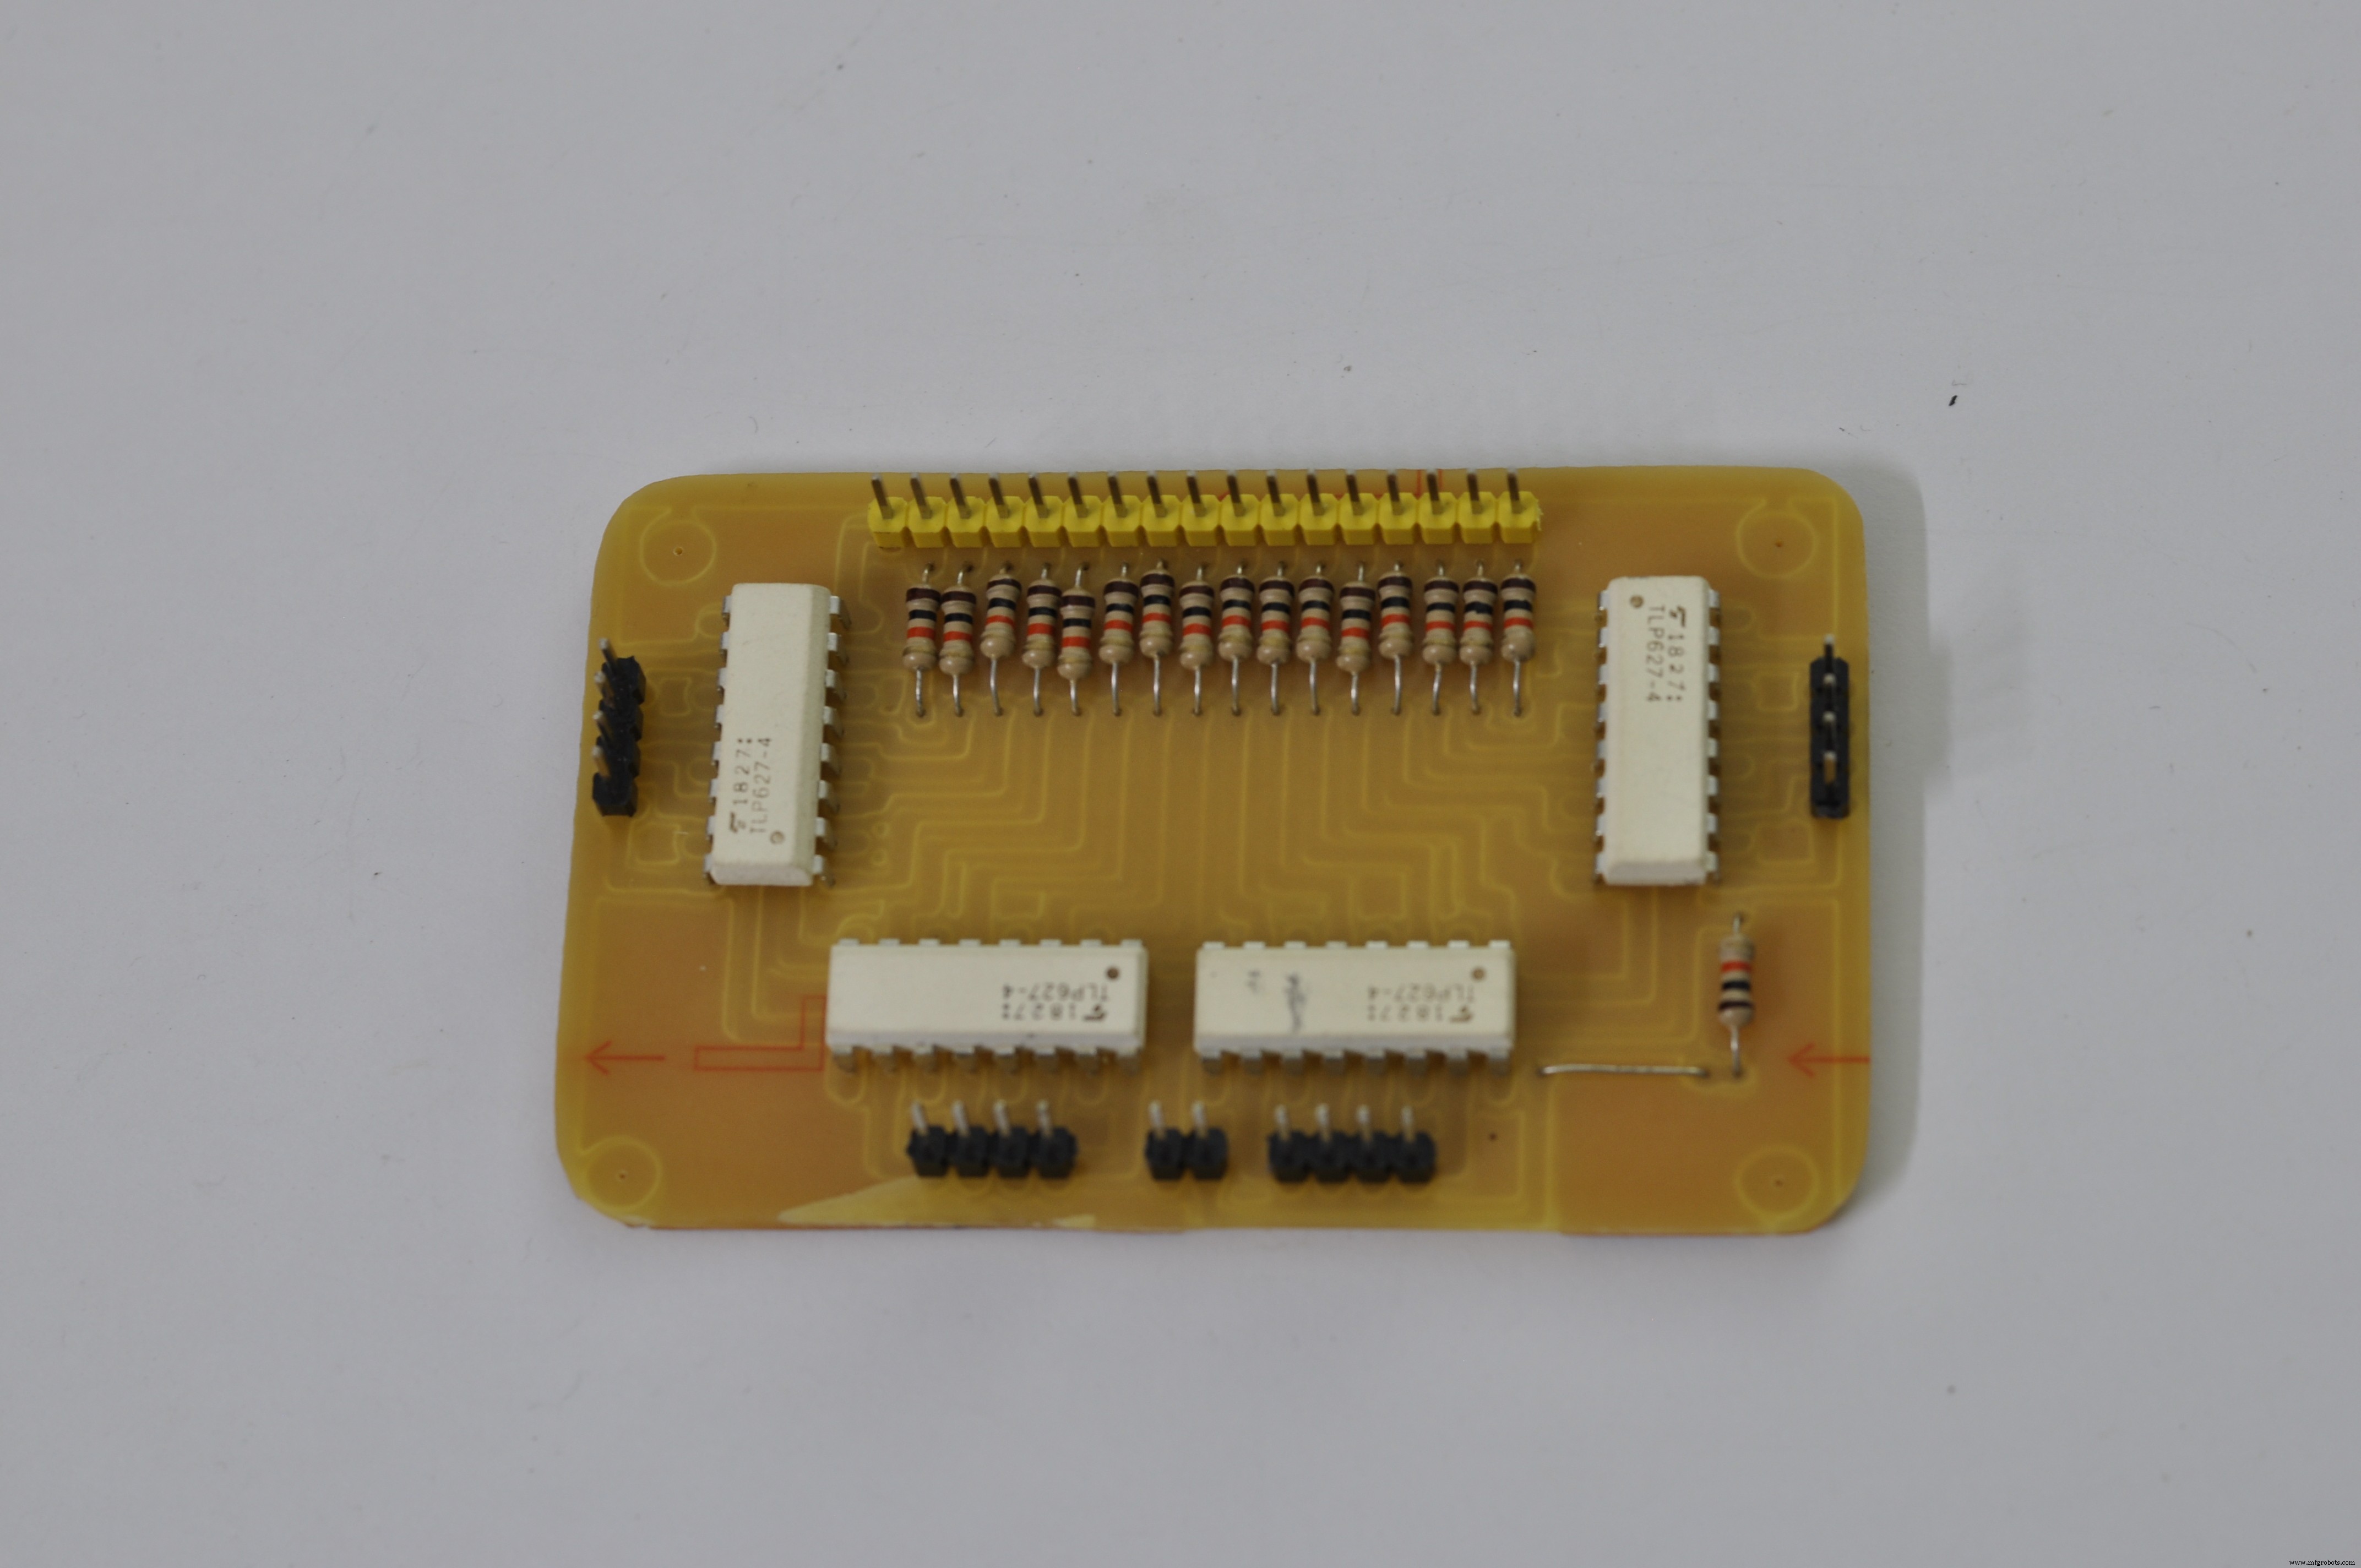
5. Isolation chip TLP627-4 (4pcs) https://amzn.to/2wiN0PG
6. Resistor 10K https://amzn.to/3bmySnM
7. Header pin https://amzn.to/2QFcr5q
8. Breadboard cable https://amzn.to/3ae8vk0
9. Power supply module 220VAC/12VDC (1pc) https://amzn.to/39dqNk2
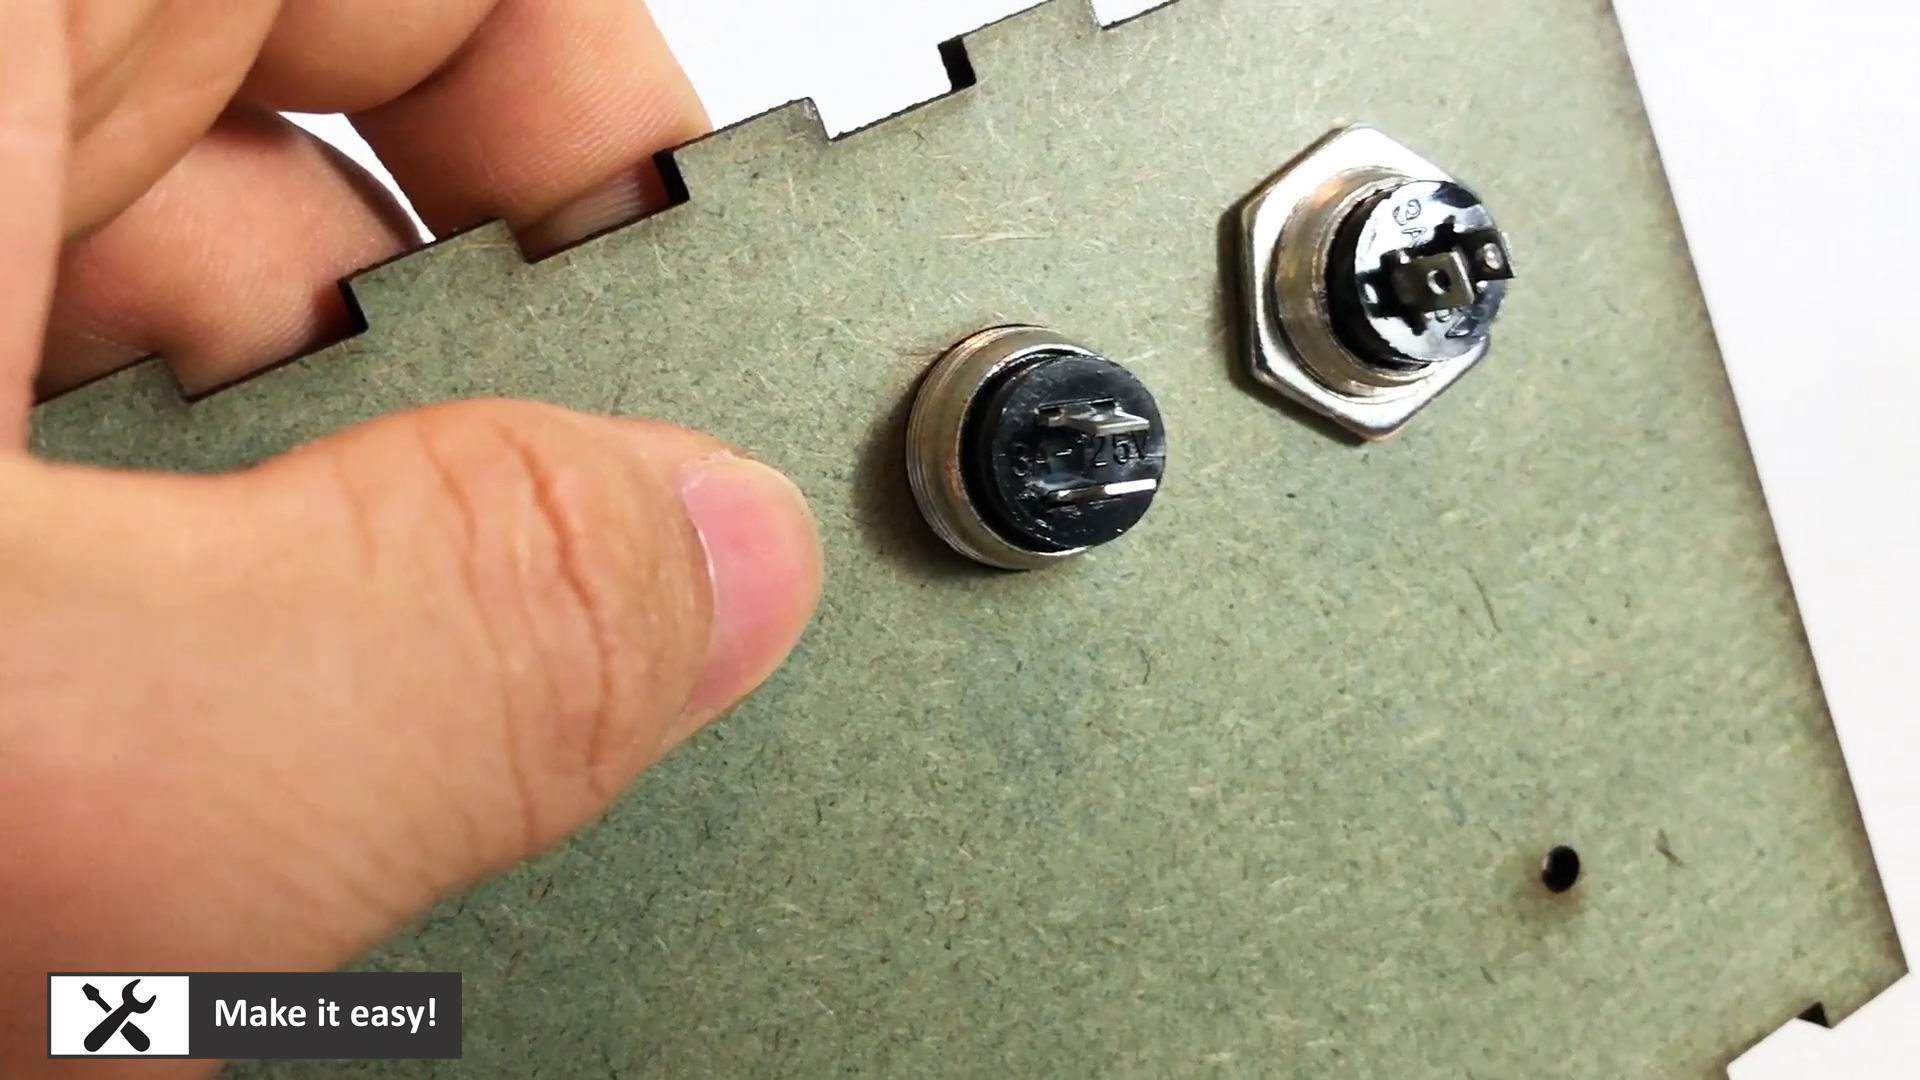
10. Button (2pcs) https://amzn.to/2UIoXCH
11. MDF wood 3mm thickness (laser cut) https://amzn.to/33Q4LTz
12.White glue (for MDF wood) https://amzn.to/2WKo7YJ
13. Permanent magnetic plate https://amzn.to/2QGfDxX
Buy electronic component on utsource.net
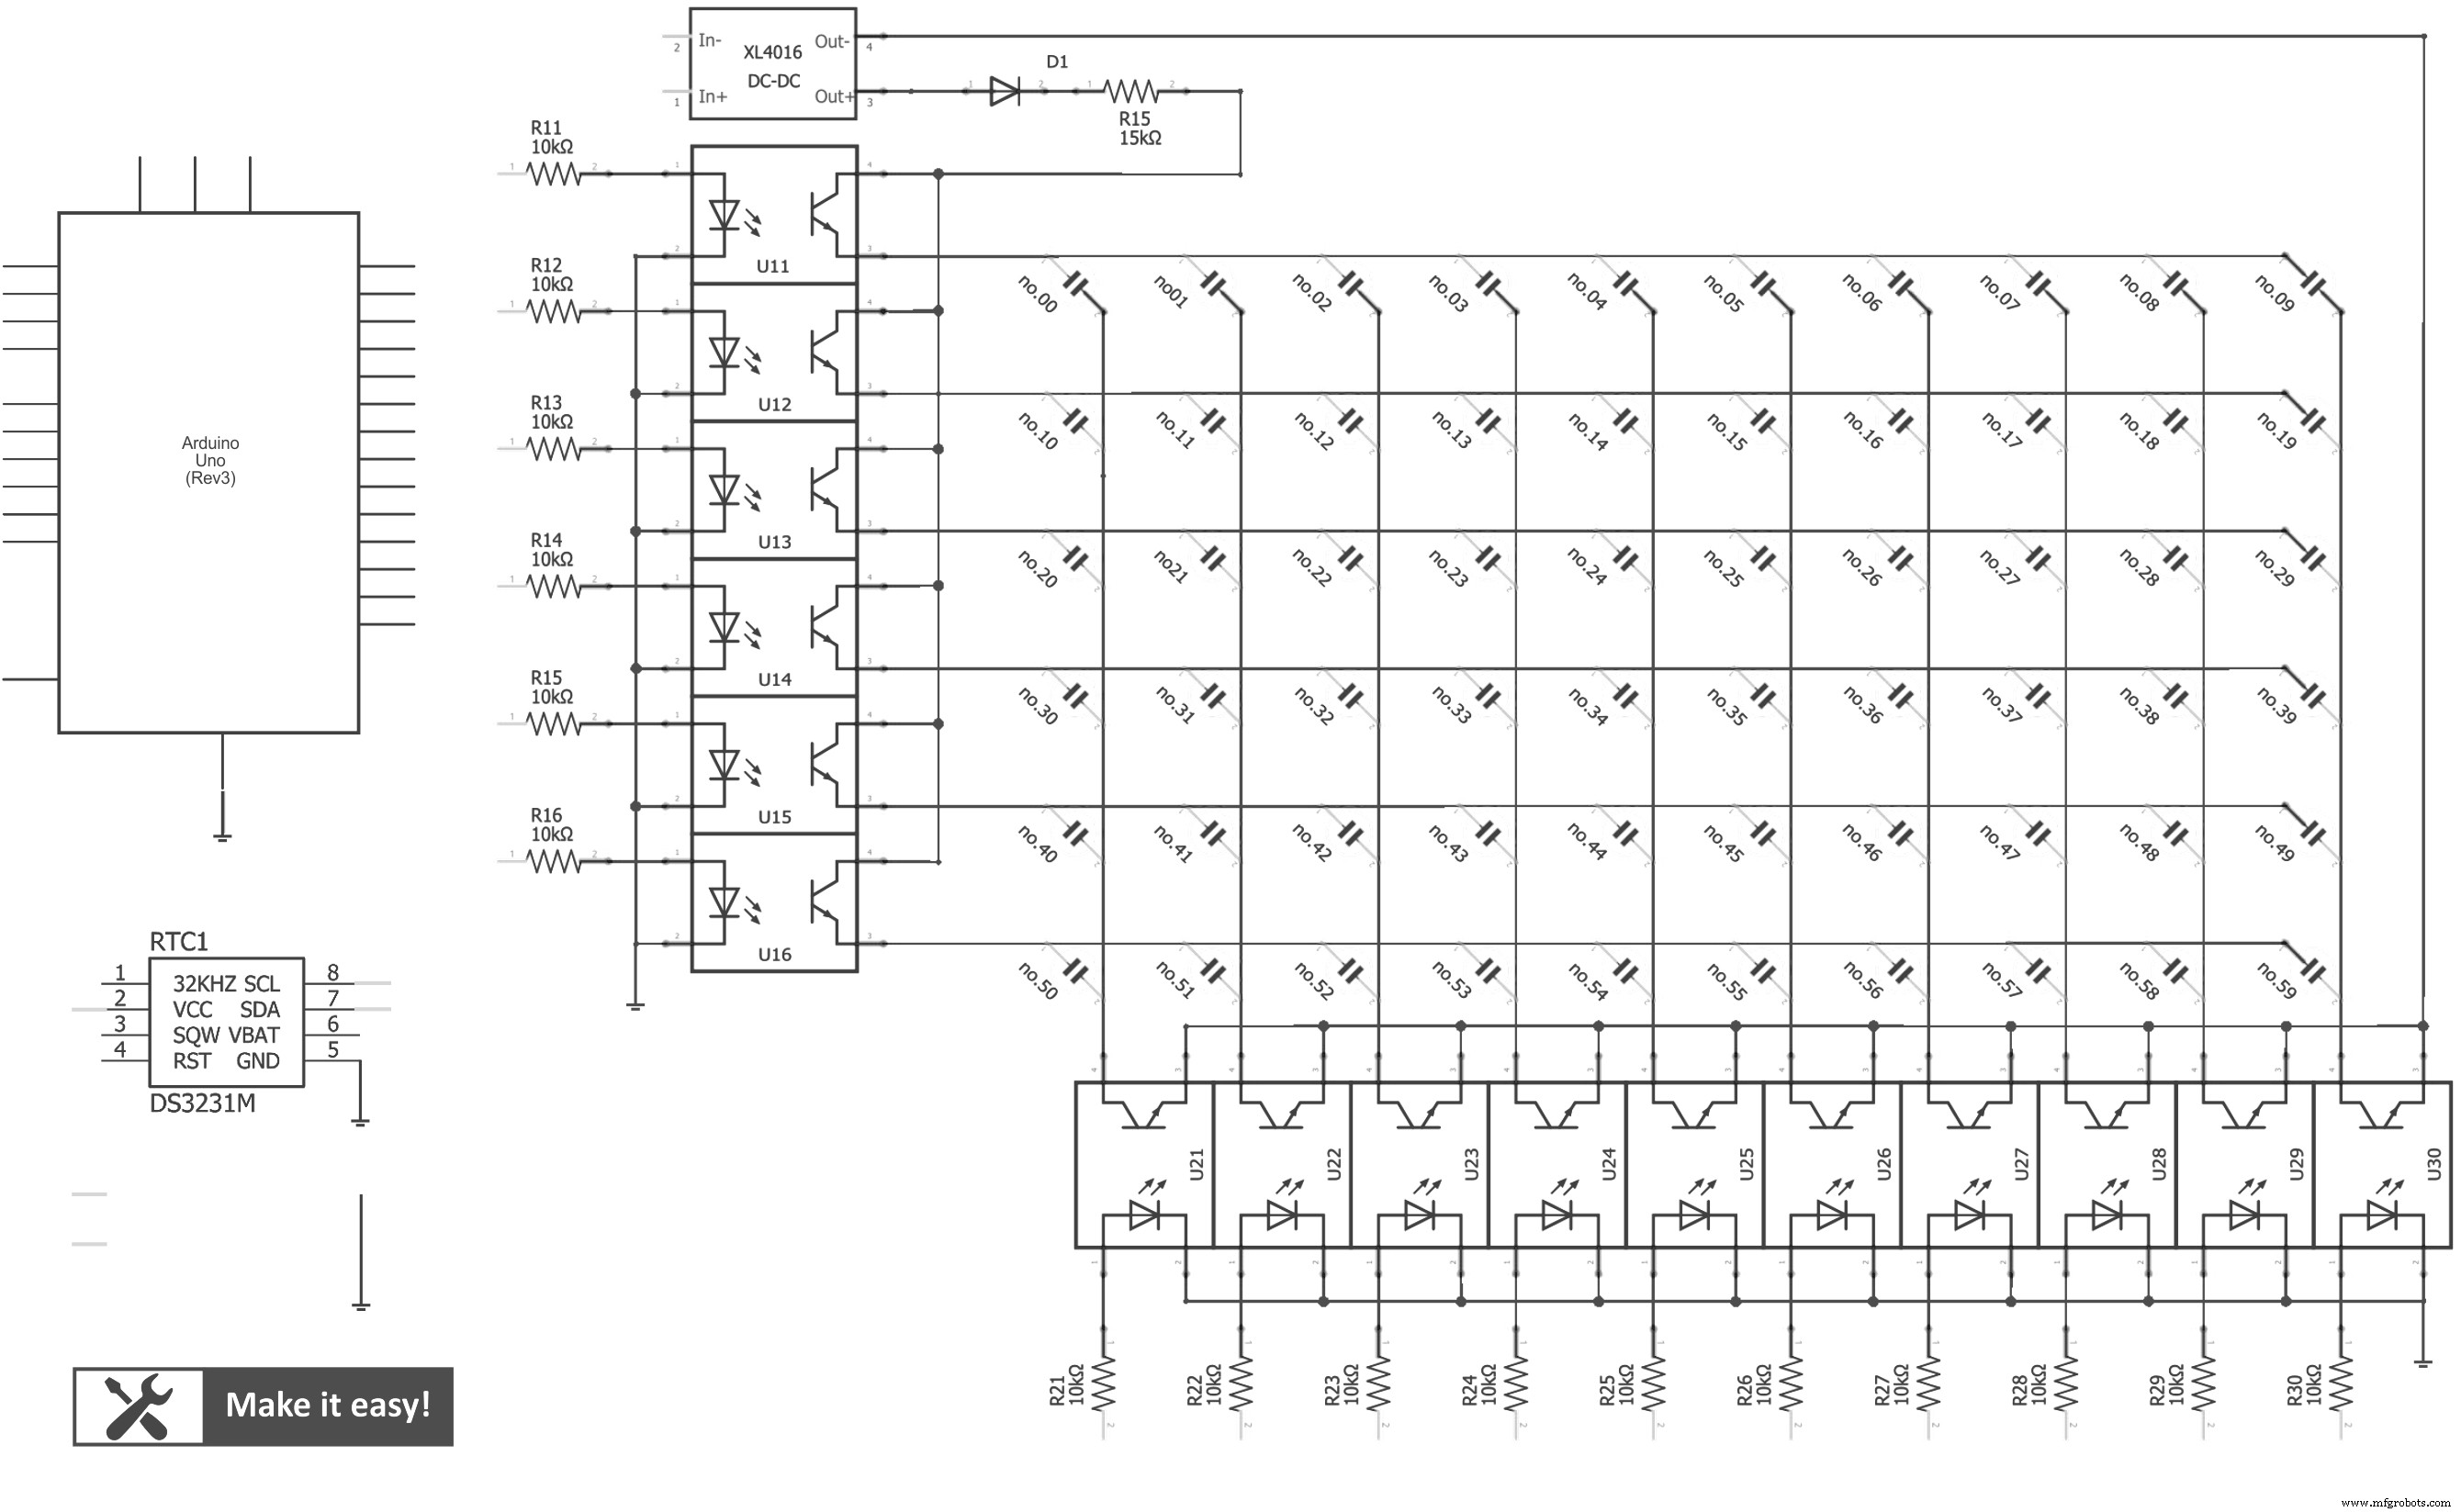
Step 2: Circuit DesignMake a circuit as in picture design
Nixie tube needs high voltage (around 150VDC) to light on, but it uses low current (1-2mA). DC step-up module 12VDC -> 150VDC is suitable for this application.
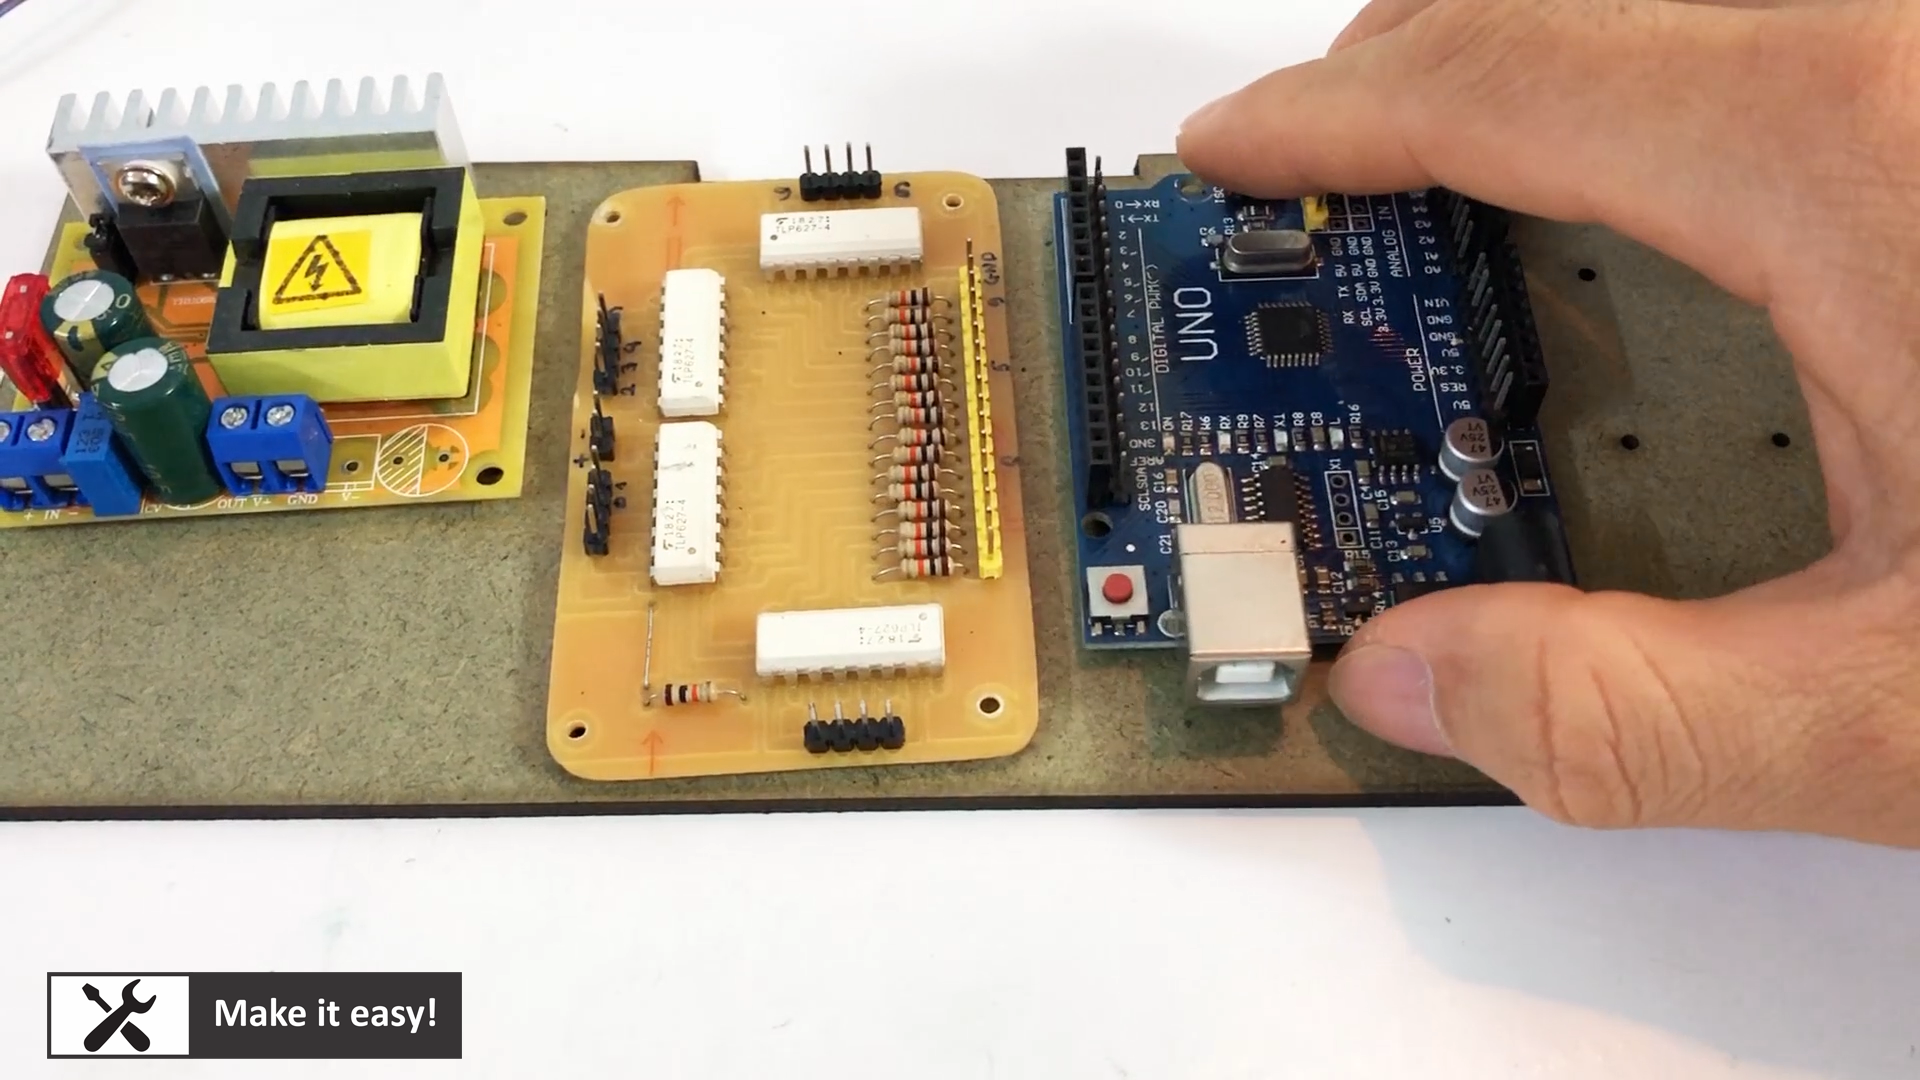
This circuit will use Arduino UNO as main controller, it will control nixie tube via isolation chip TLP-627.
60 lamps (of 6 nixie tube) is connect as matrix connection, this connection will help to save Arduino pin -> use only 16 pinout from Arduino (10 pin for column, 6 pin for row)
By matrix connection, it can only show 1 tube at a time. In order to show 6 tubes, 1 tube is shown, then off, then next tube will be shown, so on to 6th tube. By high frequently showing, human eye can see it as permanent view.
Display sequence will be done by Arduino code.
Realtime clock module DS3231 is used to keep the time (even turn off power, it uses cell battery to keep the time)
And I use 2 button to adjust the time
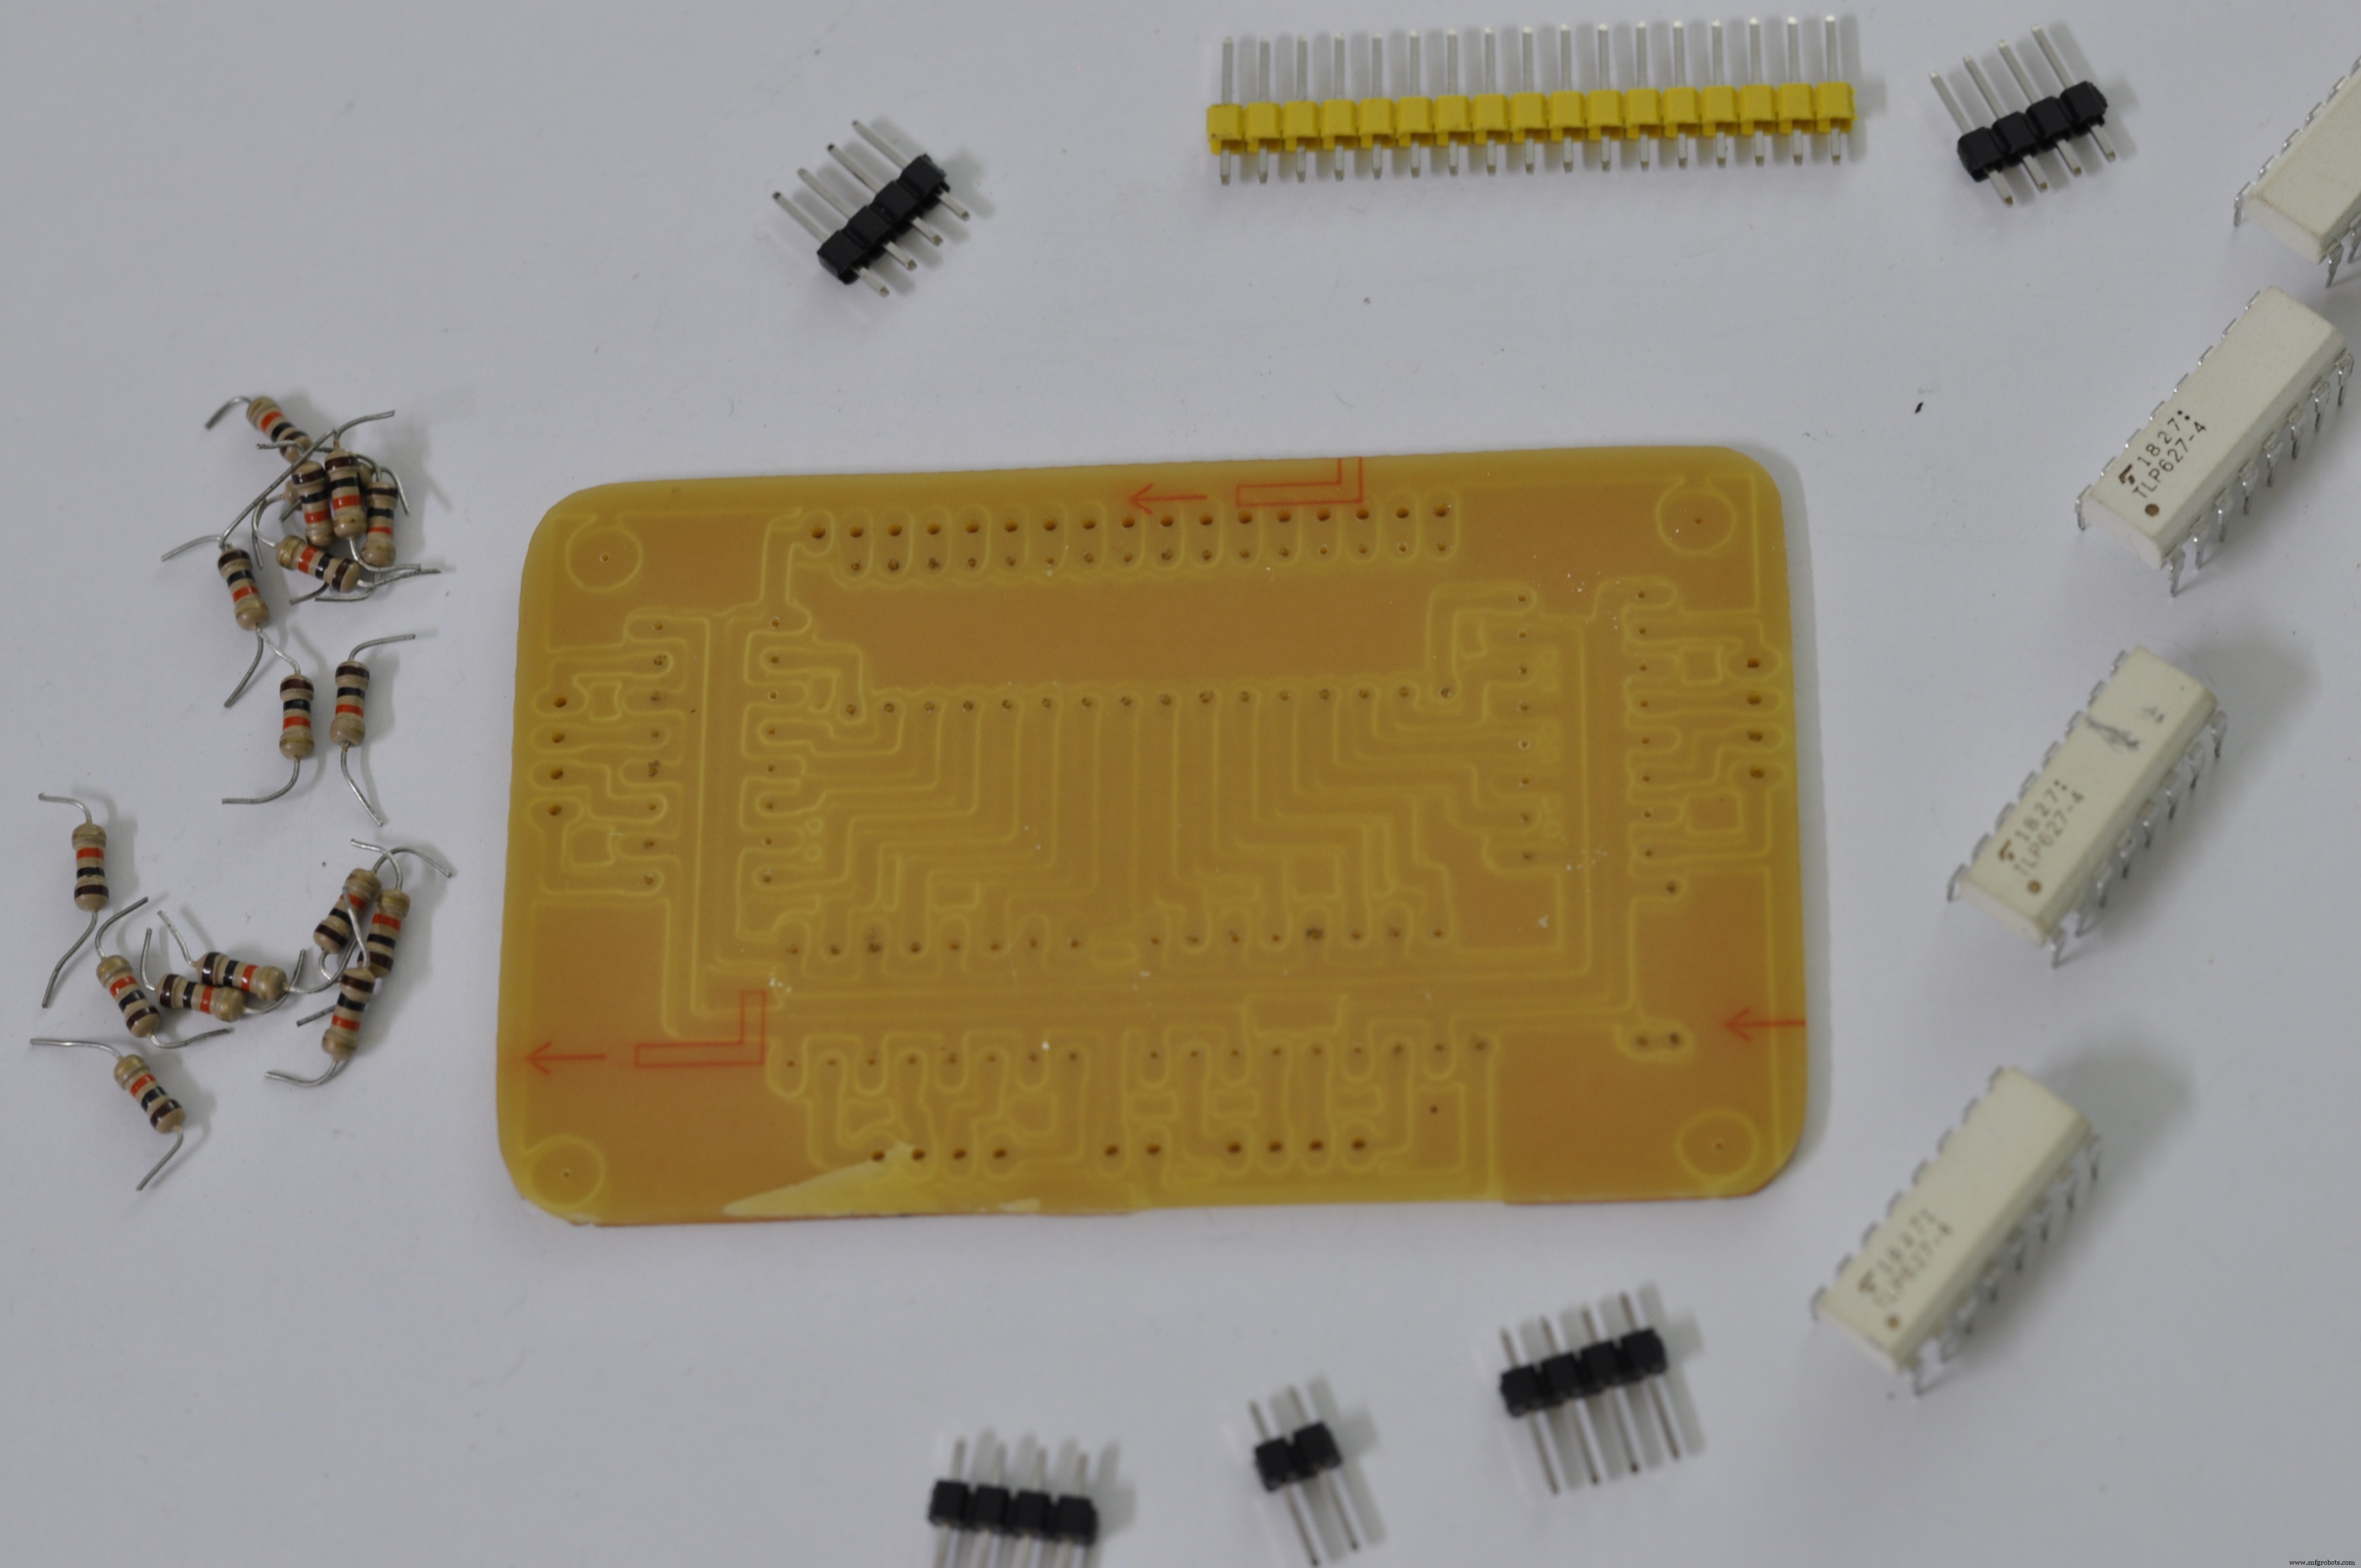
I made PCB for isolation for easy connection with Arduino. With header pin, we can use breadboard cable to connect from PCB to Arduino easily
PCB design can be download here, you can make it by your own https://bit.ly/3ab6PHL
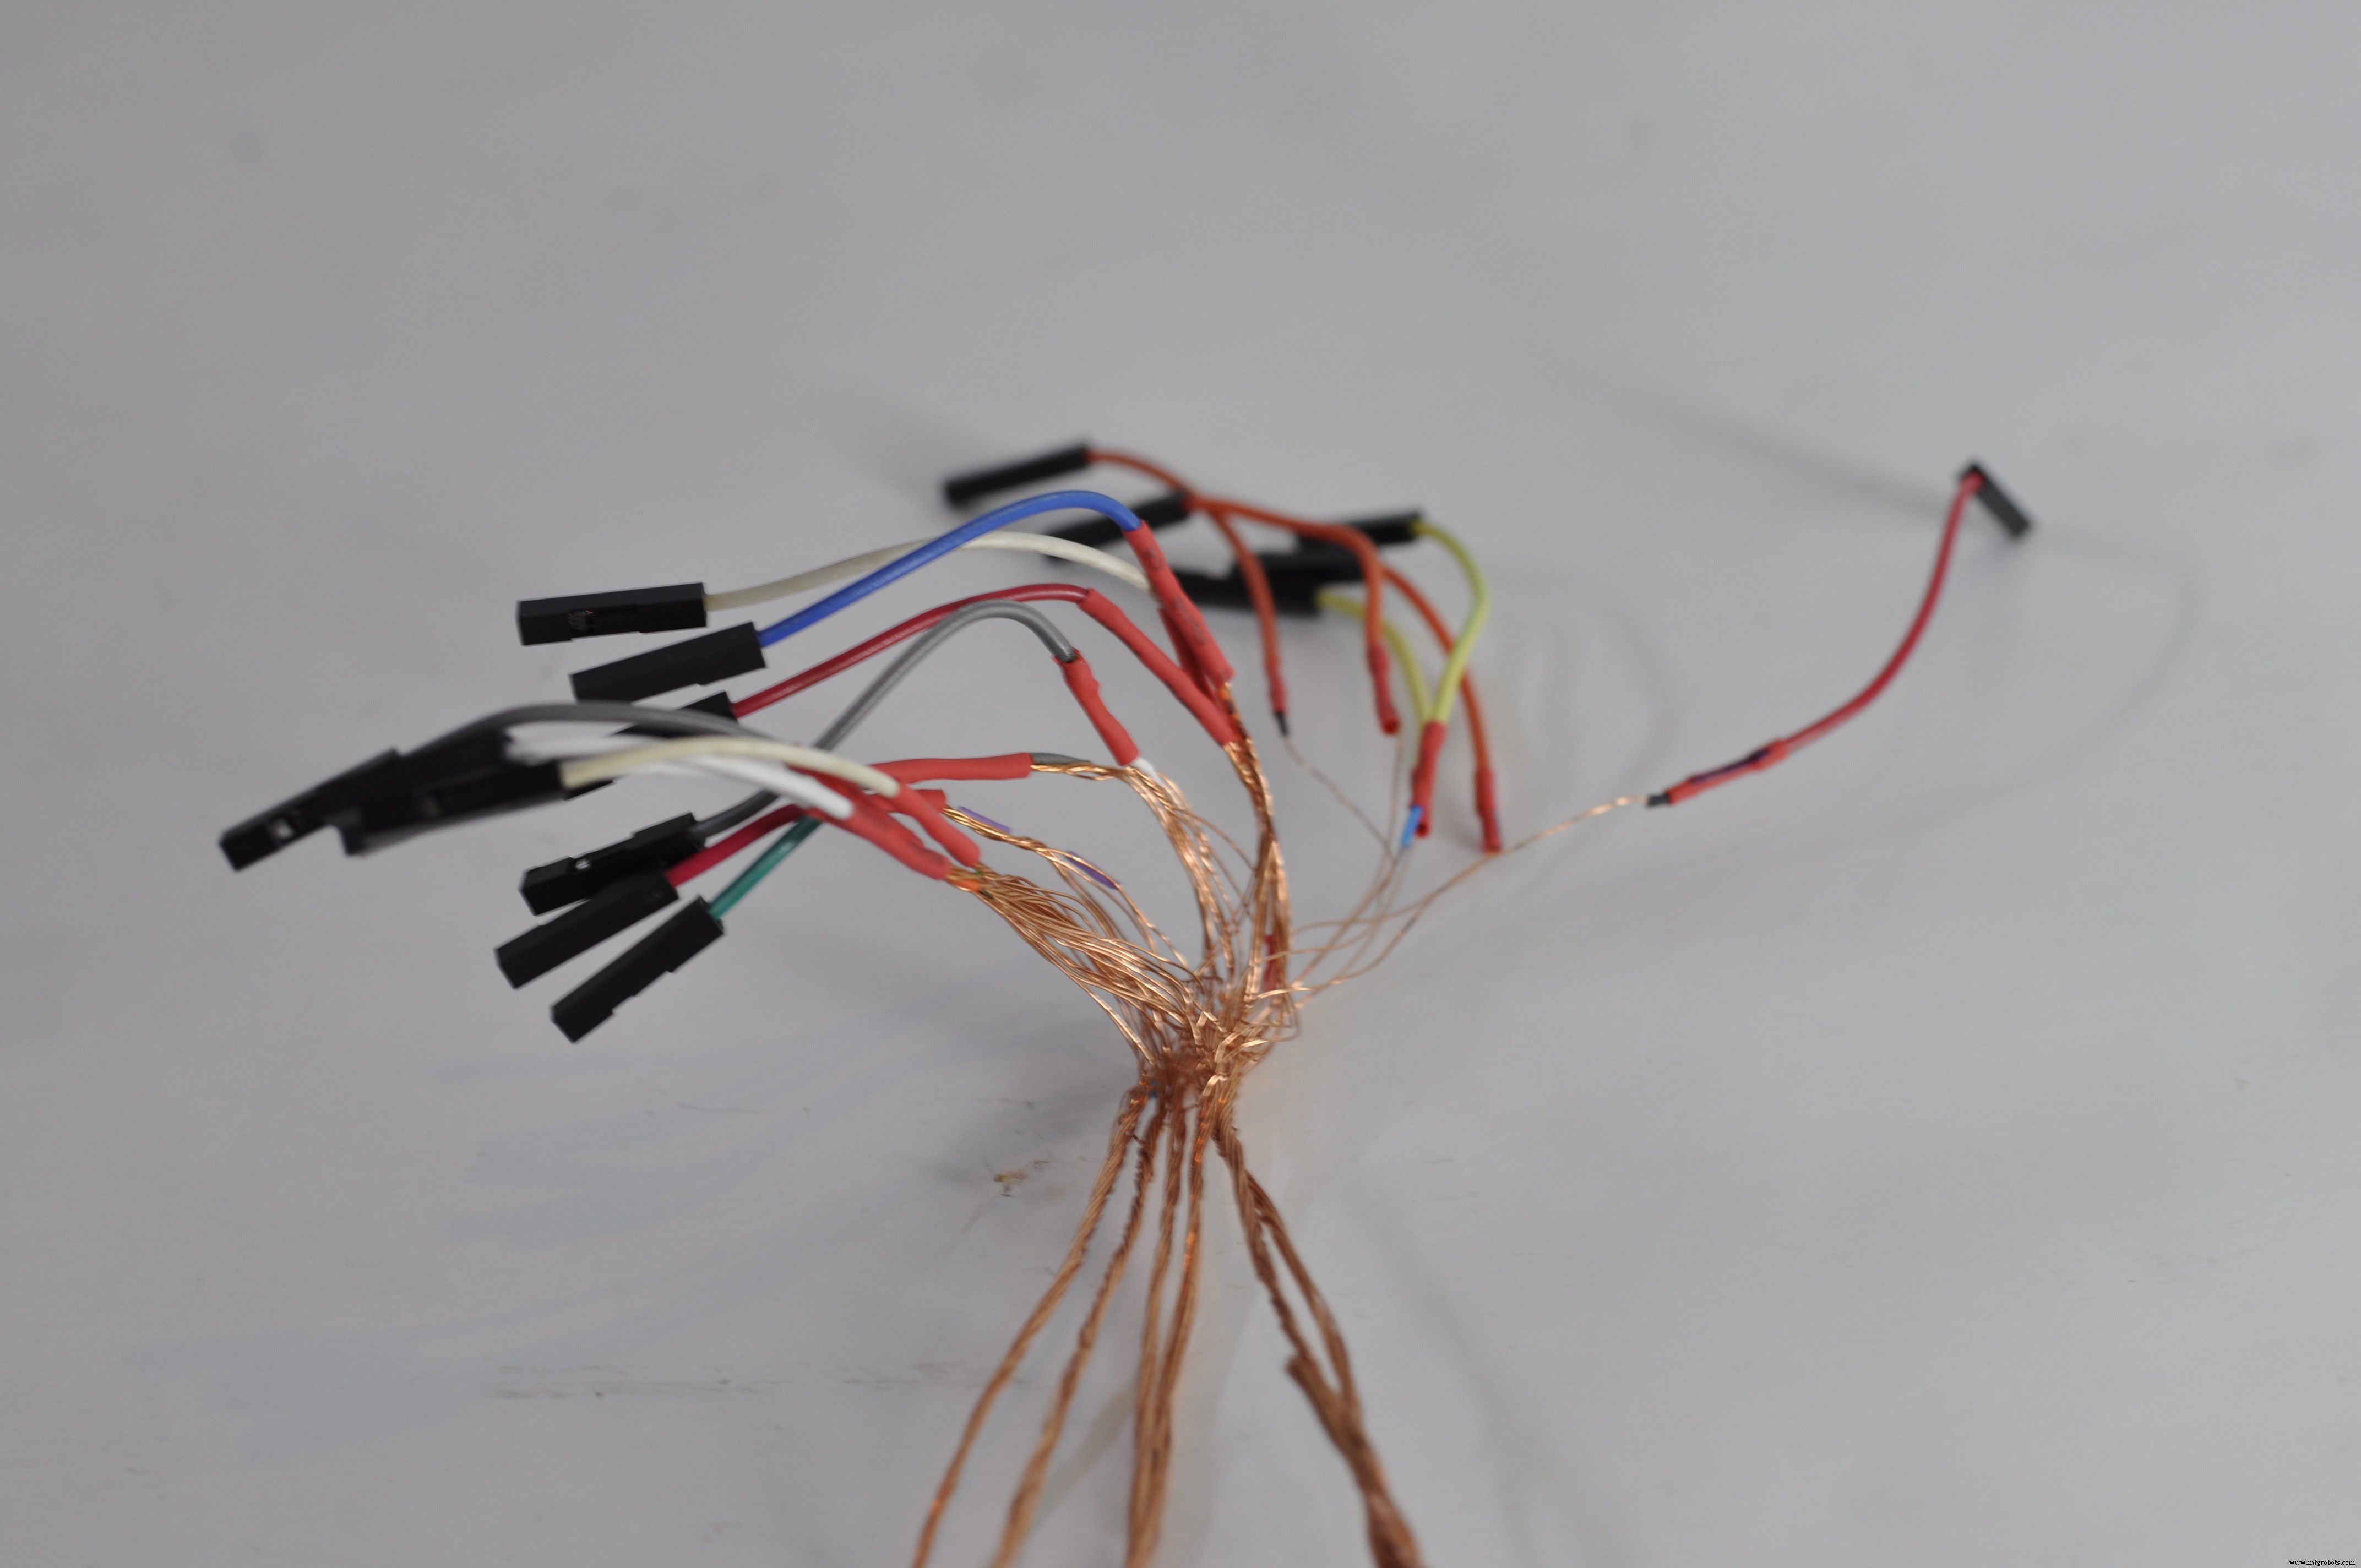
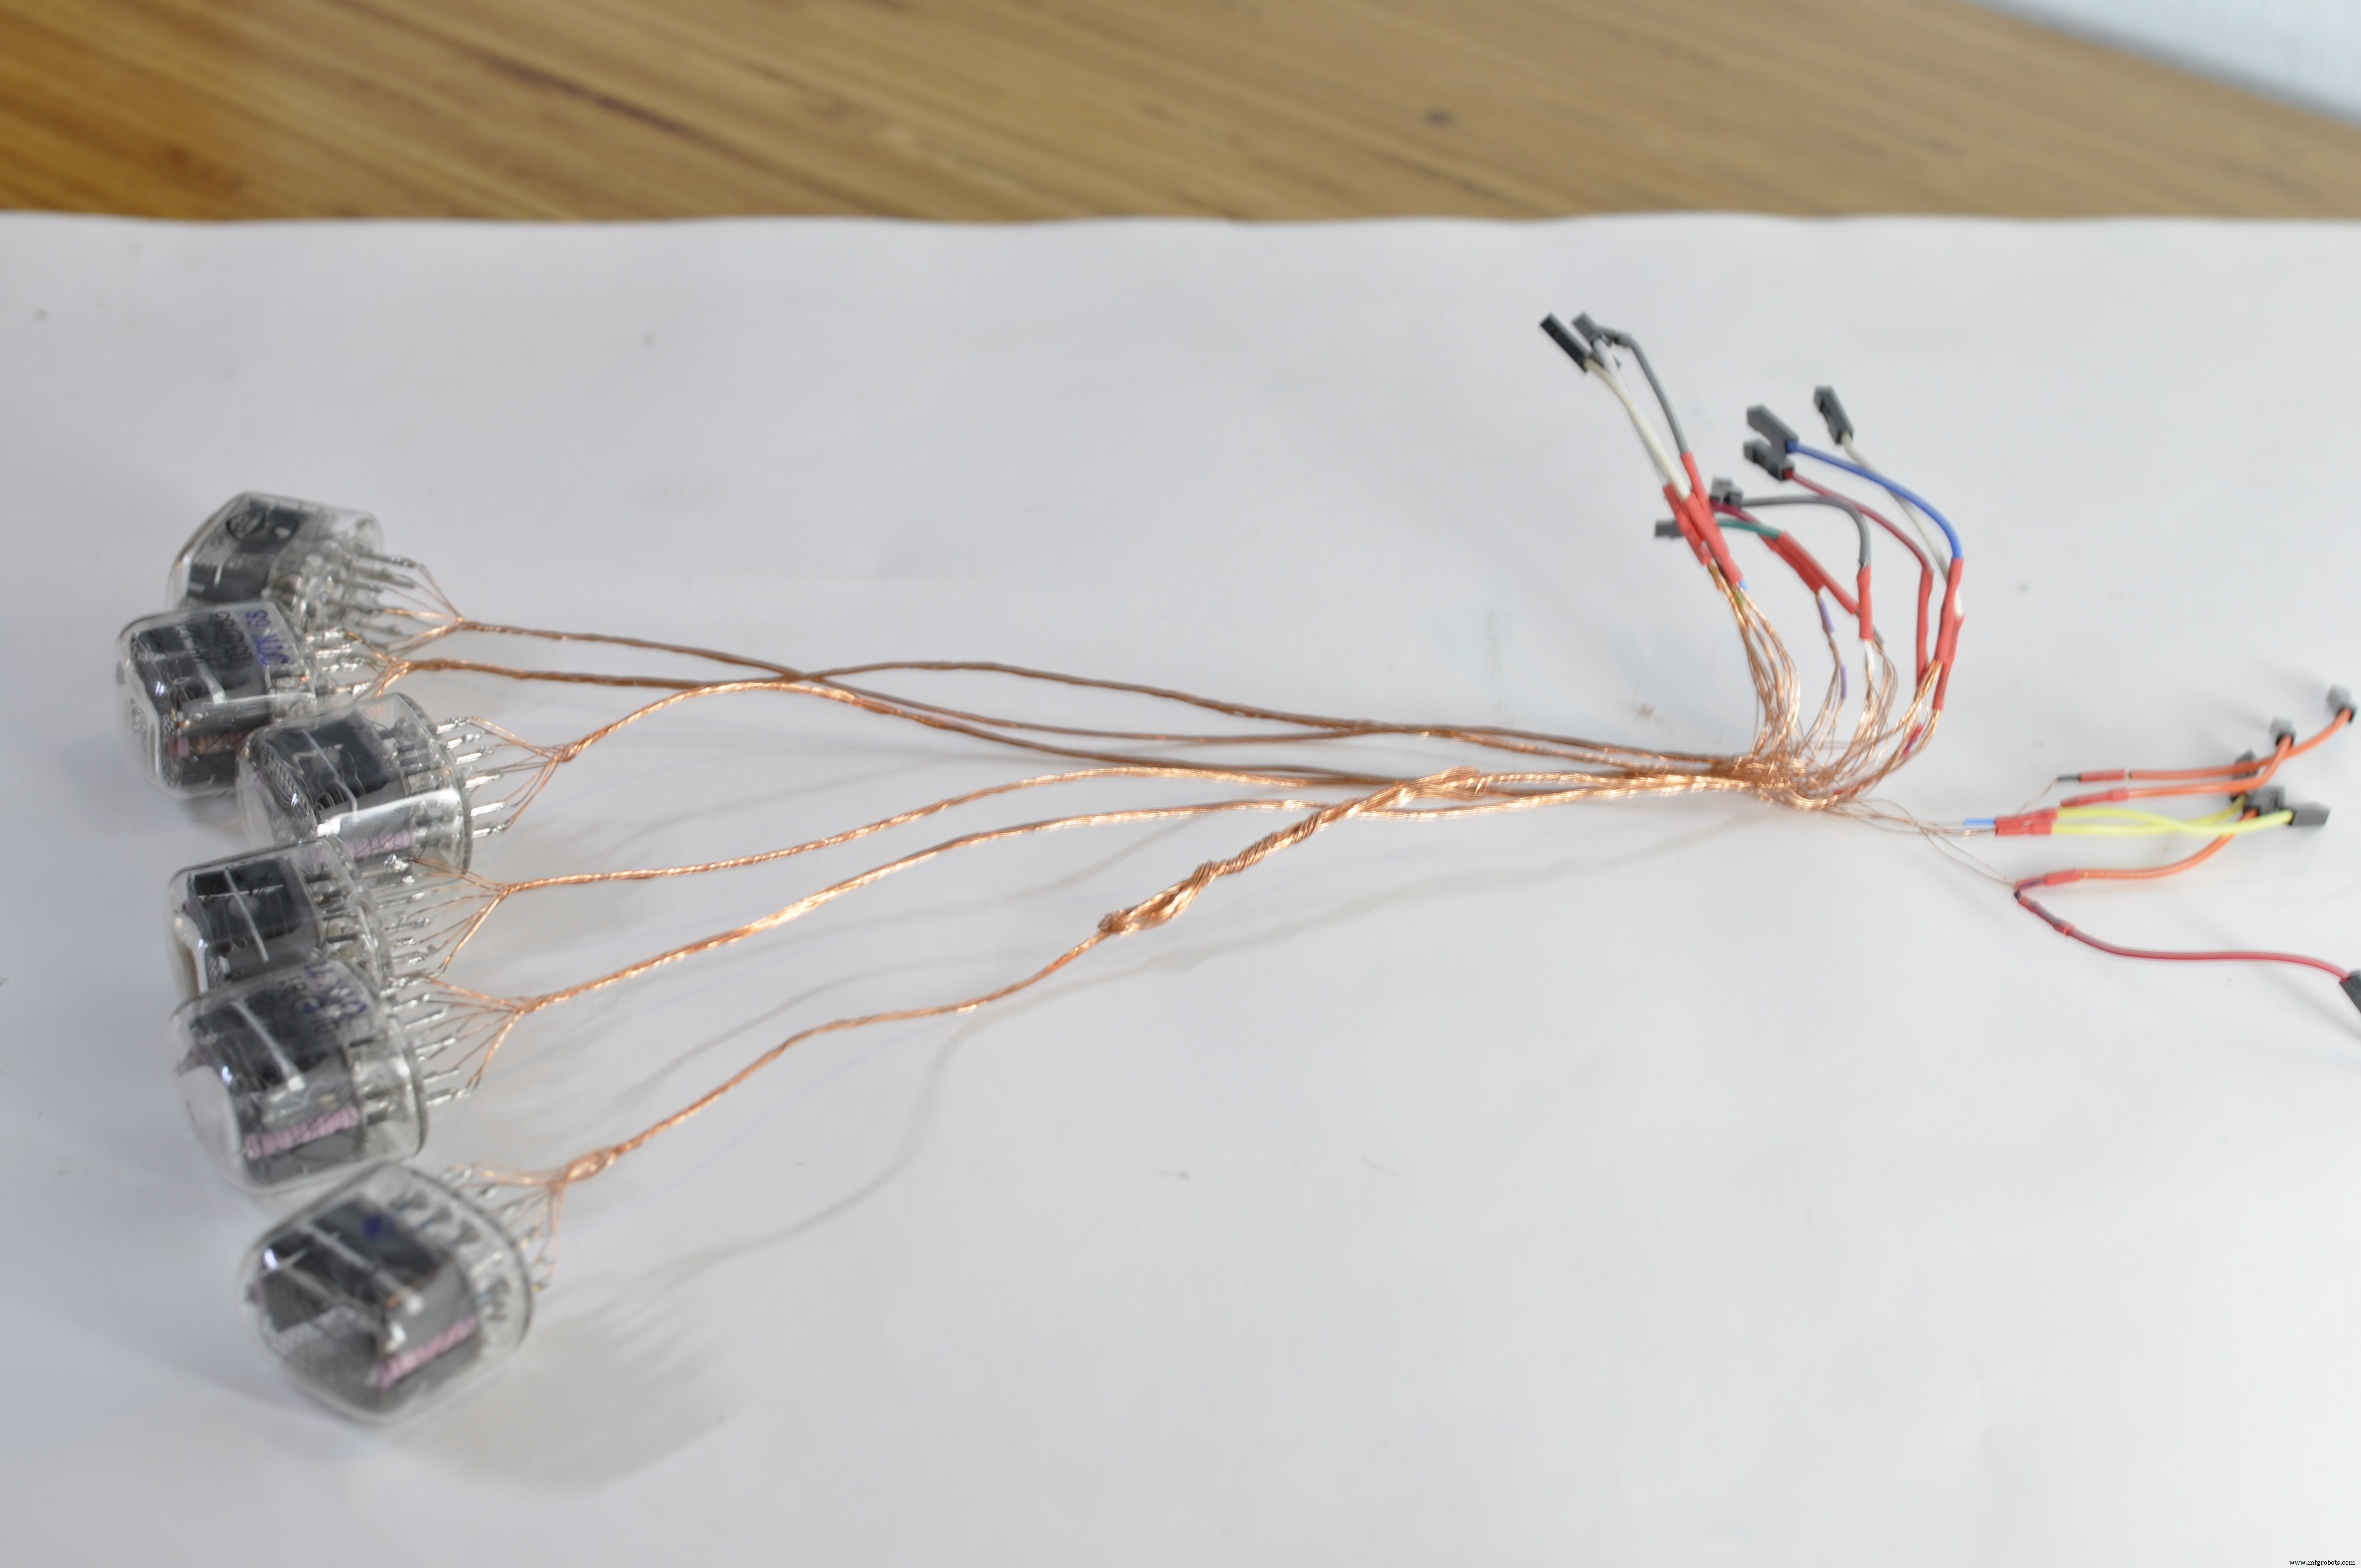
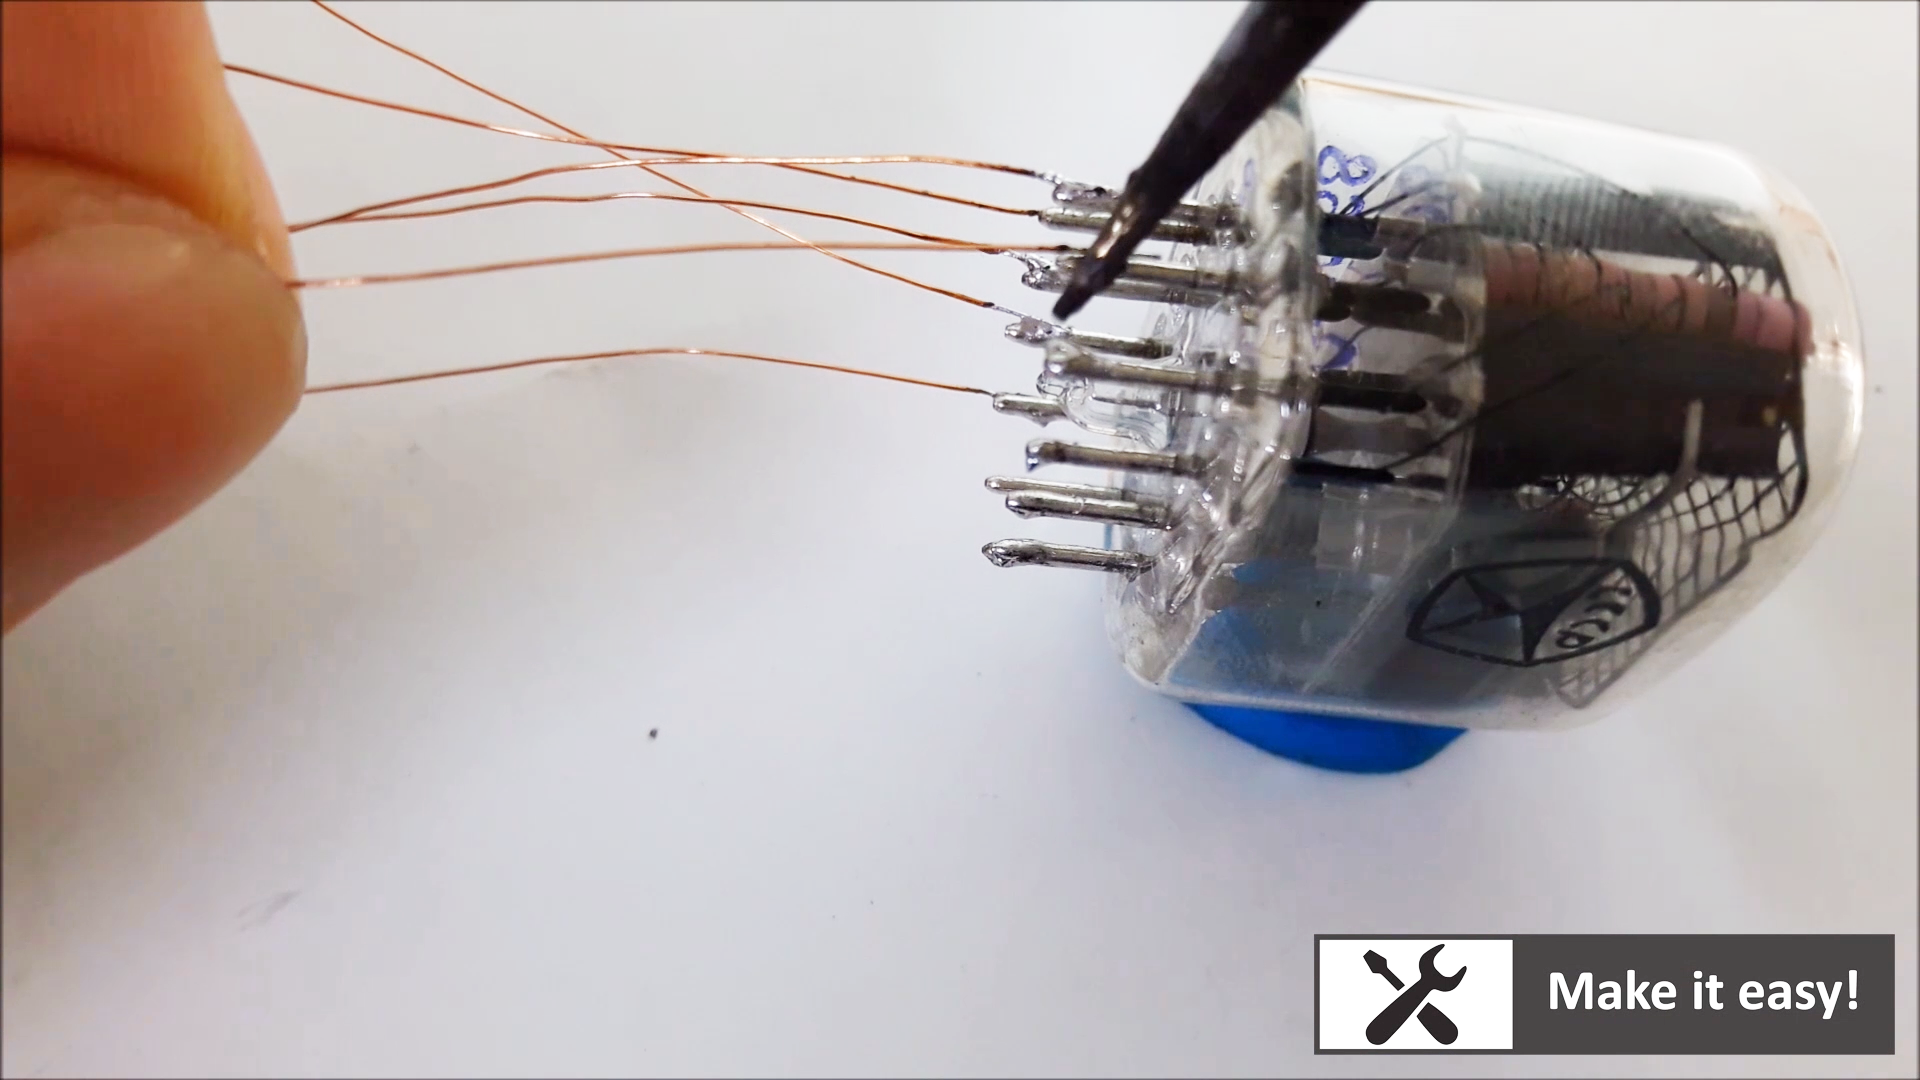
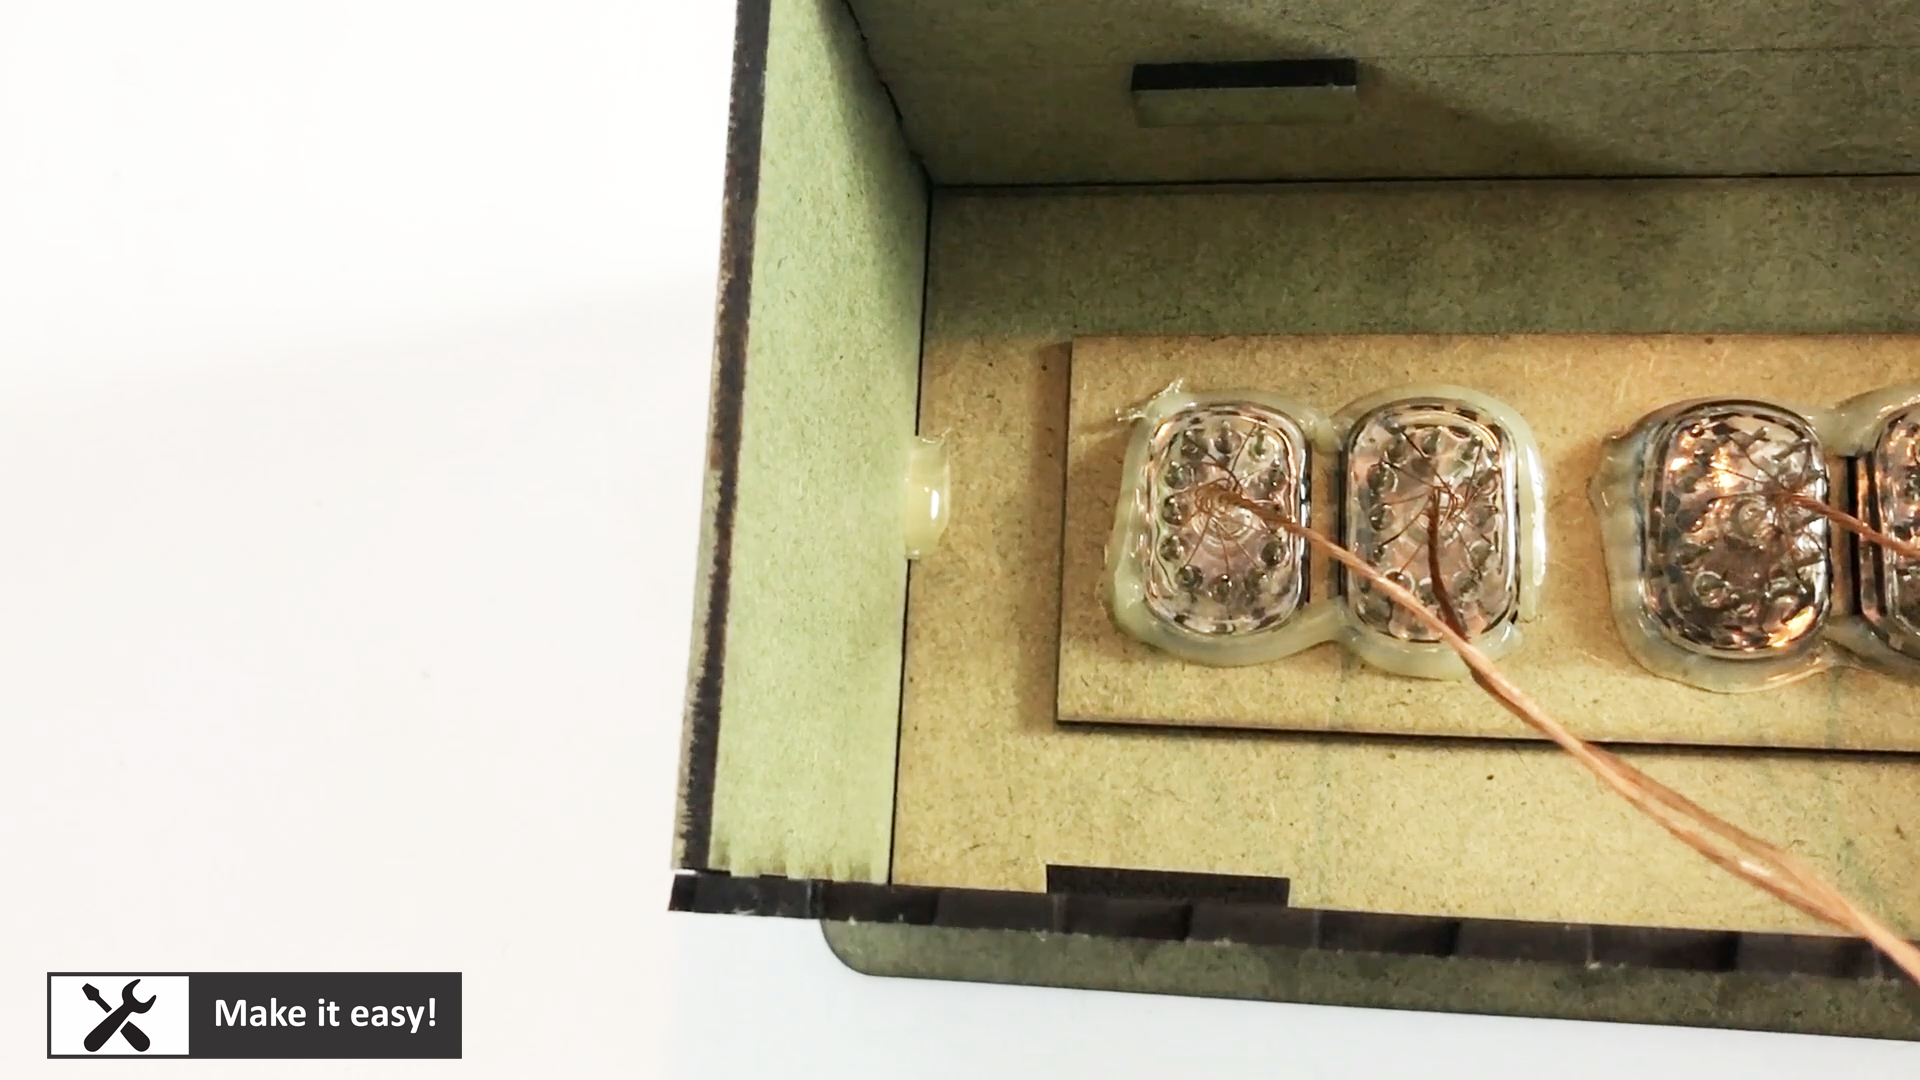
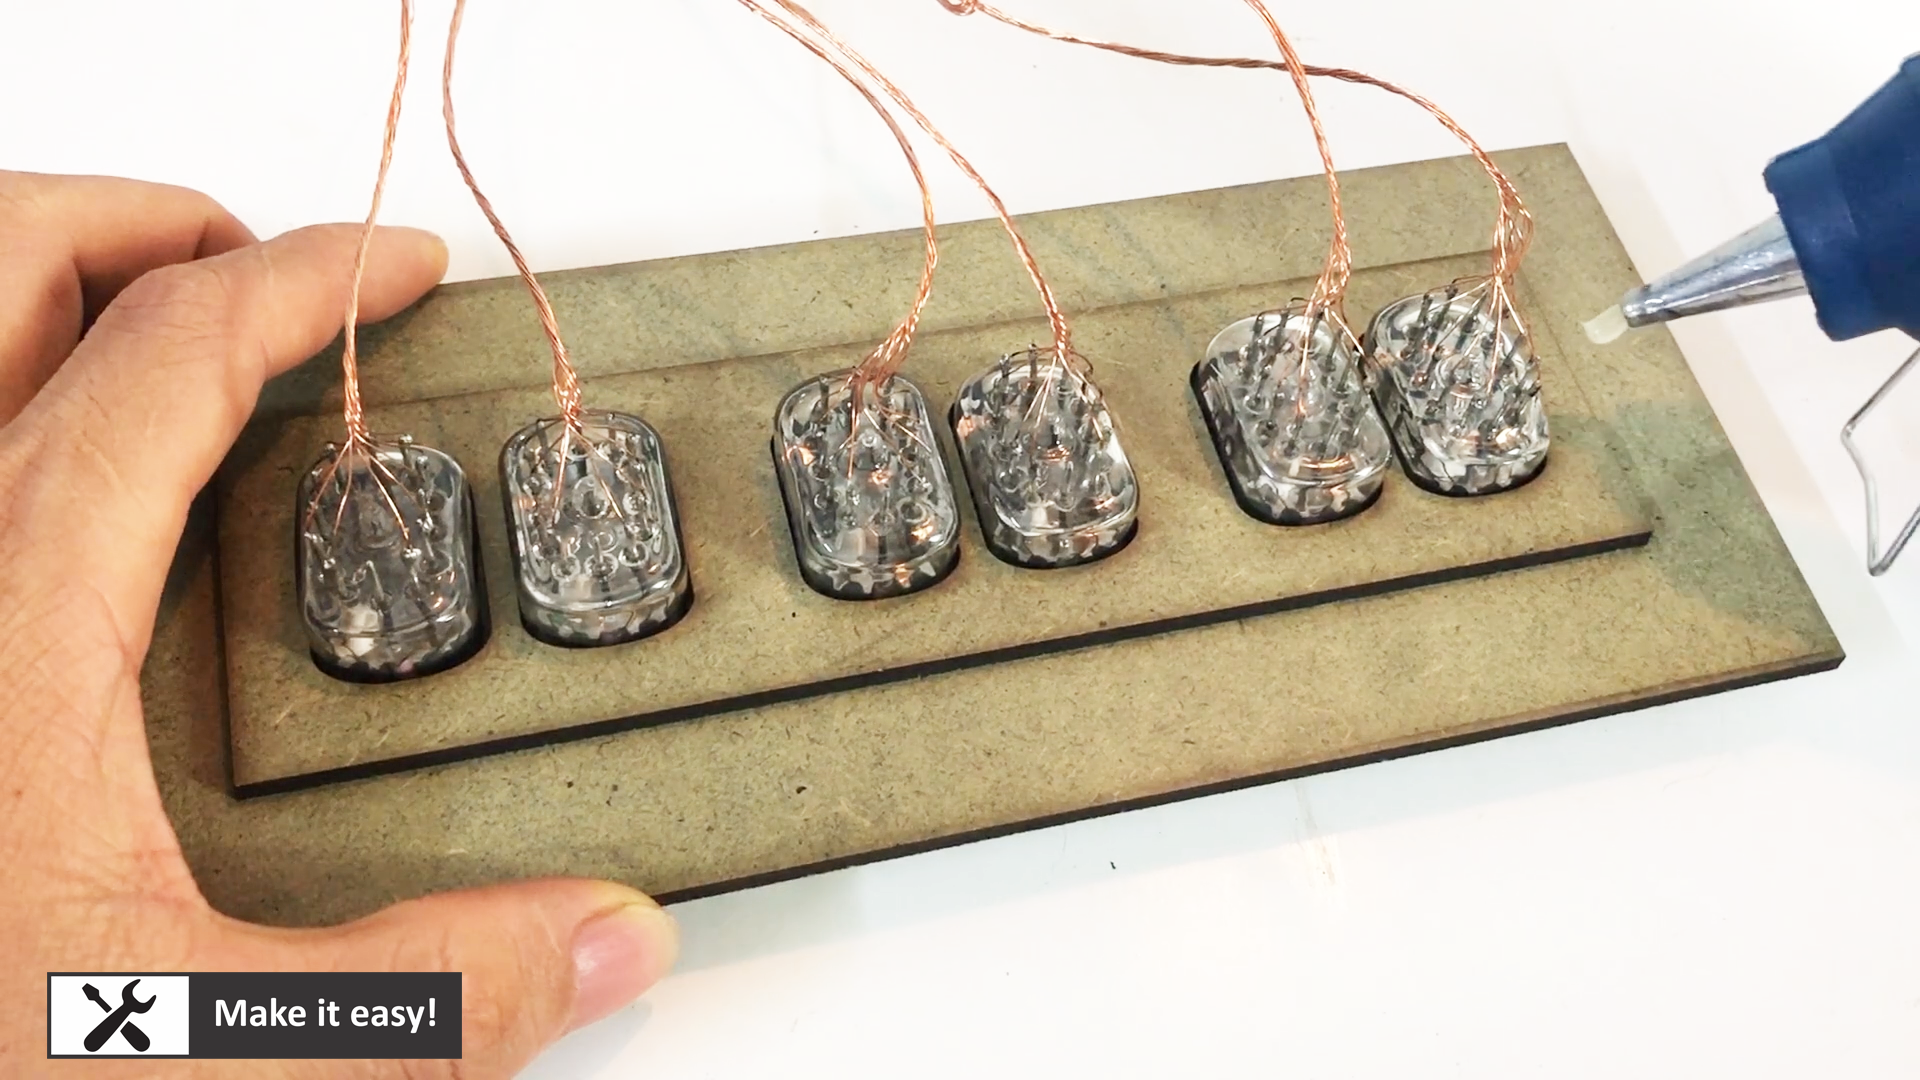
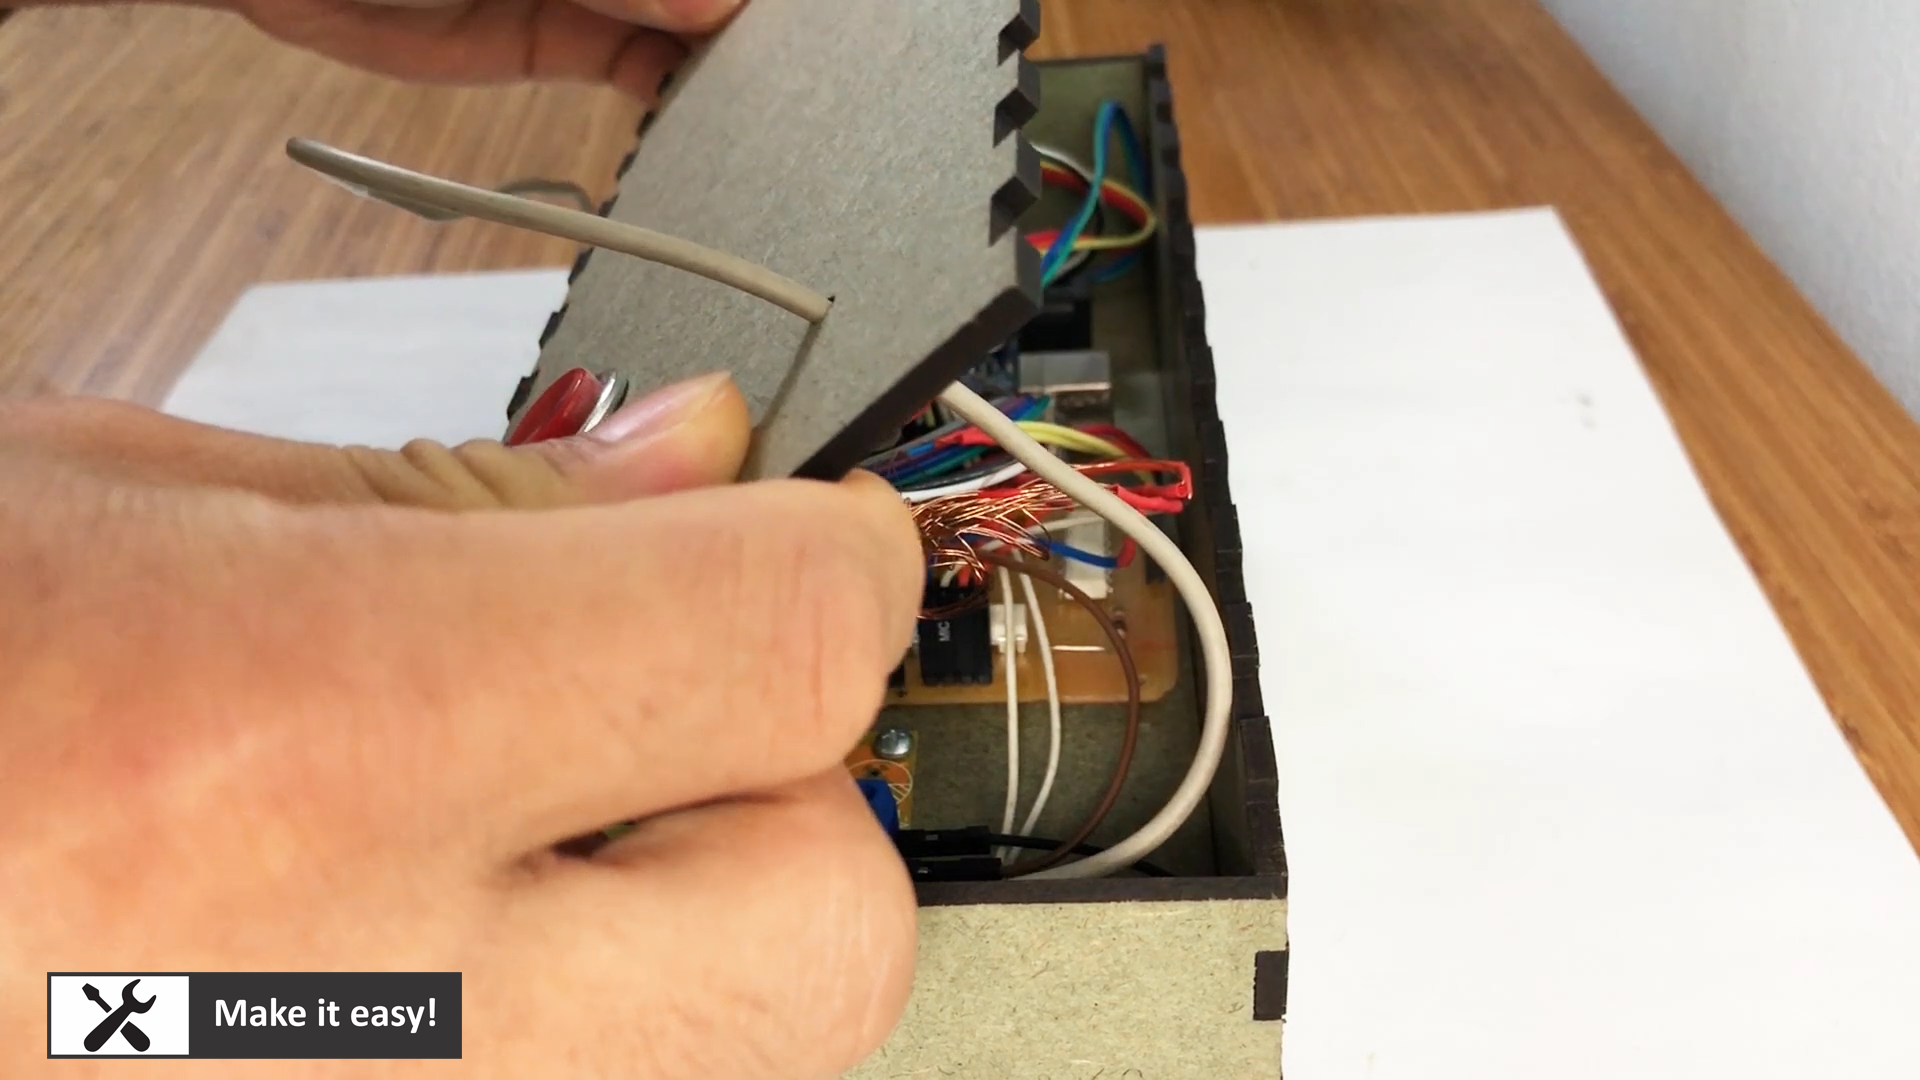
Because nixie tube consumes low current, so I use copper wire (take from old transformer) for wiring nixie tube.
This copper wire is easy for working: easy for soldering, high isolation, small size, easy to layout
Then, six nixie tube connected together as in column and row as in design circuit. Then, it is connected to isolation board PCB
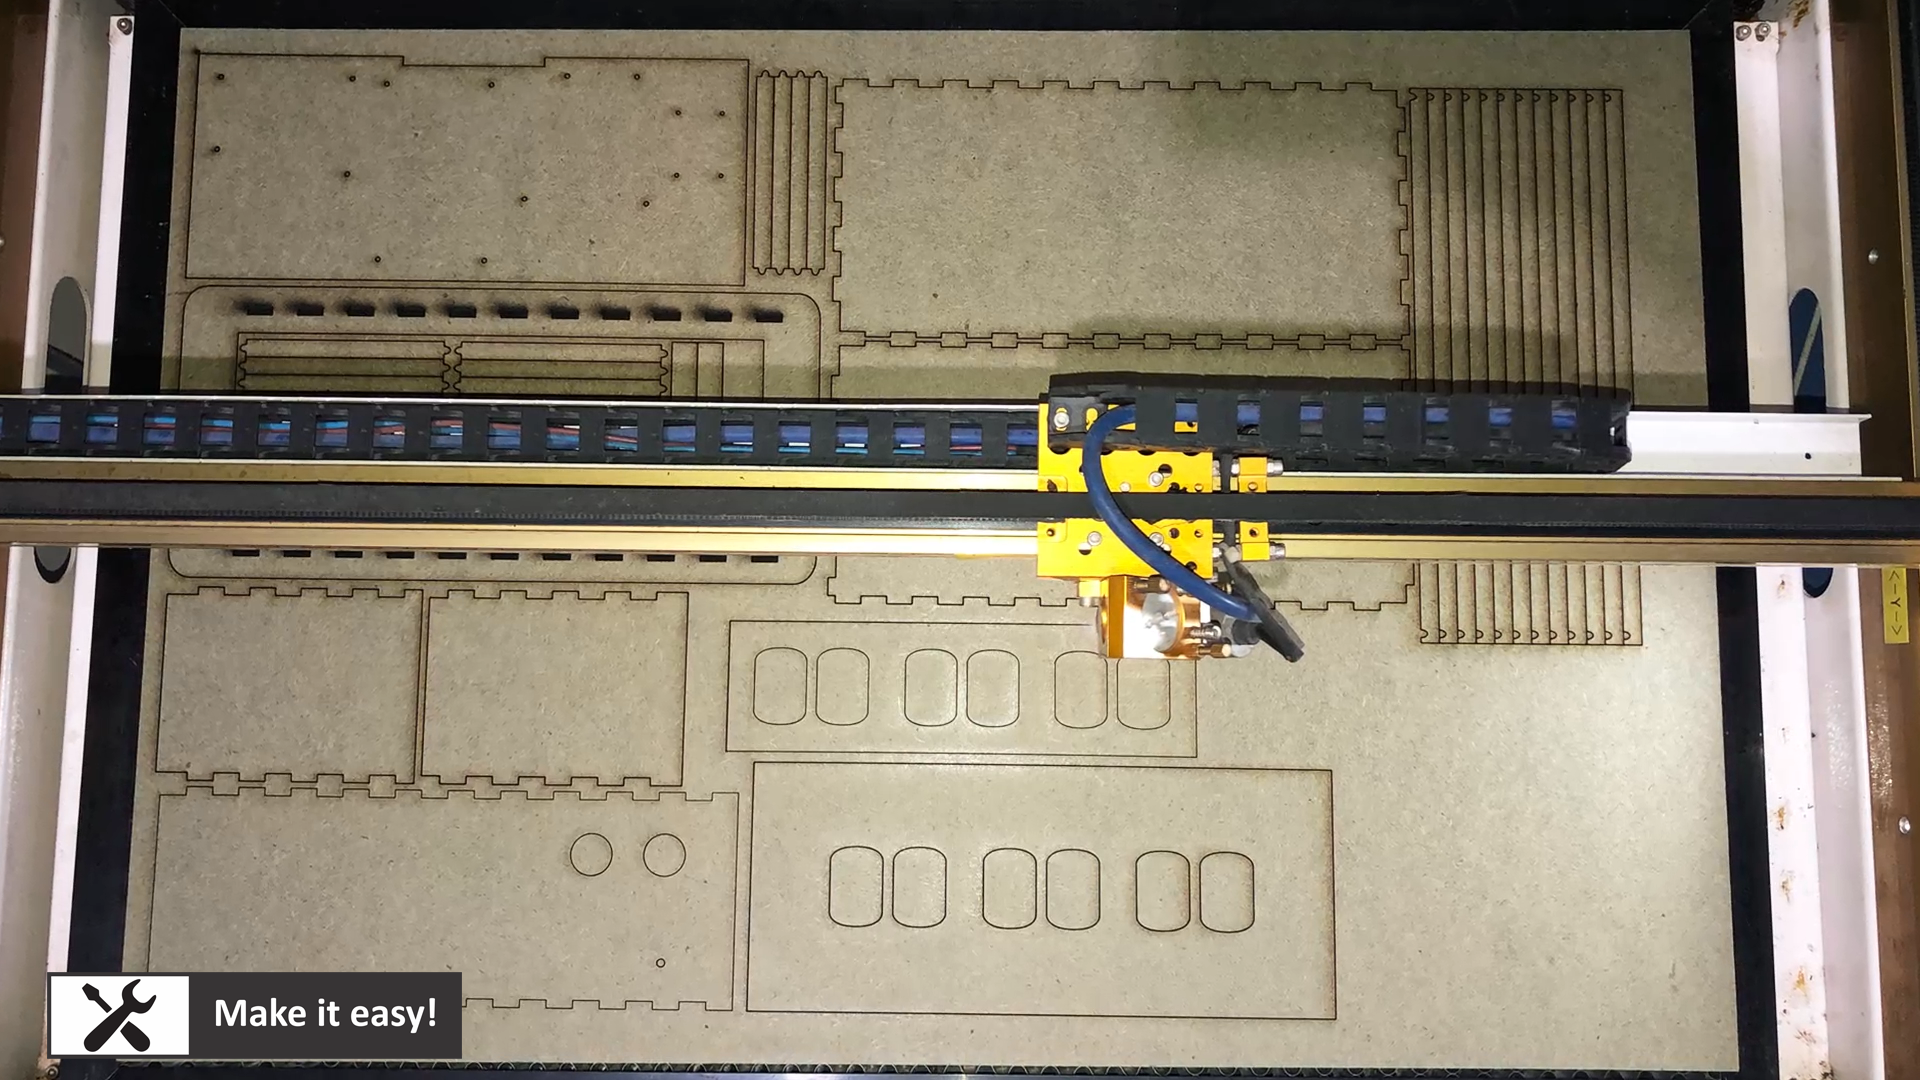
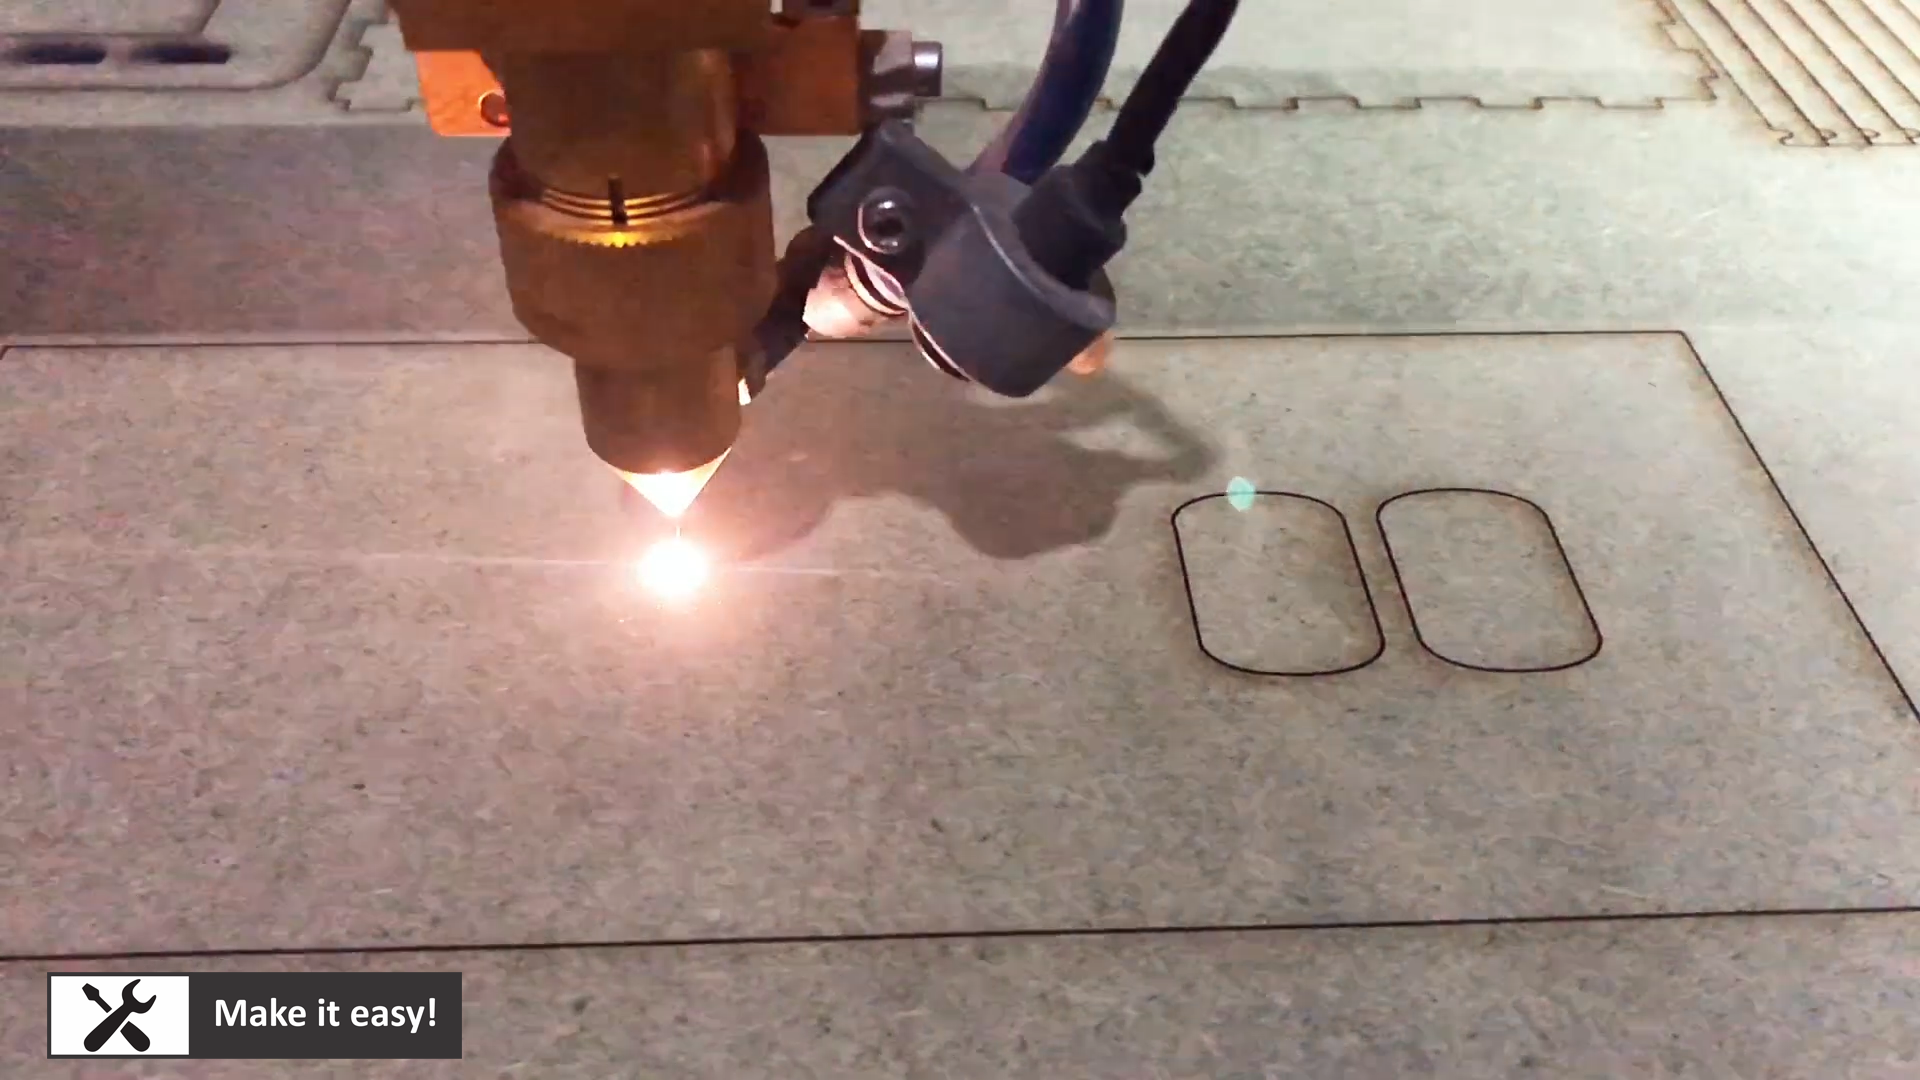
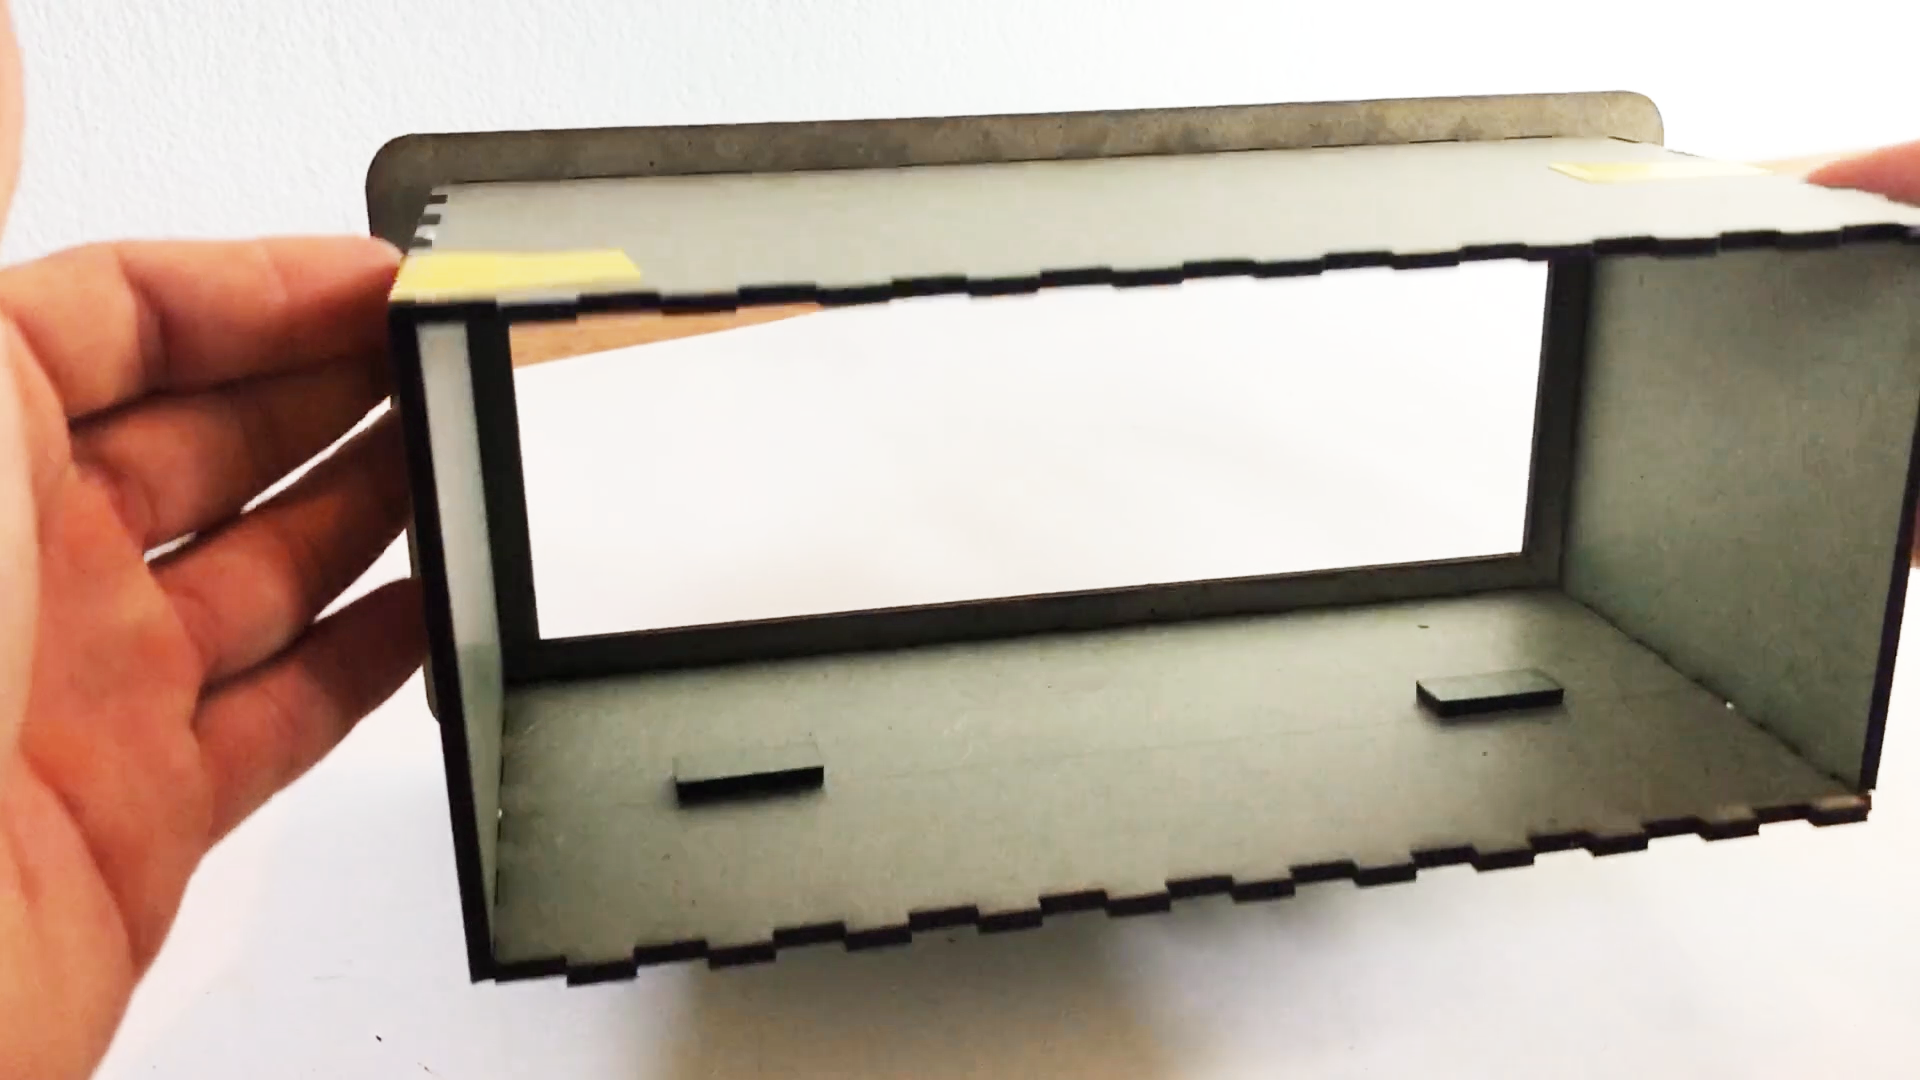
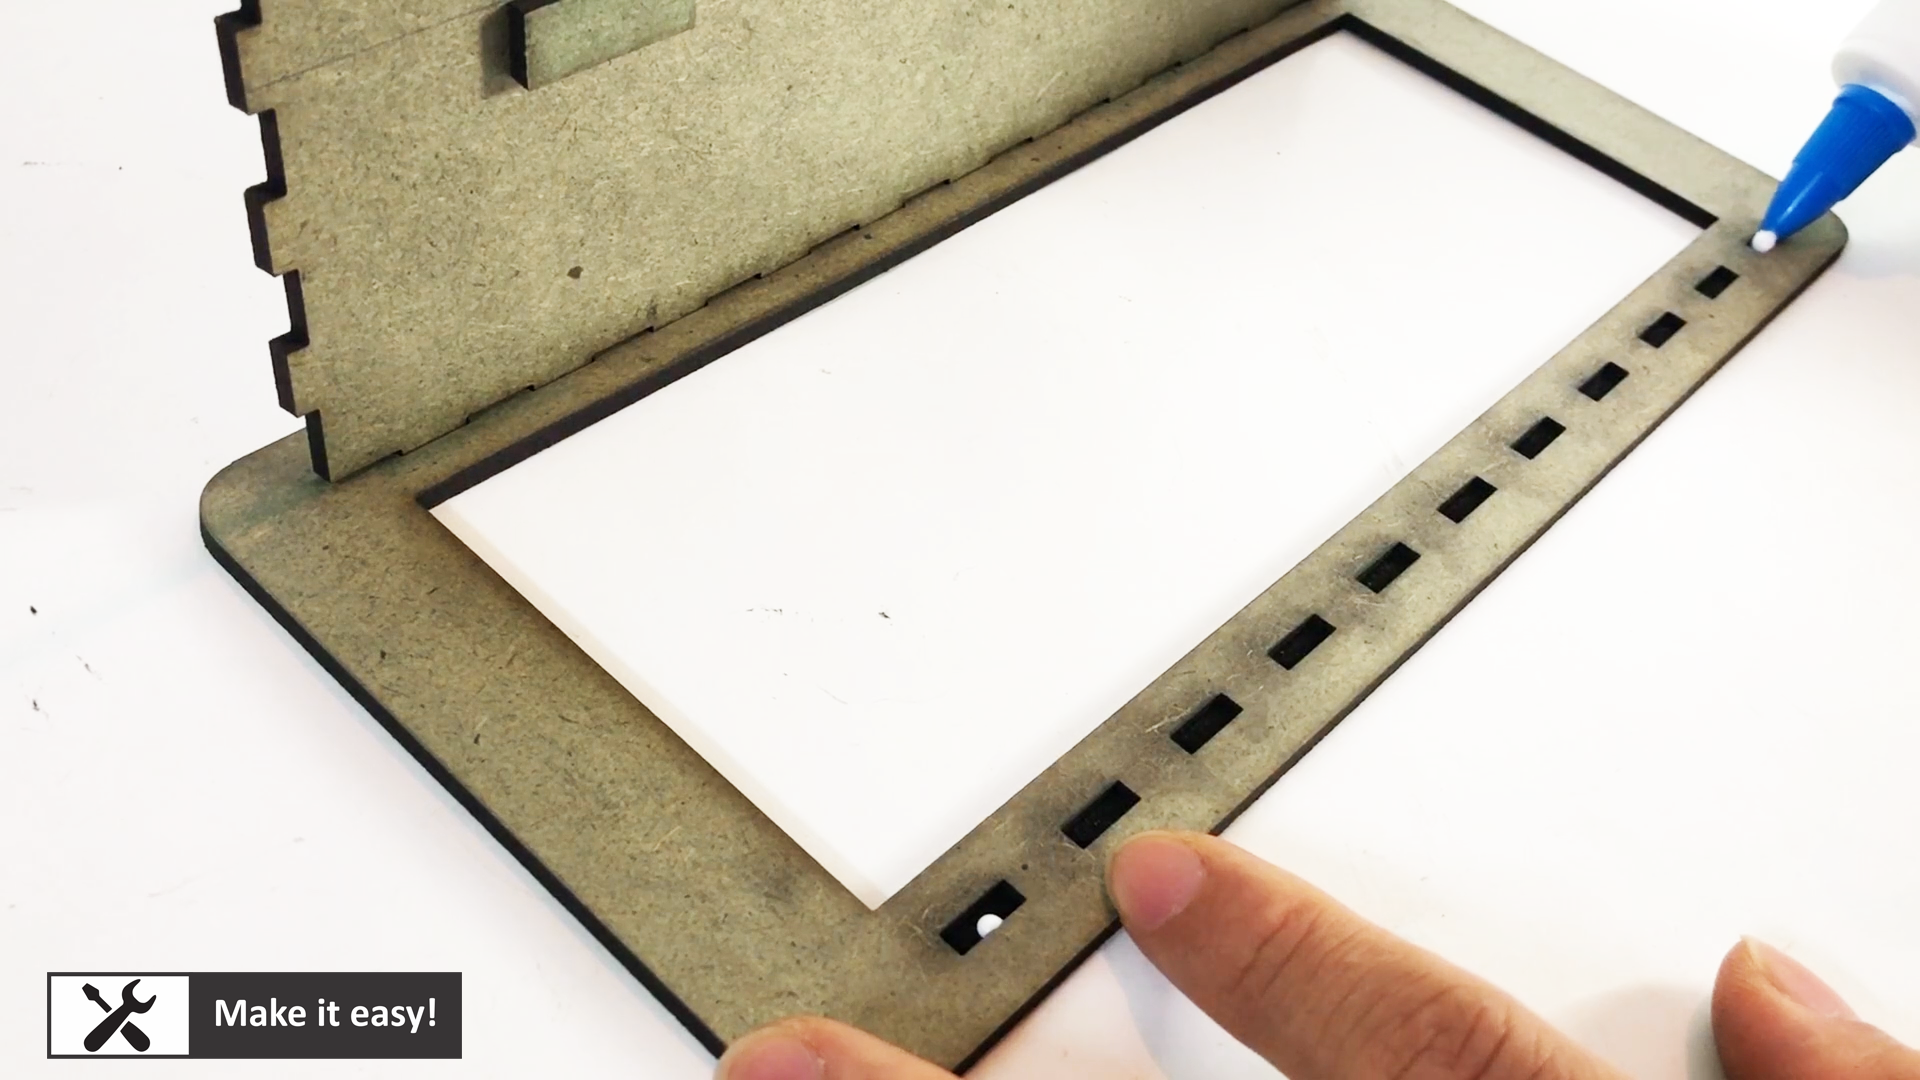
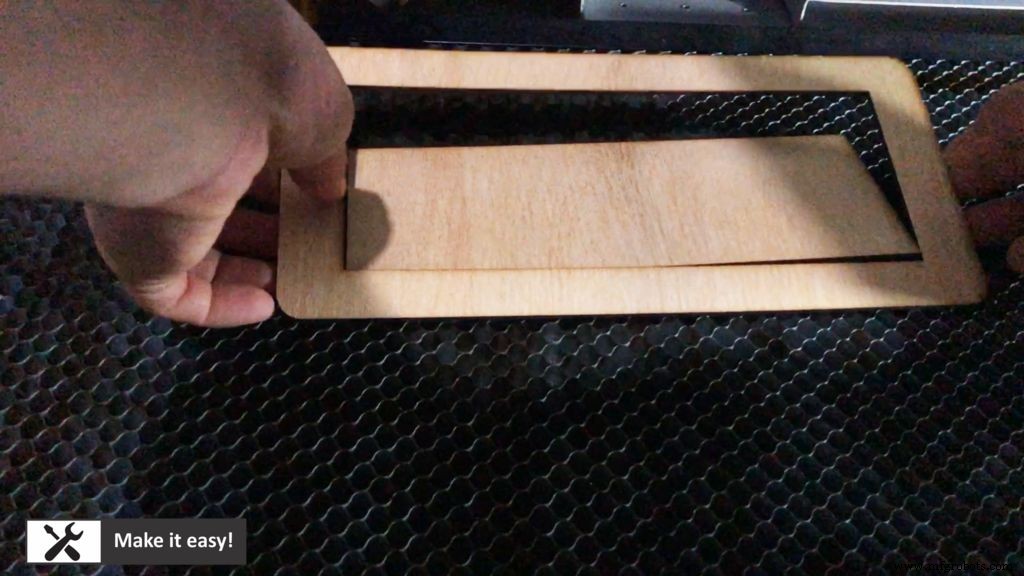
Laser cnc machine will help to cut MDF wood (3mm thickness) in exactly dimension. I design each part matched together, then will use glue to fix them.
Design file for laser cut can be downloaded here https://bit.ly/3ab6PHL
Note: using Corel Draw to read design file
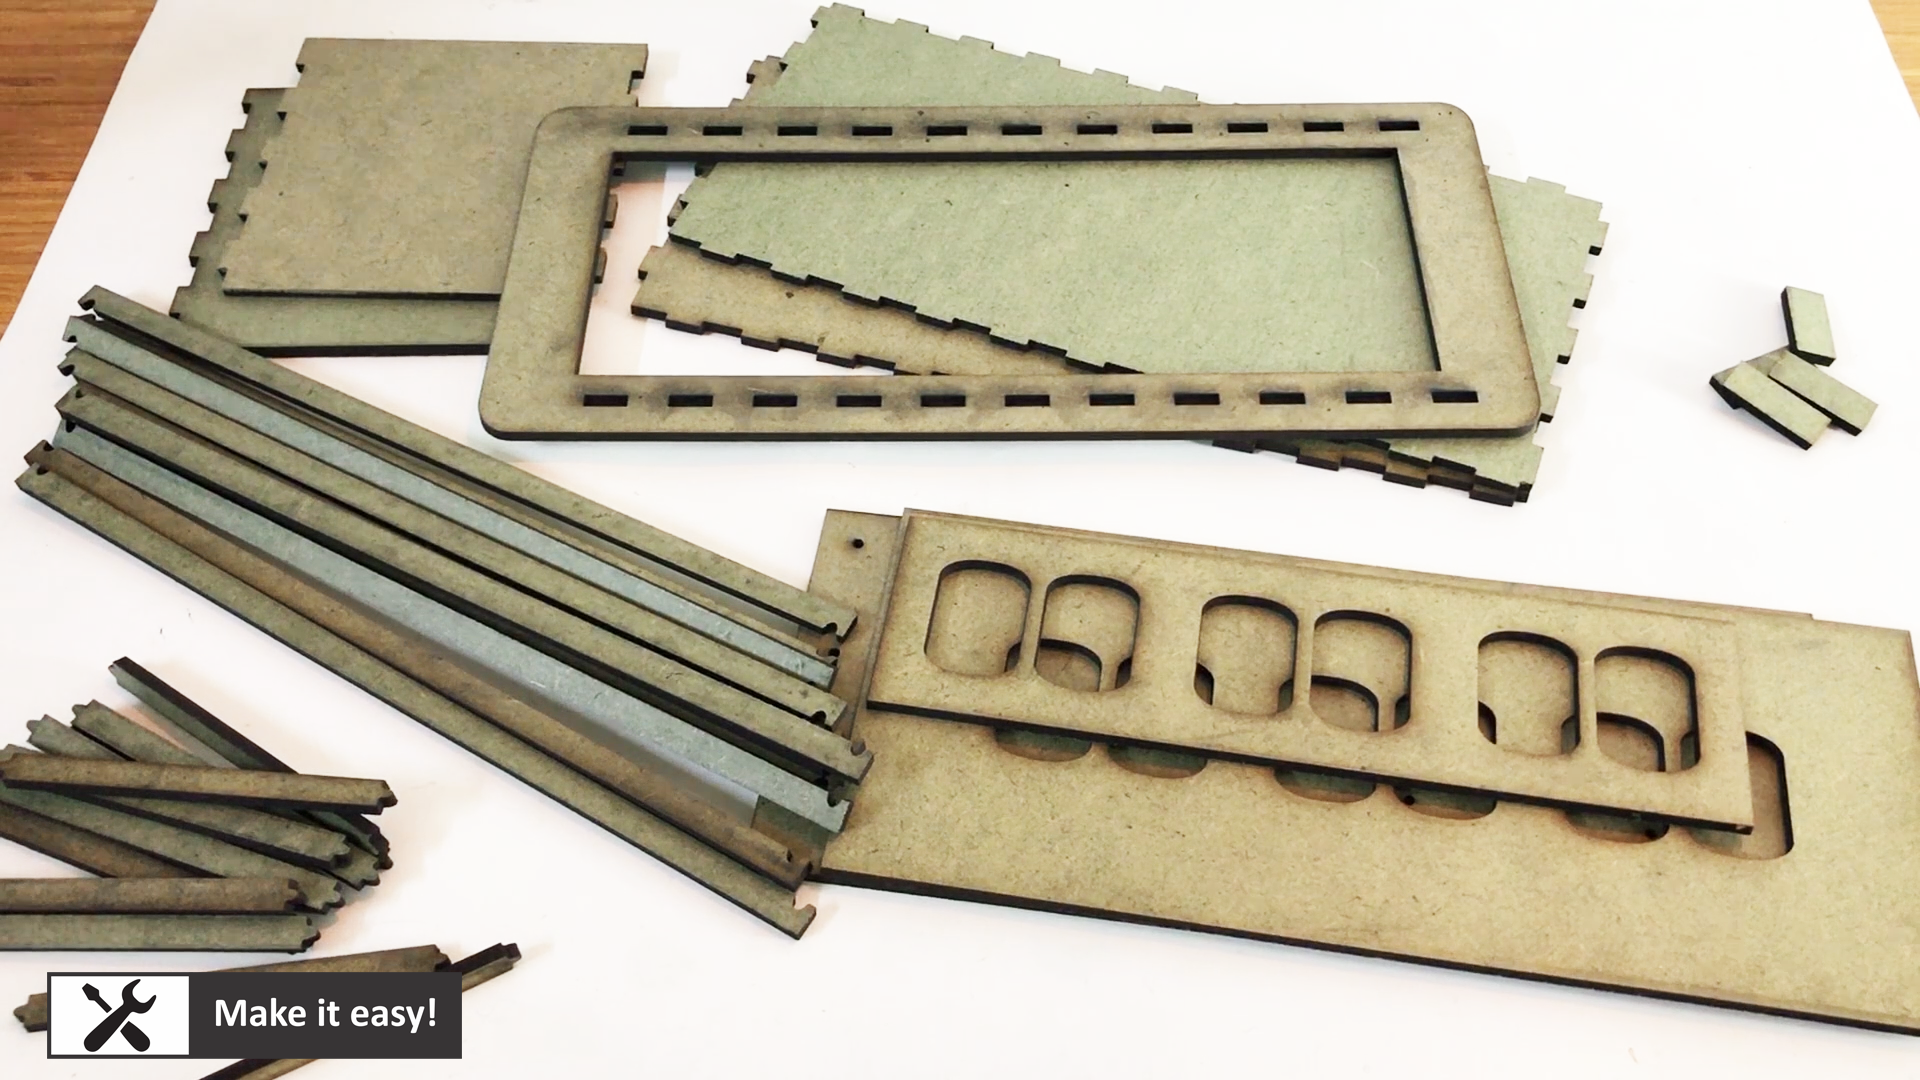
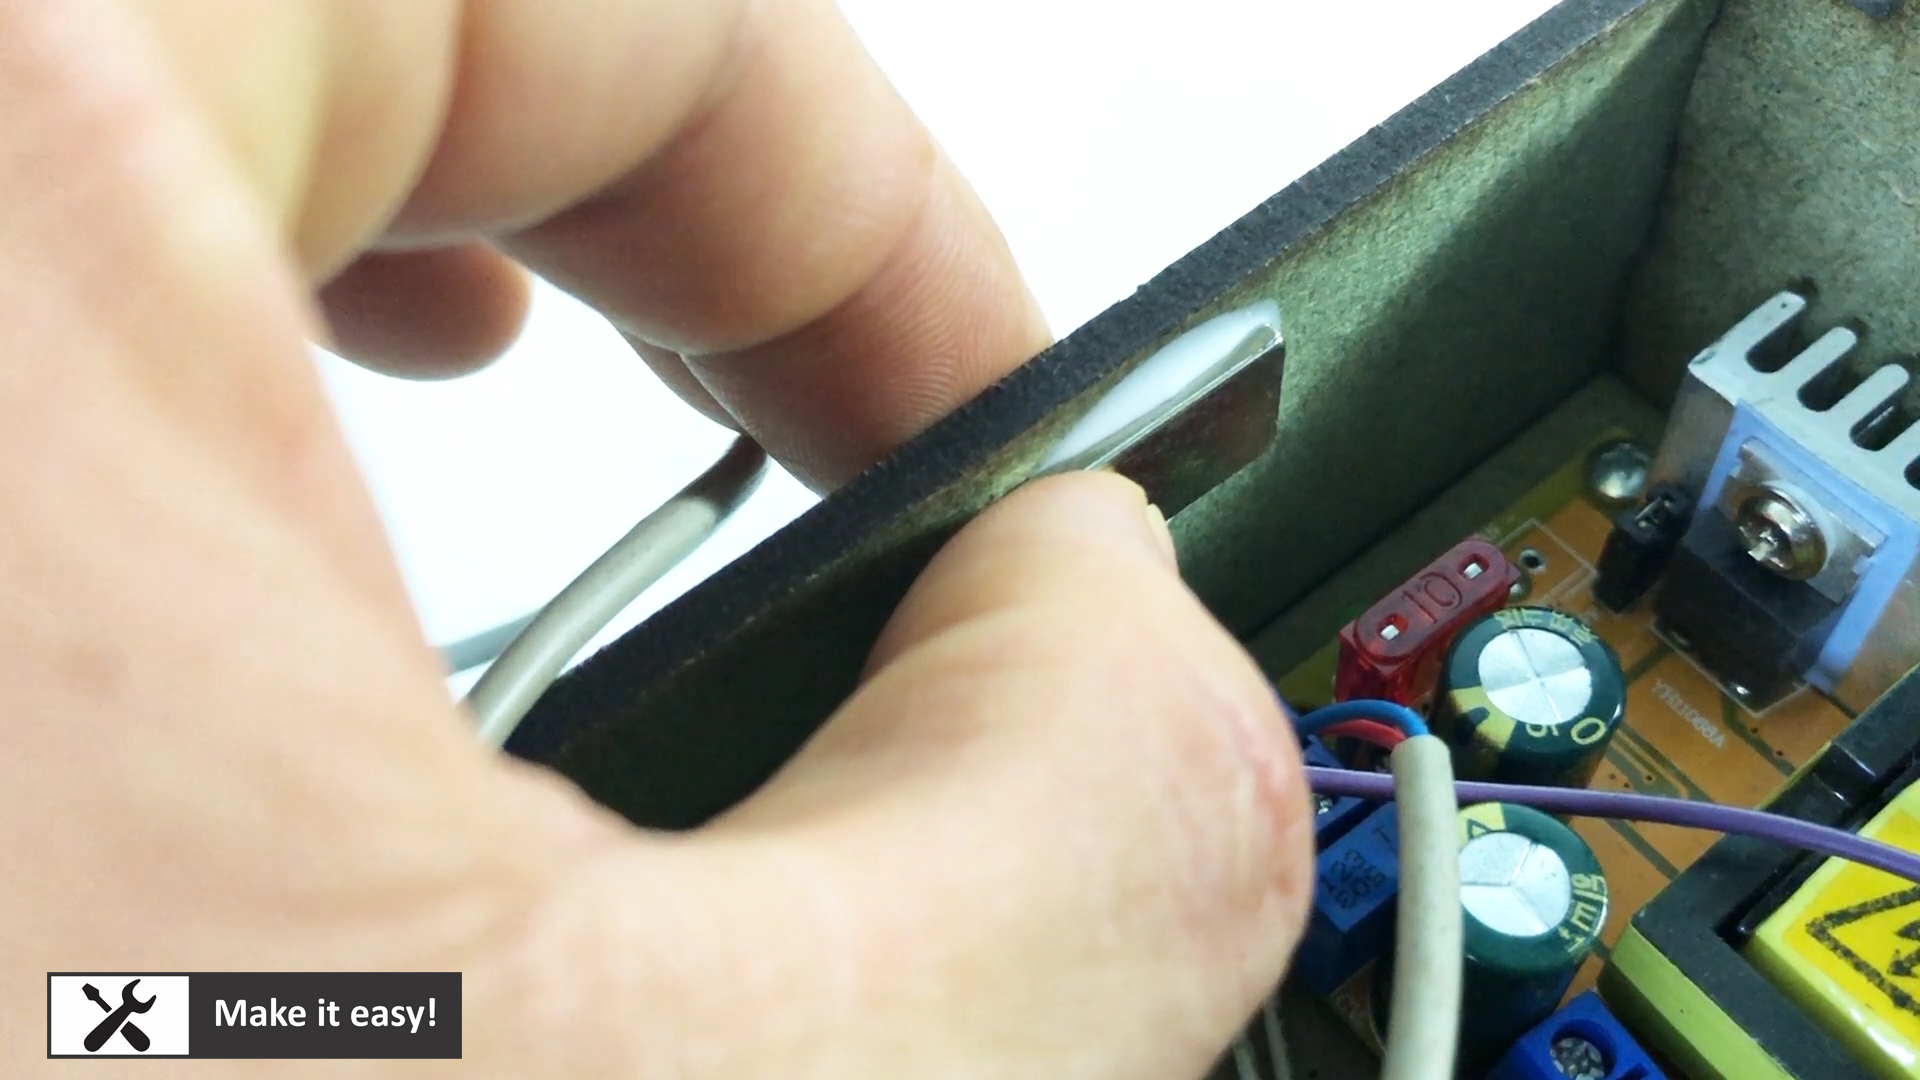
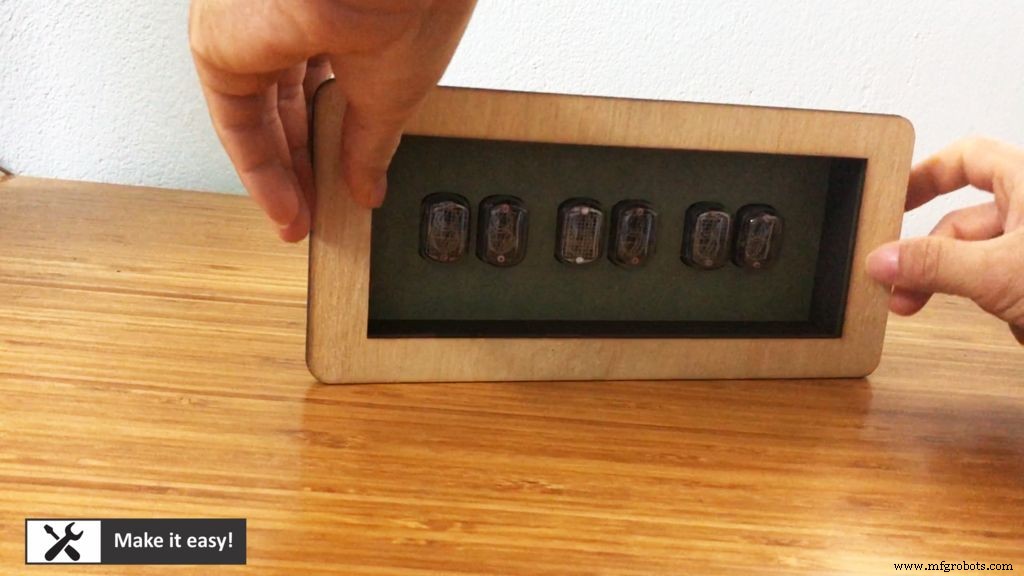
In this step, make 1/2 a box with glue, then install nixie tube into middle frame, then install it into the box.
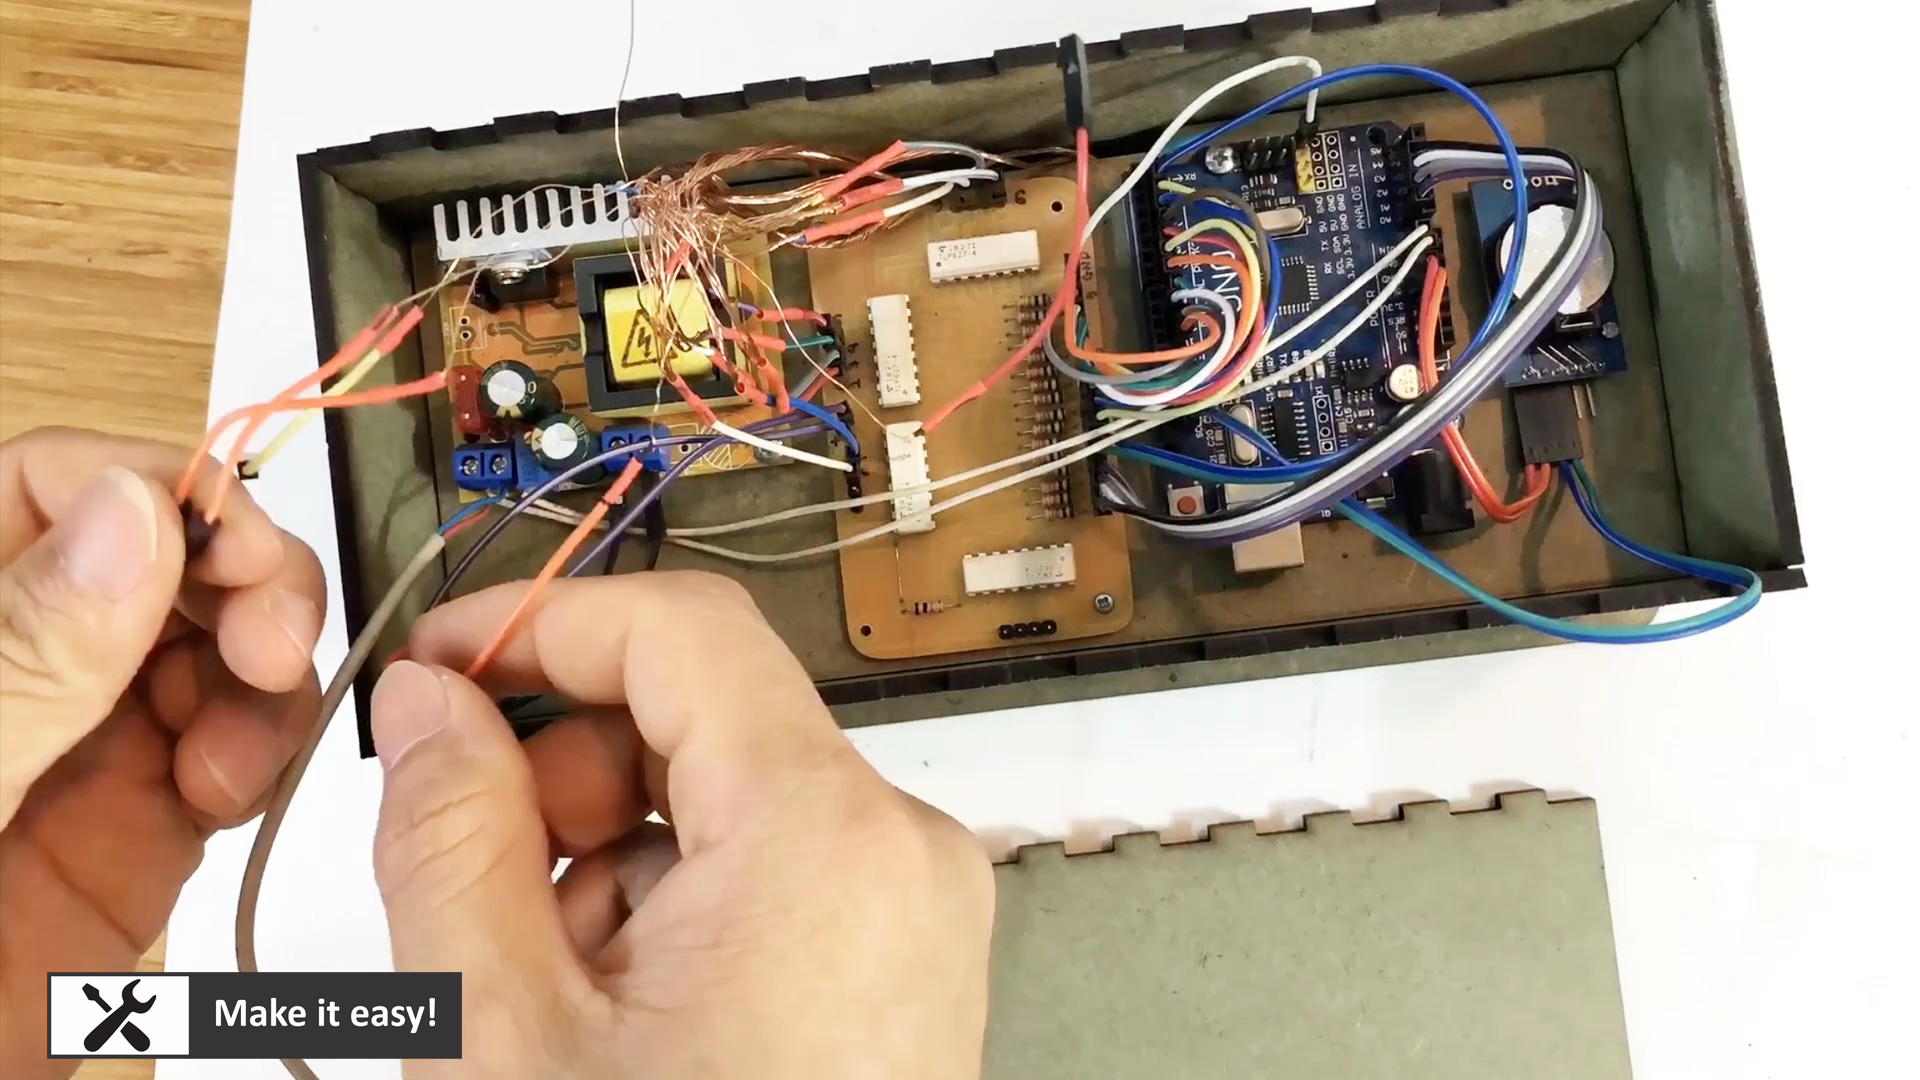
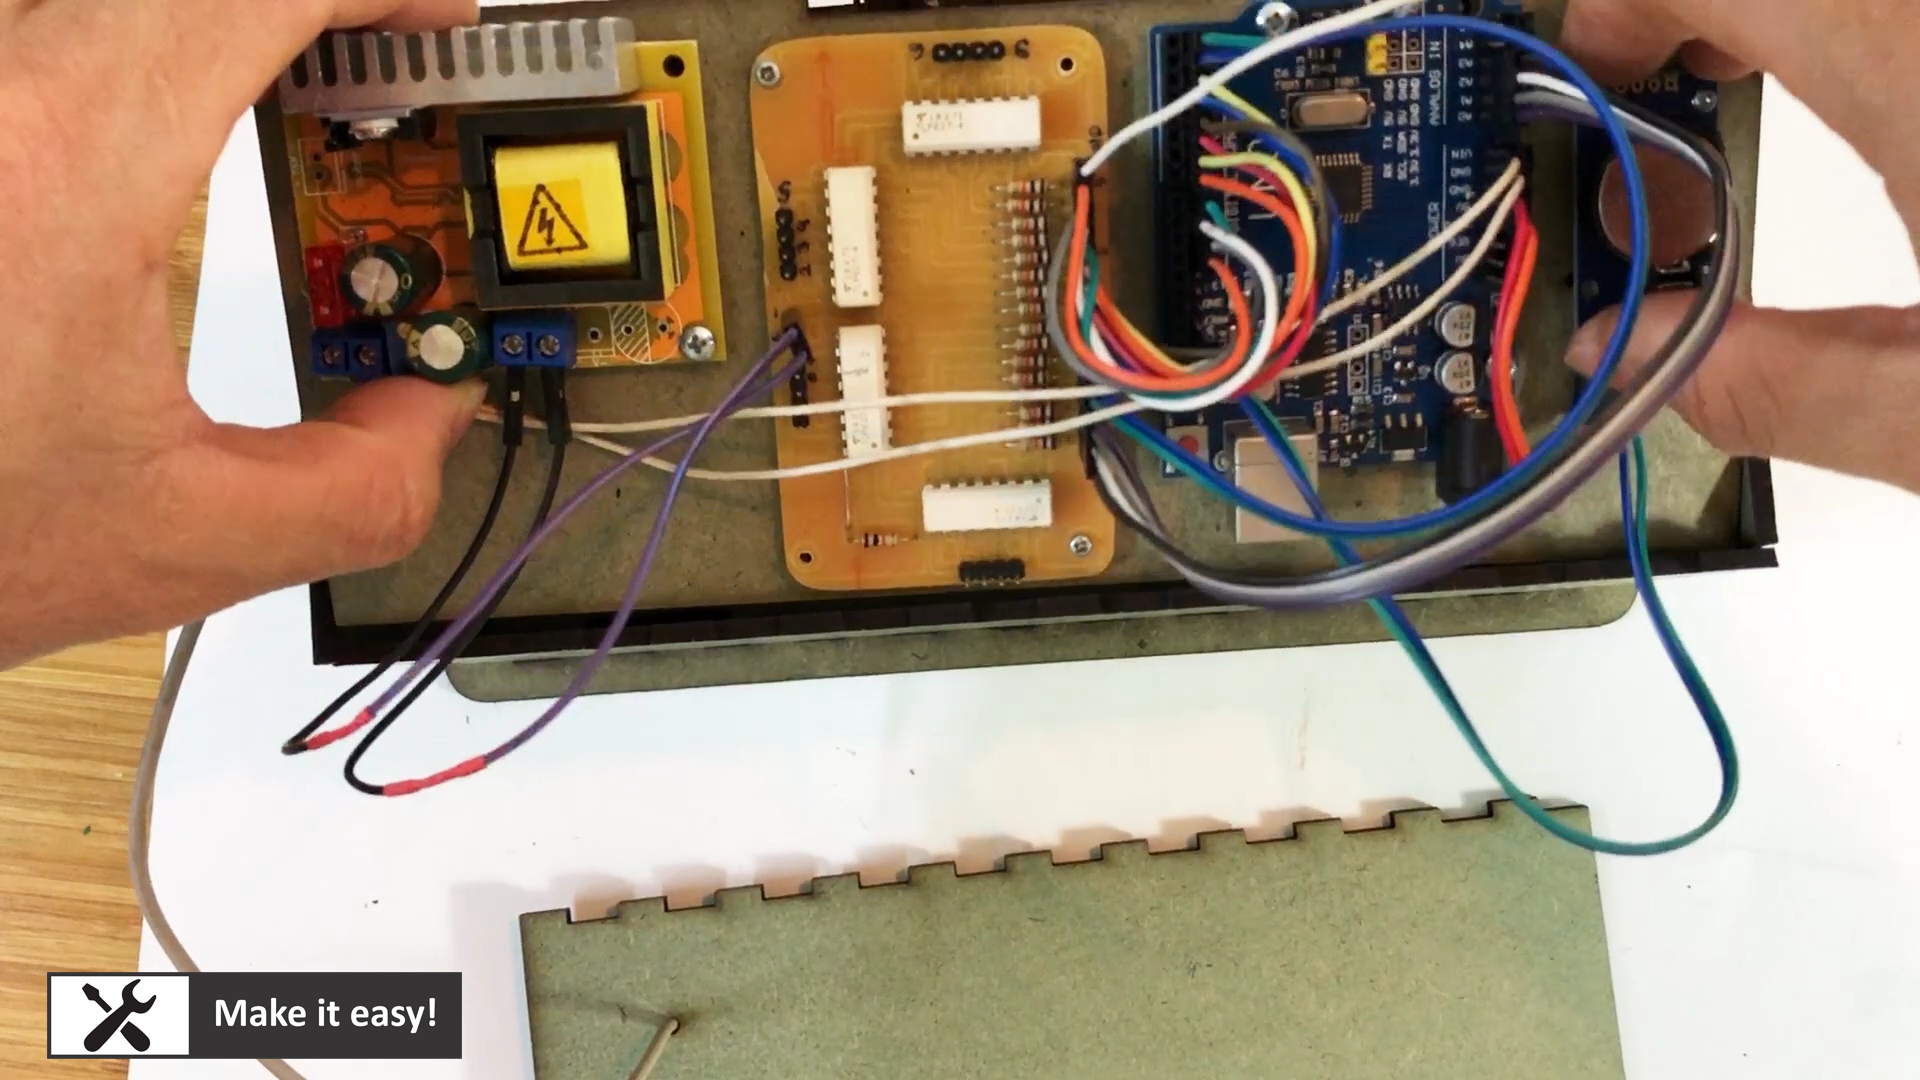
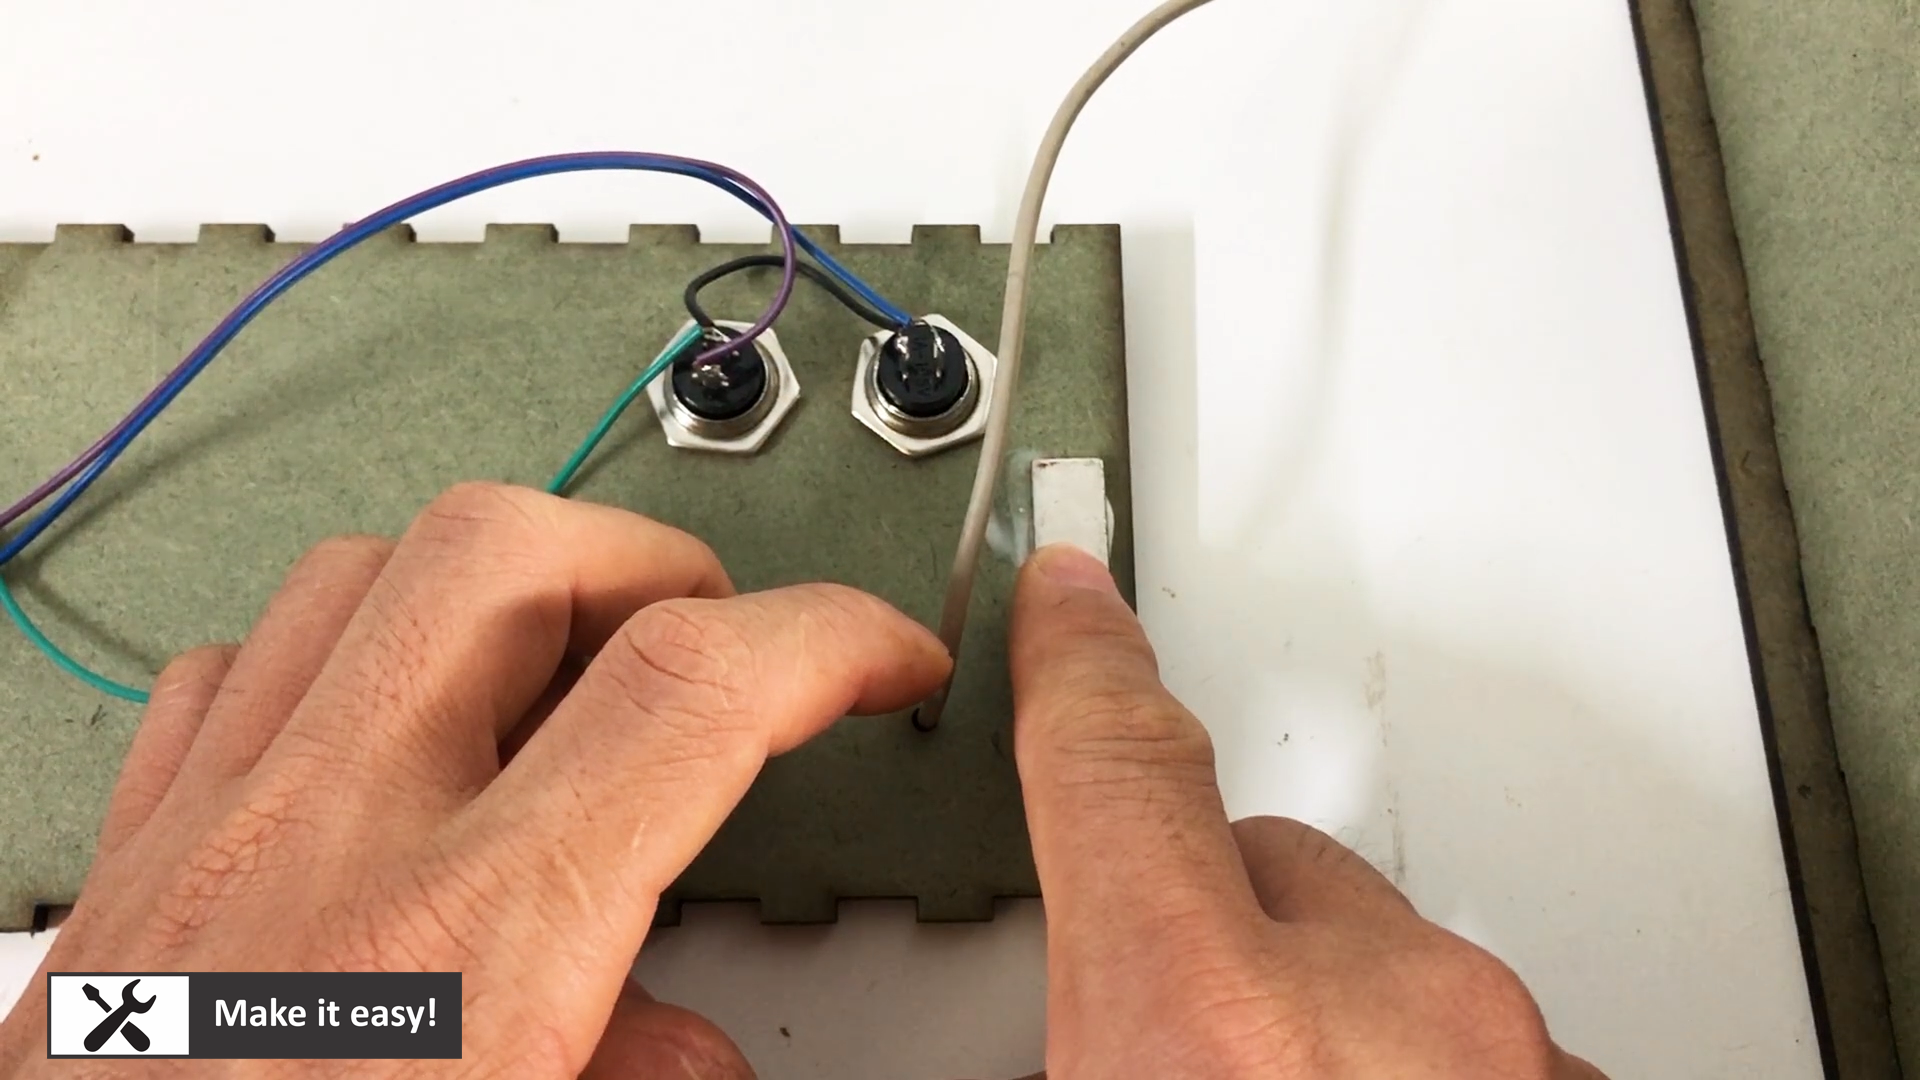
Install all PCB into MDF frame, install button also, then do wiring for all as circuit design
Wiring in this step is a challenged, please pay attention for it. Maybe, you will get wrong connection order for nixie tube, however, you can re-connect easily
Download the code for Arduino
The main code will do this job: read real time from module DS3231, then show on nixie tube via isolation PCB.
It's also be able to adjust the time by two buttons: when push two buttons at same time, (2 numbers of) second will be blinking, wait for adjusting time by pushing button left or right to increas or decrease number. When finish adjust number in second (or not adjust number in second), then number of minute will be blinking (wait for adjusting number), next, the number of hour will be blinking. After finish, no number will be blinking.
Code can be downloaded here https://bit.ly/3ab6PHL

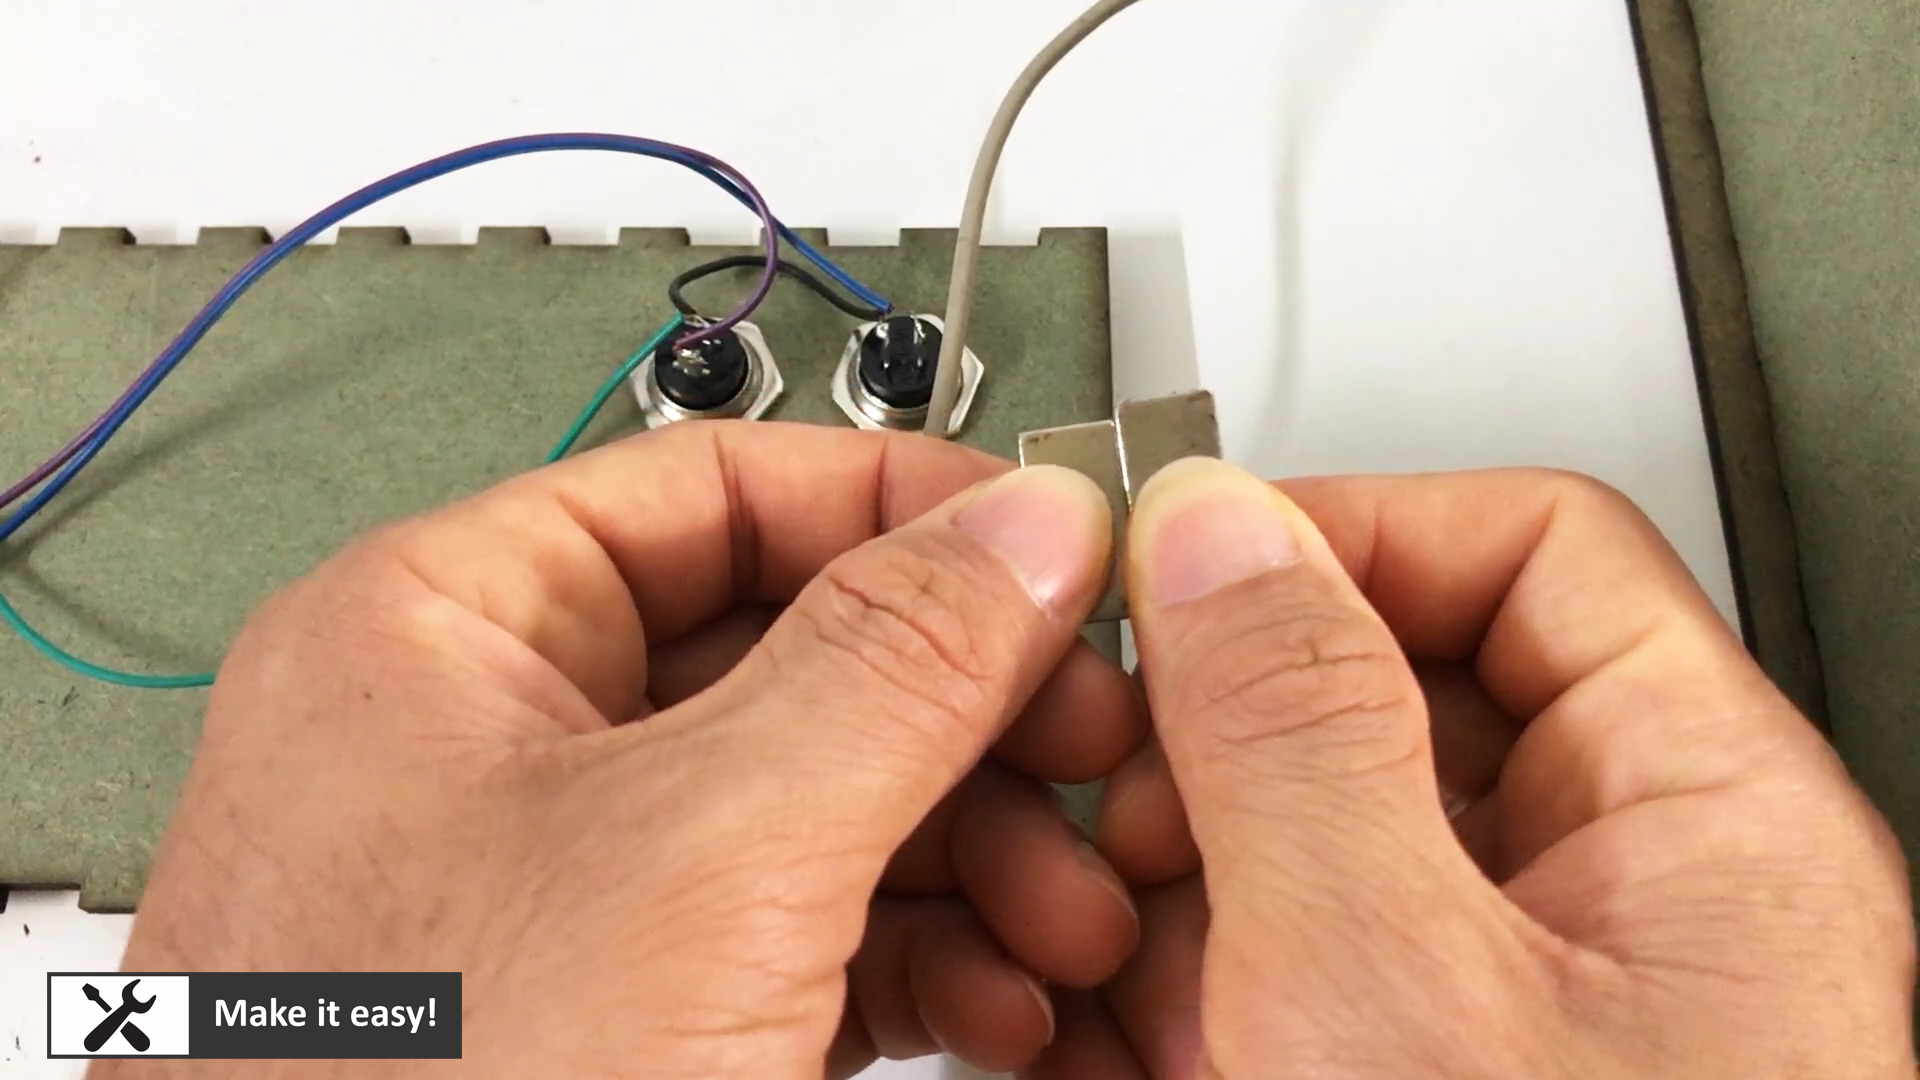
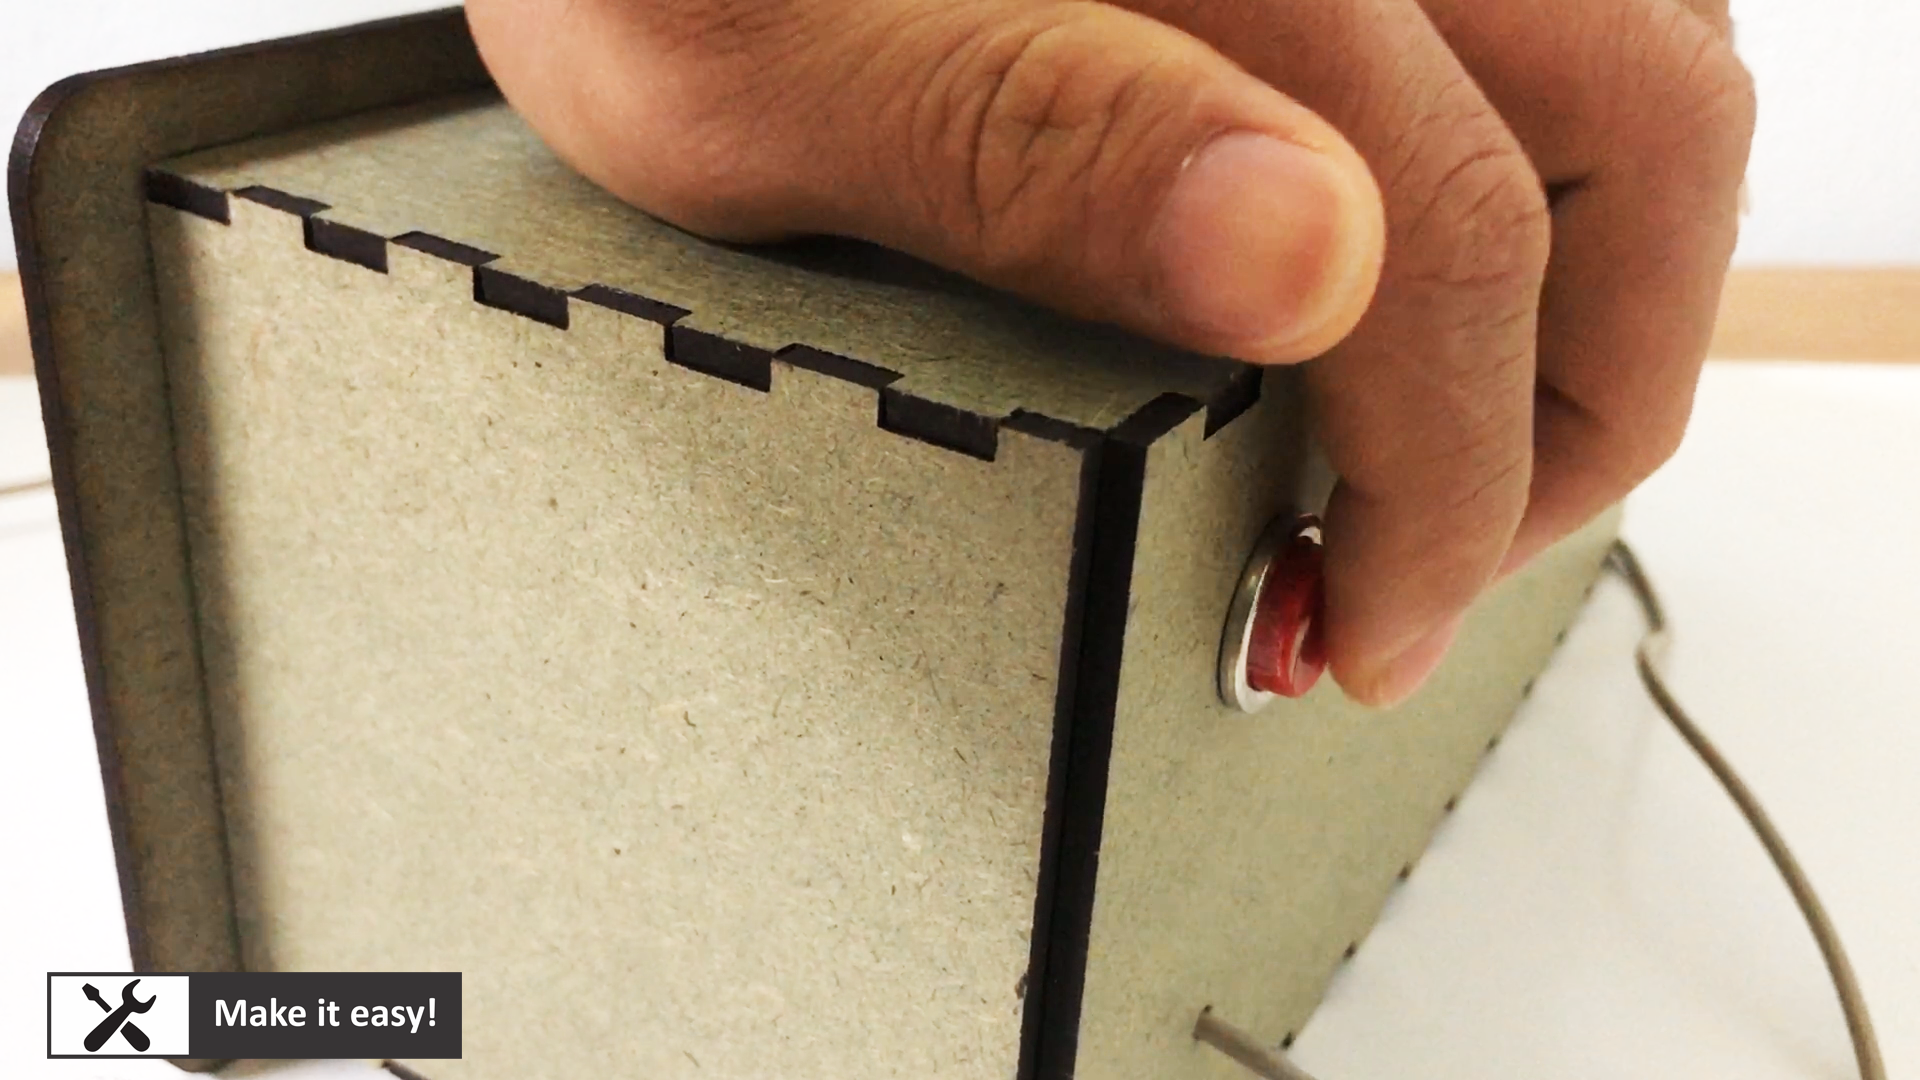
I use four magnetic plate to hold back side MDF plate. It will help to hold back side firmly without using glue, so that we can open the box easily in case troubleshooting.
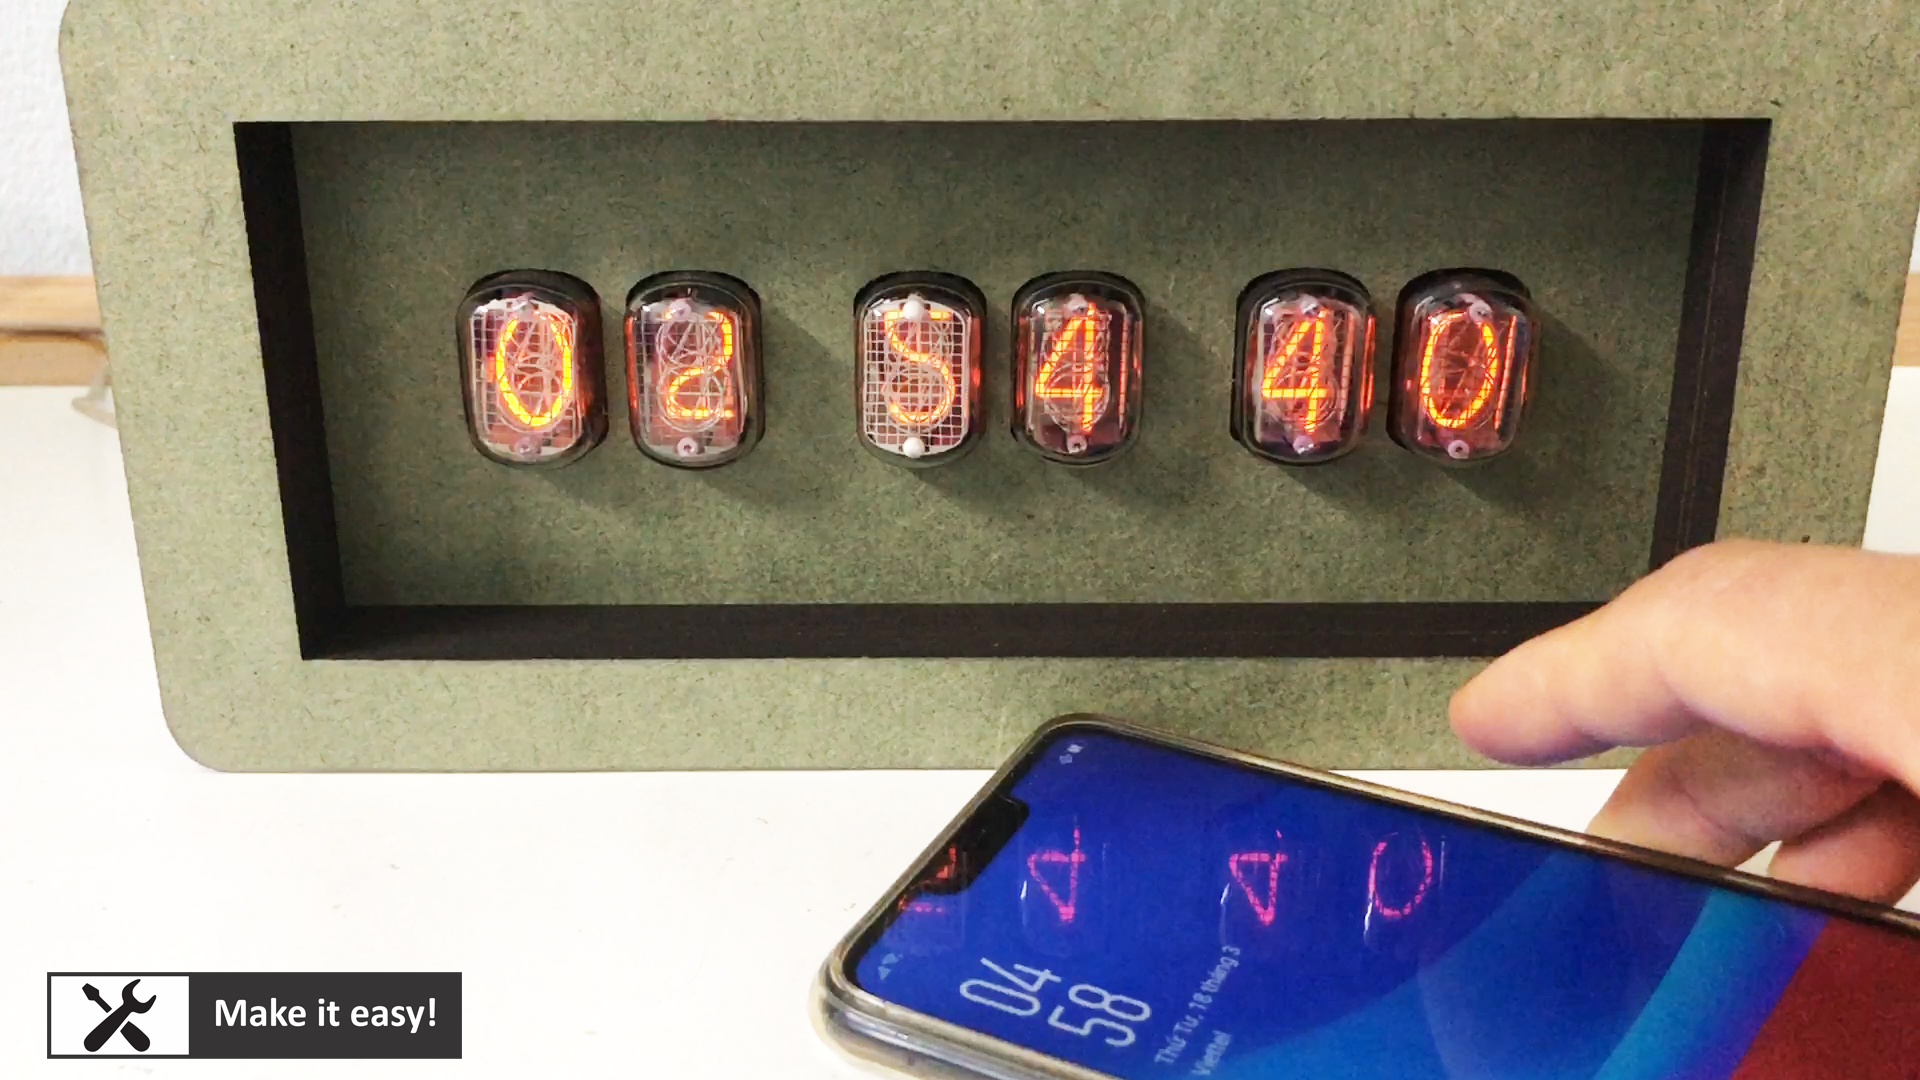
Push two button at same time to start adjusting the time of 6 nixie tube
Sequence of changing time:
1. Push two button to start changing number
2. Two number of second will blink (wait for adjusting number)
2a. If adjust, push button left/right to increase/decrease number
2b. If not adjust, do nothing
3. Wait a while, two number of minute will be blink (wait for adjusting number)
3a. If adjust, push button left/right to increase/decrease number3b. If not adjust, do nothing
4. Wait a while, two number of hour will be blink (wait for adjusting number)4a. If adjust, push button left/right to increase/decrease number
4b. If not adjust, do nothing
5. All number will not blink, on clock view

My friend tell me MDF wood surface looks not so nice, so I decide to use wood with veneer surface for this clock. Also, make a tag name for clock.
Final, the clock looks perfect :)
Manufacturing process
- Build an Arduino Real‑Time Clock for Islamic Prayer Times
- Enable Phone Calls on Arduino UNO Using Twilio & Yaler – Call My Arduino Project
- C64 Retro Controller: Arduino Nano Interface
- Mini Acoustic Levitation Demo with Arduino UNO & HC-SR04 Ultrasonic Sensor
- Create Musical Tones with Arduino: A Step‑by‑Step Guide
- Real-Time Arduino Weather Clock: OLED Display for Time, Date & Temperature
- Nixie Tube Clock Shield NCS314 for Arduino UNO/MEGA – IN‑14/IN‑12 Compatibility
- Build a Simple Nixie Tube Clock Using Arduino – Step‑by‑Step Guide
- DIY Arduino CoreXY Drawbot: Build Your Own CNC Drawing Robot
- Build a Reliable Alarm Clock with DS1302 RTC and Arduino UNO