


Smart Wireless Light Switch Controller: Arduino‑Based Remote Switch Manipulator
Components and supplies
 |
| × | 2 | |||
| × | 1 | ||||
| × | 1 |
Necessary tools and machines
 |
|
Apps and online services
 |
|
About this project
IdeationSo I'm not a fan of getting up once I've decided to fall asleep. Sometimes I just want to do some reading prior to falling asleep and need the light to be on. So I decided to make this light switch manipulator.
I realized this has a couple of other implications:
- Children who are too short to reach the switch
- People who are limited in mobility
This project is largely based on the 433 MHz RF boards talking to each other. Sometimes this can be quite a feat. If the code doesn't work well for you, try modifying these values in Slave_servo.ino:
const unsigned int upperThreshold = 70;  //upper threshold value
const unsigned int lowerThreshold = 50;  //lower threshold value
- Master_Remote.ino goes on the Arduino with the transmitter
- Slave_Servo.ino goes on the same Arduino as the receiver
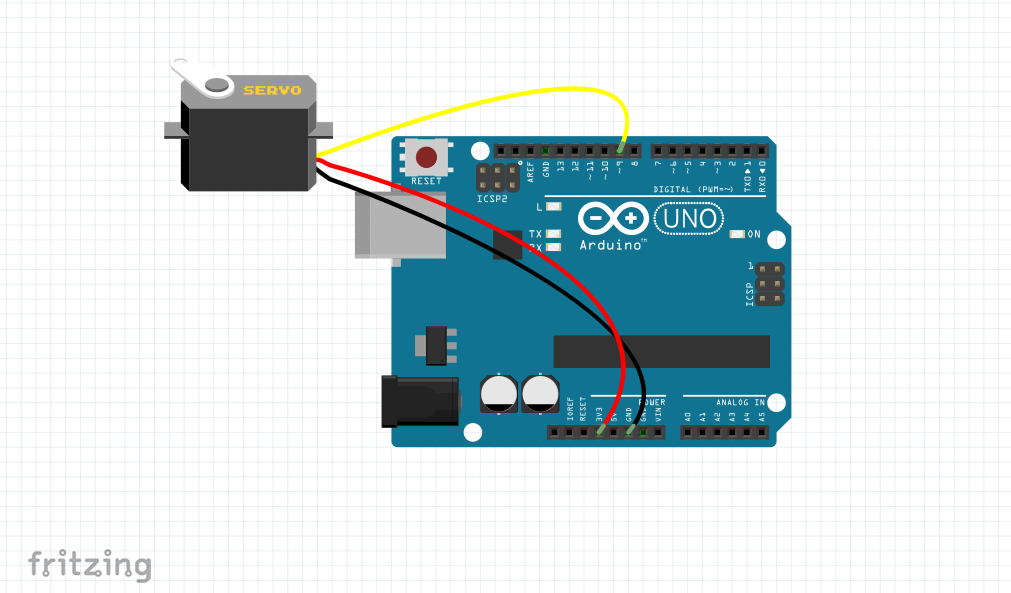
The wiring for this is quite simple, just use the images at this link, and the images under "Schematics".
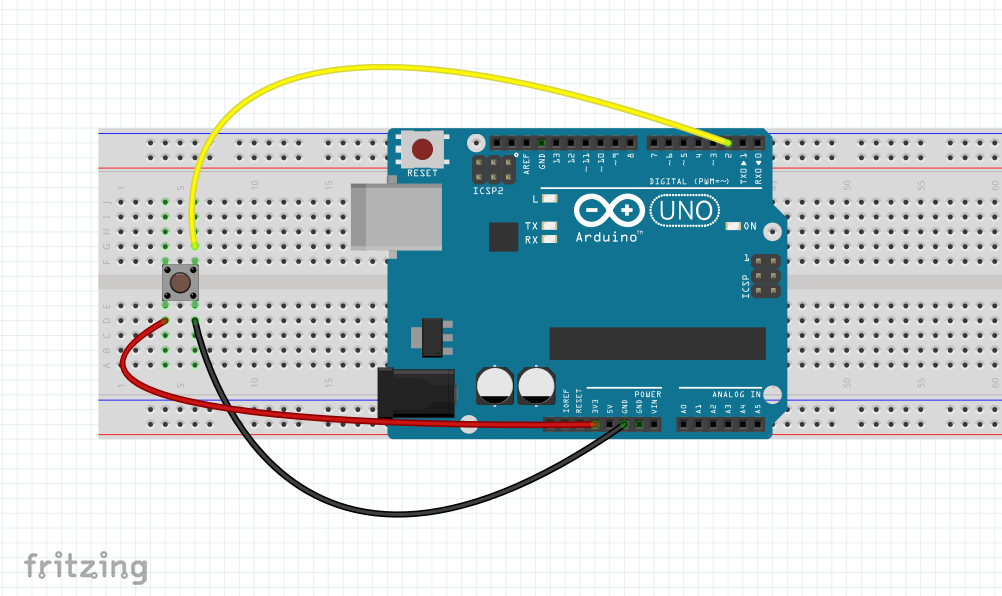
Note
- The button goes on the same Arduino as the transmitter, and the servo goes on the same Arduino as the receiver.
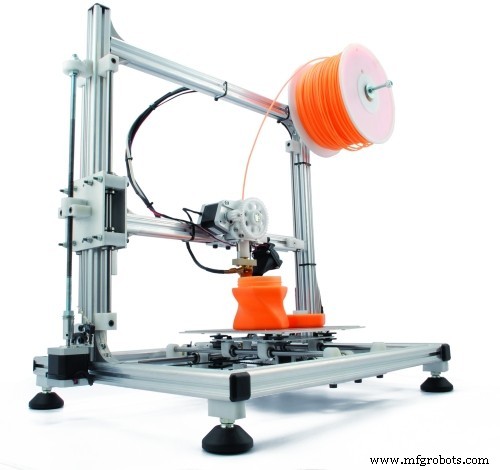
As for the mount for the servo onto the wall, you are going to need access to a 3D printer. The servo mount has been modeling in OpenSCAD, you may have to change where the hole is located. I have included the OpenSCAD file, so that the hole parameters can be modified. You will want to print mhacks_lightswitchv4.stl for starters.
Once printed, secure the servo in and adhere the mount on the switch (this can be done with something as simple as command strips, or if you are really sure you like it, super glue (I don't recommend this).
Final ProjectHere is the final project (I submitted this for an online hackathon called Mhacks).
To make the setup more permanent, you may want to print off an Arduino case. This case works really well. You can mount it as well as the breadboard to the wall using command strips.
Future Developments- Use an ESP8266 based board to control the servo, rather than 2 Arduinos
- Make a light switch cover that embeds a servo more eloquently
- Develop Alexa code such that it is capable of being voice controlled
Code
- Slave_Servo.ino
- Master_Remote.ino
Slave_Servo.inoArduino
#define rfReceivePin A0  //RF Receiver pin = Analog pin 0
 #define ledPin 13        //Onboard LED = digital pin 13
 #include <Servo.h>

 Servo  servo;

 unsigned int data = 0;   // variable used tostore received data
 const unsigned int upperThreshold = 70;  //upper threshold value
 const unsigned int lowerThreshold = 50;  //lower threshold value

 void setup(){
   pinMode(ledPin, OUTPUT);
   Serial.begin(9600);
   servo.attach(9);
 }

 void loop(){
   data=analogRead(rfReceivePin);    //listen for data on Analog pin 0

    if(data<upperThreshold){
     digitalWrite(ledPin, LOW);   //If a LOW signal is received, turn LED OFF
     Serial.println(data);
     servo.write(0);
   }

   if(data>lowerThreshold){
     digitalWrite(ledPin, HIGH);   //If a HIGH signal is received, turn LED ON
     Serial.println(data);
     servo.write(90);
   }
 }
Master_Remote.inoArduino
 #define rfTransmitPin 4  //RF Transmitter pin = digital pin 4
 #define buttonPin 2
 #define led 13

void setup() {
  // put your setup code here, to run once:
pinMode(rfTransmitPin, OUTPUT);
   pinMode(buttonPin, INPUT);
   pinMode(led, OUTPUT);
   Serial.begin(9600);
}

int buttonState = 0;

void loop() {
  // put your main code here, to run repeatedly:
buttonState = digitalRead(buttonPin);
   if (buttonState == HIGH) {
    // turn LED on:
    digitalWrite(rfTransmitPin, HIGH);
    digitalWrite(led, HIGH);
    Serial.println("transmit");
    delay(10);
  } else {
    // turn LED off:
    digitalWrite(rfTransmitPin, LOW);
    digitalWrite(led, LOW);
    Serial.println("no");
  }

}
Custom parts and enclosures
mhacks_lightswitch_hpXQkie6X4.scadArduino Case
CAD file on thingiverse.comSchematics

Manufacturing process
- Arduino Tic Tac Toe with MAX7219 LED Matrix and Cardboard Enclosure
- Build a Reliable Arduino Countdown Timer with SparkFun 7‑Segment Display
- Build Your Own RC Porsche Car with Arduino: A Step‑by‑Step Guide
- DIY Candy Dispenser with Arduino: Build a Smart Snack Machine
- Detecting Object Colors with Arduino Nano and TCS3200 Sensor
- Building an Arduino LIDAR System with VL6180X and Servo Motor
- Shake-Activated Arduino Dice with LED Matrix
- Arduino-Powered Indoor Garden: Smart, Automated Plant Care
- Build a Reliable Arduino-Based Wireless Weather Station
- Build an Arduino Radar System with Ultrasonic Sensor & Servo – Step‑by‑Step Guide