


Seamless Smart Phone Control of Home Lighting Systems
Components and supplies
 |
| × | 1 | |||
 |
| × | 1 | |||
 |
| × | 1 | |||
 |
| × | 1 |
About this project
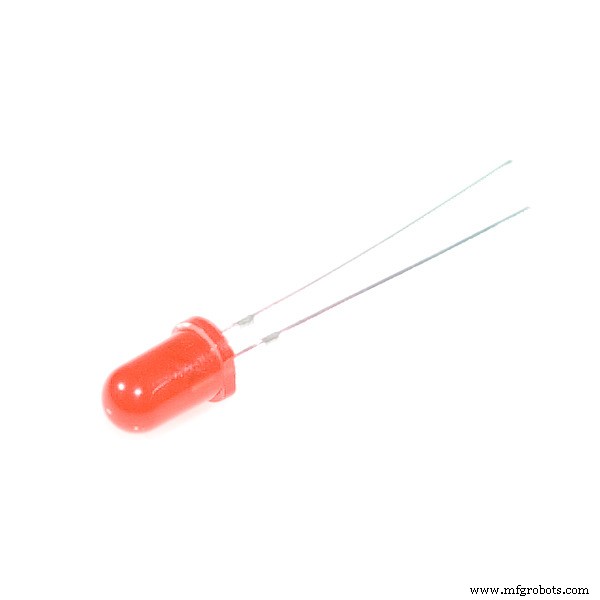
The project idea is to proof that you can control your home lighting system using only your smart phone, so the LEDs in the project represents different systems in our home as an example.
All you need for the project:
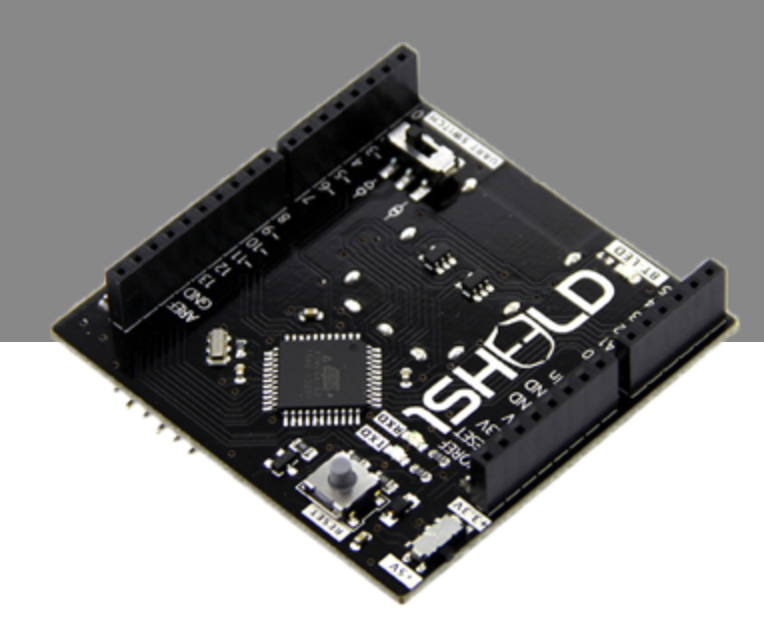
1- 1sheeld
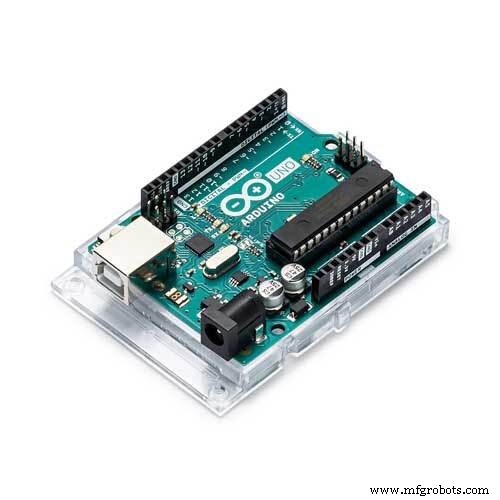
2- Arduino Uno
3- LEDs
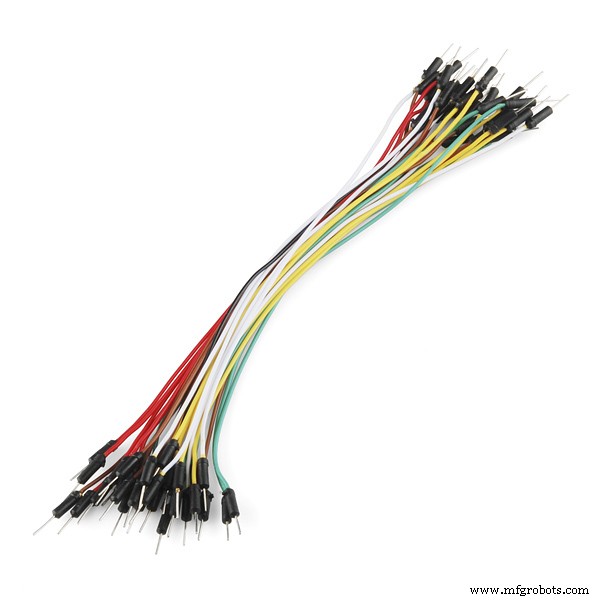
4- Jumbers
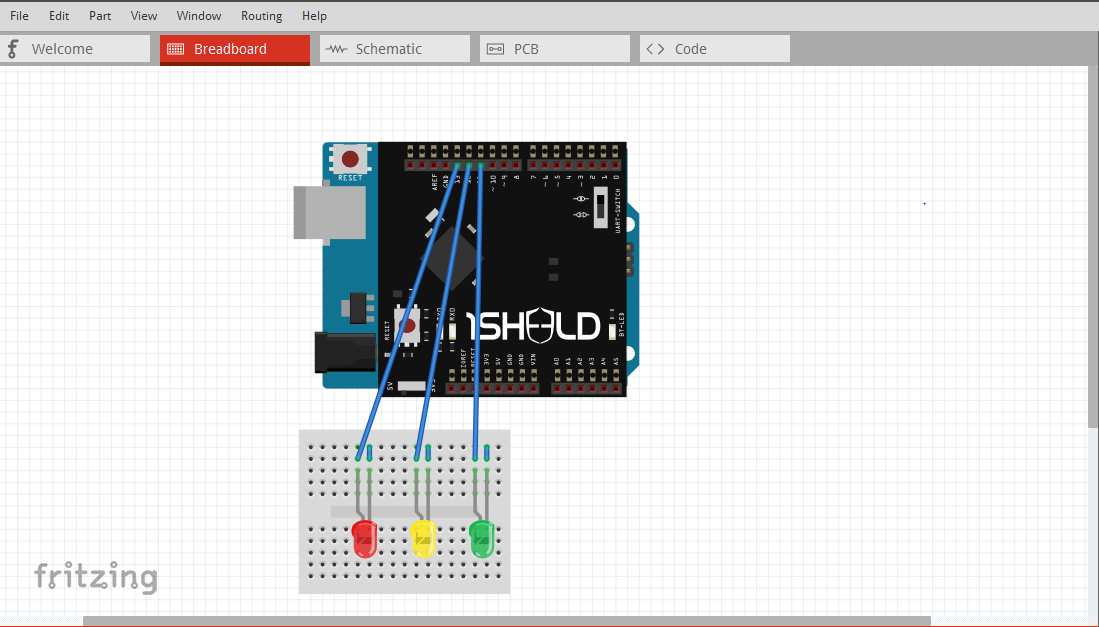
then connect the circuit as shown below
First let's know more about 1sheeld:
1Sheeld turns your smartphone into 40 different Arduino shields. So we don't have to buy shields for Arduino as we have them in our smartphone.
How to use 1sheeld?
1- Stack 1Sheeld on top of your Arduino board, and write the code using 1Sheeld library.
2- Pair 1Sheeld board with 1Sheeld app over bluetooth.
3- Select the shields from a list of over 40 shields.
for more information about 1sheeld and how to use shields follow this link
http://1sheeld.com/tutorials/getting-started/
Let's back to our project...
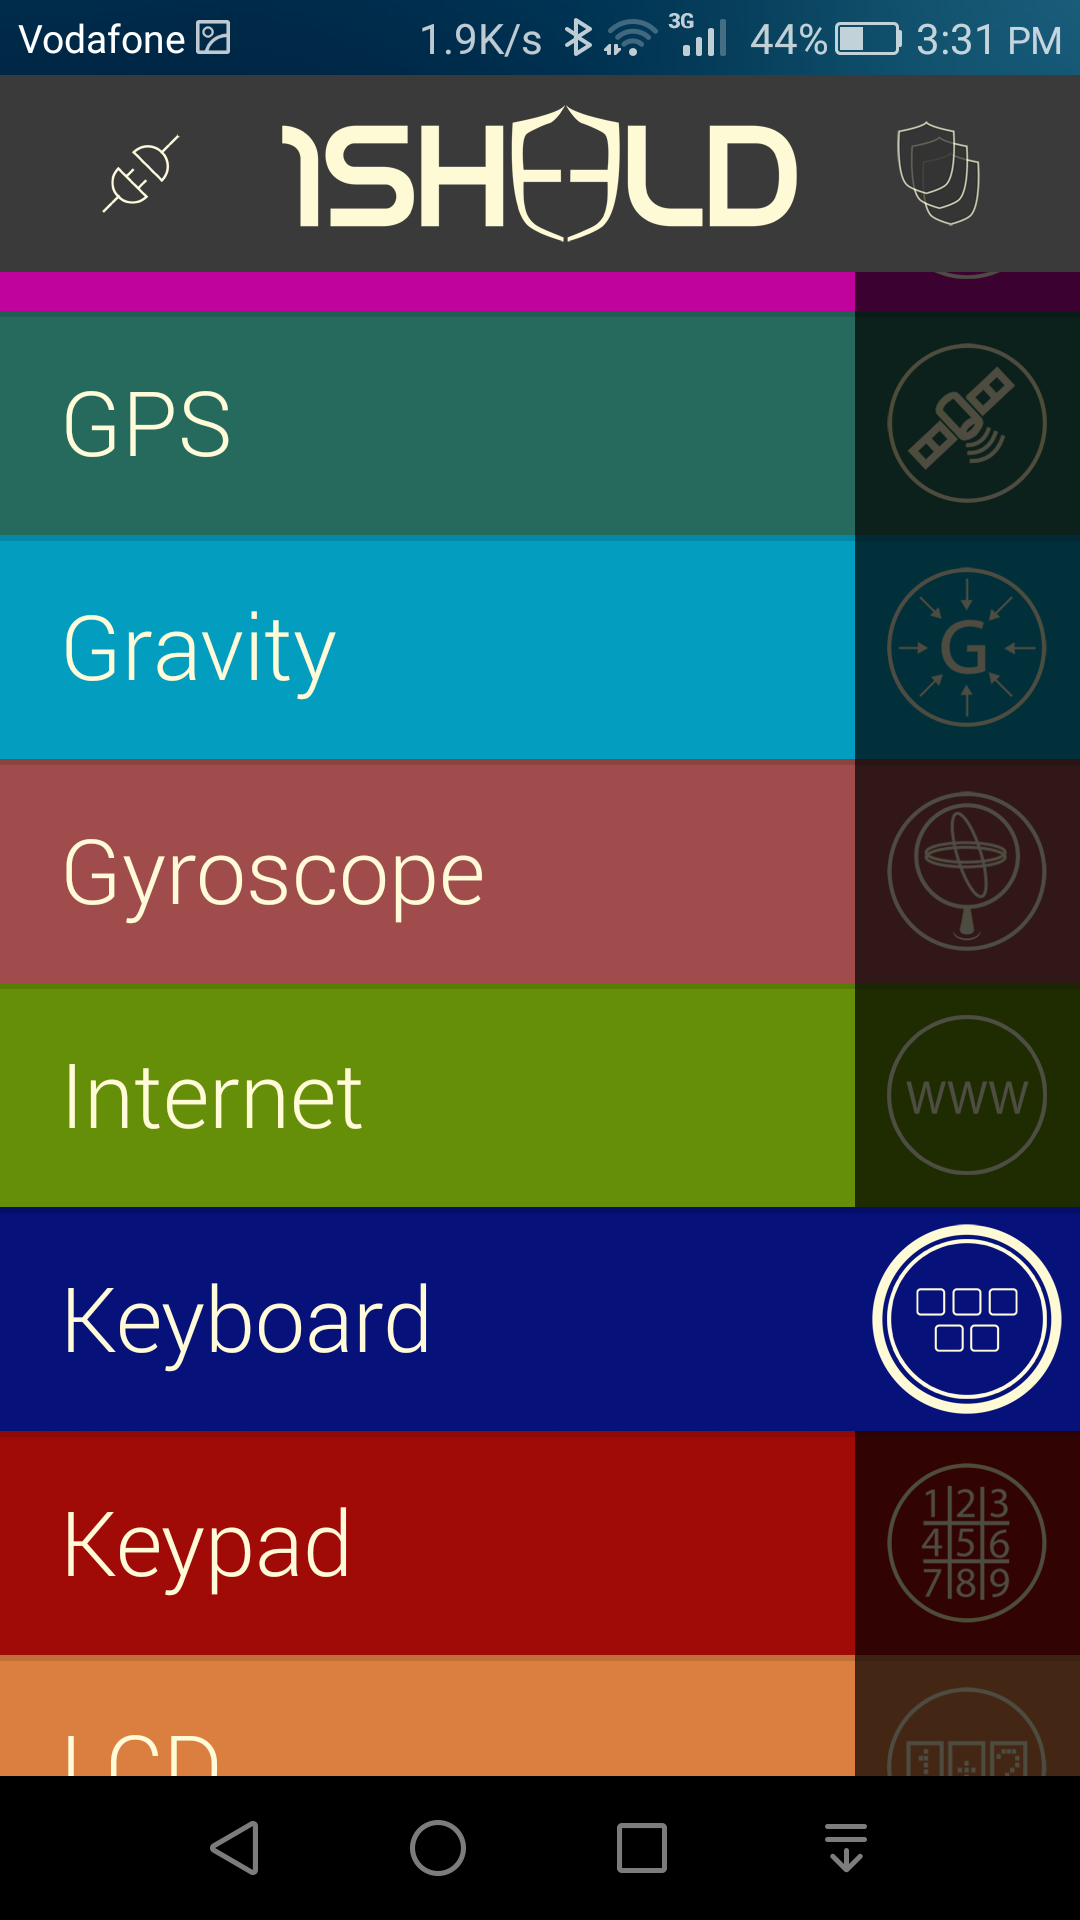
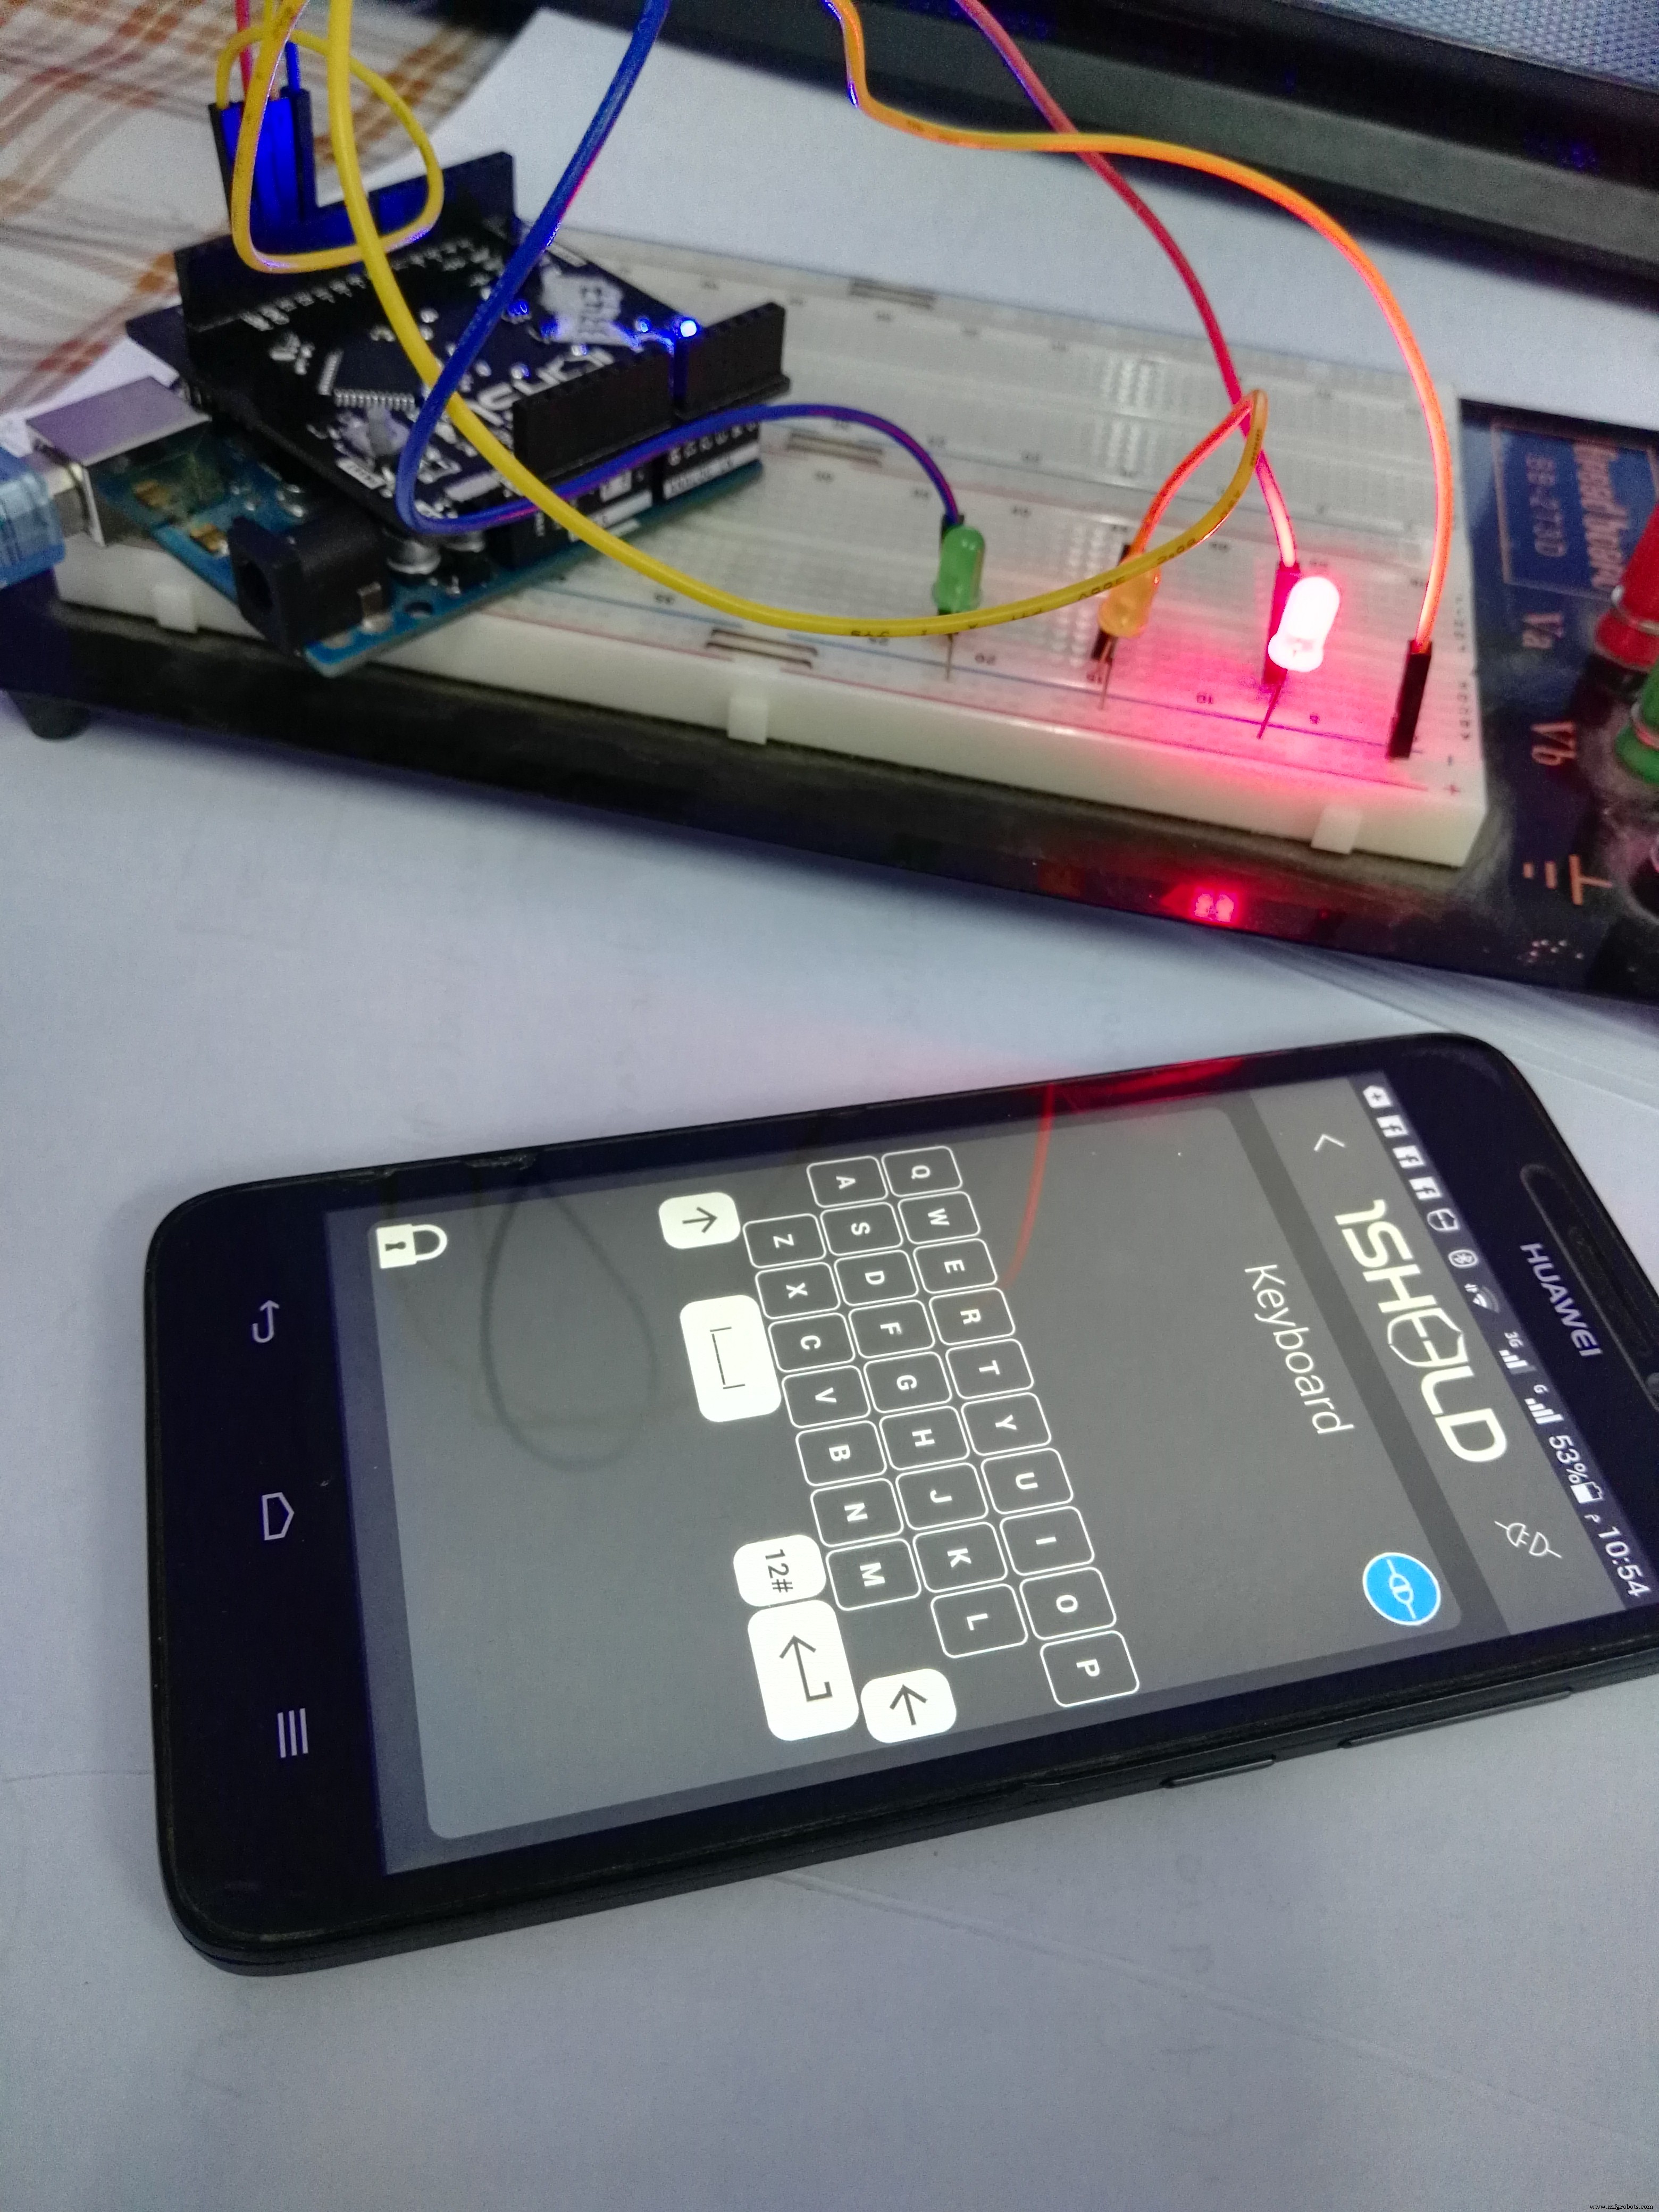
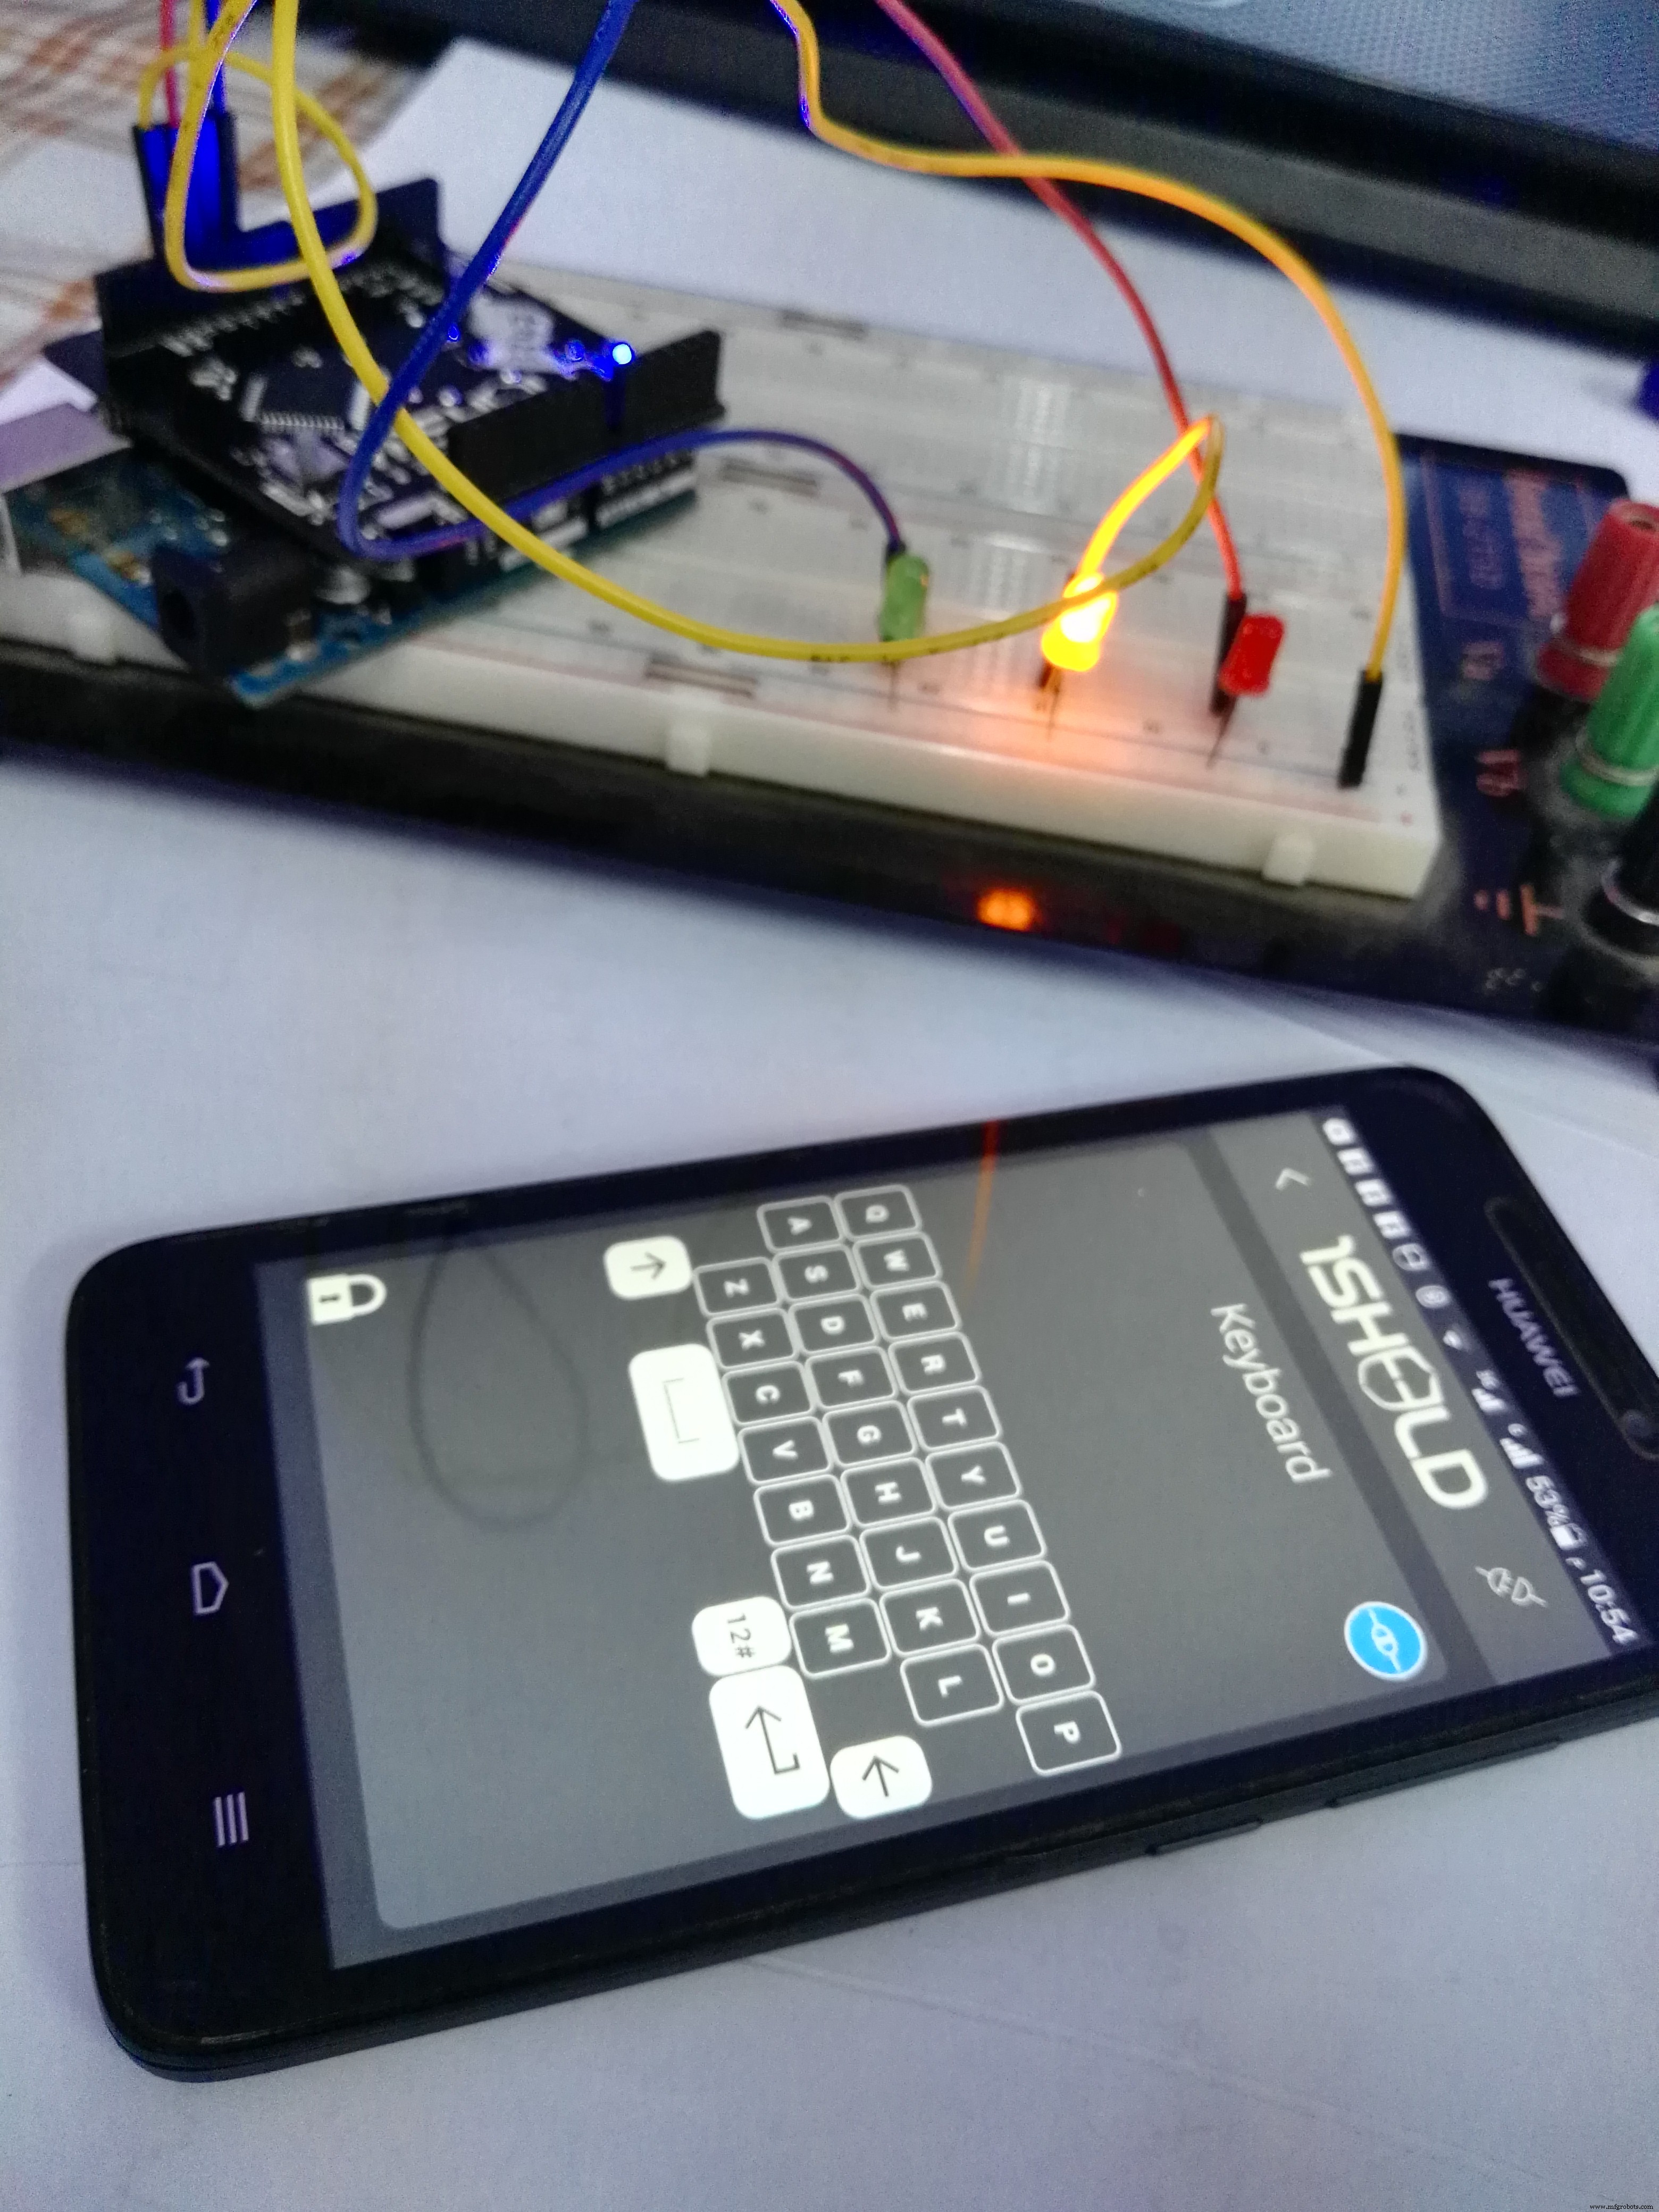
Open 1sheeld app and connect the app with your 1sheeld then open "keyboard" shield.
Press 'R' Red LED will turn on
Press 'Y' Yellow LED will turn on.
Press 'G' Green LED will turn on
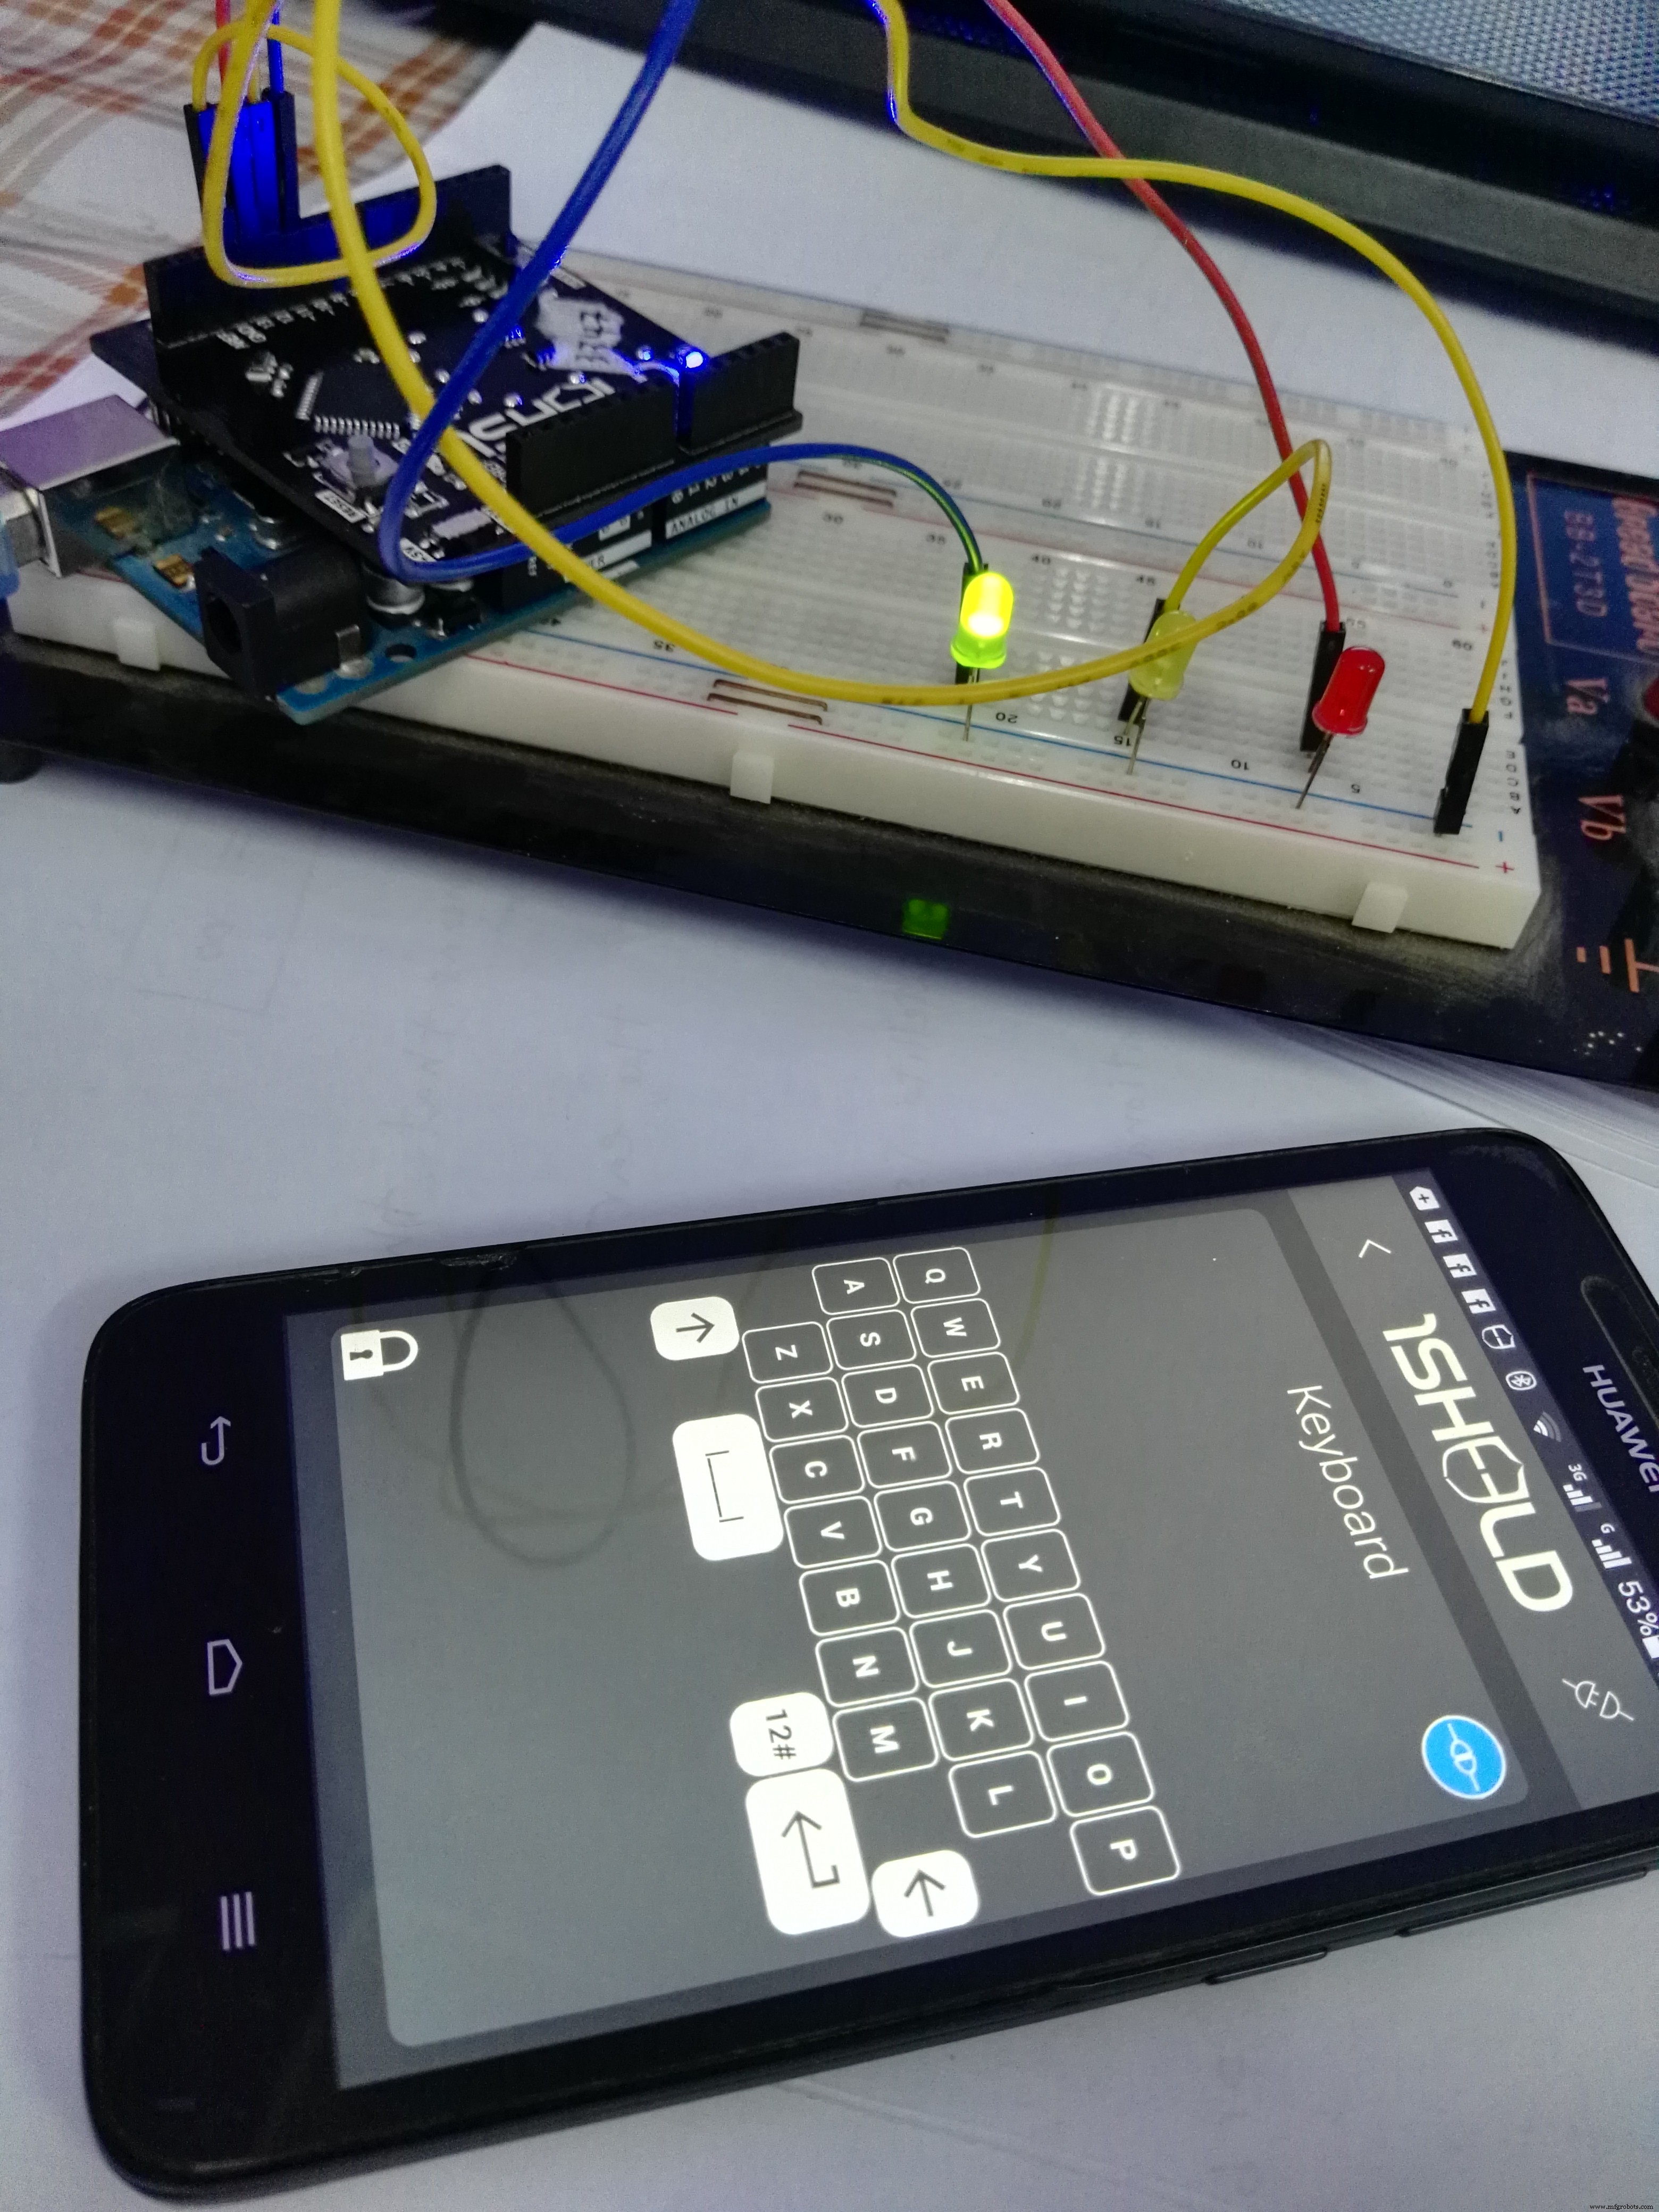
and finally to turn off all press 'C'
Code
- control_light_sys
control_light_sysArduino
#define CUSTOM_SETTINGS
#define INCLUDE_KEYBOARD_SHIELD

/* Include 1Sheeld library. */
#include <OneSheeld.h>

/* LEDs on pin 11,12,13 */
int ledRed    = 13;    //for Red LED
int ledYellow = 12;   //for yellow LED
int ledGreen  = 11;   //for green LED

void setup()
{
  /* Start communication. */
  OneSheeld.begin();

  /* Set the LED as output. */
  pinMode(ledRed,OUTPUT);
  pinMode(ledYellow, OUTPUT);
  pinMode(ledGreen, OUTPUT);

  /* Keyboard callBack function. */
  AsciiKeyboard.setOnButtonChange(&keyboardFunction);
}//end of void setup

void loop()
{}

/* Function to be invoked once a new character is pressed. */
void  keyboardFunction(char data)
{
  /* Check on the incoming character. */
  if(data == 'R')
  {
    /* Turn on the LED. */
    digitalWrite(ledRed,HIGH);
  }//end of if
  else if(data=='Y')
  {
    /* Turn off the LED.*/
    digitalWrite(ledYellow,HIGH);
  }//end of else if
  else if(data == 'G')
  {
    digitalWrite(ledGreen,HIGH);
  }//end of else if
  else if(data == 'c')
  {
    digitalWrite(ledRed, LOW);
    digitalWrite(ledYellow, LOW);
    digitalWrite(ledGreen, LOW);
  } //end of els if
  else
  {
    digitalWrite(ledRed, LOW);
    digitalWrite(ledYellow, LOW);
    digitalWrite(ledGreen, LOW);
  }//end of else
}//end of keyboard function
Schematics
circuit.fzzManufacturing process
- Build a Universal Android Remote with Arduino, 1Sheeld & IR Control
- Build a Smart Home Automation & Security System with 1Sheeld
- Control Your TV with Alexa via Arduino IoT Cloud – Step‑by‑Step Guide
- Capacitive Touch LED Switch with Arduino UNO – Easy DIY Project
- Arduino Web-Controlled Light Bulb: Step-by-Step Guide
- Control 65,280 Relays with Arduino: Expandable IO & Relay Solutions
- Advanced Smart Waste Monitoring with Arduino 101: BLE & WiFi Integration
- IoT Smart Street Lighting: Intelligent, Energy‑Efficient LED System
- Control Your Home Lighting System with Voice Commands
- Automatic Street Light Control System with LDR and BC‑547 Transistor – Simple, Reliable, Energy‑Saving