


EL Tape Music Visualizer – Illuminate Your Sound with Arduino
Components and supplies
 |
| × | 1 | |||
| × | 1 | ||||
| × | 1 | ||||
| × | 1 | ||||
| × | 1 |
About this project
EL Shield and connectors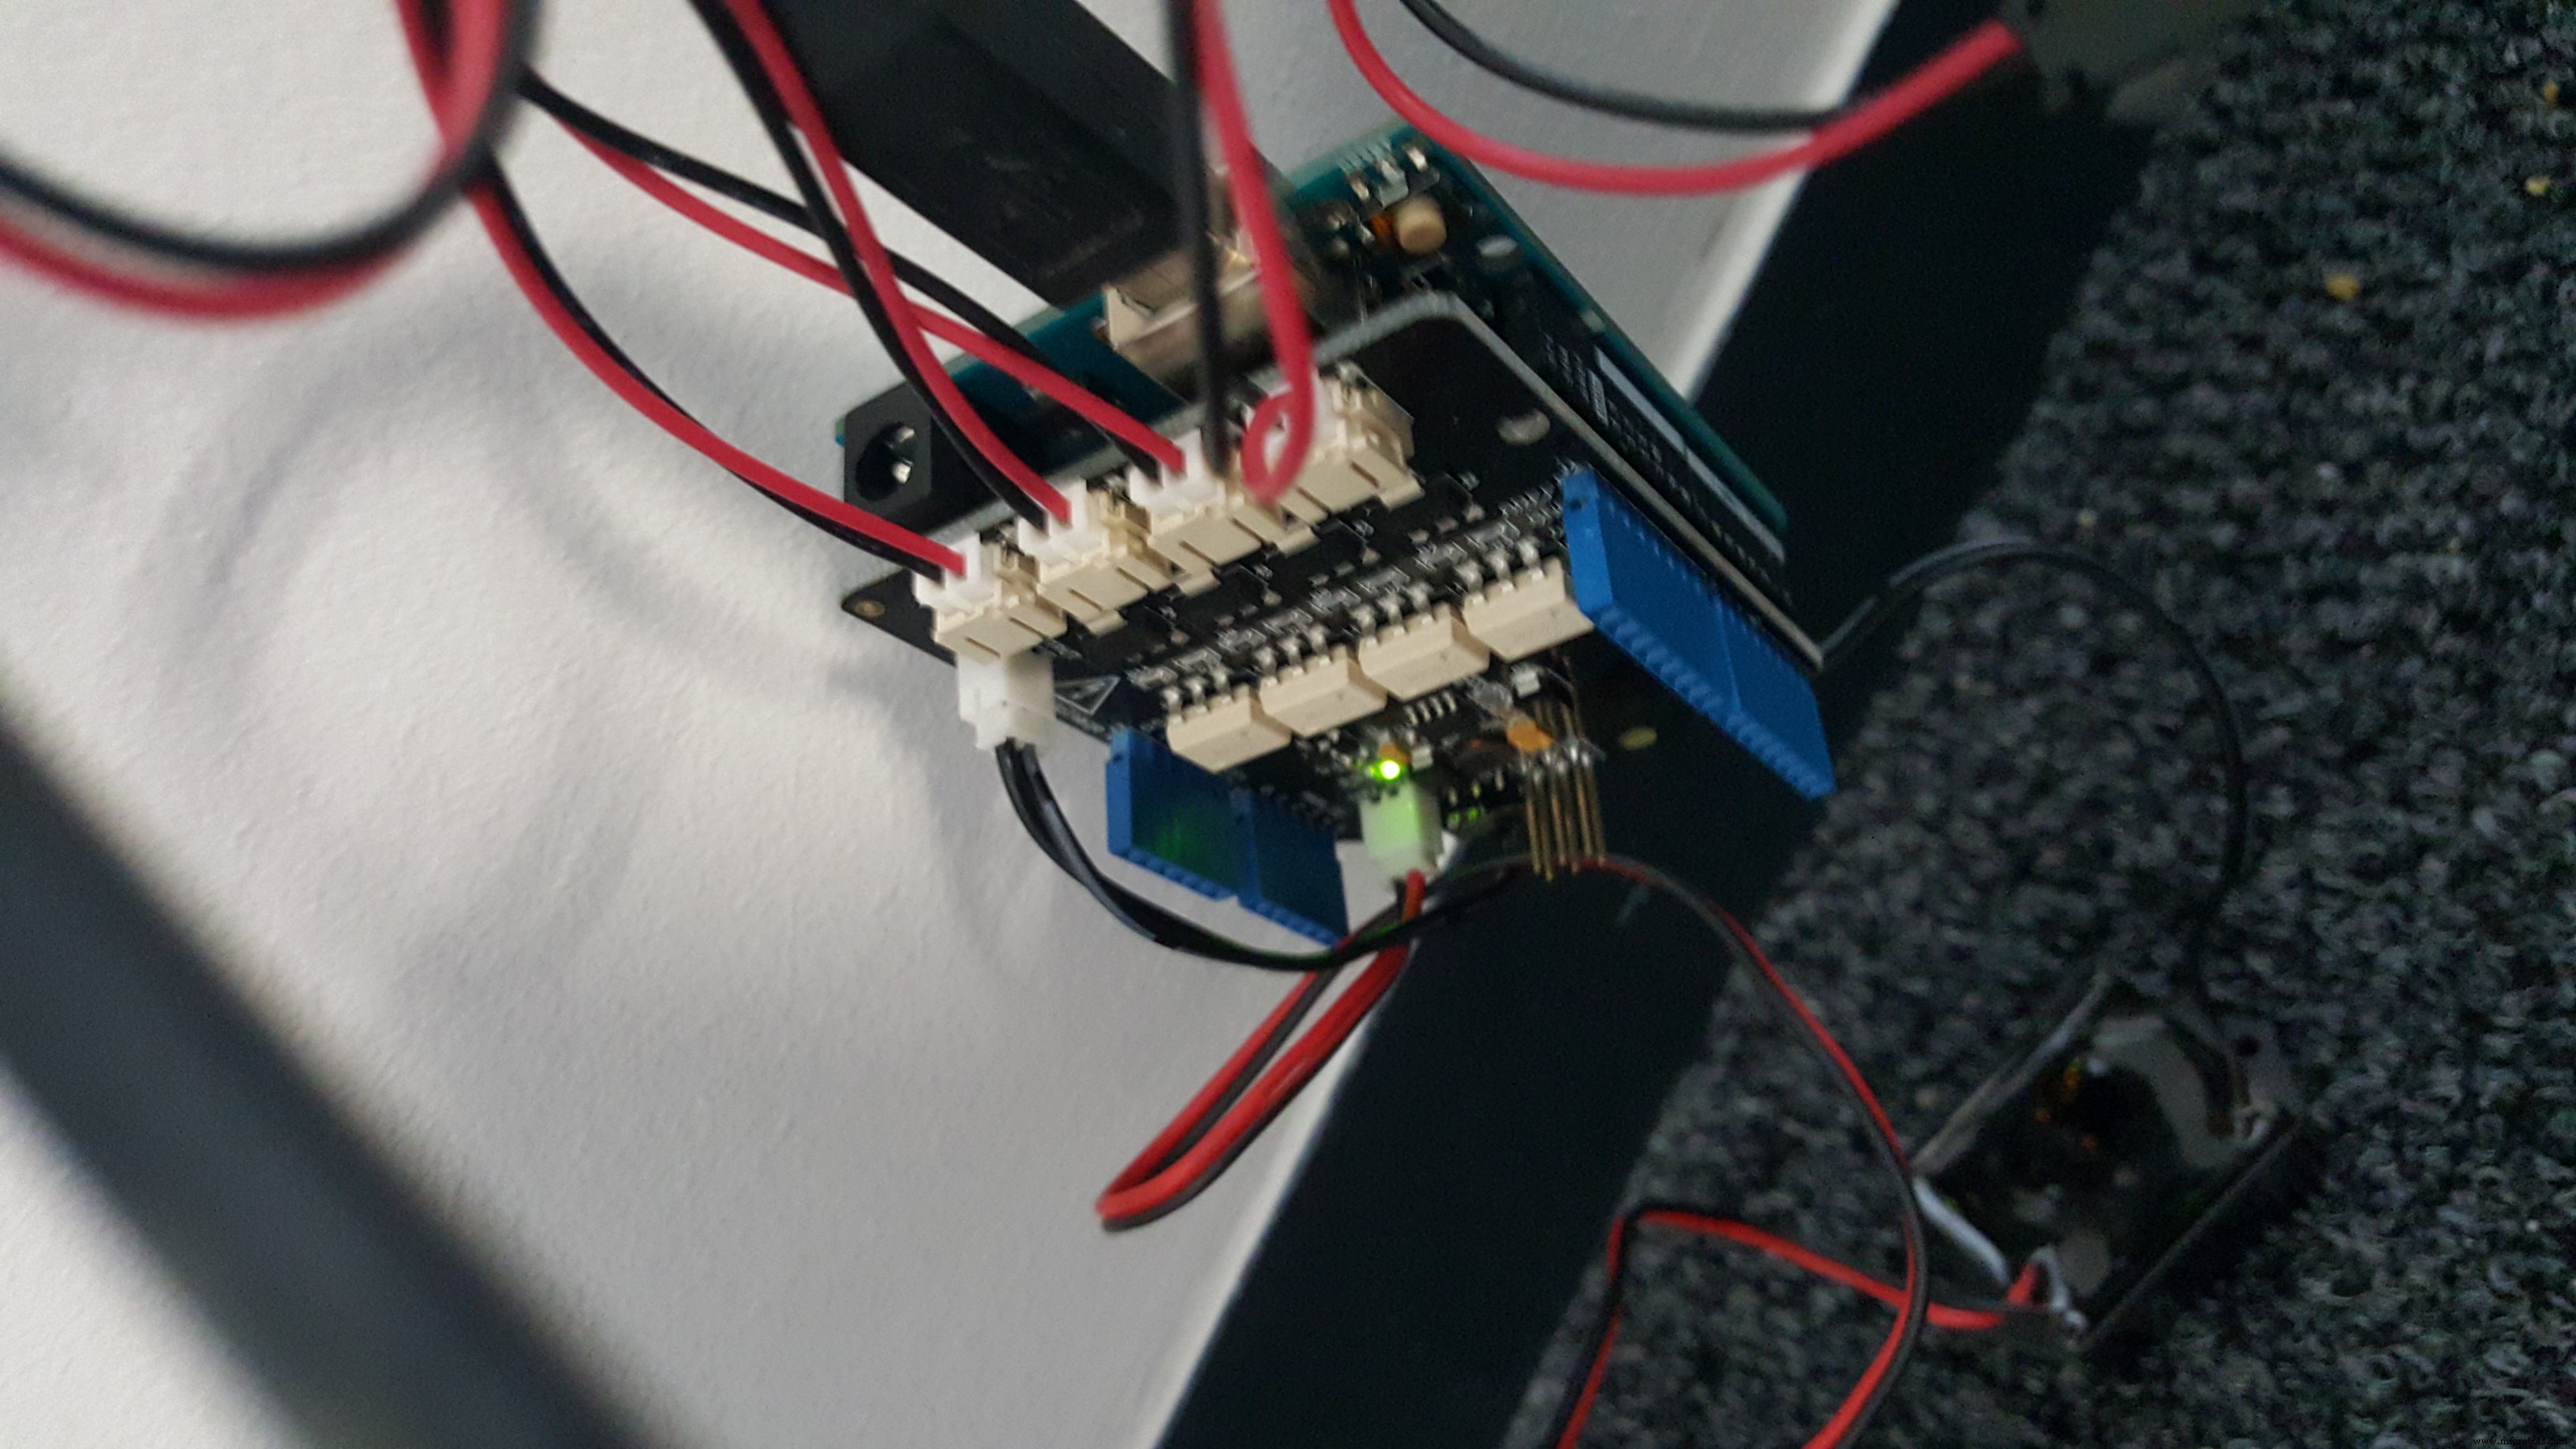
EL Tape with an EL Shield from SeeedStudio was used with an Arduino UNO. The tape was connected to the shield on 3 of the 4 channels.
Once that is complete, simply upload the code and start playing your music!
The code makes use of Processing as well as the Processing Arduino library. You will need to get both of these working in order to use it.
Grab the library for Arduino here.
Get Processing at https://processing.org/
Once all that is installed, move the arduino library into the libraries folder of your processing sketchbook folder and open up the code in the Processing editor.
Change the line:
song = minim.loadFile("/home/paul/Music/dope.mp3", 2048);
on line 38 of BeatWrite to a local MP3 file on your computer and click on play!
Code
- BeatWrite
- BeatListener
BeatWriteJava
BeatWrite sketch for Processing 2/**
* This sketch demonstrates how to use the BeatDetect object in FREQ_ENERGY mode.<br />
* You can use <code>isKick</code>, <code>isSnare</code>, </code>isHat</code>, <code>isRange</code>,
* and <code>isOnset(int)</code> to track whatever kind of beats you are looking to track, they will report
* true or false based on the state of the analysis. To "tick" the analysis you must call <code>detect</code>
* with successive buffers of audio. You can do this inside of <code>draw</code>, but you are likely to miss some
* audio buffers if you do this. The sketch implements an <code>AudioListener</code> called <code>BeatListener</code>
* so that it can call <code>detect</code> on every buffer of audio processed by the system without repeating a buffer
* or missing one.
* <p>
* This sketch plays an entire song so it may be a little slow to load.
*/
import processing.serial.*;
import ddf.minim.*;
import ddf.minim.analysis.*;
import cc.arduino.*;
Minim minim;
AudioPlayer song;
BeatDetect beat;
BeatListener bl;
Arduino arduino;
int ledPin = 1; // LED connected to EL channel 1
int ledPin2 = 2; // LED connected to EL channel 2
int ledPin3 = 3; // LED connected to EL channel 3
float kickSize, snareSize, hatSize;
void setup() {
size(512, 200, P3D);
minim = new Minim(this);
arduino = new Arduino(this, "/dev/ttyACM1", 57600);
song = minim.loadFile("/home/paul/Music/dope.mp3", 2048);
song.play();
// a beat detection object that is FREQ_ENERGY mode that
// expects buffers the length of song's buffer size
// and samples captured at songs's sample rate
beat = new BeatDetect(song.bufferSize(), song.sampleRate());
// set the sensitivity to 300 milliseconds
// After a beat has been detected, the algorithm will wait for 300 milliseconds
// before allowing another beat to be reported. You can use this to dampen the
// algorithm if it is giving too many false-positives. The default value is 10,
// which is essentially no damping. If you try to set the sensitivity to a negative value,
// an error will be reported and it will be set to 10 instead.
beat.setSensitivity(100);
kickSize = snareSize = hatSize = 16;
// make a new beat listener, so that we won't miss any buffers for the analysis
bl = new BeatListener(beat, song);
textFont(createFont("Helvetica", 16));
textAlign(CENTER);
arduino.pinMode(ledPin+3, Arduino.OUTPUT);
arduino.pinMode(ledPin2+3, Arduino.OUTPUT);
arduino.pinMode(ledPin3+3, Arduino.OUTPUT);
}
void draw() {
background(0);
fill(255);
if(beat.isKick()) {
arduino.digitalWrite(ledPin+3, Arduino.HIGH); // set the LED on
kickSize = 32;
}
if(beat.isSnare()) {
arduino.digitalWrite(ledPin2+3, Arduino.HIGH); // set the LED on
snareSize = 32;
}
if(beat.isHat()) {
arduino.digitalWrite(ledPin3+3, Arduino.HIGH); // set the LED on
hatSize = 32;
}
arduino.digitalWrite(ledPin+3, Arduino.LOW); // set the LED off
arduino.digitalWrite(ledPin2+3, Arduino.LOW); // set the LED off
arduino.digitalWrite(ledPin3+3, Arduino.LOW); // set the LED off
textSize(kickSize);
text("KICK", width/4, height/2);
textSize(snareSize);
text("SNARE", width/2, height/2);
textSize(hatSize);
text("HAT", 3*width/4, height/2);
kickSize = constrain(kickSize * 0.95, 16, 32);
snareSize = constrain(snareSize * 0.95, 16, 32);
hatSize = constrain(hatSize * 0.95, 16, 32);
}
void stop() {
// always close Minim audio classes when you are finished with them
song.close();
// always stop Minim before exiting
minim.stop();
// this closes the sketch
super.stop();
}
BeatListenerJava
class BeatListener implements AudioListener
{
  private BeatDetect beat;
  private AudioPlayer source;

  BeatListener(BeatDetect beat, AudioPlayer source)
  {
    this.source = source;
    this.source.addListener(this);
    this.beat = beat;
  }

  void samples(float[] samps)
  {
    beat.detect(source.mix);
  }

  void samples(float[] sampsL, float[] sampsR)
  {
    beat.detect(source.mix);
  }
}
Manufacturing process
- Versatile Duct Tape: Strength, Flexibility, and Everyday Uses
- The Legacy and Evolution of the Classic Jukebox
- Sheet Music: From Medieval Manuscripts to Modern Publishing – An Industry Overview
- Bar Code Scanner: Technology, Design, and Future Trends
- Cellophane Tape: History, Production, and Environmental Impact
- C++ Comments: Best Practices for Readable, Maintainable Code
- Build Your Own LUMAZOID: A DIY Arduino Music Visualizer
- Build a Morse Code Transceiver with Arduino UNO – Hands‑On Communication Project
- Understanding QR Codes: Definition, Uses, and Benefits
- Understanding Joint Tape: How It Smooths Drywall Joints for a Seamless Finish